
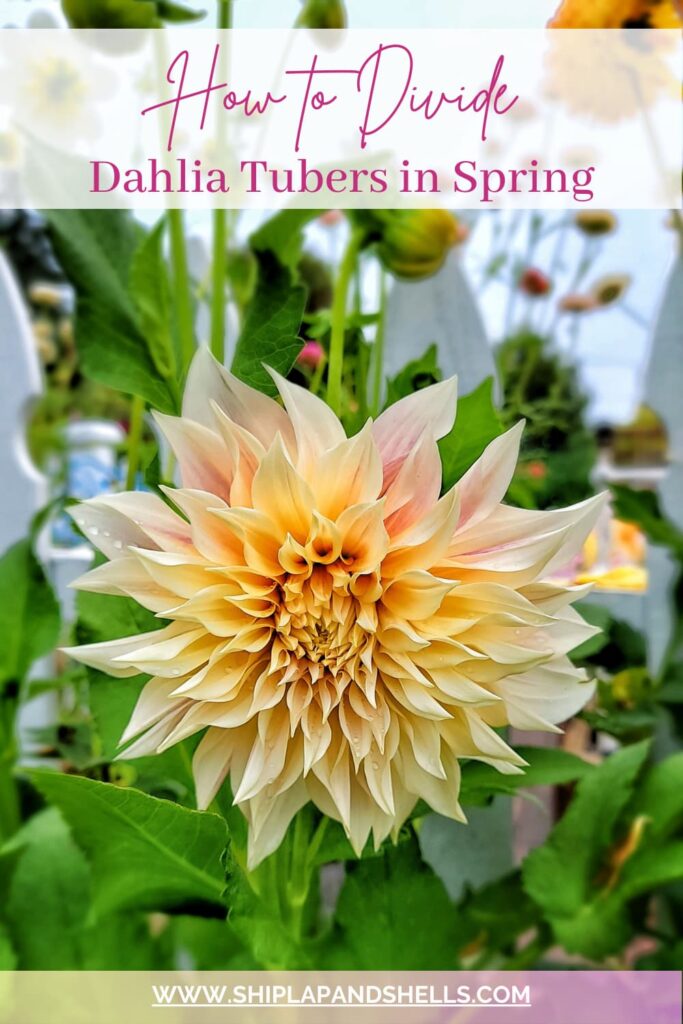
How to Divide Dahlia Tubers in the Spring

Did you know that dividing your dahlia tubers every year has many benefits? I’ll show you my process for dividing dahlia tubers in the spring and explain the advantages of splitting these dahlia root clumps annually.
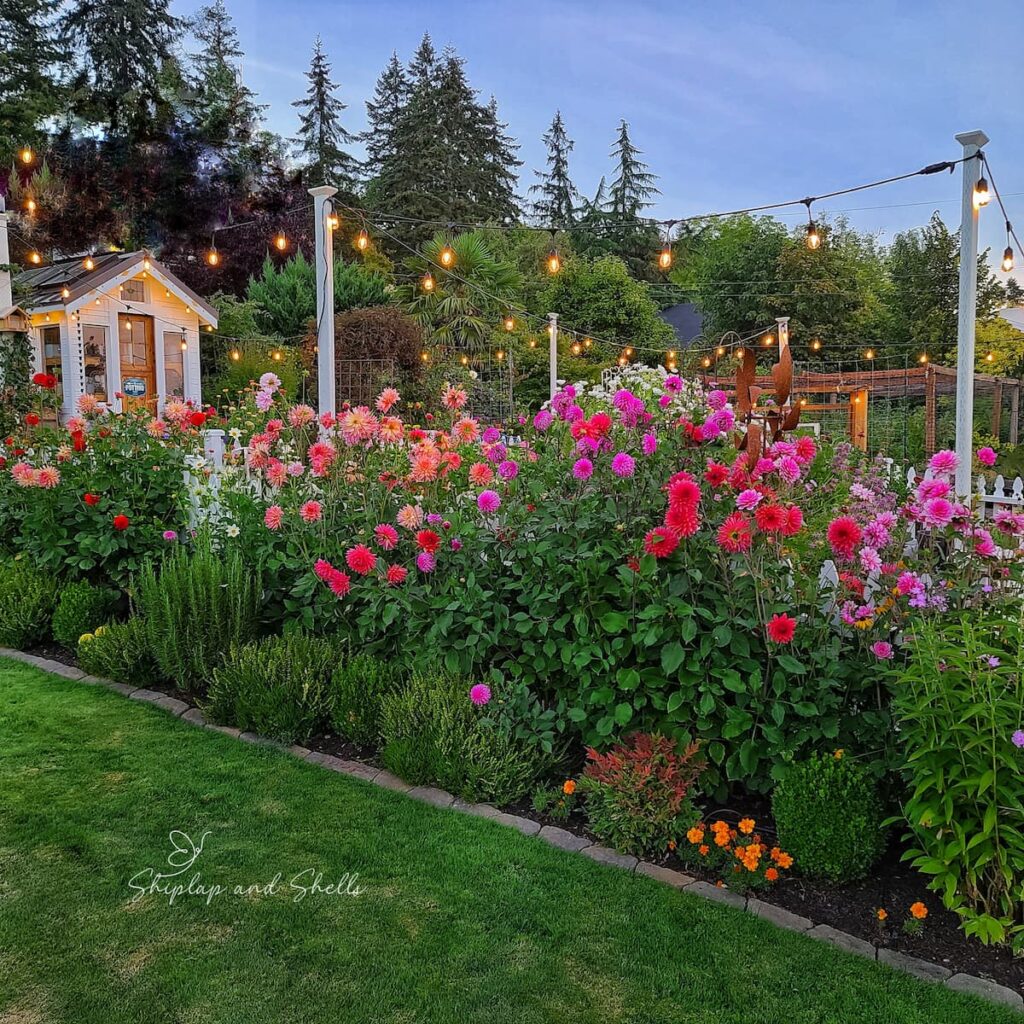
Dividing your dahlia bulbs every year is essential to get the most beautiful flowers and best results from your dahlia plants next year.
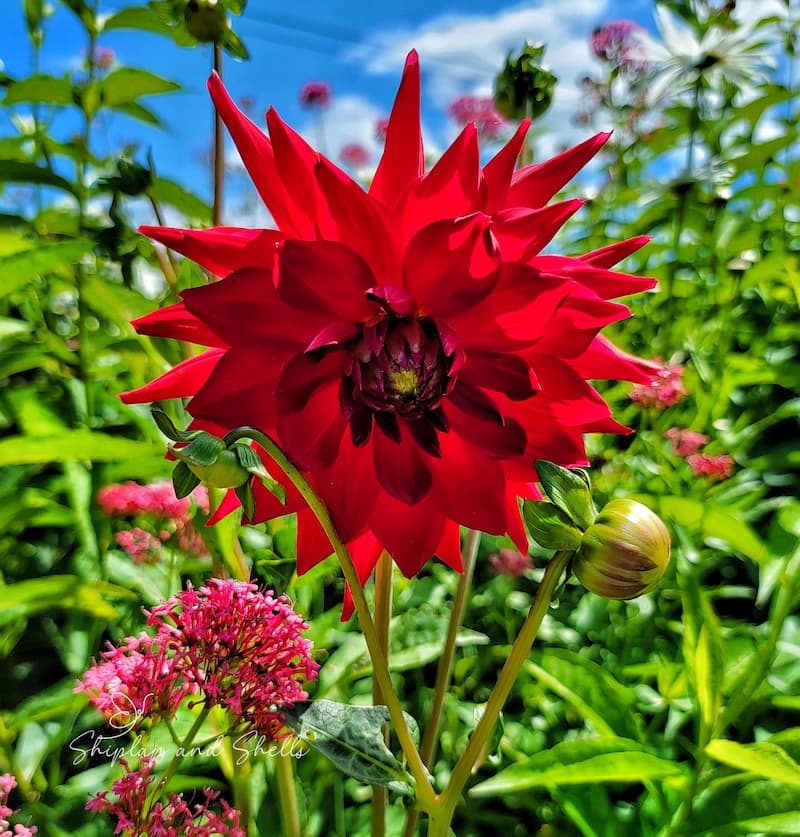
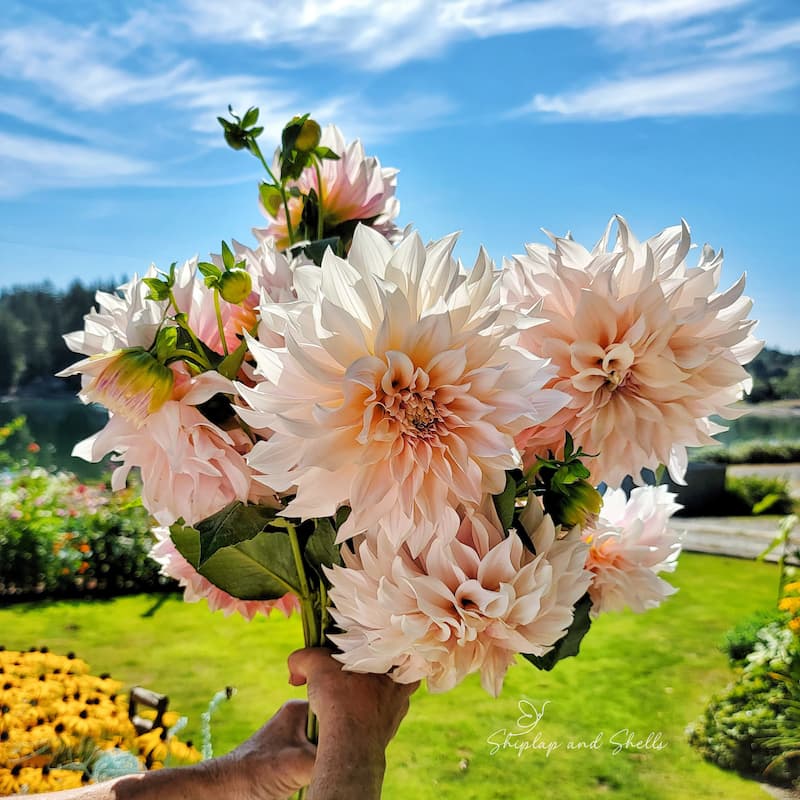
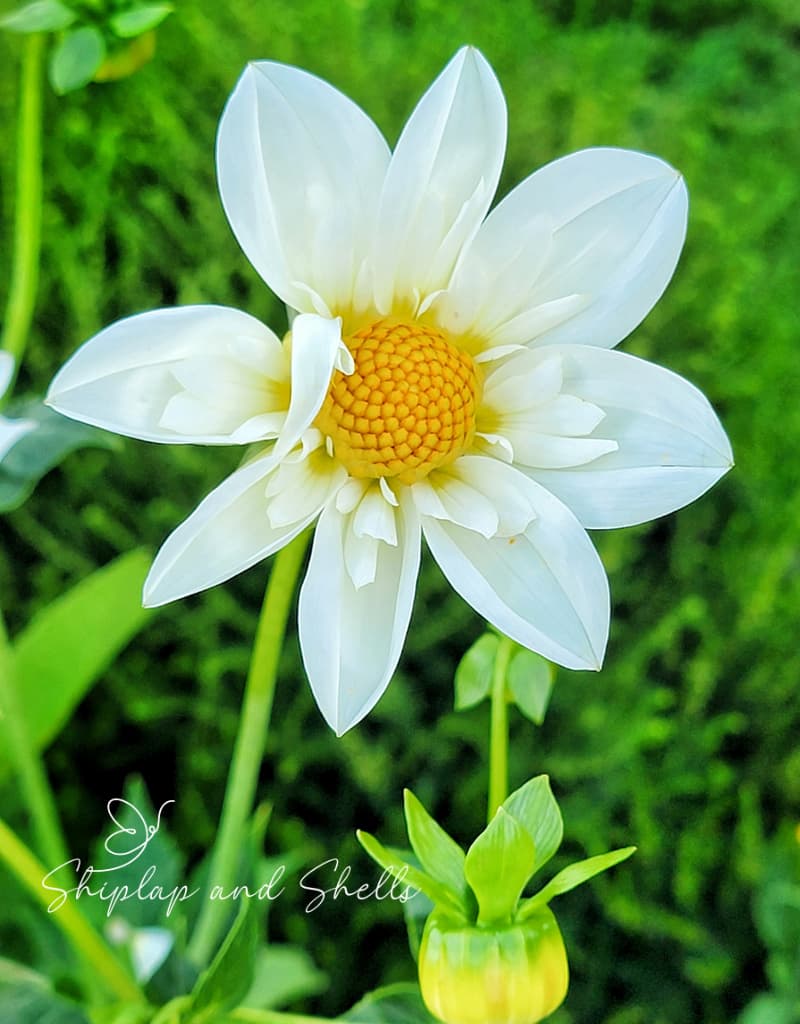
Dahlias are one of my favorite cut flowers in the garden. So many different varieties offer the most vibrant colors and unique shapes and sizes.
They may be late bloomers, but once they do, your dahlias will be the last flower in your garden until the first hard frost.
As an Amazon affiliate, I earn from qualifying purchases at no extra cost to you. My blog contains other affiliate links for your convenience as well. Click here to read my privacy policy.
I’m a self-taught hobby gardener, not a Master Gardener. Everything I share on my blog is my opinion and what worked for me.
What are Dahlia Tubers and Why Should You Divide Them?
Dahlias are perennial plants that grow from a tuberous root. The tuber stores nutrients and energy in the form of starch, which supports the plant’s growth early in the season until it can develop a sufficient root system.
Once the roots are established, the plant can absorb water and nutrients from the soil and continue growing.
They can be easily propagated by digging up and dividing the tubers. Here are several benefits to dividing your dahlia tubers.
Plant Health
Dividing dahlia tubers can help keep the plant healthy. As tubers age, they can become diseased or infected with pests.
By dividing dahlia clumps, you can remove any damaged or diseased portion of the tuber, helping to prevent disease and growing healthy tubers in your garden.
Improved Growth
Divided tubers can also help to improve plant growth. When dahlia tubers are left undivided for too long, they can become crowded, resulting in stunted growth and reduced flowering.
Dividing the tubers will provide more space for the plant to grow and develop.
Propagation
Splitting a tuber clump is an easy way to propagate new plants. Each tuber section can be planted separately to produce a new plant.
This can be a cost-effective way to increase your dahlia collection or to share your plants with others.
Size Control
Dividing dahlia tubers can also be useful for controlling the size of the plant.
If you have a large dahlia plant that takes up too much space in your garden, you can separate the tubers to create smaller plants.
Renewal
As dahlia plants age, they can become less productive and less vigorous. Dividing dahlia tubers can help renew older plants. Splitting and replanting them can rejuvenate the plant and promote new growth.
When to Divide Dahlia Tubers and If You Should Overwinter Them
This section shares the options for protecting your dahlia tubers from cold temperatures and excessive moisture during winter and more specifics about your hardiness zone.
Colder Climates: Hardiness Zones 3-7
If you live in colder climates (hardiness zones 3-7), dig up the dahlia tubers from your garden beds in the late summer or fall before the season’s first freeze. If left in the ground, the tubers may rot and freeze in the winter.
Even though I think it’s easier to find viable tubers in the spring, you can also divide the dahlia roots before storing them for the winter.
Warmer Climates: Hardiness Zones 8-11
In warmer, milder climates (hardiness zones 8-11), you have two choices to make when it comes to protecting your tubers from the harsh winter temperatures:
I am in hardiness zone 8b, so I keep my dahlia tubers in the ground under a layer of mulch that protects them throughout the winter. But that’s because I’m lazy. I would still recommend overwintering your dahlias to prevent damage to your tubers.
I’ve tested both methods, and the benefits of leaving the dahlia tubers in my garden beds outweighed the risks for me. It was so much easier to wait to dig and divide the tubers in the spring.
Updated: 3/12/2024: This was the first year we experienced several days in a row with temperatures hitting a low of 18°F in our zone of 8b. I will update this post again when I take my tubers out in April and let you know how the tubers did in the ground with these extreme temperatures.
Dividing Dahlias in the Spring
Consider your last frost date if you’re uncertain when you should divide dahlia bulbs. Information about USDA hardiness zones can be found here.
The best time to divide dahlia tubers is in the early spring or when the risk of a hard frost has passed. This is when the eyes on the tuber are more visible. Sometimes, if the timing is right, you will even see sprouts where the tuber eyes are, making the process much easier.
It’s also a good time to discard any diseased or rotten tubers or diseased tubers that have not survived the winter.
How to Divide Dahlia Tubers in Spring
In this section, you’ll learn which supplies you’ll need to divide your dahlia tubers. I’ll also share the process of digging up, dividing, and planting your dahlia bulbs this spring.
Garden Supplies and Tools
Check out my favorite garden supplies and tools for the growing season. Whether you’re looking for potting soil or deer repellent, you’ll find what I use in my own garden.
Supplies You Will Need for Dividing Dahlia Tubers
You will need the right cutting tools to divide dahlia tubers, such as clean pruners or loppers, and a garden fork, shovel, or trowel. You’ll also need a tarp, buckets, and possibly a wheelbarrow.
Be sure to disinfect your gardening tools between every clump to prevent the spread of diseases such as dahlia leafy gall and dahlia crown gall.
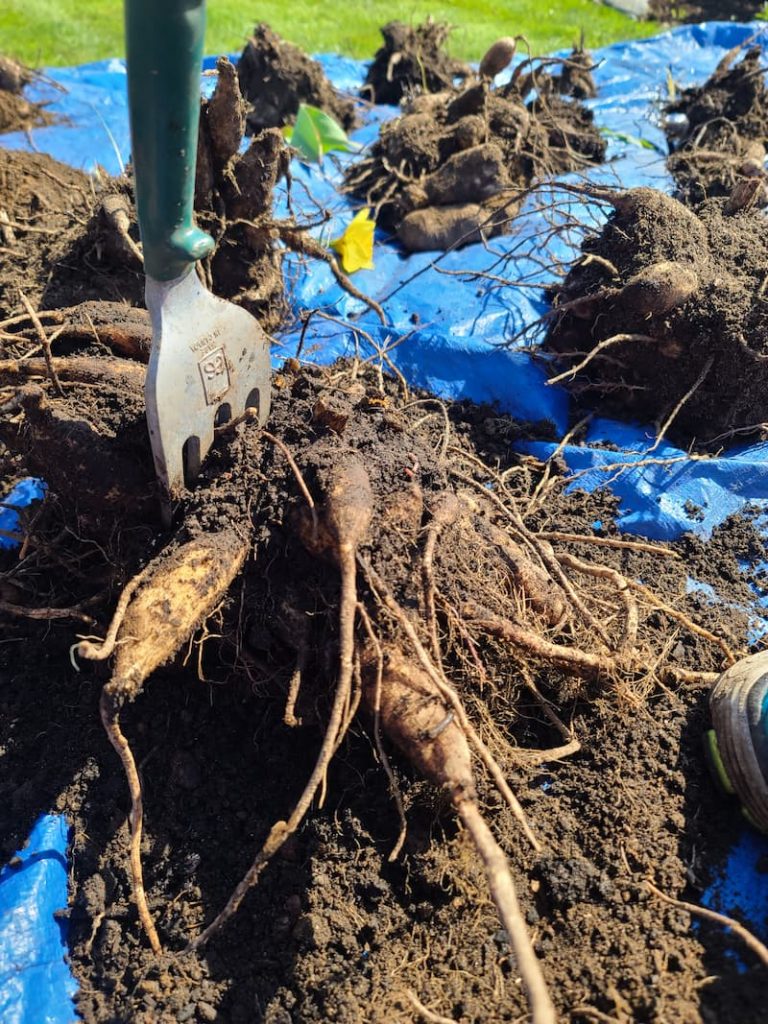
Digging Up Dahlia Tubers
This section is directed to those gardeners who still have their dahlias in the ground. If you overwintered your dahlia tubers in storage, you’ll want to skip this and move on to dividing the tubers.
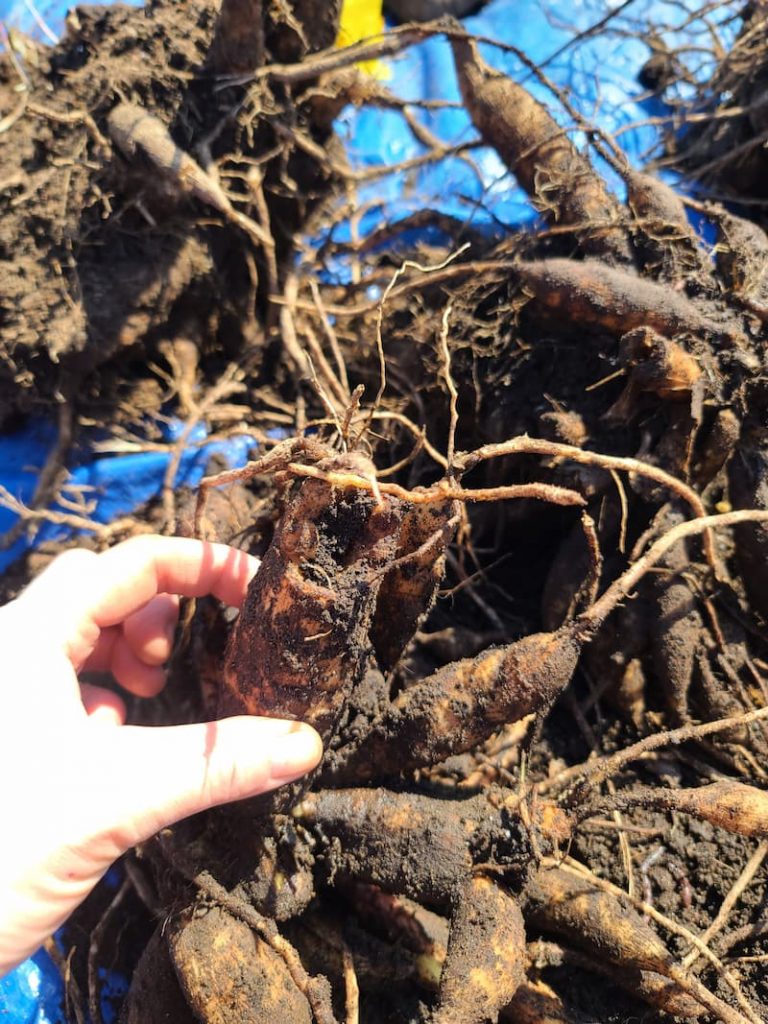
When digging the dahlia tubers out of the ground, the most important thing is to carefully lift the entire clump of roots to prevent any damage. If it breaks apart, dahlia tubers will send up more eyes from where the original broke off.
Use a pitchfork or shovel to carefully dig around the large clump and pull up with last year’s stalk if possible. Using a garden fork over a shovel is easier on the dahlia tubers as it causes less damage.
If you’re having trouble lifting the dahlia clump out of the ground, rock the pitchfork back and forth until you can.

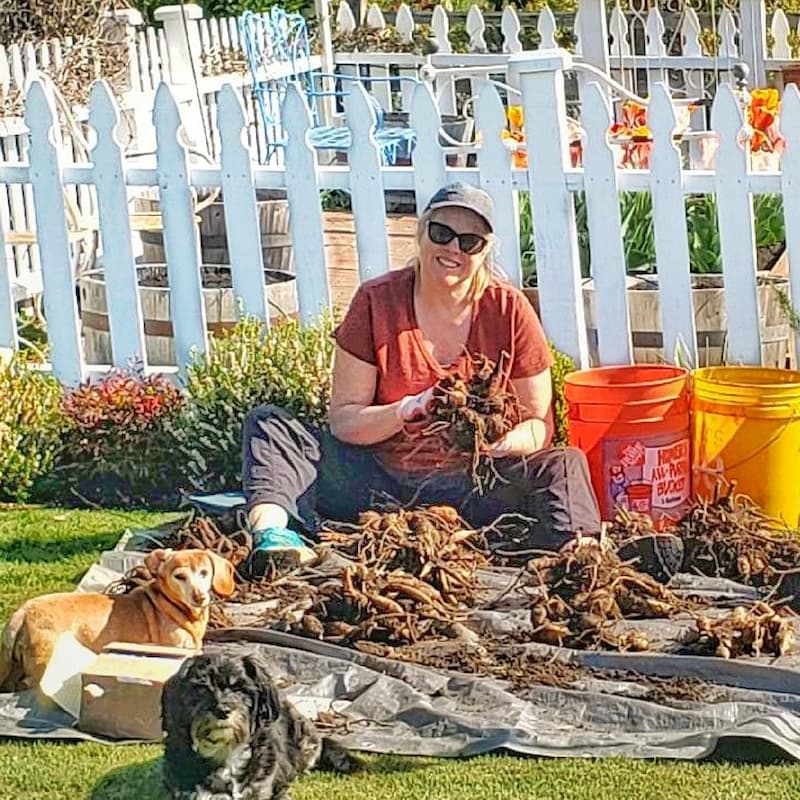
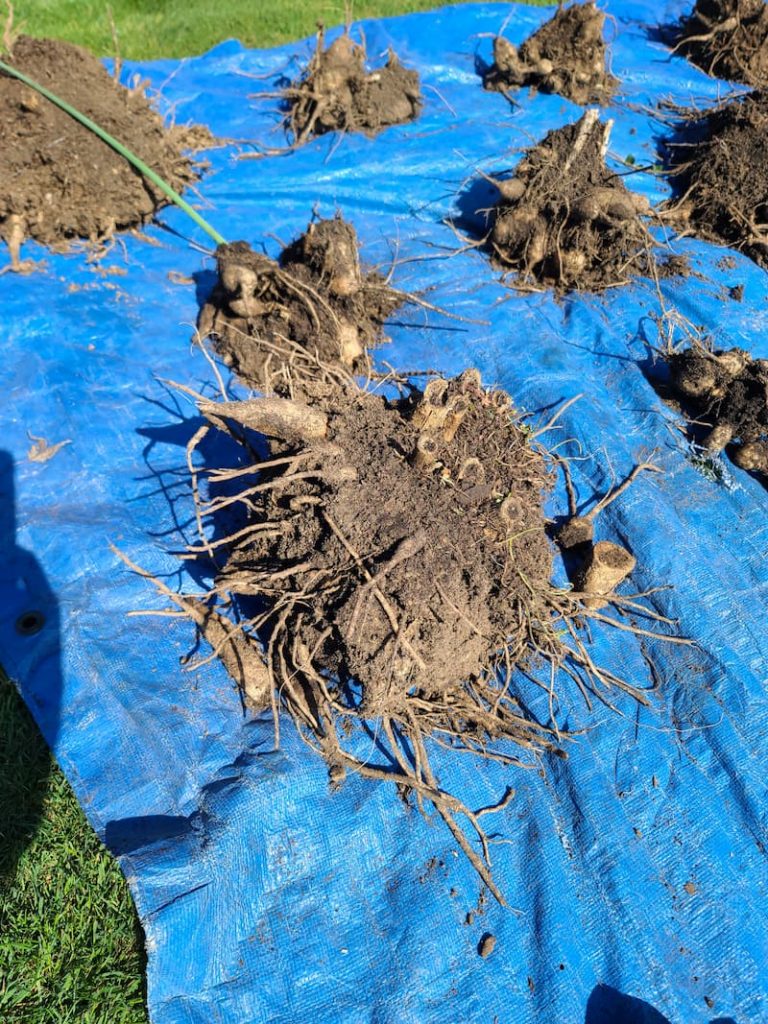
How to Divide Large Clumps of Dahlia Tubers
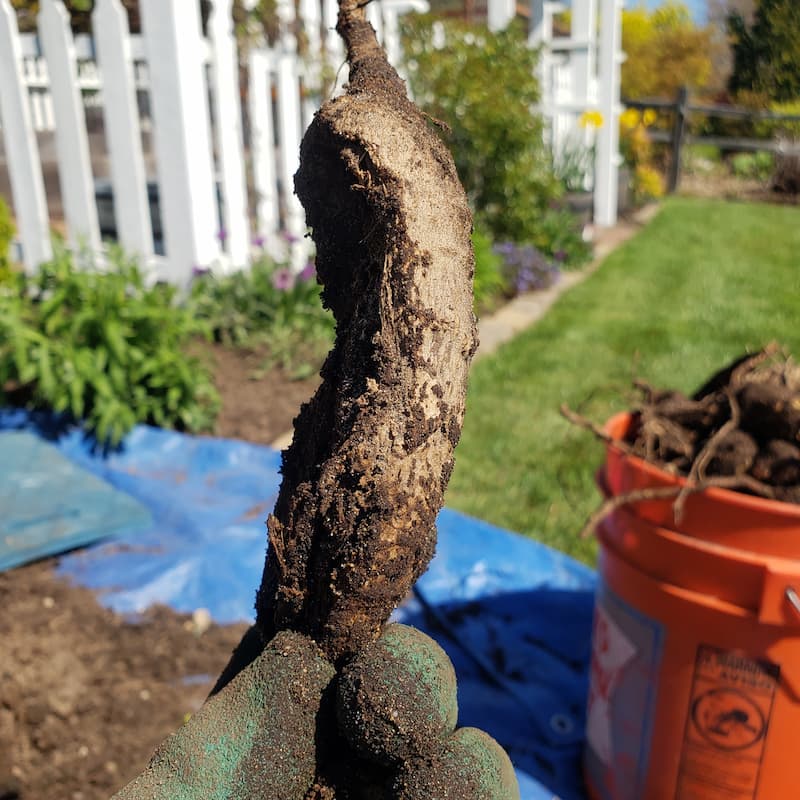
Now that the dahlia clumps are out of the ground, gently shake off any excess dirt from the tubers, leaving some dirt to help retain moisture.
When cutting your root clumps, use sharp, clean loppers, pruners, or a knife. Between each clump division, disinfect these tools by dipping them in a bleach/water solution to prevent the spread of diseases to the tubers.
Dividing the clumps in half will make them easier to work with. You can also divide the sections even smaller or into individual tubers.
When splitting the tuber clump, you don’t have to try to save the mother tuber since you’ll be cutting it out of the dahlia clump anyway.
The dahlia tuber stem is a source of rot and spreading insects, so remove as much of it as possible. Remove as much of the stem as possible from the dahlia tuber.
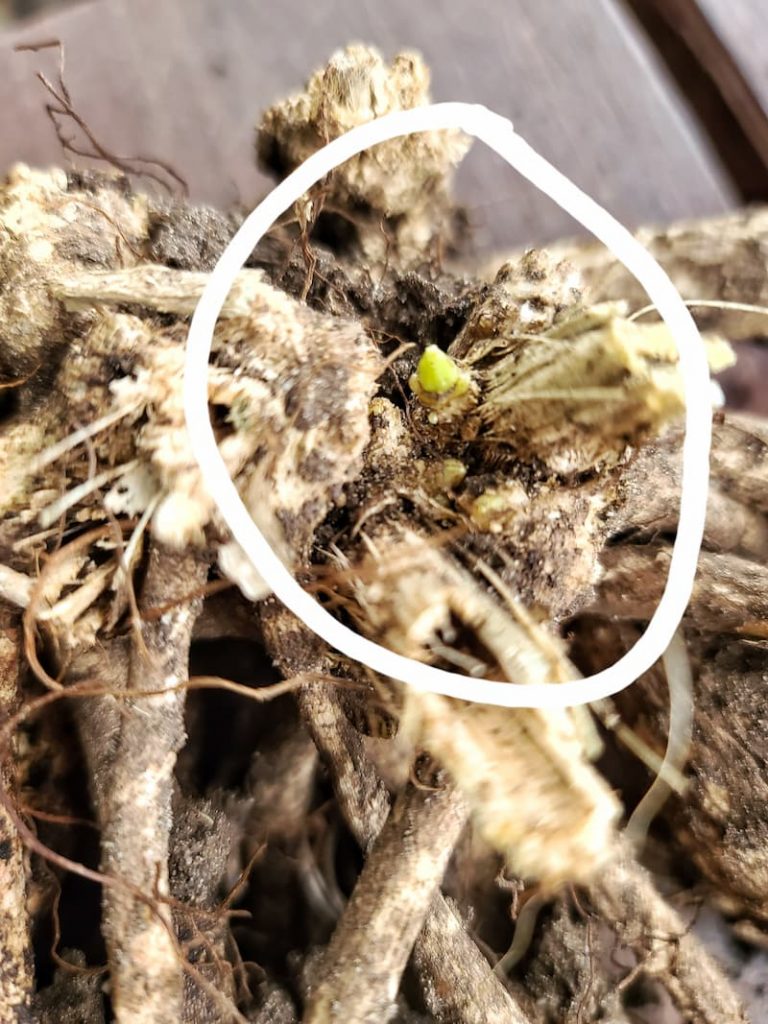
Viable tubers must have an eye. Before an eye sprouts from a tuber, it will look more like a tiny bump. Eyes are basically where the stem comes from the following year.
Examine each dahlia tuber to see how they made it through the winter. Cut these tubers out of the root clump:
Planting Dahlia Tubers
Dig a hole 4-6 inches deep and lay the tuber horizontally on its side, with the eye facing up. Space the tubers between 12-18 inches. Fill the hole with soil and press down to remove any air bubbles.
Don’t water your newly planted tubers until you see the first green shoots coming up through the ground. Watering before any new growth is visible can cause the tubers to rot.
Consistently water your dahlia plants through the growing season. After establishing your dahlias, you should water your plants deeply 2-3 times a week for at least 30 minutes. I have a drip system that works well.
Slugs and snails LOVE dahlias, so as soon as you see new growth popping out of the ground, you must use some slug prevention. I use Sluggo, which is safe for pets. I can’t tell you how often I have had slugs eat the plant as it was just starting.
For more specific information on growing and caring for dahlias, visit my blog post Dahlia Planting Guide for Beginners.
Common Questions About Dividing Dahlia Tubers
What Happens if You Don’t Divide Dahlias?
The dahlia clump of tubers will become too large. The dahlia’s energy will be spread too thin among too many stems, causing the plant to produce fewer flowers with less vibrant blooms.
How Often Should You Divide Dahlia Tubers?
In general, dahlias should be divided every two to three years, depending on the size of the plant and the growing conditions.
‘Growing a Cut Flower Garden’ Series
Learn about the ins and outs of growing a cut flower garden this year. Click the button below to be taken to the entire series of blog posts and choose what is interesting to you.

Dividing dahlia tubers every year is the best way to ensure the most beautiful flowers and keep your dahlia plants healthy.
If you have any questions or additional suggestions, please share them in the comments below. And be sure to share this blog post link with anyone who may find these gardening tips useful.
Until next time,
Happy Gardening!
Follow Me for More Inspiration
Shop my Amazon Storefront, LTK sources, and favorite home decor, garden, and lifestyle products. When you purchase from one of my links, I earn a small commission, which helps me continue sharing all the content you expect on my blog.
Be sure to follow me on Pinterest, Instagram, Facebook, TikTok and LIKEtoKNOW.it. Do you like gardening? Join my Facebook Gardening Tips & Tricks group.
More Garden Posts for You

More Garden Inspiration
B sure to visit my friends to see what they’re up to in their gardens. It’s always fun to see what’s happening in other parts of the country.
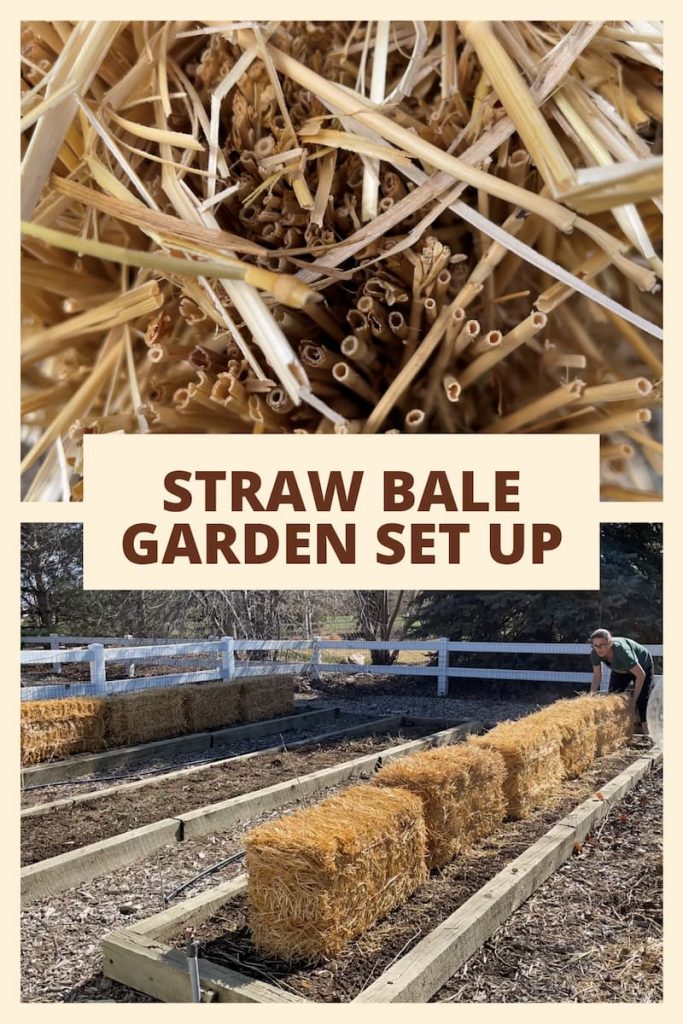
Chas’ Crazy Creations | Gardening with Straw Bales Set Up
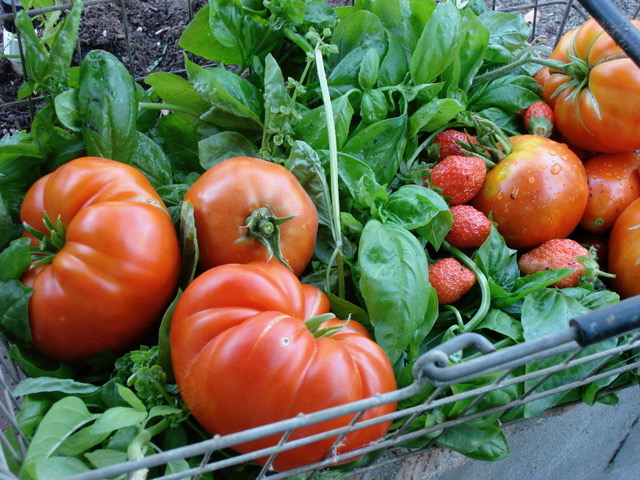
Life at Bella Terra | May Gardening in 9B
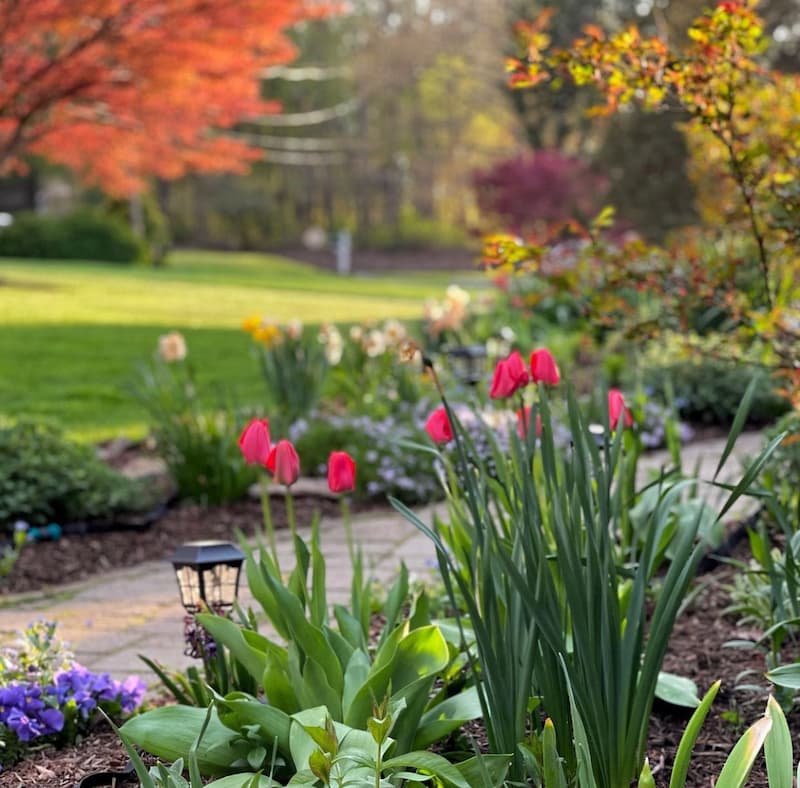
Stacy Ling Bricks ‘n Blooms | Early Spring in the Garden Tour


So happy to have found you. Thank you for the info. You’ve encouraged me to get to work on that overly large dahlia clump that I’ve been avoiding for way too long!
Hi there! I’m so happy I found your page! I’m also in 8b.
When you say put them in a shed to dry out before replanting in Spring, do you mean they can literally sit on a shelf in my shed and dry out for a few days, or do I need to put them in something to dry out? Thank you!!
Hi Nikki! I’m happy you found me too. I always love meeting a fellow 8b zone gardener! So there are a couple of things you can do. If you pull out your dahlia tubers and you can see the eyes or sprouts, then you really don’t need to rinse the tubers off. Just remove the excess dirt. If you are unable to see any eyes, then that’s when I would rinse them and set them aside for a few days before replanting so they don’t rot when you put them back in the ground. I just put them in a tray with drainage if it’s going to only be for a couple of days. Let me know if you have any other questions and thank you for following along. Happy Gardening!
Hi Kim,
I’m in zone 8b.
Washington Beach my dahlias love it here!
1- Is the 2nd week of April a good time to dig and divide?
2- Can I cut and put back in the hole immediately?
3- Should I add fertilizer to the hole?
Thanks so much,
Hi Beth! Yes, the second week is a good time and yes, I put them right back in if I can see the tuber eye. If you are planning on using fertilizer when you plant your dahlias, I would work the fertilizer into the soil about 2 weeks before you are going to plant your dahlias. Then it has time to break down into the soil and not burn the tender feeder roots of the dahlia tuber. You can also wait and use fertilizer when planting, but work it into the top of the soil after you have planted the dahlia tuber.
Hi Kim!
Great information! I have one question I’m hoping you can answer. After washing off my clumps off dahlias, I’m not able to tell exactly where the eyes are on some tubers. What do you suggest?
Thank you so much for sharing your knowledge! Can’t wait to read more!
Maria
Kim,
Such helpful information. You make it sounds so easy. I might even try growing some.
You should definitely try to grow a few and see how you like them Rachel.
Kim, this was so interesting. I only have grown Dahlias in container gardens. I am in Zone 7A. Your Dahlias are so beautiful. I cannot wait to see more of your flower gardens.
I’m getting excited to see more flowers start blooming myself! I think dahlias are beautiful in container gardens. Thanks for visiting Tammy!
Can you plant the divided tubers immediately or should you wait for it to callus? Thanks!!
If you wash off the tubers before dividing so you can see the eyes you should store them in a potting shed or garage for a few days to allow them to dry before placing them back in the ground. There are times that I can see the sprouts already so I don’t need to wash them and I just put them back into the ground with no problems.
I can’t wait to see your dahlias this year! I just planted a bunch today around the new garden. I hope they all do well. xo
Wow, thank you so much for sharing how to do this! I’m sharing with my mom as I know she does this in her garden and will appreciate your awesome tutorial. Thanks for sharing and wonderful hopping with you.
Kim, I love dahlias but I thought I couldn’t grow them in Phoenix. I will need to research that as I am zone 9B and you stated they do grow in 8-11. Hmmm. I planted them one year and nothing came up so I’m guessing I did it wrong. I would LOVE to grow these. Great tutorial on dividing them. Now you have gotten me excited about this! Happy hopping with you.