
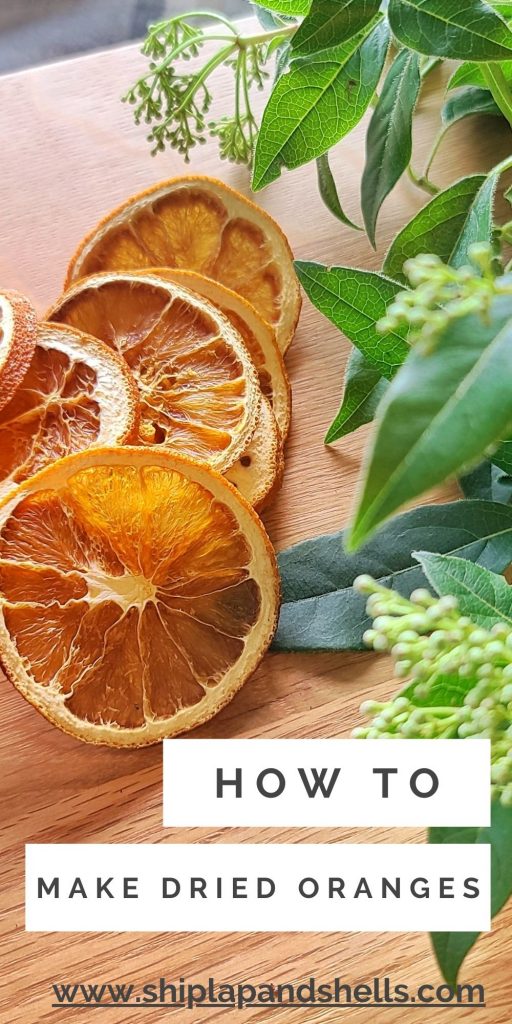
How to Dry Orange Slices for Your Fall and Winter Holiday DIY Projects

Add natural elements such as dried orange slices to your holiday projects with this easy DIY home decor project. Step-by-step tutorial below.
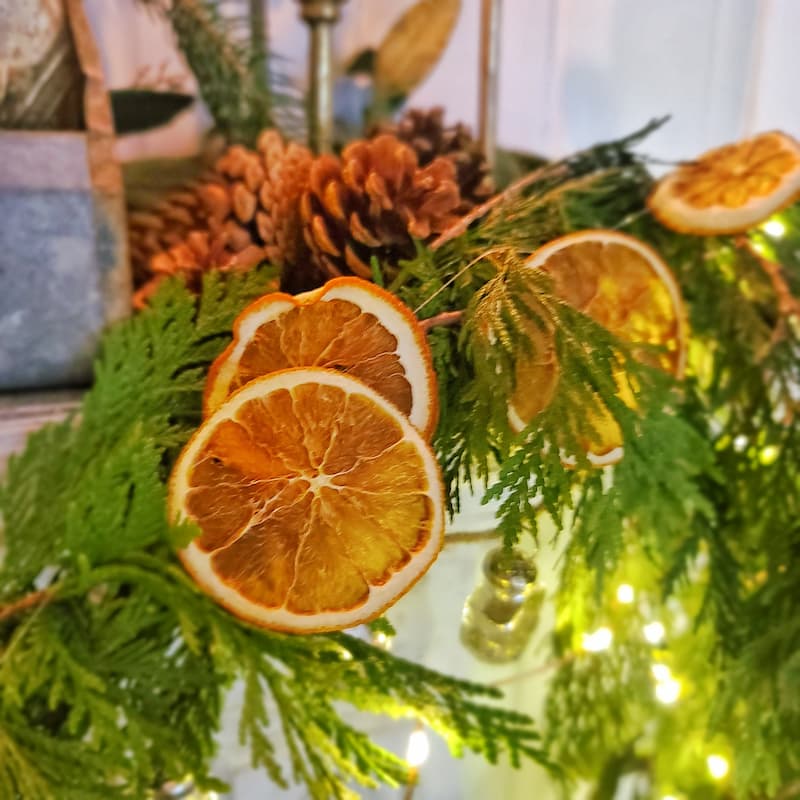
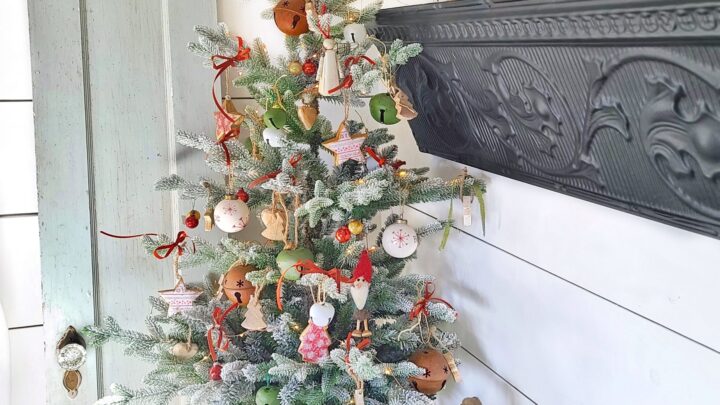
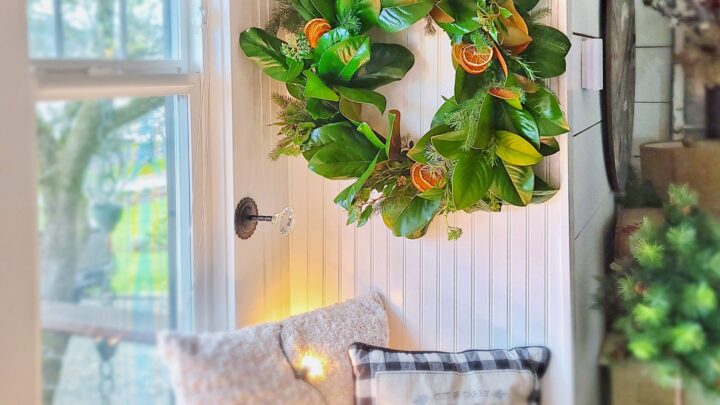
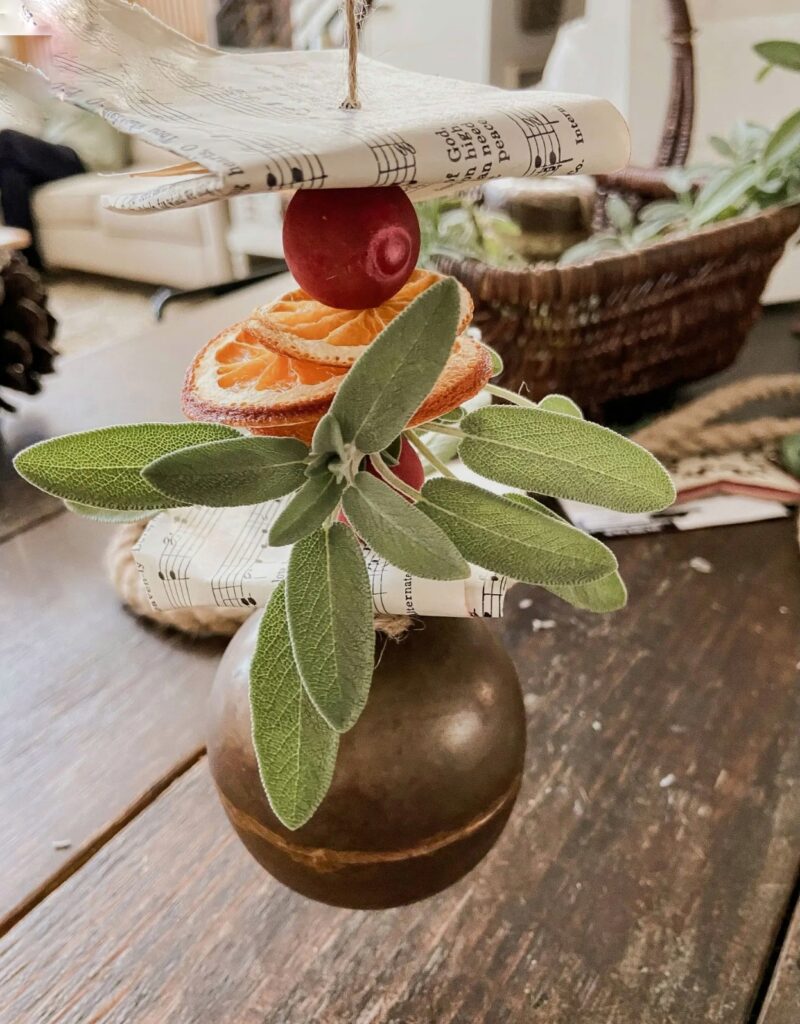
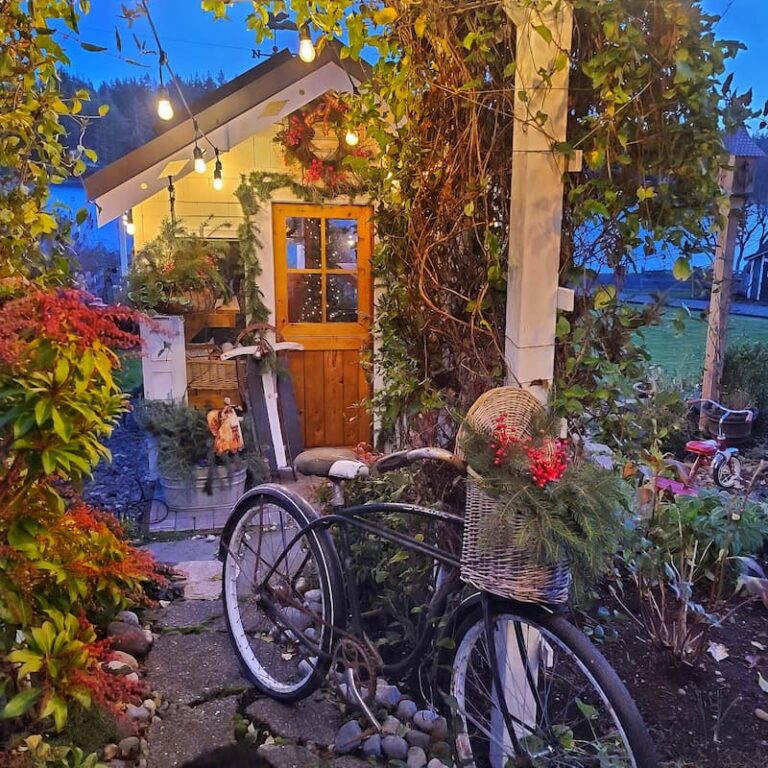
Adding dried oranges to holiday decor is so easy and adds interest.
After researching several different ways to dry oranges, I was able to modify some processes and find a technique that worked for me.
As an Amazon affiliate, I earn from qualifying purchases at no extra cost to you. My blog contains other affiliate links as well for your convenience. Click here to read my privacy policy.
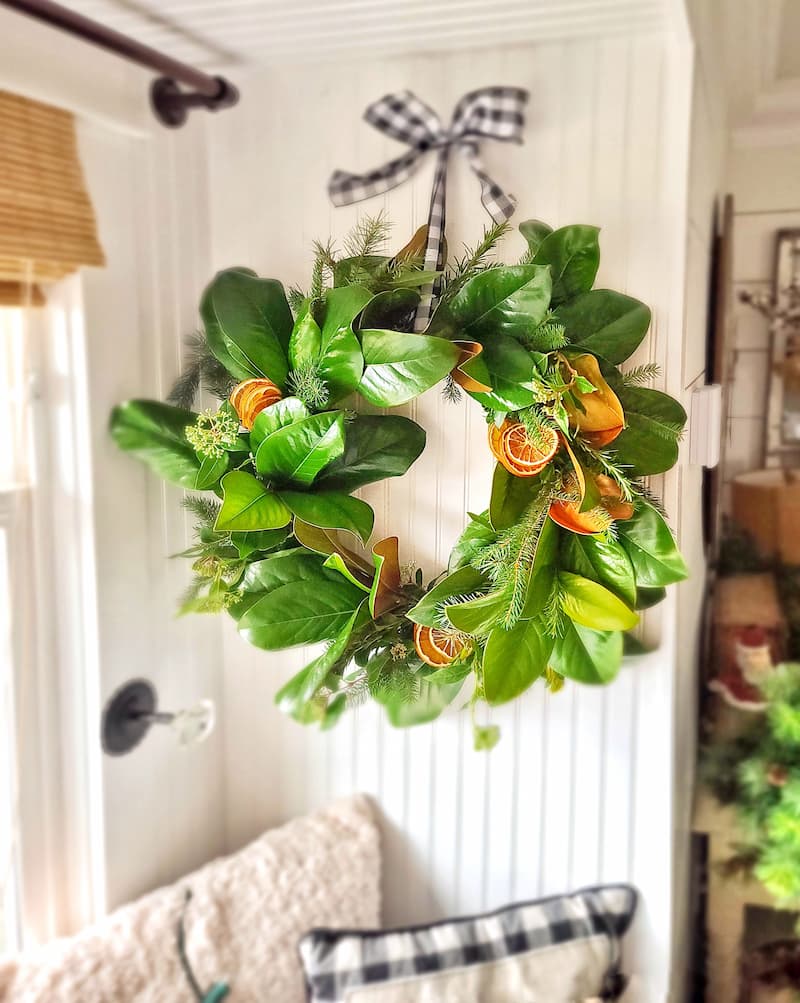
How Can you Use Dried Oranges?
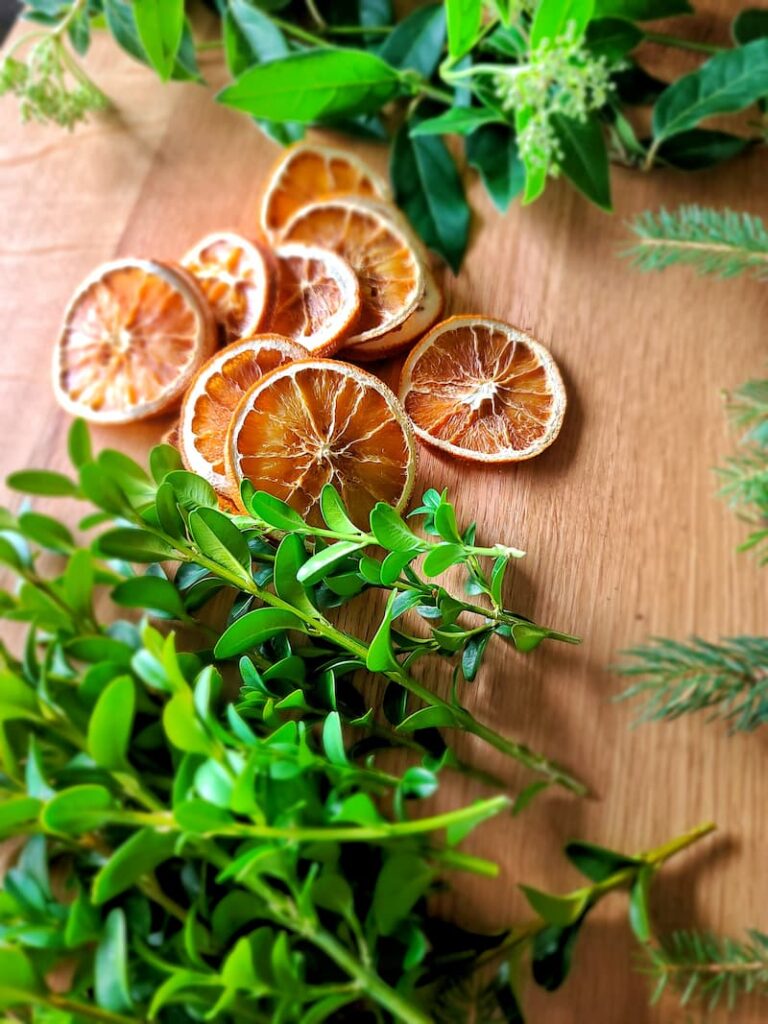
Suggested Materials to Make Dried Orange Slices
Steps for Making Dried Orange Slices
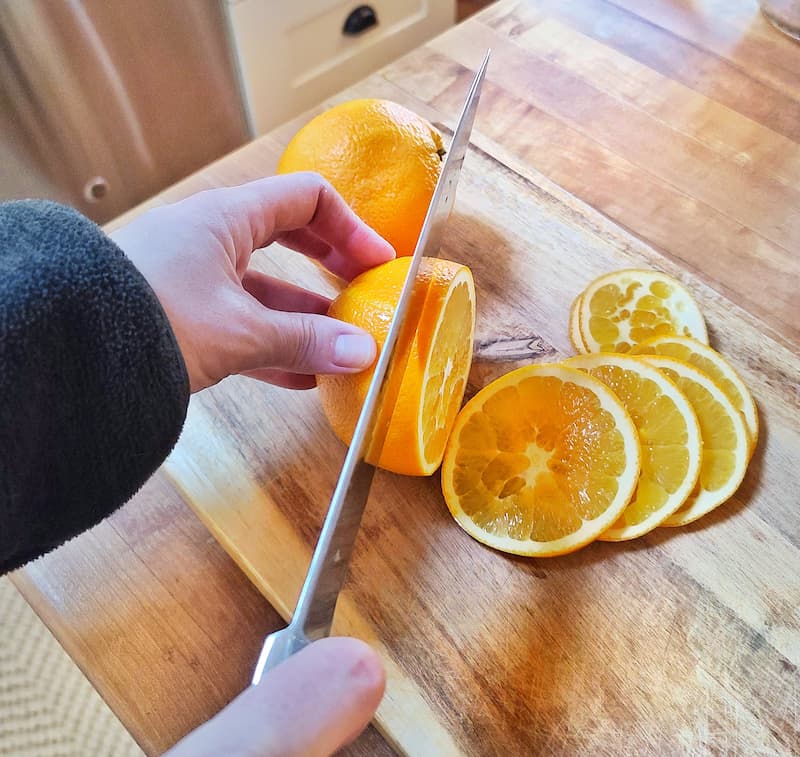
Step 1 : Slice Oranges
Slice oranges 1/8 to 1/4 inches. Remember, the thinner the slices, the more quickly they will dry.
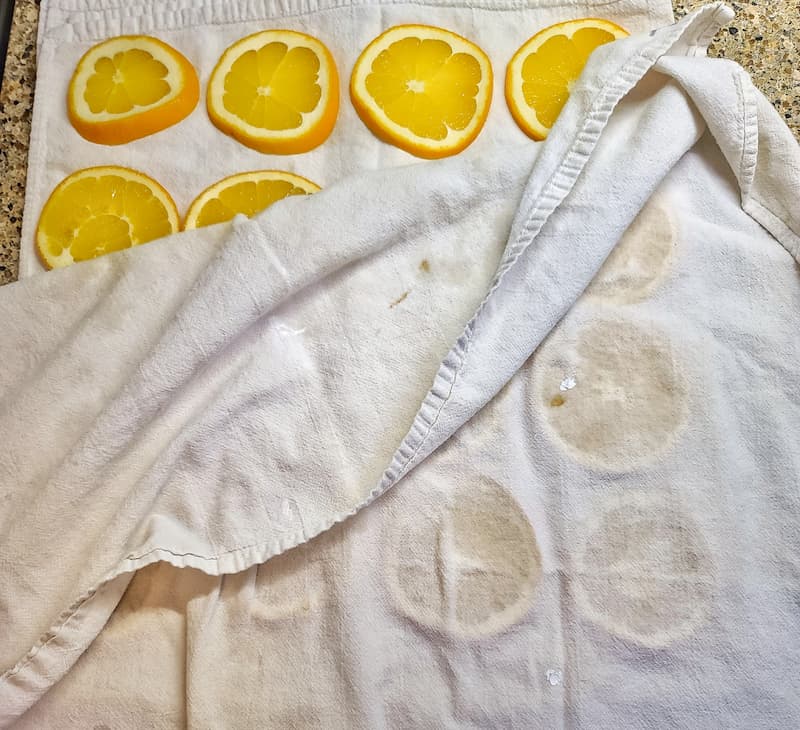
Step 2: Blot Oranges
Use a dishtowel to blot the excess juice out of the oranges.

Step 3: Place on the Baking Sheet
Line baking sheets with parchment paper and place the orange slices evenly on the sheet.
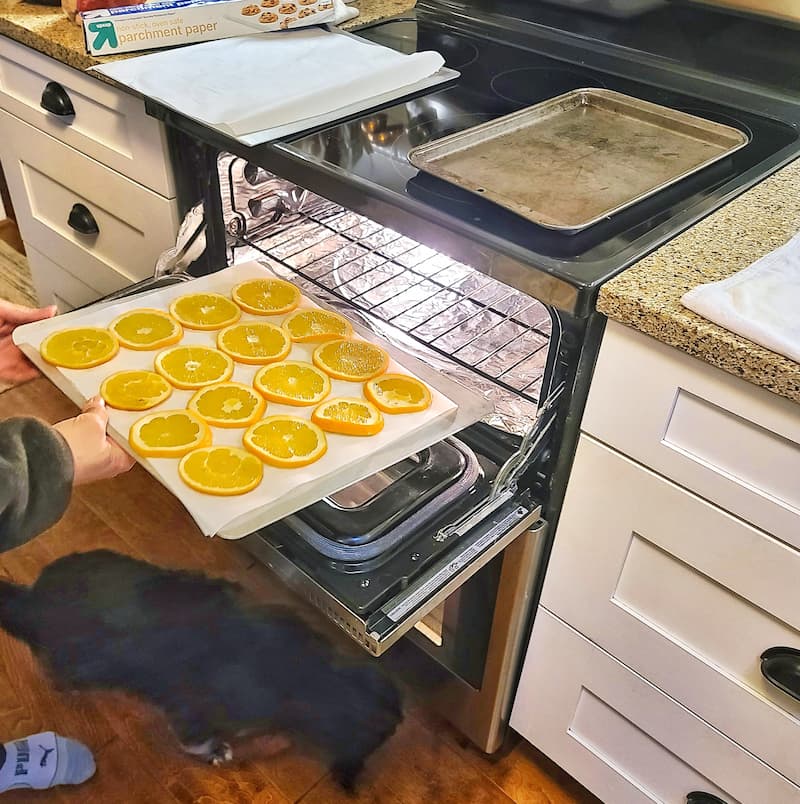
Step 4: Place in the Oven
Place the baking sheet in the oven at 200 degrees Fahrenheit for 3 hours, turning the orange slices every 30 minutes.

Step 5: Turn Off Oven
Turn off the oven and leave the dried orange slices in the oven until it has cooled. Remove the slices from the oven and place them on wire cooling racks. Leave overnight to continue drying.
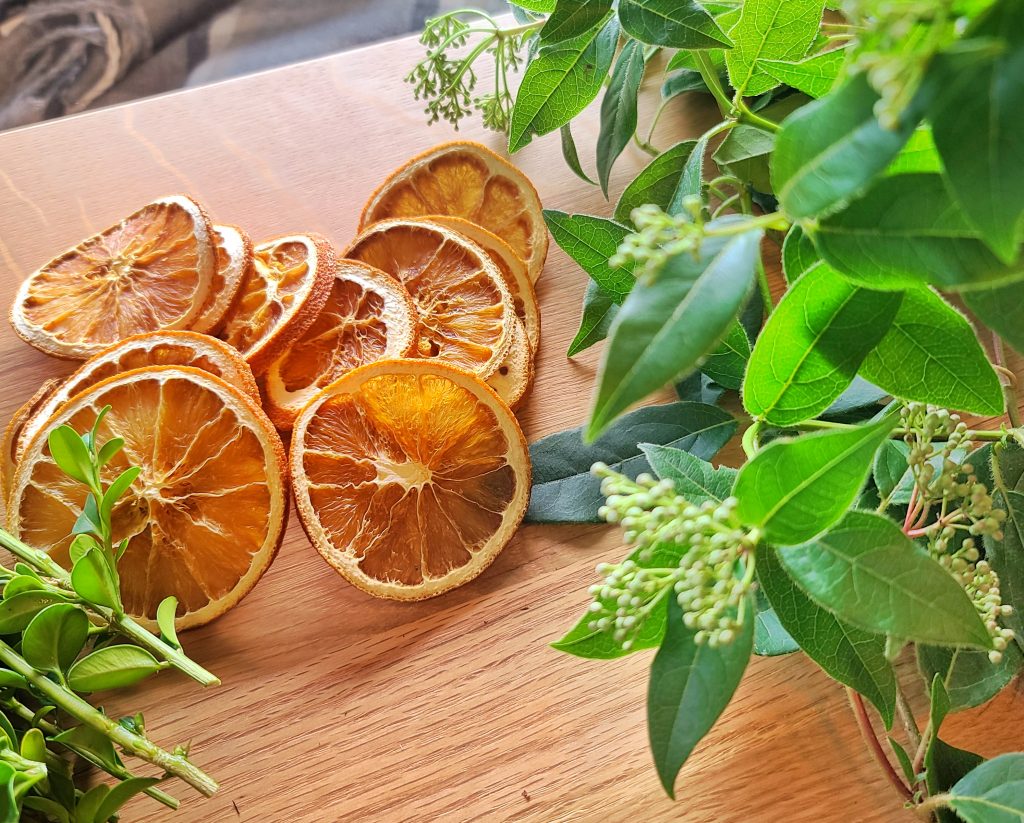
Drying oranges are such an easy and affordable DIY project and can be used for so many holiday projects. I was pleasantly surprised with how they turned out and how beautiful they look wherever you use them.
Until next time,
Happy Creating!
Follow Me for More Inspiration
Shop my Amazon Storefront, my LTK sources, and my favorite home decor, garden, and lifestyle products. When you purchase from one of my links, I earn a small commission which helps me to continue sharing all the content you expect on my blog.
Be sure to follow me on Pinterest, Instagram, Facebook, TikTok and LIKEtoKNOW.it. Do you like gardening? Join my Facebook Gardening Tips & Tricks group.

My friend Rachel of The Ponds Farmhouse made the most creative garland with…you guessed it, dried oranges. You need to check out her blog post.
Hi Kim, I love oranges and just finished making some for this Christmas. I’m going to share this post in my next upcoming post on the blog! Happy Holidays!