
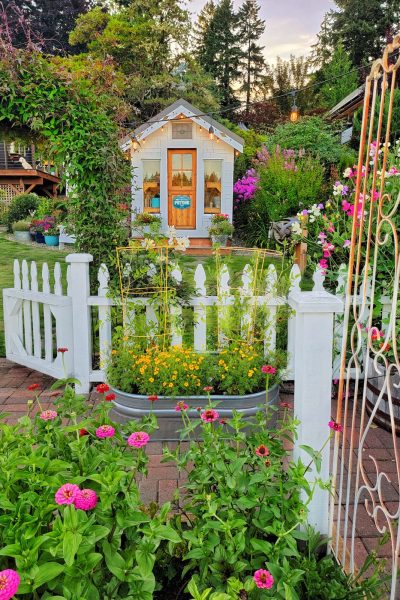
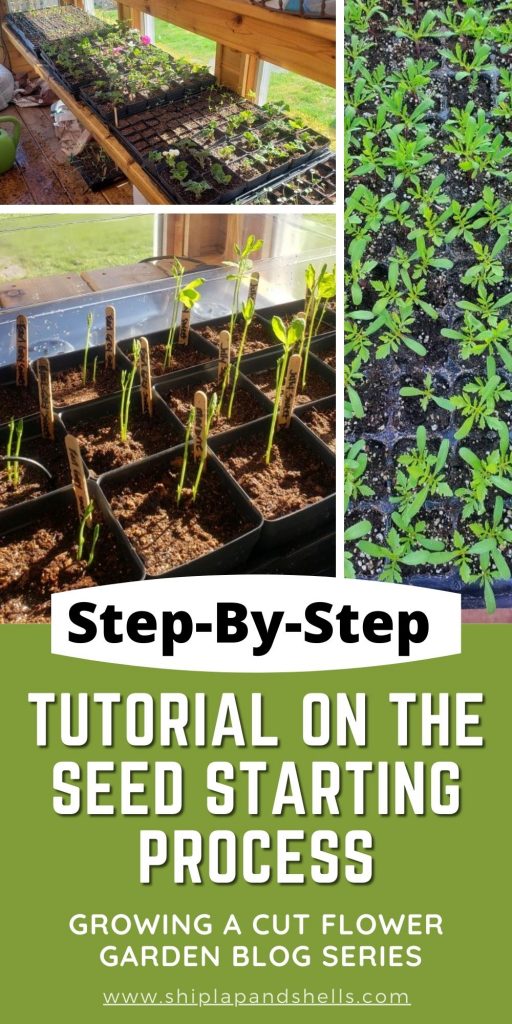
Step-by-Step Seed Starting Process Tutorial for Your Cut Flower Garden
Are you thinking about growing flowers by seed? Here’s a step-by-step seed-starting tutorial for your cut flower garden.
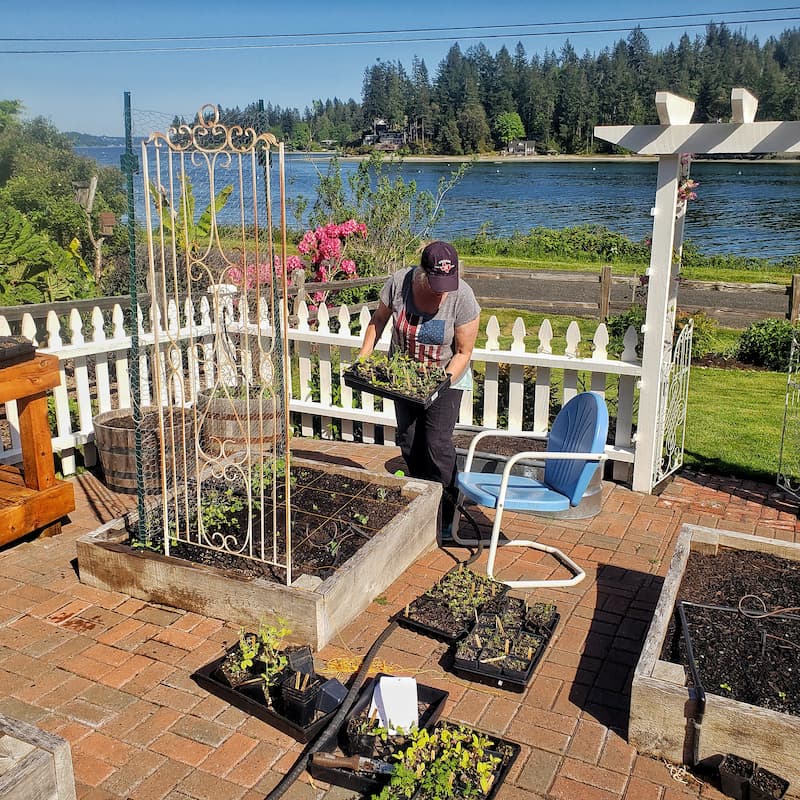
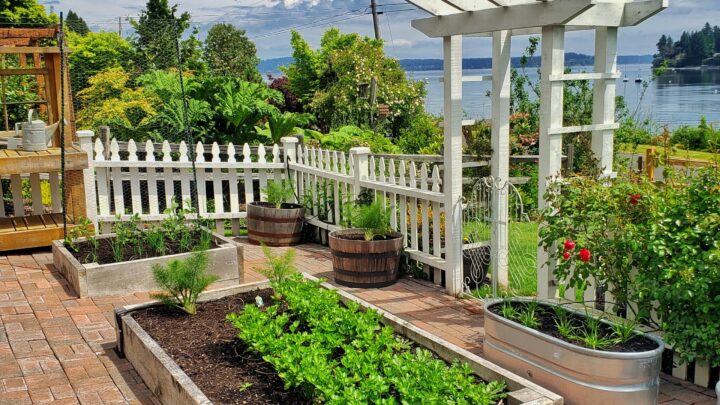
It’s getting to be that time again! Seed sowing time! I’ve been sharing the different aspects of growing a cut flower garden. But I thought it would be helpful for those gardeners who are just starting this process if I shared a step-by-step tutorial on how I sow my seeds.
As an Amazon affiliate, I earn from qualifying purchases at no extra cost to you. My blog contains other affiliate links for your convenience as well. Click here to read my privacy policy.
I’m a self-taught hobby gardener, not a Master Gardener. So, everything I share with you on my blog is my personal opinion and things that worked for me along the way.
Steps For Seed Sowing
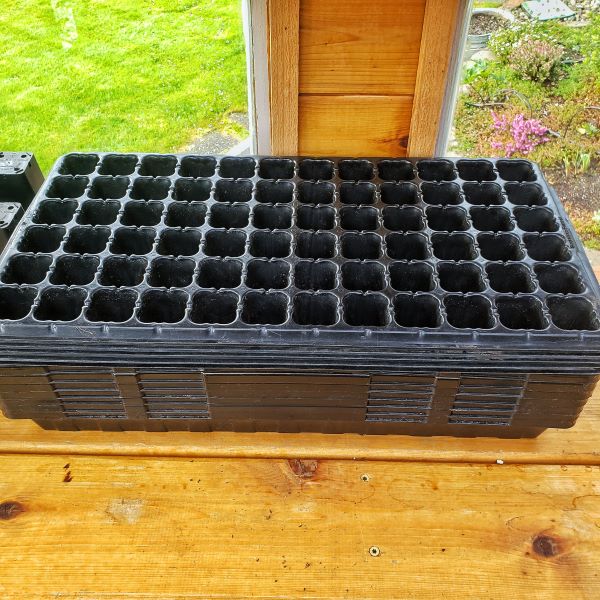
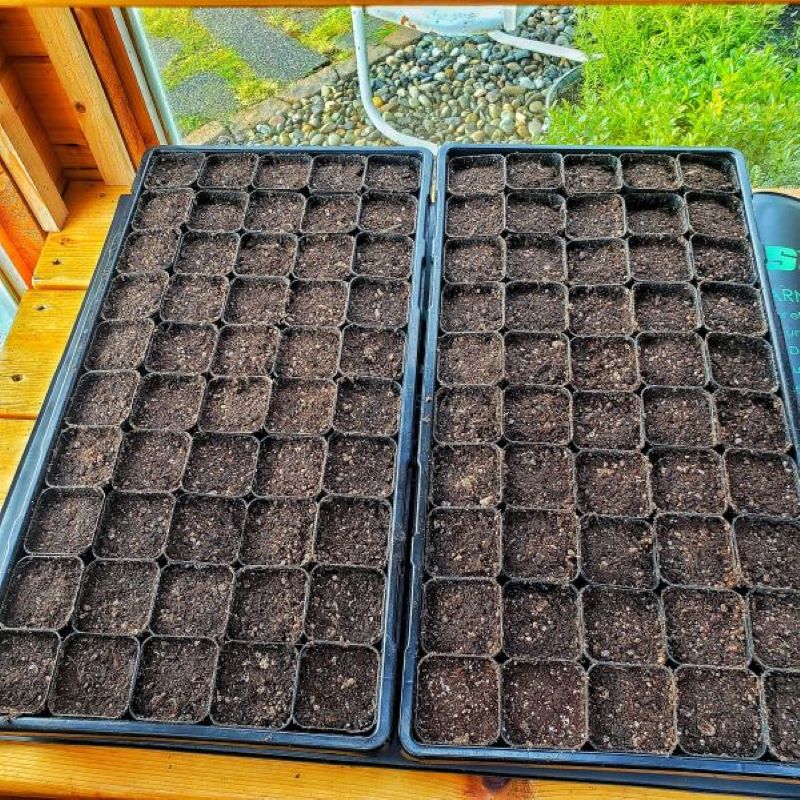
Choose the Right Container
Seed-starting containers should be clean and have drainage holes. For several container options, you can read my blog post Supplies Needed for Seed Starting.
More information regarding how to clean your used containers can be found in my post Seed Starting 101 – Growing a Cut Flower Garden Series. I use cell trays and plastic pots for my seed containers.
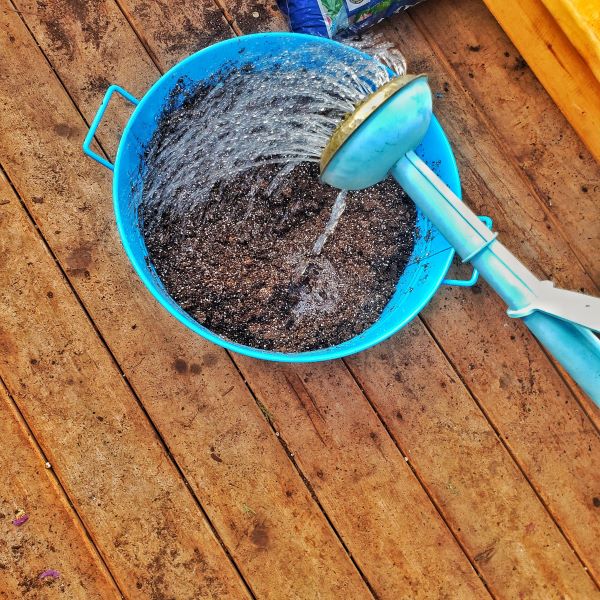
Use Moist Quality Soil
Use a quality seed starter potting mix. Moisten the soil until it’s thoroughly damp but not soaking wet.
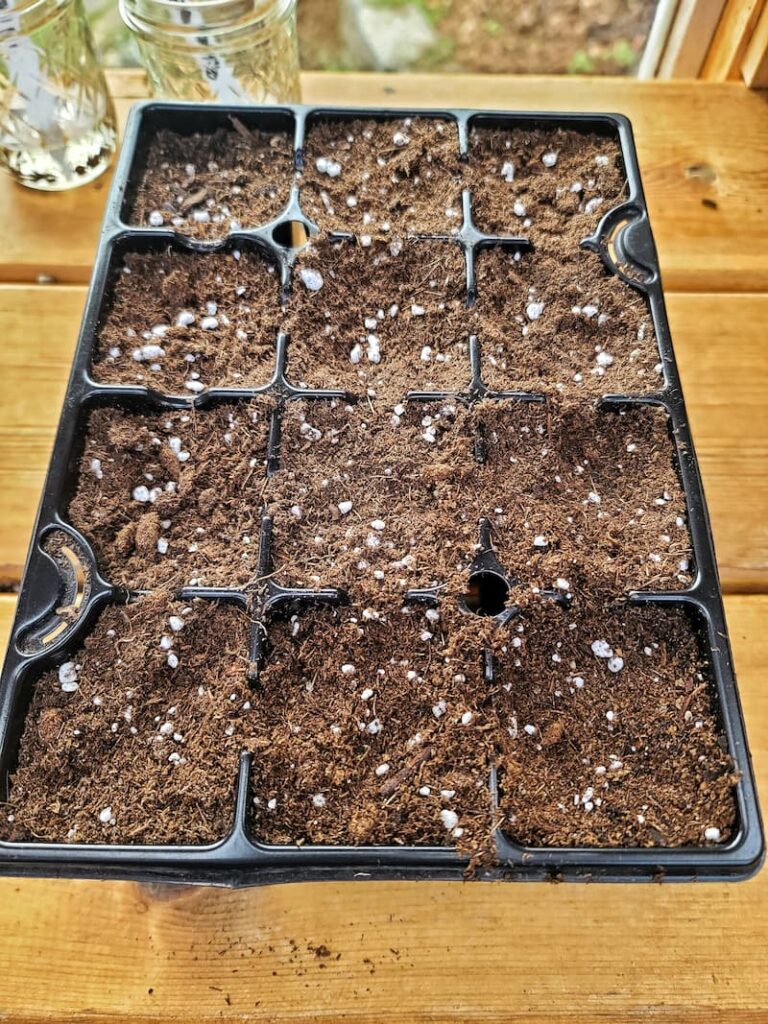
Fill Containers
Fill the container to the top with soil. As you go, tap firmly against the table or shelf to ensure the soil settles and prevent air pockets in the containers.

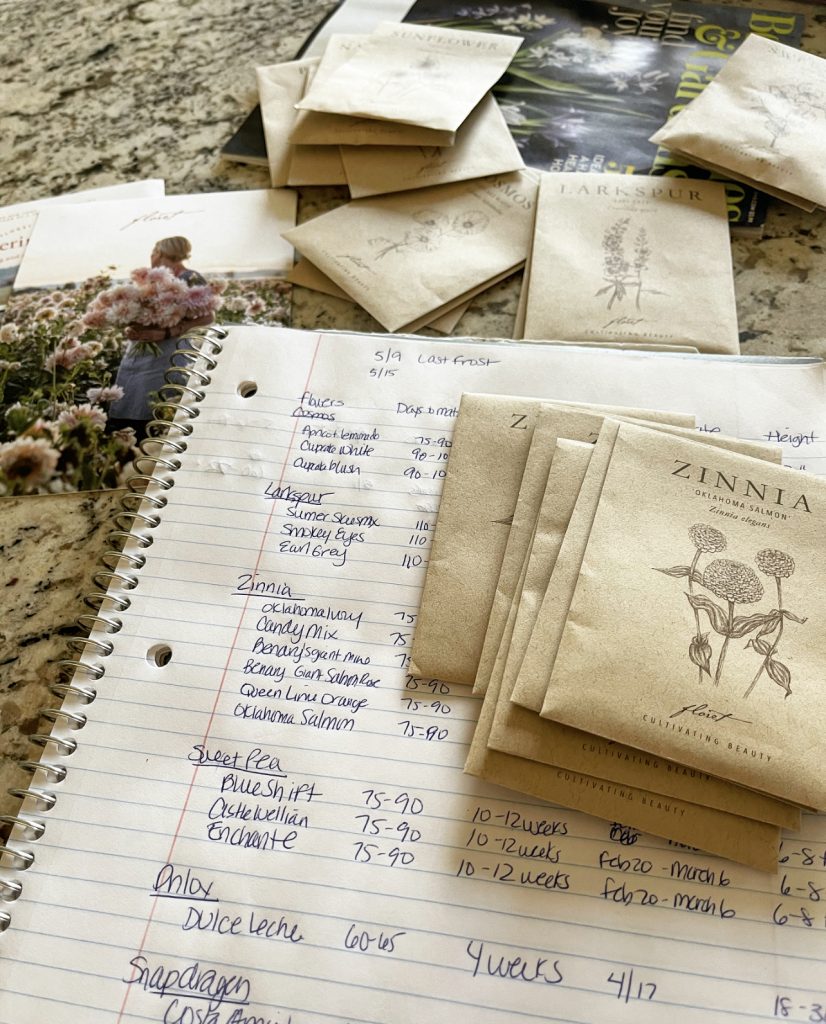
Label
Label the container with the name of the variety of plants and the date planted.
Make Holes For the Seeds
Read the back of the seed packet for the planting depth. I’ve always followed the rule to plant the seed twice as deep as its longest side if no instructions are available.
Make a hole for the seed in each container using a pencil, dibbler, or finger.
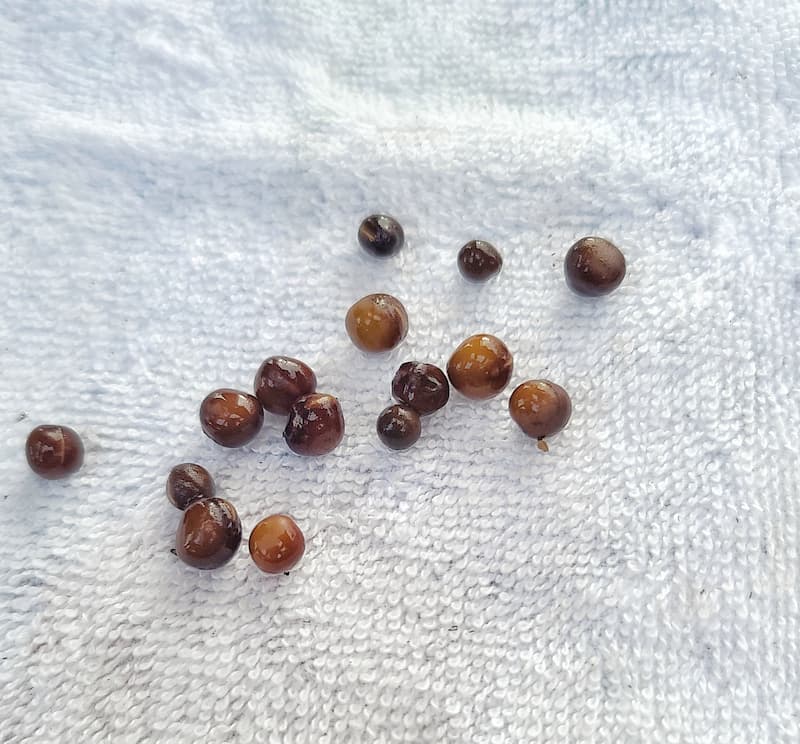
Drop Seeds into Holes
Drop 1-2 seeds into each hole.
Cover Seed Hole with Soil
Unless otherwise stated in the instructions, add a light dusting of seed starter potting mix. For larger seeds, add 1/4 inch of potting soil over the surface, covering the seeds.
Seed Starting Supplies
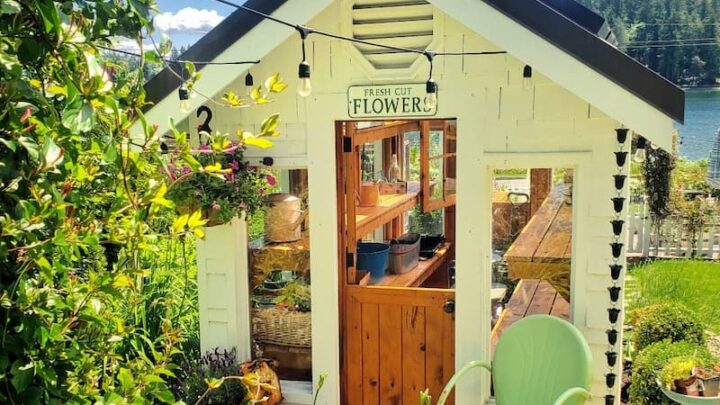
Check out my favorite supplies and tools for starting seeds indoors. Whether you’re looking for grow lights or a seed starting mix, you’ll find what I use in my own greenhouse.
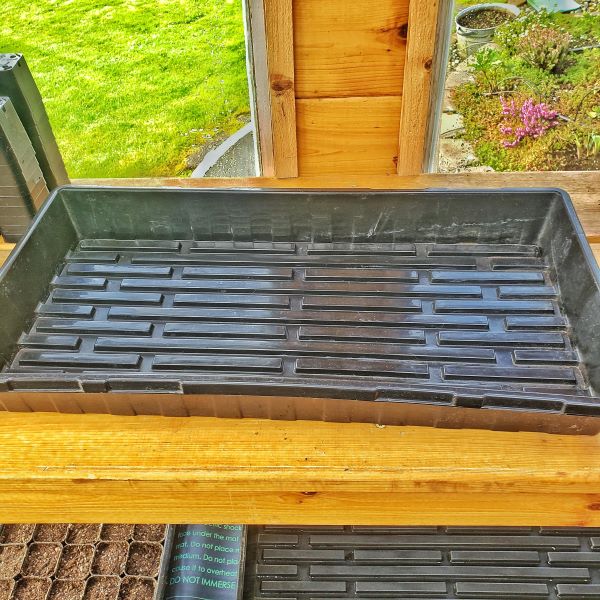
Set Container in a Water-Filled Drainage Tray
After sowing the flower seeds, set the container in a drainage tray with an inch of water in the bottom, removing once the soil surface is evenly moist.
It’s important not to let the container sit in the water for more than an hour.
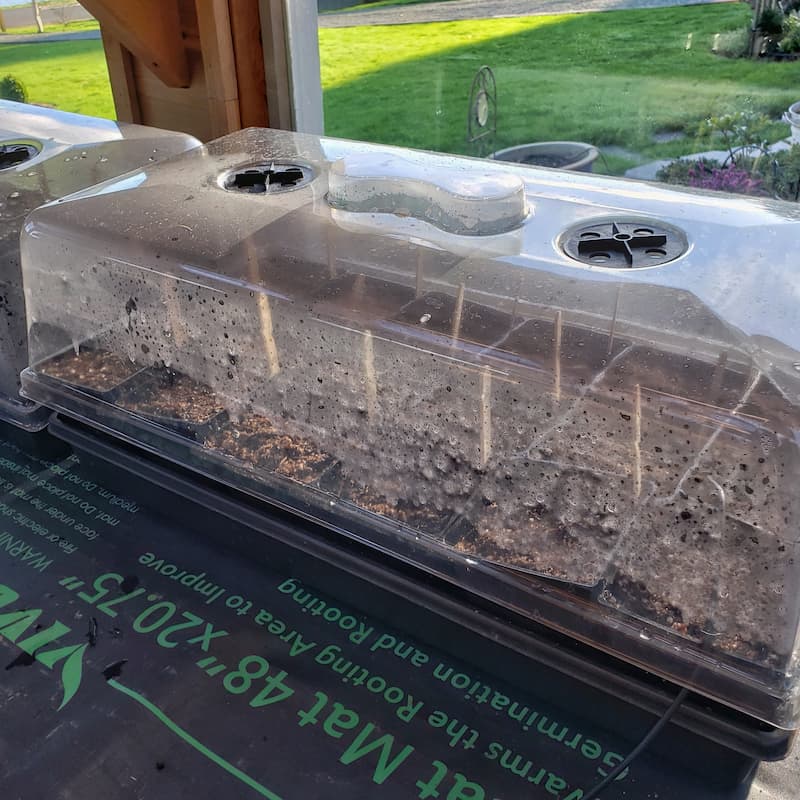
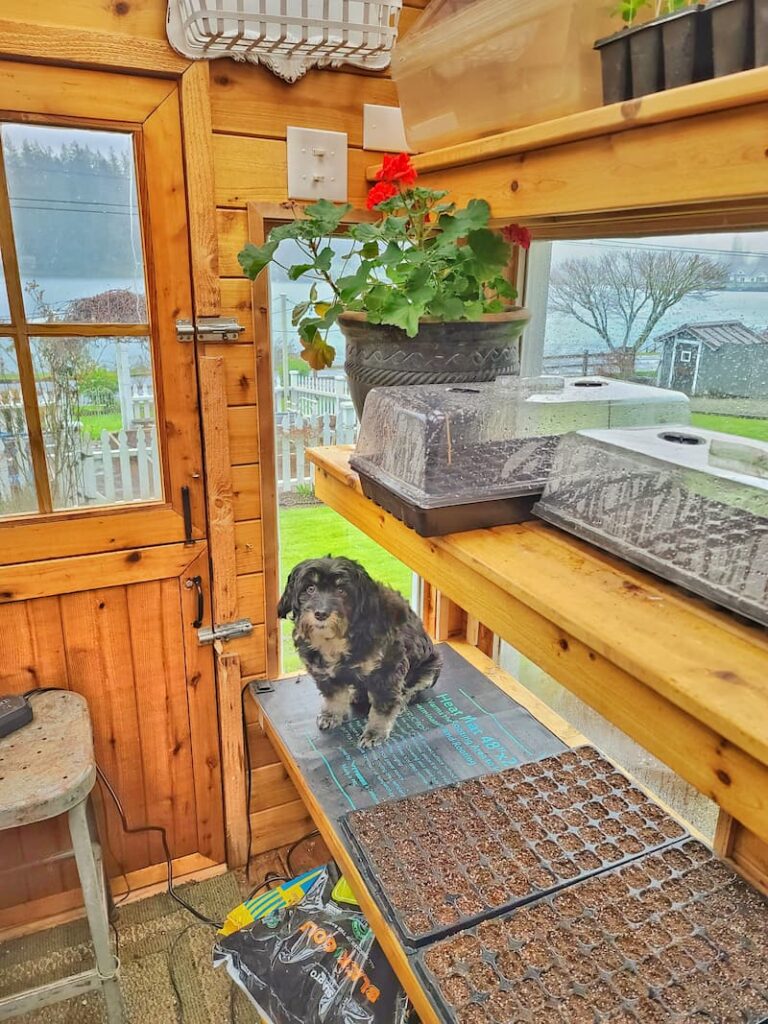
Place on Heat Mat & Cover
Place the container on a heated mat or in a warm corner of your house, and cover it with a clear plastic dome. This will help quicken the seed-starting germination process.
Continue Watering
Continue to check the soil moistness after 2-3 days. Bottom water again as needed.
Remove From Heat Mat & Uncover Once Germinating
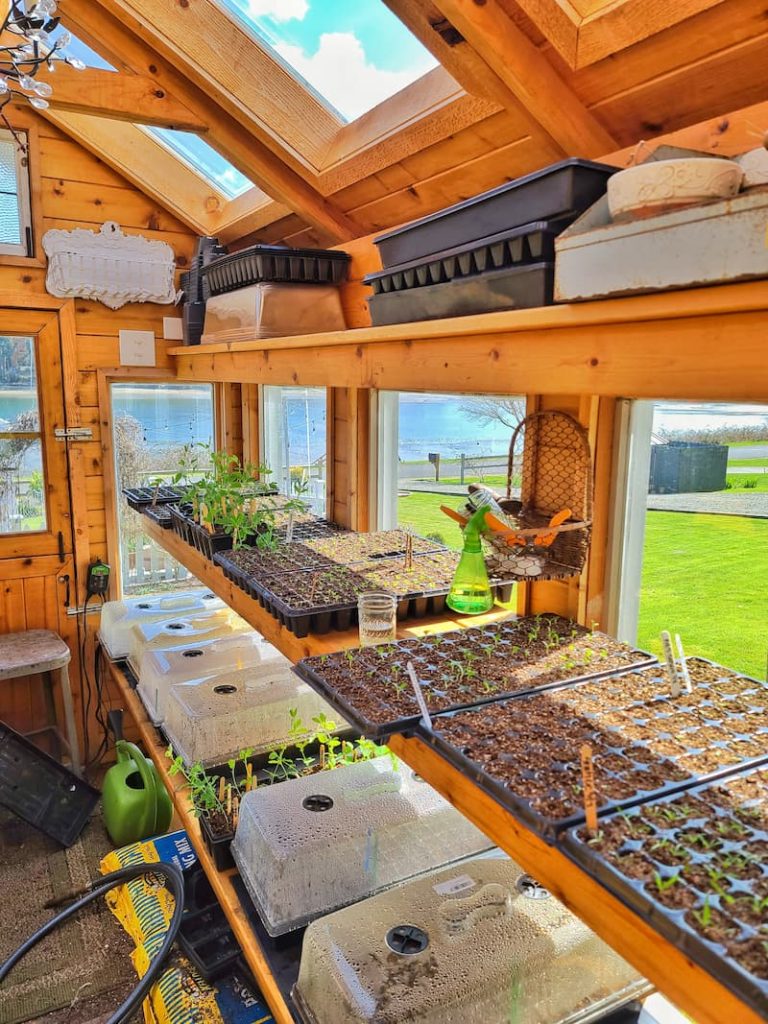
Check the container daily. Once the seeds have germinated and the sprouts are visible, remove the plastic dome lids and remove them from the heated mat.
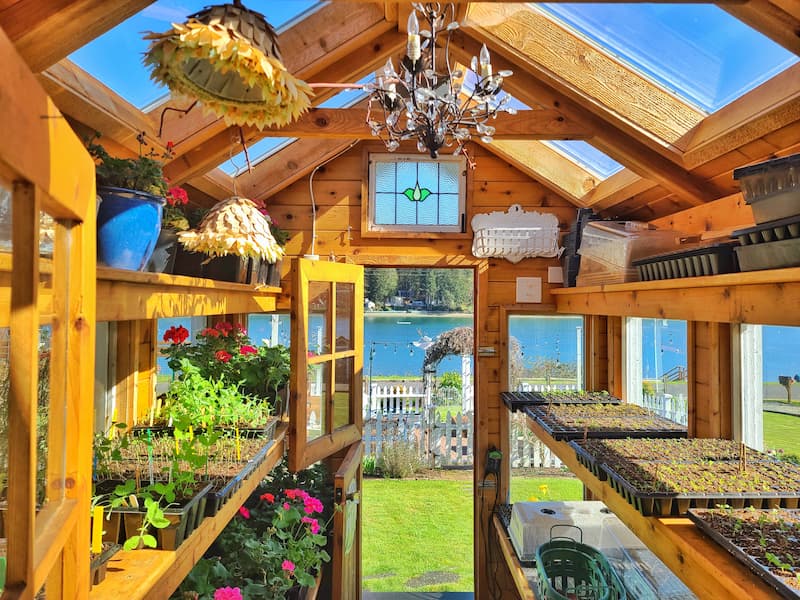
Keep in a light and bright space, such as a greenhouse or sunroom. If you don’t have that option, keep the seedlings under a grow light.

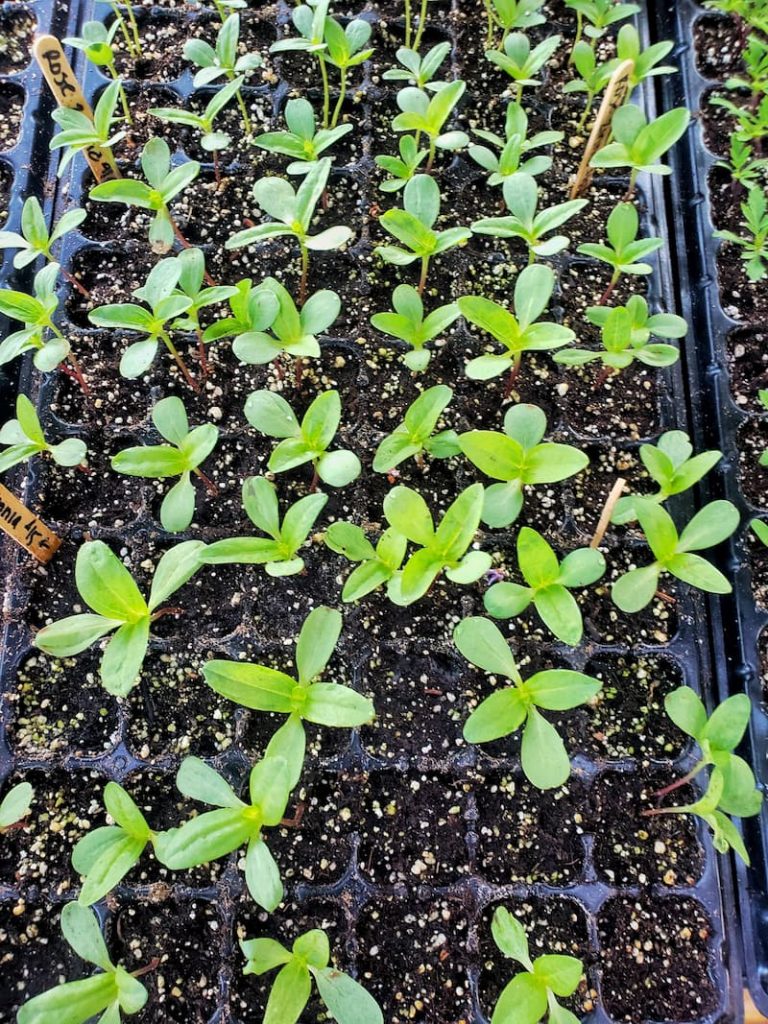
Water as Needed
Check the seedlings daily to ensure the soil doesn’t dry out. The very first leaves that appear on the plant are called cotyledons. Be sure to bottom water your seedlings until you see the first real leaves that appear after the cotyledons.
Once those second sets of leaves appear, water with a gentle spray from a watering can or hose when needed, usually every 1-2 days.
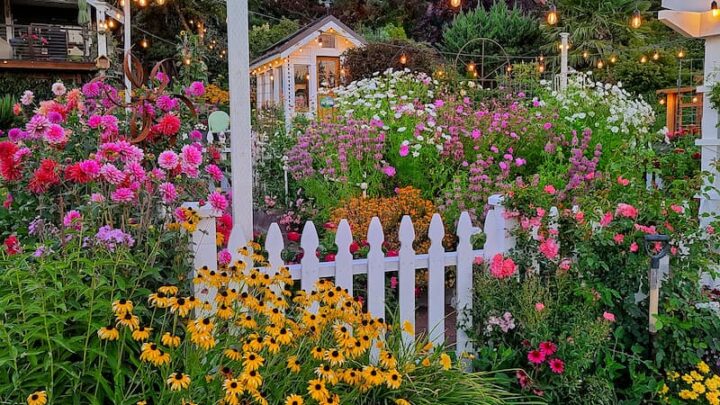
‘Growing a Cut Flower Garden’ Series
Learn about the ins and outs of growing a cut flower garden this year. Click the button below to be taken to the entire series of blog posts and choose what is interesting to you.


Add Nutrients
Add a small amount of liquid seaweed and fish emulsion blend to your watering can and drench your plants weekly. Follow the labels for directions.
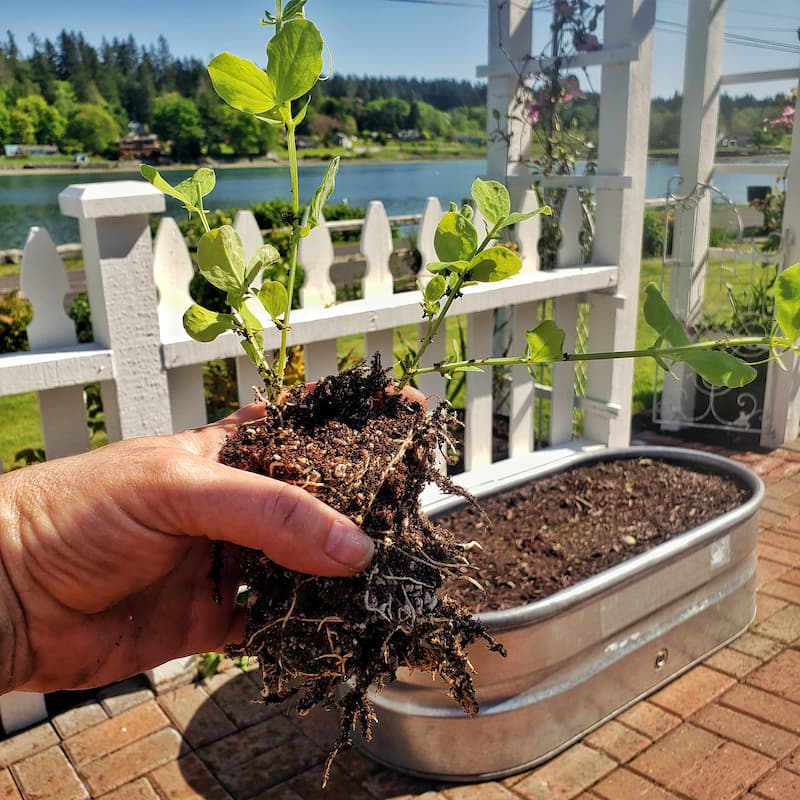
Transplant if Needed
If your seedlings start to outgrow their containers before they’re ready to be planted outdoors, you’ll need to transplant them into a larger container while still growing inside. It’s important to give the roots more room to grow.
Harden Your Seedlings
After the danger of frost has passed, you can begin “hardening off” your plants before transplanting them into the garden. Don’t skip this process, or your plants will go into shock by the sudden change in temperature.
Set the containers in a sheltered spot outdoors, increasing the time they spend outside each day over a week or two. I usually start with 2-3 hours the first day.
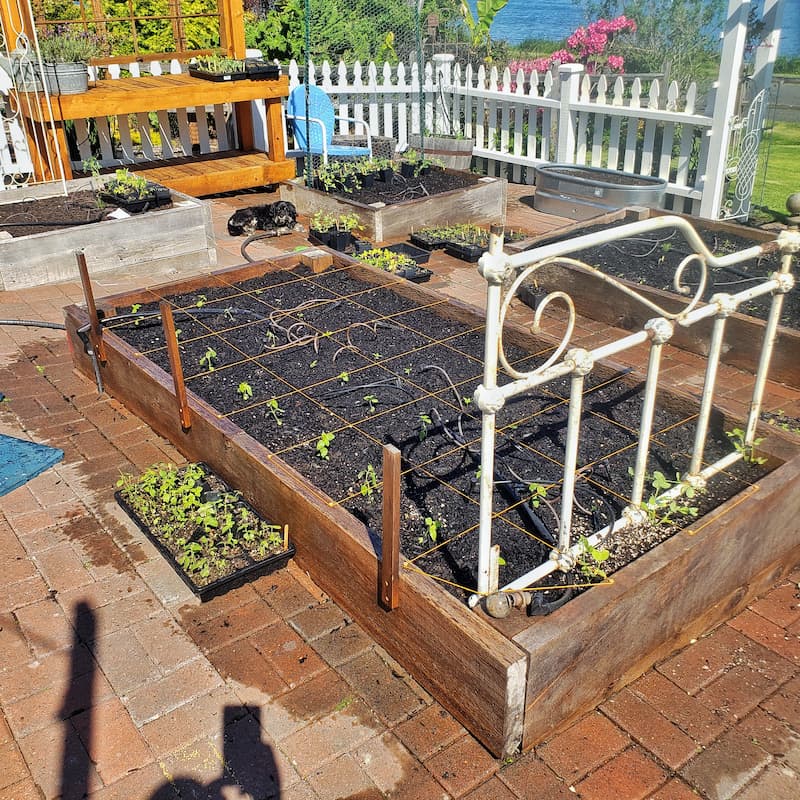
Transplant to the Garden
After adequate time to acclimate the plants to extreme temperatures, transplant the seed starts to the garden.
I hope this post provides you with more detailed “at a glance” instructions on how to plant your seeds.
For more detailed information, read my blog post Seed Starting 101—Growing a Cut Flower Garden Series. I address more specifics regarding seed starting there.
Garden Supplies and Tools
Check out my favorite garden supplies and tools for the growing season. Whether you’re looking for potting soil or deer repellent, you’ll find what I use in my own garden.
If you have any questions or additional suggestions, please share them in the comments below. And be sure to share this blog post link with anyone who may find these gardening tips useful.
Until next time,
Happy Gardening!

My friend Stacy of Bricks ‘n Blooms shares some simple tips for getting organized before starting seeds indoors. Make sure you check it out on her blog.
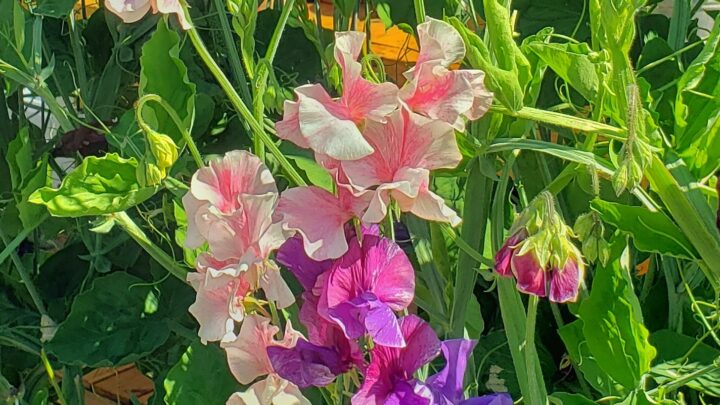
Great post!!! I can’t wait to get started this week! Looking forward to your sweet peas post too!
So fun to be taking this gardening adventure together!