
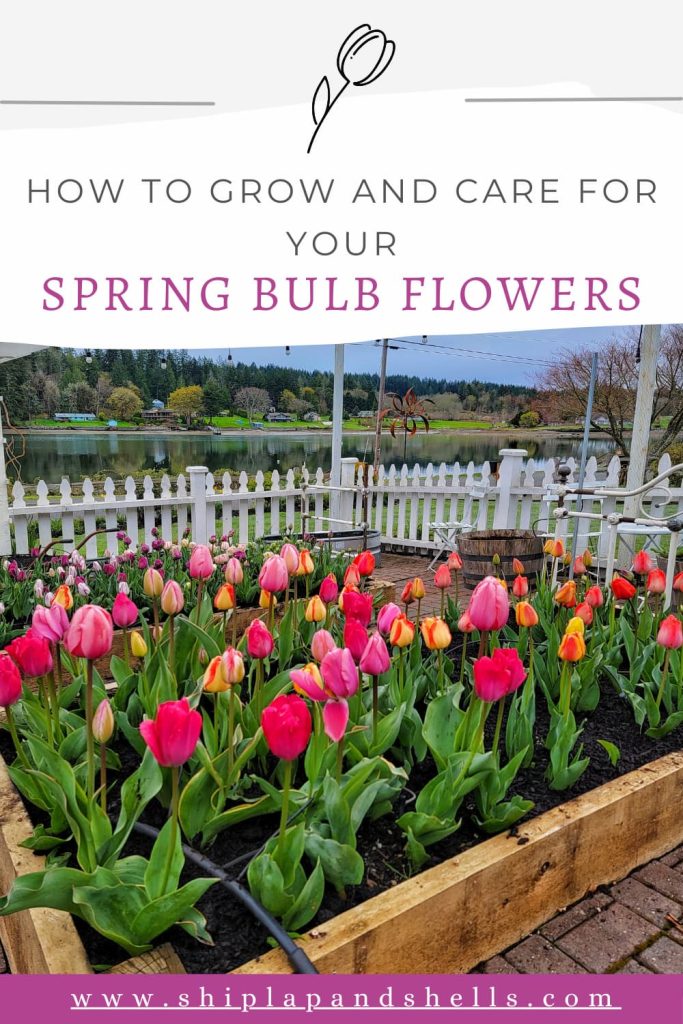
How to Grow and Care for Your Spring Bulb Flowers
Don’t you love how spring-flowering bulbs bring color and life back to the garden after a cold winter season? This guide will take you through the essential steps to grow and care for your spring bulb flowers, rewarding you with a gorgeous growing season.
From choosing the right bulbs to planting techniques and maintenance tips, you’ll learn the tricks to bring a burst of color and beauty to your early spring garden.
Follow along for information about growing flowers from spring bulbs, including planting, caring for them after they bloom, and storing your bulbs if needed.
As an Amazon affiliate, I earn a commission from qualifying purchases at no additional cost to you. My blog also features other affiliate links for your convenience. Click here to read my privacy policy.
What are Flower Bulbs?
First, when gardeners discuss “bulbs,” the term refers to true bulbs but can also include plants with tubers, rhizomes, corms, and tuberous roots.
Flower bulbs are a plant’s storage unit, containing all the energy and nutrients needed to sprout and bloom. They’re usually more resilient to variations in weather and soil conditions.
Many different types of bulbs perennialize, which means they return to your flower garden year after year with little maintenance.
This is why flower bulbs are so amazing for both seasoned and beginning gardeners. They’re so easy!
Growing Flowers from Bulbs is Different from Seeds
The spring bulb planting process is simple and brings an early burst of color to your garden with less waiting time and effort compared to growing flowers from seeds or seedlings.
Seeds may need to be started indoors and take longer to germinate and flower. However, bulbs are planted directly in the ground or containers and require minimal initial care.
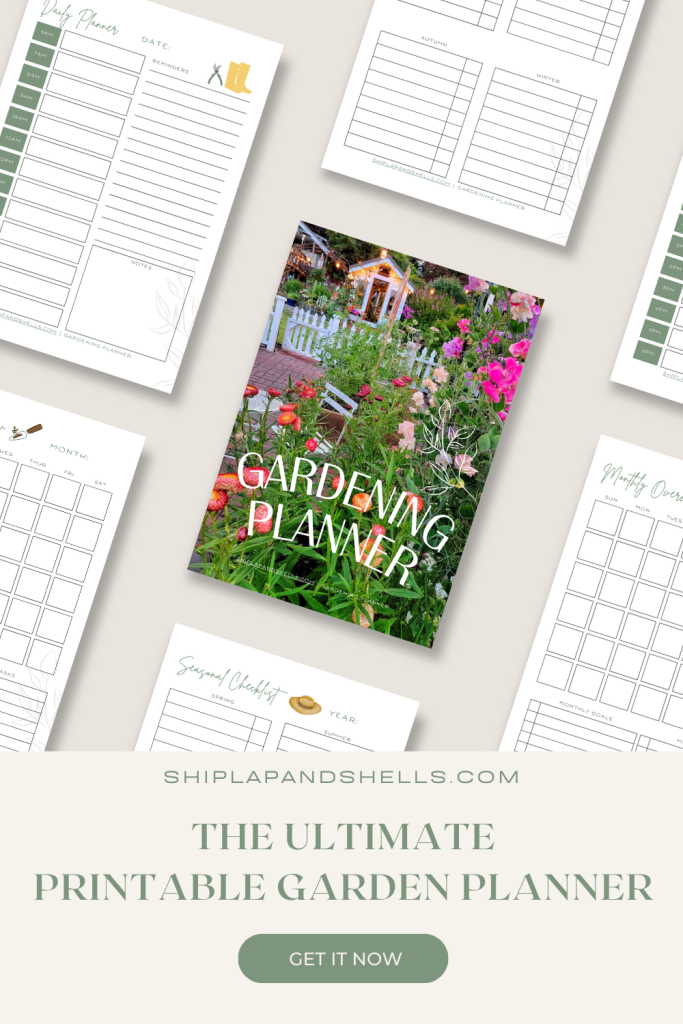
Let’s Plan Your Dream Garden With Our
Gardening Planner
Unlock Your Garden’s Potential.
Our 35-page Ultimate Garden Planner is designed to help you organize, track, and flourish in your gardening endeavors.
Get yours for $4.99
Common Spring Bulb Flowers
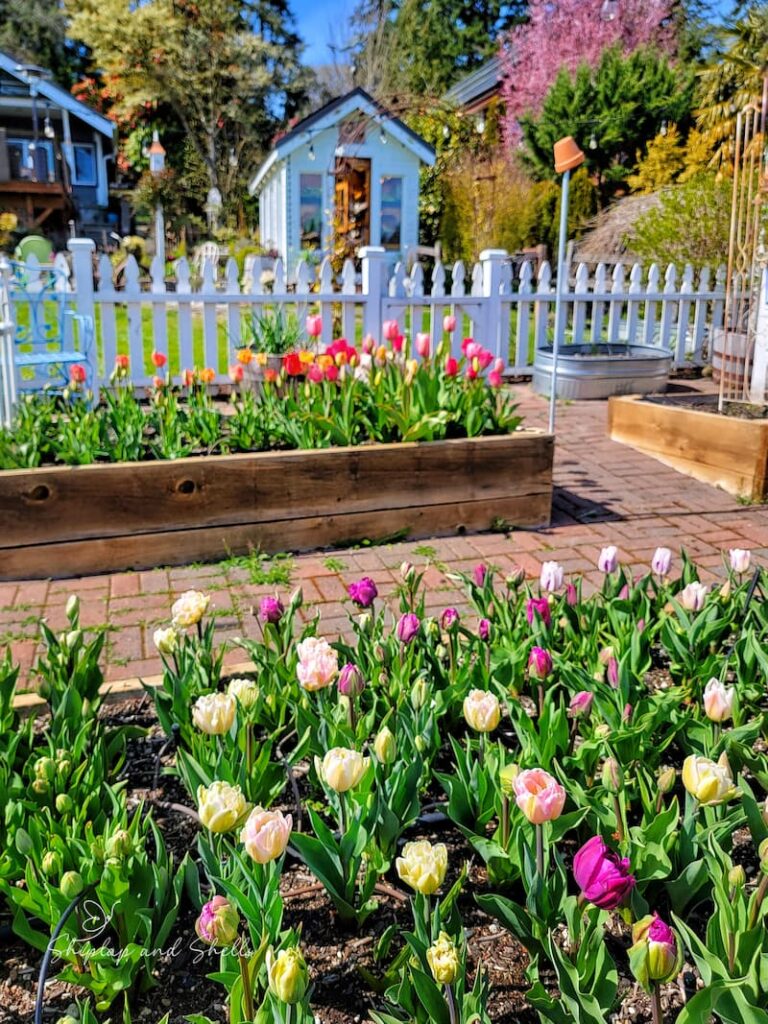
There’s nothing more exciting to a gardener than when the first hints of green start peeking through the soil. Our gardens are slowly waking up and getting ready for spring.
I can’t tell you how much fun it is to watch these hardy bulbs that have spent the winter underground finally pop up and add splashes of color to the flower beds and containers. It makes me so happy to be a gardener!
Let’s look at some of the most common spring bloomers, like tulips, daffodils, hyacinths, crocuses, and alliums.
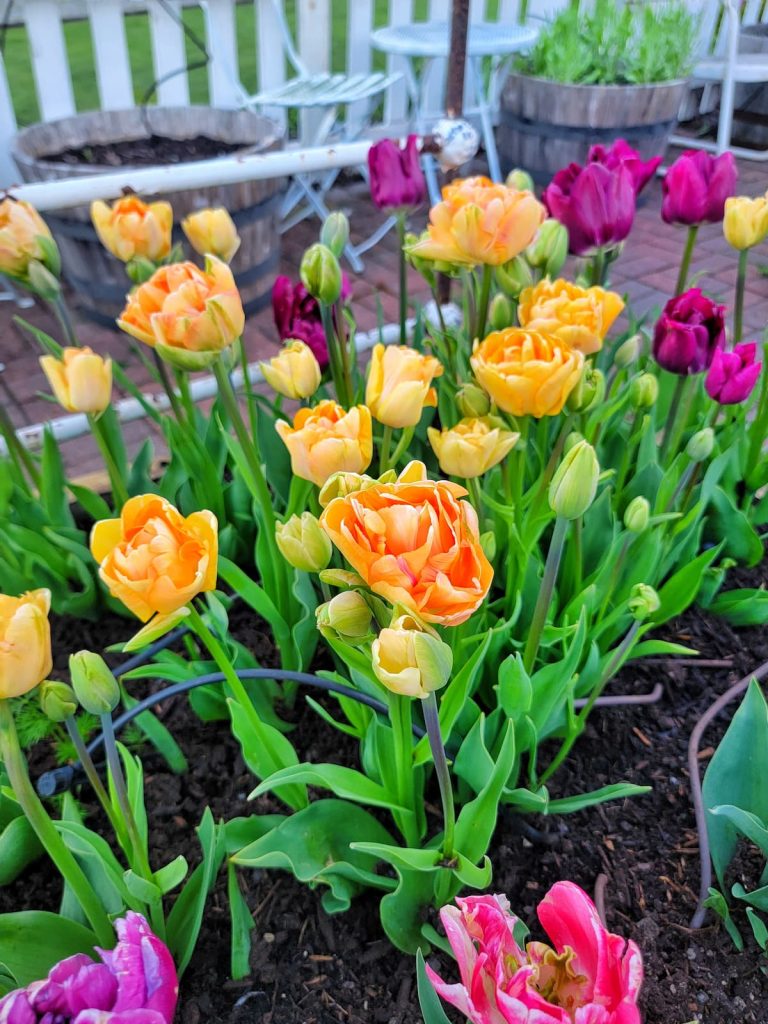
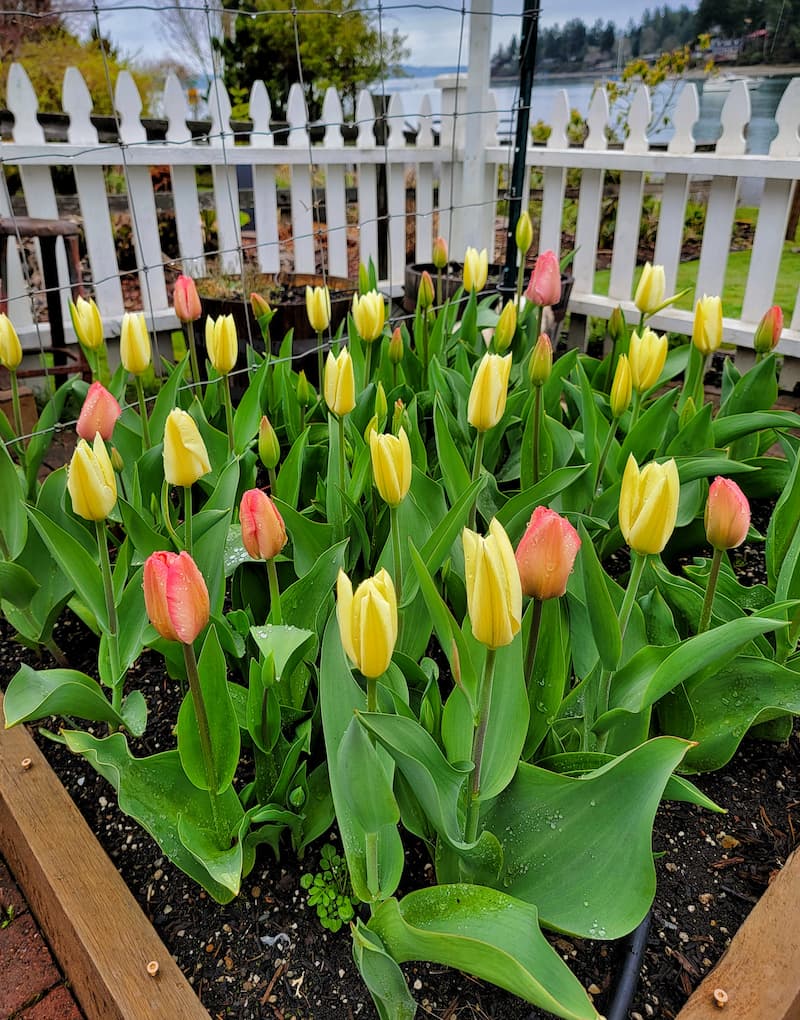
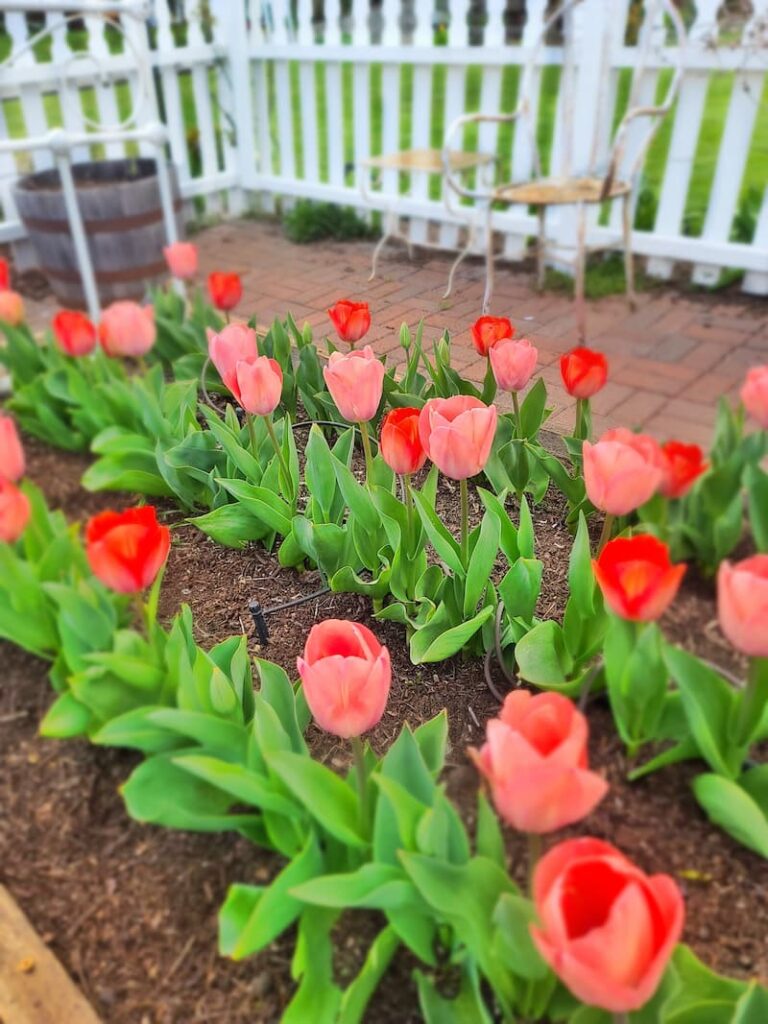
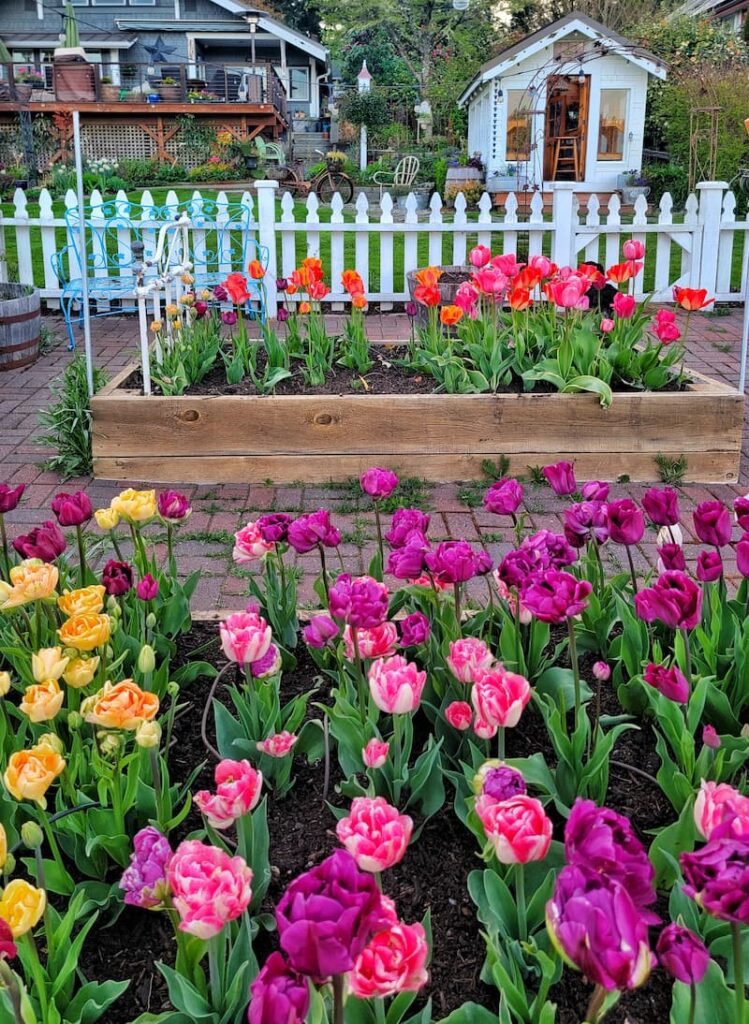
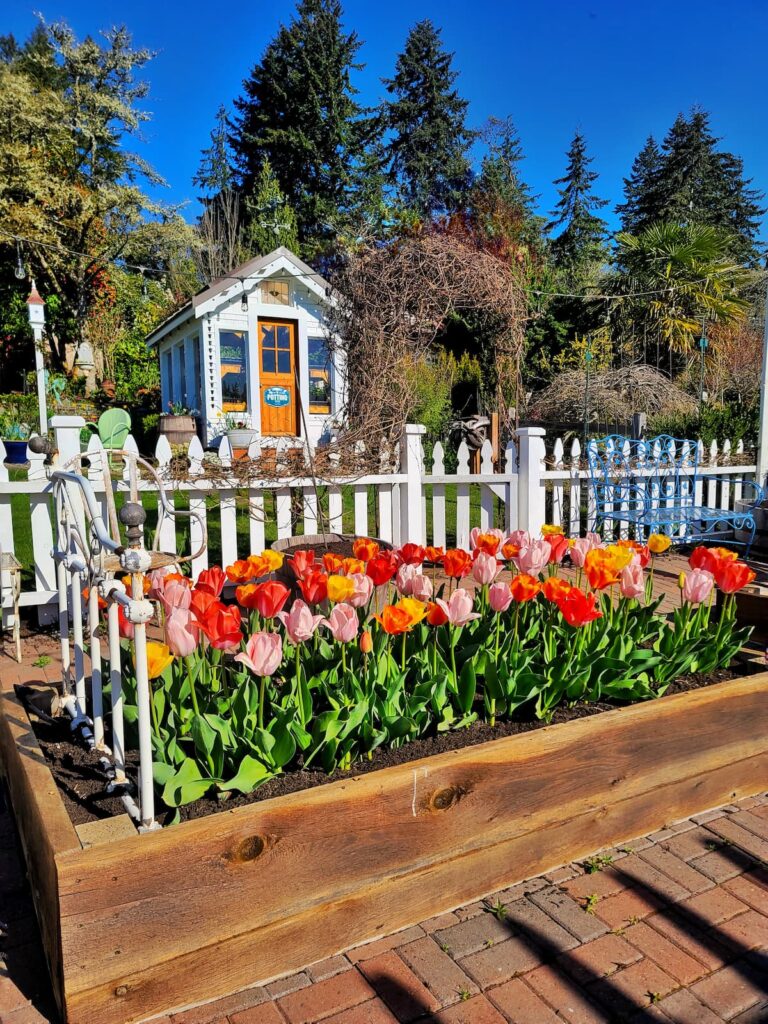
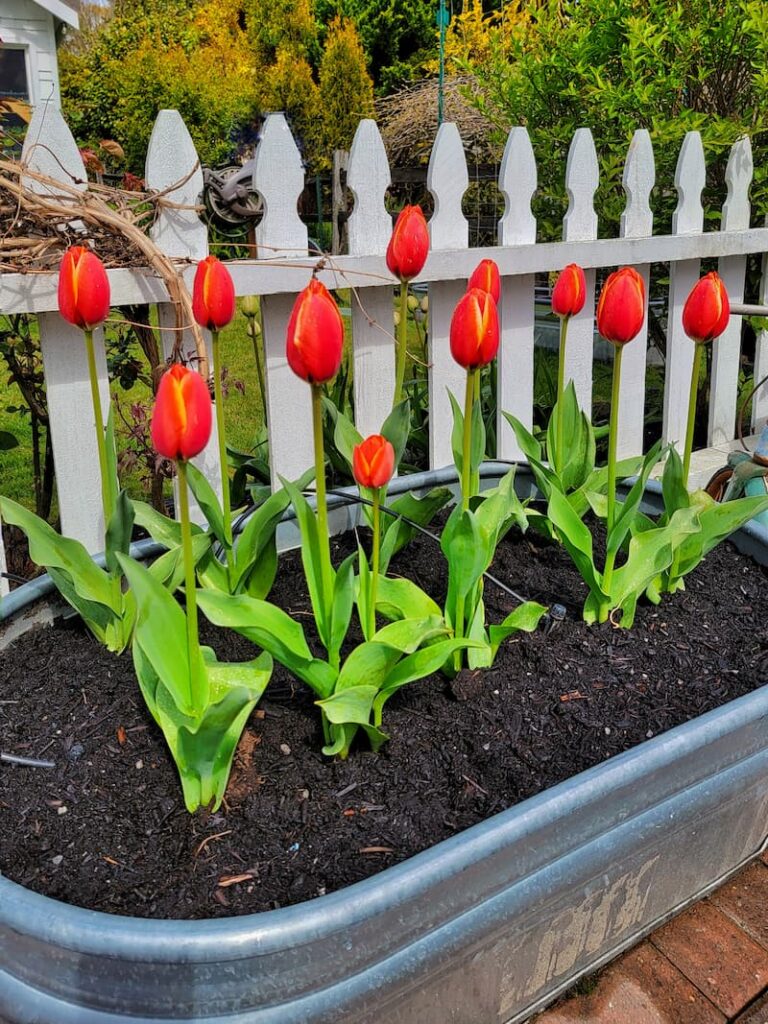
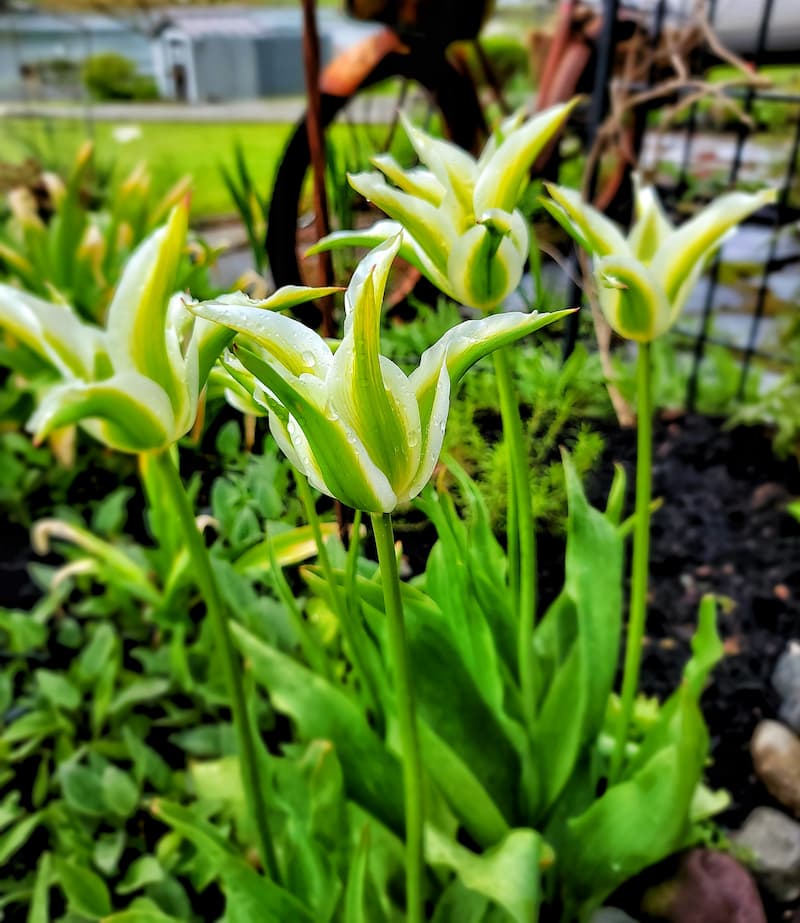
Tulips
Let’s start with the spring-blooming bulb that I grow the most of—tulips! I grow them in my raised beds inside the cut flower garden and throughout my cottage garden.
Tulip bulbs come in a variety of colors, shapes, and sizes and thrive in well-drained soil with full to partial sunlight.
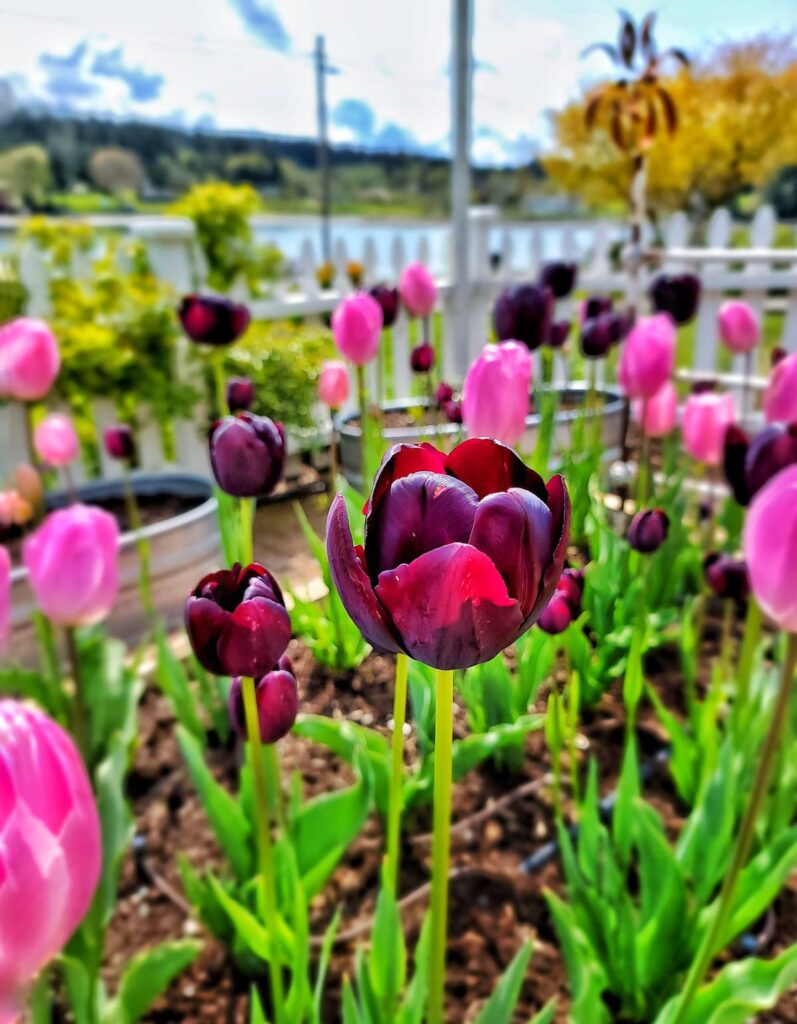
The best time to plant tulip bulbs is in the fall. They should be planted about 6-8 inches deep to ensure a stunning show of flowers when spring finally comes.
Tulips are considered perennial plants, but some gardeners, like myself, treat many of the varieties as annuals because the blooms decrease in the following years.
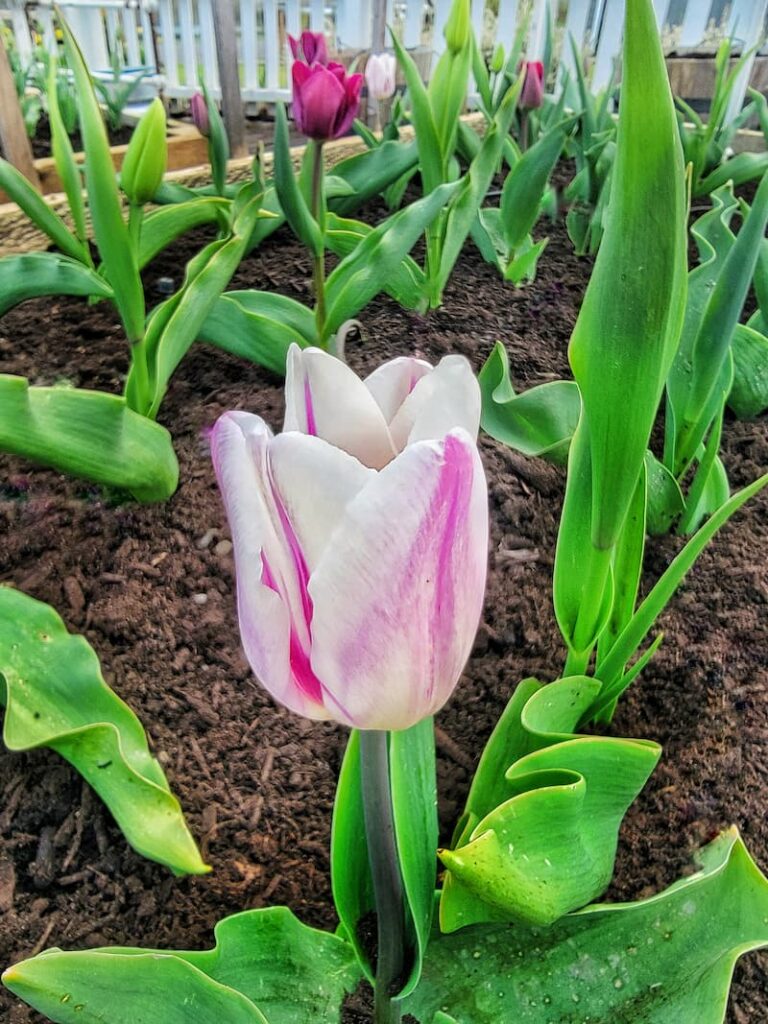
Because tulips produce fewer flowers each season, I replant new bulbs for more consistent blooming.
Deer love eating tulip plants, so be sure to take precautions. I use a deer repellent called Liquid Fence, but other products are available. You can also read more about steps to keep deer out of your garden in my blog post, 21 Deer Resistant Plants for the Garden.
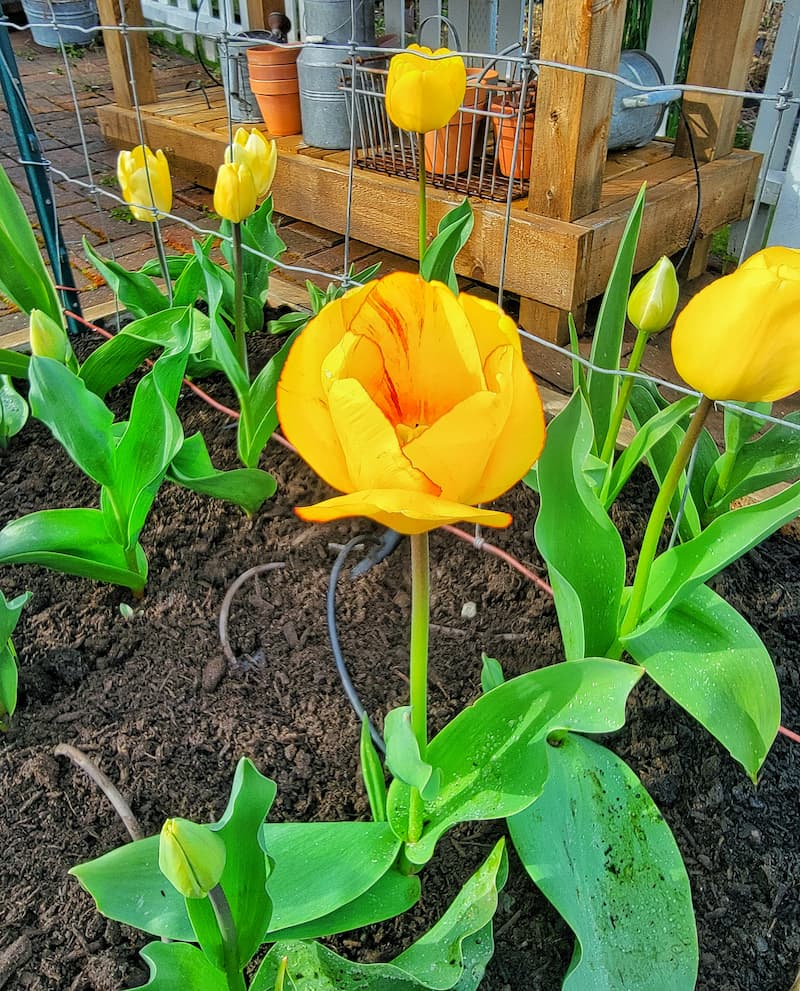
Here is a guide to when tulip varieties will bloom in your garden:
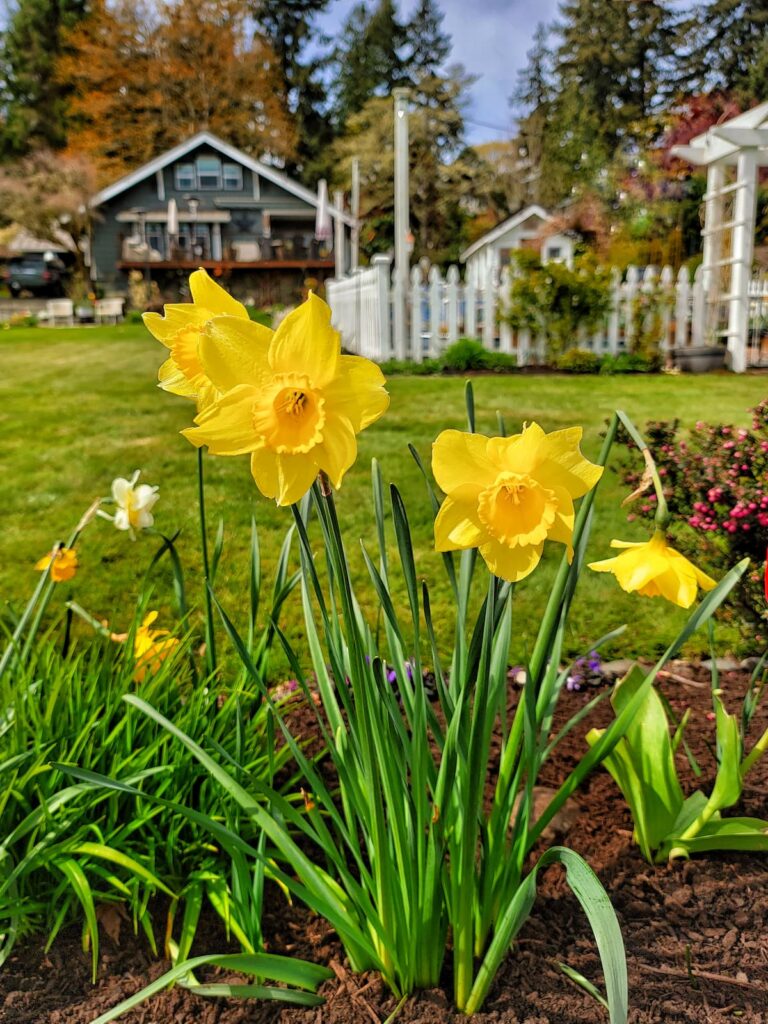
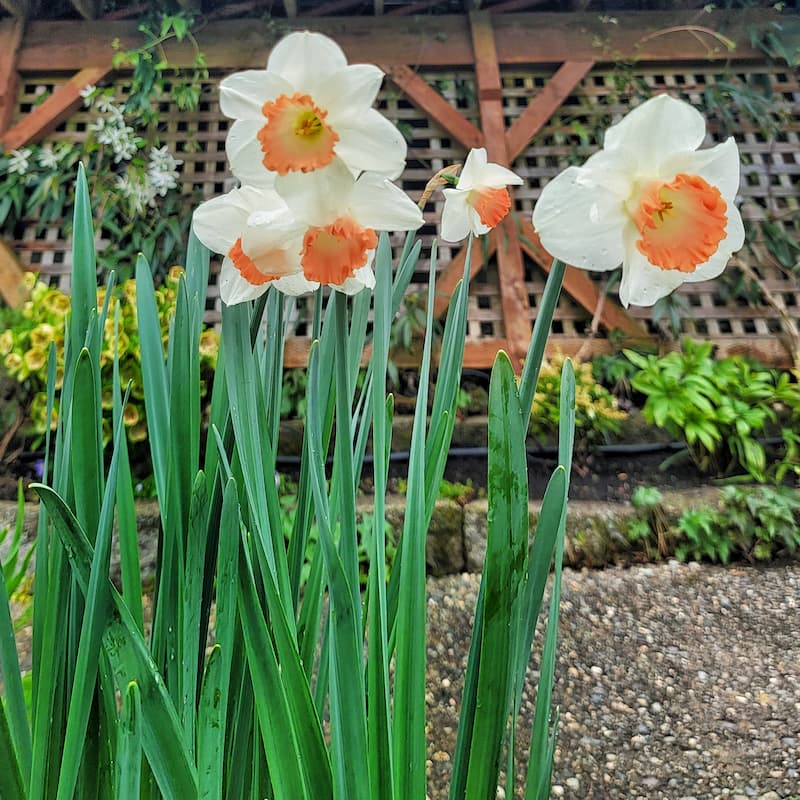
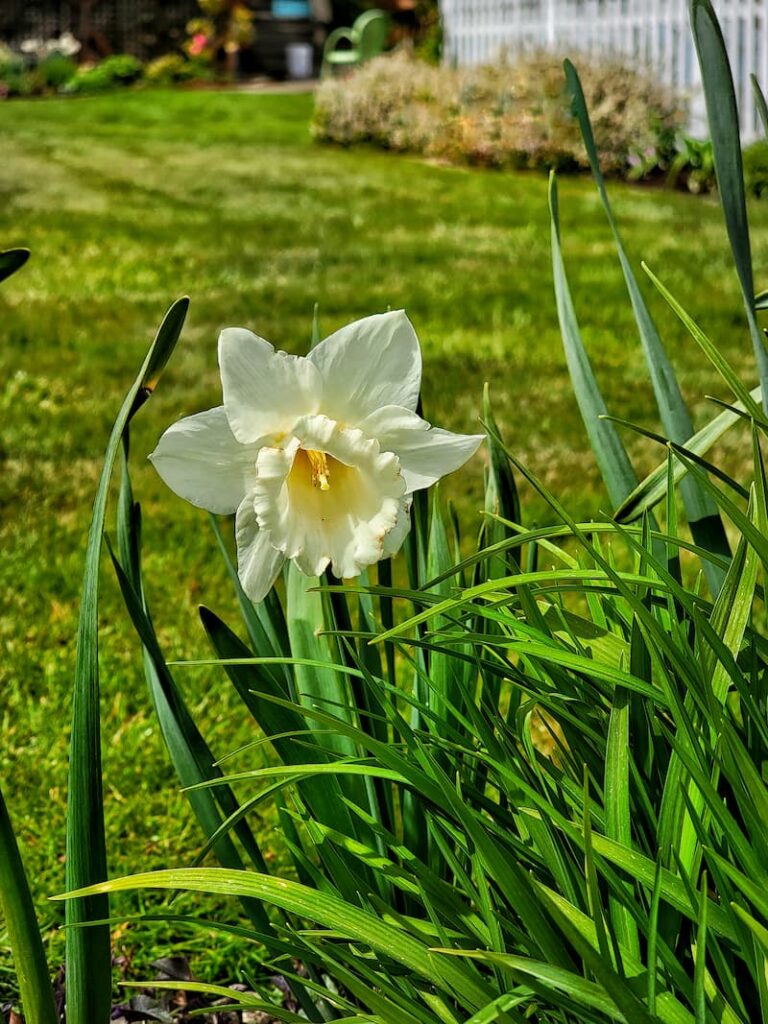
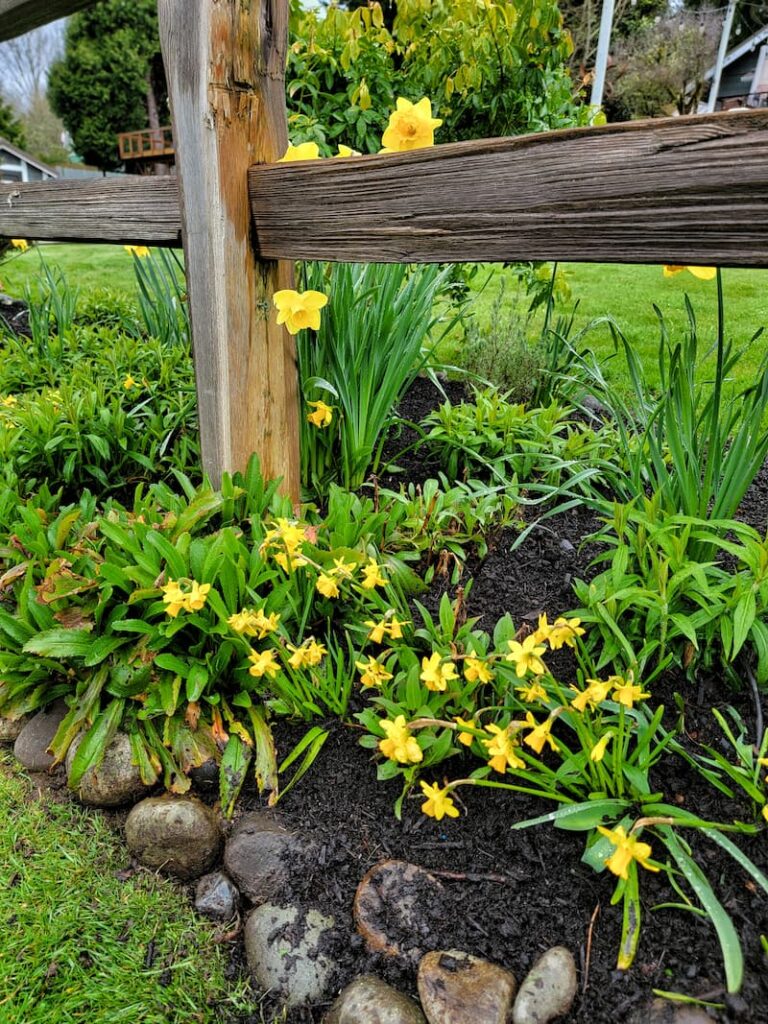
Daffodils
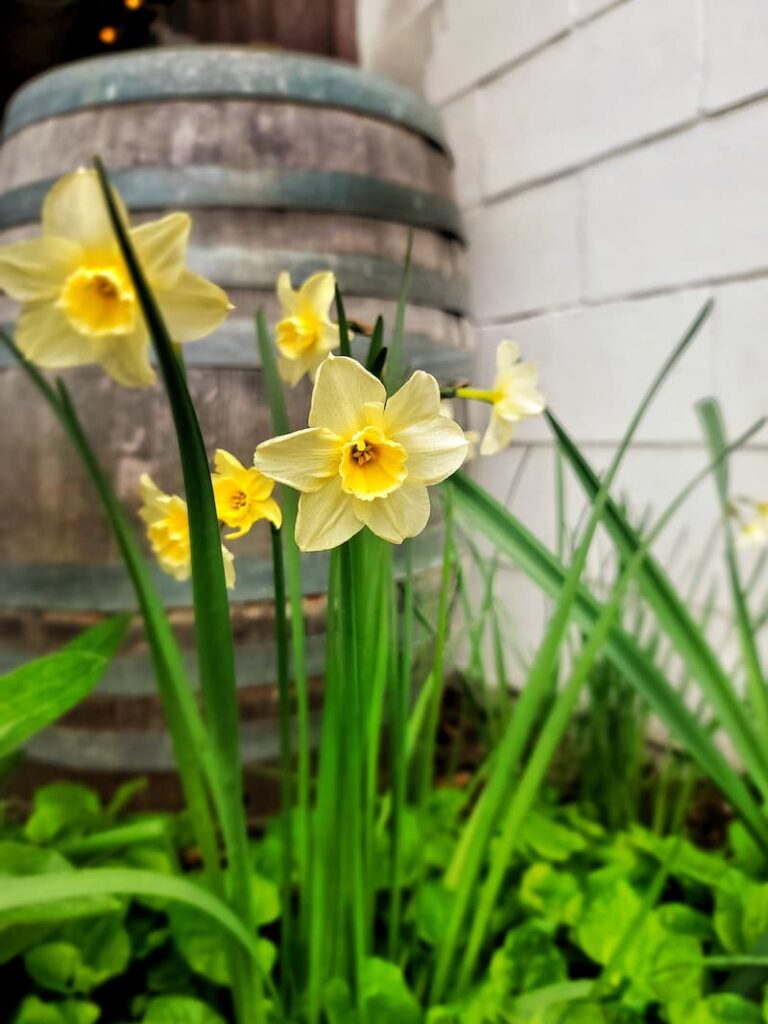
Daffodils, with their cheerful yellow blooms, are another stunning sign of spring’s arrival.
These spring bulbs are highly resilient and easy to grow. They are well-suited to a range of climates and soil types. However, they do prefer well-drained soil and sunny to partially shaded sites.
When planting daffodils in the autumn, place bulbs in the soil at a depth of about 6 inches.
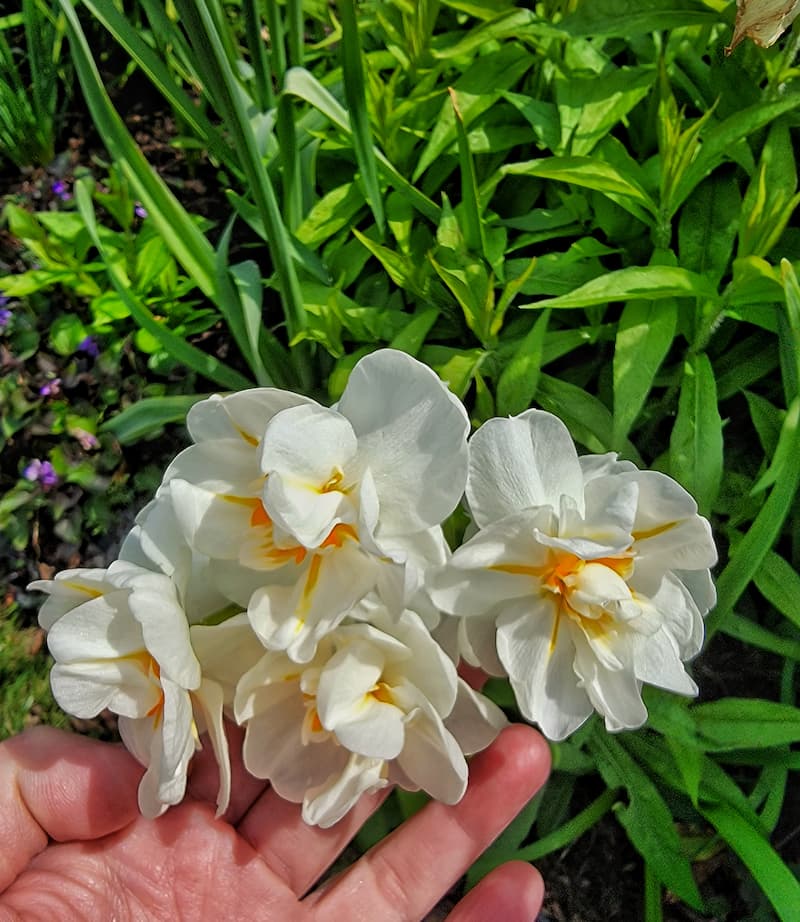
Daffodils are known for their naturalization ability, making them spread and produce more blooms each year. My favorite thing about these specific spring bulbs is that they are deer and rodent-resistant.
Daffodil season begins in early March and runs to early May, but you can see daffodils blooming as early as February.
The spring bulbs can bloom for 6-8 weeks under the right conditions.
Hyacinths
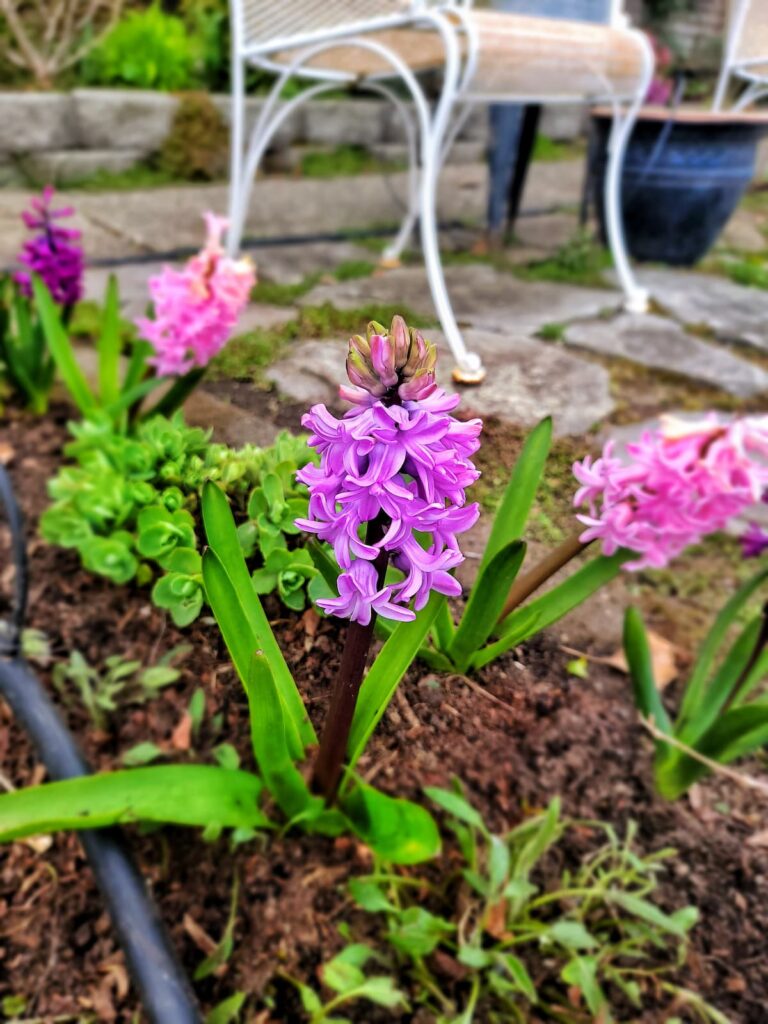
Winter-blooming hyacinths bring a sweet-smelling fragrance and beauty to the garden beds with tightly clustered flower spikes in shades of blue, pink, white, and purple.
Grape hyacinths belong to the same botanical family and require growing conditions like true hyacinths.
Hyacinths are easier to grow than other spring bulbs and are great for beginning gardeners. They prefer locations with full sun and well-drained soil and should be planted about 4 inches deep in the fall.

Hyacinth bulbs tend to rot in heavy soils with a lot of moisture. If your soil is heavy, improve its drainage by mixing in compost, shredded pine bark, or aged manure.
The flowers open about three weeks after you start seeing the plant’s leaves. Each hyacinth bulb produces one flower stalk, standing 8-10 inches tall, and can last up to 4 weeks.
The blooms last longer than other spring bulbs and can be forced to bloom indoors in a pot or bulb vase.
Hyacinth Bulb Tip
If you live in a warmer climate, the bulbs must be pre-chilled. Dig the bulbs out of the ground in the spring once the foliage dies down. Store the bulbs in a cool and dry place in the summer and refrigerate them for a couple of months before replanting them in the fall.
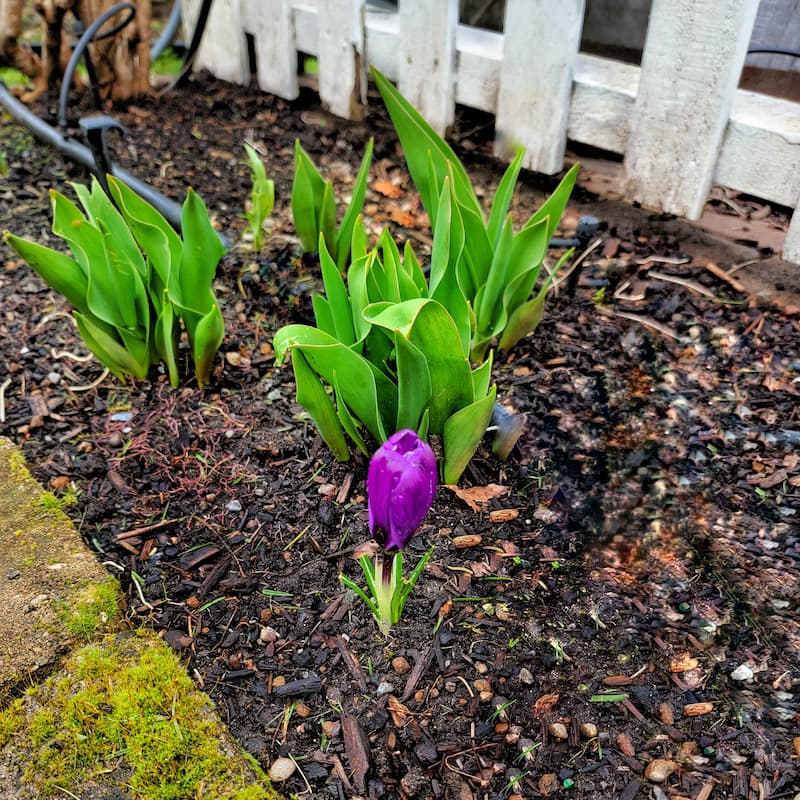
Crocuses
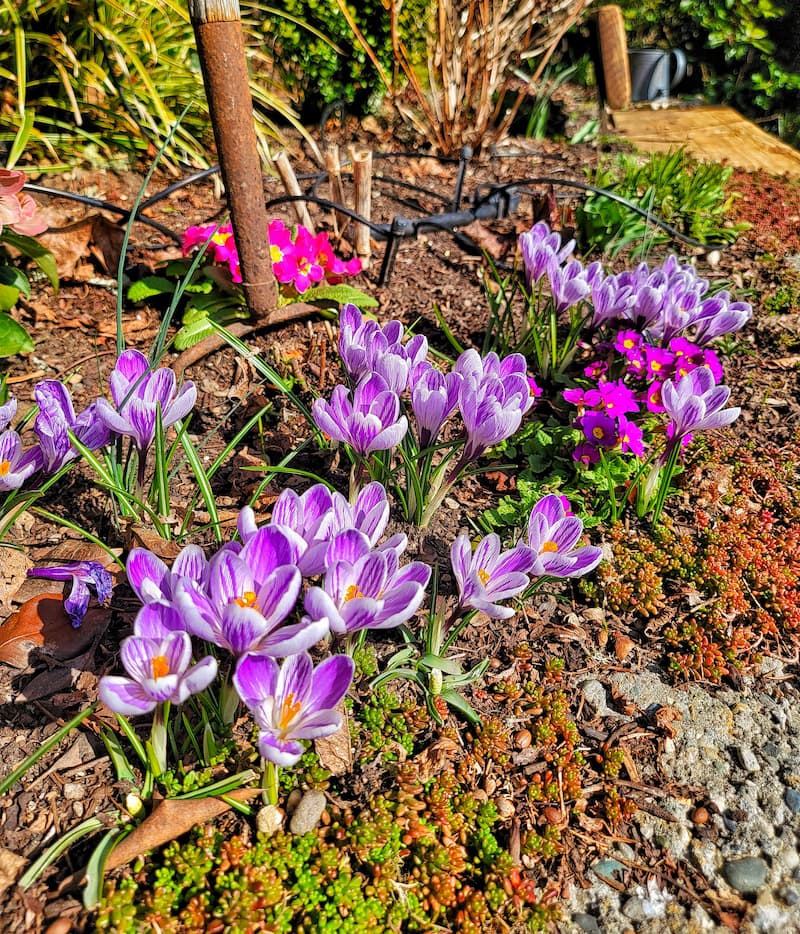
Crocuses are one of the first signs of spring. They often push through the last snow to bloom with their purple, yellow, or white flowers, which can last 3-5 weeks.
These smaller bulbs look best planted in clusters or drifts for a stunning floral display. They should be planted in well-drained soil under full or partial sun at a planting depth of about 3-4 inches.
Crocus bulbs naturalize well, coming back in greater numbers year after year, and are perfect for rock gardens, lawns, or border fronts.
Crocus bulbs can thrive for up to 5 years with proper care, good soil, and nutrients.
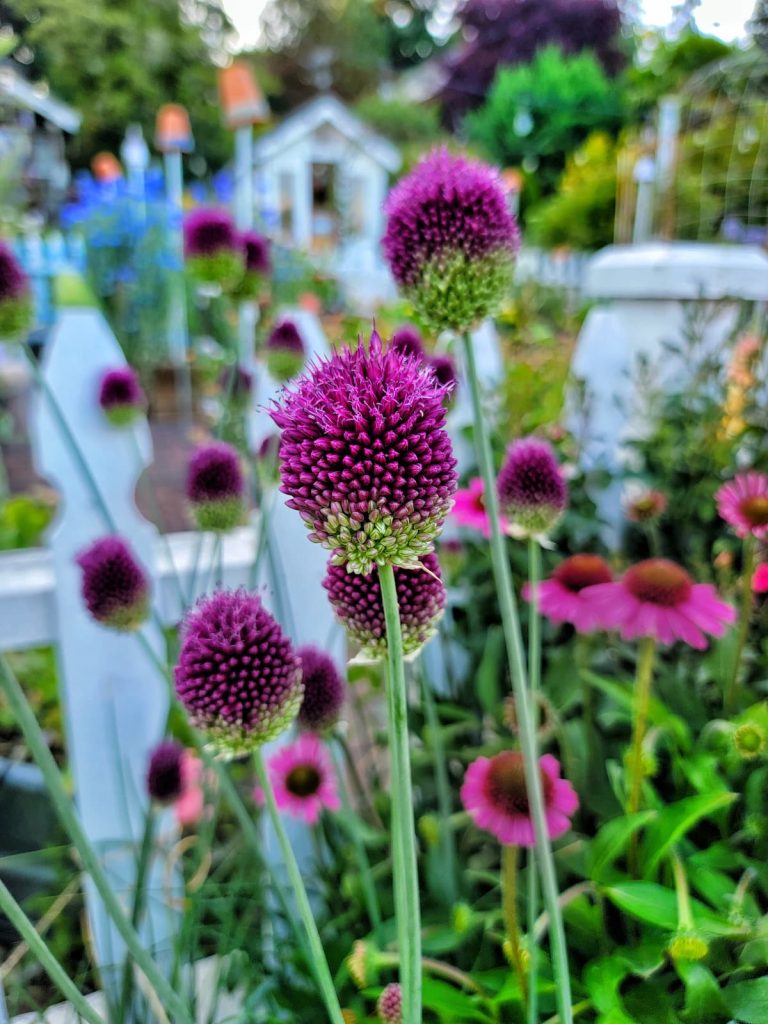
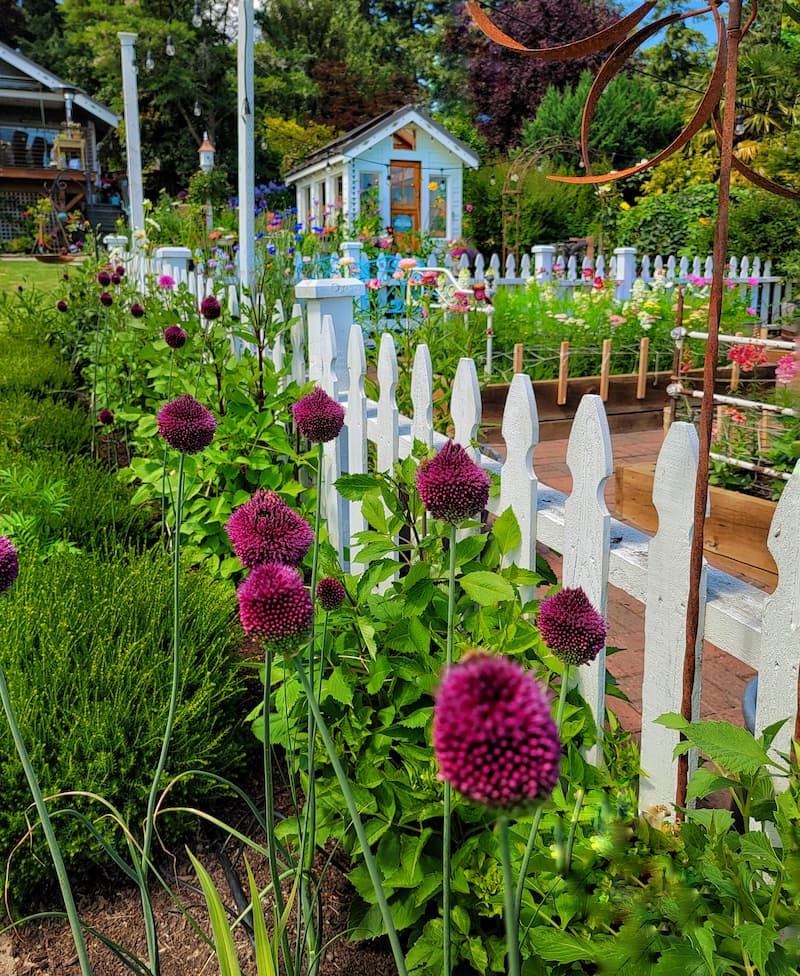
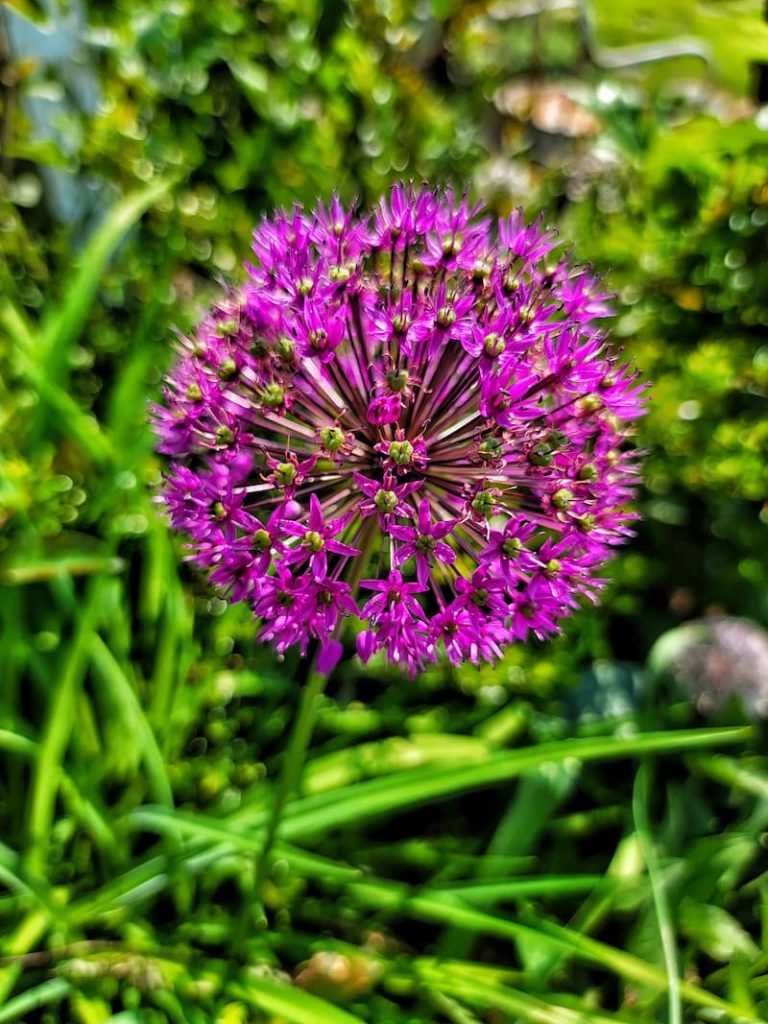
Alliums
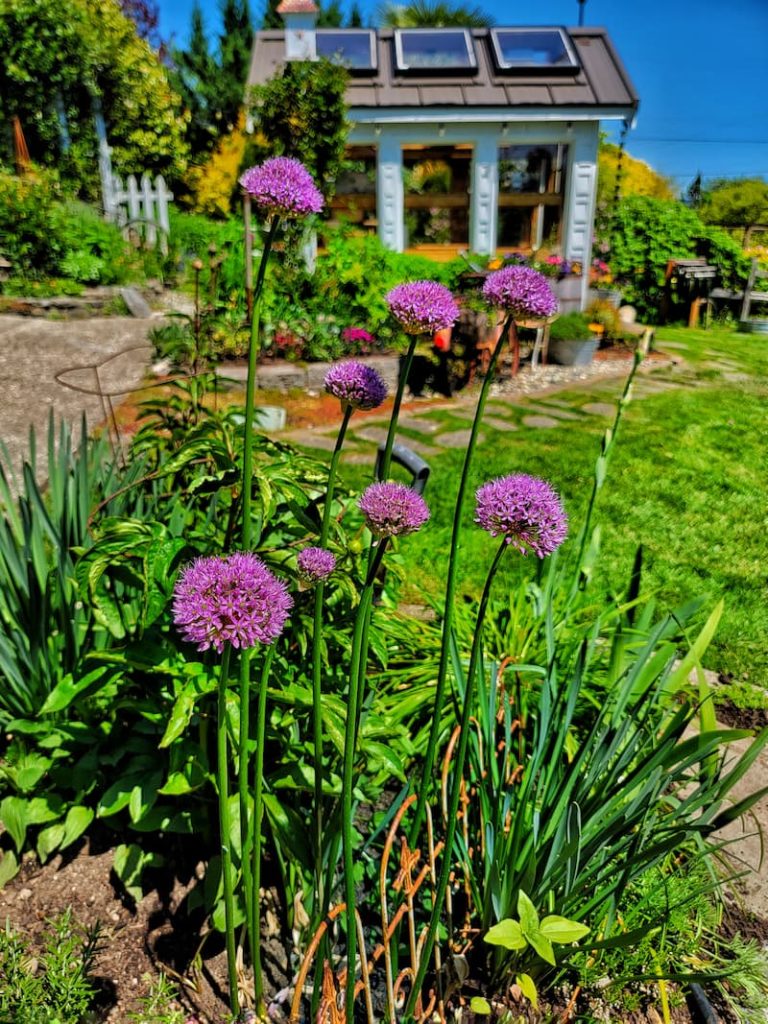
Alliums, or ornamental onions, look very different from the other spring-blooming bulbs I’ve been sharing. You will fall in love with their most unique spherical blooms atop tall stems in shades of purple, blue, white, and pink.
The different varieties of alliums range from under 12 inches to 50 inches in height.
These larger bulbs require full sun and well-drained soil. Planting depths vary by bulb size but are generally around 4-6 inches.
Alliums bloom in late spring into early summer, providing a beautiful bridge between spring and summer flowers. Their dramatic flower heads are a wonderful option for adding height and texture to borders and beds.
Their blooms will last from 2-4 weeks.
Planting Spring Bulbs
If you’re a gardener, one of your favorite things to see is most likely the first blooms of spring, and it all starts with bulb planting in the fall.
With some preparation and simple steps, you can set the stage for a beautiful display that welcomes spring into your outdoor space.
When to Plant Spring Bulbs
The perfect time to plant your spring bulbs is in the fall, just as the air cools down, but well before the ground freezes. The soil temperature should be about 60°F or cooler.
This timing allows the bulbs to settle in before winter, giving them a chance to start rooting. Then, they’ll lie dormant over the colder months and be ready to grow as soon as spring starts warming things up.
Plan on planting your spring-blooming bulbs in early fall, late September through October. If gardening in a milder climate, you can shoot for November or late fall to get those bulbs in the ground.
Spring-planted bulbs and tubers such as gladiolus and dahlias bloom in the summer.
Where to Plant Spring Bulbs
The light requirements for most spring bulbs are full sun to partial shade, and the soil needs good drainage.
To help prevent bulb rot, avoid areas where water tends to collect after rain. A general rule of thumb is to plant bulbs in areas where the soil dries out rather than stays damp.
Growing Spring Bulbs in the Garden
Space spring bulbs in the garden bed based on their size. Large bulbs like daffodils and tulips should be planted 3-6 inches apart, and small bulbs such as crocus and snowdrops should be planted 1-2 inches apart.
Once you’ve chosen a sunny spot in the garden with good drainage, dig a planting hole about three times as deep as the bulb’s height.
Place the bulb in the hole with the pointy end up, and cover it with soil and a layer of mulch, patting it down to avoid air pockets.
If you’re planting spring bulbs together in a cluster, keep them about 4-6 inches apart so they have room to grow. Once they’re planted, you can leave them over the winter.
If you need to protect the spring bulbs from squirrels or other garden critters and rodents, stake chicken wire over the garden beds or cover them with wire cages or cloches.
Do You Have to Water Spring Bulbs Before Blooming?
Yes, hydrating your newly planted spring bulbs right after planting is key. This initial watering will help settle the soil around the bulbs and provide the moisture they need to start rooting.
After that, you can ease up on the watering through the winter, especially since they’ll be getting plenty of moisture from rain and snow.
When you see those first shoots in spring, start watering more if the weather is dry to help them along until they bloom.
Can You Grow Spring Bulbs in Containers?
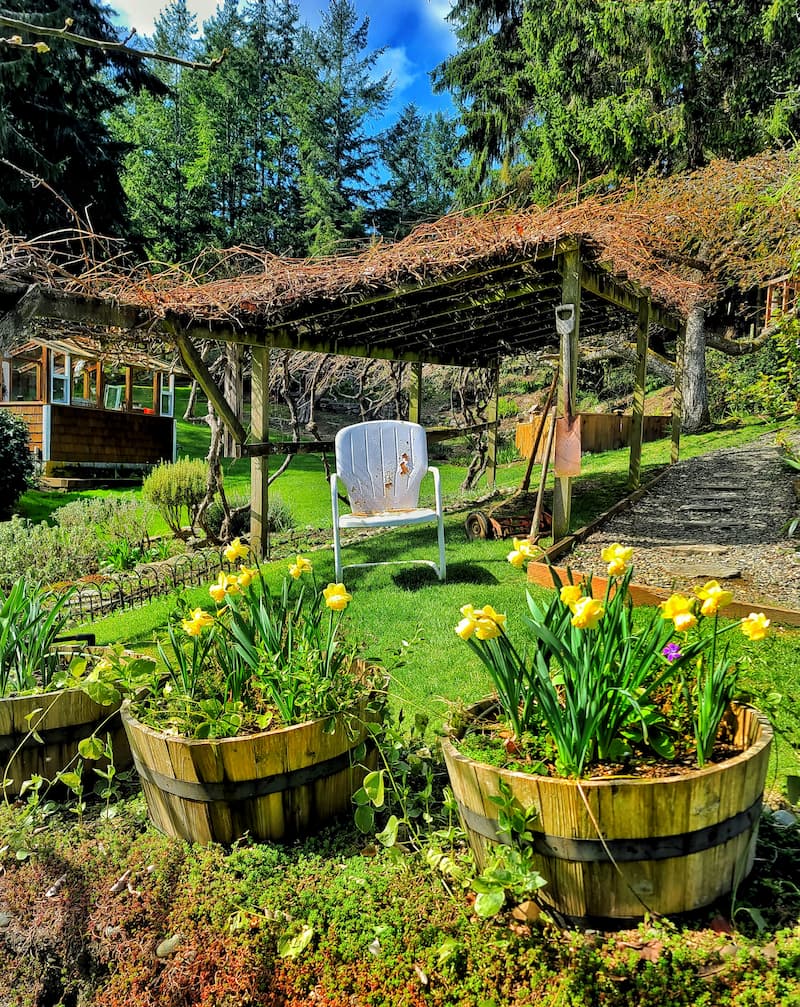
Absolutely! Growing spring bulbs in containers is a wonderful way to brighten patios, balconies, or any outdoor space.
It’s important to choose a container deep enough for your bulbs and ensure it has good drainage holes. Fill the container with potting mix and plant the bulbs at the same depth you would in the garden. Water them, then place the container in a cool, dry spot over winter.
Once the bulbs sprout in spring, move the container to a sunny spot to enjoy the blooms.
Spring Bulb Care After Blooming
In the life of the flowers in your garden, the care you give your spring bulbs after they bloom is just as important as the preparations you make before their buds open.
In this phase, your bulbs recharge, and food will be stored to prepare for the following year. The essentials of post-bloom care, from watering and deadheading to managing foliage, are simple but crucial for ensuring your bulbs remain strong in your garden year after year.
Be sure to add organic matter such as compost to the soil after the blooms have bloomed. This will give them the nutrients they need for next year’s growth.
Watering Spring Bulbs After Blooming
Keep watering your spring bulbs even when the flowers are starting to fade away. This is crucial for the bulbs to gather energy for next year’s bloom.
For best results, provide a steady water supply, especially if the spring season is drier than usual. Keep the soil moist but not soggy.
This helps ensure the bulbs remain healthy and are well-prepared to go dormant until the next growing season. Once the foliage has yellowed and died, you can reduce watering as the bulbs enter dormancy.
Deadheading Spring Bulb Flowers
Deadheading, or removing spent flowers, is a simple way to care for your spring bulbs after they bloom. This process prevents the bulbs from expending energy on seed production, encouraging them to store more energy for the next year’s flowers instead.
To deadhead, cut off the faded flowers at the stem below the flower head, being careful not to remove any bulb foliage since the leaves are still gathering sunlight to nourish the bulb below.
Caring for Spring Bulb Foliage
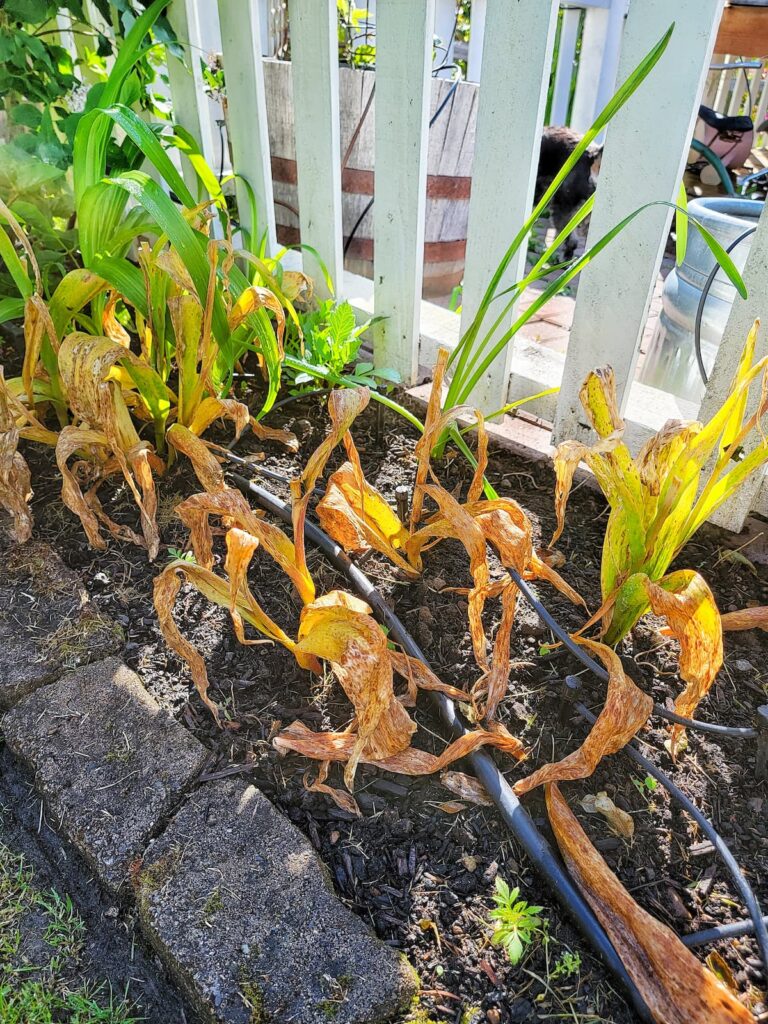
After the blooms have faded, it’s always tempting to tidy up the garden by cutting back the foliage of spring bulbs, but patience is key here.
The leaves are still hard at work, photosynthesizing and sending energy down to the bulb for next year’s growth. Wait until the leaves have turned yellow and withered before removing them.
You can gently tug on the leaves; if they come away easily, it’s safe to remove them. If they resist, leave them a bit longer. During this period, continue to water and even consider a light application of bulb fertilizer to support their growth and replenishment.
You can get more specific information and tips on my blog post The Perfect Time to Cut Back Spring Bulb Flowers and Foliage.
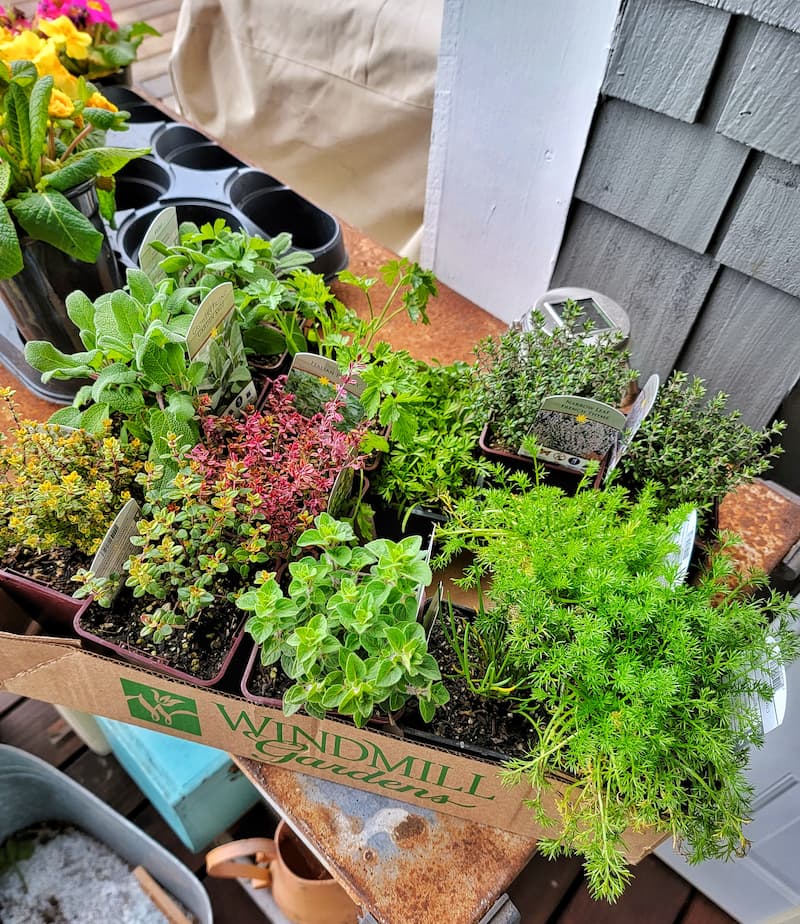
Garden Supplies and Tools
Check out my favorite garden supplies and tools for the growing season. Whether you’re looking for potting soil or deer repellent, you’ll find what I use in my own garden.
How to Store Bulbs for Next Year
Storing bulbs correctly is an important step in a gardener’s year-round calendar, allowing them to rest and rejuvenate for next year.
I’ll share some tips on how to carefully dig up, store, and transplant your flower bulbs and how to overwinter them to protect them against cold weather.
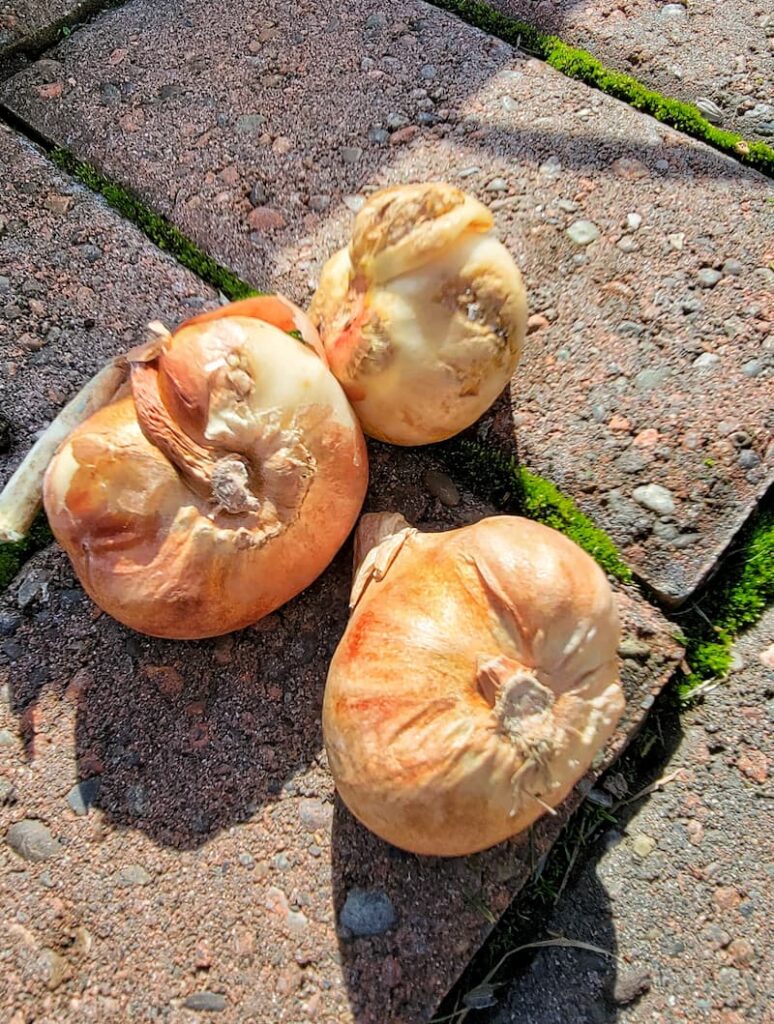
Digging Up Bulbs and Storing
Once the foliage of your bulbs has yellowed and died back, it’s a sign that they’re ready to be lifted from the ground, especially if you live in an area with wet winters or are dealing with tender bulbs that don’t do well in the cold.
Gently dig around the bulbs, being careful not to nick or cut them, and lift them from the soil. Brush off any excess dirt and let them dry in a cool, dry place for a few days.
Once dry, store the bulbs in mesh bags or paper bags filled with dry peat moss or vermiculite to keep them from touching and to ensure good air circulation. Keep them in a cool, dark place until it’s time to plant them again.
How to Transplant Flower Bulbs
Transplanting flower bulbs allows you to refresh your garden layout, propagate your bulb collection, or remove bulbs from overcrowded conditions.
The best time to transplant is after the foliage has died back, but you can still locate the bulbs easily. Carefully dig the spring-blooming bulbs up, keeping as much of the root intact as possible.
Before replanting, prepare the new site by loosening the soil and adding some compost for nutrients. Plant the bulbs at the same depth they originally grew, and water them well to settle the soil around the roots.
Overwintering Flower Bulbs
Overwintering bulbs is essential to protecting tender varieties from cold damage or preparing hardy bulbs for winter rest. For hardy bulbs that can stay in the ground, consider mulching the bed with thick straw or leaves to insulate them from extreme cold.
Tender bulbs, on the other hand, should be dug up and stored indoors. After cleaning and drying them, place the bulbs in a cool, dry area, like a garage or basement, that stays above freezing but below 60°F (15°C). This period of dormancy is crucial for their survival and for ensuring a healthy bloom cycle in the next growing season.
Gardening Made Simple – Your Guide to Beginning Gardening
Common Questions About Caring for Spring Bulbs
Do Bulbs Bloom More Than Once?
Absolutely! Many are naturally perennial bulbs, which means they’re created to bloom year after year. Bulbs like daffodils and hyacinths can continue to give you blooms with vibrant colors for multiple seasons.
However, their ability to rebloom can depend on a few factors:
For best results, ensure your bulbs are planted in well-draining soil, receive enough sunlight, and are properly nourished and deadheaded after their bloom period.
Some bulbs, especially certain varieties of tulips, might not perform as vigorously in the following years. Others, like daffodils, tend to multiply each spring.
To keep your garden lively year after year, consider adding new bulbs each fall, ensuring a continuous display of spring flowers.
How Many Years Do Daffodil Bulbs Last In the Ground?
Daffodil bulbs are among the hardiest and long-lived bulbs you can plant in your garden. They can remain in the ground and bloom beautifully each spring for five years or more with the right conditions.
Daffodils thrive in well-drained soil and areas with full to partial sunlight. One secret to their longevity is their naturalization ability, which means they can spread and produce more bulbs over time.
What Can You Plant On Top of Bulbs?
Planting over bulbs is a great way to maximize garden space and enjoy a succession of blooms from spring through fall.
When choosing plants to grow over bulbs, look for ones with shallow roots that won’t disturb the bulbs below. Annuals, ground covers, or perennials that bloom later in the season are perfect companions.
Consider planting low-growing annuals like pansies or marigolds to add color and interest to your garden after the bulb flowers have faded.
Ground covers such as creeping thyme or sedum work well for a more permanent solution. They help keep weeds at bay without competing heavily with the bulbs for nutrients. Allow enough space for the bulb foliage to die back naturally, as this process helps the bulbs store energy for the next year’s bloom.
Final Thoughts for Growing and Caring Spring Bulbs

When using these gardening tips, your fall-planted bulbs will reward you with spring-blooming flowers in the garden.
If you have any questions or additional suggestions, please share them in the comments below. And be sure to share this blog post link with anyone who may find these gardening tips useful.
Until next time,
Happy Gardening!
I’m a self-taught hobby gardener. Everything I share on my blog is my opinion and what has worked for me.
MORE POSTS
For You To Enjoy
Follow Me for More Inspiration
Shop my Amazon Storefront, LTK sources, and my favorite home decor, garden, and lifestyle products. When you purchase from one of my links, I earn a small commission, which helps me continue sharing all the content you expect on my blog.
Follow me on Pinterest, Instagram, Facebook, TikTok and LIKEtoKNOW.it. Do you like gardening? Join my Facebook Gardening Tips & Tricks group.

Kim, when I lived back east, bulbs just kept growing every spring. But here in Phoenix, I think our bulbs last maybe two years. Like you, I need to plant more every year. I did take them out once, but I obviously didn’t store them well because they never bloomed the following year. And one year, someone ate all the bulbs. After buying and planting 50 large aliums, those too never grew at all. I will keep trying because I love how all the tulips and hyacinths bloom around Easter. I have great success with iris though. Thanks for all the great information and tips.
Kim
I love spring bulbs. Ours are blooming so early this year and I’ll be so disappointed because they will be gone before I’m ready for them. Thanks for sharing all these fabulous tips. I’m going to pass them along next week on DRA.