
How to Set a Fall Table: A Simple Step-By-Step Guide

A beautiful fall table looks like it took all afternoon to create. Most of the time, it takes under an hour and a walk through the garden. The secret isn’t more stuff or a bigger budget. It’s a handful of small decisions made in the right order.
After years of setting seasonal tables in our cottage, I’ve landed on the same simple method every time. Here it is, step by step, so you can set a fall table that feels warm and gathered without any of the fuss.
As an Amazon affiliate, I earn a commission from qualifying purchases at no additional cost to you. My blog also features other affiliate links for your convenience. Click here to read my privacy policy.
What You Need to Set a Fall Table
Before you start, gather your pieces. You almost certainly have most of this already:
That’s the whole kit. Now here’s the order I put it together in.
Step 1: Choose a Simple Color Palette
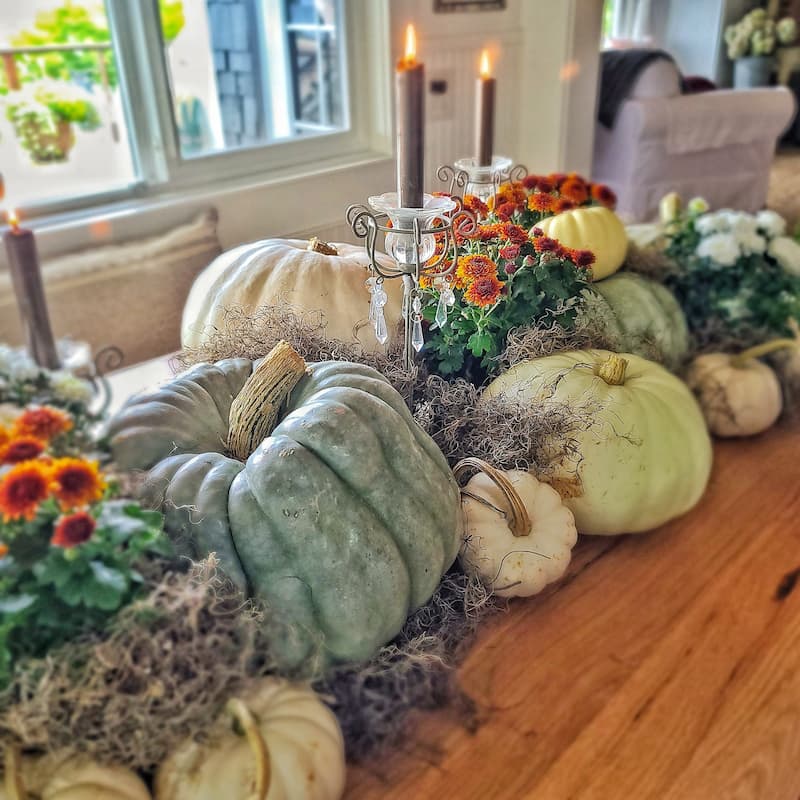
Everything gets easier once you pick two or three colors and stick to them. This is the single biggest difference between a table that looks styled and one that looks cluttered. It’s what lets you pile on the abundance without it turning into chaos.
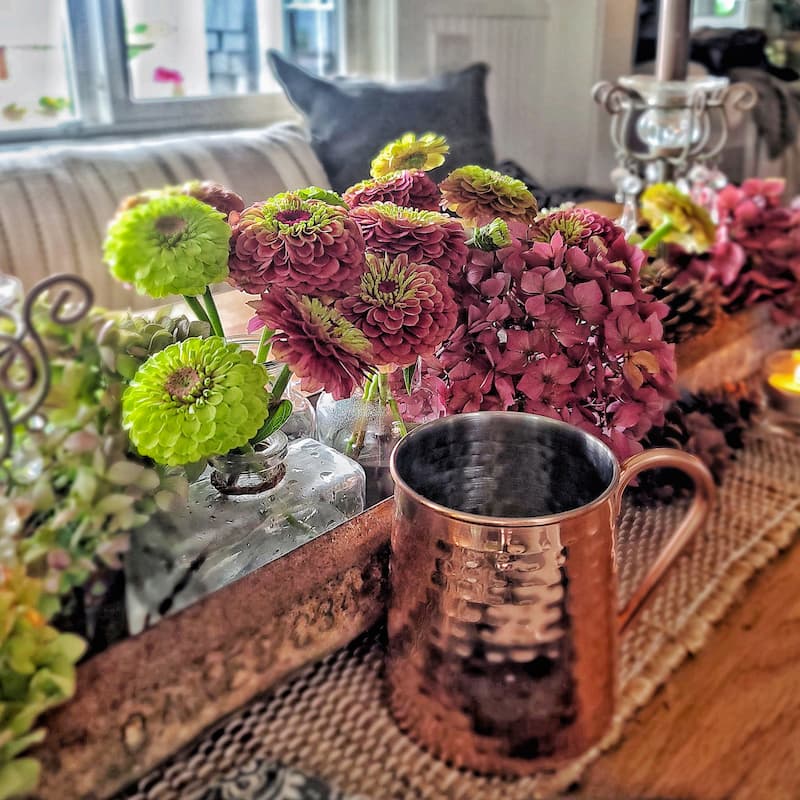
For fall in our cottage, I lean on muted, garden-grown tones: soft green, dusty rose, antique tan, warm rust, and creamy white.
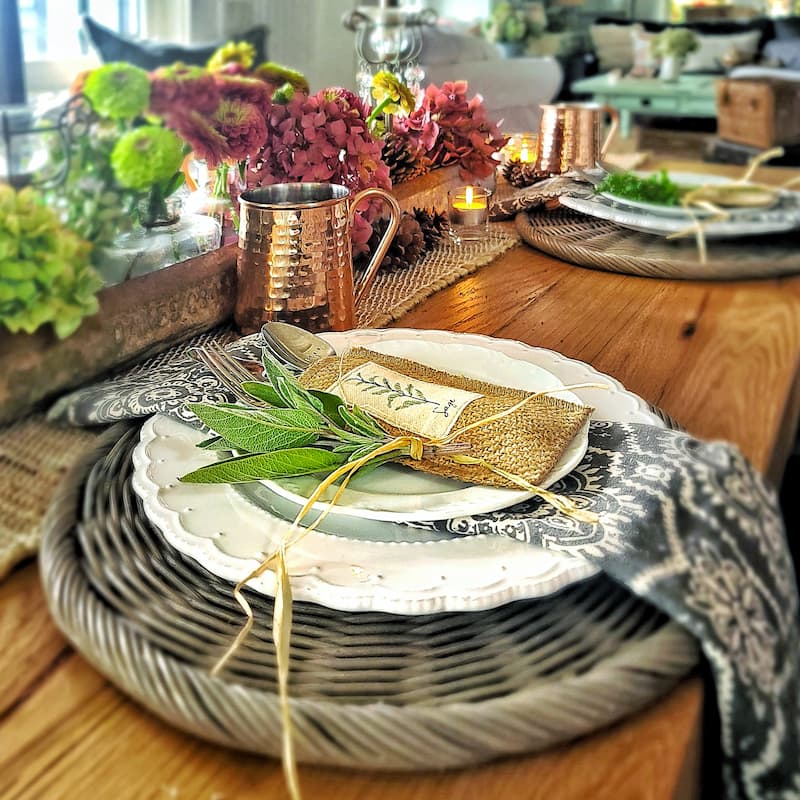
Pick what’s actually blooming or ripening outside your door and let that set the palette. It will always look right together because nature already made it match.
Step 2: Anchor the Center First
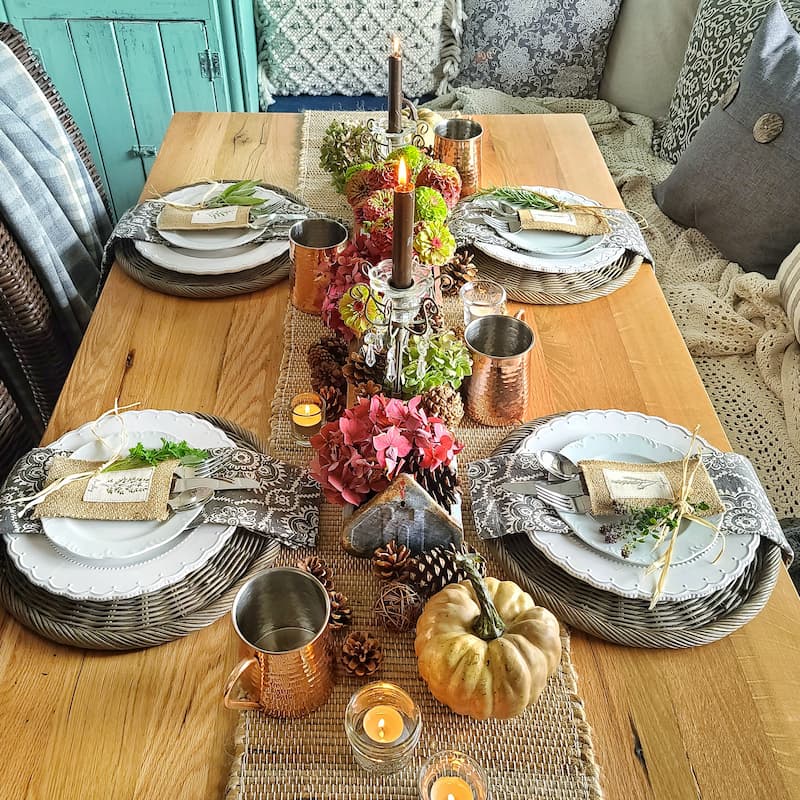
Lay down a runner or a length of natural fabric before anything else. It gives the whole table a spine to build on and quietly hides the bare stretch of tabletop. Burlap, jute, or a loose-weave linen all work beautifully for fall.
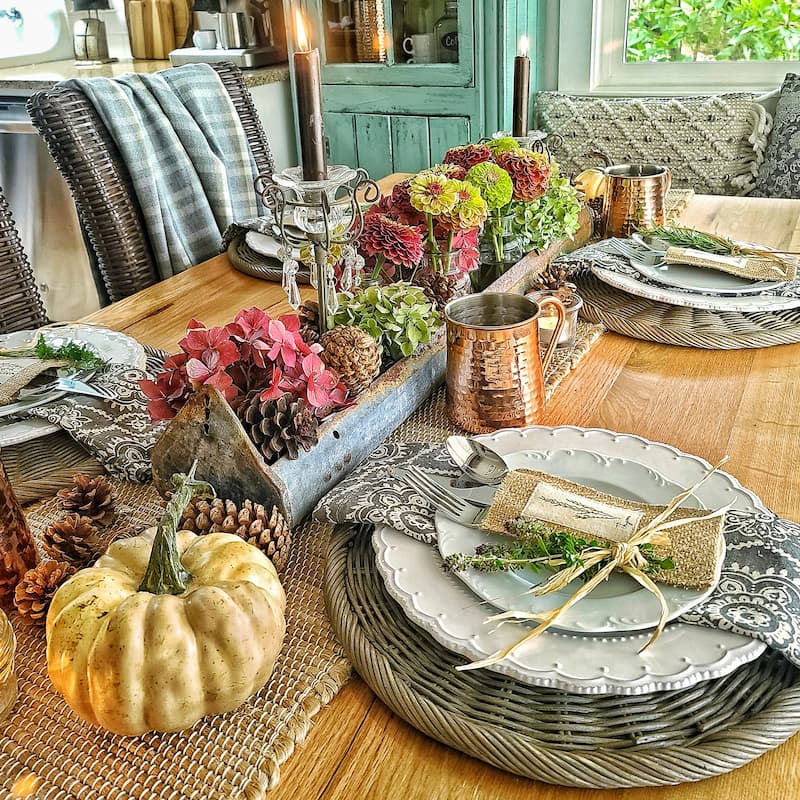
You can see this in action on my ‘herbs and hydrangeas’ table, where a rustic tray runs the length of the runner and holds the whole centerpiece together.
Step 3: Build the Centerpiece Low and Loose
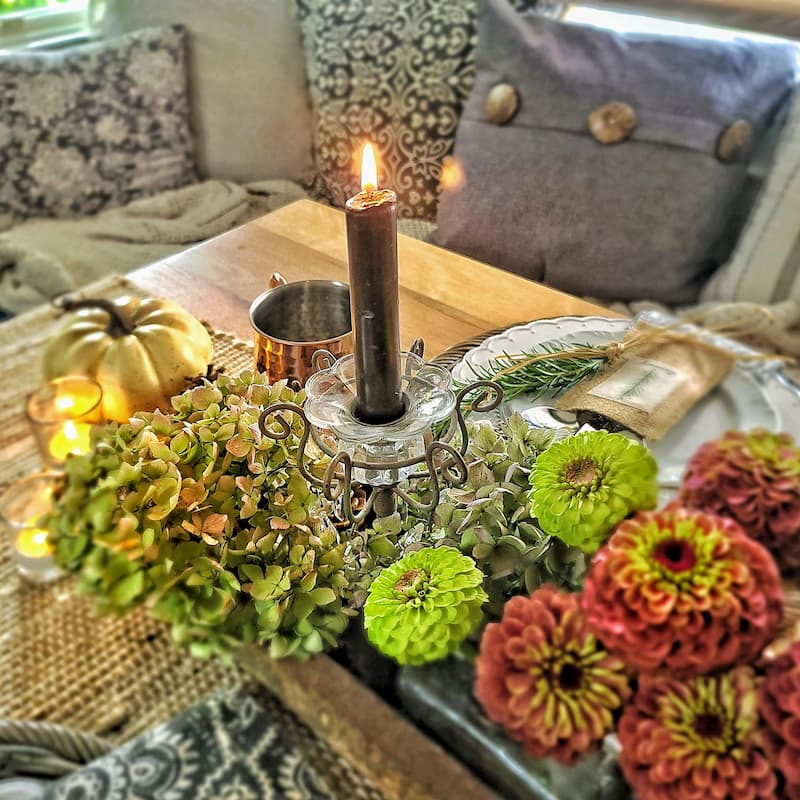
This is the heart of the table, and there’s one rule that matters more than any other: keep it low. Anything tall enough to block a face across the table has to go.
People need to see each other to talk, and a low, spreading centerpiece feels more gathered and generous than a tall formal arrangement anyway.
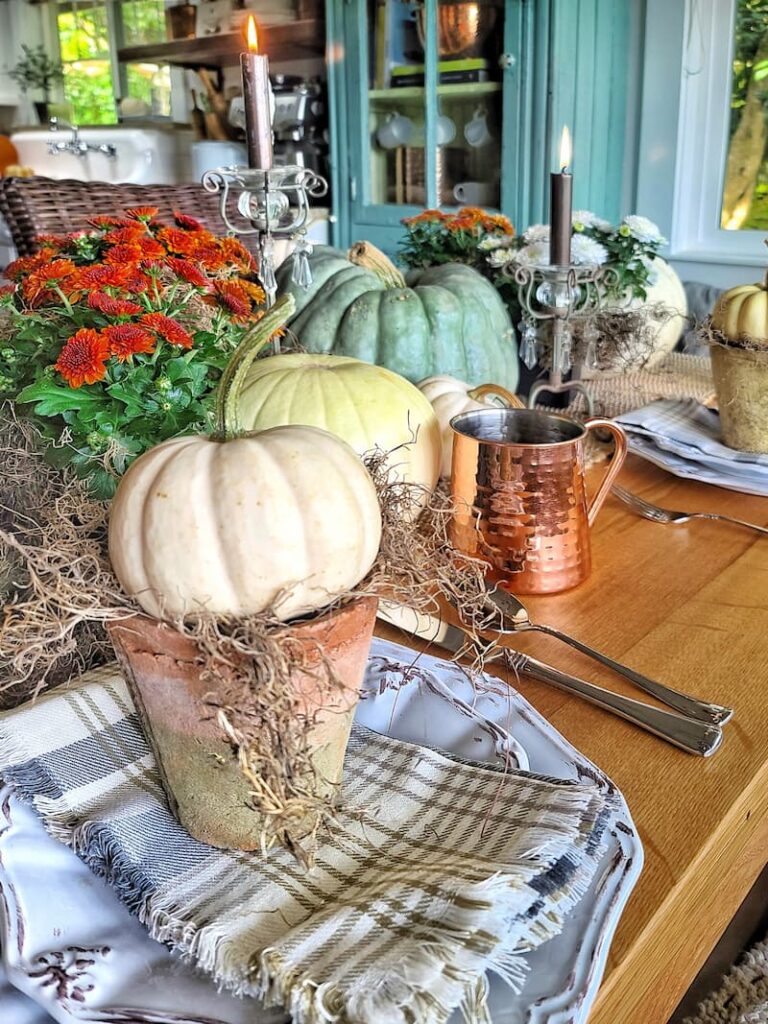
Build it loose and a little wild rather than tight and symmetrical.
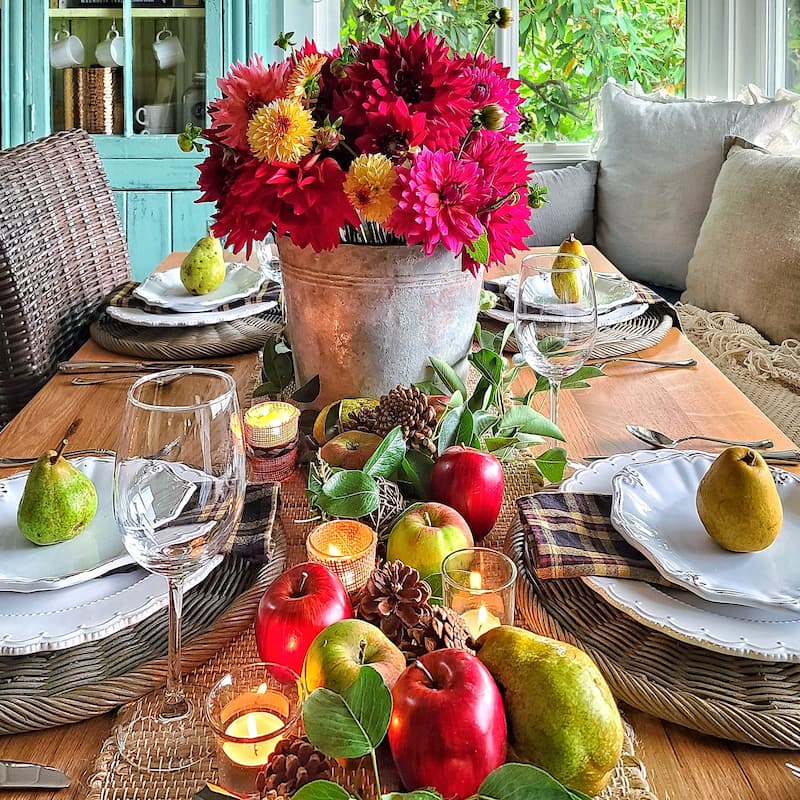
Cluster your main element down the center, whether that’s dahlias or garden fruit, dried hydrangeas, or a pile of heirloom pumpkins, and let it spill naturally toward the edges. Odd numbers and varied heights look more natural than matched pairs.
Step 4: Layer in Texture
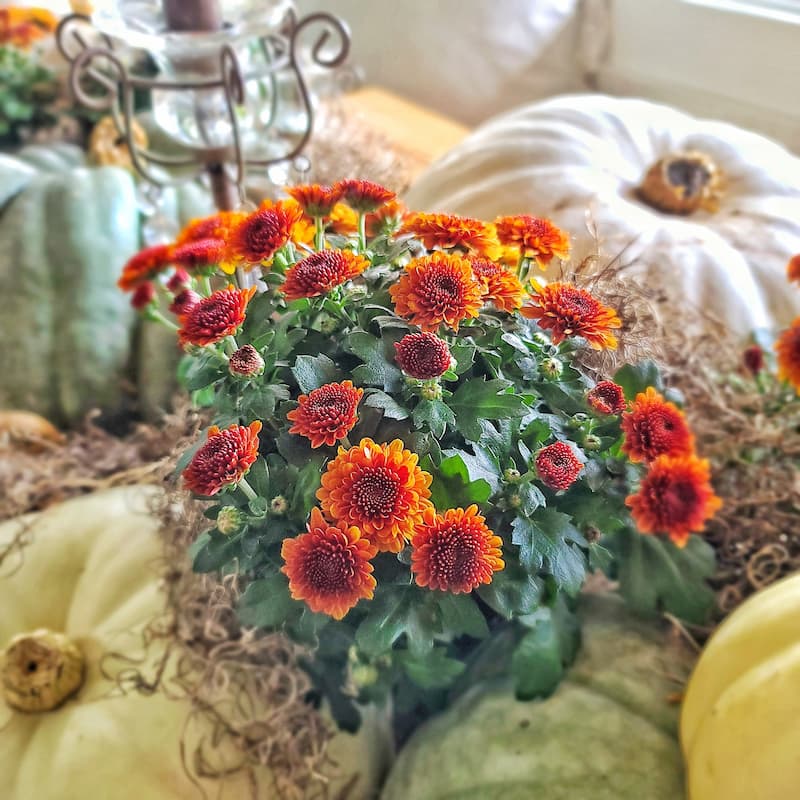
Once the main centerpiece is set, fill the gaps with texture. This is the step most people skip, and it’s what makes a table look finished. Tuck in foliage, pinecones, moss, or branches to soften hard edges and hide any containers or mechanics.
Spanish moss is my secret weapon here. Tucked between pumpkins or around the base of a pot, it covers anything you don’t want seen and makes the whole arrangement flow like it grew that way. A few pinecones gathered from under the trees do the same job for almost nothing.
Step 5: Set Each Place With a Personal Touch
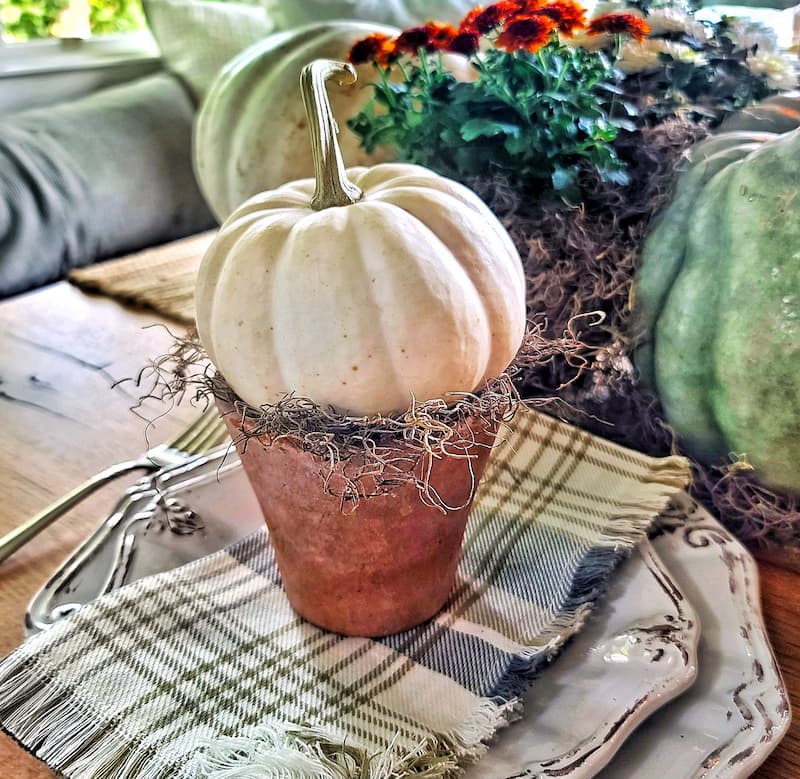
Keep the place settings simple so the centerpiece stays the star: a woven charger, a plain plate, a soft napkin. Then add one small personal detail at each seat.
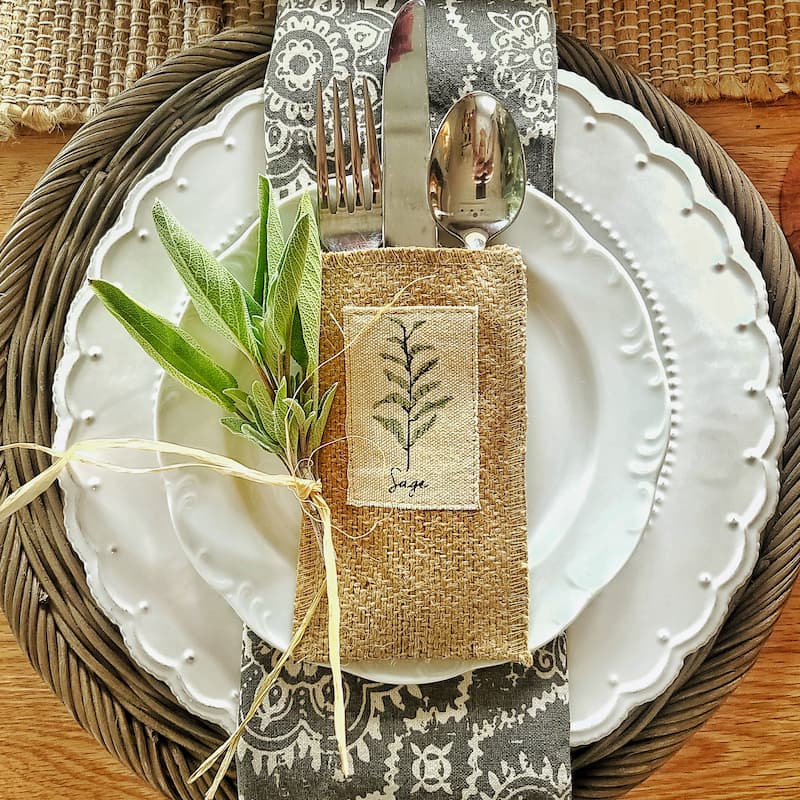
A sprig of fresh herbs tied with twine, a single pear, or a mini pumpkin in a little terra cotta pot that doubles as a take-home gift. This is the touch people remember, and it costs next to nothing.
Step 6: Add Warm Metal and Candlelight
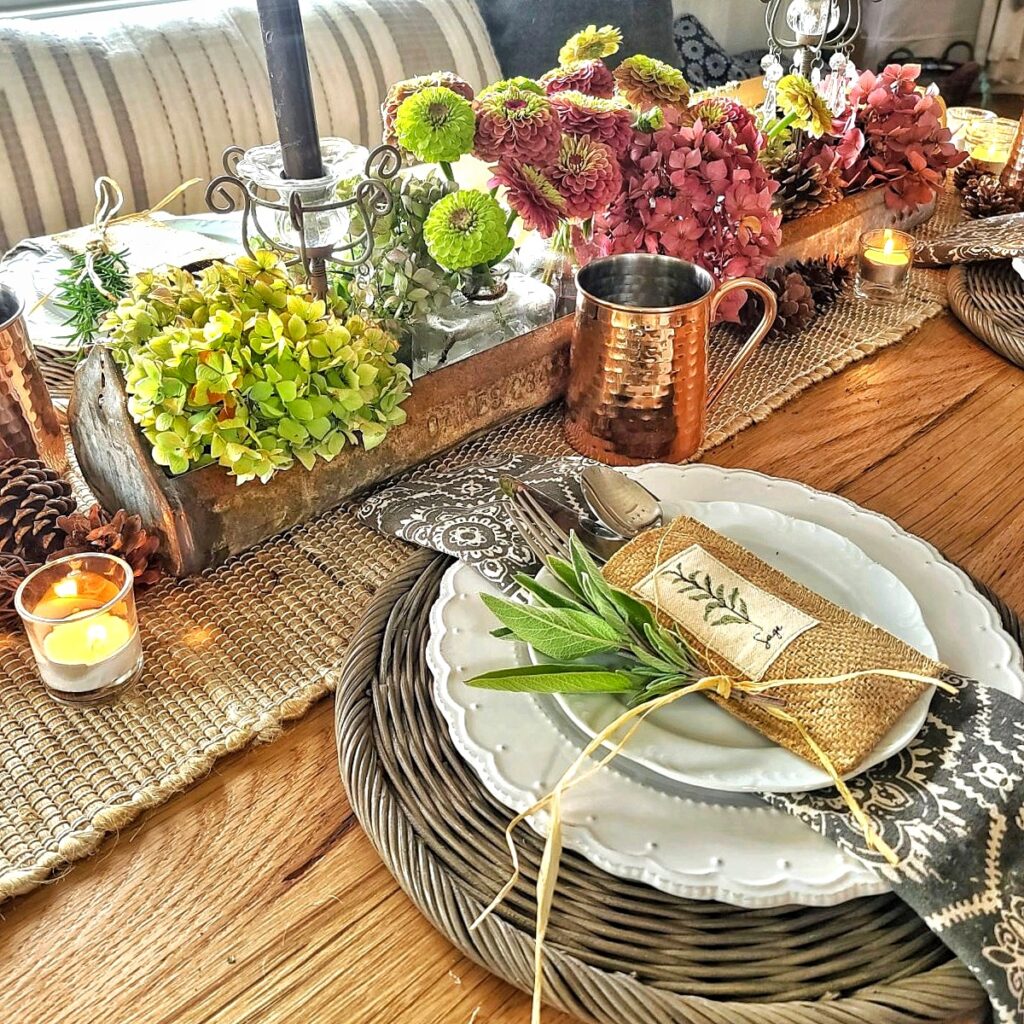
Finish with glow. A few pieces of copper down the table, mugs, a pitcher, whatever you have, catch the light and warm up all those cool garden tones.
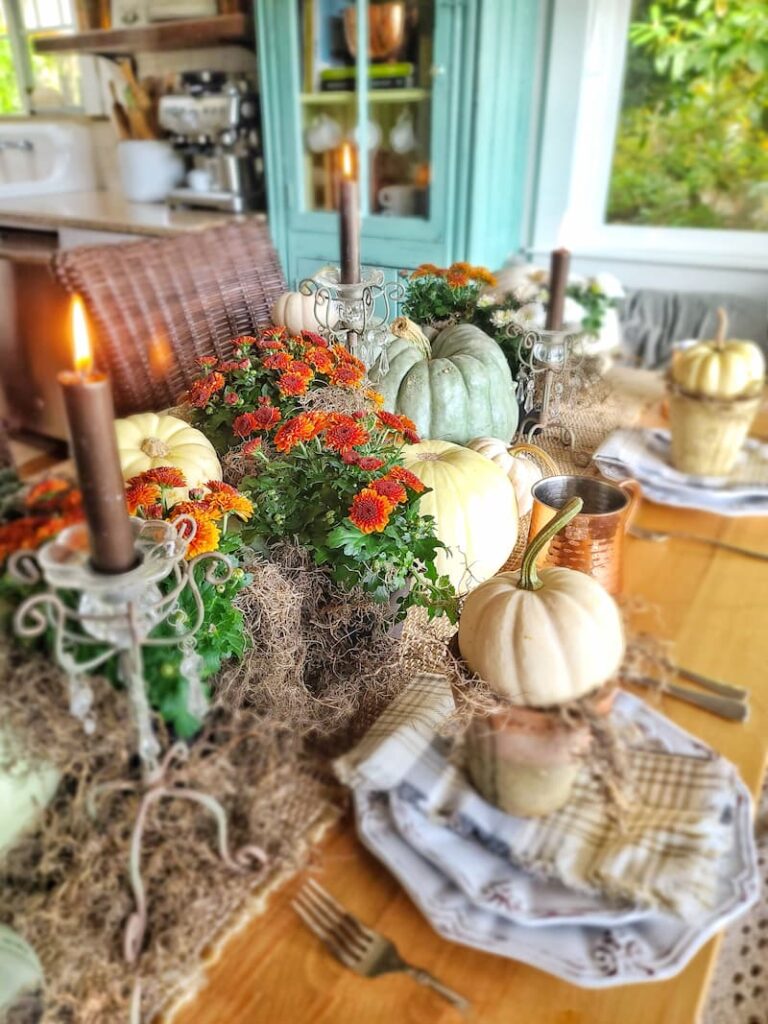
Then candles, and plenty of them. Tea lights and glass holders down the runner, a taper or two in the centerpiece.
Light everything at dusk. This is the moment the whole table softens and comes alive, and it matters more and more as fall evenings get dark early. If you do nothing else, do the candles.
Common Fall Table Mistakes to Avoid
Fall Table Setting Questions and Answers
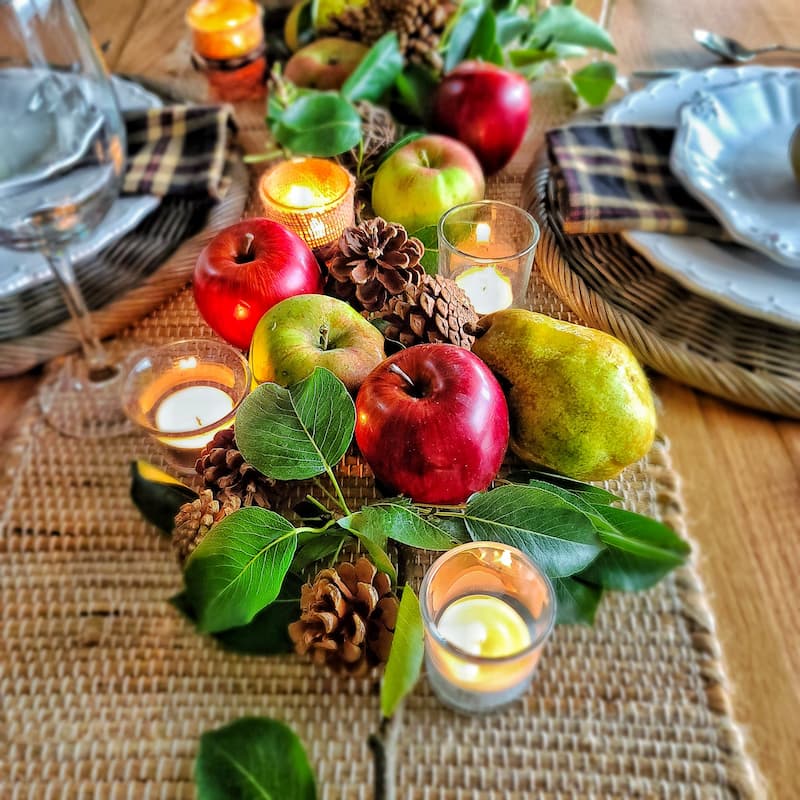
Start with a runner to anchor the center, then build a low centerpiece from natural elements like flowers, pumpkins, or foliage. Fill the gaps with texture like moss or pinecones, keep the place settings plain with one small personal touch, and finish with copper and candlelight.
Keep it low. A centerpiece should never be so tall that guests can’t see each other across the table. A low, loosely arranged centerpiece feels more gathered and lets conversation flow, which matters more than height or formality.
Use what grows outside and what you already own. Garden flowers, foliage, fruit, pumpkins, pinecones, and moss cost little or nothing, and plain dishes with candlelight do the rest. A tight color palette makes inexpensive, gathered elements look intentional.
Muted, garden-grown tones work beautifully: soft green, dusty rose, antique tan, warm rust, and creamy white. Choose two or three and stick to them.
Pulling your palette from what’s actually blooming or ripening outside guarantees the colors work together.
You can see the dishes, runner, and durable elements like pumpkins a day ahead. Fresh cut flowers, fresh herbs, and lit candles are best added the day of, so cut and arrange fresh material a few hours before guests arrive for the freshest look.
See the Method in Action
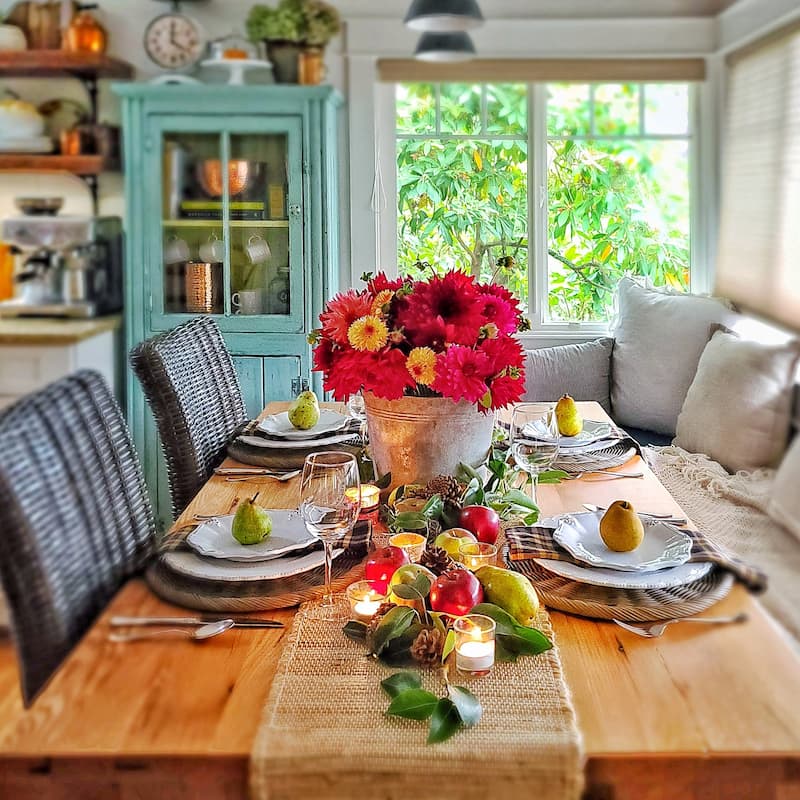
Once you have the steps down, the fun is in the variations. Here are three fall tables I’ve set using this exact method, each with a different star:
Until next time,
Happy Decorating!

MORE POSTS
For You To Enjoy
Follow Me for More Inspiration

Beautiful
Thank you!