
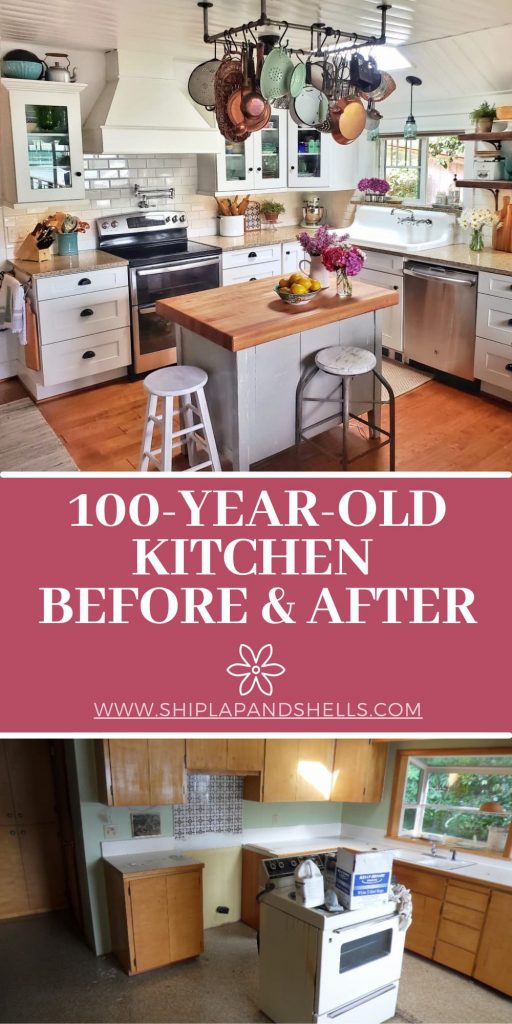
1920 Beach Cottage Kitchen Before and After: A Transformation Ten Years in the Making
If you love a good before-and-after, this one’s for you. Our 1920 beach cottage kitchen started out dark, dated, and working against us at every turn. The layout made no sense, the storage was almost nonexistent, and the laminate countertops and tired cabinetry made the whole space feel smaller than it already was.
It had potential. It just needed about a decade of love, a tight budget, and a lot of patience.
Over nearly ten years, we renovated this kitchen in phases, making thoughtful changes along the way while trying to preserve the character of our hundred-year-old home. From painting old cabinets to uncovering original shiplap, every phase brought us a little closer to the kitchen we had always imagined.
Let’s start at the very beginning.
As an Amazon affiliate, I earn a commission from qualifying purchases at no additional cost to you. My blog also features other affiliate links for your convenience. Click here to read my privacy policy.
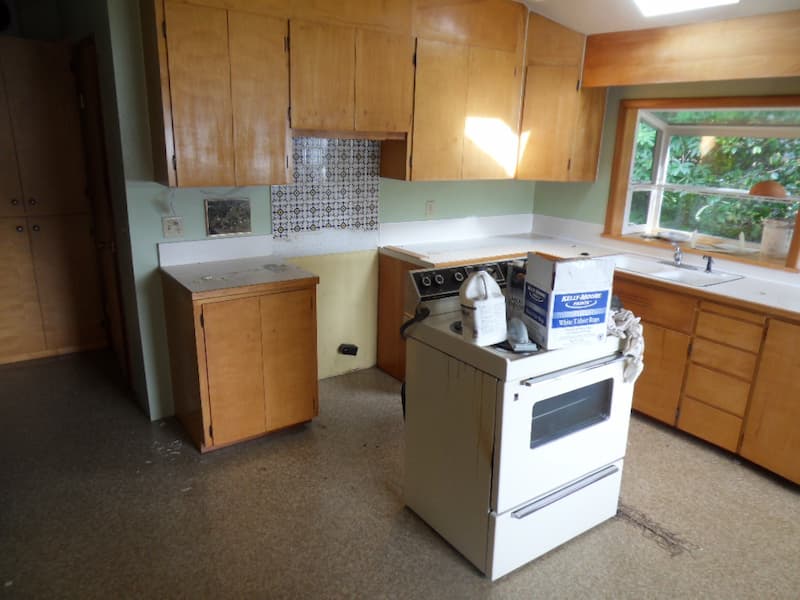
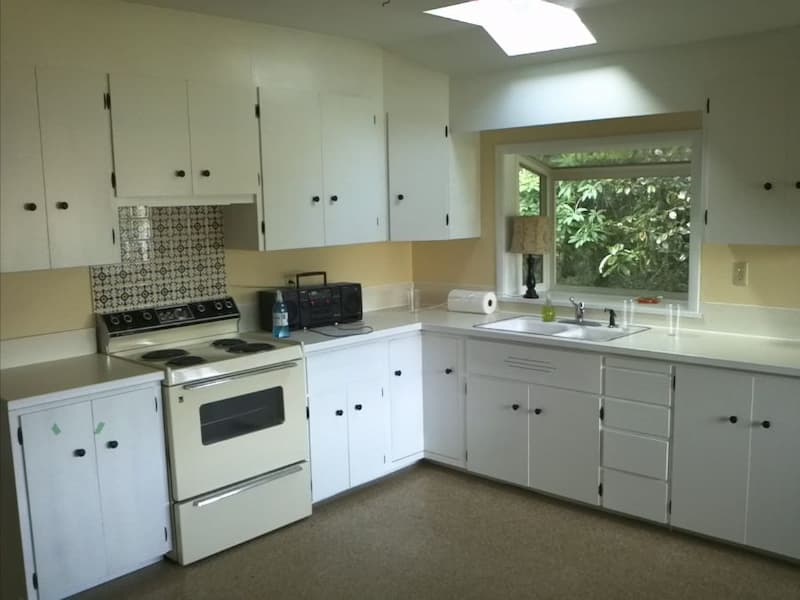
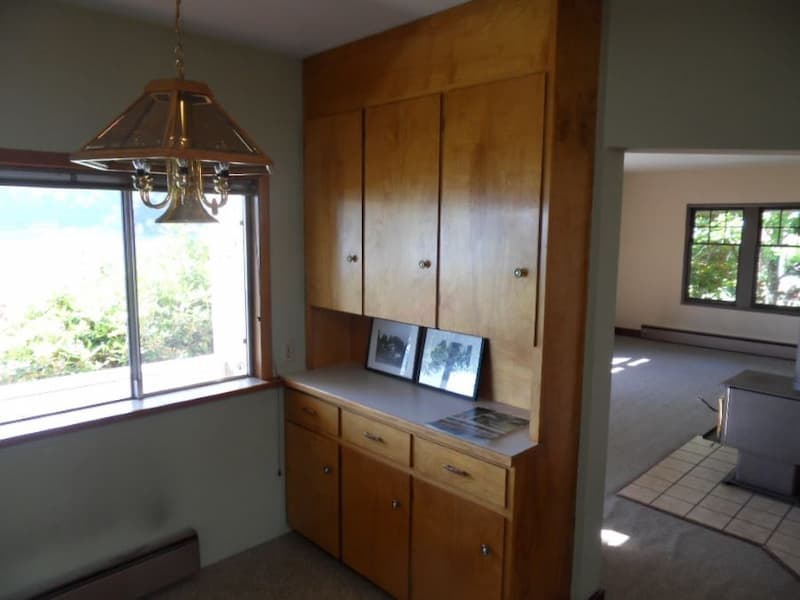
Before the Renovation: A Kitchen Frozen in Time
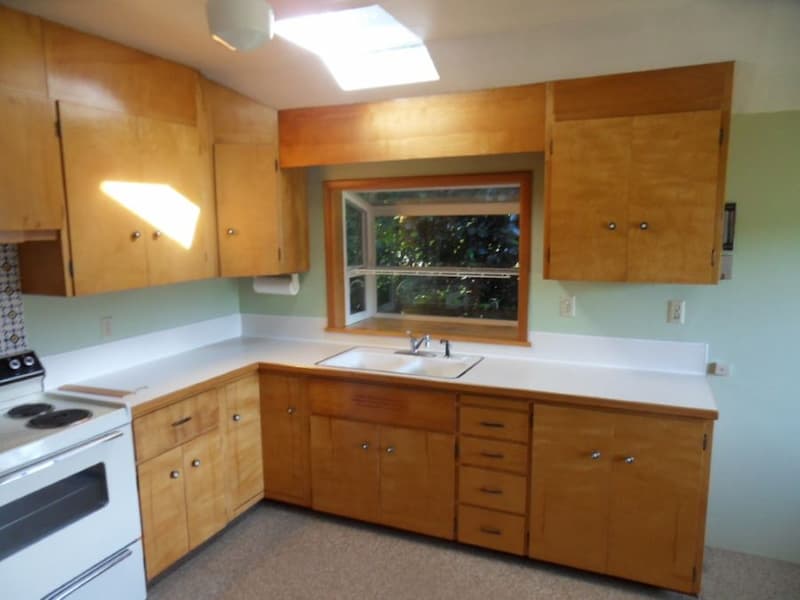
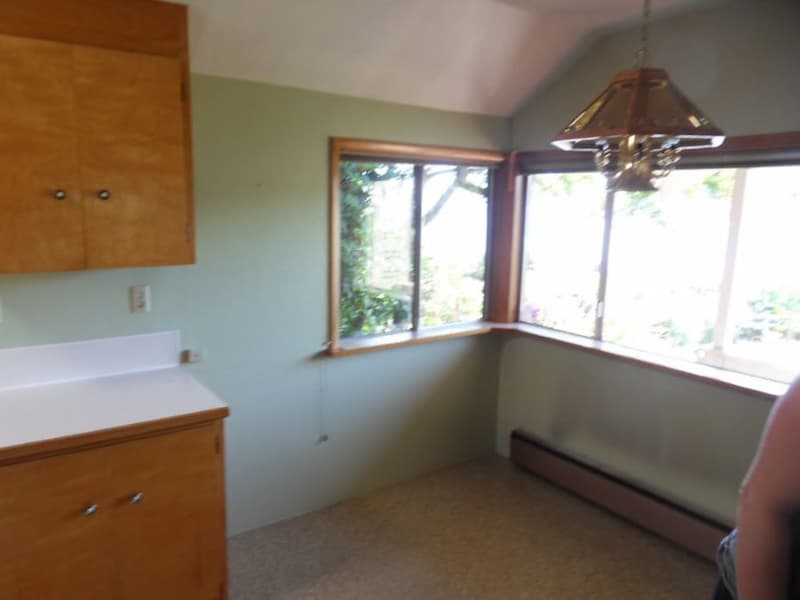
When we first moved in, the kitchen felt like it hadn’t been touched since sometime in the middle of the last century. Single-pane windows. Laminate countertops. A greenhouse window that, charming as it sounds, mostly just collected condensation. The appliances were old and inefficient, the trim needed attention, and the layout just didn’t work for the way we actually lived.
I’m still not entirely sure when those cabinets were originally installed, but they had clearly seen better days.
Like a lot of old houses, though, you could feel the potential underneath it all. It just needed someone willing to do the work.
Phase 1: Fresh Paint, New Floors, and the First Big Improvements
Since we were working with a tight budget, we started with the updates that would make the biggest visual impact without requiring us to touch a single load-bearing wall.
We painted the existing cabinets white and swapped out the hardware, knowing full well they’d eventually be replaced.
The walls got a fresh coat, too. Yes, yellow, which I was very into at the time and will neither confirm nor deny in retrospect. New light fixtures went up, and the trim was updated.
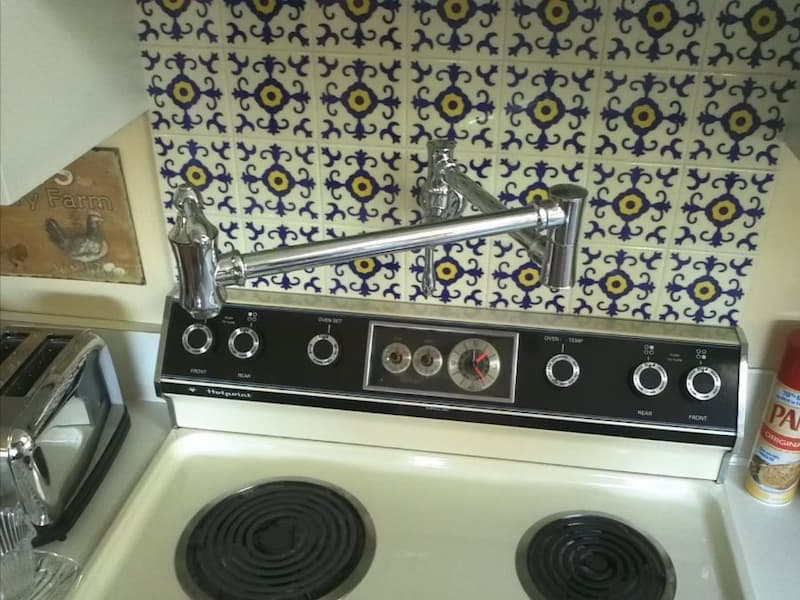
One detail I had wanted for years: a pot filler above the stove. Small upgrade, great satisfaction. I still love it.
A side note worth sharing: when we eventually tore out the old tile behind the stove during the full renovation, we saved the broken pieces and used them to create a mosaic path in the dog run out back. Finding ways to reuse parts of this old house whenever possible has always felt right to me.
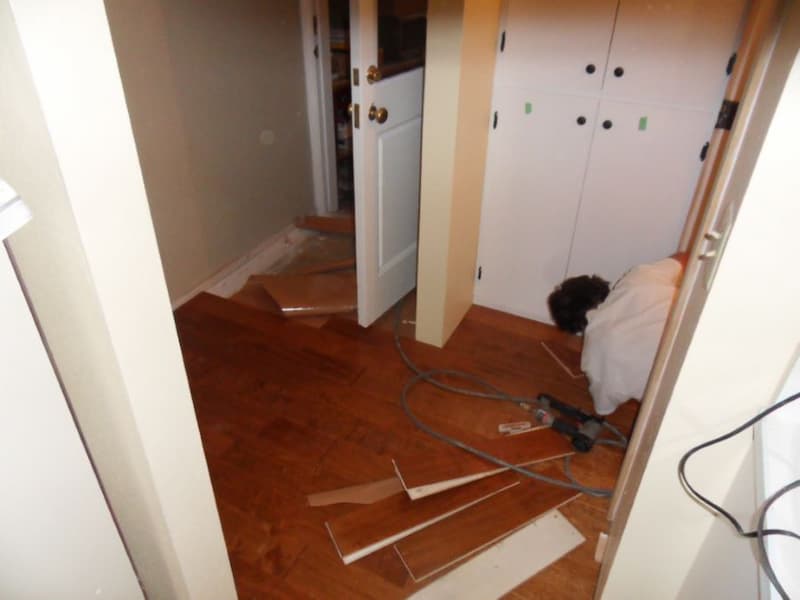
We installed hardwood floors throughout, which immediately made the kitchen feel warmer and more connected to the rest of the house.
Phase 2: New Windows, Better Plumbing, and a Better Layout
Not every phase of a renovation is glamorous. This one was mostly about function, and it made daily life so much easier.
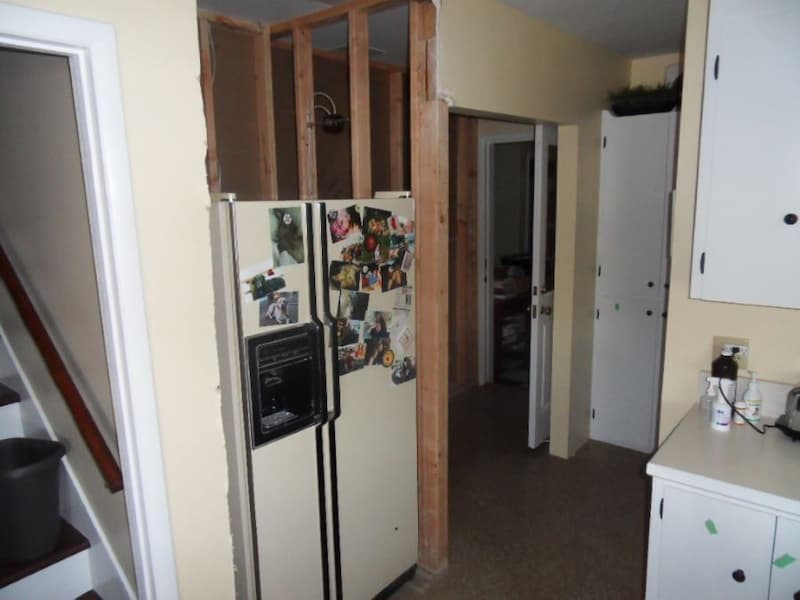
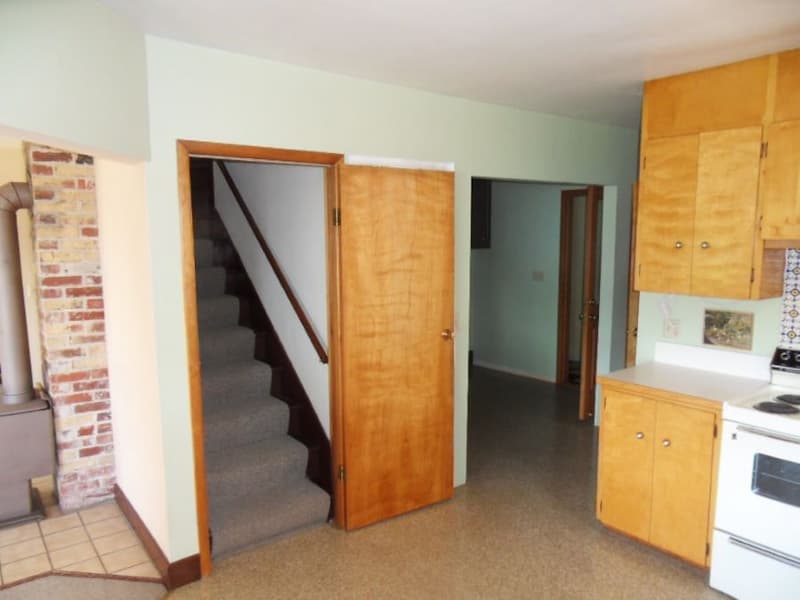
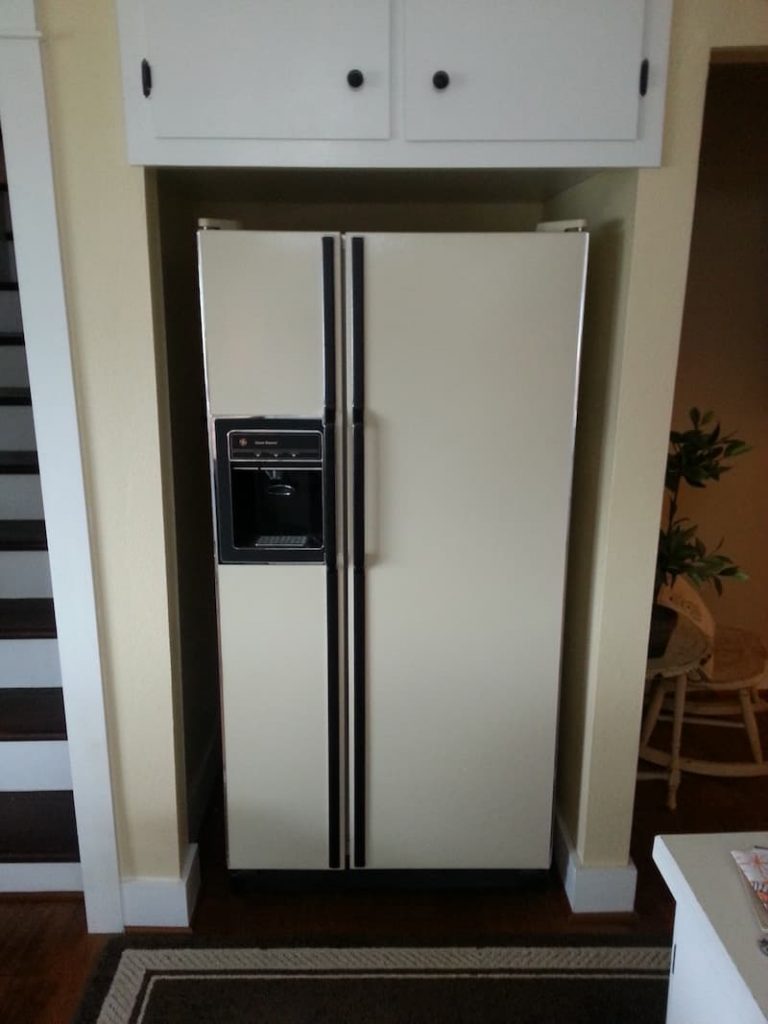
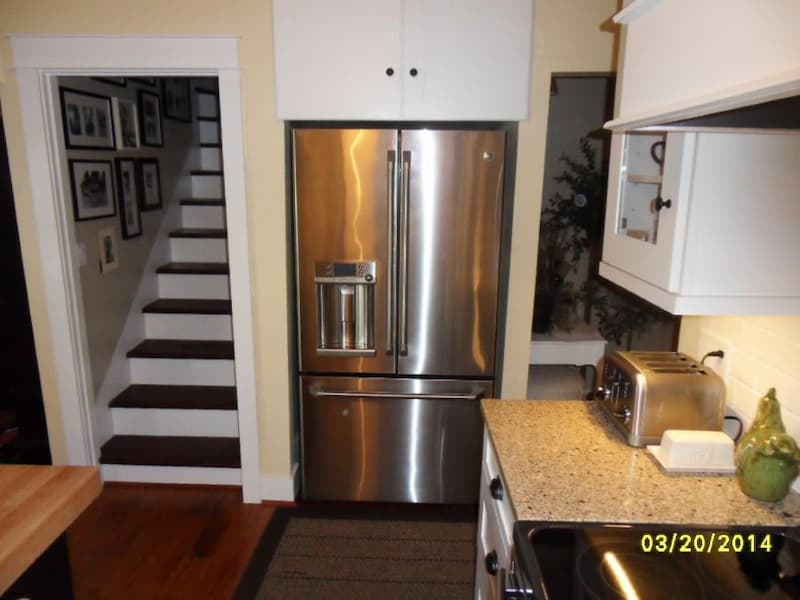
The refrigerator had always been tucked behind a wall near the hallway, completely disconnected from the rest of the kitchen. By removing an old stairway door and reworking that corner, we were able to bring it into the main kitchen space, where it actually belonged.
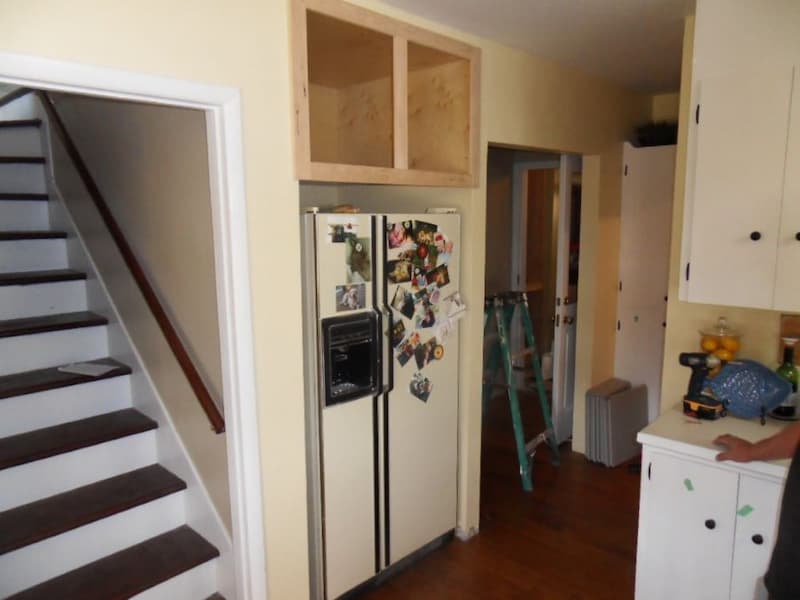
Above it, we added a deep cabinet for holiday platters, occasional-use appliances, and all those things that don’t have a proper home anywhere else.
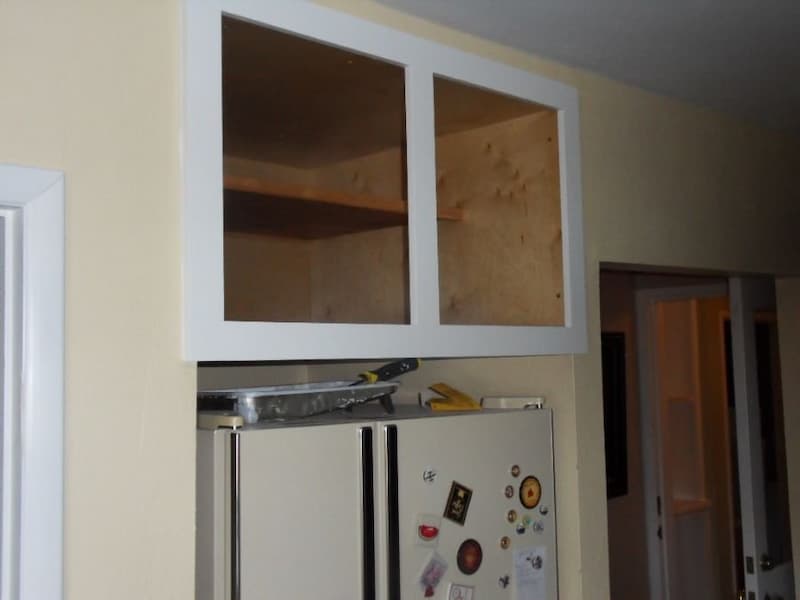
Unglamorous, yes. Incredibly practical, absolutely.
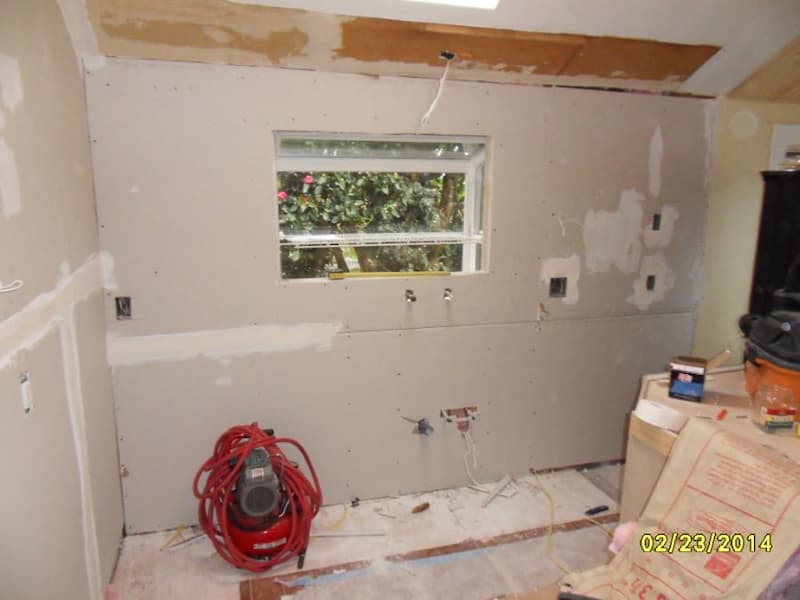
This phase also brought new dual-pane windows to replace the original single-pane ones. The originals had plenty of charm. They were also responsible for the daily ritual of squeegee-ing condensation off the glass every single winter morning, which got old fast.
The new windows made the kitchen noticeably more comfortable, and adding extra-wide trim gave everything a more polished, classic look that suited our cottage perfectly.
Phase 3: Down to the Studs
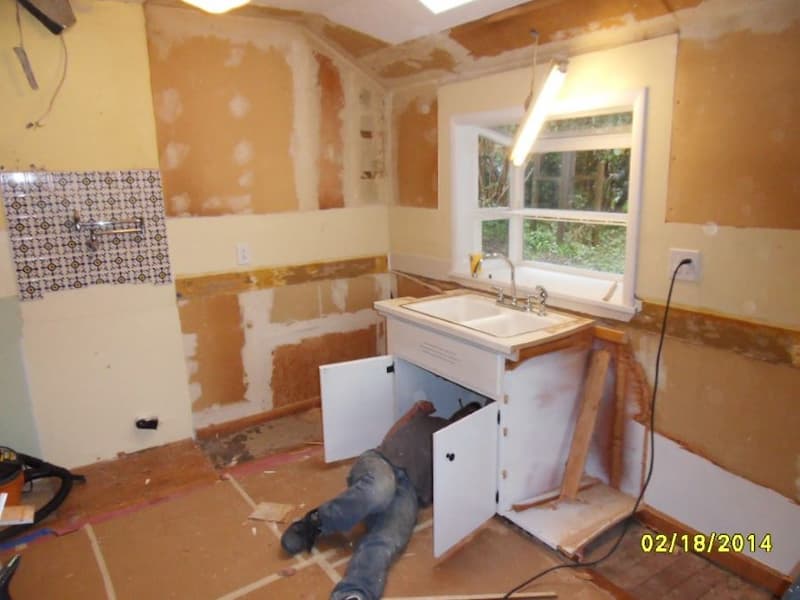
This was the phase that changed everything.
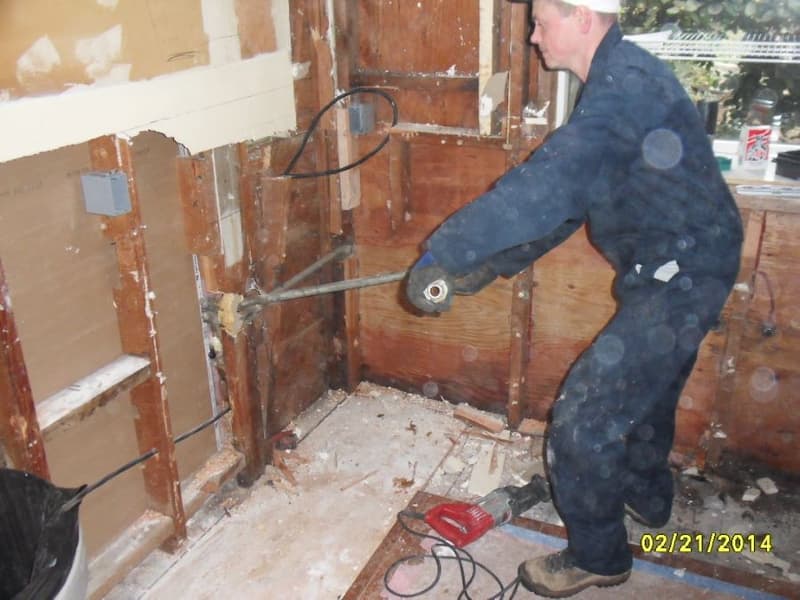
What started as a plan to replace a few things turned into a full gut renovation once we opened up the walls and found water damage and poor insulation.
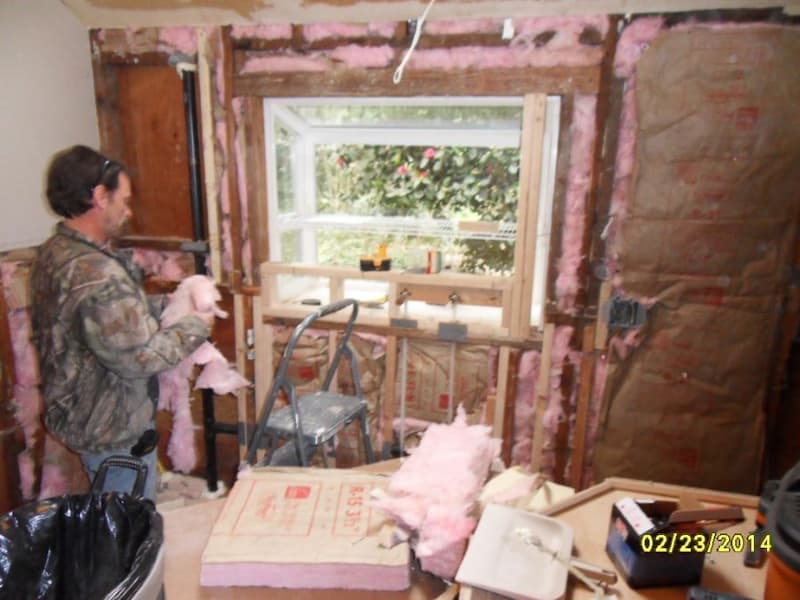
It felt overwhelming in the moment, but it gave us the chance to do things properly and build the kitchen we had actually been dreaming about.
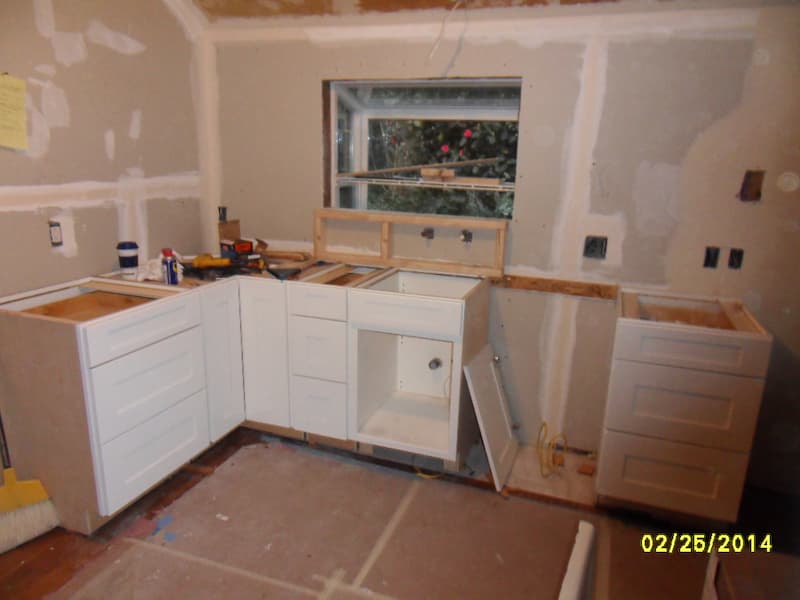
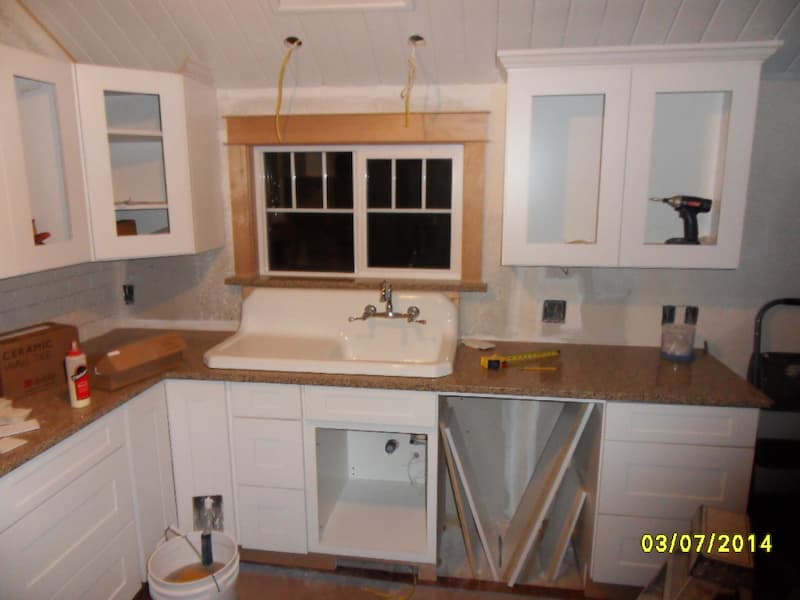
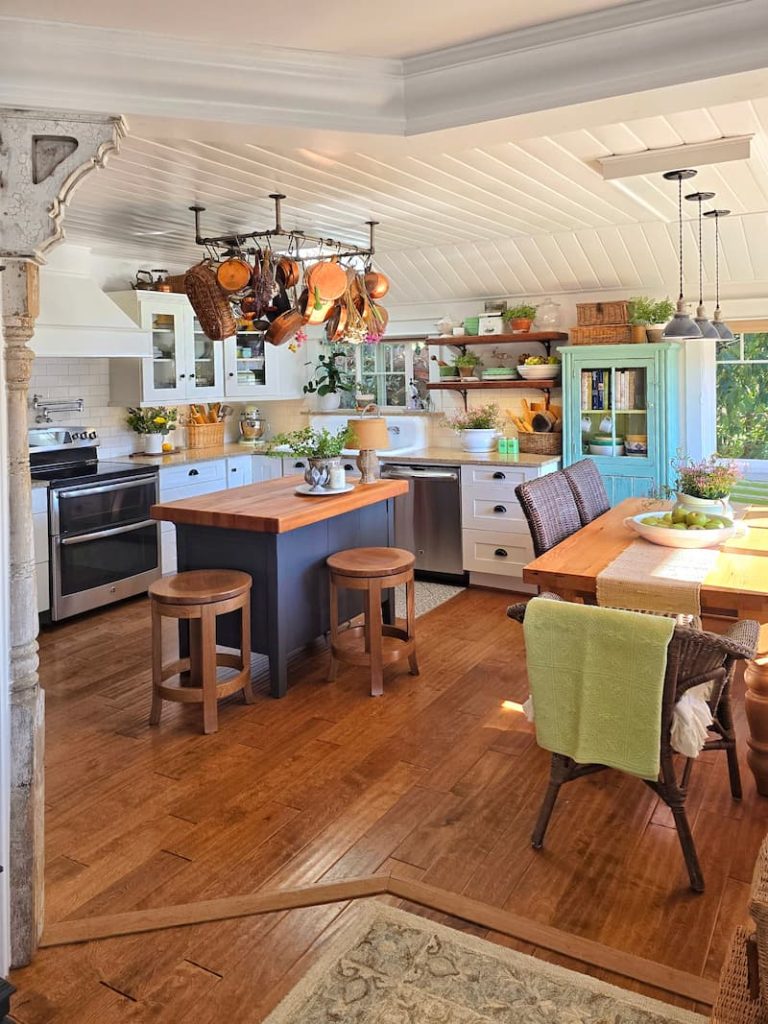
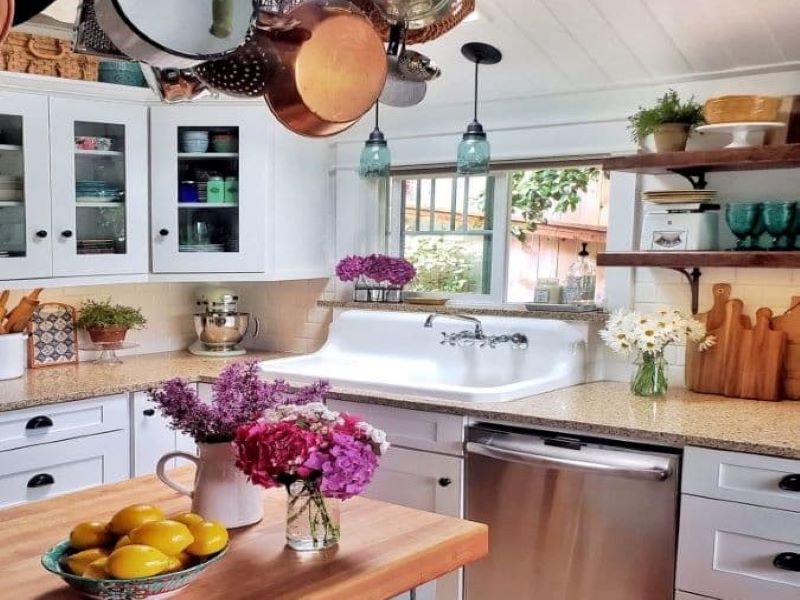
At the center of it all… a vintage farmhouse sink.
We had wanted one for years, and once it was finally in place, everything else started to fall into place around it.
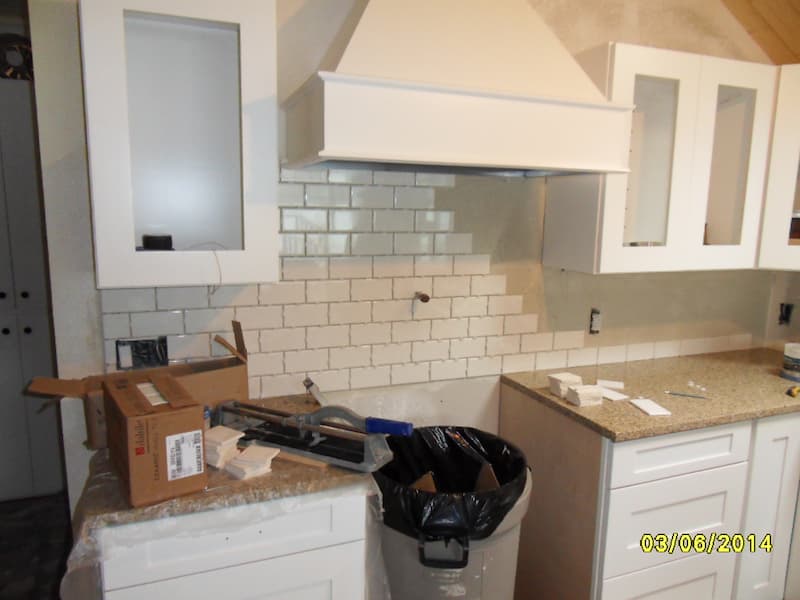
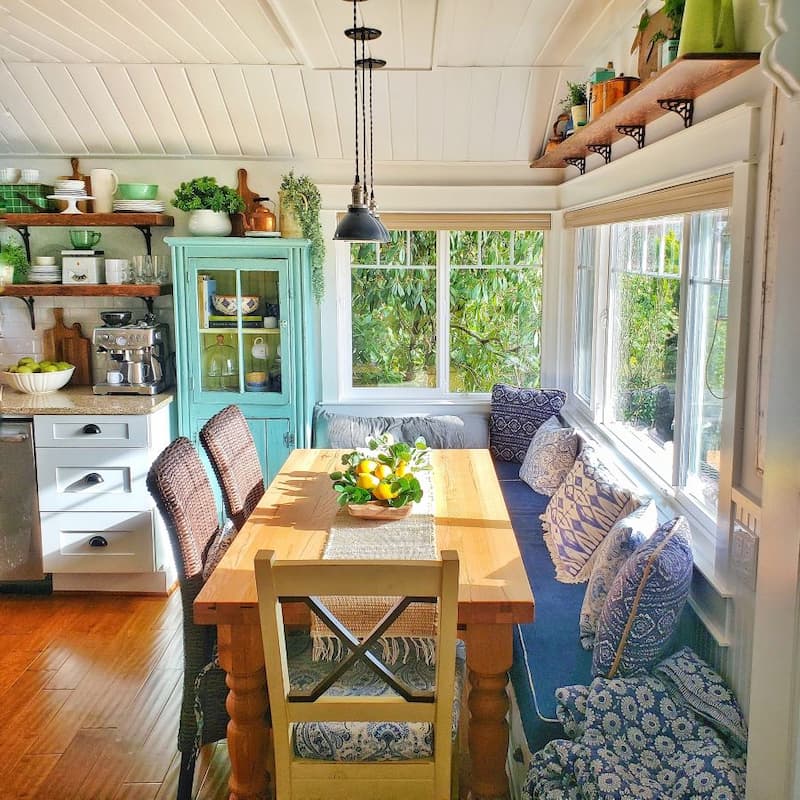
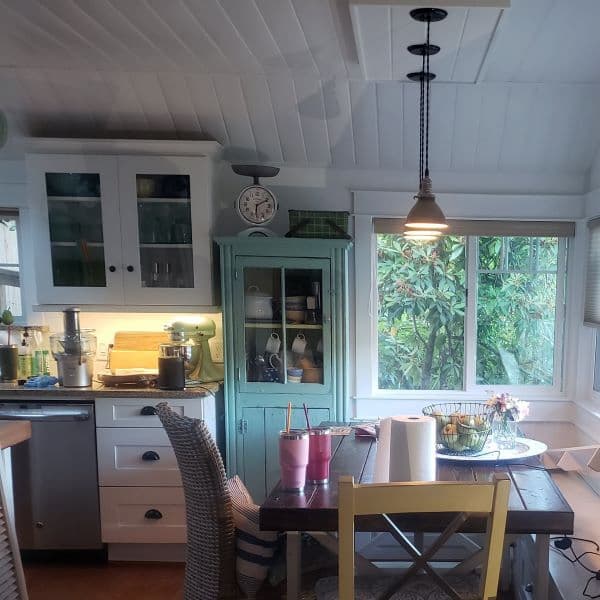
White shaker-style cabinets. Subway tile. Quartz countertops with a soft, stone-speckled finish that felt light and beachy.
A tongue-and-groove ceiling that added warmth and texture and fit the cottage feel of the rest of the house perfectly.
And yes, this was also the phase where I finally got a dishwasher. Milestones come in many forms.
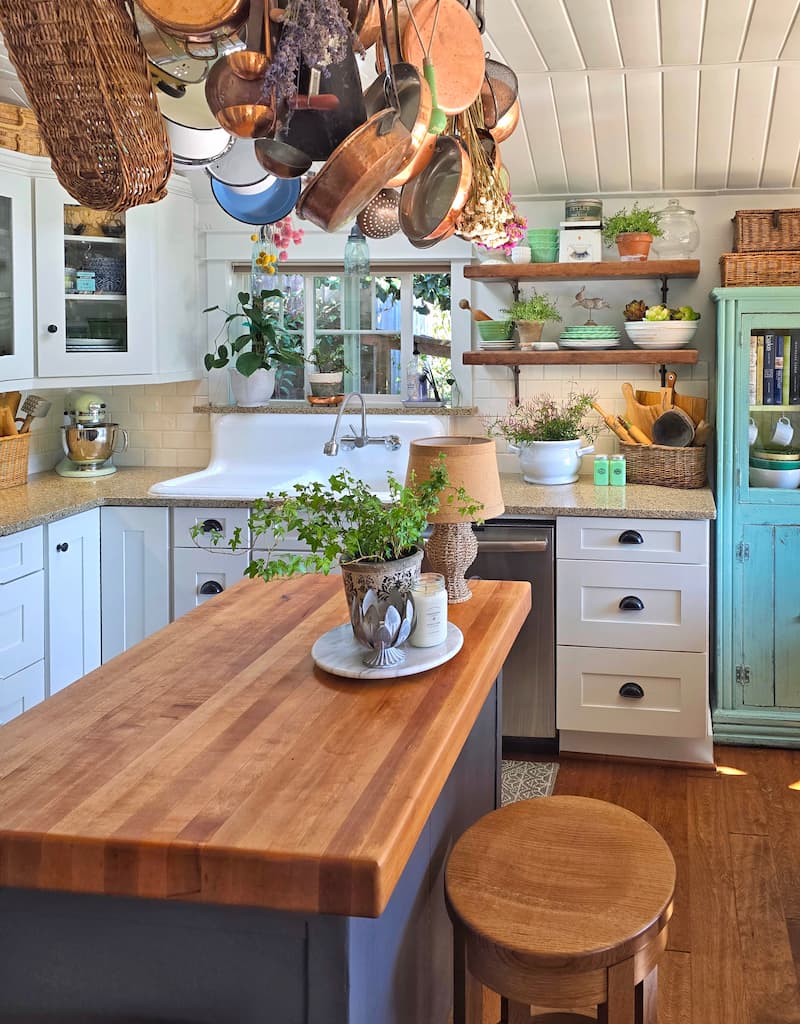
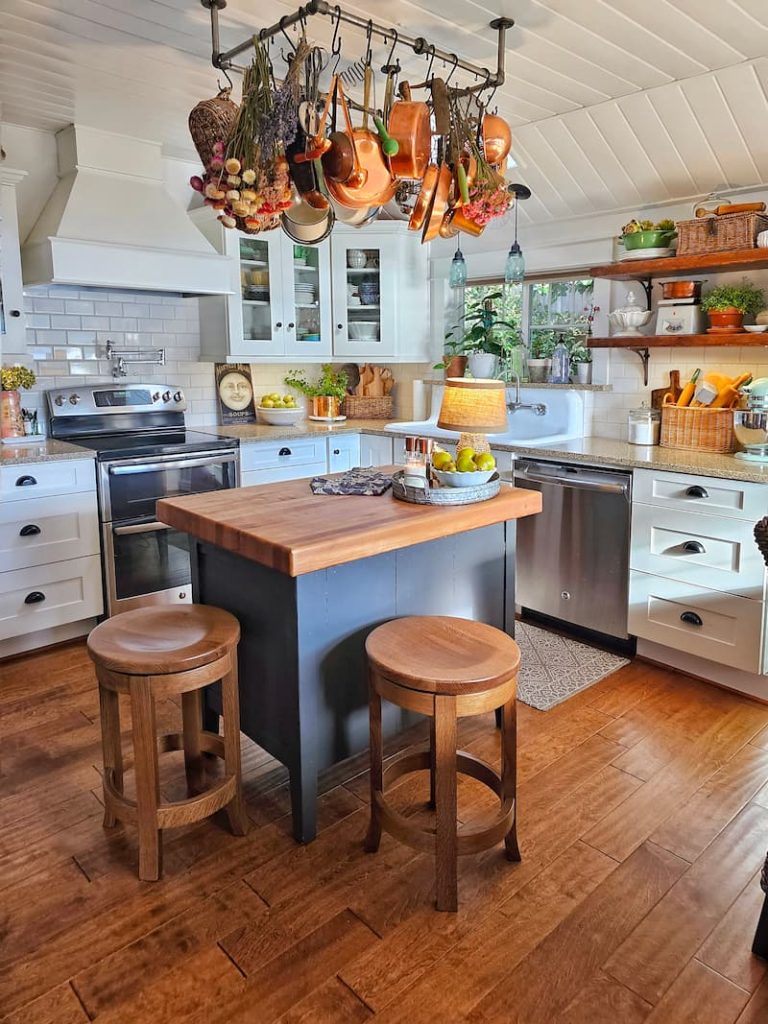
A few personal details in this kitchen still make me smile every time I look at them. The island is built from an old dresser we repurposed and topped with a piece of butcher block salvage from a closing Dunkin’ Donuts. Yes, really.
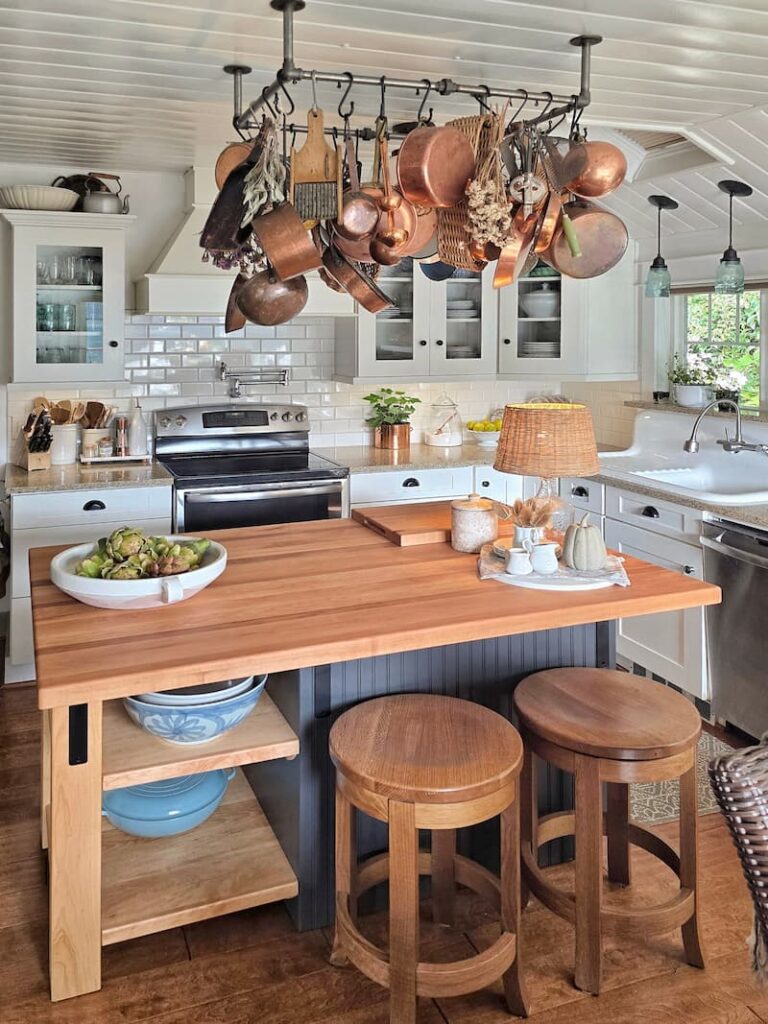
And the iron pot rack hanging above it? The hubby and I built it together one weekend. It was one of those projects that somehow became a permanent, irreplaceable part of the house.
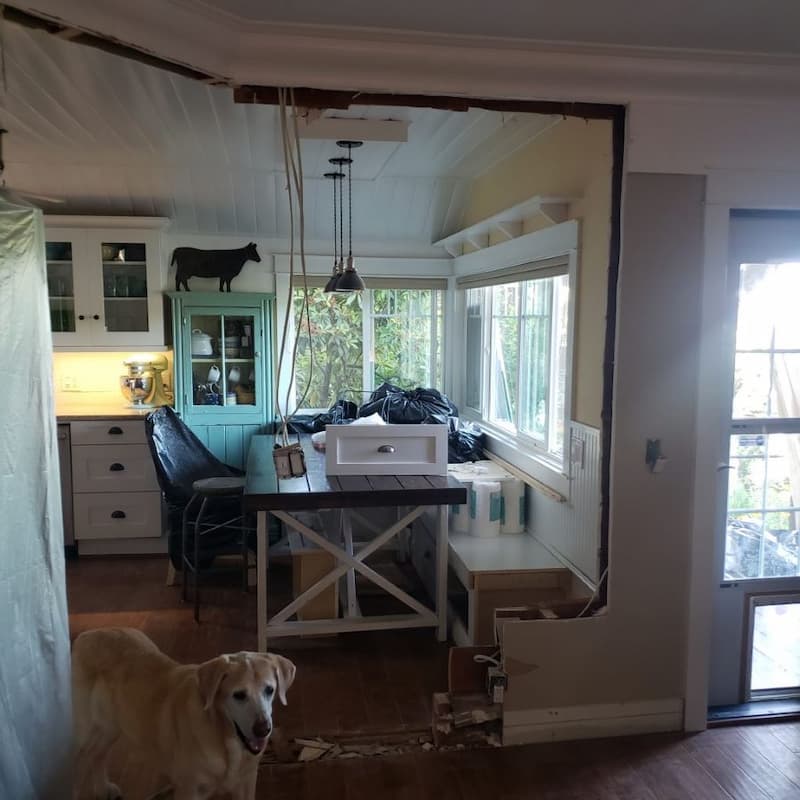
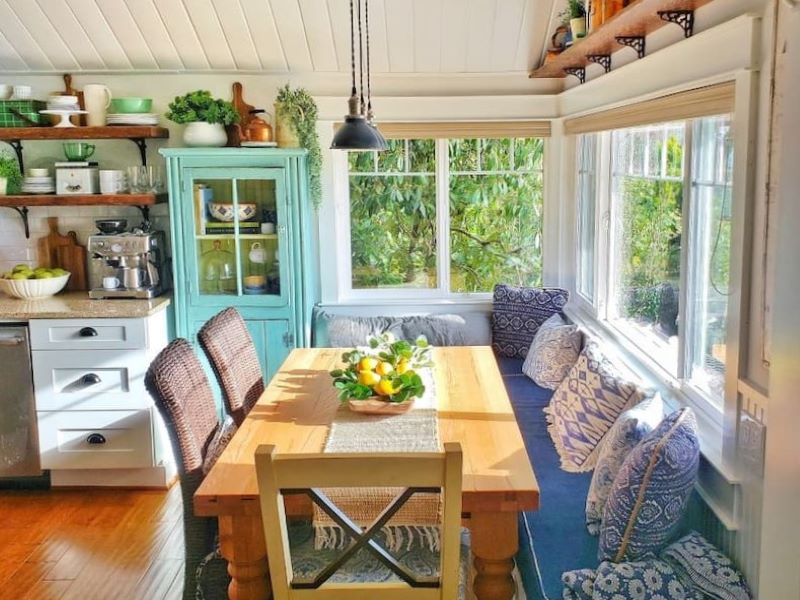
Phase 4: The Window Seat
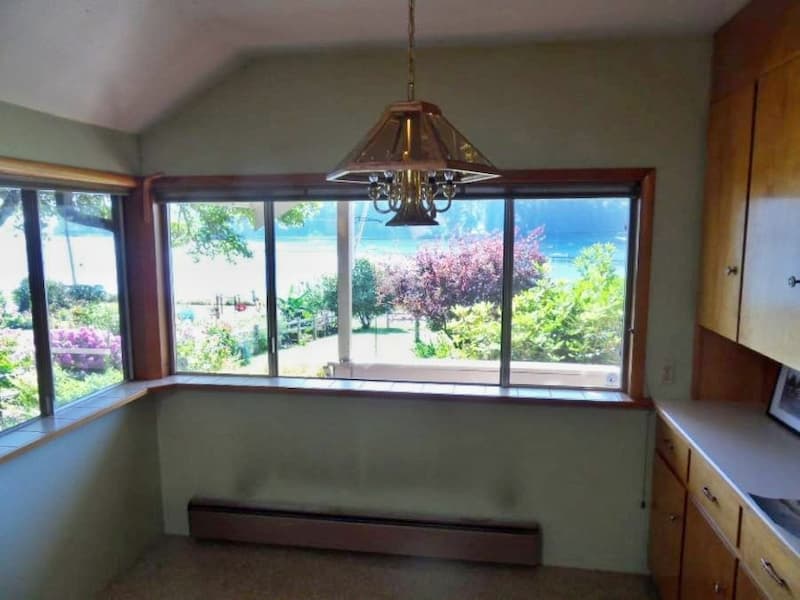
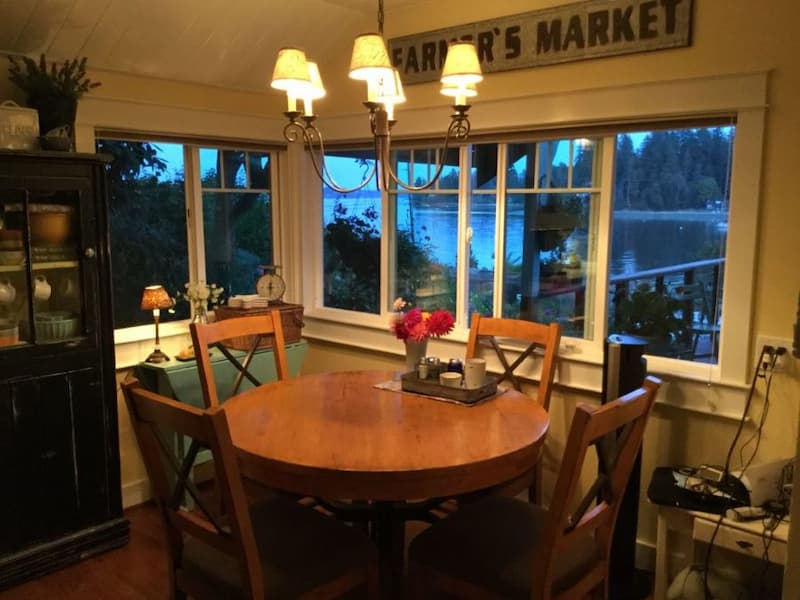
Once the main renovation was done, we turned our attention to the small eating nook off to the side. It had always been a sweet little space, but it was tight, and we could only fit four people around the table, which made gathering with friends a challenge.
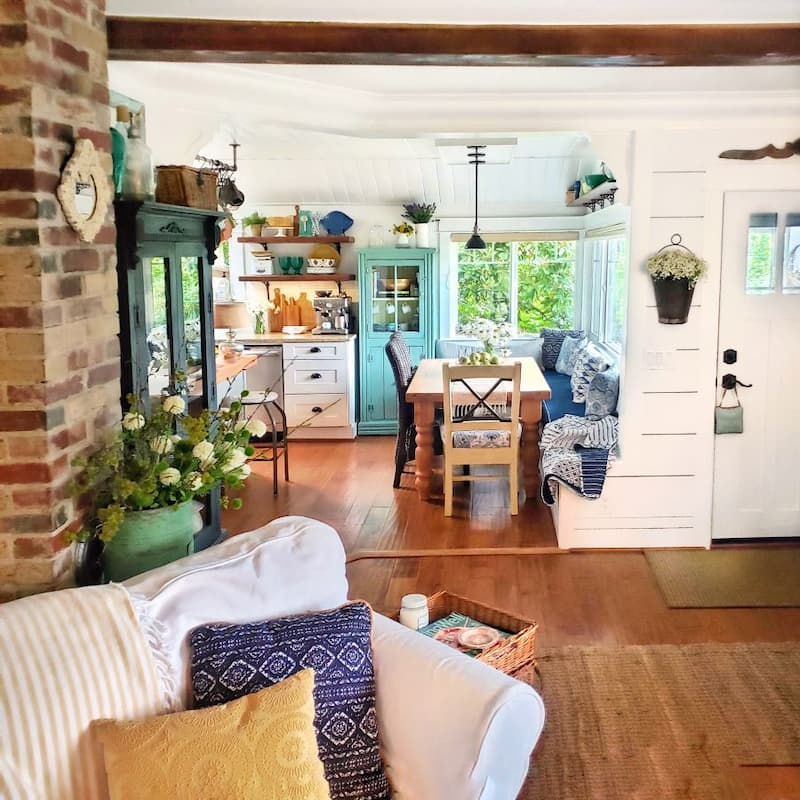
So we built a window seat.
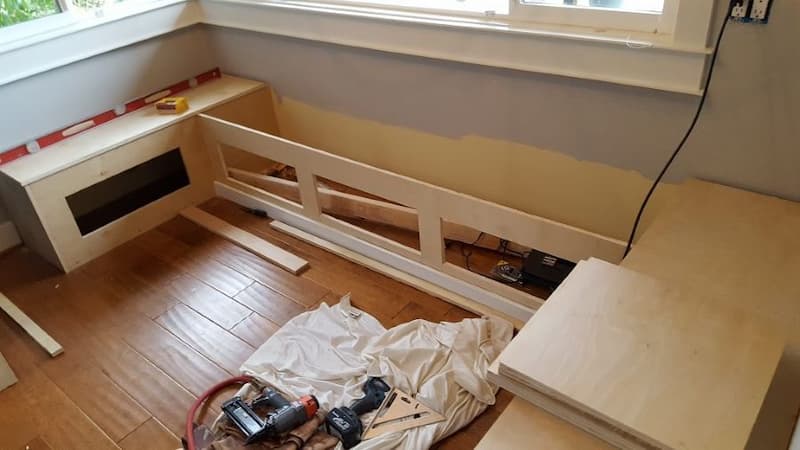
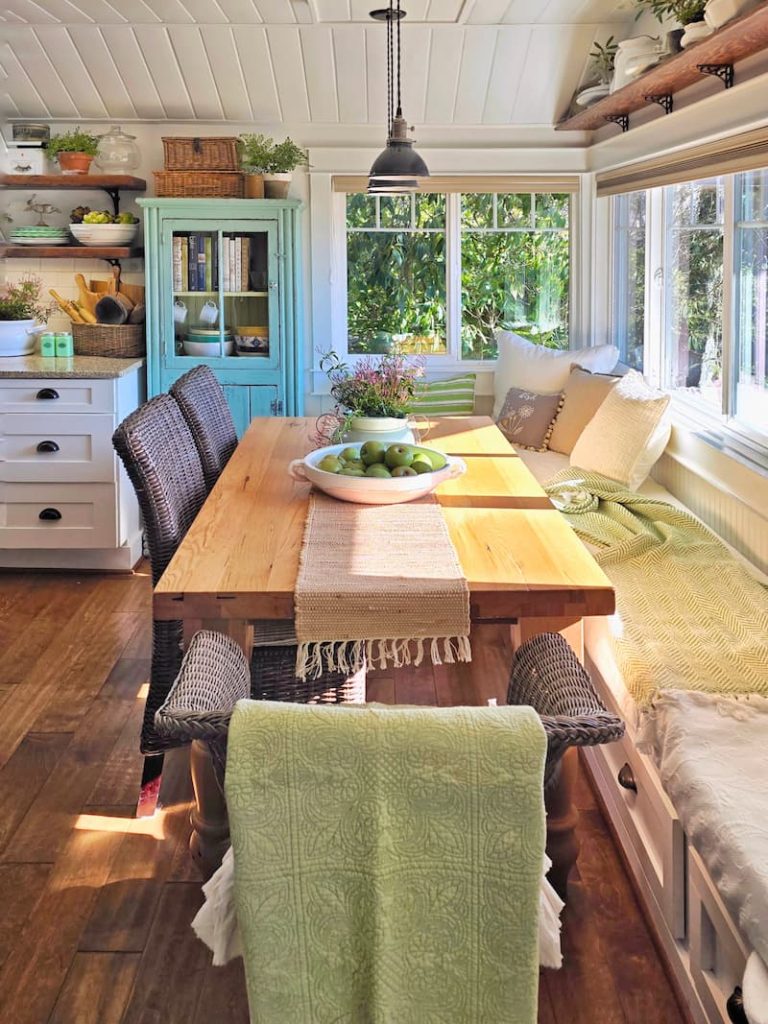
We wrapped the bench around the table in a U-shape, maximizing the seating without taking up any extra floor space.
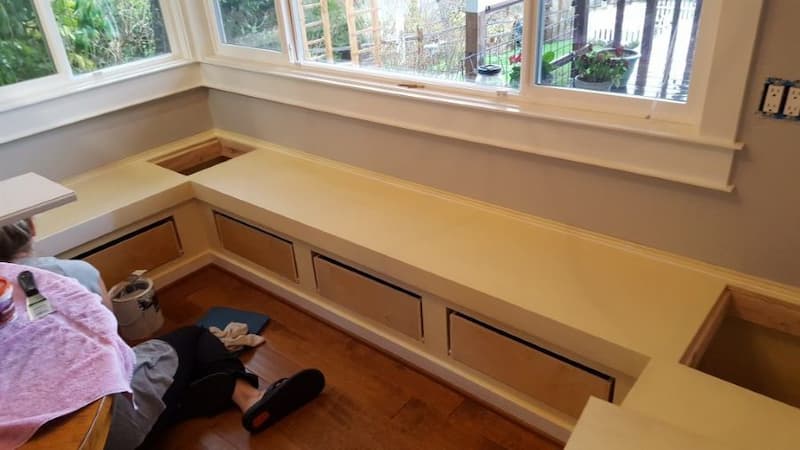
Adding drawers gave us much-needed storage space for dishes and appliances we don’t use every day.
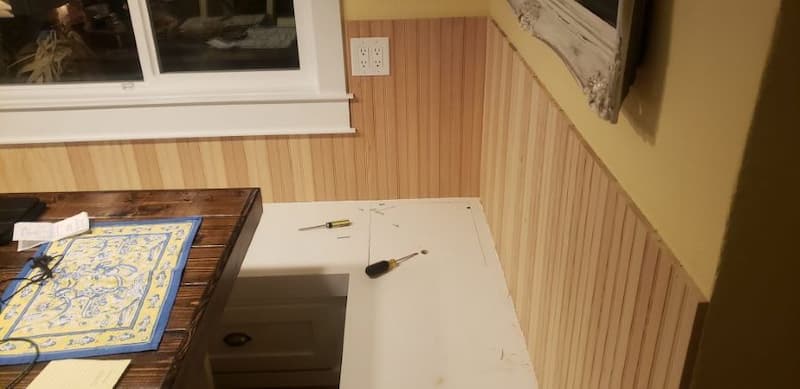
We added beadboard along the wall for a more finished, cottage-style look. The whole nook went from feeling cramped to feeling like the coziest corner in the house.
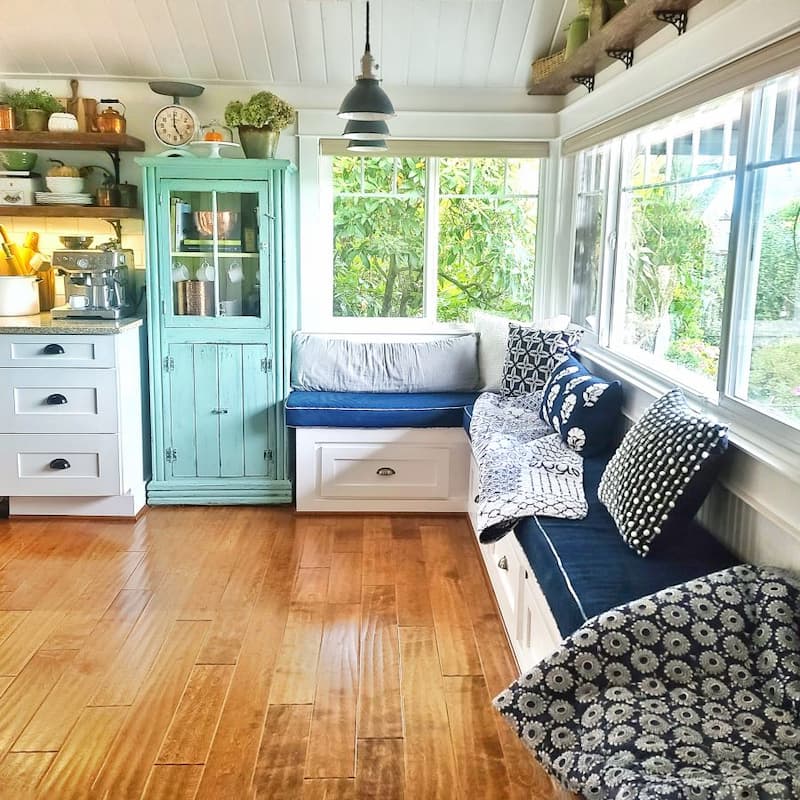
It quickly became my favorite place to sit with the morning iced latte and ease into the day. Some things are worth the renovation chaos.
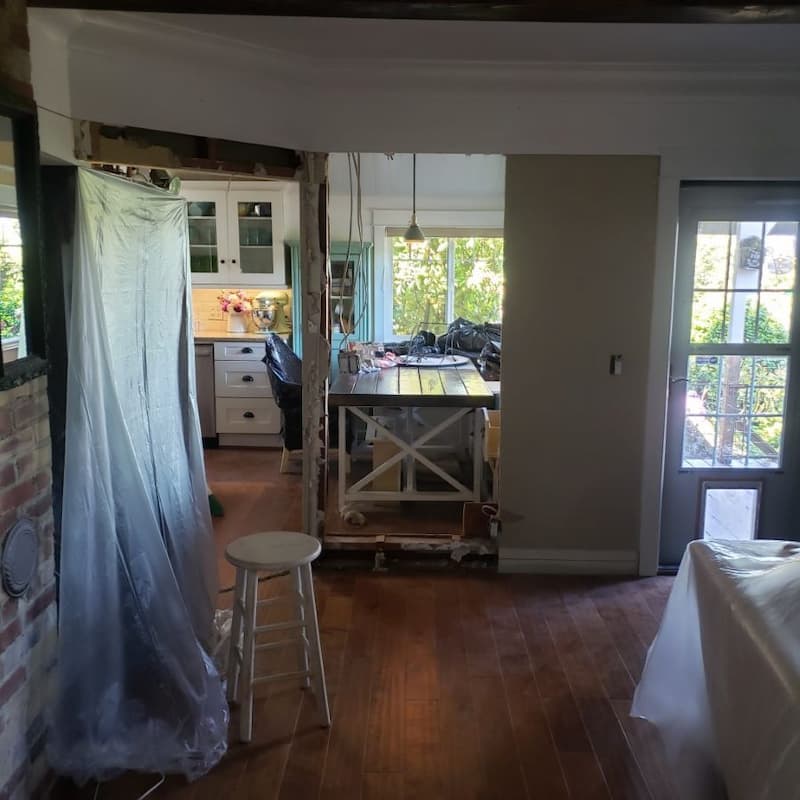
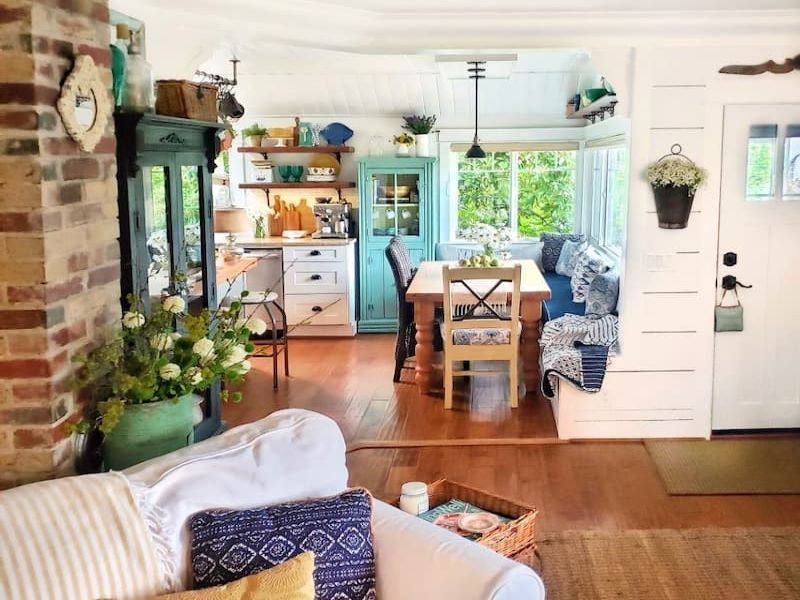
Phase 5: Taking Down the Wall
This was the phase we never planned for. And it ended up being one of the most impactful changes we made to the entire home.
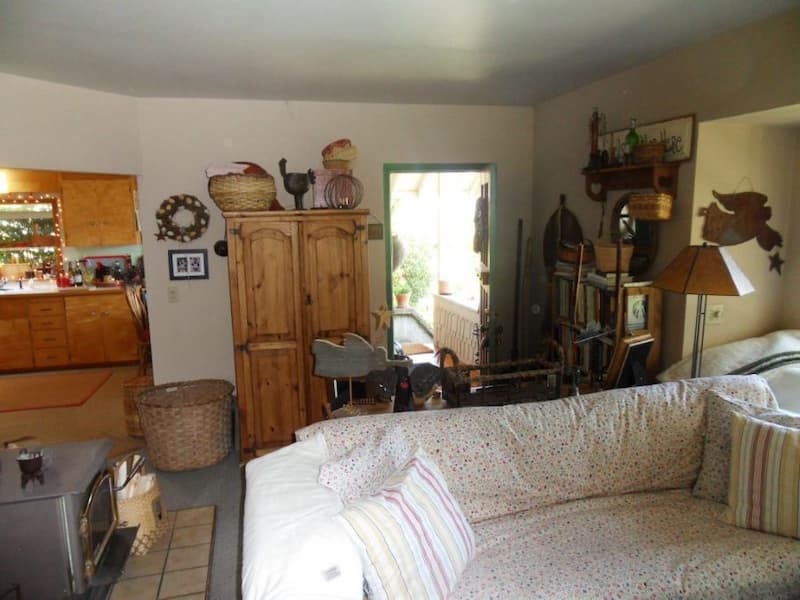

After living with the new kitchen layout for a while, we kept finding ourselves looking at the wall between the kitchen and the living room and wondering what if. Eventually, we stopped wondering and just did it.
It meant reworking the window seat we had just finished building, which wasn’t exactly ideal, but the payoff was immediate and obvious.
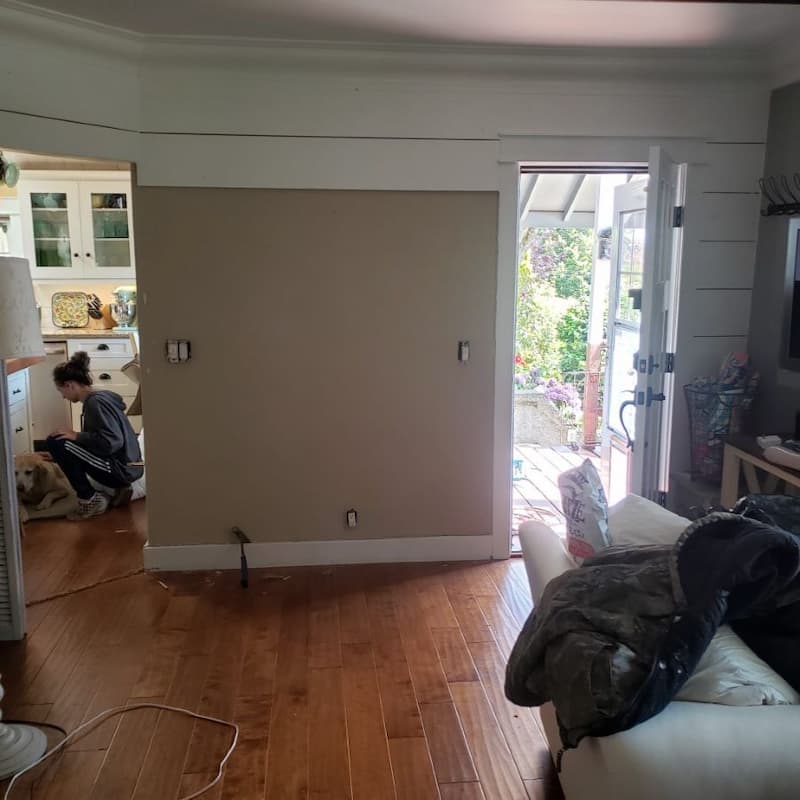
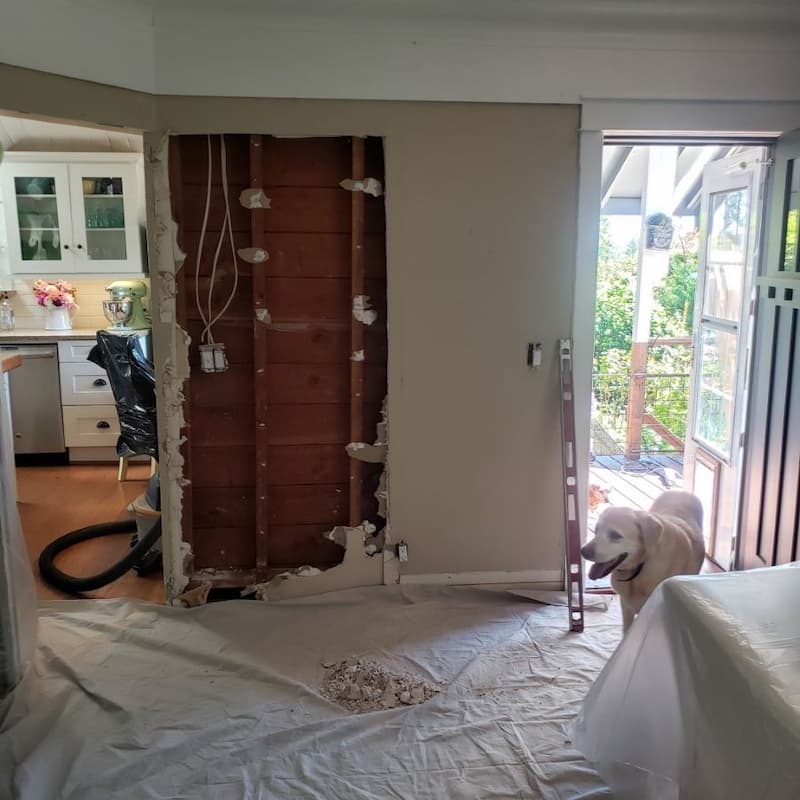
Tearing out the drywall gave us something we hadn’t expected: the original 100-year-old shiplap walls, still intact underneath. Finding them felt like uncovering a hidden piece of the house’s history.
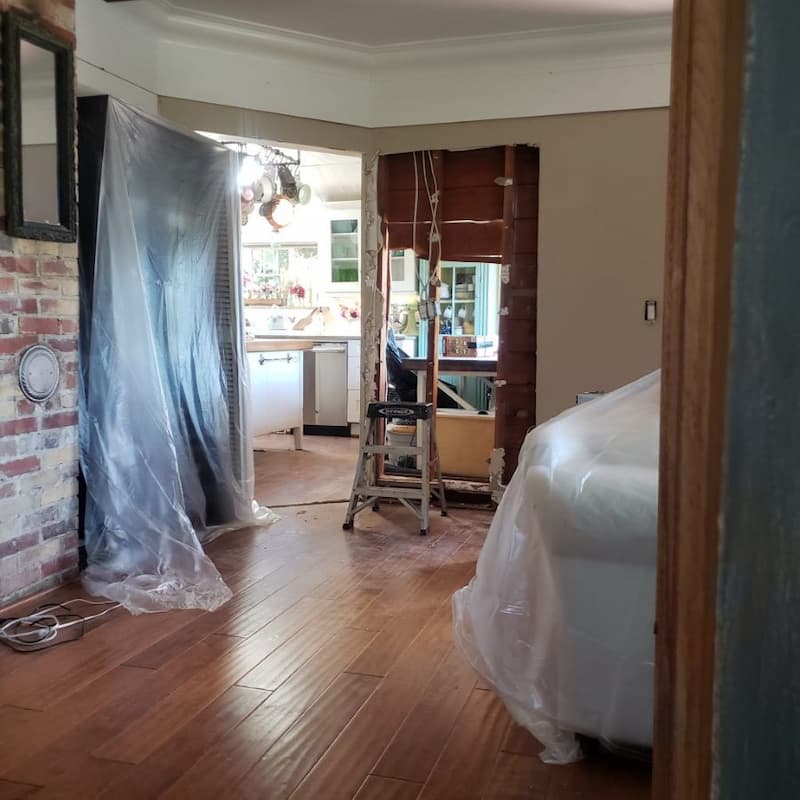
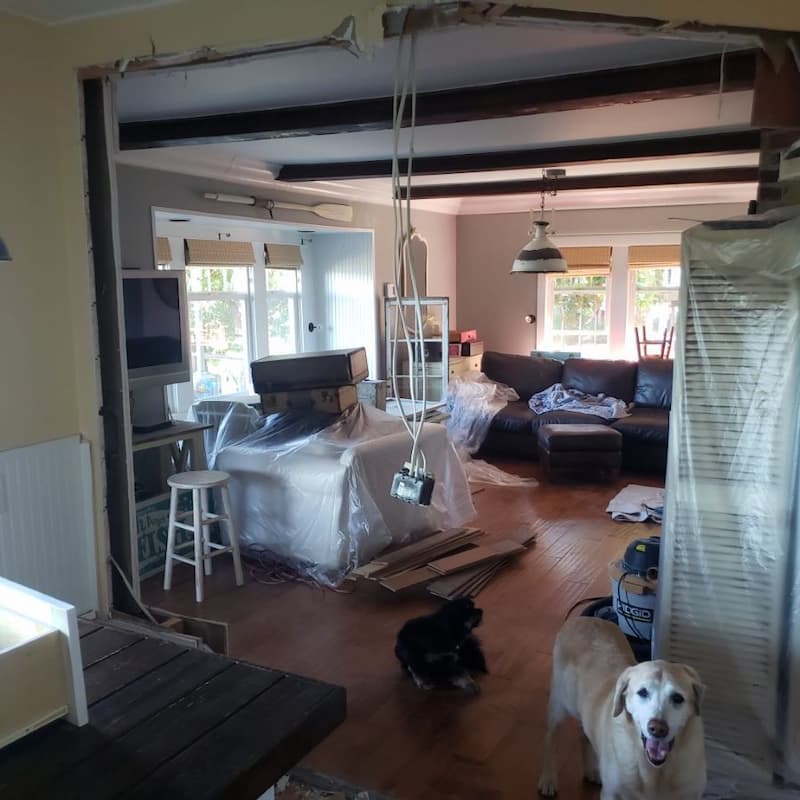
The kitchen felt twice as big. Natural light poured in from the living room. Everything flowed.
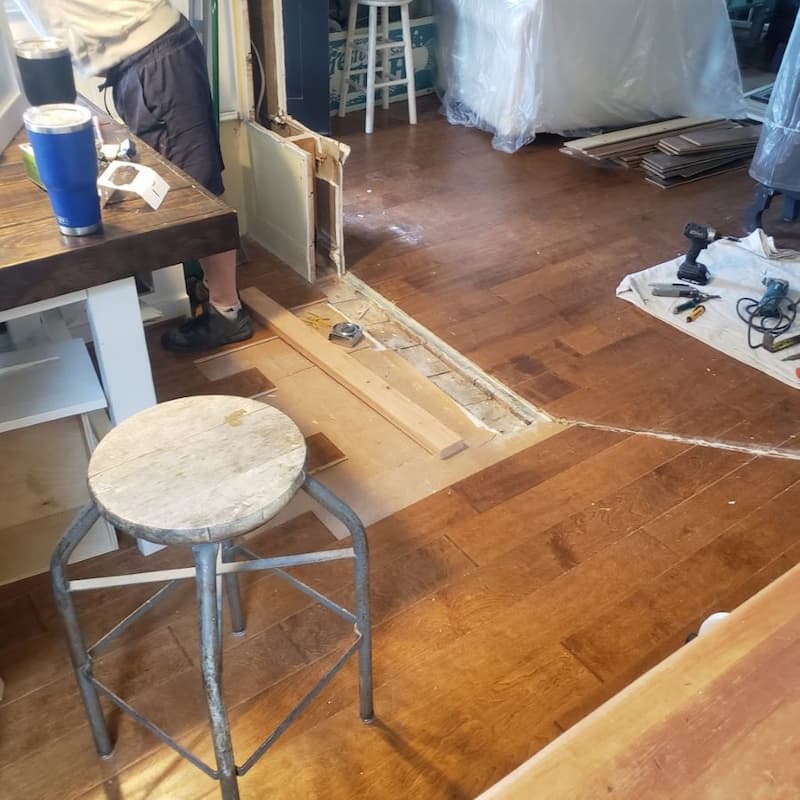
Matching the existing hardwood floors took a little patience, but it came together beautifully.
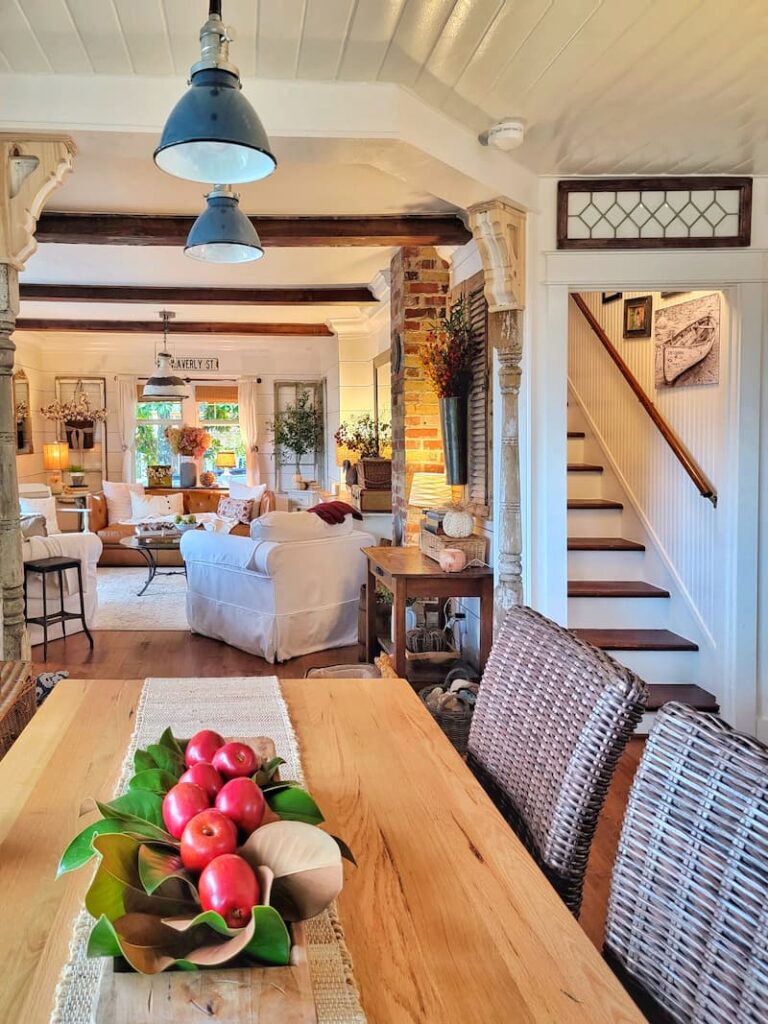
The first time I stood in the kitchen and could see straight through into the living room, it felt like we had doubled the size of the house overnight.
We made a few final adjustments, including swapping out an upper cabinet that no longer made sense in the open layout for simple open shelving.
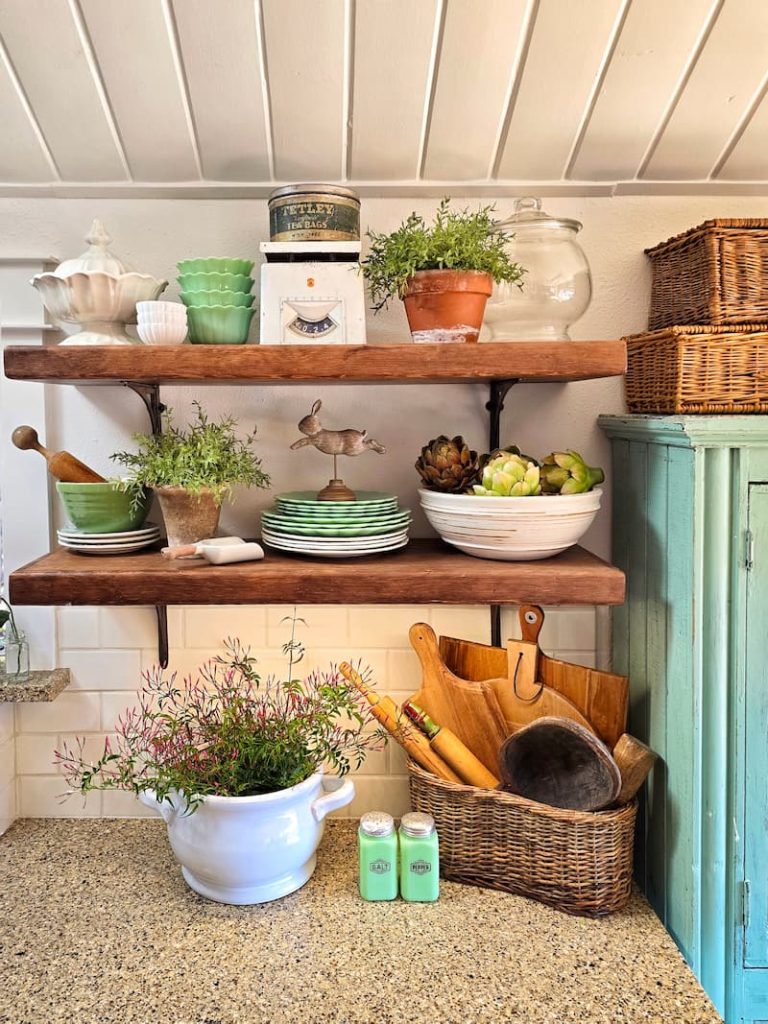
A small change that helped the whole space breathe.
Frequently Asked Questions
More Before & After Pictures

The Final Reveal: A Kitchen with Heart and History
Looking back at where we started, it’s hard to believe this is the same room.
What was once dark, cramped, and working against us has become the warm, welcoming heart of our home. Not because we had a big budget or did it all at once, but because we took our time, made thoughtful decisions, and never lost sight of the kind of home we were trying to create.
There was dust. There was noise. There were moments mid-renovation where you genuinely question your life choices. But every phase of the project taught us something, and every decision brought us a little closer to the kitchen we had always imagined for our 1920 beach cottage.
I hope you enjoyed seeing the full journey. Up next, I’ll be sharing the pantry and coffee bar transformation, another project that made a surprising difference in how this little house functions day-to-day.
And I’d love to hear from you: are you team farmhouse sink, open shelving, or cozy window seat? Leave a comment below. I always enjoy hearing how others are bringing new life to old homes.
You can also read more about why we fell in love with our 1920 beach cottage and why this little house became our forever home.
Until next time,
MORE POSTS
For You To Enjoy
Follow Me for More Inspiration

Hi Kim,
I am in love with your home, garden and blog. It picks my mood up right away when I need to see beauty in the world. One question. how did you replace the baseboard heat? Or didn’t you? I have a kitchen radiator that i would love to get rid of- just because it’s taking up wall space that I could really use. Any suggestions?
I am so appreciative of your kind words Carol. Thank you for being here. As for the baseboard heat, we removed it and added a toe kick heater under the kitchen sink. It works but can really burn your toes if you’re doing dishes at the same time the heater is on. We wish we had installed radiant hit under the floors. We did that in the bathrooms and laundry room and it really works to heat up the entire room.
You have such amazing vision. You have such a beautiful warm and inviting home.
We live in the Columbia River Gorge. The fog has been so thick!
What an amazing transformation! I love that you showed us all the stages! What a difference taking down the wall made. You have such a beautiful “forever” home!
Thank you, Kim! I’m so glad you took a look. I agree, taking down that wall was huge!
What an amazing transformation. Kitchen renovations take such a long time and are hard, especially if you’re doing the work yourself. Your kitchen is just stunning, as is the rest of your house.
Wow – before and afters are so exciting and I agree with you and Kathy – I love seeing them from the same angles. You really had a fabulous vision Kim. It’s so gorgeous now, and totally you!!
Loved the before and after pix–especially the fact that you took the pix from similar angles. I hate it when magazines use such a different angle that you can tell it was the same space. I hate my tiny kitchen but am unsure what I would do differently. Your space looks so workable!
Thank you, Kathy! I’m the same way. I love seeing the exact angle to compare the view. Thank you for being here.
Love the before and afters. A blog story on boating the Puget Sound would be fun!
That would be fun, and I need to get one posted. Thank you for the feedback.
What a wonderful study in vision, flexibility and patience. Thanks for all the inspiration!!! Love the outcome!
Thank you, Diane! Now that you mention it, we did have to have a lot of patience during one of our remodeling phases. Thank you goodness it’s now just a distant memory.