
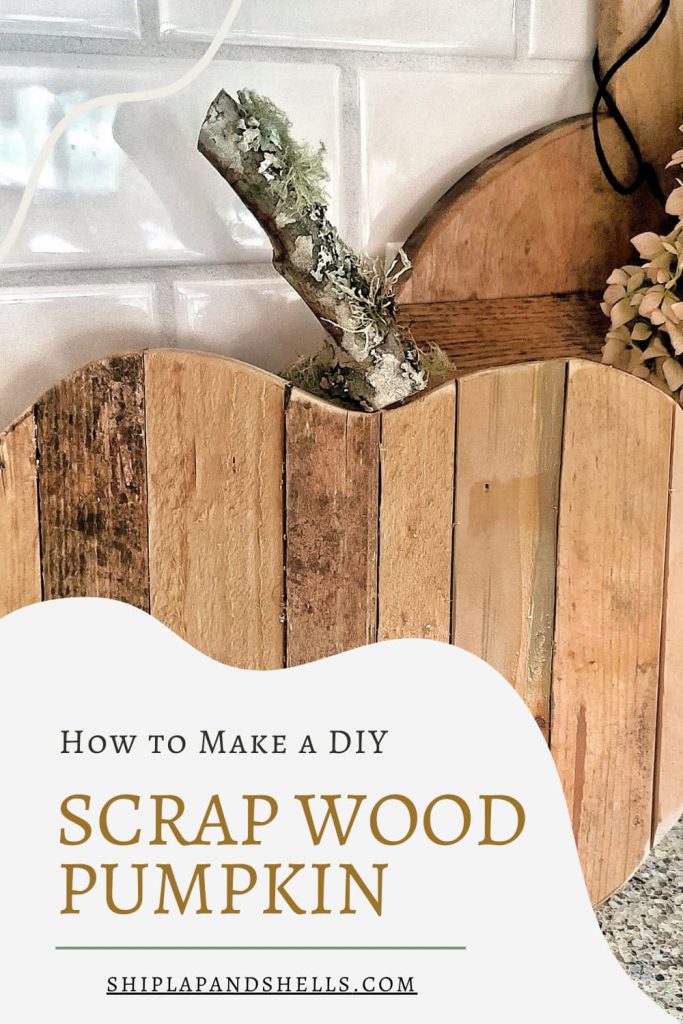
DIY Scrap Wood Pumpkin Tutorial
Are you looking for a fun and inexpensive DIY idea? You can make this easy DIY scrap wood pumpkin for fall using just a few scrap pieces of wood and a broken tree branch. Step-by-step instructions are below.
I have a confession to make. I’m not much of a crafts DIYer. I’m more of a “paint the furniture” kind of gal.
So I was very excited when I found a fall project I could make that was EASY AND budget-friendly. I found a similar wooden pumpkin at a local store and wanted to try to make one myself.
As an Amazon affiliate, I earn a commission from qualifying purchases at no additional cost to you. My blog also features other affiliate links for your convenience. Click here to read my privacy policy.
Tools Needed for DIY Project Scrap Wood Pumpkin
Steps to Making a DIY Wooden Pumpkin
Step 1: Gather Scrap Wood
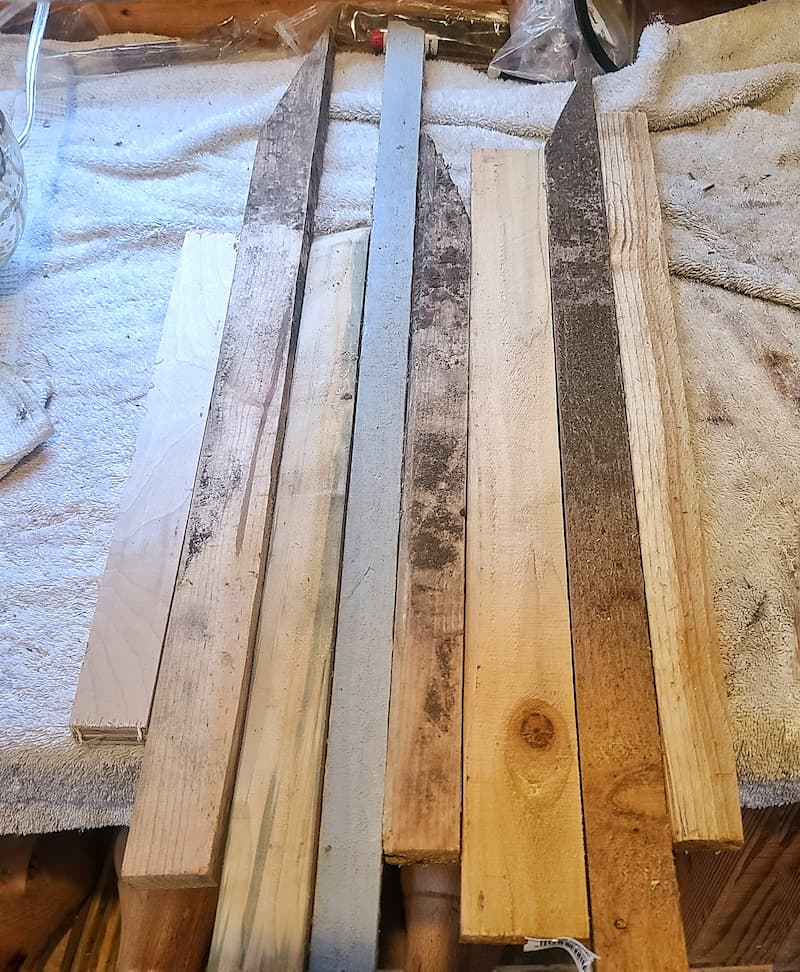
Gather old 1″ x 2″ scraps of wood (I used wood stained from dirt and water in the garden). Lay down the wood strips to approximate the size of your pumpkin.
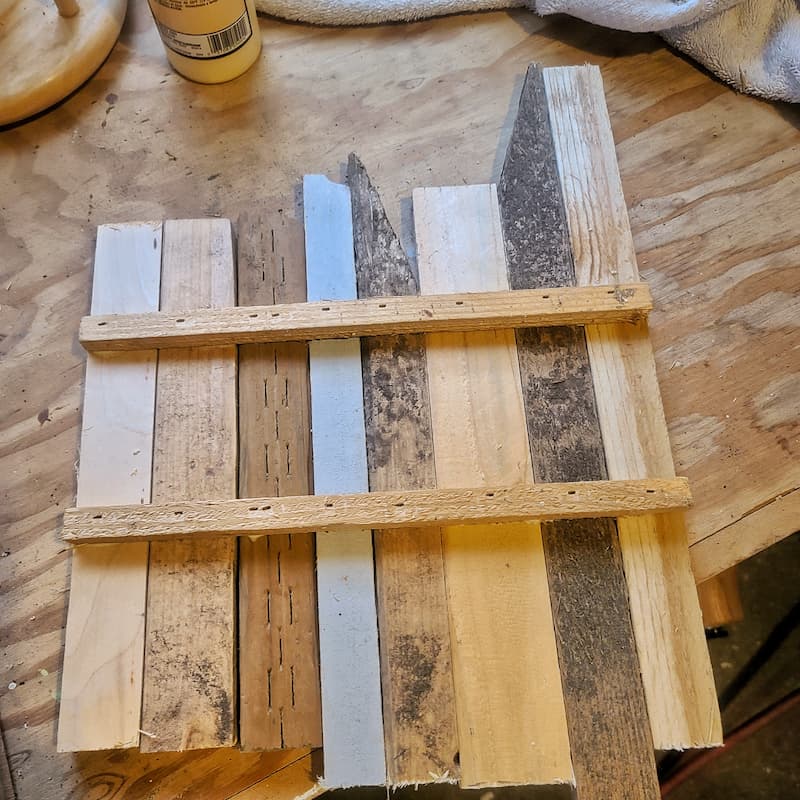
Step 2: Cut Support Boards
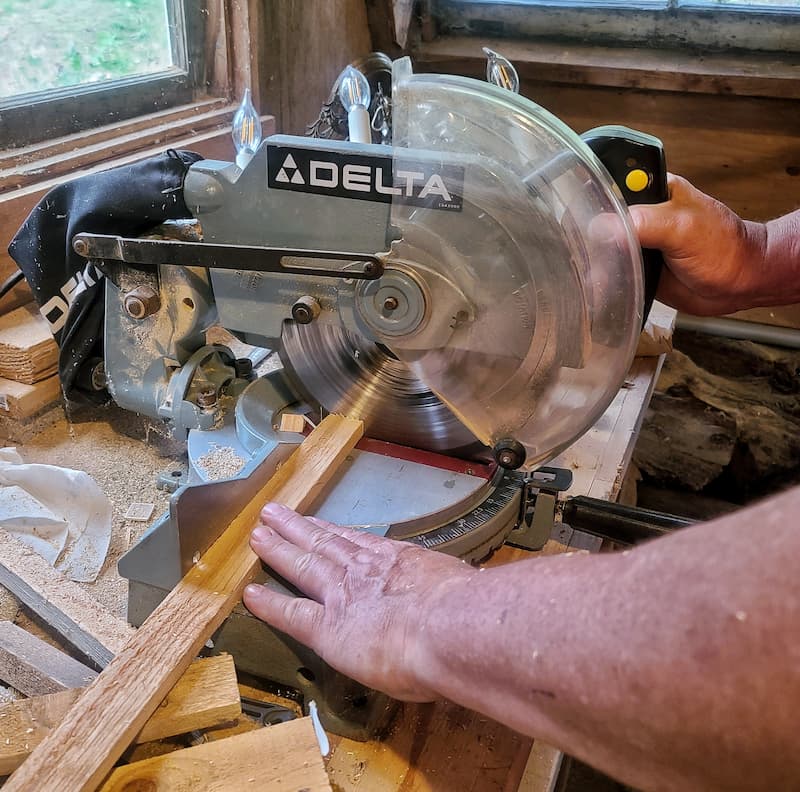
For support boards, cut two 1-1/2″x 3/4″ strips of wood to just past the width of the pumpkin.
Step 3: Glue Support Boards
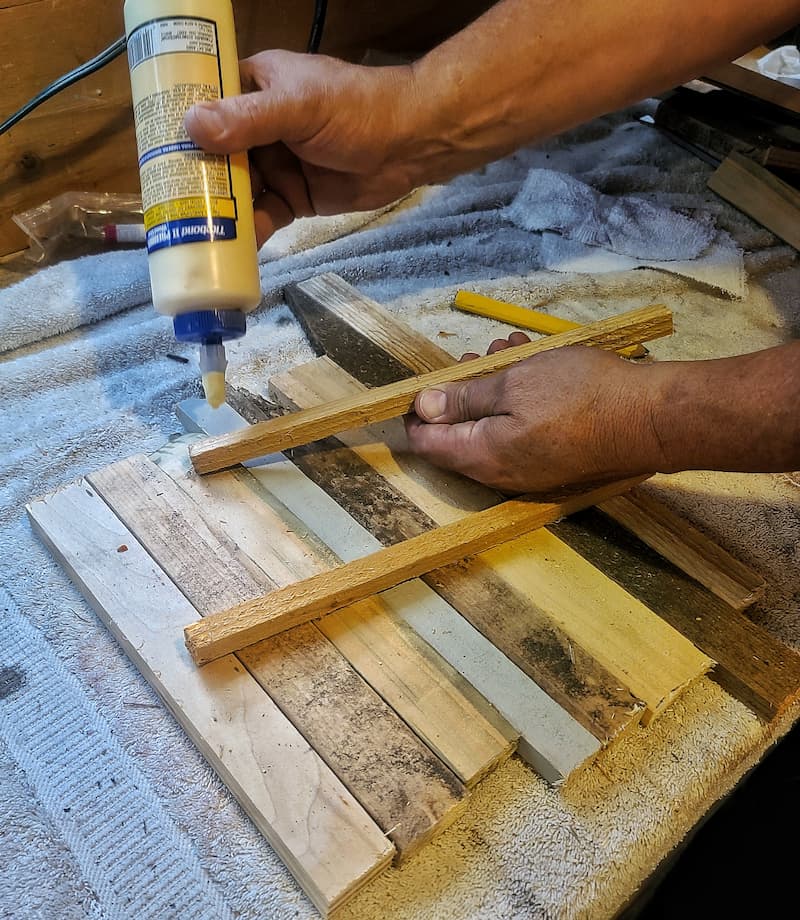
Glue the support boards to the back of the wood pumpkin strips.
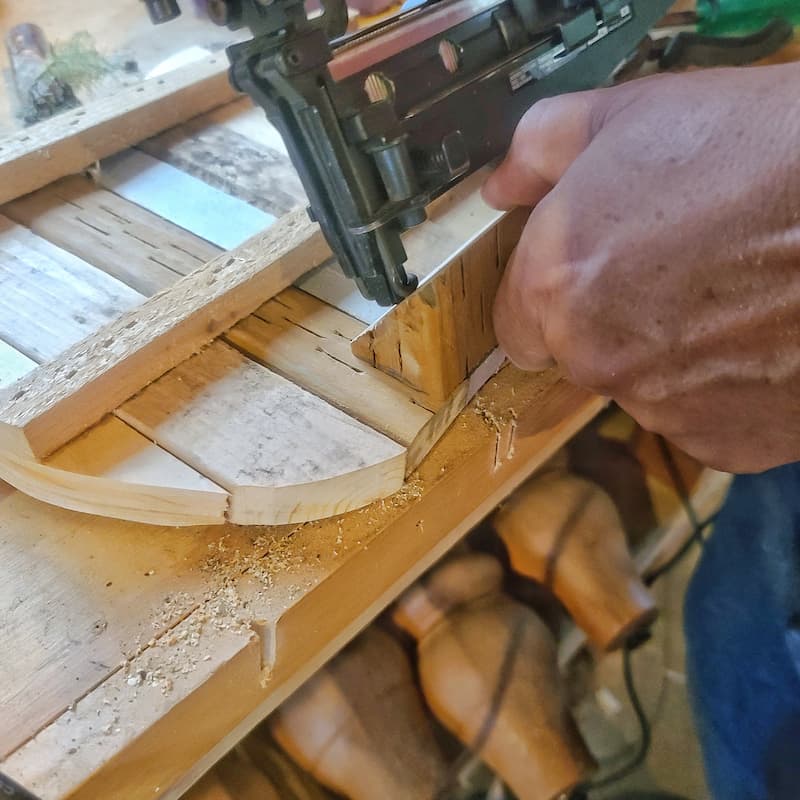
Step 4: Nail Support Boards
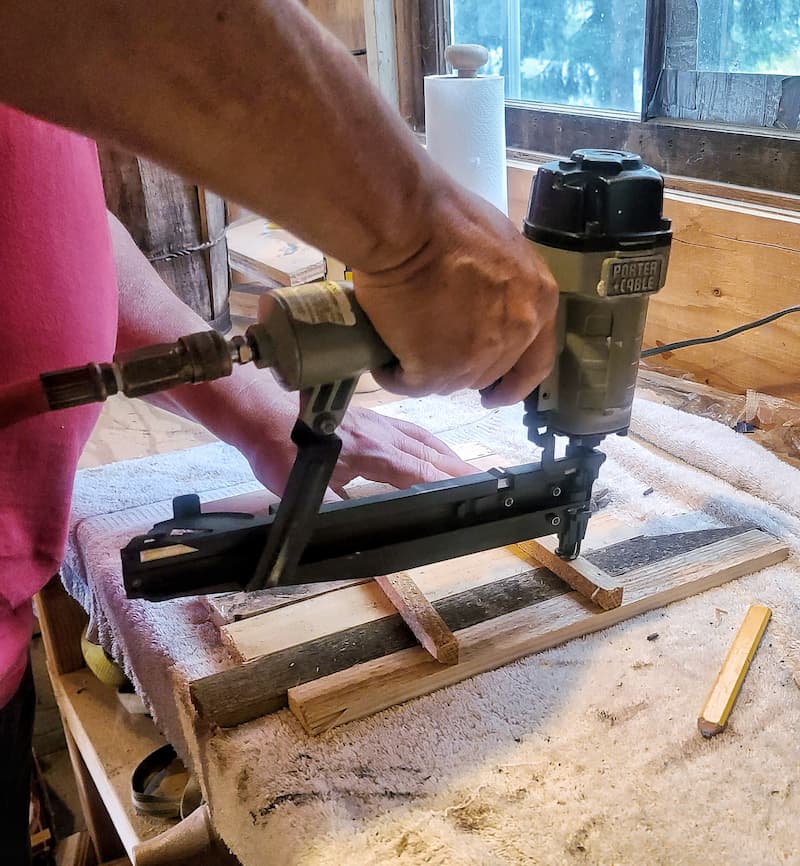
Using a nail gun, nail the support boards to the pumpkin strips. This will keep the boards in place while the glue dries.
Step 5: Draw Pumpkin Shape
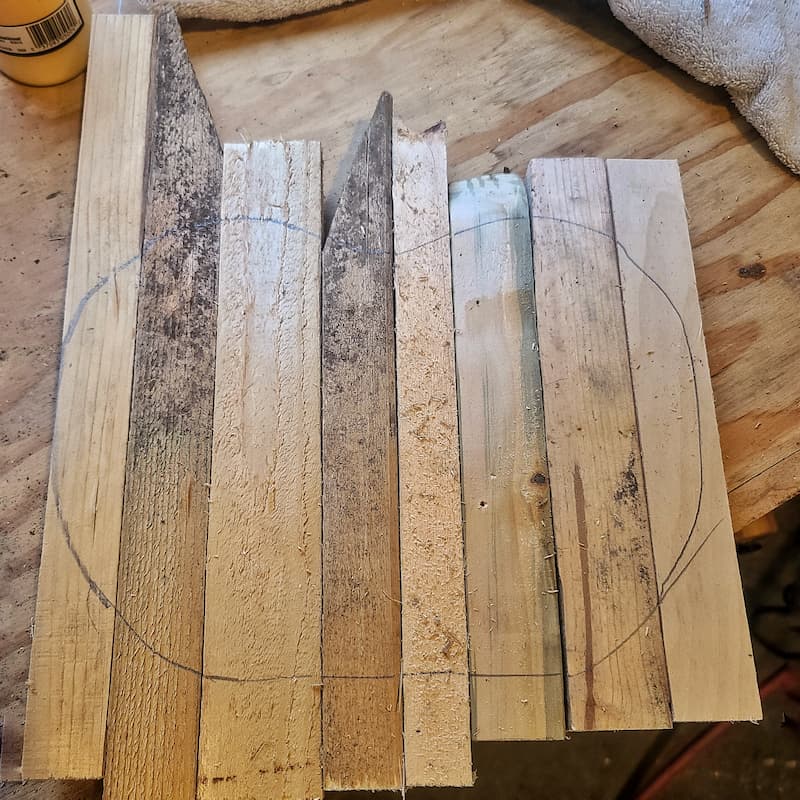
Draw the shape of your pumpkin on the front side of the strips.
Step 6: Cut Out Pumpkin Shape
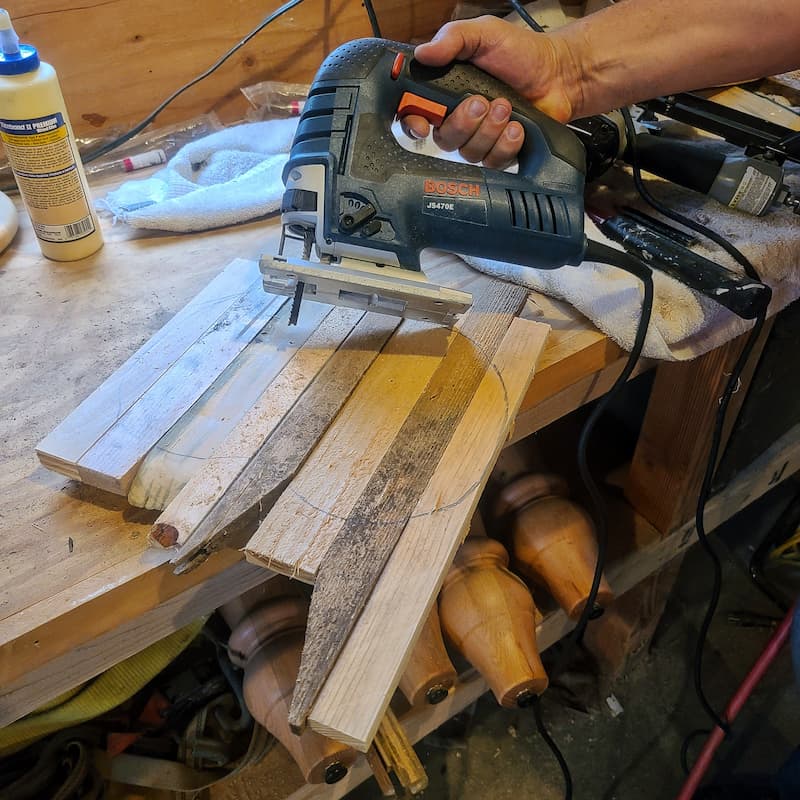
Using a hand-held jigsaw, cut out the pumpkin pattern you traced.
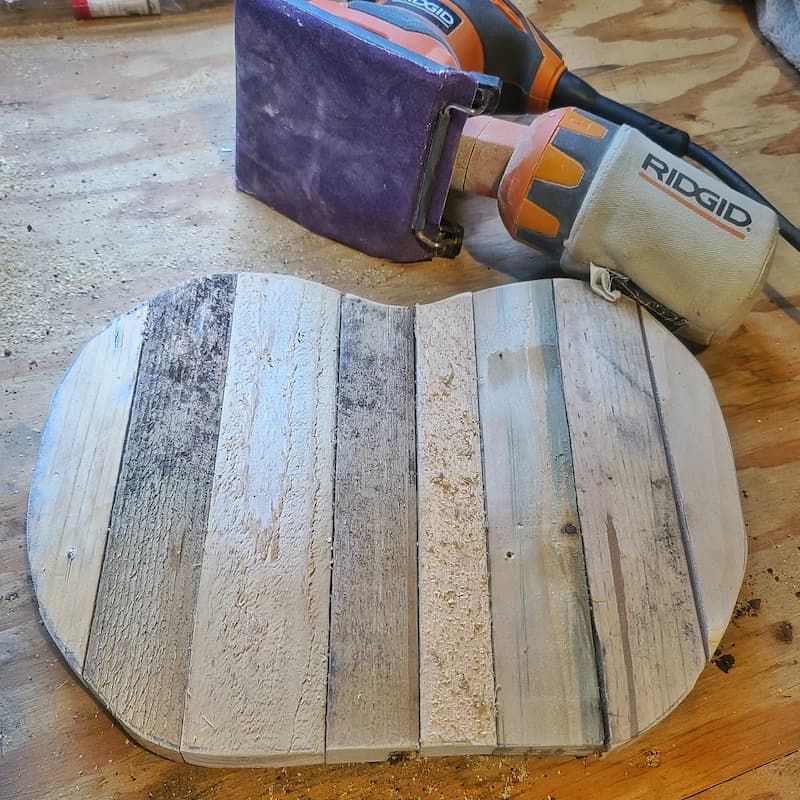
Step 7: Sand Edges
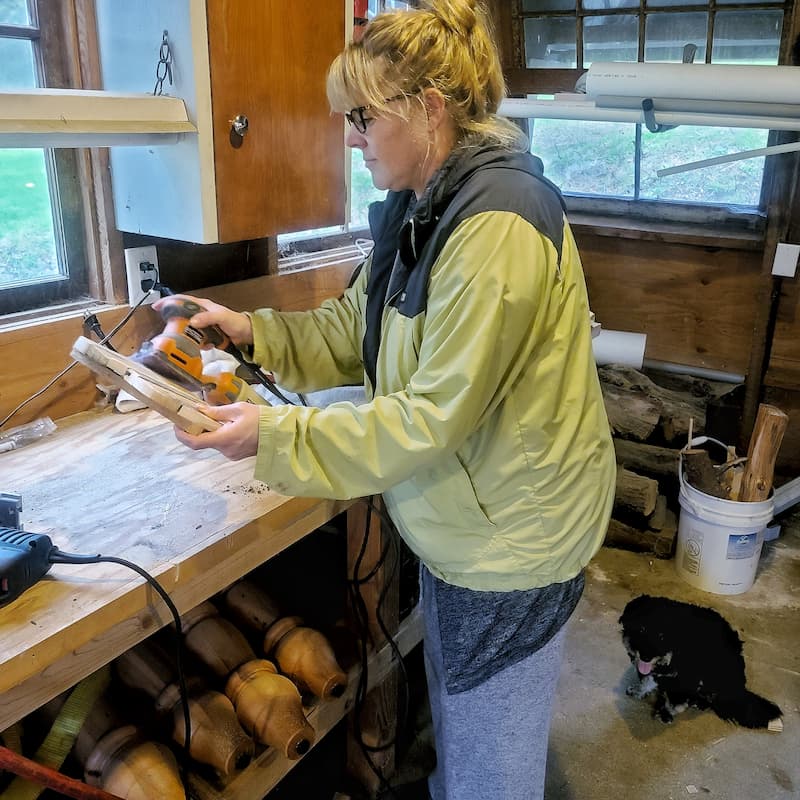
You can either leave the sides rough and rustic or sand the edges lightly to remove any burrs.
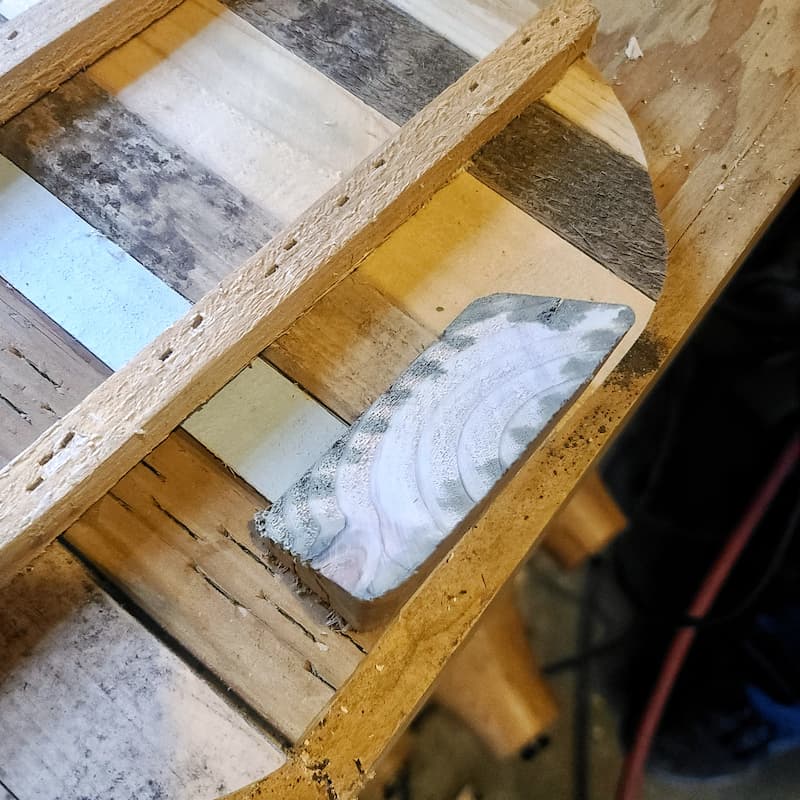
Step 8: Make a Wooden Stand
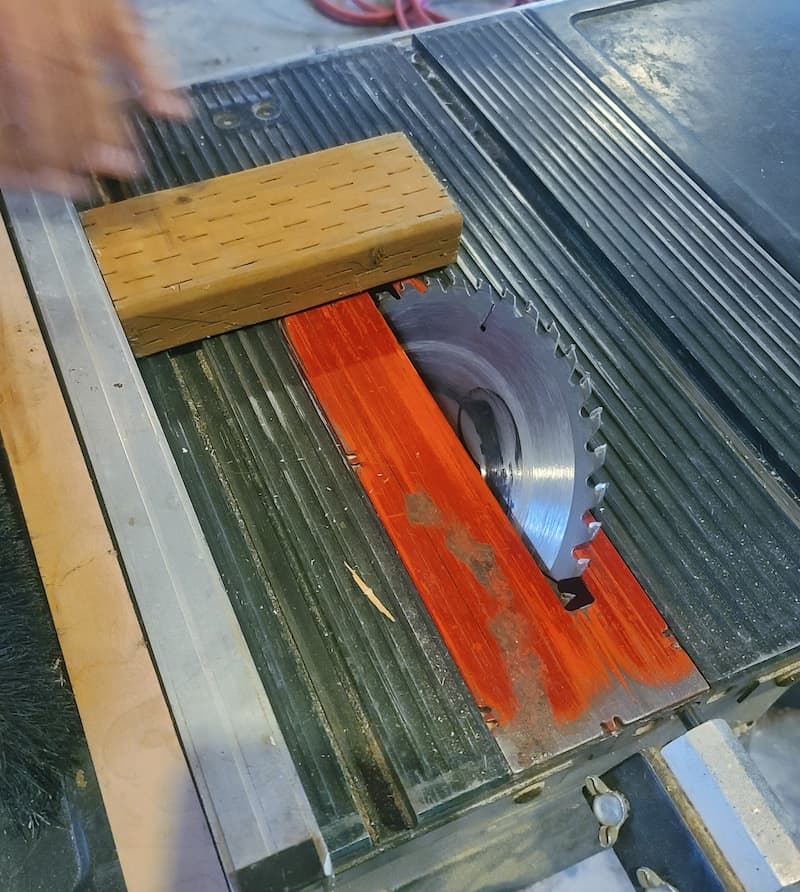
To make a stand, cut the end of a 2″x 4″ board at a 45-degree angle, approximately 1-3/4″ from the end.
Step 9: Glue Stand

Apply wood glue to the stand and attach it to the back of the pumpkin.
Step 10: Nail Stand
Using a nail gun, nail the stand to the pumpkin to hold it until the glue is dry.
Step 11: Find Stem
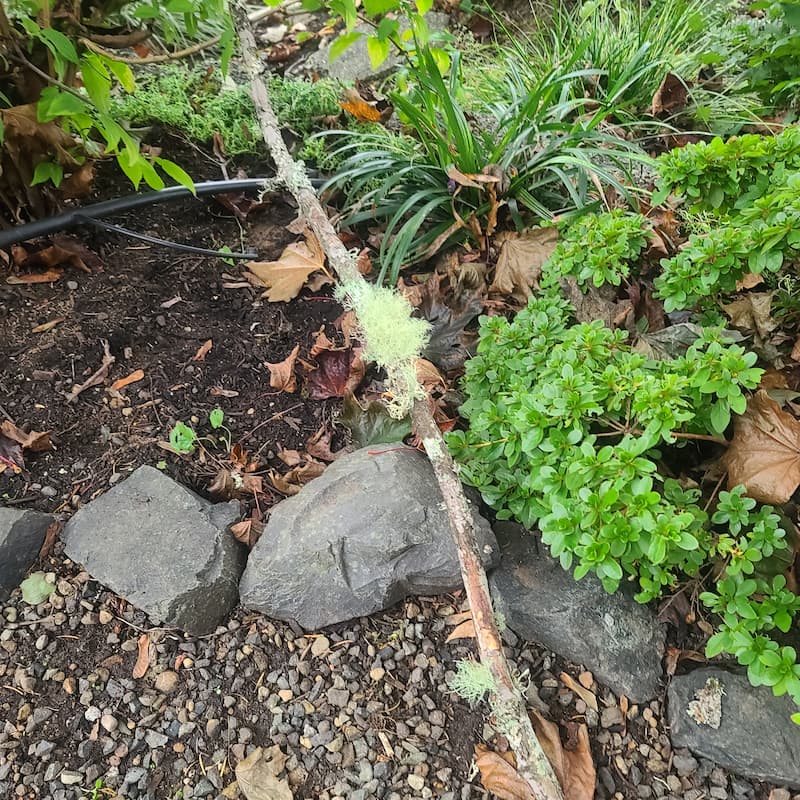
Find a tree branch from your yard to use as a stem for the top of the pumpkin. Cut to any size you choose.
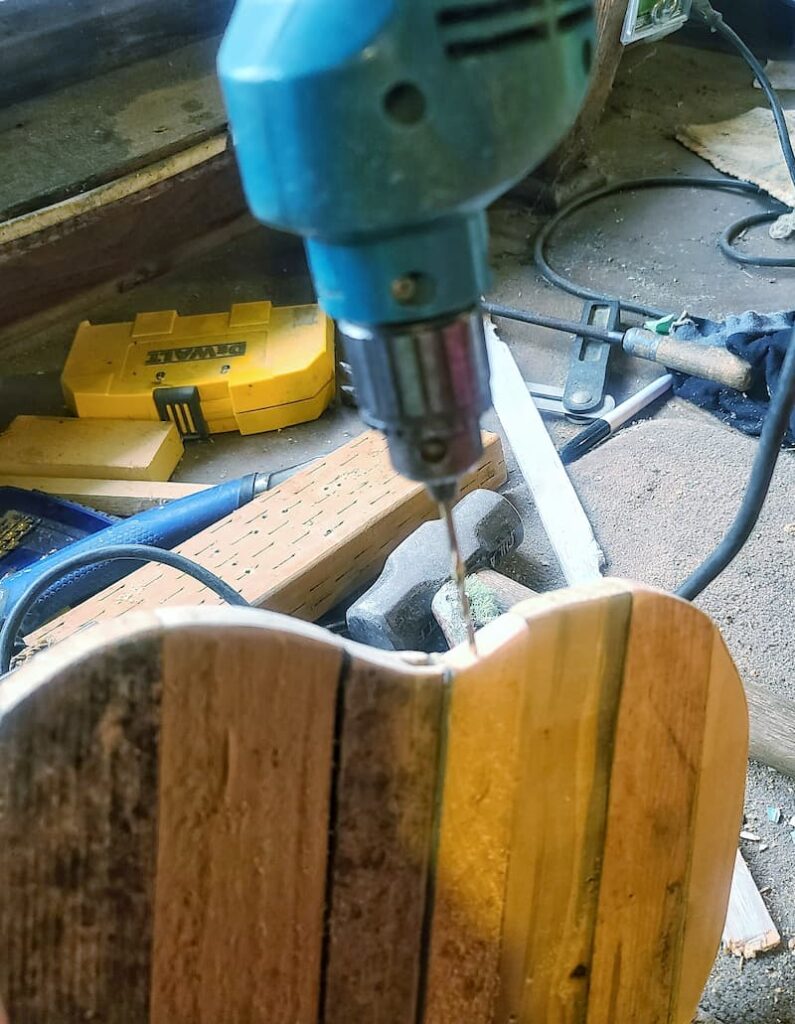
Step 12: Drill a Hole in the Stem

Drill a 1/8″ hole into the center of the stem.
Step 13: Insert Wood Screw

Insert a wood screw into the stem without cracking it.
Step 14: Cut Off the Head of the Screw

Cut off the head of the screw with either a hacksaw or wire cutters.
Step 15: Drill a Hole in the Pumpkin for the Stem
Drill a hole into the top of the pumpkin at the angle you want the stem to sit.
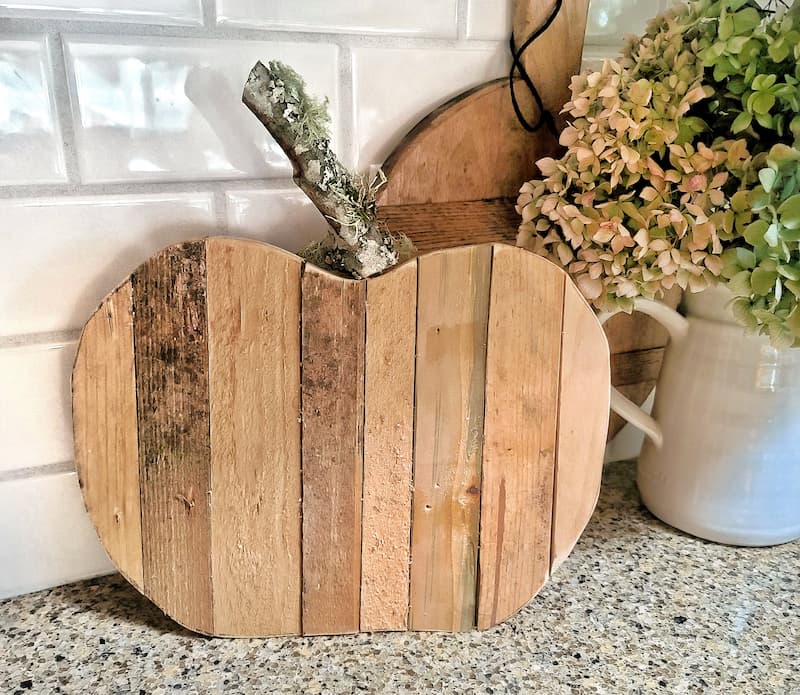
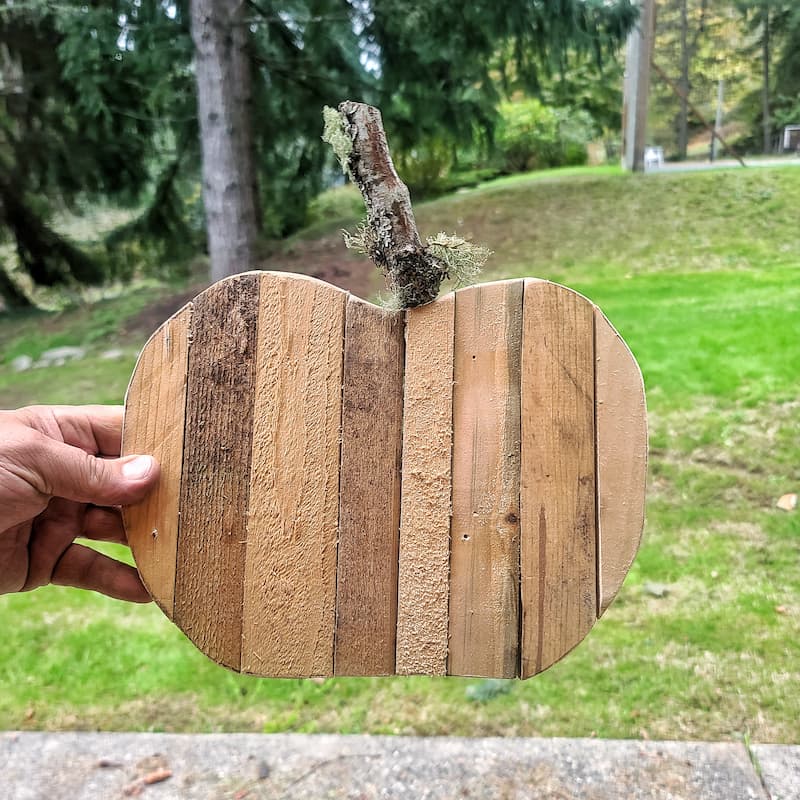
As you can see, I picked the one piece of wood with a hole on the top and strategically placed it in the worst place possible on the pumpkin. That’s why my stem is a little off-center.
Thank you in advance for not judging me.
Step 16: Attach Stem to Pumpkin
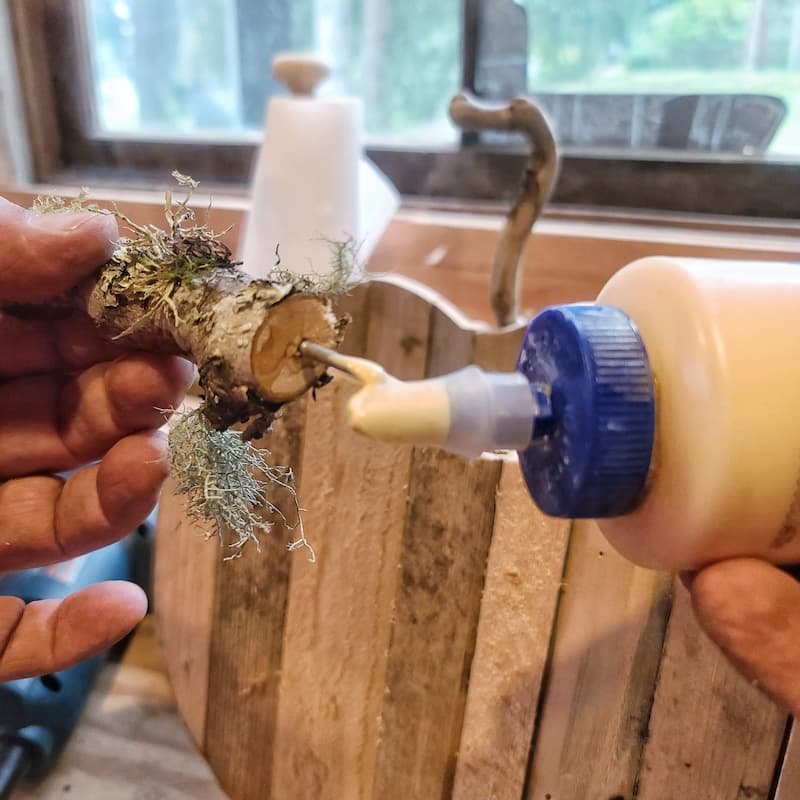
Put a little wood glue on the screw going into the pumpkin and insert it into the drilled hole. You can even dress up the stem with some raffia for an extra touch.
Other DIY Wooden Pumpkin Ideas
Here are some other ideas for alternative DIY scrap wood pumpkin projects:
DIY Wood Pumpkin FAQs
What Kind of Wood is Best for DIY Wooden Pumpkins?
When it comes to making rustic DIY reclaimed wood pumpkins, the choice of wood is an important factor that can affect your project’s final look and durability. Here are some types of wood commonly used for DIY wooden pumpkins, along with their characteristics:
How Do You Make a Pumpkin Cutout?
After tracing your pumpkin design, Use a jigsaw or coping saw to carefully cut along the traced outline.
Always wear safety goggles and a mask to protect your eyes and respiratory system.
What if I Don’t Have a Jigsaw?
If you don’t have a jigsaw, you can use several alternative tools to cut out a pumpkin shape from wood or other materials. Here are a few options:
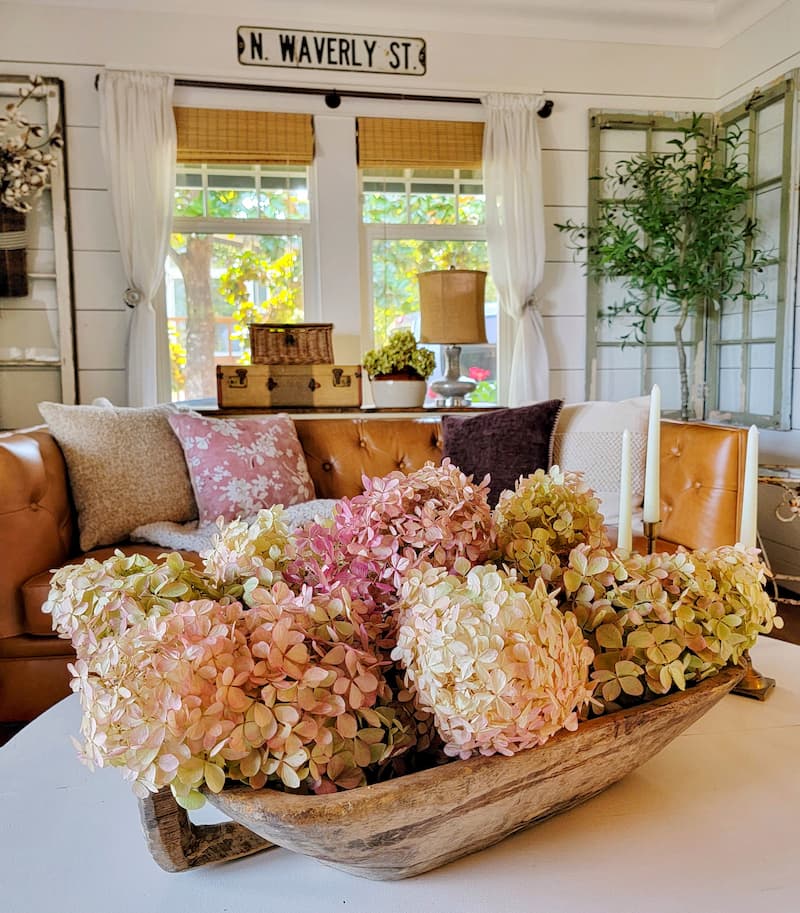
Shop for Fall Home Decor
Are you looking for candles, throws, pillows, and all things fall decor? Take a look at my favorites!
Final Thoughts
This really was an easy DIY scrap wood pumpkin for the fall. It took just a few hours to make and was very inexpensive. It’s hard to believe I got most of the materials from a wood scrap pile!
Read my blog post about fall vignettes to find great ways to display your new pumpkin with your other fall decor.
If you have any questions or additional suggestions, please share them in the comments below. And be sure to share this blog post link with anyone wanting to make their own DIY scrap wood pumpkin project this fall.
Until next time,
Happy Fall Crafting!
MORE POSTS
For You To Enjoy
Follow Me for More Inspiration
Shop my Amazon Storefront, my LTK sources, and my favorite home decor, garden, and lifestyle products. When you make a purchase from one of my links, I earn a small commission which helps me to continue sharing all the content you expect on my blog.
Be sure to follow me on Pinterest, Instagram, Facebook, TikTok and LIKEtoKNOW.it. Do you like gardening? Join my Facebook Gardening Tips & Tricks group.

Oh my gosh friend! I LOVE this project and totally want to make one. I hope you are well and can’t wait to talk soon.
Hi Chas! I hope you do make one. It was really fun and easy. Can’t wait to catch up!
Kim,
Your pumpkin is just adorable. I love the rustic feel. Great job.
Thank you, Rachel! I don’t do many DIYs so this was a lot of fun. Now I want to make a fall garland like you shared this month on your blog.
Kim this is so cute and I love how rustic it looks too. Pinned?
Thank you, Ann! I was so happy it looked like a pumpkin when I was finished!
What a fun project! I’m not much of a DIYer either … but I do love this and I’ll bet my husband can handle it. Under my direction, of course! xo
And that’s the way we do it around here! Thank you, Juliet.
This is so cute! Love the tree branch stem!
Thank you so much Marie!
What a great idea! This is so cute!!!
Thank you so much Danielle!
I love this!! I just got a new jigsaw too. Adding it to my list& pinning so I don’t forget!
It was actually really easy too! I’m glad you liked it.
What a cute DIY! Love it!
Thank you Stacy! Thank goodness for my husband helping me with the power tools!
What a fun project! Love this wooden pumpkin! Thanks for inspiring me today!
Happy day!
KariAnne
Well this especially sweet comment made my day today. Thank you KariAnne!