
How to Make a Fresh Magnolia Leaf Wreath

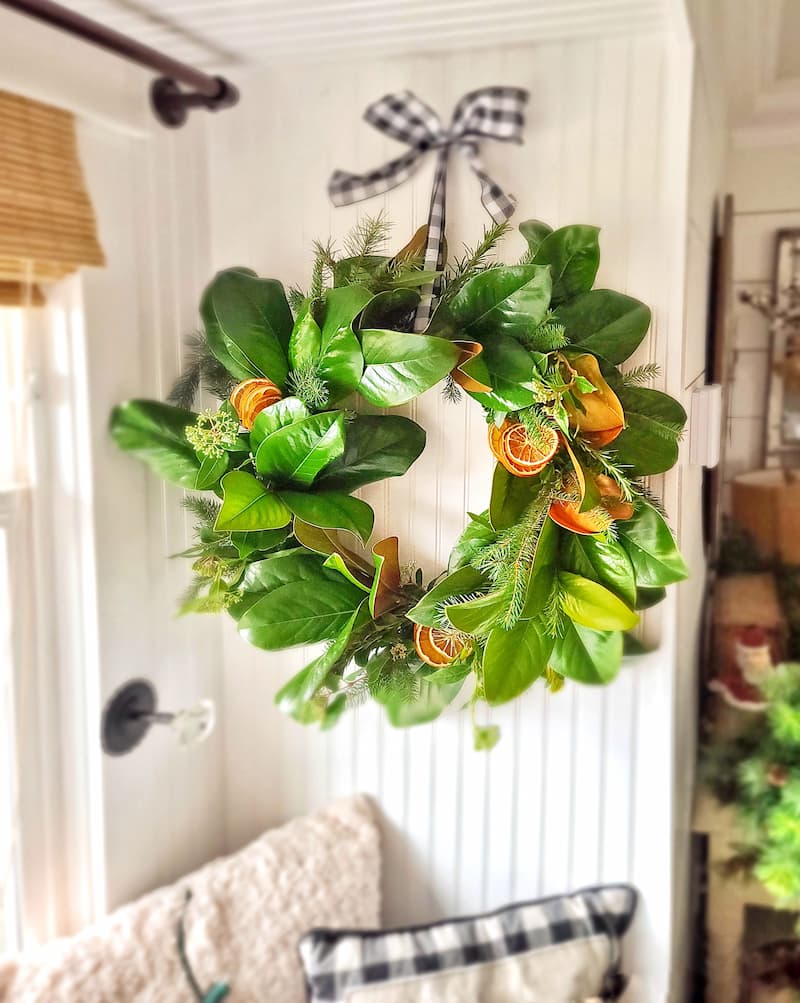
This fresh magnolia leaf wreath comes together in an afternoon, and it works just as well for fall as it does for Christmas. I made mine with leaves from the magnolia tree in our yard, a mix of greenery clippings, and a handful of dried oranges. The full step-by-step tutorial is below.
I make a fresh wreath most years once the weather turns. It’s one of the easiest ways I know to bring this season indoors and out, and it costs next to nothing when the materials are already growing in the yard.
A magnolia wreath pairs perfectly with my favorite vintage fall decor, and the same wreath carries right through to Christmas with a ribbon swap or a few pinecones.
Living here in the Pacific Northwest has its perks. Evergreens are everywhere you look in Western Washington, so there’s never a shortage of clippings to fill in around the magnolia.
As an Amazon affiliate, I earn a commission from qualifying purchases at no additional cost to you. My blog also features other affiliate links for your convenience. Click here to read my privacy policy.
Our Magnolia Tree
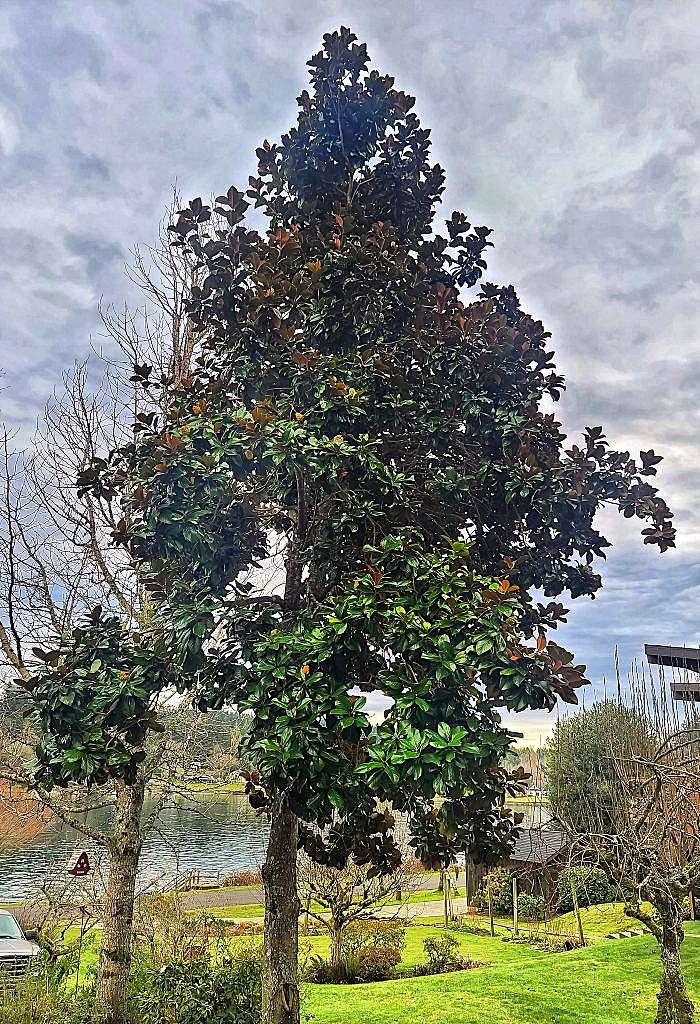
When we moved in 14 years ago, I had no idea how much I’d come to love this tree.
I’ll be honest. I didn’t care much for it at first. The flowers were stunning, but the leaves and seed pods drop all through late spring and early summer, and I spent a few seasons grumbling about the mess.
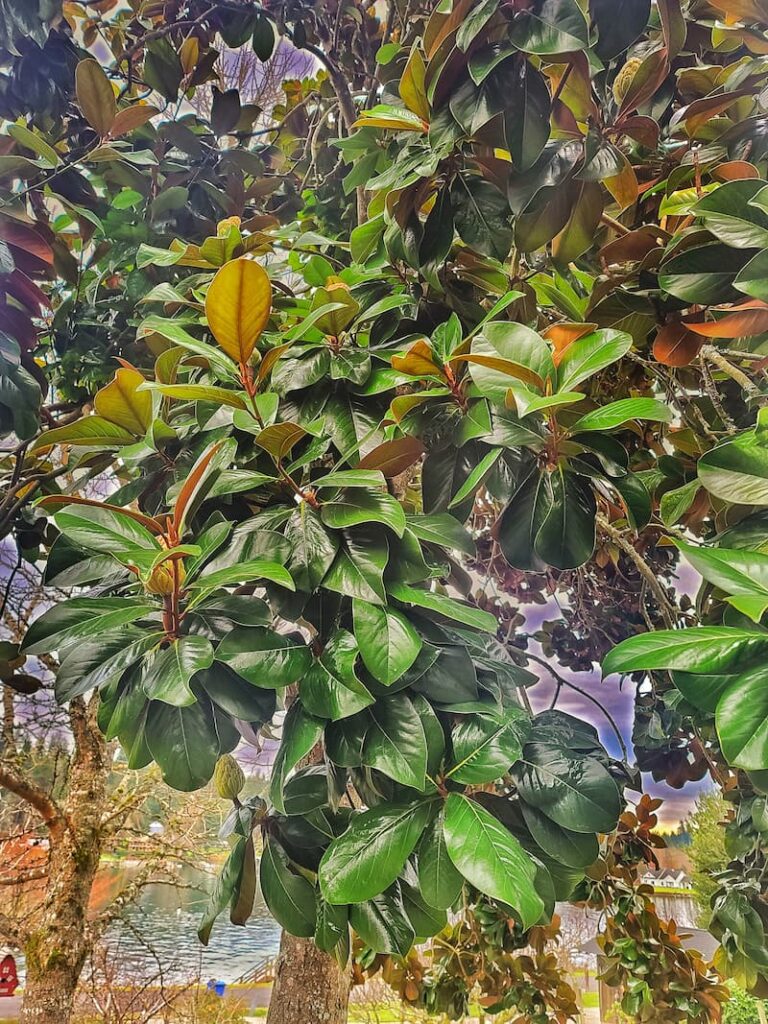
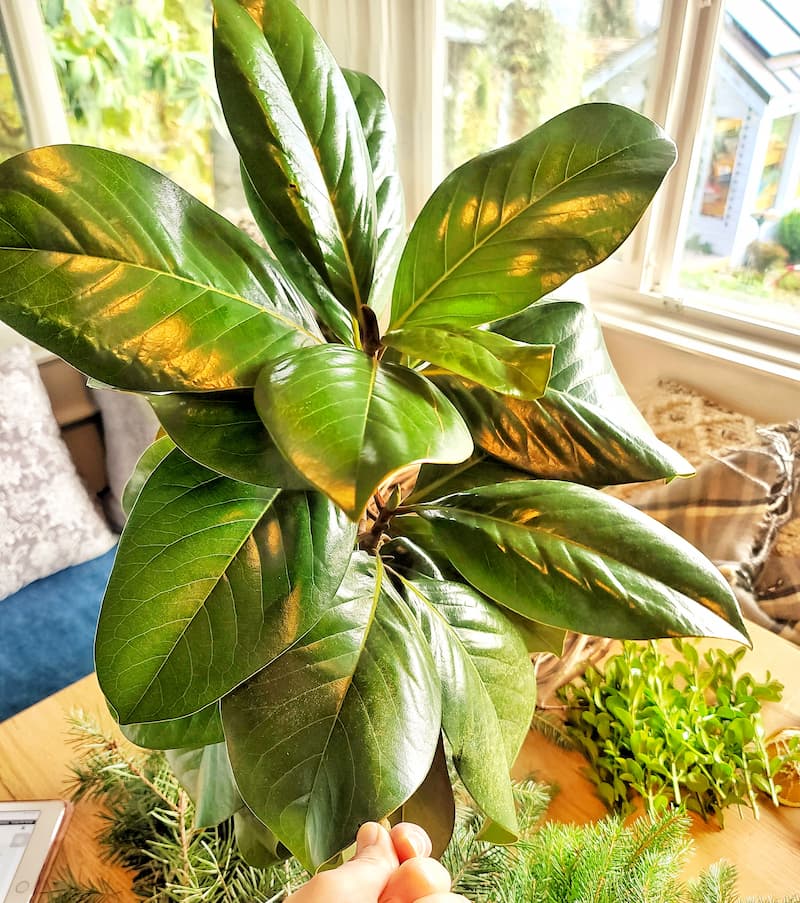
But over the years, I’ve changed my mind about it. Those glossy leaves are perfect for garlands and wreaths, and the contrast is what makes them special: a deep green, waxy top and a soft, velvety underside in a rich rust brown. One leaf gives you two colors. How great is that?
No Magnolia Tree? Here’s What to Use Instead
No tree, and no neighbor with one? You have a few easy options:
Materials for a Fresh Magnolia Wreath
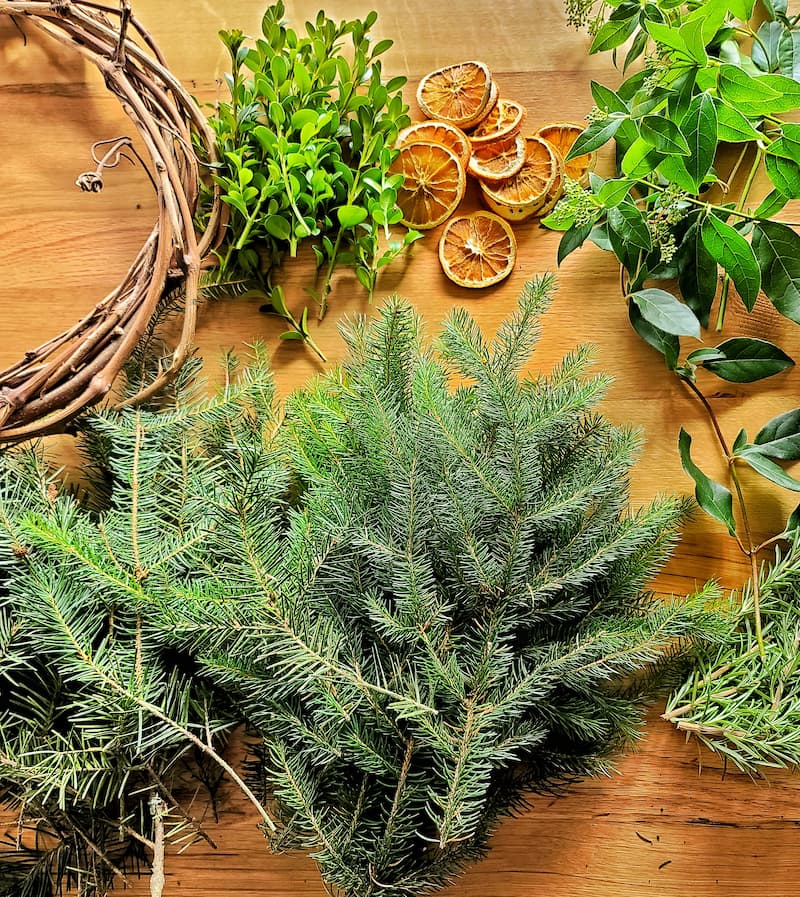
How to Make a Magnolia Leaf Wreath, Step by Step
How to Make a Magnolia Leaf Wreath, Step by Step
- Bundle the Leaves and Clippings
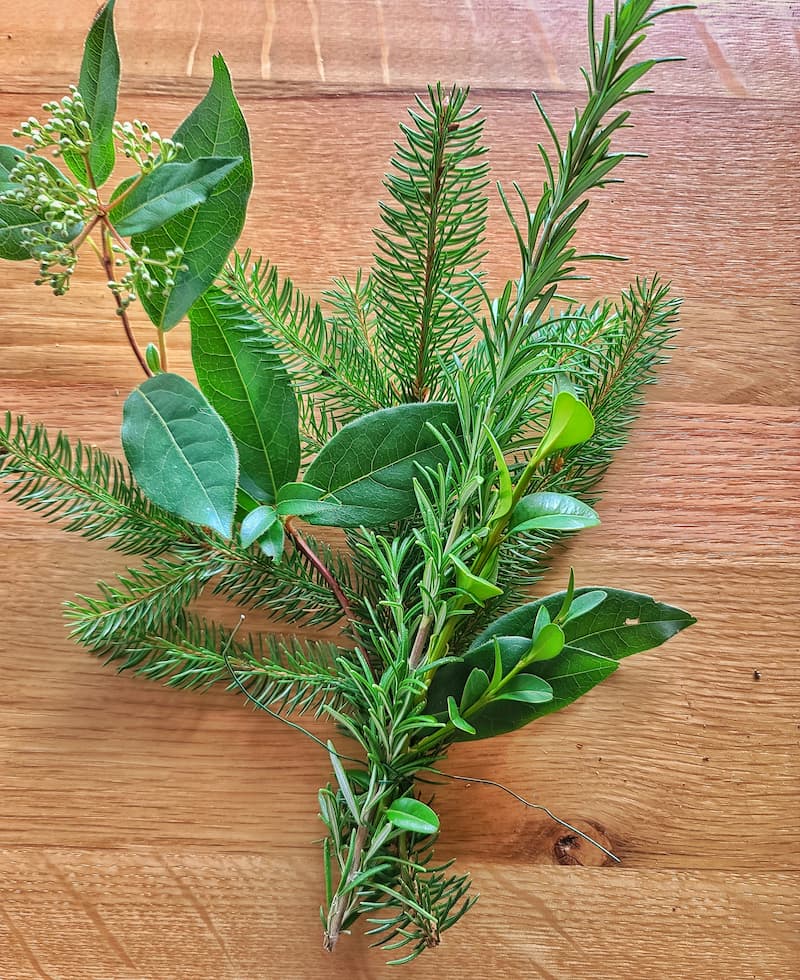
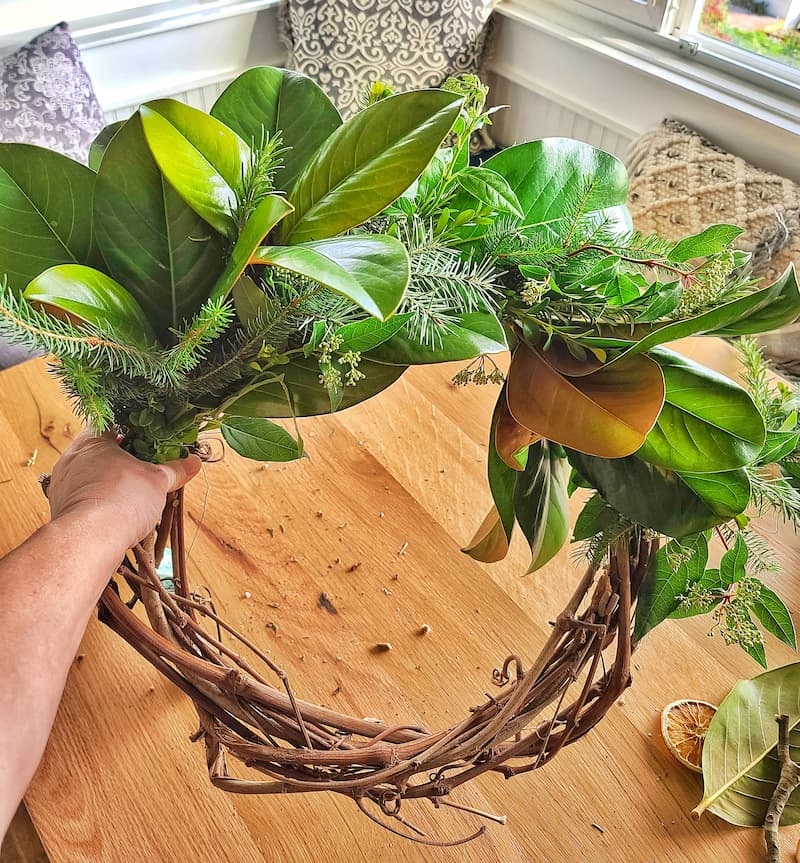
Gather three or four branches of magnolia and greenery into a small bundle and trim the stems to an even length. Wrap a long piece of floral wire tightly around the base to hold everything together, leaving enough wire on each end to attach the bundle to a frame.
Note: I like to work with one continuous piece of wire around the whole wreath rather than cutting a new length for each bundle. It holds up better. Anchor it to the frame by twisting it back on itself, and keep going. It’s a personal preference, so use whatever feels good to you.
- Wire the First Bundle to the Frame
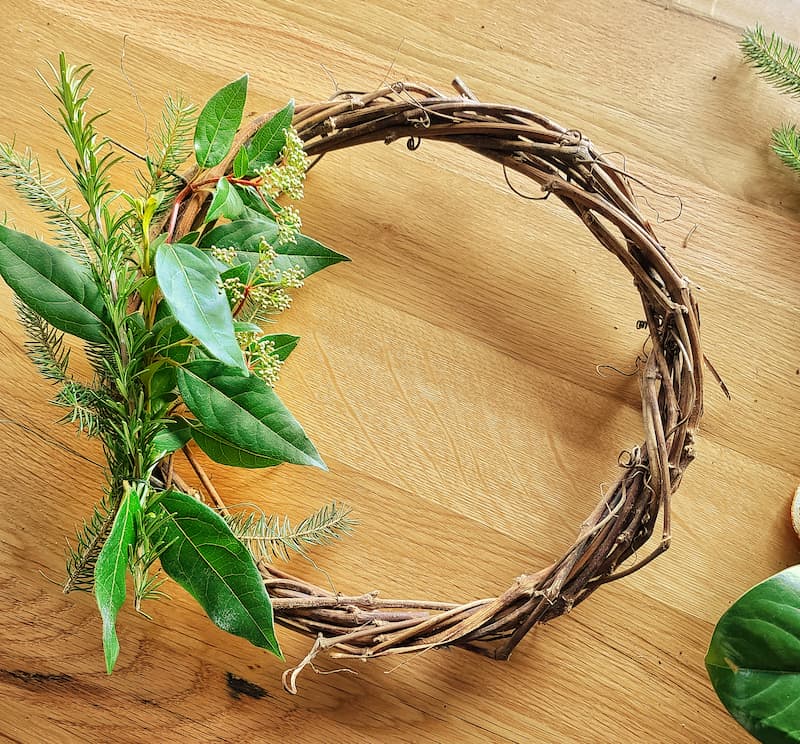
Set your first bundle against the frame and wrap it on with the floral wire. Angle it to follow the curve of the wreath, then pull the wire snug.

- Keep Layering Around the Wreath
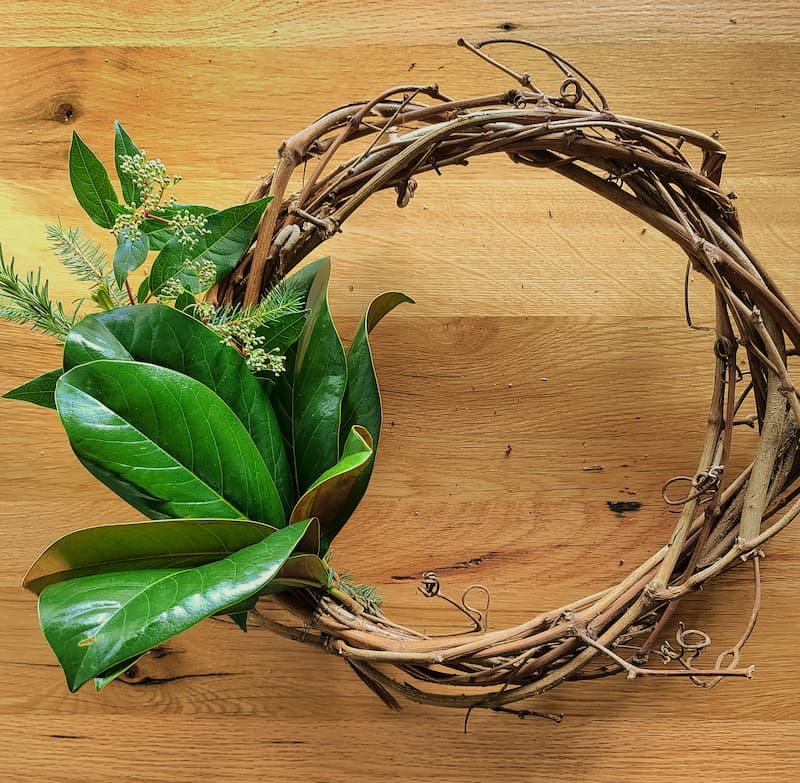
Lay the next bundle so the leaves cover the previous stems, and wire it down. Work your way around the frame in the same direction, with one bundle overlapping the next, until the whole circle is full.

- Check That Everything Is Secure
If you cut separate lengths of wire instead of using one continuous piece, go back around and wire the bundles down to the frame every three inches or so. A little extra wire now saves you a wreath that sags later.

- Add Dried Oranges (Optional)
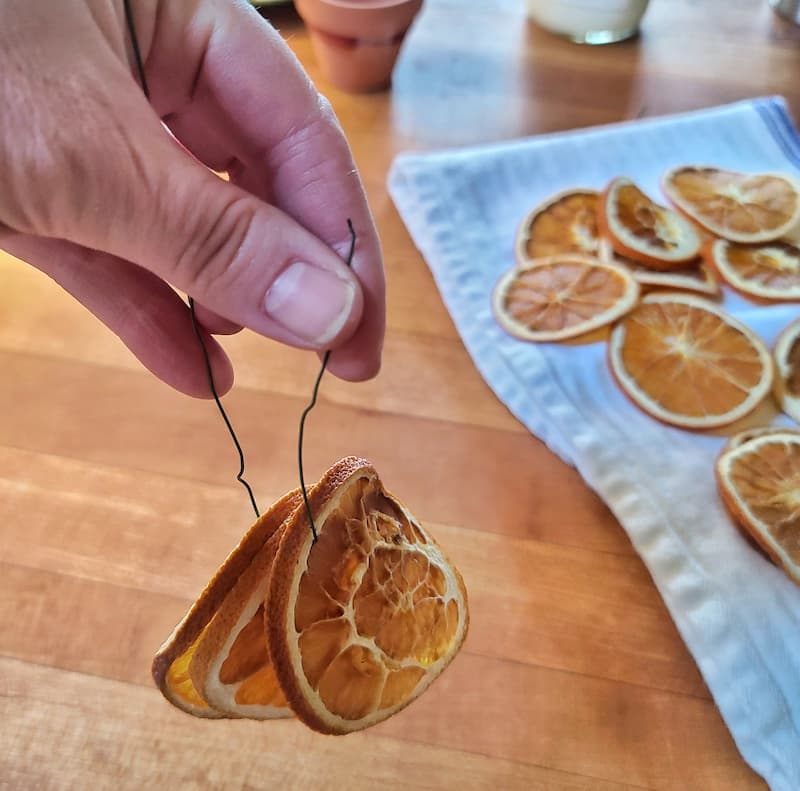
Thread floral wire through three dried orange slices to make a little cluster, then twist the wire to hold them together. Leave a tail of wire on each cluster, tucking them around the wreath wherever it needs more warmth and color.

- Finish With Ribbon, Bows, or Pinecones
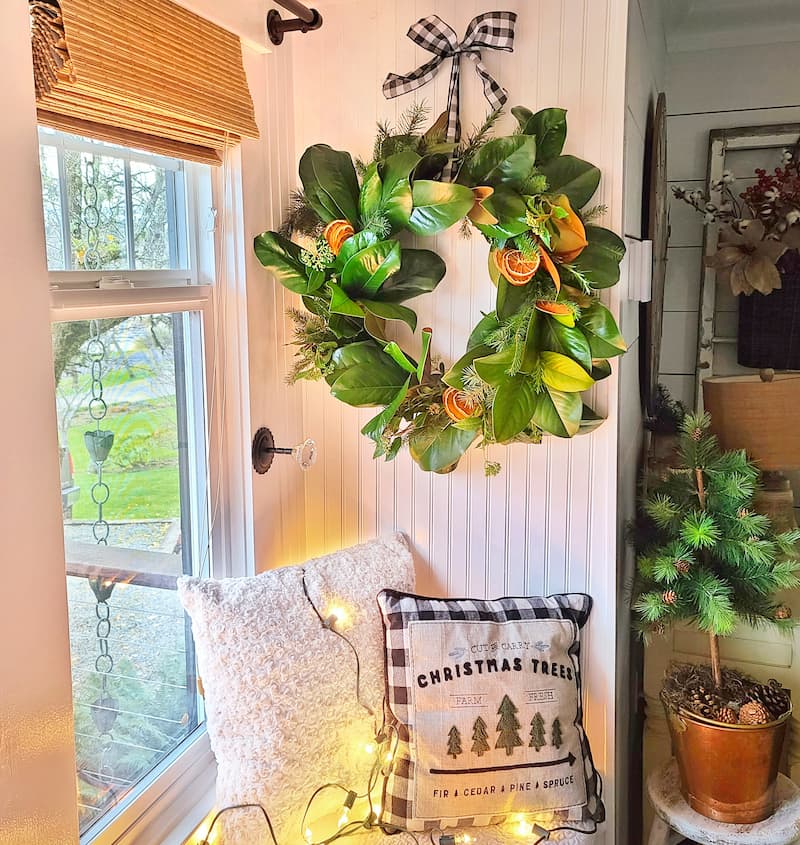
This is the fun part. Add a ribbon, a bow, a few pinecones, some raffia, whatever fits the season and your style. Keep it simple for fall, then add a little more for Christmas and let the same wreath work twice.

Fresh Magnolia Wreath FAQs
A well-made fresh magnolia wreath usually lasts one to four weeks, and often longer in cool conditions. How long it holds up depends on the temperature, how you care for it, and how fresh the leaves were when you built it. Keep it cool, spritz it with water every few days, and swap out any leaves that brown or turn brittle.
Magnolia leaves look glossy and green when they’re fresh, but they can wilt and brown quickly once they’re cut. A few habits keep them looking their best:
Start by choosing mature, unblemished leaves.
Cut the stems at an angle with sharp shears for better water uptake.
Strip any leaves that would sit below the waterline.
Use a clean vase of lukewarm water, tall enough for the stems.
Add flower preservative for its nutrients and antimicrobial boost.
Keep them cool and out of direct sun, drafts, and heat.
Mist the leaves daily to keep them hydrated.
Re-trim the stems every few days.
Pull off any wilting or browning leaves before they affect the rest.
Once the wreath is up and the leaves start to firm up and dry, clean it by wiping gently with a soft cloth so you don’t snap anything brittle.
A preserving spray helps the leaves hold their color and keeps them from drying out too fast. Clear acrylic sealer, hairspray, a pressed-flower-and-leaf sealant, or a homemade mix of one part glycerin to two parts water all work.
Tip: Test any preserving solution on a small, hidden part of a leaf first to make sure it doesn’t discolor or damage it.
Preserved leaves may shift a little in color over time, but these methods help them keep their shape and texture for a good long while.
Both fall and winter. That’s the beauty of it. Build it once, style it for autumn, then carry the same wreath straight through the Christmas season with a few small swaps.
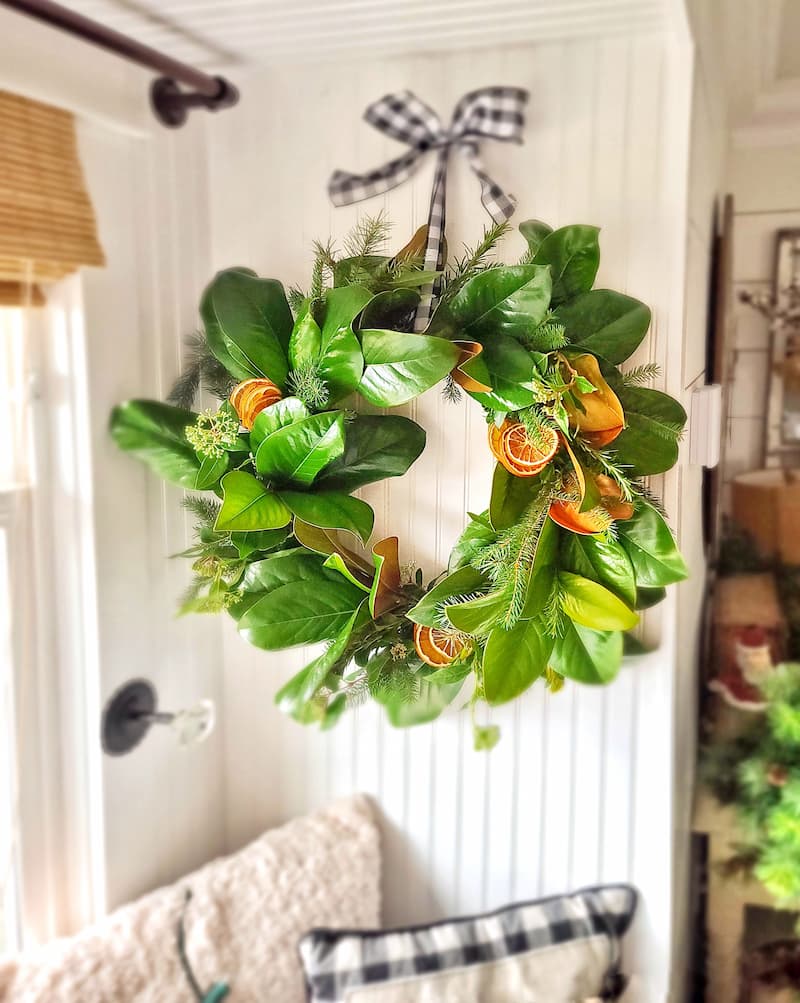
Can you believe how simple this is? I hope it inspires you to make your own wreath for fall or for the holidays.
If you have any questions or a tip of your own, leave it in the comments below. And if you know someone who’d love to make one, send this post their way.
Until next time,
Happy Wreath Making!

OTHER POSTS
For You to Enjoy
Follow Me for More Inspiration



Happy Birthday Kim
Thank you! We need have a phone call one of these days and catch up.
This wreath is gorgeous! I definitely need to make one. Blessings to you.
Kim
This wreath is amazing
Thank you so much, Rachel!
Beautiful! My magnolia has spots all over the leaves and wouldn’t be very pretty! Will see what else I can get to use! Thanks for sharing!
Thank you Margie. So sorry about the spots. I haven’t seen that before.
So beautiful and I bet it smells scrumptious! We have a magnolia tree in the back so I might be able to pull this one off! Merry Christmas!
Oh I so hope that you do get a chance to make one with your tree Cindy. And thank you. Merry Christmas my friend.
What a beautiful wreath friend. I love that you could leave this up all year if you want too! Thanks for sharing.
I’ll make you one if you come and get it!
Beautiful, Kim! We have a magnolia tree … although she’s a little stressed after our house and landscape renovation. Hoping the winter rains revive her. I’m pinning and saving this project for next Christmas. Absolutely love the dried oranges. xo
I’m sure your sweet tree will make it Juliet. I’m so excited that you will be trying to make one next year.Thank you!
Love this so much, Kim! I have clients that is planning for next year so I’m putting this on her board and sending her this link right now. She’s going to be so excited. Thanks for the easy step by step. Big hugs, CoCo
Oh I’m so happy to hear this CoCo. Thank you and hugs right back my friend!
It looks beautiful Kim! You are so lucky to have that gorgeous Magnolia tree to cut from! I love seeing how you made it. I want to make one now! xoxo
I can’t believe I waited this long before using the magnolia leaves. See what Instagram and blogs do to you? So much inspiration. Glad I tried it.
I’ve made wreaths with salal leaves for yrs. Its wild here in the PNW as you know….I live in gig harbor….Do you think thats a good alternative?
I think salal leaves would be beautiful in a wreath. I don’t have any of it around here or I would use it.