
Growing Tulips from Bulbs: Tulip Care and Maintenance 101
Are you growing tulip bulbs in the garden this spring? You’re in the right place! In this guide, I’m sharing everything you need to know to grow and care for beautiful tulips in your garden.
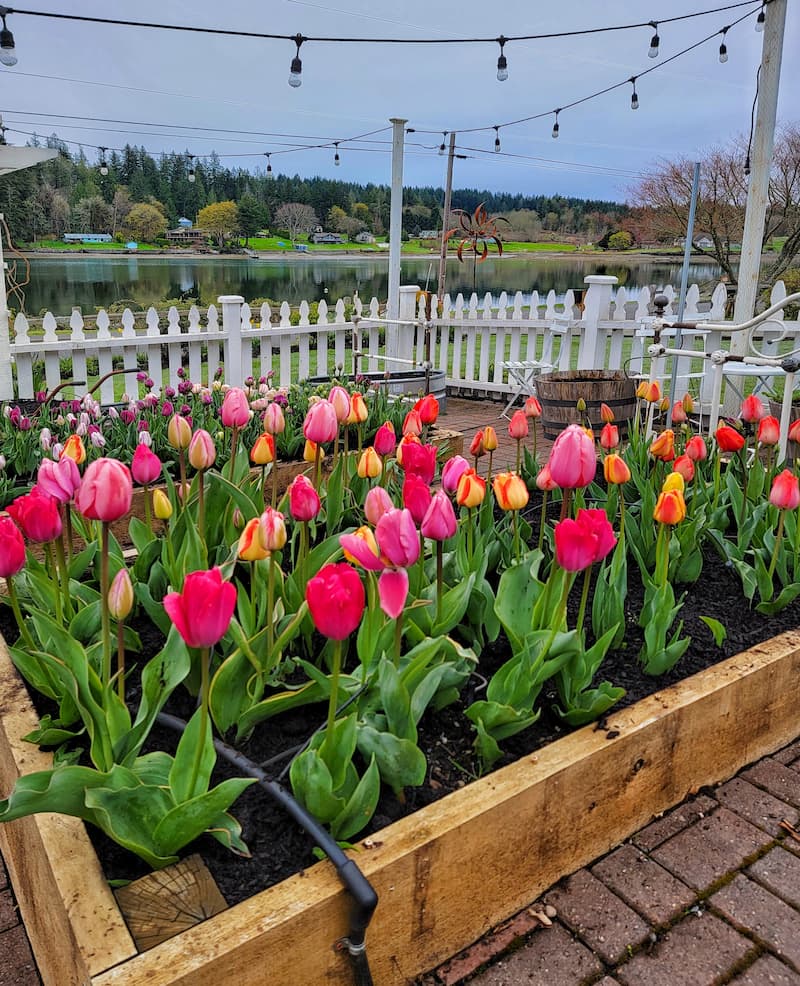
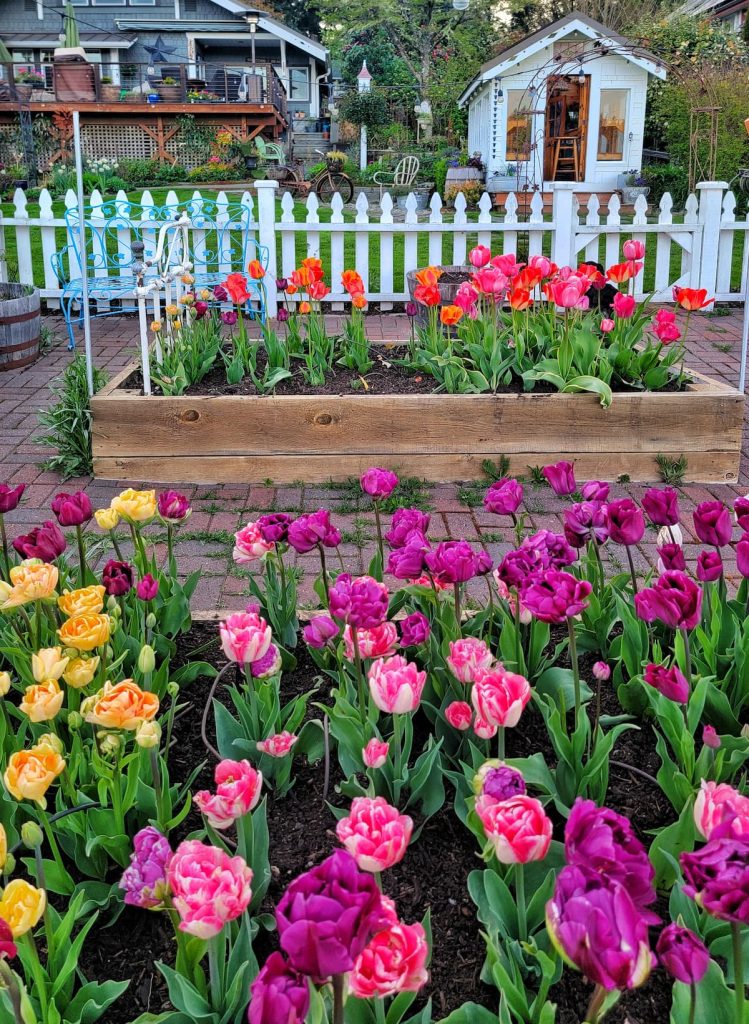
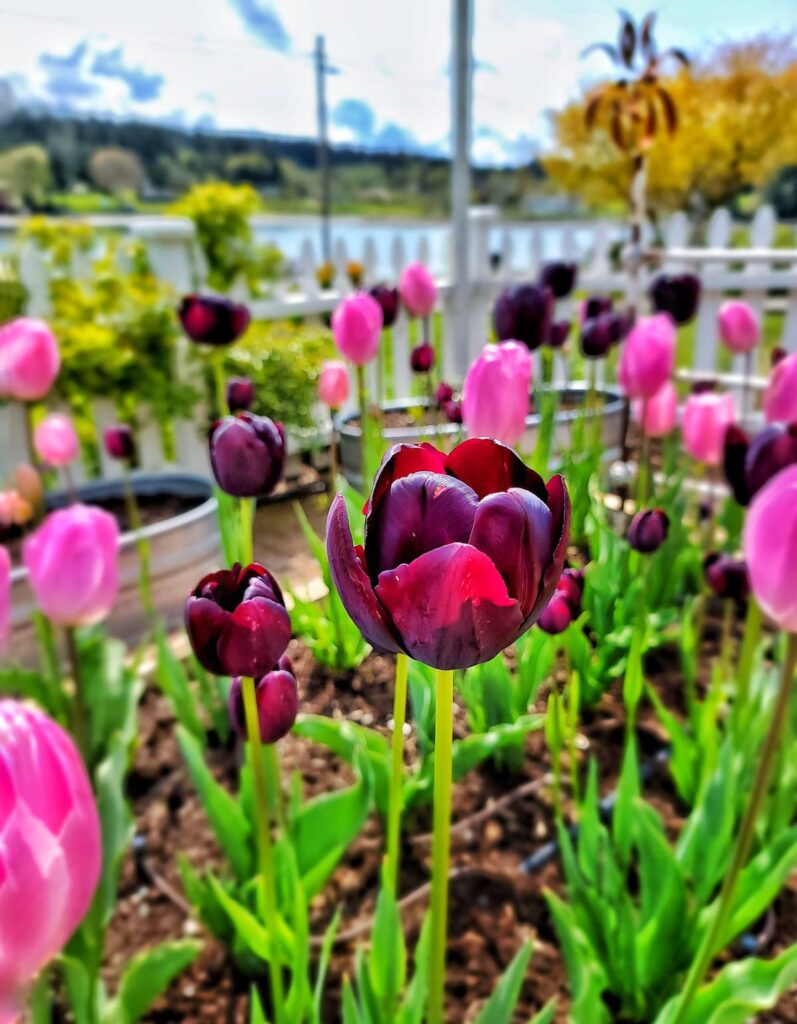
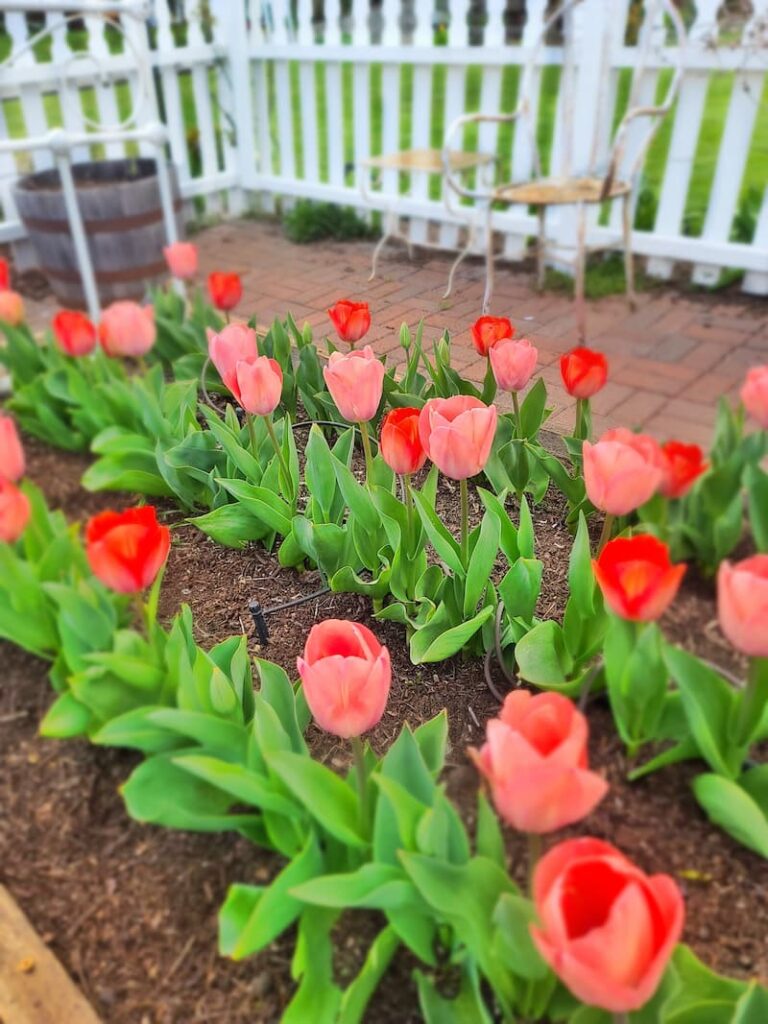
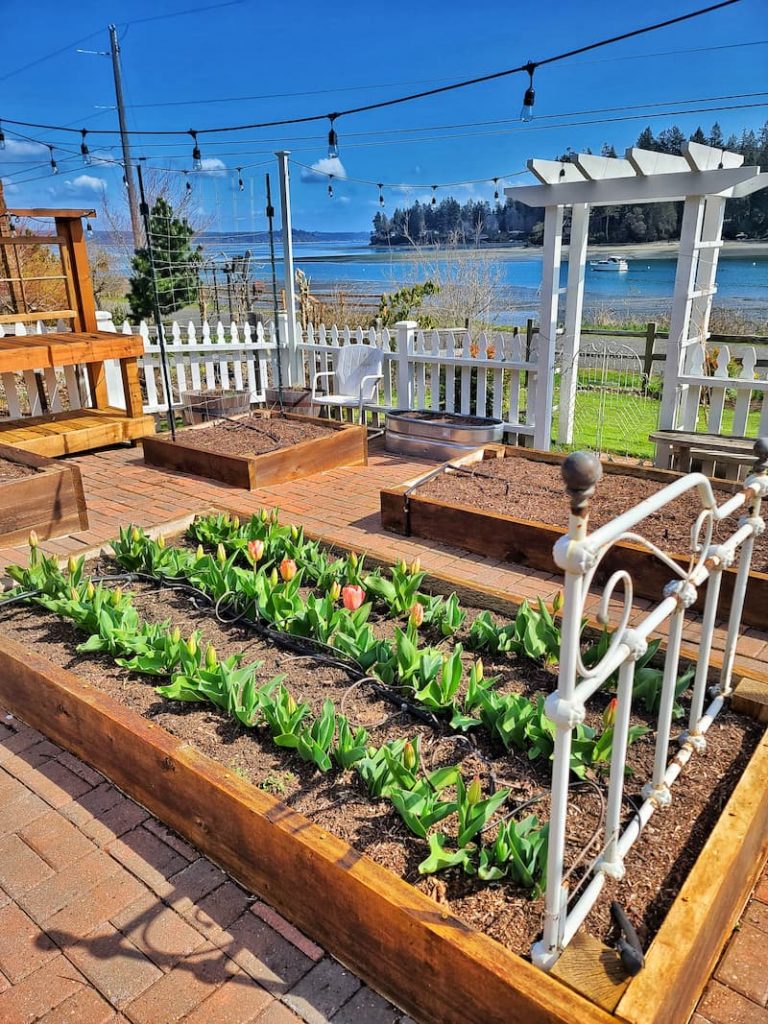
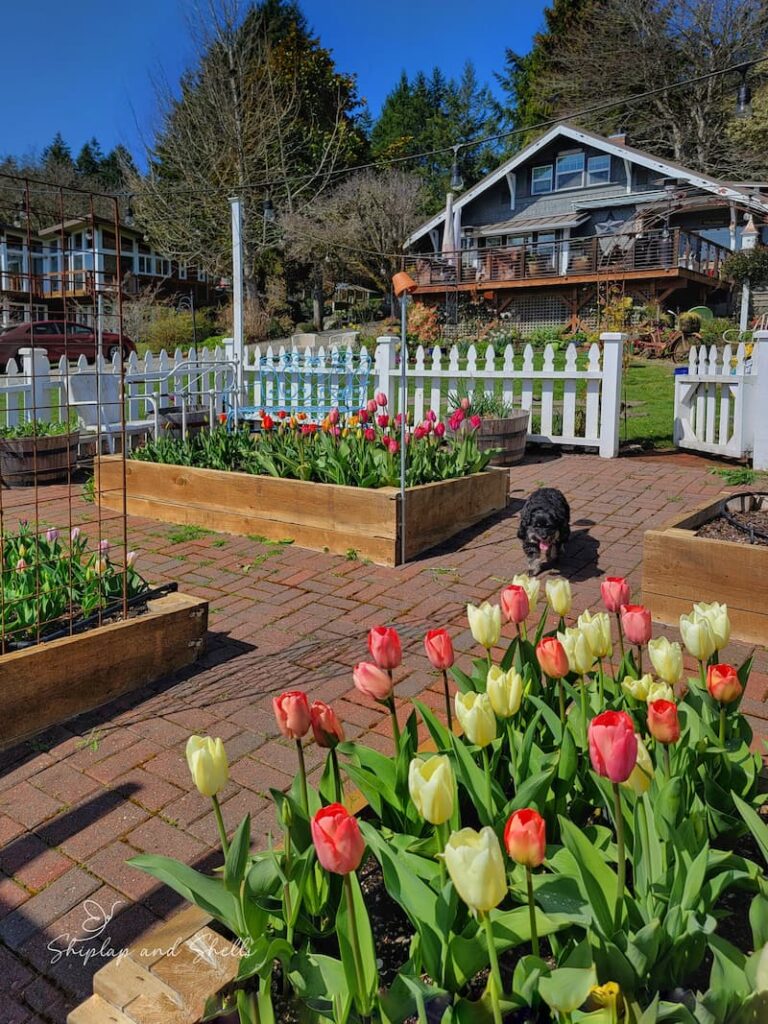
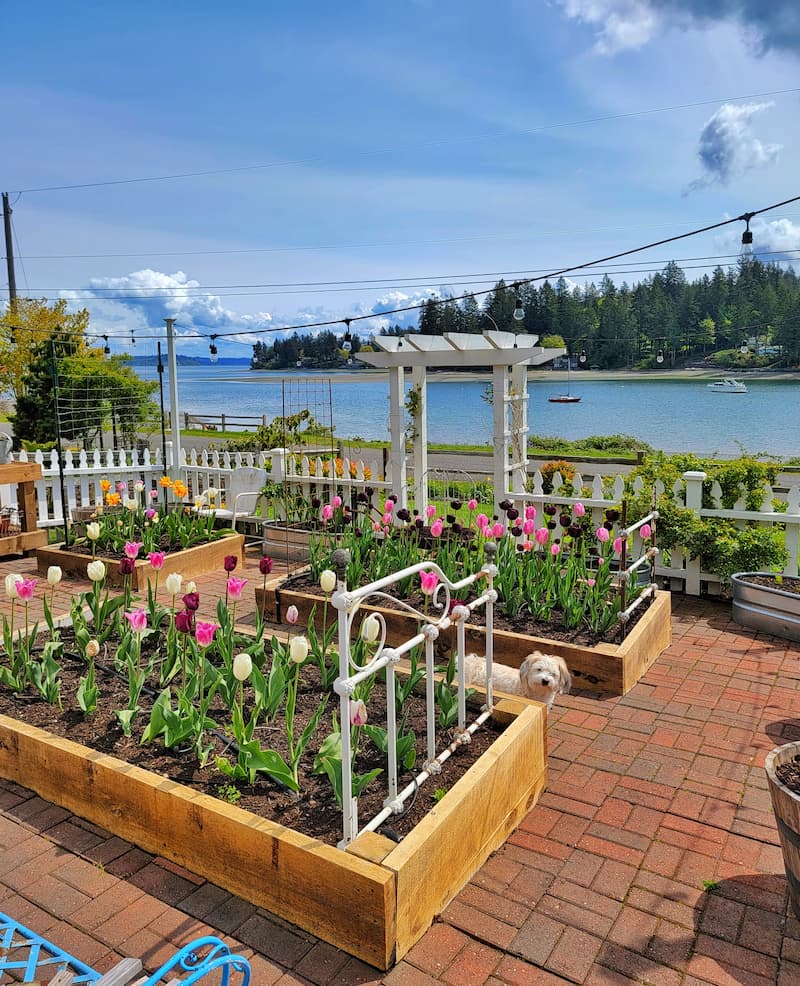
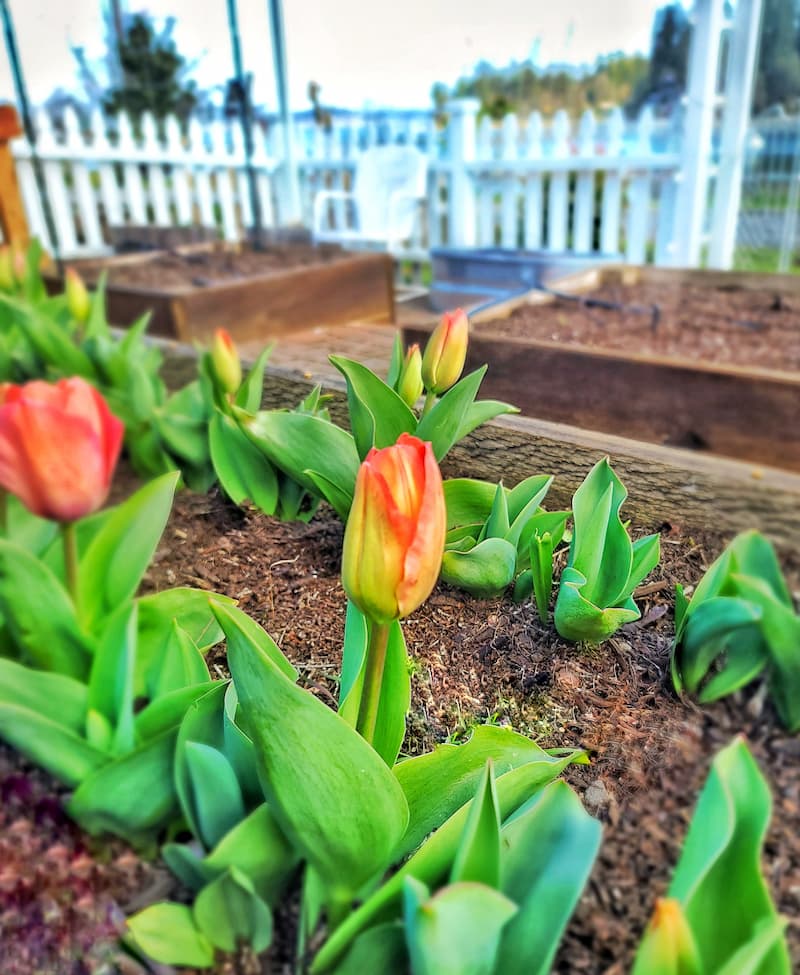
Tulips are one of my absolute favorite signs that spring has arrived. Those bright pops of color and their cheerful, unique blooms make me smile. A few years ago, I even started growing them in our raised beds so I could snip fresh tulips and bring them inside to enjoy.
Whether you’re just getting started with gardening or have been planting tulips for years, I’ve got some simple tips to help you pick the best bulbs and keep those gorgeous blooms happy and healthy for seasons to come.
As an Amazon affiliate, I earn a commission from qualifying purchases at no additional cost to you. My blog also features other affiliate links for your convenience. Click here to read my privacy policy.
About Tulips
Tulips are perennial plants that grow in early spring gardens and thrive in climates with cold winters and dry summers. Their life cycle begins when their bulb is planted in the fall to ensure it experiences the winter chill.
How Tulips Grow
Tulips grow from flower bulbs, which store the nutrients and energy necessary for the plant’s growth and bloom the following spring.
The bulbs are planted in the ground before the first frost in the fall. That way, they have time to settle in and start growing roots while the soil is cool.
The plant bulbs stay tucked under the soil throughout the winter, resting and waiting for the right moment. When the weather starts warming up in spring, they wake up and grow quickly.
You’ll first see green shoots shoot through the ground, then leaves, and finally, the beautiful tulip blooms. This cycle is driven by the energy the bulb stores.
Are Tulips Annuals or Perennials
Tulips are technically perennials, which means they can return and bloom for several years. But their longevity really depends on the type of tulip you plant and the conditions they’re growing in.
In their native habitats and just-right conditions, tulips will pop up every spring without missing a beat. But many home gardens, especially in warmer climates or less-than-perfect soil, sometimes only give you that first spectacular show and then fade out.
In those cases, tulips can act more like annuals, blooming once and then not returning. This often happens because some varieties are bred for those big, gorgeous blooms rather than for longevity.
In some climates, if your winters aren’t cold enough, the bulbs might not go through the dormancy cycle they need for reblooming.
If you’re hoping to enjoy tulips year after year, look for varieties known to naturalize — they’re much more likely to settle in and come back season after season.
Is it Easy to Grow Tulips in a Garden?
Growing and caring for tulips in a garden is generally considered easy and beginner-friendly, making them popular for beginning gardeners.
They’re easy to care for and can thrive in many climates and soil types as long as the soil drains well.
There are just a few key things to keep in mind for healthy tulips:
Once they’re tucked into the ground, there’s not much to do over winter. Just let them rest.
In the spring, after they bloom, the most important job is to snip off the spent flowers (that’s called deadheading). But leave the green foliage alone until it turns yellow and withers naturally. That’s how the bulb stores up energy for next year’s blooms.
A Few Challenges to Consider
Tulips are generally low-maintenance, but there are a few common problems to consider when growing and caring for these spring bulbs.
The first risk is a bulb rotting in the ground due to overly wet conditions.
My biggest challenge when growing tulips is the potential for pests. Squirrels and other rodents may dig up your tulip bulbs. The moles move my bulbs from under the ground so they’re no longer in a straight row in the cut flower garden.
And then there are the deer, who are always hungry for tulips and love to eat them. In dry weather, cover the planted area with chicken wire or use a deer repellent.
Let’s Plan Your Dream Garden With Our
Gardening Planner
Unlock Your Garden’s Potential.
Our 35-page Ultimate Garden Planner is designed to help you organize, track, and flourish in your gardening endeavors.
Get yours for $4.99
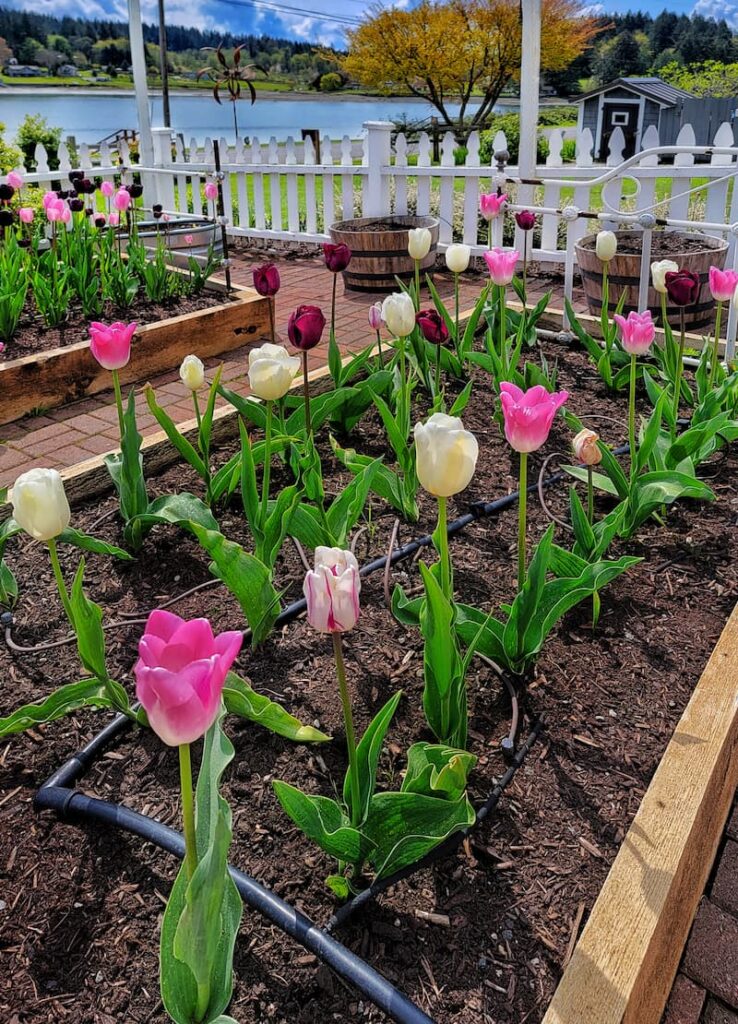
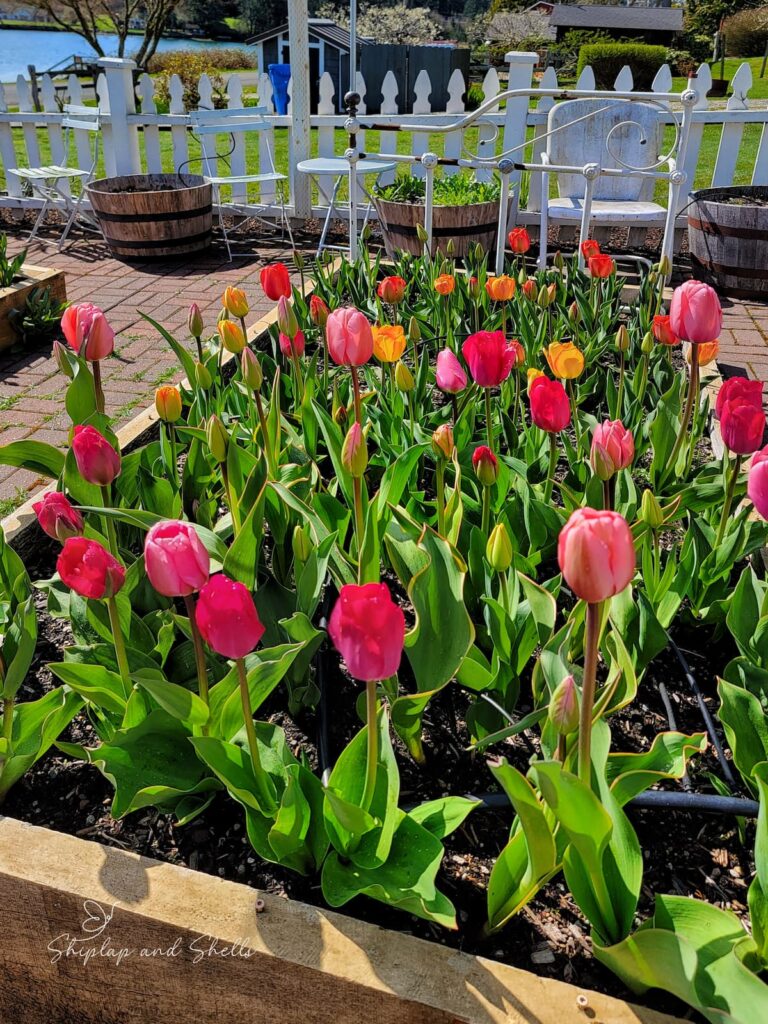
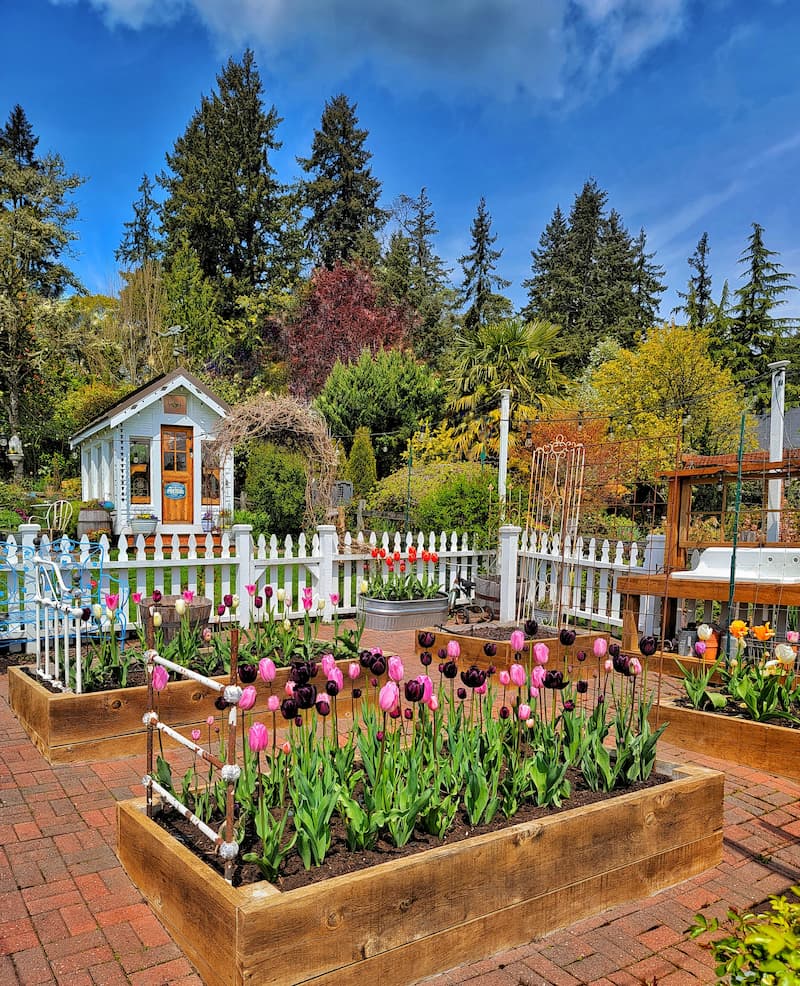
Choosing Tulip Varieties
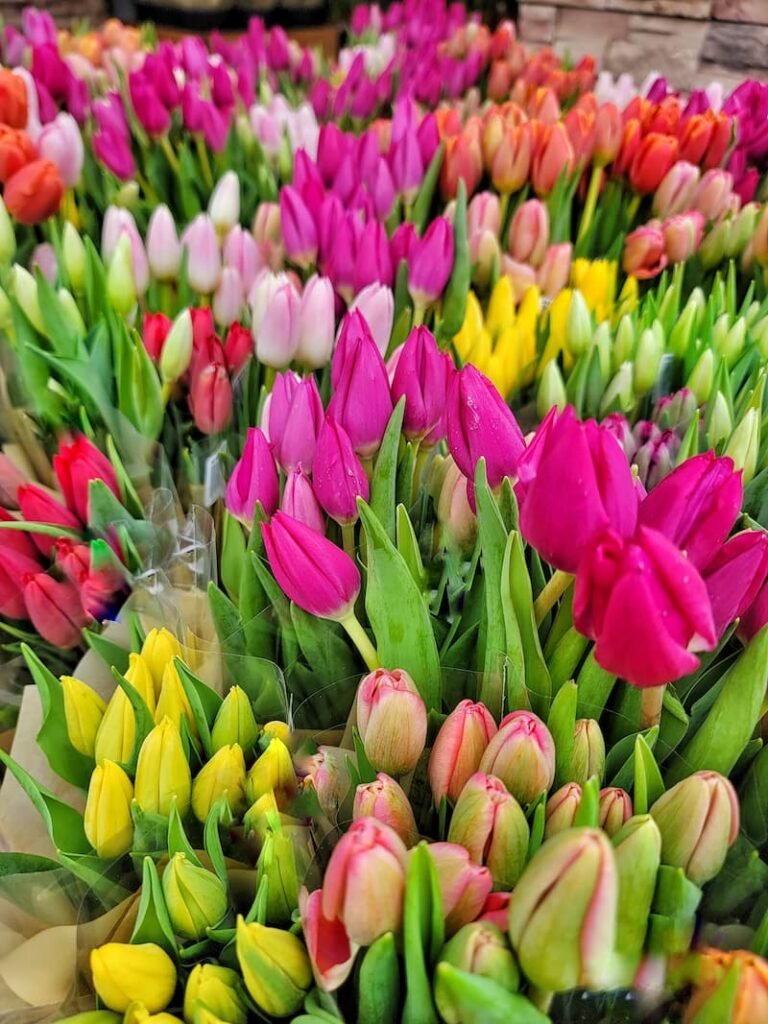
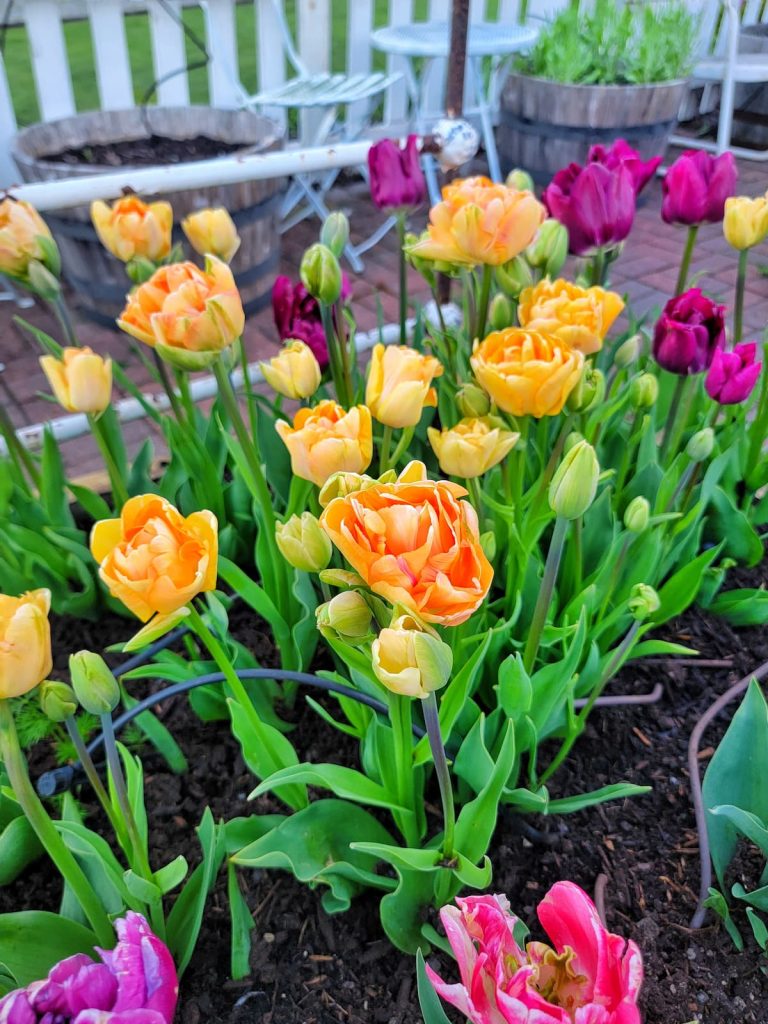
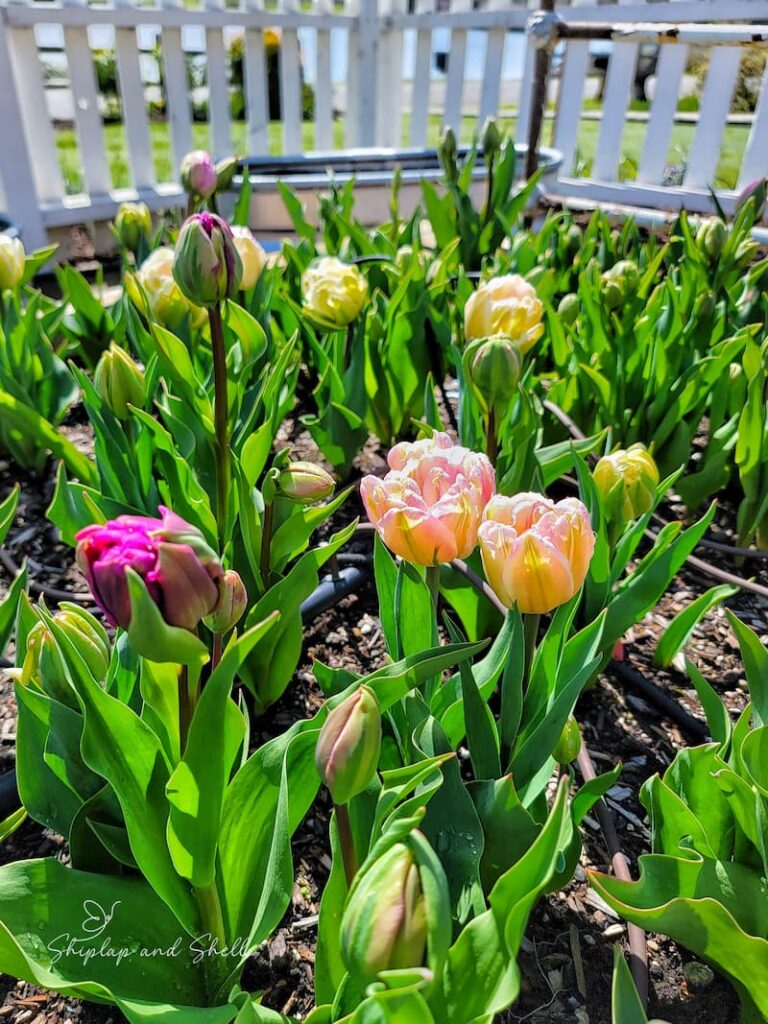
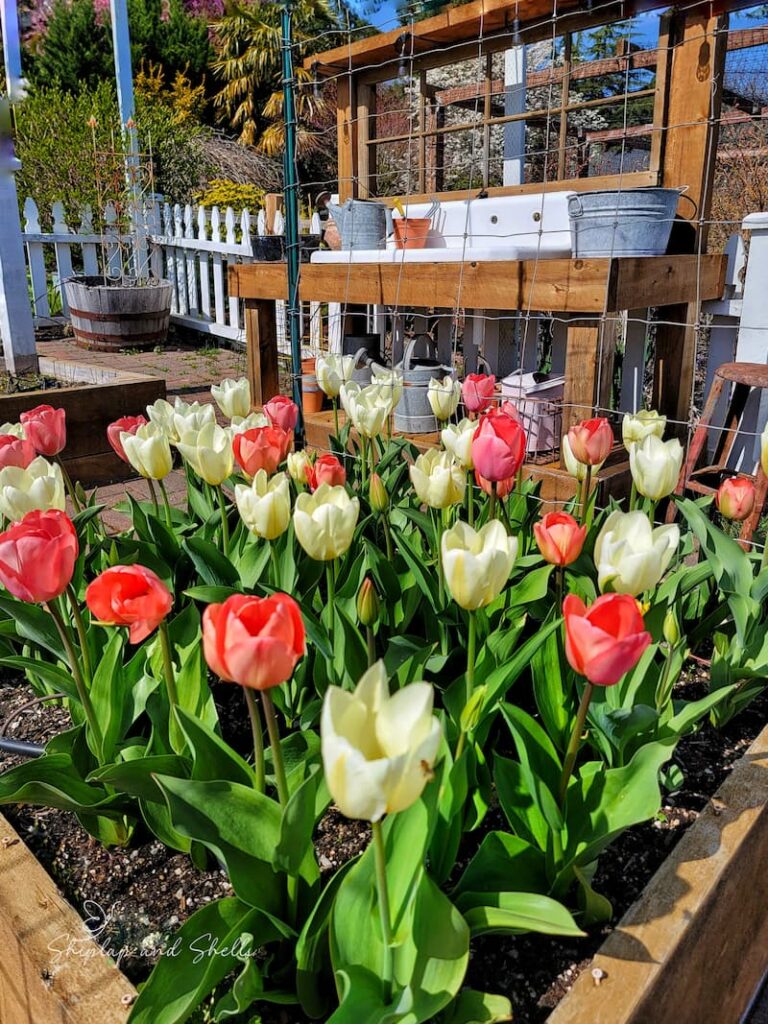
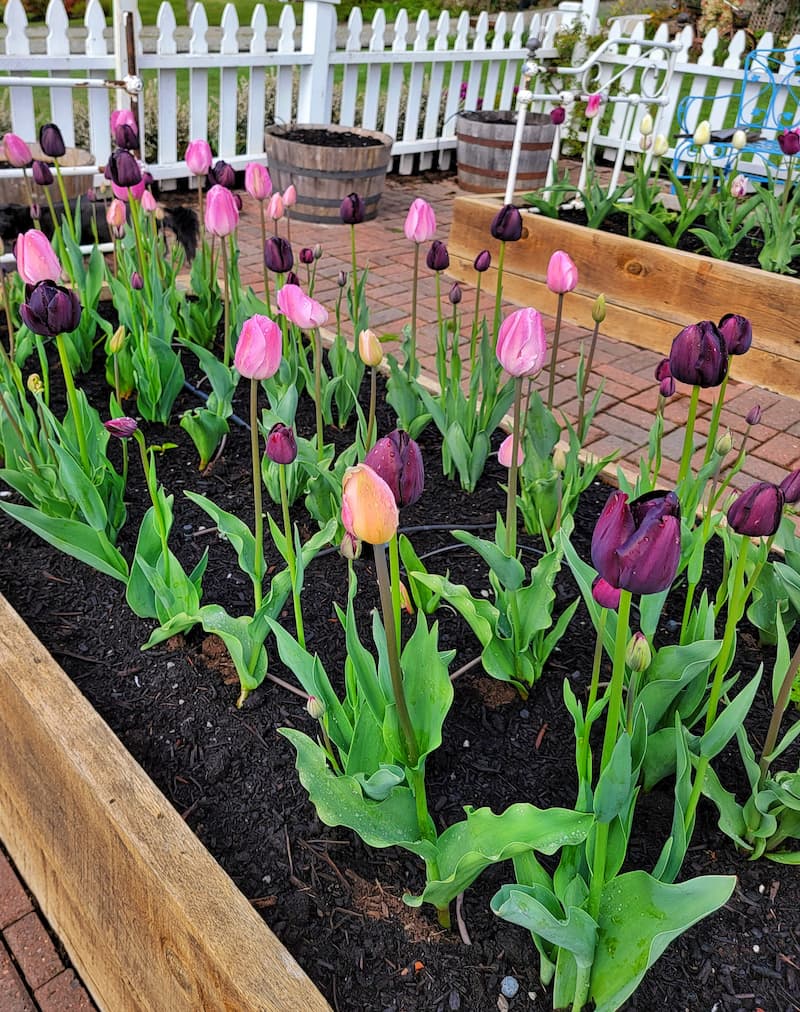
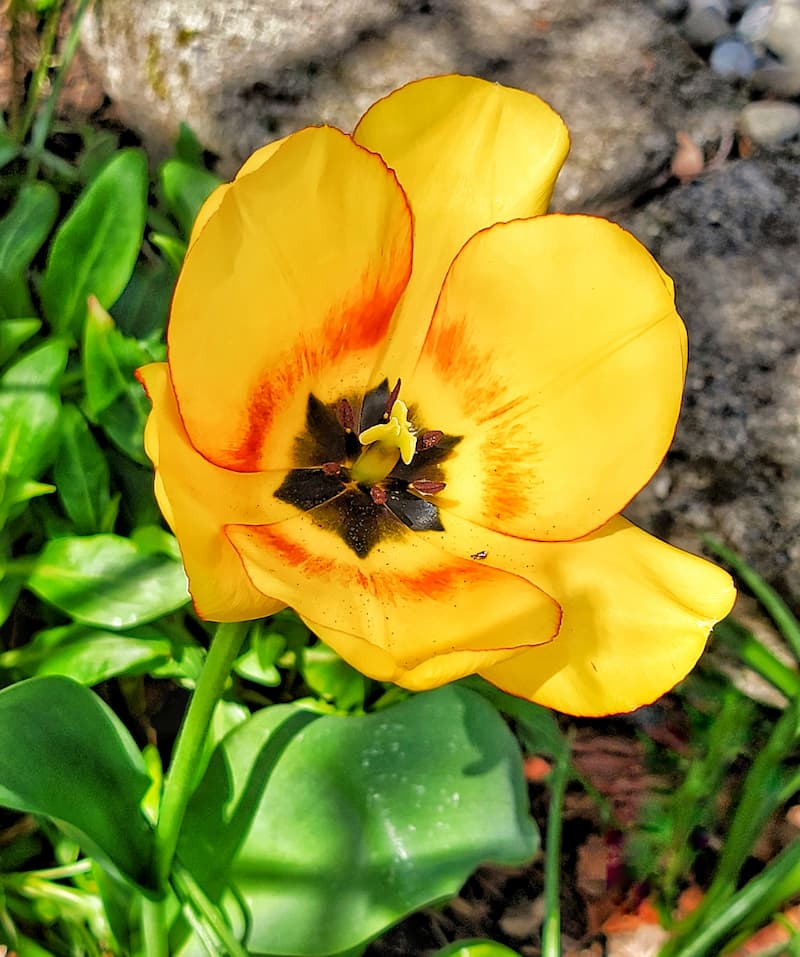
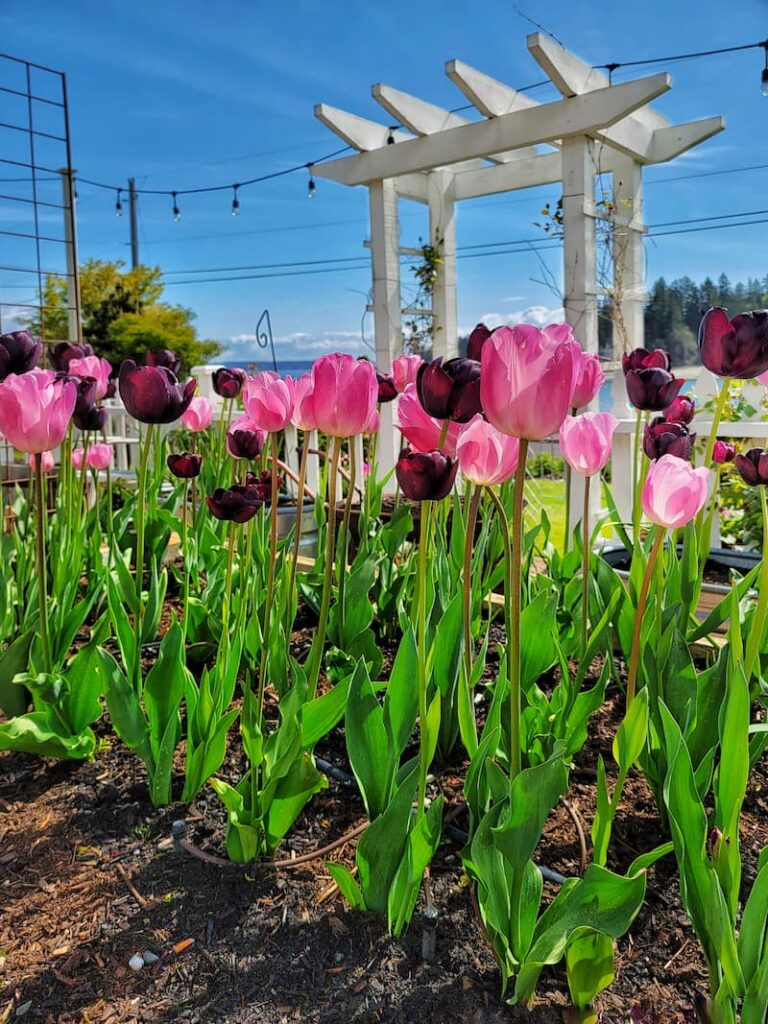
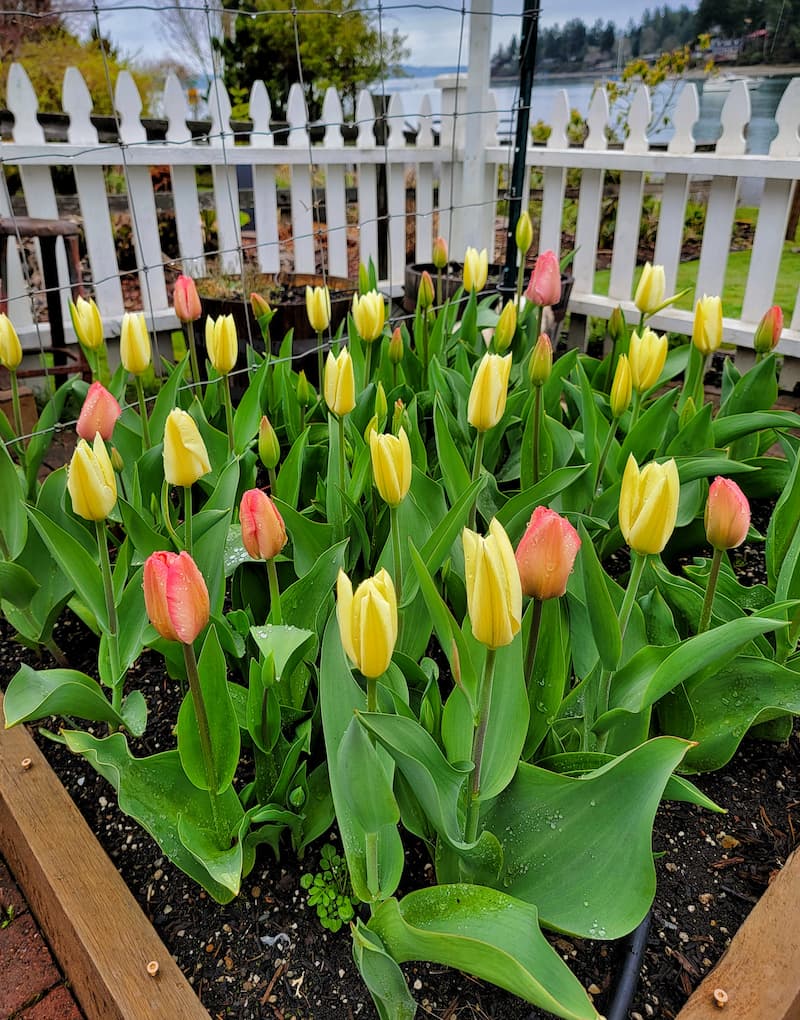
There are many tulip varieties in various colors, shapes, and sizes. Some of the colors that tulip varieties come in are red, orange, purple, white, yellow, and pink.
Tulips are categorized into several types, each offering unique characteristics, colors, and bloom times. Here are some of the most popular tulip varieties that gardeners love to grow.
Types of Tulips
Single Early Tulips
These colorful tulips bloom in early spring. They have single, cup-shaped flowers on short, strong stems. Single tulips come in various colors and are known for their ability to withstand cold, windy conditions.
Double Tulips
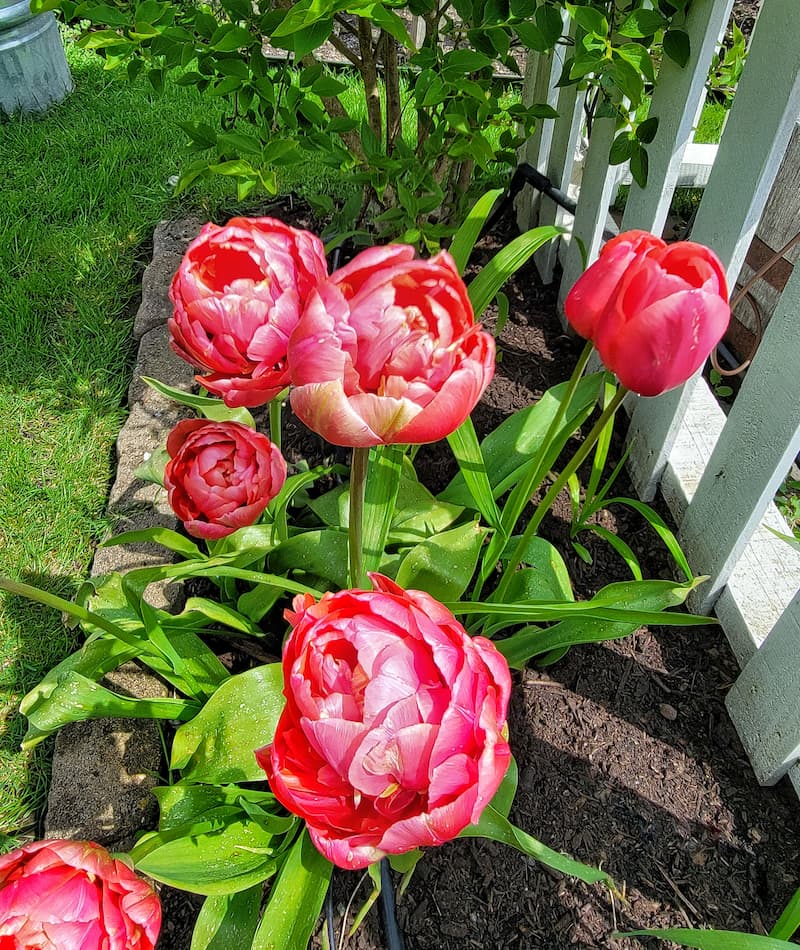
These spring flowers bloom in early spring and are known for looking like peony tulips with their double flowers. They provide a lush, full look and come in vibrant and pastel colors.
Triumph Tulips
Triumph tulips result from crossing Single Tulips with later flowering varieties, producing a wide range of colors. Their strong tulip stems make them excellent for cut flowers and mid-spring blooms.
Darwin Hybrid Tulips
Renowned for their large, brilliantly colored blooms on tall stems, Darwin Hybrids are perfect for making a statement in the garden.
They bloom in mid-spring and are known for their durability and ability to return for several years in ideal conditions.
Single Late Tulips
These tulips have large, classic shapes and are among the last to bloom in spring. They feature a wide range of solid and blended colors and have long flower stems, making them ideal for a beautiful bouquet.
Lily-Flowered Tulips
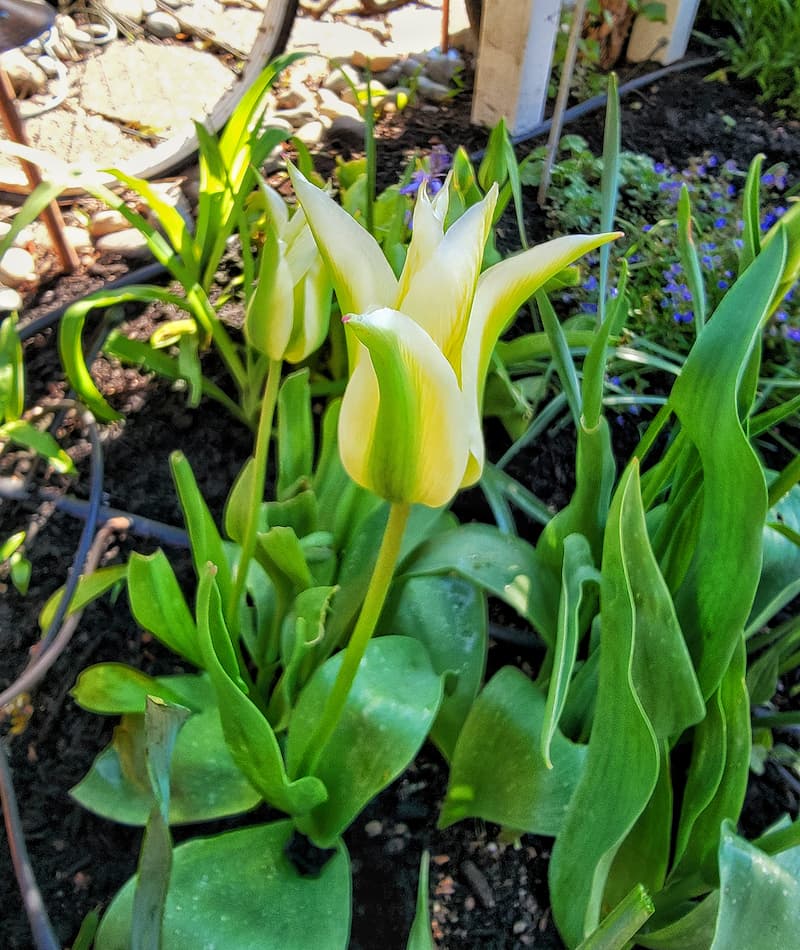
These elegant tulips bloom in late spring and are characterized by pointed, reflexed petals that resemble lilies. They have tall, slender stems and are available in various colors.
Fringed Tulips
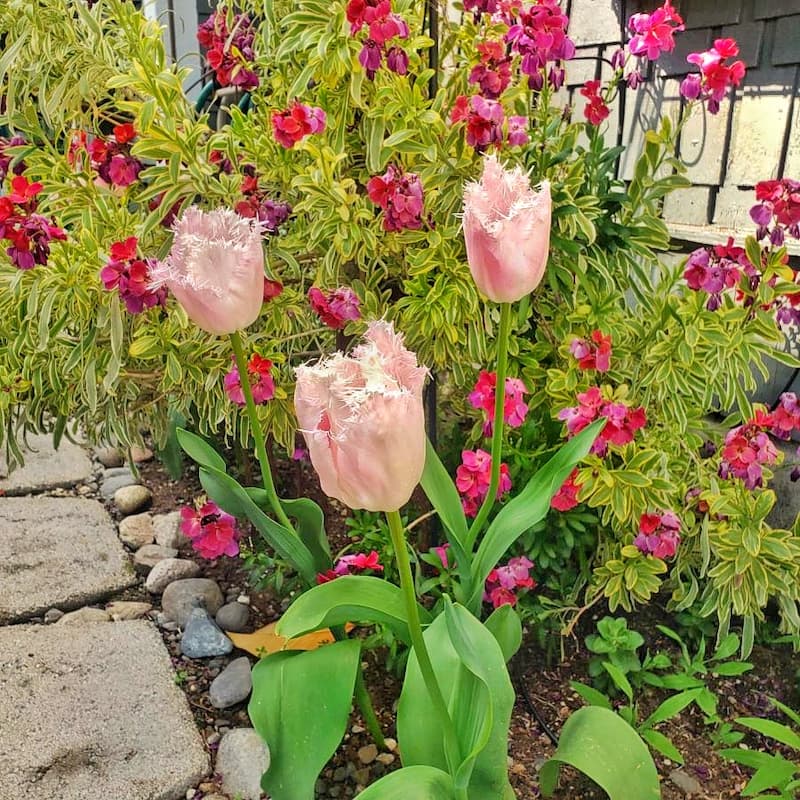
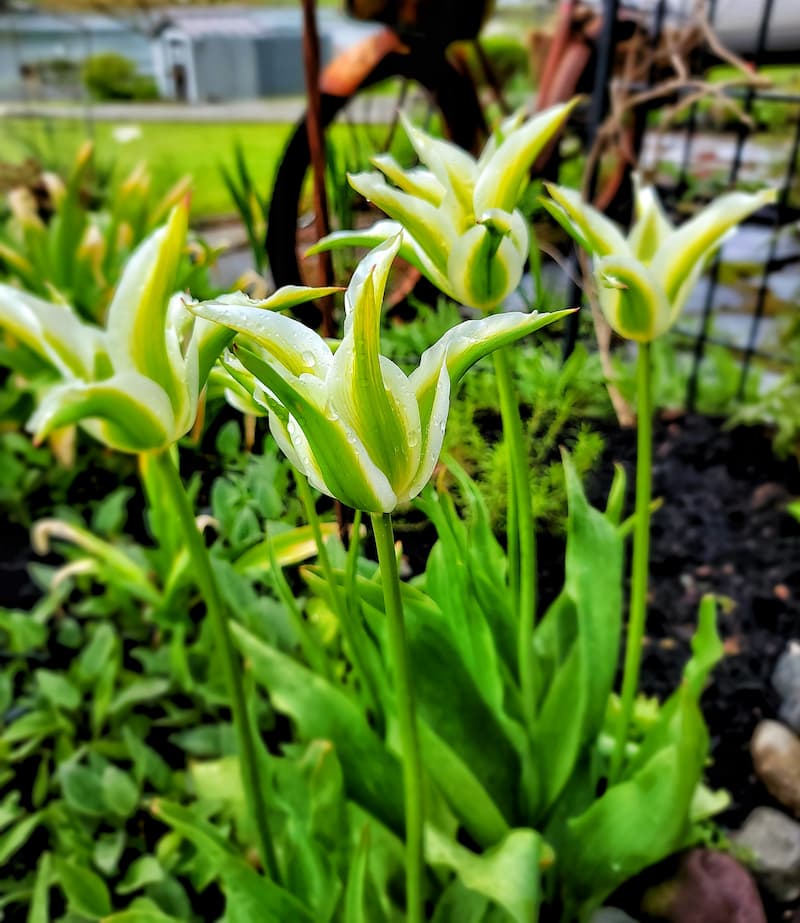
Also known as Crispa tulips, these feature fringed or ragged edges on their petals, adding texture and interest. They bloom in late spring and come in a range of colors.
Parrot Tulips
Parrot tulips are named for their intricate, ruffled, and feather-like petals. They are available in vibrant and unique color combinations and bloom in late spring. Their dramatic appearance makes them a favorite for garden focal points and cut floral arrangements.
Viridiflora Tulips
Viridiflora tulips are distinguished by their green streaks running through the petals. Blooming in late spring, their contrasting colors offer an unusual and striking look.
Species Tulips
Also known as wild tulips, these are the original wild ancestors of the modern hybrid tulips. They are generally smaller, more delicate, tough, and often perennial, naturalizing well in gardens.
Tulips with Pest and Disease Resistance
Some tulip varieties are more resistant to pests and diseases. Researching and selecting these varieties can save you from frustration.
If your garden is prone to pests like squirrels or deer, consider varieties that are less appealing to them. Some tulips, especially species or those with a more subtle appearance, can be more resistant to wildlife.
Longevity and Naturalization Tulip Choices
While many tulips are treated as annuals and replanted yearly, some varieties are more likely to come back or naturalize, meaning they spread and return for several years.
If you’re looking for a more sustainable option, research species tulips or those known for their perennial qualities.
Selecting for Color Coordination
Choosing a Garden Theme and Color Palette
Before picking out tulip bulbs, think about the overall vibe you want in your garden. Do you love the soft, calming look of a single color or shades of one color (like all pinks or all whites)? Or are you dreaming of a bold, colorful garden bed full of vibrant, contrasting blooms?
It helps to think about how the colors will play together. A quick peek at a color wheel can make this easier—colors next to each other will give you a soft, harmonious look, while colors opposite each other (like purple and yellow) will create a more dramatic, eye-catching effect.
Timing Your Blooms
If you want all your tulips to bloom together for one big splash of color, choose varieties that bloom simultaneously. But if you’d rather stretch out the beauty for weeks, mix early, mid, and late-blooming tulips in coordinating colors. That way, fresh blooms will brighten up your garden all spring!
Plan Your Tulip Varieties By Height and Structure
Garden Structure
Plan your garden layout by height to ensure all tulips are visible. Taller varieties should go at the back of beds or in the center of island beds, with shorter ones towards the front or edges.
Visual Impact
Use height to create visual interest and depth in your garden. A staggered arrangement can lead the eye through the space, making your garden appear larger and more dynamic.
Wind Exposure
Consider the height of your garden’s exposure to wind. Taller varieties may need sheltered spots or support to prevent damage from strong winds.
Soil Conditions
Tulips prefer well-drained soil, so if your garden bed soil is heavy or clay-like, amend it or choose more adaptable tulip varieties.
Hardiness Zones and Climate Considerations

Tulips are versatile flowers that can be grown in a wide range of climate zones, but they have specific climate preferences that can affect their performance and longevity.
Ideal Climate Zones for Tulips
Tulips do best in USDA hardiness zones 3 through 8 in the U.S. These zones give them the cold winters they need to rest and reset, followed by warm spring weather that encourages them to bloom beautifully.
If you’re gardening in one of these zones, you’re in luck! Tulips usually do well with very little fuss, especially if you plant the bulbs at the proper depth in well-draining soil. Just give them a cozy spot, and they’ll reward you with bright, cheerful blooms in the spring.
Growing Tulips in Warmer Climates
Gardeners in warmer climates, such as USDA zones 9 and above, can still enjoy tulips, but they may need to treat them as annuals or provide a simulated winter chill period.
This is done by chilling tulip bulbs in the refrigerator for 12 to 16 weeks before planting them in the garden or containers.
After blooming, these tulips are often removed, as the warm temperatures and lack of a cold dormant period in these climates make it difficult for the bulbs to regenerate and bloom again the following year.
Considerations for Various Climates
Garden Supplies and Tools
Check out my favorite garden supplies and tools for the growing season. Whether you’re looking for potting soil or deer repellent, you’ll find what I use in my own garden.
Planting Tulips
The journey of a tulip from bulb to bloom spans the cooler months, beginning with planting in the fall, several weeks before the ground freezes, for a stunning spring tulip view.
When to Plant Tulip Bulbs
The best time to plant tulip bulbs is in the fall, a few weeks before the ground freezes. This gives the bulbs time to settle in and start growing roots before winter arrives.
The exact timing depends on where you live. If you’re in a cooler northern climate, bulbs should be planted in September or October. But if you’re in a warmer southern area where colder temps take a little longer to show up, you can usually wait until late October or even November.
The main thing to watch for is soil temperature. Once it’s cooled down below 60°F (around 15°C), it’s go-time! Getting them in the ground during this window helps trigger that necessary dormancy period so your tulips will be all set to grow and bloom beautifully in the spring.
Soil Preparation
As I mentioned earlier, tulips are happiest in well-drained soil. Soggy conditions can cause the bulbs to rot or lead to fungal issues, and nobody wants that.
Before planting, it’s a good idea to prep your soil by mixing in some organic matter like compost or well-rotted manure. This helps improve the soil’s structure and adds extra nutrients. It’s especially helpful if you’re working with heavy clay soil (which holds too much water) or sandy soil (which drains too quickly and doesn’t hold onto nutrients).
Tulips also prefer slightly acidic soil to neutral — with a pH between 6.0 and 7.0. You can do a quick soil test if you’re unsure about your soil’s pH. If it’s too acidic or alkaline, you can adjust it by adding garden lime to raise the pH or sulfur to lower it, following the test recommendations.
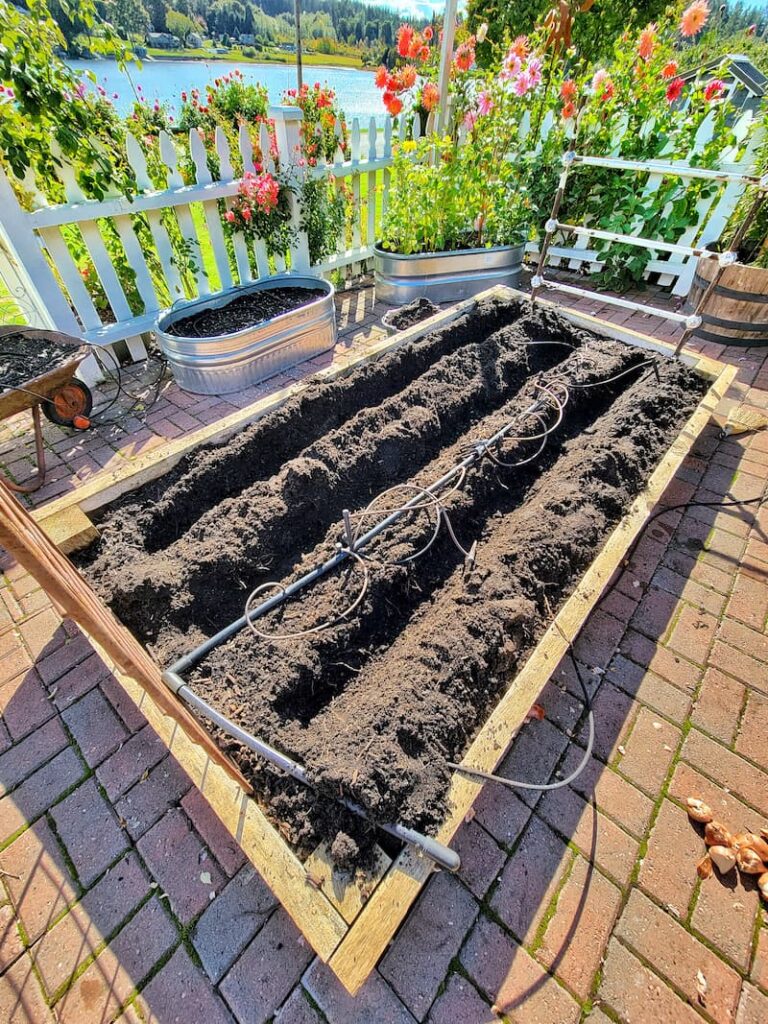
Finally, loosen the soil to at least 12 inches (30 cm) deep. This ensures the planting area is well-aerated, giving the bulbs plenty of room for roots to grow and helping with drainage.
Planting Depth and Spacing
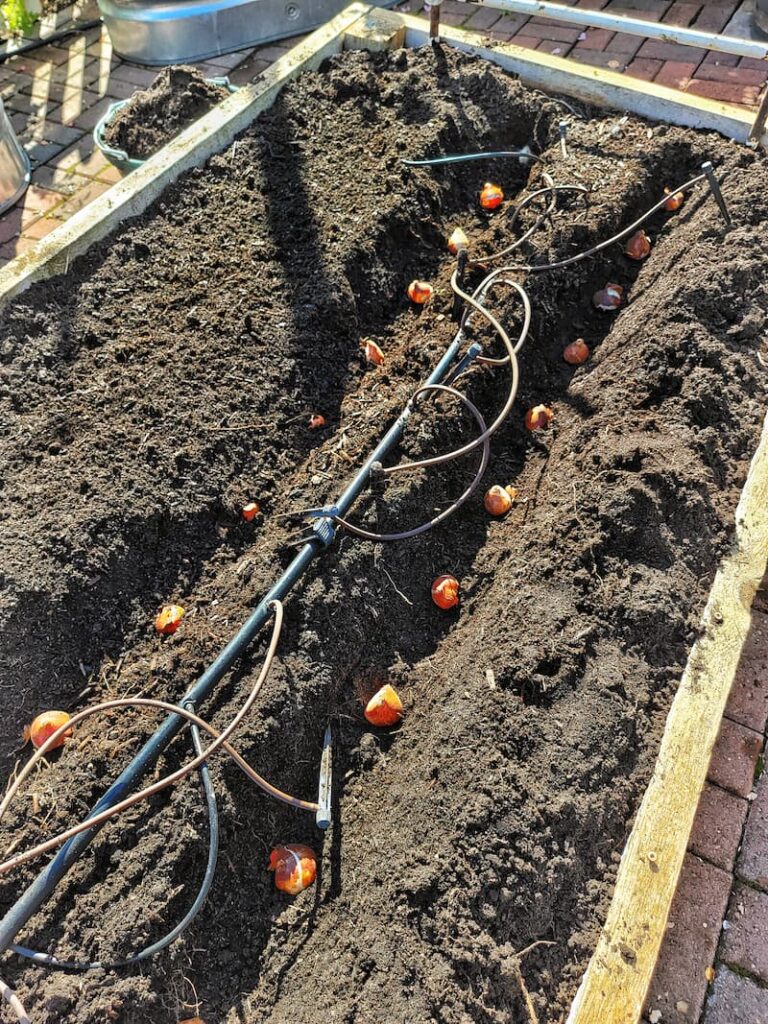
When it comes to planting tulip bulbs, there’s an easy rule of thumb: plant them about three times as deep as the bulb is tall. Place most tulips about 6 to 8 inches (15 to 20 cm) deep from the bulb’s base to the soil surface.
This depth helps protect the bulbs from harsh winter weather and gives them the stability they need to grow strong roots.
Don’t forget about spacing. Giving each bulb about 4 to 6 inches (10 to 15 cm) of space keeps them from getting crowded and helps prevent disease by allowing good air circulation. Plus, it ensures each tulip has enough room to show off its beautiful blooms come spring.
If you’re planting in groups or clusters, which always looks stunning, stick to that spacing. It creates a nice, full, colorful display that feels lush but not overcrowded.
Sun vs. Shade: Where Do Tulips Grow Best?
Tulips love the sun. They do best in spots that get full sun to partial sunlight, ideally, around six hours of direct sunlight each day. That sunshine helps them build up the energy they need for strong growth and gorgeous, vibrant blooms.
That said, they are pretty adaptable. A little afternoon shade can help protect them from scorching heat in warmer climates. But too much shade can lead to weak, floppy stems and smaller flowers that don’t have the same wow factor.
If tulips are planted in deep shade, they might struggle to bloom and become more prone to pests and diseases.
The sweet spot? Find a place where they’ll get plenty of morning sun and protection from the harsh afternoon rays, especially if you live somewhere with hot summers. That balance will help your tulips thrive and perform their best spring show.
How Long Is the Tulip Growing Season?

The tulip growing season is a bit of a slow build, but it is worth the wait. It starts when you plant the bulbs in the fall and wraps up with those beautiful blooms in the spring. It’s about a six- to eight-month cycle, depending on your climate and the variety you’re growing.
In most places, you’ll start to see tulips bloom sometime between late March and early May. Once those first little green shoots pop up, things move quickly. It usually only takes a few weeks for them to go from sprouts to full, glorious flowers.
Of course, the timing can shift a bit from year to year. A warmer spring might bring earlier blooms, while a cooler one could delay things a little. But either way, seeing those bright tulips finally open is one of the best signs that spring has arrived!
Tulip Plant Care Tips and Maintenance
Caring for tulips doesn’t have to be complicated, but giving them the right attention helps them reach their full, beautiful potential year after year.
Once you’ve picked out and planted your bulbs in the fall, you’ll move through each stage of their growth, from those first little green shoots in early spring to the post-bloom care, with a bit of thoughtful tending along the way.
Make sure your tulips get plenty of sunlight, regular watering (but not too much — they don’t like soggy soil), and well-draining conditions. When the blooms start to fade, snip off the spent flowers, but leave the leaves alone until they are yellow and die back naturally. That’s how the bulbs recharge for next year’s show.
And don’t forget—a little balance goes a long way! Fertilize wisely, watch for pests, and take steps to prevent disease so your tulips stay strong and healthy.
Finally, ensuring the bulbs get that all-important cooling period before planting and letting them rest after blooming are key to keeping the tulip cycle going strong season after season.
Watering Tulips
When it comes to watering tulips, it’s all about balance. They like to stay moist, especially during their active growing phase in the spring. But they definitely don’t want to sit in soggy soil.
Before and during the time when those first little shoots start to pop up, make sure the soil stays lightly moist but not soaked. Once your tulips are in full bloom, they’ll appreciate more water, especially if the weather has been really dry.
That said, be sure to let the soil dry out a little between waterings. Too much moisture can lead to bulb rot and fungal problems, which can quickly undo all your hard work.
After the blooms fade and the leaves start to yellow and die back, it’s time to cut back on watering. This helps signal to the bulbs that it’s time to rest and recharge, setting them up for another beautiful show next spring.
Do Tulips Need Fertilizer?
Tulips definitely appreciate a little fertilizer love, but timing and the right kind of fertilizer make all the difference!
Before planting your tulip bulbs in the fall, mix some balanced, slow-release bulb fertilizer or well-aged compost into the soil. This gives them a great head start for root growth and early development.
In early spring, when those green shoots start popping up, you can give them another boost with a low-nitrogen, high-potassium fertilizer. The potassium helps encourage strong stems and beautiful blooms, while too much nitrogen will make the leaves grow big and lush, and you might end up with fewer flowers.
A little goes a long way, so avoid over-fertilizing, which can actually hurt the bulbs and reduce blooms.
Finally, after your tulips have finished flowering, sprinkle on some bone meal or another phosphorus-rich fertilizer. This helps the bulbs recharge and store energy, so they’ll be ready to wow you again next spring.
Deadheading & Pruning Tulips
Deadheading involves removing the spent flower heads as soon as they begin to fade and before they set seeds. This process prevents the tulip from expending seed production energy, redirecting it to the bulb’s energy reserves.
To deadhead, simply snip or pinch off the faded flower head at the base of the bloom, careful not to damage the stem or leaves.
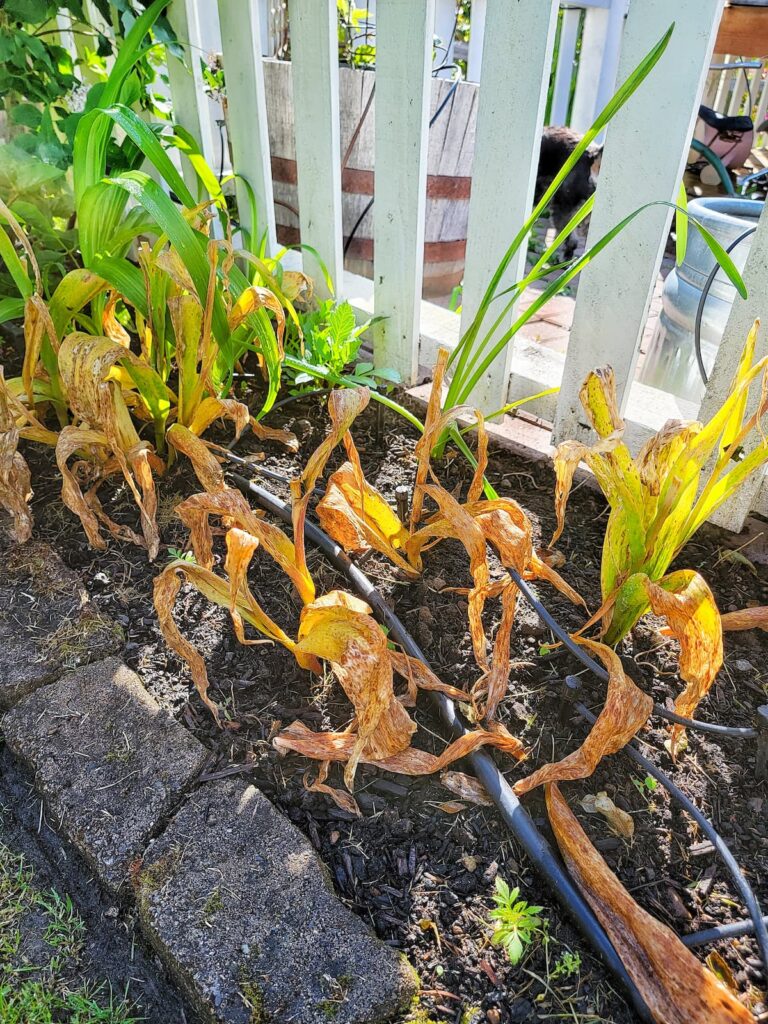
Pruning tulips means removing dead or dying foliage once it has yellowed and begun to die naturally. Don’t remove the leaves until they have turned yellow. Until now, the foliage is still photosynthesizing and feeding the bulb for next year’s growth.
Don’t remove or cut back the leaves while still green, weakening the bulb.
Tulip Disease and Pest Management
Like many garden favorites, tulips can sometimes face challenges, from fungal diseases like tulip fire and bulb rot to pests like aphids, slugs, and rodents that love to snack on the bulbs. But with a little care and attention, you can keep these problems at bay.
Start by keeping your garden tidy. Clear away fallen leaves and old plant debris, since they can harbor fungi. When you plant your bulbs, make sure to give them enough space so there’s good airflow between them. This helps reduce humidity and keeps fungal issues from taking hold.
Well-drained soil is key to preventing bulb rot. If your soil tends to hold water, consider planting in raised beds or mixing in sand or compost to improve drainage.
Rodents can also be a problem, but you can protect your bulbs by laying down chicken wire or using other simple barriers. Sprinkle some pet—and garden-safe slug bait on slugs, and for aphids, sometimes a strong spray of water is all it takes to knock them off. Insecticidal soap can also help if they’re being extra stubborn.
And don’t forget that nature’s helpers are your friends. Encourage ladybugs, birds, and frogs in your garden to help keep pest populations in check.
The best advice is to keep an eye on your tulips and step in early if you notice anything wrong. A little attention now can save you a lot of trouble later.
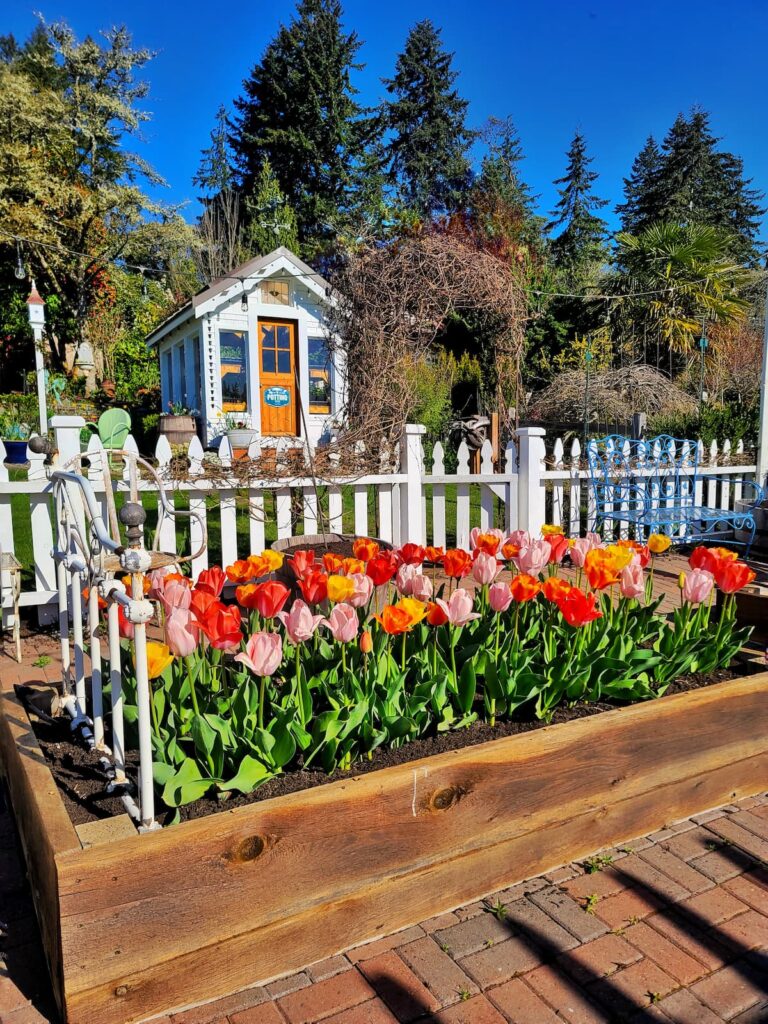
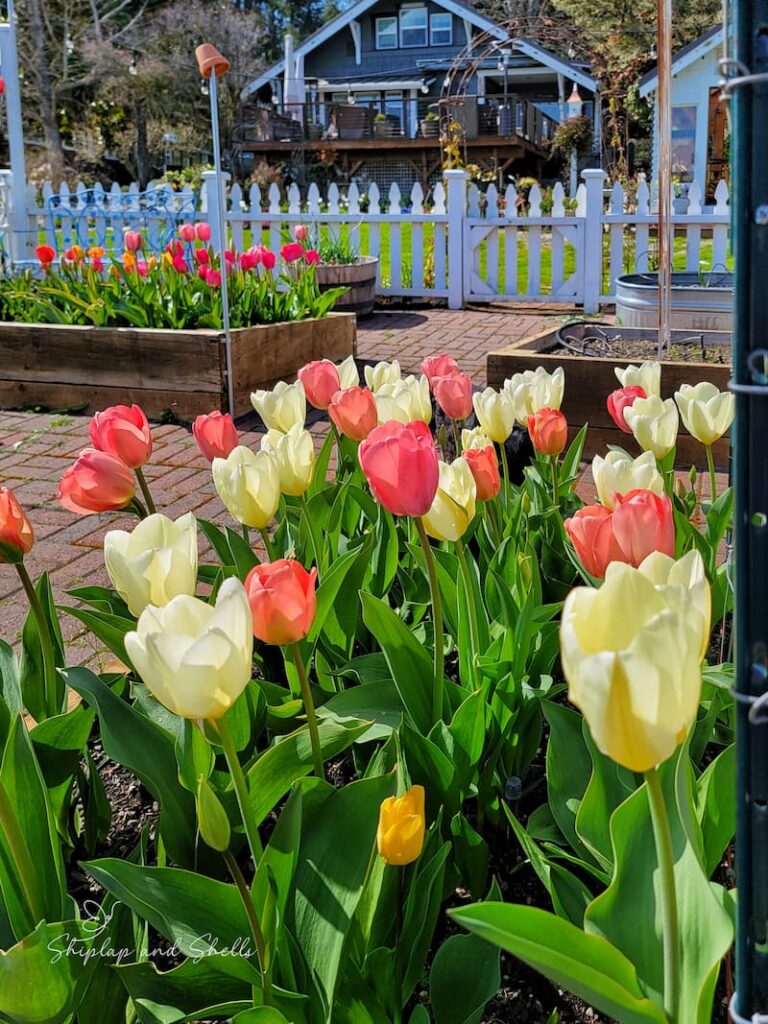
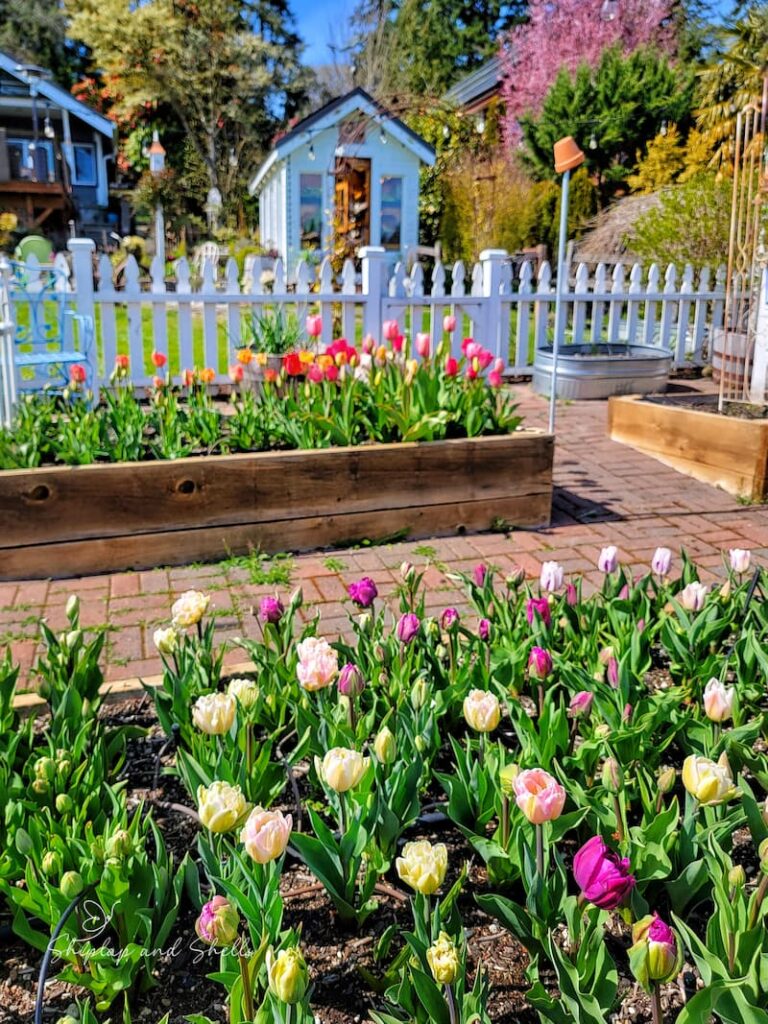
Growing Tulips as Cut Flowers
I’ve been growing and caring for tulips in my cut flower garden for three years. I love creating a bouquet of spring flowers whenever I want! Here are some tips for harvesting tulips indoors.
For fresh cut tulips, select blooms that are just beginning to open. They will continue to open and last longer in water.
Harvest Tulips With the Bulb
After selecting the tulips for my flower arrangement, I harvest the tulips with the bulbs attached. By leaving the bulb attached to the tulip, the stem length is longer.
Remember that cutting the tulip flower removes the energy the bulb needs to produce another flower the following year.
Because of this, the bulbs must be replaced to produce more cut flowers. If the existing bulbs were left in the ground, only the tulip leaves would be produced.
Cut the Tulip Stems
Cut the tulip stems to the desired length by snipping at or just above the bulb’s base. Remember that tulips grow a few inches after being cut, so allow this additional height in your arrangement.
Use a sharp, clean knife or garden shears to make a 45-degree angle cut. This will increase the surface area for water uptake and prevent the stem from sitting flat on the bottom of the vase, ensuring better hydration.
Hydrate and Feed Your Fresh Cut Tulips
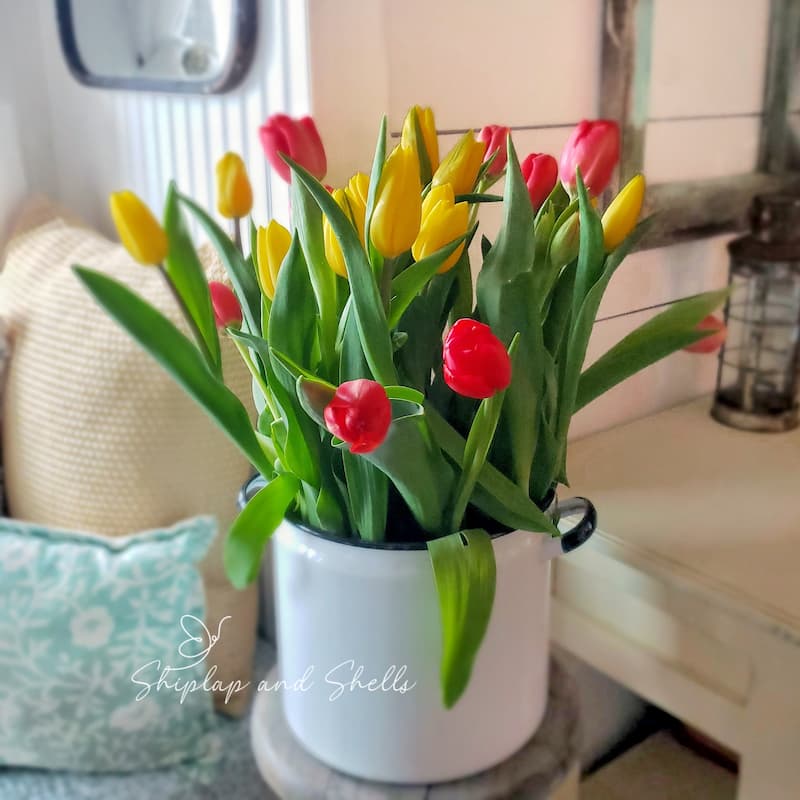
Immediately after cutting, place the tulips in a bucket of cool water to hydrate for a few hours before arranging them in a vase. This “conditioning” process helps the tulips absorb water more efficiently and extends their vase life.
Use fresh, cold water in a clean vase and add a flower food (floral preservative) to provide nutrients and inhibit bacterial growth.
Tulip Tip
Drop a penny into the water of a vase of tulips to keep them from drooping.
The copper in the penny acts as a fungicide, killing any bacteria in your vase.
Extend Your Vase Life
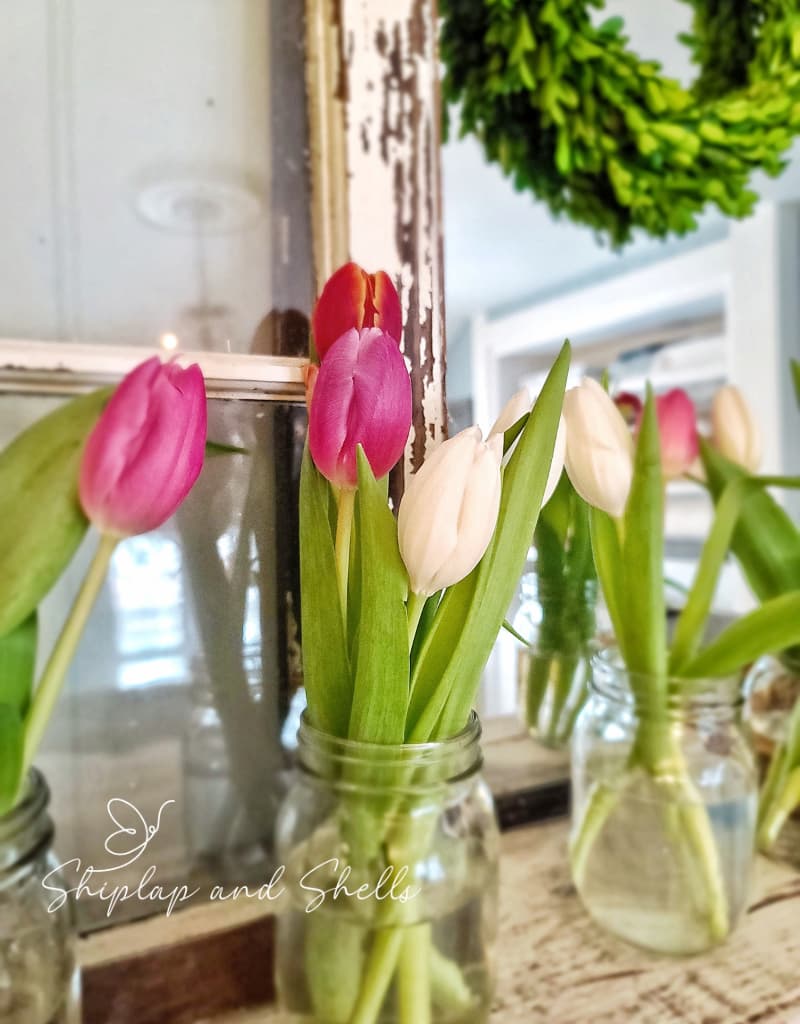
Finally, keep the arranged tulips in a cool place and away from direct sunlight and heat sources, which can cause them to fade and wilt prematurely.
Keep your vase of tulips away from ripening fruit. As the fruit matures, it emits ethylene gas, causing the flower petals to drop.
Add fresh water every couple of days for an extended vase life.
Caring for Tulips After They Bloom
We’ve been talking about growing tulips, but this next section will guide you through caring for them after they bloom in the garden.
How Long Do Tulip Flowers Last?
Tulip blooms are beautiful but short-lived, usually lasting anywhere from 5 to 10 days, depending on the variety and weather conditions. So when they start to fade, a little post-bloom care goes a long way in helping your bulbs come back strong next year.
Start by snipping off the spent flowers (deadheading). This keeps the plant from putting energy into making seeds. But leave the foliage alone. As long as the leaves are green, they’re busy soaking up the sunshine and sending energy back into the bulb for next year’s growth.
While the leaves are still doing their thing, you can cut back on watering a bit and sprinkle on a balanced, slow-release fertilizer to give the bulbs an extra boost.
Once the leaves have turned yellow and pull away easily, you can gently remove them and toss them in the compost. At that point, your tulips are all set to rest until spring rolls around again!
Can you Leave Tulip Bulbs in the Ground All Year?
You can usually leave tulip bulbs in the ground all year, especially if you live in a climate with cold winters and dry summers, which mimic their natural growing conditions.
In those ideal spots, many tulip varieties will happily rest through the winter and pop back up to bloom again in spring. This is especially true for species of tulips and some hardy hybrid types that are great at naturalizing.
But if you live somewhere with wet summers or mild winters, things can get tricky. Too much moisture can cause the bulbs to rot, and if they don’t get that cold winter period, they might not bloom the following year.
If that’s the case for you, don’t worry! Once the foliage has died back, you can lift the bulbs, store them in a cool, dry spot over the summer, and then plant them again in the fall for another round of spring color.
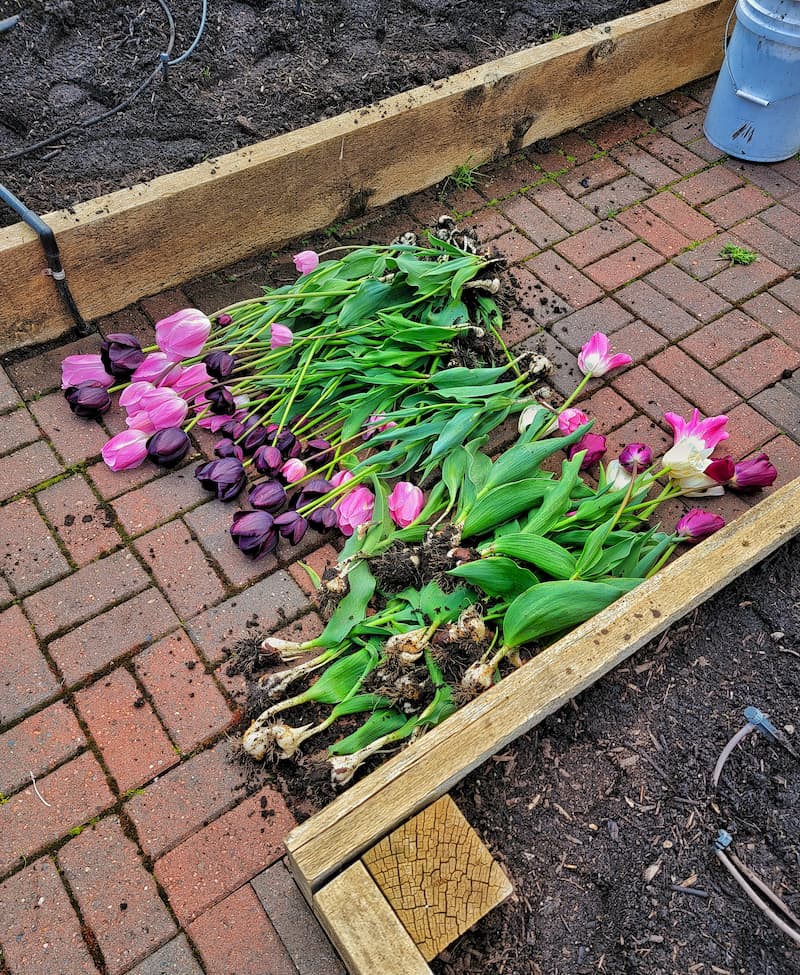
Dividing and Replanting Tulips
Over time, tulip bulbs can get a little crowded as they multiply, and when that happens, you might notice smaller blooms or fewer flowers. This means it’s time to give them more space.
Lift and divide your tulip bulbs every 3 to 5 years. The best time to do this is in late summer or early fall, after the foliage has died back and the bulbs are resting.
Carefully dig up the bulbs (take your time so you don’t accidentally damage them) and gently brush off the soil. While you’ve got them out, give them a quick check for any signs of damage or disease, and toss any that aren’t healthy.
You’ll also notice smaller bulbs, called offsets, around the base of the larger ones — keep the ones that are big enough to bloom!
Replant everything right away, giving each bulb enough room to grow in a sunny, well-drained spot. This refreshes your tulip display and is a great way to spread that spring color to new parts of your garden — or even share a few bulbs with fellow garden lovers!
Common Questions Asked About Growing and Caring for Tulips
What are the Best Companion Plants for Tulips?
Ideal companions include low-growing perennials and annuals that complement the height and colors of tulips without overshadowing them.
Pansies, forget-me-nots, and violas offer a beautiful color contrast and bloom simultaneously as tulips, creating a layered effect in the garden.
Ground covers like creeping phlox or sedum add texture and interest at the base of tulips and help keep the soil moist and weed-free.
For a more structured look, planting tulips alongside ornamental grasses or in front of shrubs like boxwood can provide a striking backdrop.
Mixing other spring bulbs, such as daffodils, hyacinths, and alliums, can extend the blooming season and add variety to the seasonal garden.
By carefully selecting companion plants with similar sunlight and watering needs, you can create a harmonious and thriving garden space.
What is the Ideal Location to Plant Tulip Bulbs?
Tulips love the sun! Plant them in a spot that gets full to partial sunlight — around 6 hours of direct sun each day is perfect. That sunshine helps them grow strong, sturdy stems and those bright, colorful blooms we all look forward to.
Good drainage is key to the soil. Tulips don’t like sitting in soggy soil, which can cause the bulbs to rot. Mix in some compost or organic matter to improve drainage and nutrients if your soil needs a little boost.
They also do best in soil that’s slightly acidic to neutral, with a pH between 6.0 and 7.0—but don’t stress too much; a healthy, well-drained garden bed usually works just fine.
Also, think about wind exposure. Tulips can get knocked around by strong gusts, so try to plant them in a spot that’s a bit sheltered — maybe near a fence, along a wall, or surrounded by other plants that can help block the wind.
And for the prettiest display, plant your tulips in groups or drifts where they’ll really shine, along garden paths, in borders, or in front of evergreens for a beautiful spring contrast.
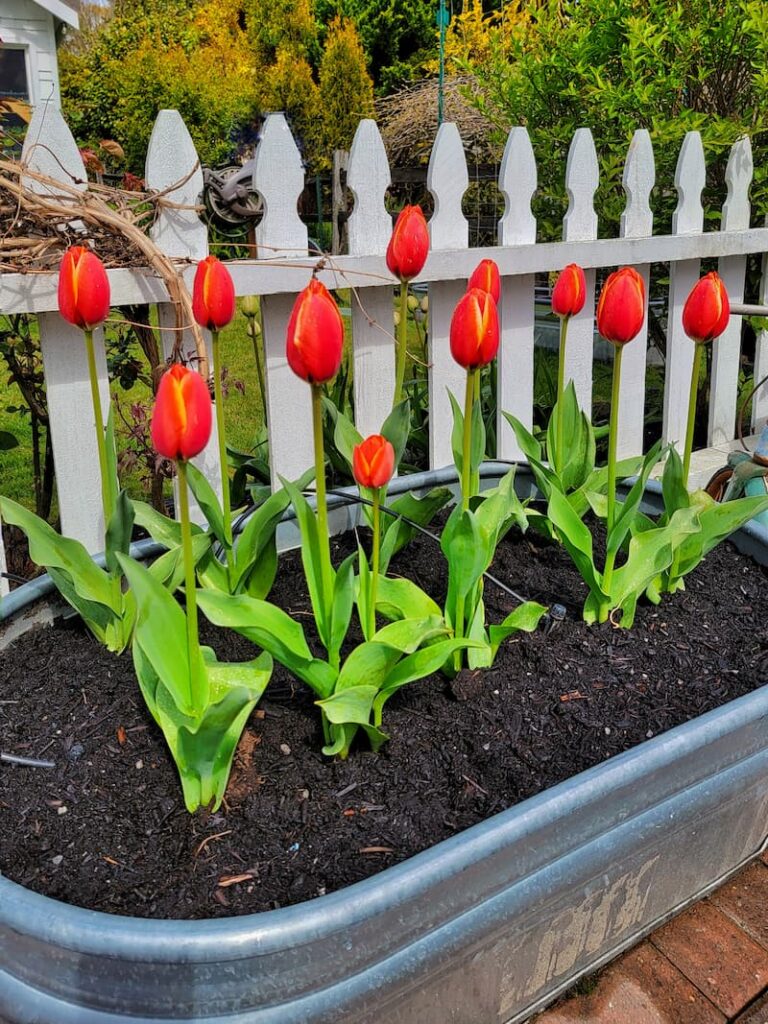
Can you Grow Tulips in Containers?
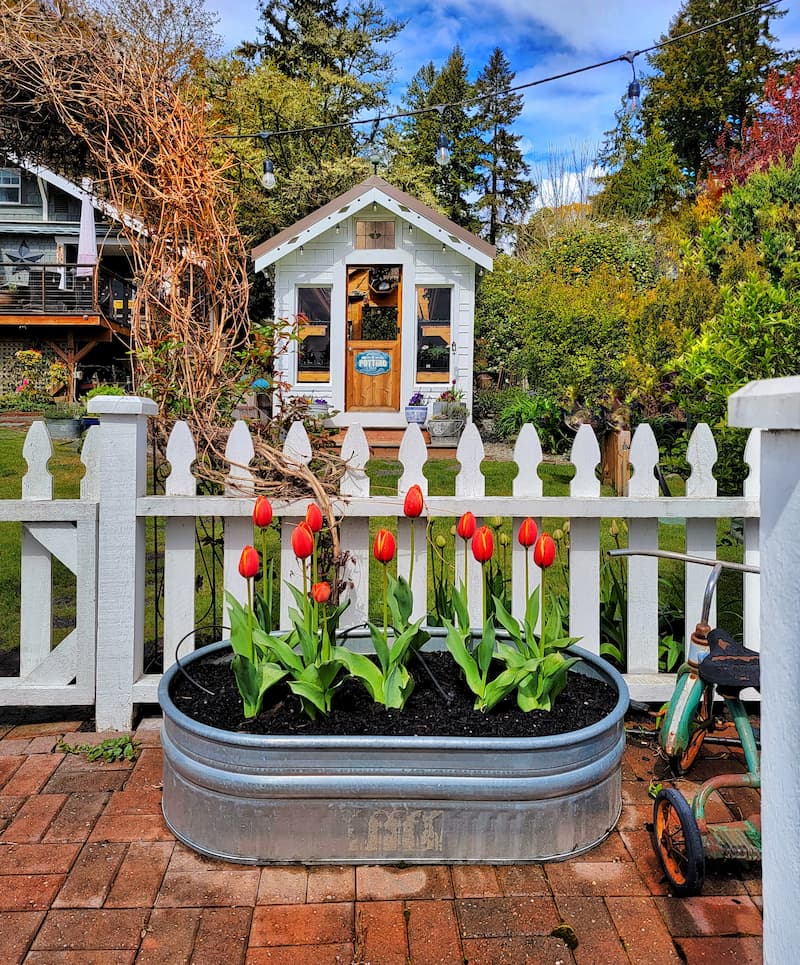
If you’re short on garden space or just want to brighten up a patio, balcony, or front porch, growing tulips in pots is a great option! You’ll still get to enjoy those beautiful colors and elegant blooms — just on a smaller, more flexible scale.
One of the best parts about container gardening is having more control over things like soil and drainage, which tulips appreciate.
To get started, choose a pot about 12 inches deep so the bulbs have plenty of room for their roots. Make sure the pot has good drainage holes. Tulips don’t like sitting in soggy soil. Use a well-draining potting mix, ideally one made for bulbs, to help keep the right moisture balance.
When planting, you can tuck the bulbs a little closer together than you would in the garden, but be sure they’re not touching each other or the sides of the container.
For an extra show-stopping display, try layering different varieties of tulip bulbs at different depths — that way, you’ll get waves of blooms that last even longer.
And don’t forget to place your containers in a sunny spot! Also, remember that pots can get colder than the ground, so if temperatures dip really low, you might need to move them to a sheltered area or add a little protection.
Gardening Made Simple – Your Guide to Beginning Gardening
Final Thoughts About Growing and Caring for Tulips
When you get the basics of tulip care down, like picking the right spot, ensuring the soil drains well, and knowing how to water, fertilize, and handle any pests, you’ll set yourself up for a gorgeous tulip display year after year.
Little extras, like deadheading spent blooms, dividing bulbs when they get crowded, and planting tulips alongside the right companion plants, can make your garden even more beautiful and help those blooms last longer.
With just a bit of planning and regular care, tulips can become one of those cheerful spring favorites you look forward to every year!
If you have any questions or tips of your own, I’d love to hear from you in the comments. And if you know someone who could use a little tulip-growing inspiration, feel free to share this post with them!
Until next time,
Happy Gardening!
I’m a self-taught hobby gardener. Everything I share on my blog is my opinion and what has worked for me.
MORE POSTS
For You To Enjoy
Follow Me for More Inspiration
Shop my Amazon Storefront, LTK sources, and my favorite home decor, garden, and lifestyle products. When you purchase from one of my links, I earn a small commission, which helps me continue sharing all the content you expect on my blog.
Follow me on Pinterest, Instagram, Facebook, TikTok and LIKEtoKNOW.it. Do you like gardening? Join my Facebook Gardening Tips & Tricks group.


Wow! This is amazing! You could write a book on this. I love seeing your gorgeous gardens.
That is such a wonderful compliment Renae. Thank you my friend.