
How to Store Dahlia Tubers Over Winter

Dahlias are my favorite thing in the cut flower garden. If you want them back next year, giving them the care that they need this fall season goes a long way. Whether you leave your tubers in the ground or dig them up, I’ll share tips on overwintering, dividing, and storing dahlia tubers so they’re ready to bloom again come summer.
This post covers how to know the best method for your area, how to safely dig and split your dahlias, and three ways to store tubers indoors.
As an Amazon affiliate, I earn a commission from qualifying purchases at no additional cost to you. My blog also features other affiliate links for your convenience. Click here to read my privacy policy.
Choosing How to Store Dahlia Tubers Over Winter
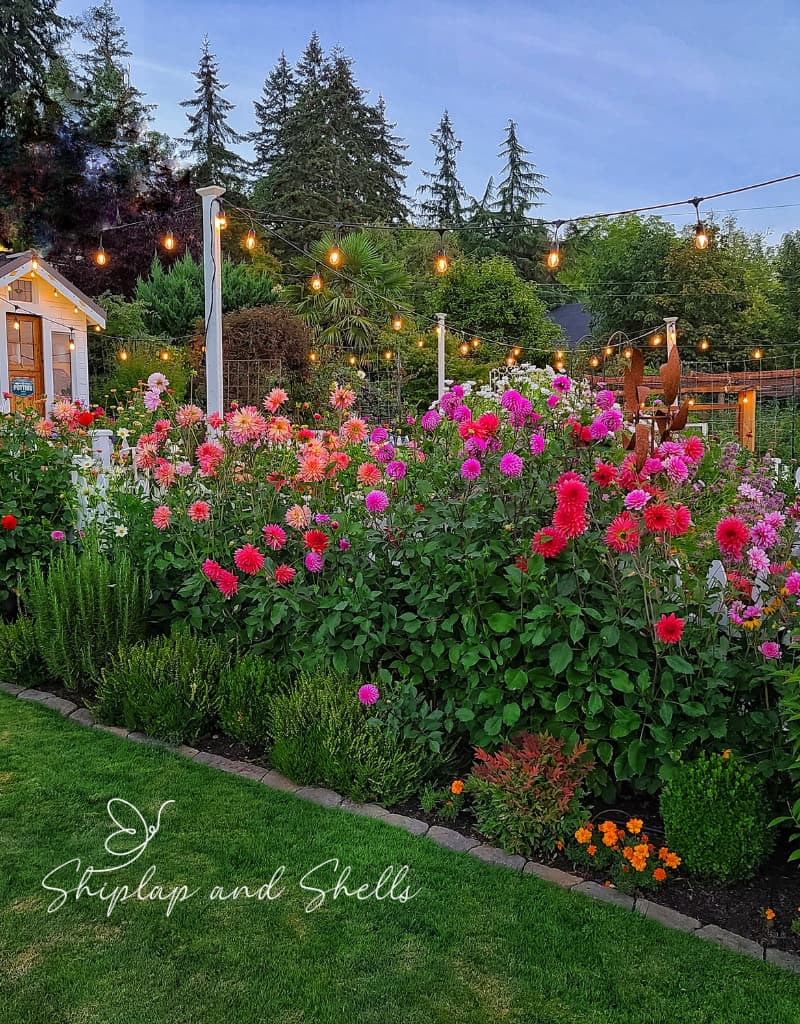
Your climate dictates whether you can leave your dahlia tubers in the ground or lift and store them somewhere safe until the danger of freezing has passed.
Storing Dahlia Tubers in Mild Winters
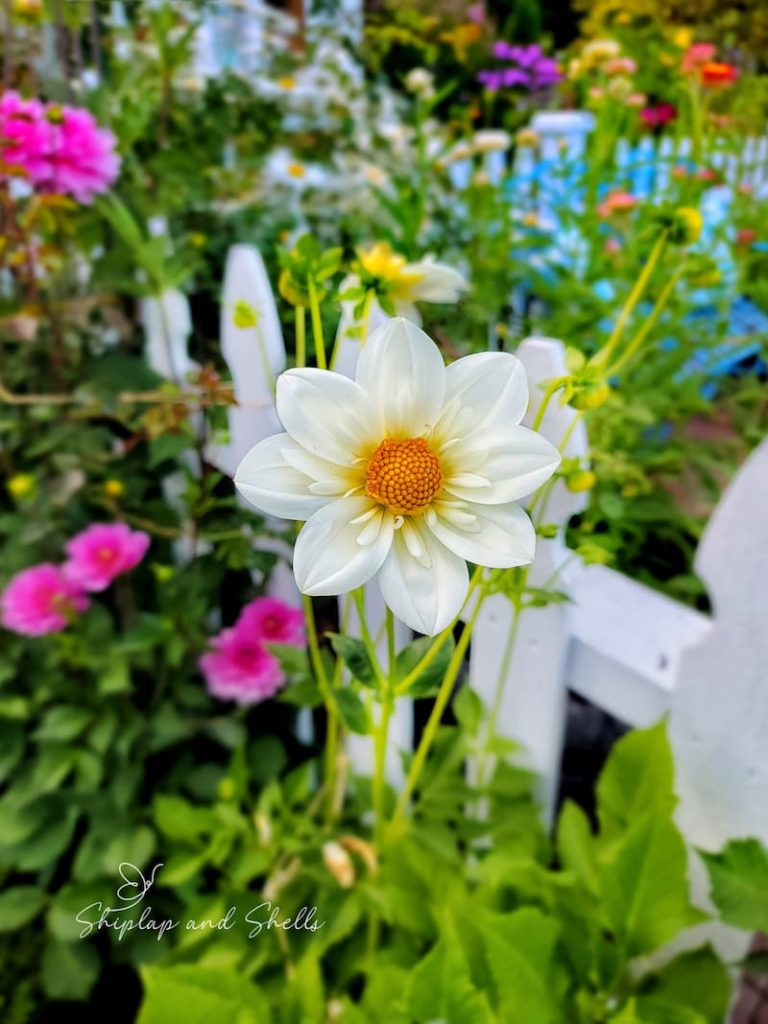
Because I’m in a milder climate (Zone 8b), I’ve been lucky. In the ten years I’ve grown dahlias, I’ve only dug and stored the tubers once.
If you leave yours in the ground, protect them from freezing through the coldest months with about a 3-inch layer of organic leaf mulch around each plant.
One honest caveat: in a wetter-than-usual winter, I’ve lost around 15% of in-ground tubers to rot. But I actually had more rot the one year I stored them out of the ground, so in-ground isn’t necessarily the riskier choice here.
A Quick note about my garden
Most of the flowers I share here are grown from seed in our greenhouse and planted in raised beds and containers throughout our cottage garden.
Storing Dahlia Tubers in Colder Climates
In most regions, winters are too cold to leave tubers in the ground. There, cut the plants back at the end of the season, once the top growth dies back or turns black by the first frost. With clean, sharp pruners or loppers, cut all but about 4 inches of the top growth.
The longer tubers stay in the ground, the more they mature, which improves their odds in storage, but you want them out before the first hard freeze. You can look up your average first and last frost dates here.
How to Safely Dig Up and Split Dahlia Tubers
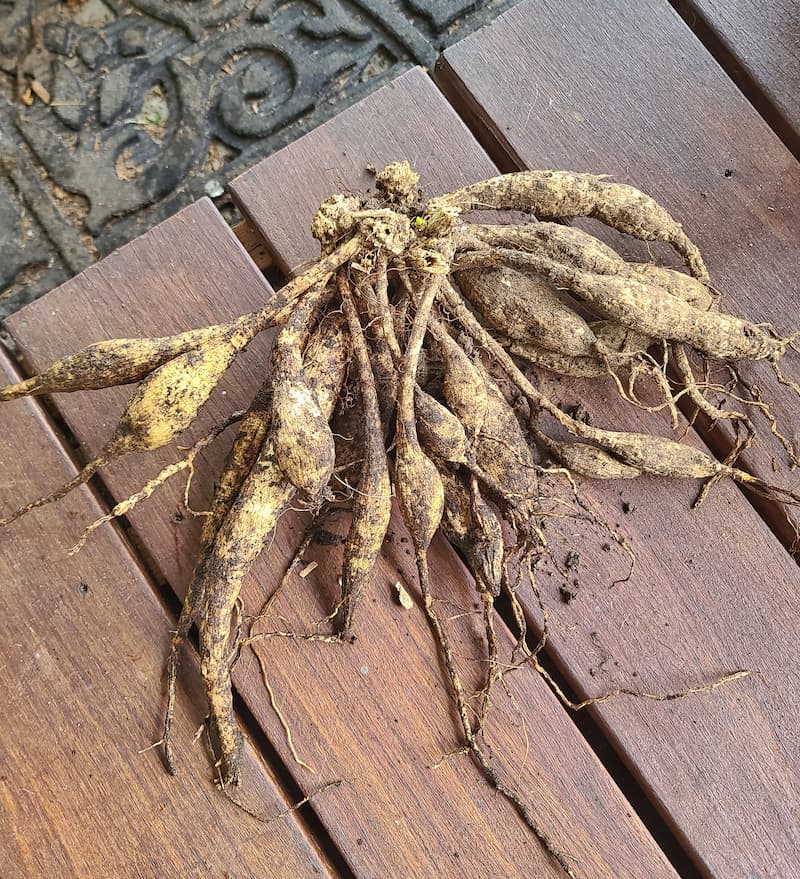
Whether you store your dahlias or leave them in the ground, you’ll still need to dig them up at some point to split and inspect them. For the full walkthrough, see my post on splitting dahlia tubers in the spring. Here’s how I dig and store mine.
Label Your Dahlia Tubers
Label your dahlias before the blooms fade so you can keep track of each variety once they’re out of the ground. Even if you leave them in the ground, you’ll want the labels to find each plant next year when it’s time to dig and divide the tubers.
Dig Up Your Dahlia Tubers
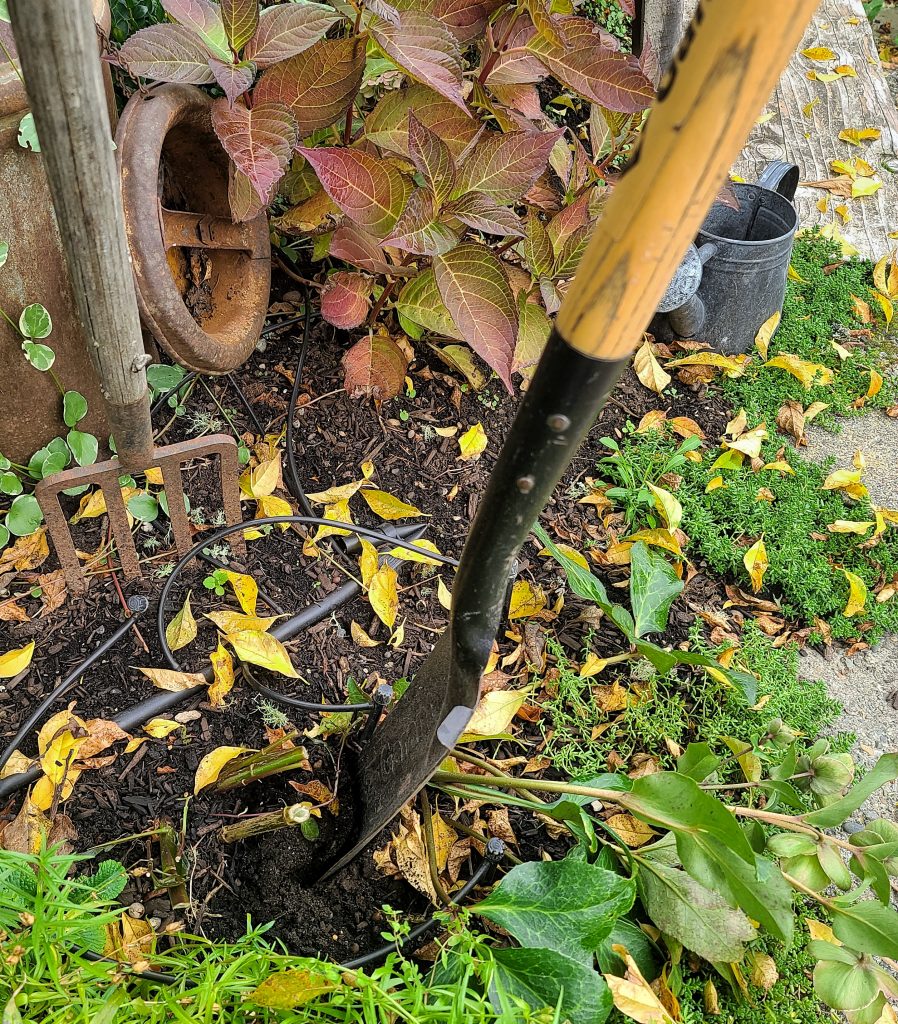
Whichever overwintering method you choose, the digging process is the same:
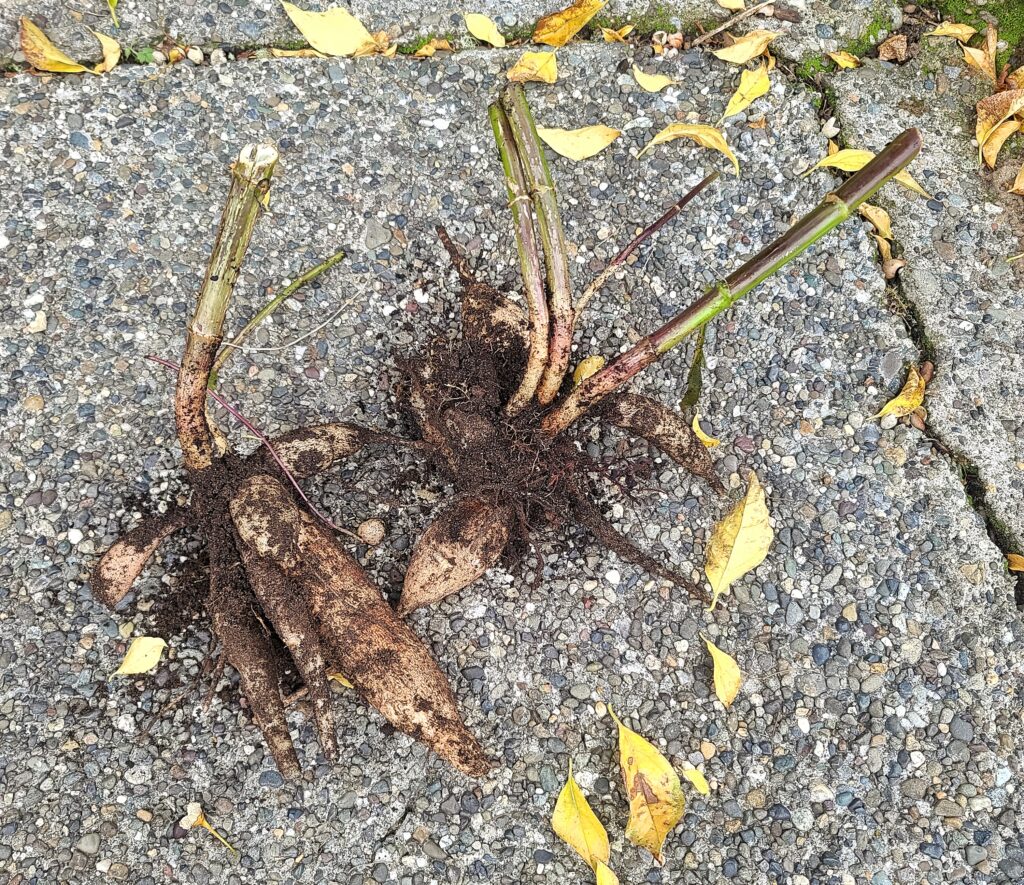
- Use a shovel or garden fork to dig around the clumps, taking care not to slice through the tubers. I use a pitchfork, since the tubers are so easy to damage.
- Gently shake the excess dirt off the tubers and set them aside.
- Repeat until you’ve lifted all your clumps.
Split Your Dahlia Tubers
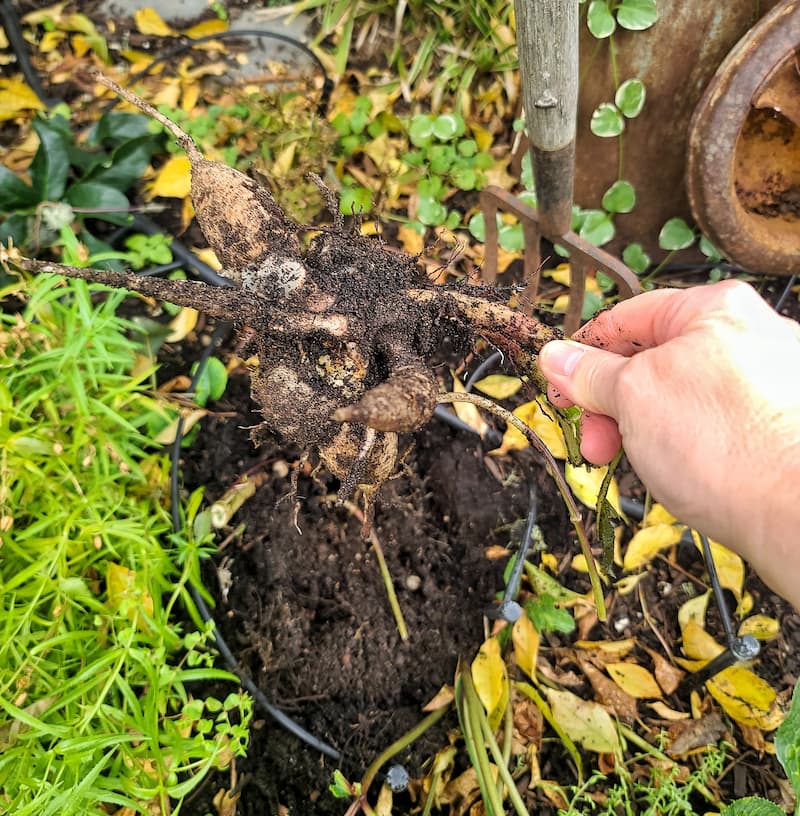
You can divide your dahlia clumps at any of these points:
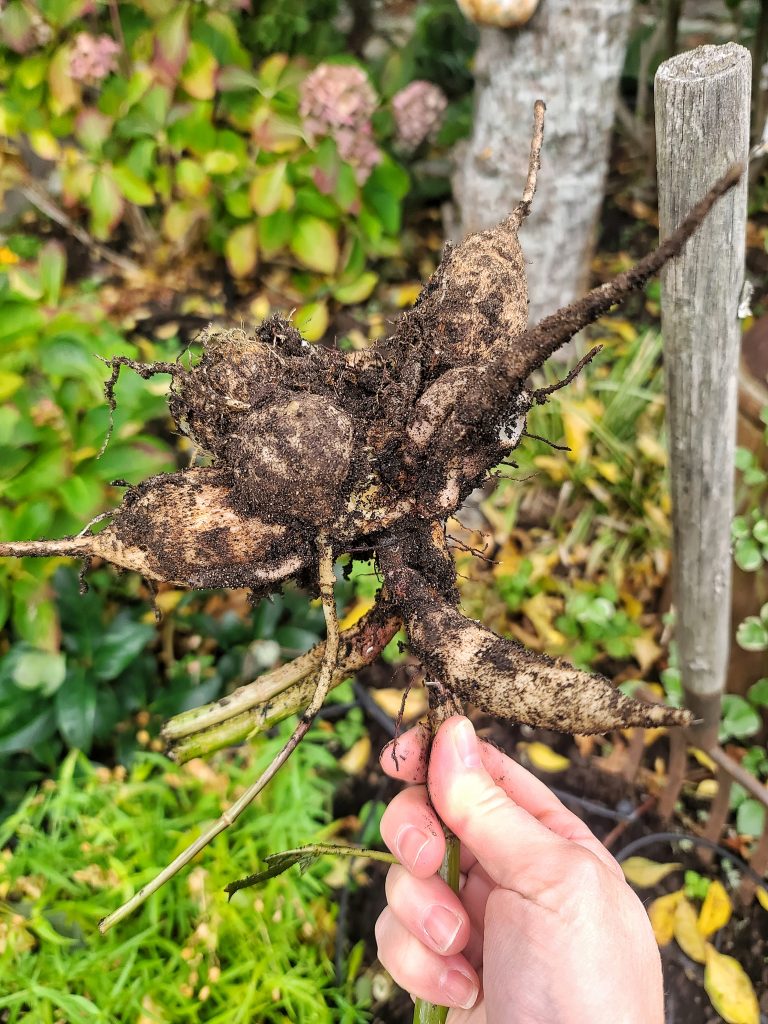
I dig mine up in April to split and inspect them, toss anything rotted or diseased, and remove the old mother tuber. After splitting, I plant them right back in their holes and wait for summer blooms.
Let’s Plan Your Dream Garden With Our
Gardening Planner
Unlock Your Garden’s Potential.
Our 35-page Ultimate Garden Planner is designed to help you organize, track, and flourish in your gardening endeavors.
Get yours for $4.99
How to Store Dahlia Tubers Over Winter Indoors
If you’re lifting your tubers to avoid risk of frost, here are three methods I’ve used or seen work well.
Method 1: Paper Bags or Cardboard Boxes
This is the method I’ve used myself.
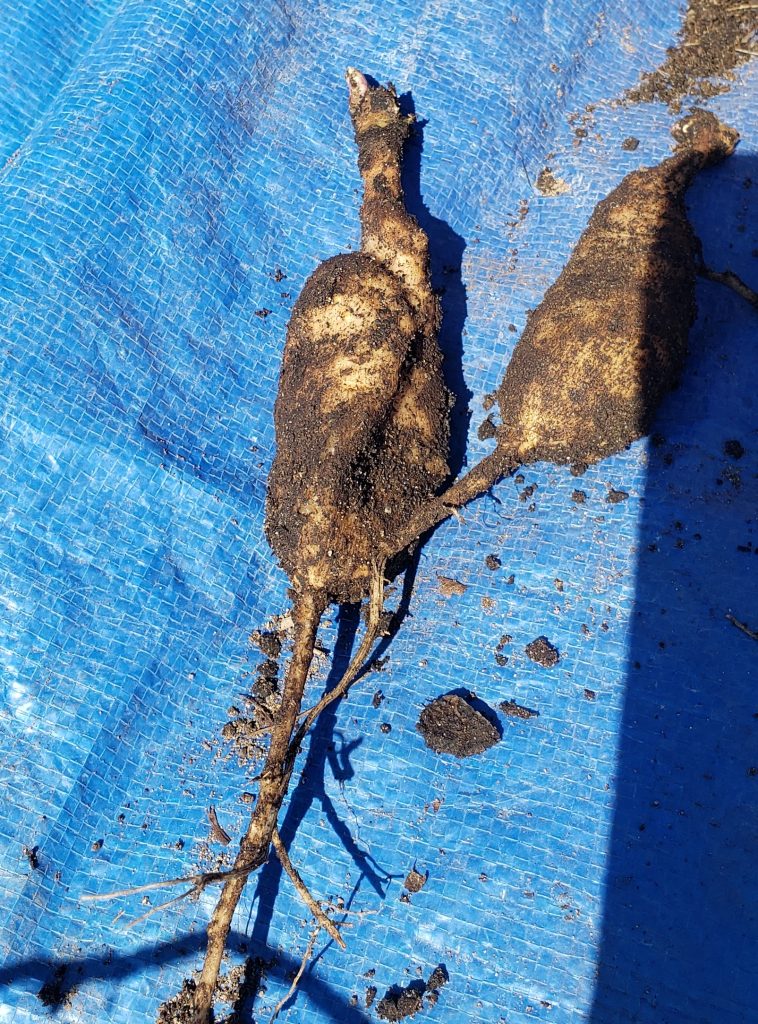
Rinse and Examine the Tubers
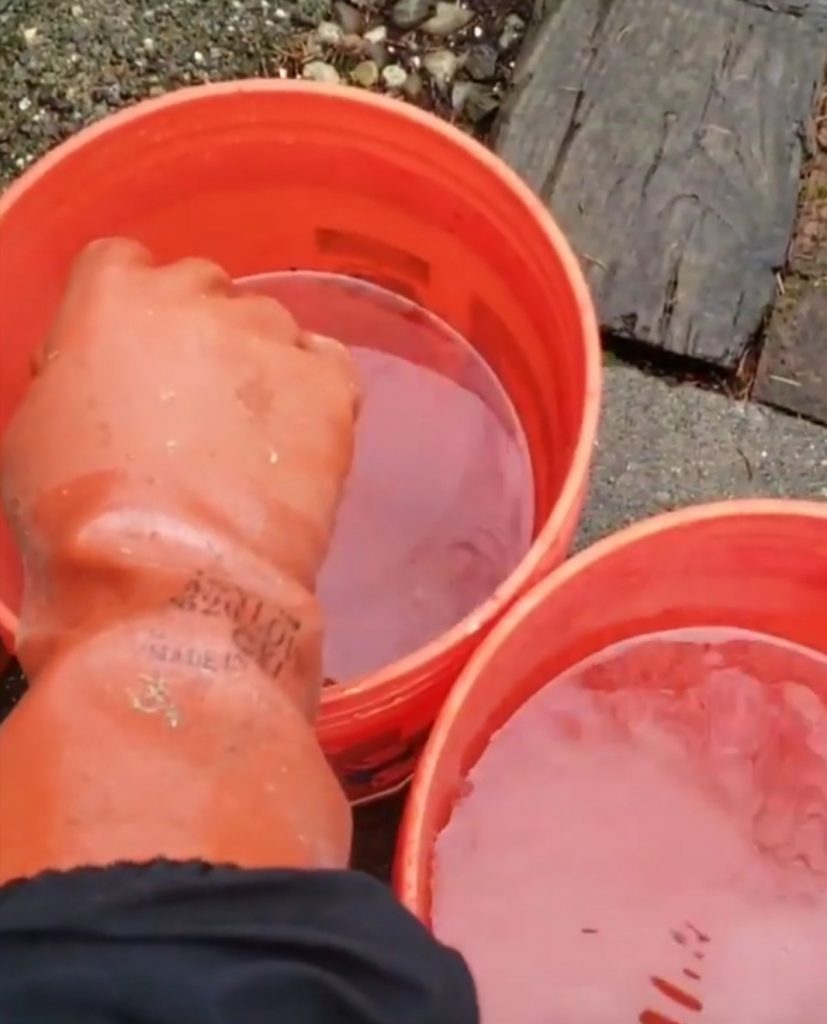
Rinse the clumps to remove excess soil, then dip them in a 5% bleach, 95% water solution. Once rinsed, check each clump for damage or rot.
Divide If the Eyes are Visible
If you can see several growth eyes, you can divide now. Use a sharp knife or pruners, making sure each piece keeps at least one eye. The eyes are the cells that produce next season’s plants and blooms. I have much better luck spotting them in spring, so if you can’t find them in fall, wait and divide in early spring when they’re easier to see.
Make Sure They’re Fully Dry
To prevent rot, let the tubers dry completely before storing. Some gardeners dry them for weeks; others just a couple of days. Ours dry quickly, thanks to the wood-burning stove in our outbuilding. Once dry, store them somewhere dark, cool, and freeze-free, ideally 40 to 50°F: an unheated basement, closet, utility room, or attic.
Pack Them Properly
Nestle the tubers in slightly dampened peat moss, sawdust, wood shavings, or coarse vermiculite, then set them in a cardboard box or paper bag lined with newspaper. They need good airflow, so keep them from touching and give them room to breathe. I check mine for rot once a month all winter.
Method 2: Deep Bulb Crates
After digging, shake off the excess dirt, set the whole clumps into deep bulb crates, and stack them into a 40 to 50°F basement or garage. The clinging soil seems to keep the tubers hydrated enough that they don’t shrivel. In mid to late March, pull the crates out, rinse the clumps, and start dividing.
Method 3: Plastic Wrap
This is the Saran Wrap method. Rinse the clumps to remove soil, dip them into a 5% bleach, 95% water solution, and check each one for damage or rot. Lay them out to dry in a cool garage or basement for a day or two. Once dry, carefully divide the clumps and wrap each tuber separately in plastic wrap.
Place the wrapped tubers in plastic bulb crates and store at 40 to 50° F through winter.
I have mixed feelings about this method:
- Pro: The wrap keeps each tuber separate, so if one rots, the rest stays safe.
- Con: Wrapping each tuber individually is time-consuming.
Garden Supplies and Tools
Check out my favorite garden supplies and tools for the growing season. Whether you’re looking for potting soil or deer repellent, you’ll find what I use in my own garden.
Common Questions About Storing Dahlia Tubers Over Winter
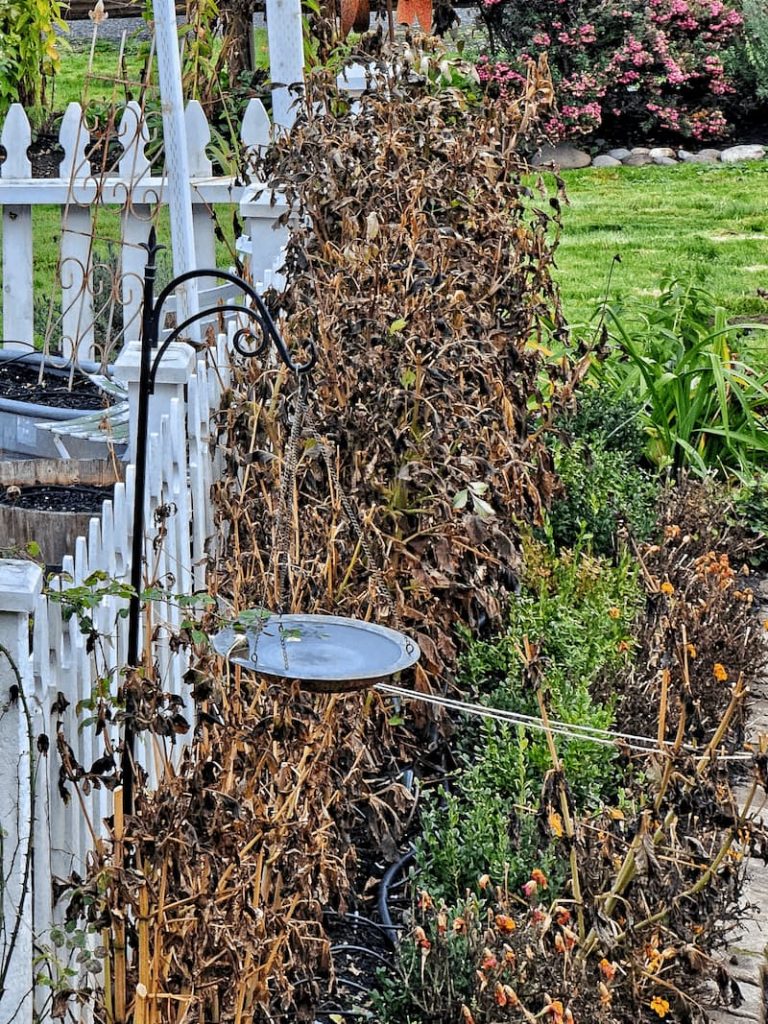
Dig them up after the first frost has blackened the foliage and before the ground freezes. In most areas, that is usually in late fall, around October or early November, depending on your location and weather.
Your goal is a balance… dry enough to resist rot, but not so dry that the tubers shrivel and get damaged. Dahlia tubers don’t dry out as fast as some other bulbs, but any lingering moisture can cause fungal growth or rot over winter.
Waking tubers up means bringing them out of dormancy and getting them ready to plant. Here’s the process:
Timing
This depends on your last frost date, usually late winter or early spring, about 4 to 6 weeks before you plan to transplant. Aim for a soil temperature of 50°F.
Retrieve and Inspect
Take the tubers out of storage and check each one for mold, rot, or damage. Discard anything affected to prevent spreading.
Divide and Prune
If clumps have gotten large or crowded, divide them now with a clean, sharp knife or pruner. Each division needs at least one eye to sprout into a new plant. Trim off any dead or damaged portions.
Pre-sprout (optional)
For an early start, pre-sprout indoors. Set the tubers in shallow trays of damp potting or seed-starting mix and keep them somewhere warm and bright but out of the direct sun. Shoots take a few weeks to develop.
Prepare the Bed and Transplant
Dahlias want well-draining soil and full sun, so prep the bed accordingly. Once all danger of frost has passed and the soil has warmed to about 50°F, plant the tubers 18 inches to 2 feet apart, 4 to 6 inches deep, with the eye facing up. Water them in well.
Support and Care
As the plants grow, stake or cage them to stay upright. Water regularly and mulch around the base to hold moisture and keep weeds down.
Final Thoughts on Storing Dahlia Tubers
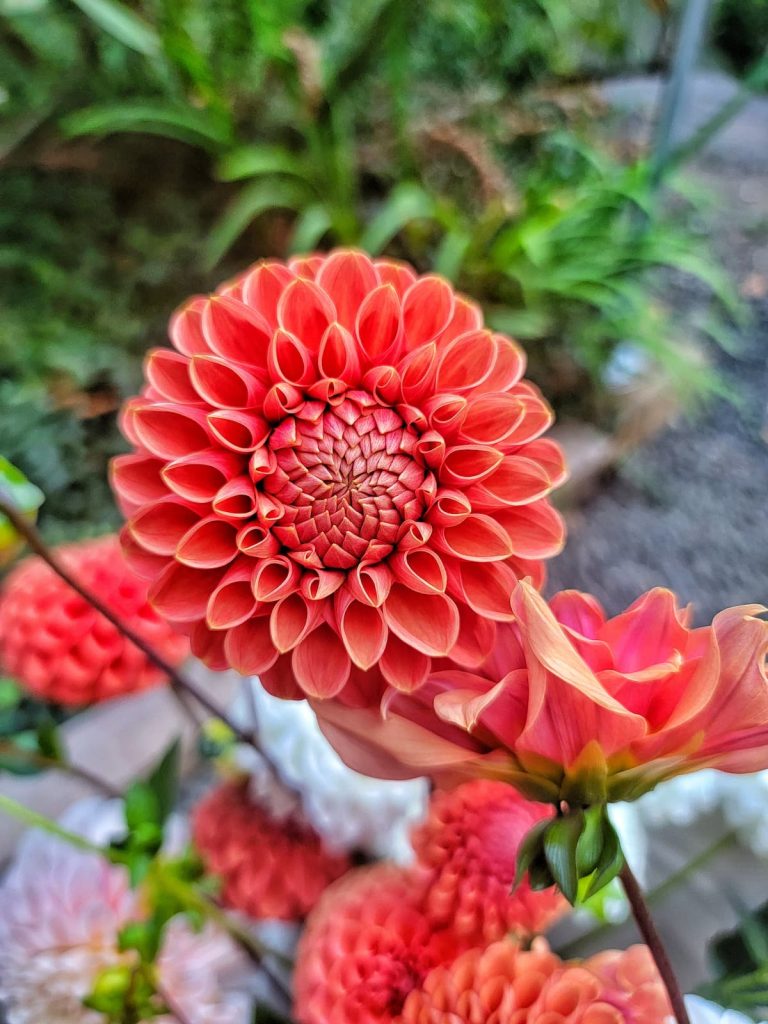
With a few simple steps, you can bring these beautiful blooms back year after year. Wait for the first frost, dig gently, let the tubers dry, and tuck them somewhere cool and dark while they’re dormant. For more on growing and dividing, see my Dahlia Planting Guide for Beginners.
If you have questions or a method of your own to share, leave it in the comments, and pass this along to a fellow gardener who could use it.
Until next time.
Happy Gardening!

I’m a self-taught hobby gardener. Everything I share on my blog is my opinion and what has worked for me.
MORE POSTS
For You To Enjoy
Follow Me for More Inspiration

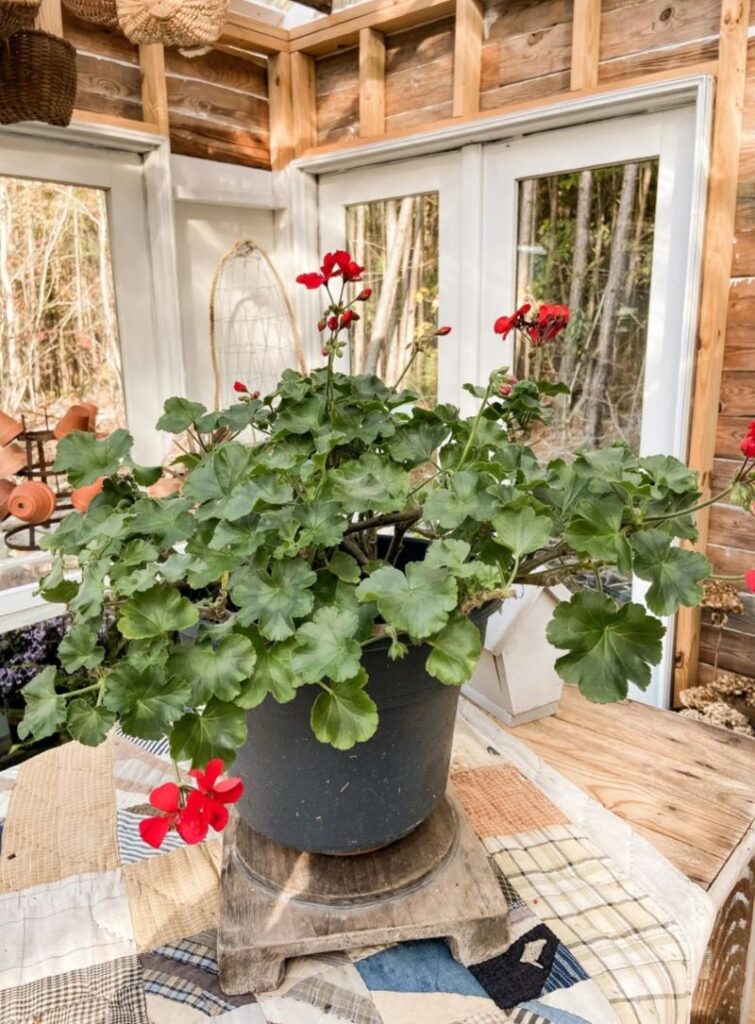
For tips on saving plants over the winter, visit my friend Rachel of The Ponds Farmhouse, where she uses her gorgeous greenhouse to overwinter her plants.

Love your tips on saving and storing the dahlias. I am going to do it this year since I’m having a lackluster season with my dahlias. And thanks for sharing my post ! xoxo
Can I grow dahlia in the pot? I never grow dahlia, I would love to try this flower this year. What is the best month to start plant it? I got black dahlia bulbs online. Thank you.
Your garden looks magnificent ?
I have done it in the past and Dhalias grow well in a good size pot but they need good amount of sun
Yes, they definitely need the sun! I’m glad you have had such good luck.
Thanks for this! I need all the tips! I didn’t realize you were in zone 8…that sounds dreamy!!
Kim, I loved this information! Hope to plant some next spring. Pinned so I’ll have the information
I will be so excited to see you grow dahlias Rachel. It is so wirth it!
Great info Kim!!! I’m hoping mine make it this winter. I’ve overwintered other tender bulbs but never dahlias. Your flowers always look spectacular.
I am so excited that you are growing dahlias now Stacy. Now we can compare notes.