
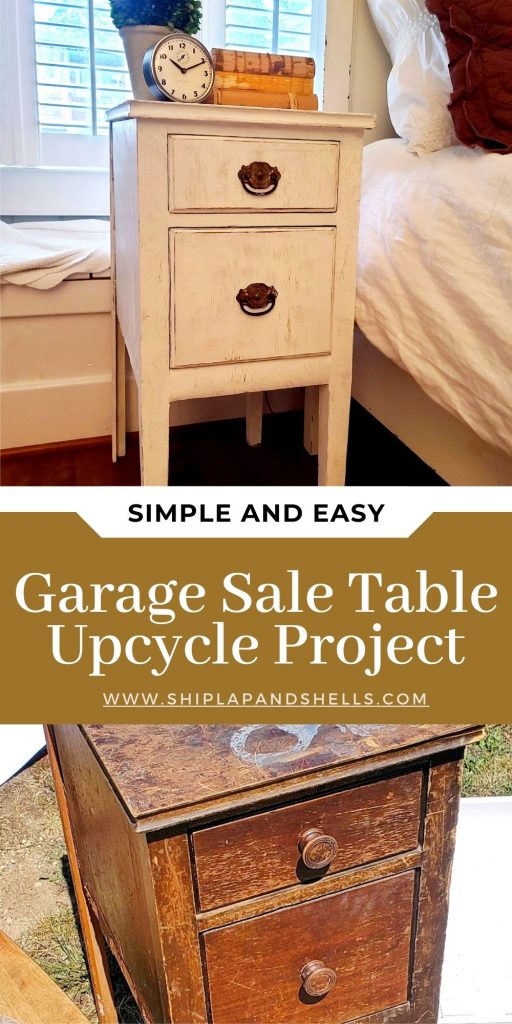
A Simple and Easy Way to Upcycle a Garage Sale Table
Here’s a simple and easy way to upcycle a piece of neglected furniture, and still make it look like it’s been around forever, but in a really good way!
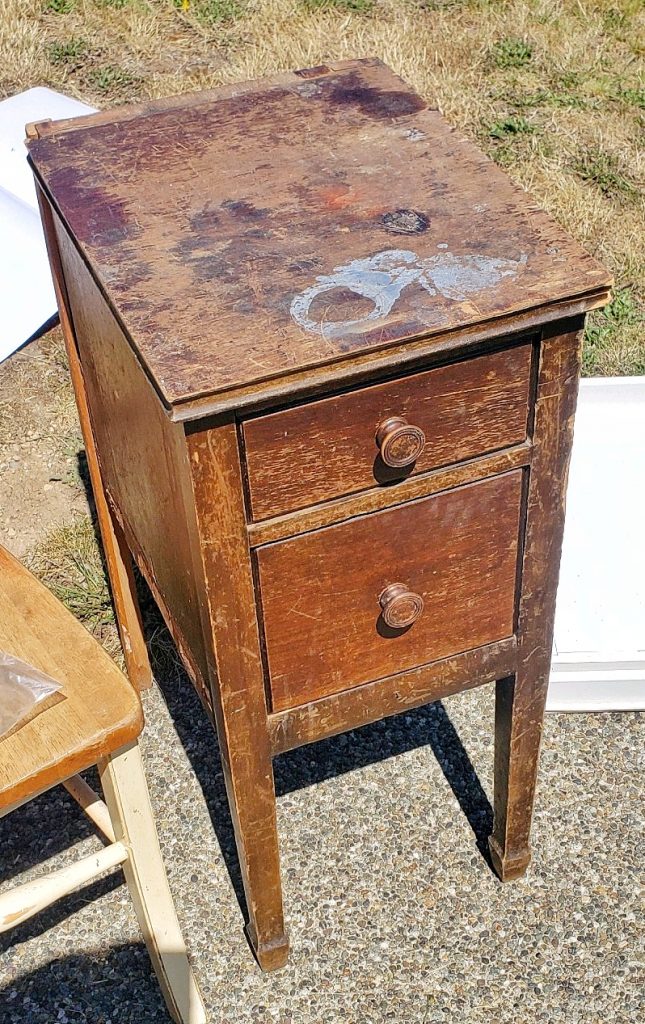
My husband was at a garage sale and found this old, beat-up end table for $5.00. When he brought it home, I told him he paid too much for it (cue the laughter)!
If I was going to give this end table any chance at all to stay in our home, and not be dropped off at the nearest Goodwill, I had to think of a way to make it look old and vintage, but still upcycle the poor little thing.
I decided to use glue and paint to create a chippy finish and sand the edges for a worn look.
As an Amazon affiliate, I earn from qualifying purchases at no extra cost to you. My blog contains other affiliate links as well for your convenience. Click here to read my privacy policy.
Supply List
- Table or other piece of furniture
- Dark Stain or a dark paint color
- White Paint ( I used Rust-Oleum Chalked Paint Linen White AND a basic latex paint)
- Elmer’s Glue ( all-purpose or wood)
- Optional: Dark wax
- Sanding Sponge
Tools Recommended
Step by Step Instructions
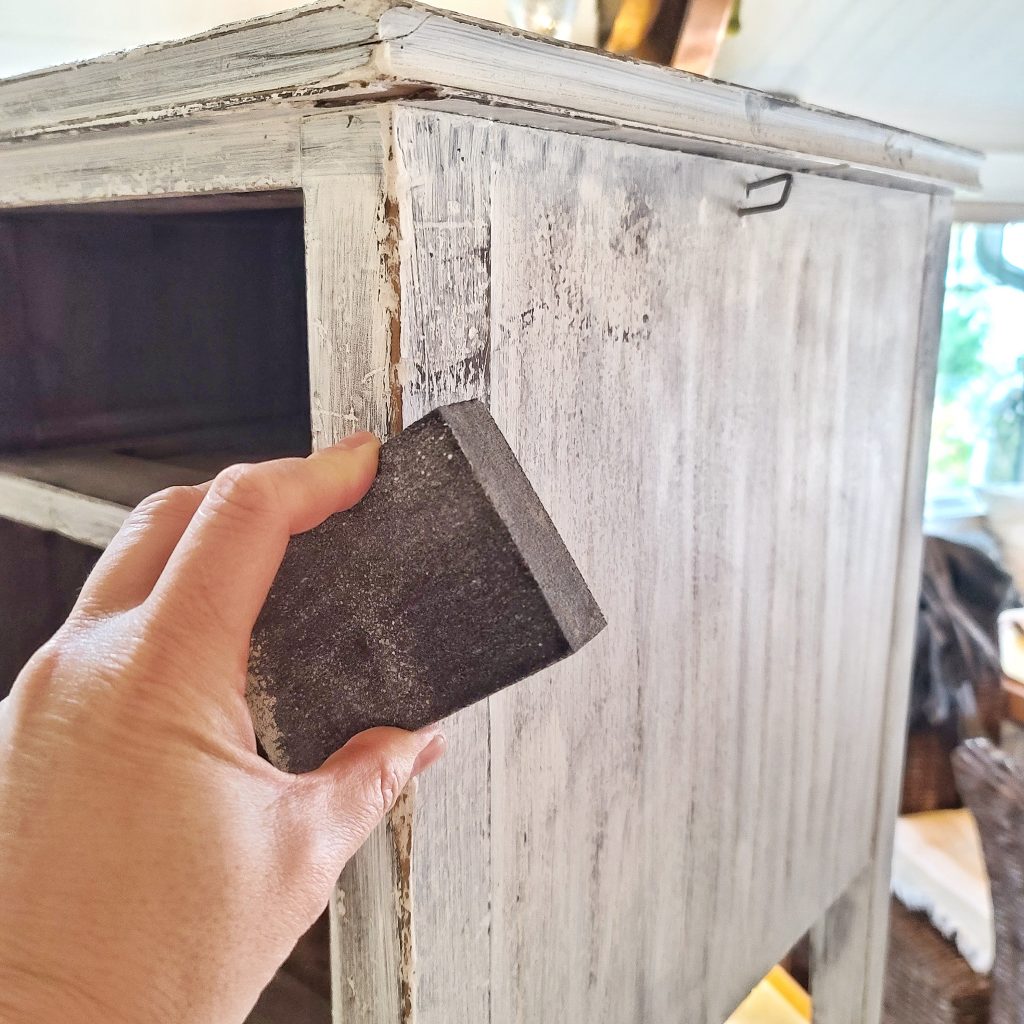
Step 1: Sand Lightly
By sanding the piece lightly, it will help the paint adhere to the surface.
Step 2: Apply a Stain or Coat of Dark Paint
Applying a dark stain or paint will help highlight the areas that will crackle, and will give the table more of an aged look. I have done this DIY on another piece of furniture that was all white.
When it started looking chippy and peeling a bit, the finish wasn’t notable from a distance because it was all the same color. If the table already has a dark base, you can skip this step.
Let dry.
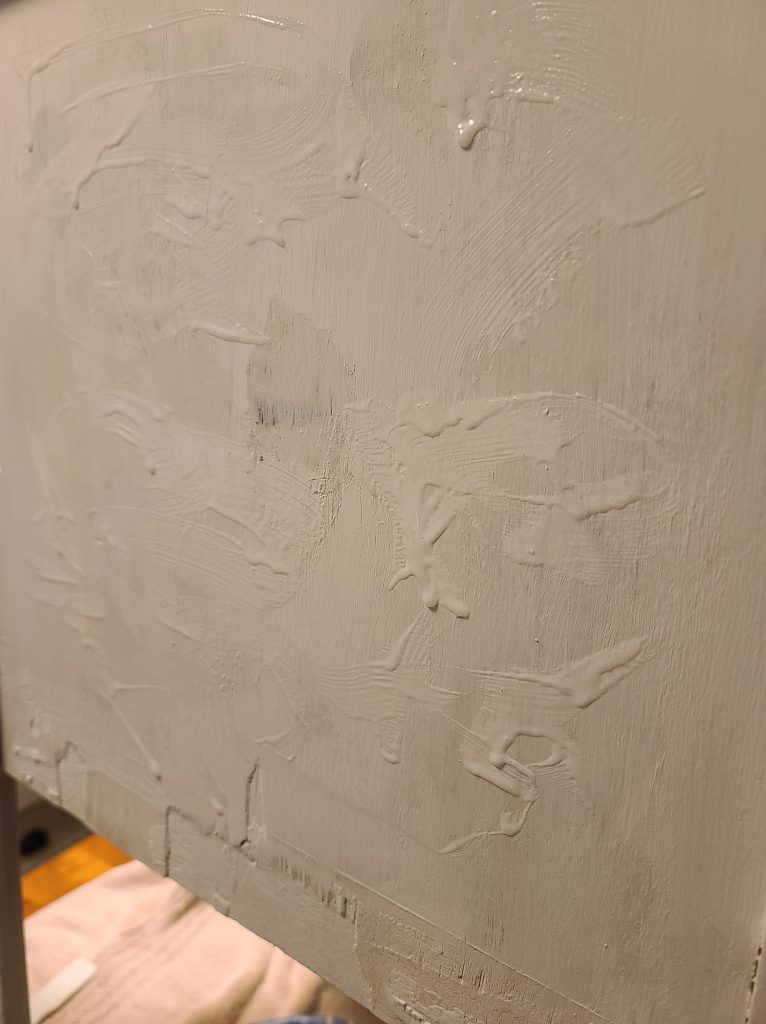
Step 3: Apply the Glue
Apply a layer of glue with a foam paint brush to the areas you want to have a “chippy look”. Covering the area with a thick layer of glue will create a bigger “crackle”.
For a more realistic look, I tried to mix it up a bit. I applied thicker layers in some spots, and thinner layers in others. All-purpose glue was used here, but you can use wood glue as well.
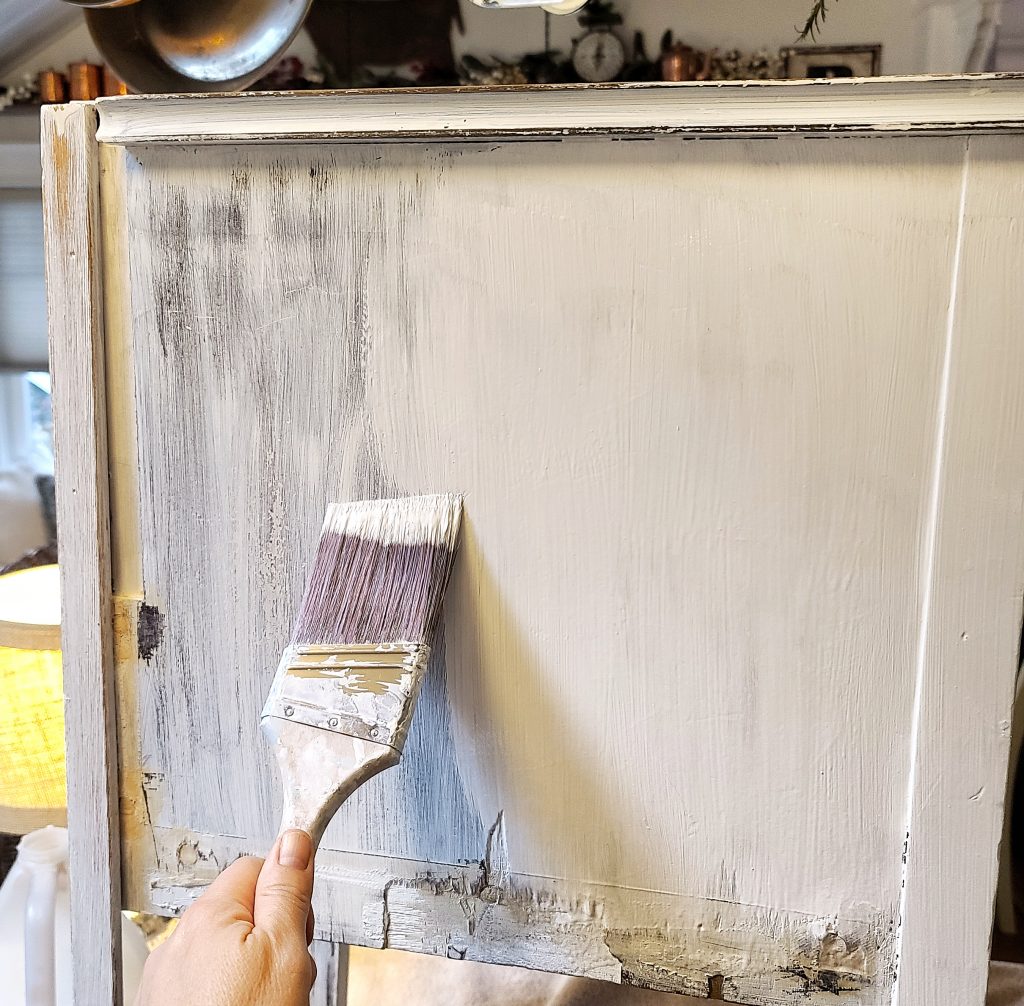
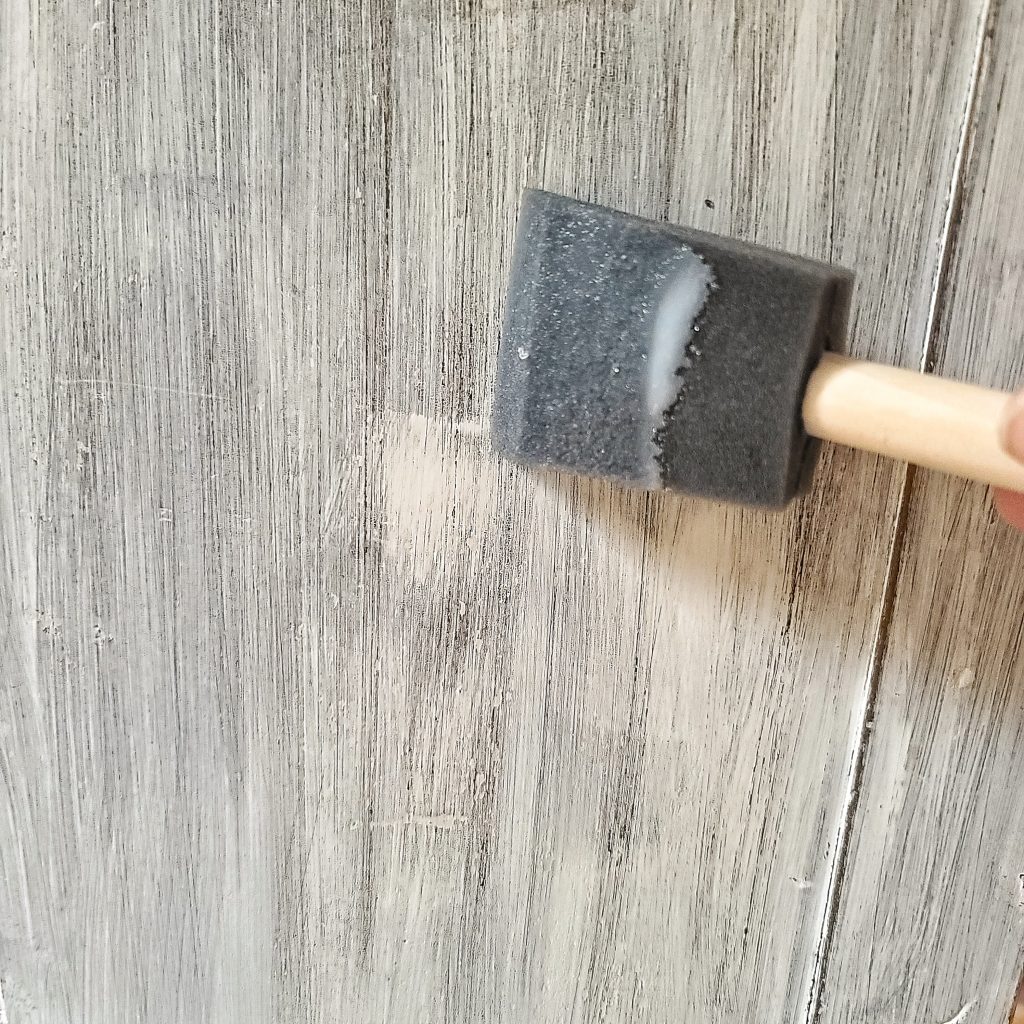
Step 3: Apply a Coat of Paint
Make sure to paint the table when the glue is still tacky and starts to skin over, after a few minutes. Apply a single layer of paint to cover the layer of glue.
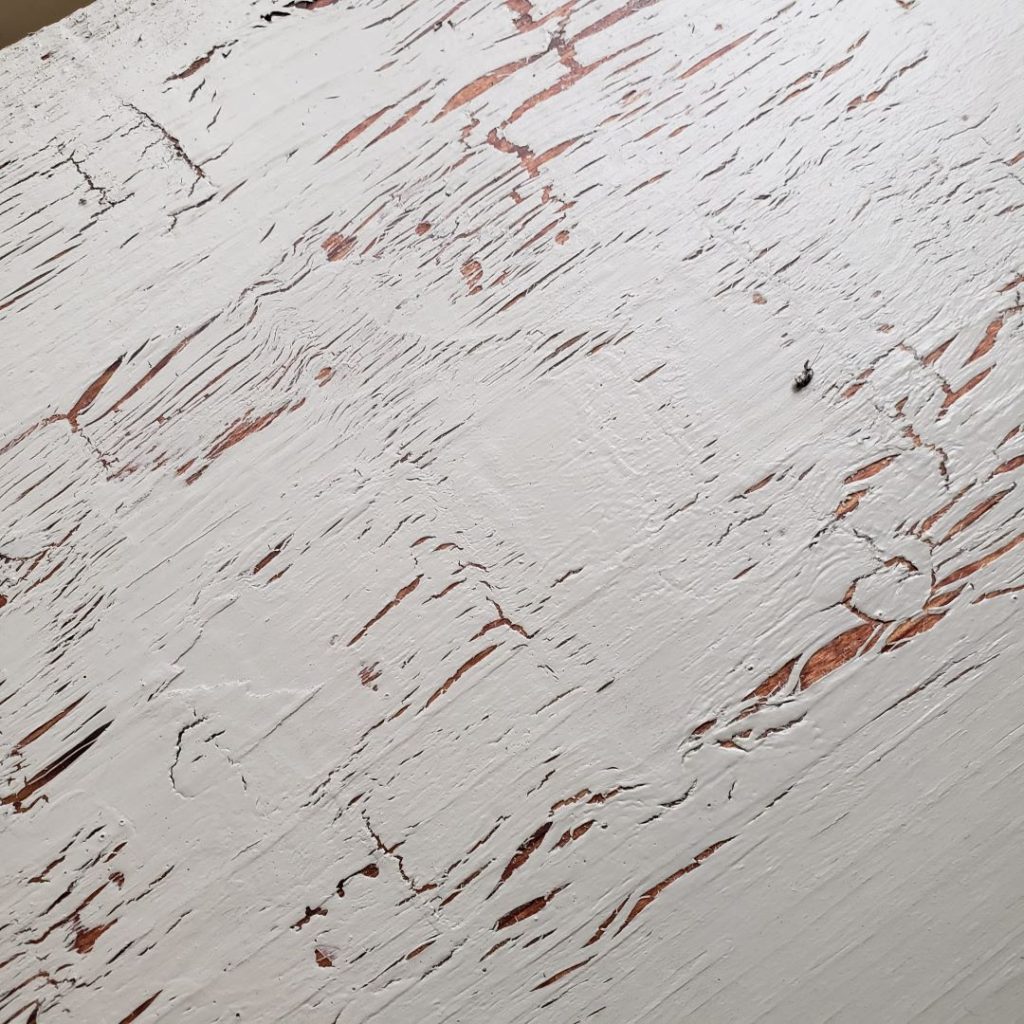
As the glue dries under the top coats of paint, the paint will shrink and crack.
I tried an experiment with this upcycle project. First, I used Rust-oleum chalked Linen White paint on one side of the table. Then on the other side, I used a basic white latex matte paint I had leftover from my shiplap walls. I wanted to see which paint worked better for this DIY table project.
I found for me that the latex paint worked better with the glue. And it was less expensive. You may even find some lying around your house or garage.
Step 6: Sand and Wax
If you want a more antiqued and vintage look in certain areas, apply some dark wax for a finished coat. Wipe any areas you want to wax, with a wet rag, to help apply too much wax.
Use the wax sparingly. I chose not to wax this particular end table.
Sand any areas that you want to look worn, concentrating on all the edges and corners.
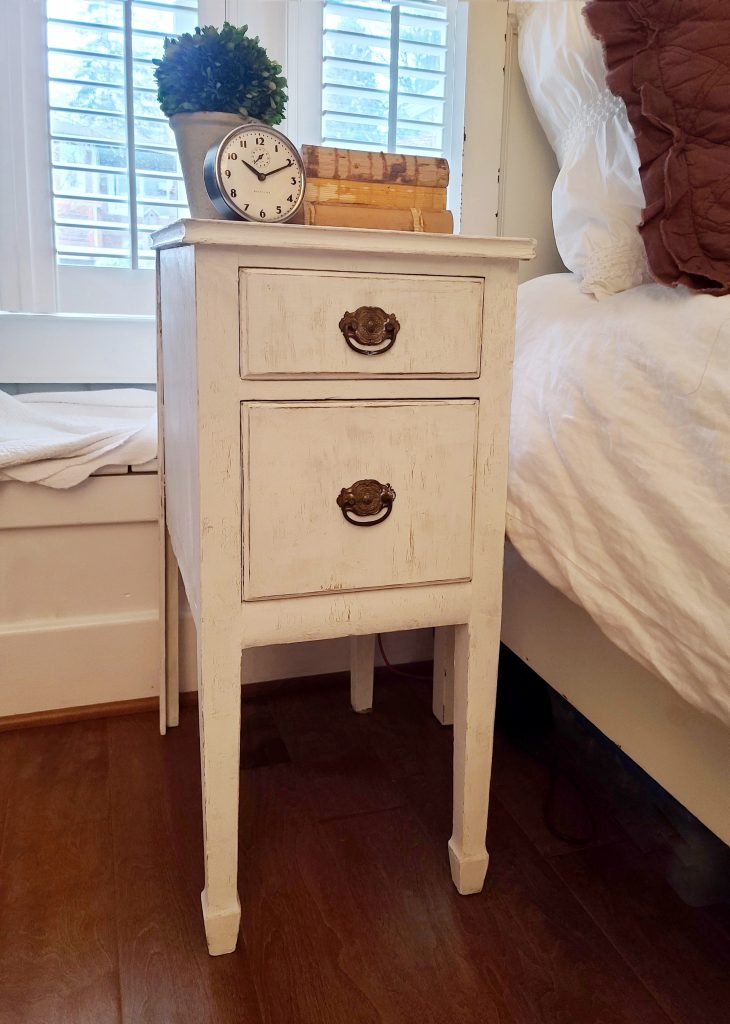
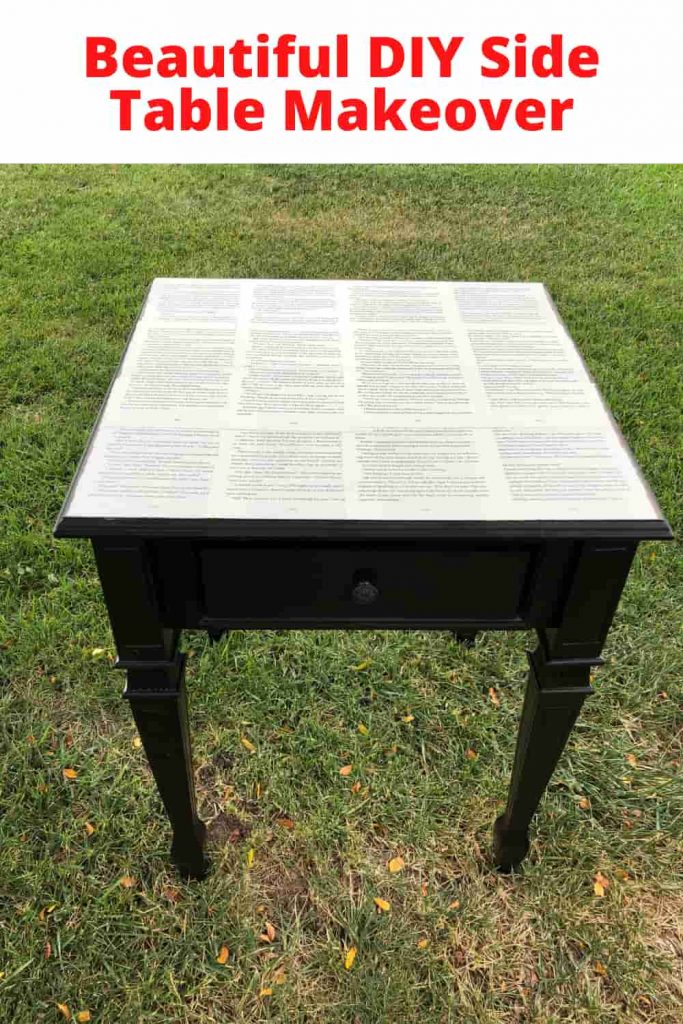
And here it is. My simple and easy upcycle project. The end table still shows its age but in a more dignified way.
What’s great about this upcycle DIY technique is that you can experiment, and change the look to meet your personal preference. A scraper can be used to take off more of the chippy pieces created by the glue. You can apply the glue thicker or thinner, depending on how much “crackle” you want to be seen.
If you have any questions or additional suggestions, feel free to share them in the comments below. And be sure to share this blog post link with anyone who may find this DIY project interesting.
Until next time,
Follow Me for More Inspiration
Shop my Amazon Storefront, my LTK sources, and my favorite home decor, garden, and lifestyle products. When you purchase from one of my links, I earn a small commission which helps me to continue sharing all the content you expect on my blog.
Be sure to follow me on Pinterest, Instagram, Facebook, TikTok and LIKEtoKNOW.it. Do you like gardening? Join my Facebook Gardening Tips & Tricks group.

Beautiful DIY Side Table Makeover For Your Home | Chas’ Crazy Creations
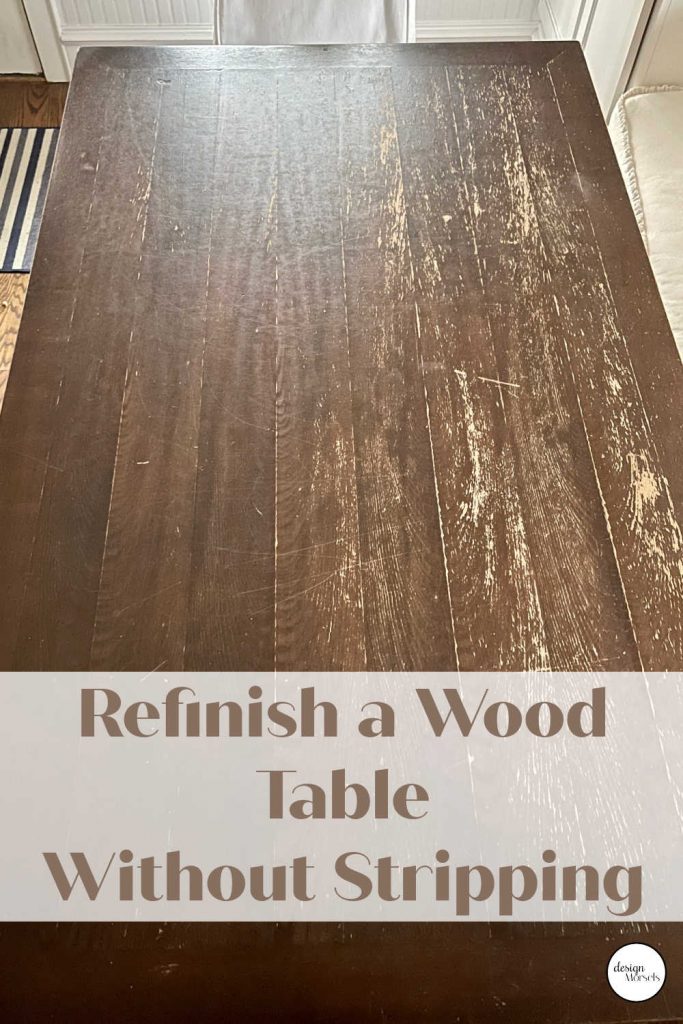
Refinish a Wood Wood Table Without Stripping | Design Morsels

Simple Ways to Update Furniture | Kippi at Home
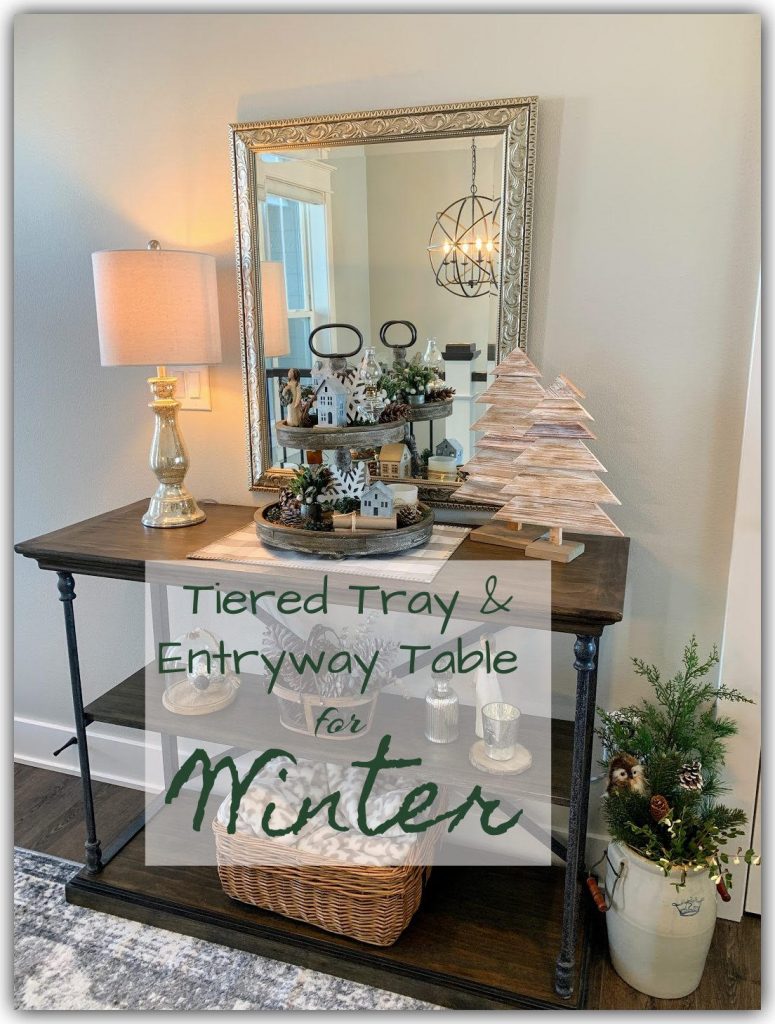
Winter Tiered Tray Entryway Table | The House on Silverado
Creative End Table Ideas | White Arrows Home

How to Remove Paint, Scuffs, and Scratches from Wood Furniture | Grandma’s’ House DIY
Restoration of an Antique Table | Life at Bella Terra
Wow, what an interesting technique! I’ve never seen this before, but it turned out fabulously. I can’t hardly believe the “before,” now that I’ve seen the “after.” Amazing job. Thanks for sharing the process!
Thank you so much Amy! I couldn’t believe my husband actually brought it home, but now I’m glad he did!
This turned out so cute. I’ve never heard of putting glue on to give it that look. Interesting. I also never would have thought to paint over it while the glue is not dry. What a cool technique. Thanks for sharing.
I know. It’s a really weird concept. But it really works as long as the glue is pretty thick and it has skinned over.
I love that aged, crackle look on furniture and have seen the kits you can buy at the hardward stores to do it, but they are so expensive! I had no idea you could accomplish the same thing with plain old glue! What a great tip! Thanks for teaching me something this morning!
Fun “hopping” with you, too!
Niky @ The House on Silverado
It always makes me happy when someone actually learns something, I really don’t know as much about DIY projects as you ladies in the hop. Can’t wait to hear how it goes if you decide to use the glue.
Kim, what an amazing transformation! I had no idea you could use glue to make a crackled paint look. Thanks for the tip! It is always hard to find good end tables so what better way than to upcycle one! Fun hopping with you..
I just learned about it last year, and tried it on my mantel. But when I worked on this table, I didn’t put on a thick layer of the glue and it really made the difference.You couldn’t see that very much was going on.
Super transformation of a neglected vintage side table. You saw the potential for that diamond in the rough.
Hugs,
Kippi
Thank you Kippi! I think it was my husband that saw the potential, not me. So fun to see what you other ladies did with your tables!
I love garages sales, so many great deals! I love your little table upcycle, it looks fabulous, well done friend. Thanks for sharing and wonderful hopping with you.
Thank you Chas. There just aren’t that many around these days. I’m hoping they start coming back in the spring.