
Growing Cut Flowers from Seed: A Beginner’s Guide to Seed Starting Success
Are you thinking about growing your first cut flowers from seed, but not quite sure where to begin? Learning how to grow cut flowers from seed is a gratifying way to start a flower garden, and it opens the door to far more variety than you’ll ever find at a garden center.
Starting a cut flower garden from seed lets you get ahead of the growing season, experiment with unique varieties, and grow a whole garden of blooms on a budget. One packet of seeds can turn into dozens of plants, which still feels a little bit like gardening magic to me.
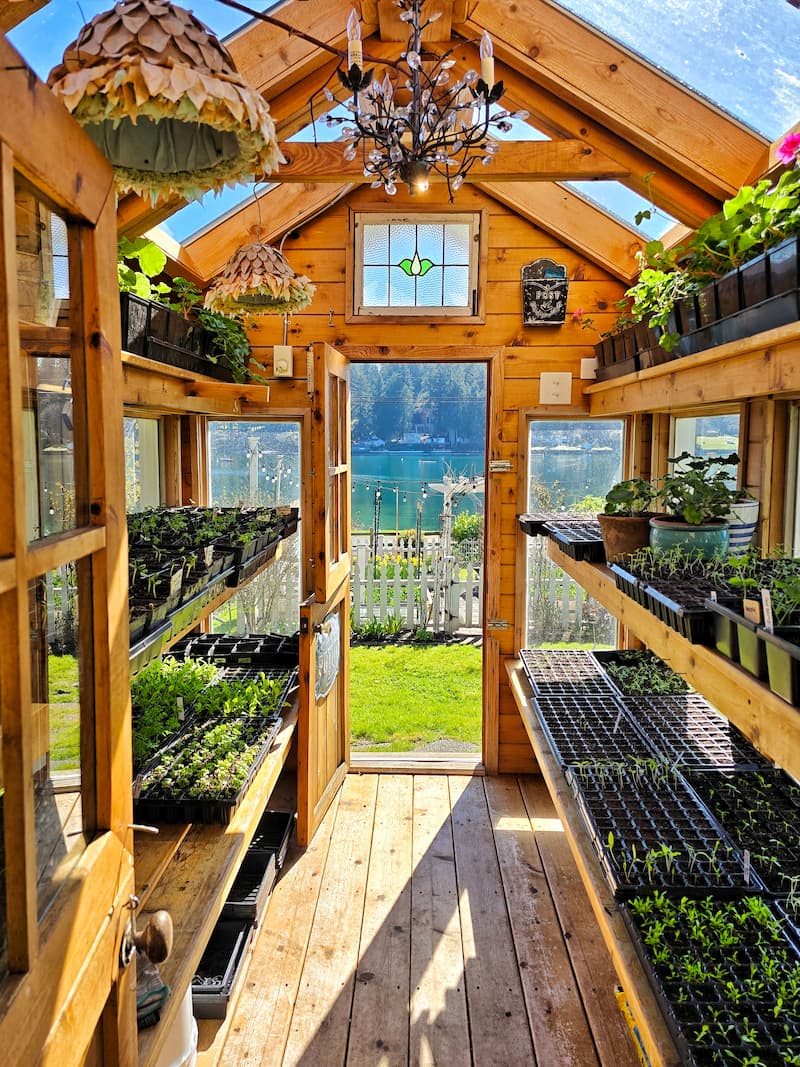
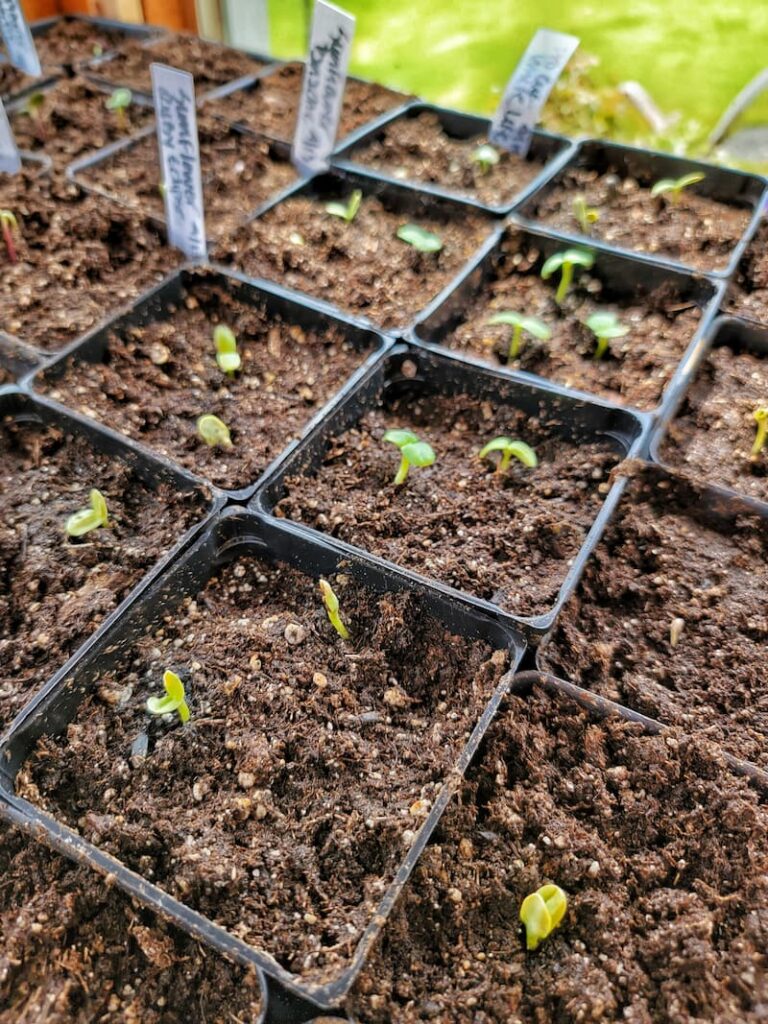
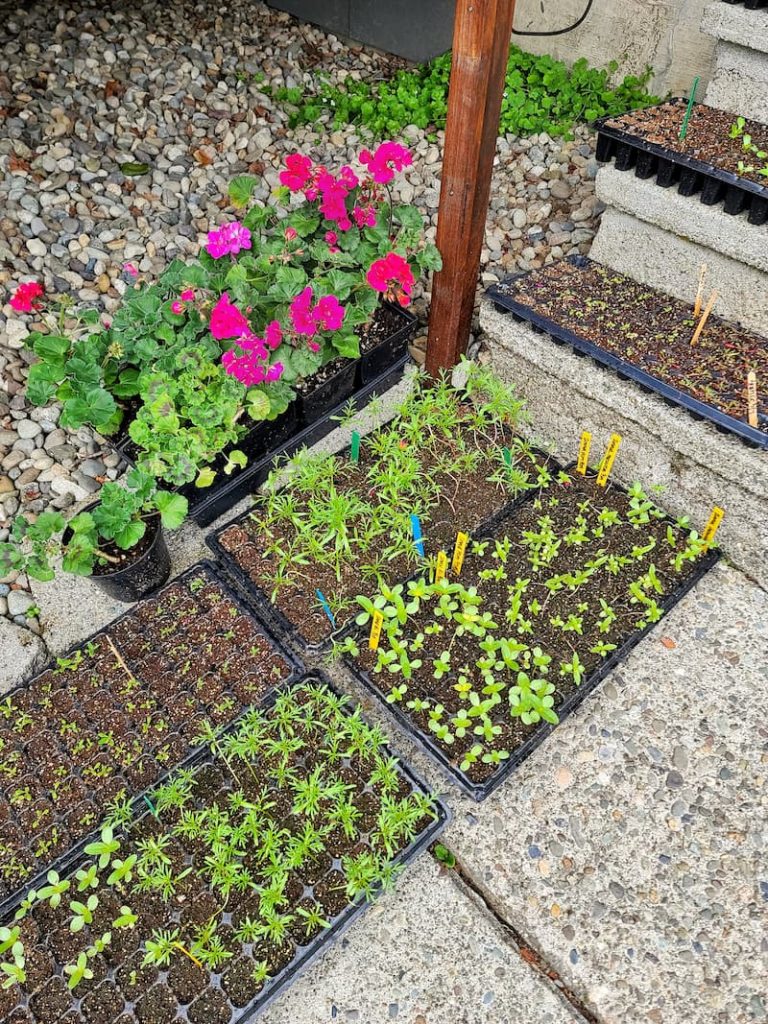
My favorite part of cut flower gardening is the seed-starting stage. There’s something so exciting about checking trays every morning. When those first tiny sprouts push through the soil, I still get ridiculously excited. I may or may not have done a small victory dance in the greenhouse more than once.
In this post, I’ll walk you through the basics of seed starting for cut flowers, share the benefits of growing from seed, and pass along the practical tips I’ve learned over the years to help you grow strong, healthy plants with confidence.
As an Amazon affiliate, I earn a commission from qualifying purchases at no additional cost to you. My blog also features other affiliate links for your convenience. Click here to read my privacy policy.
What Is Seed Starting?

Seed starting is the process of growing plants indoors before moving them outside into the garden. For cut flowers, this gives seedlings a strong, healthy start before they’re exposed to unpredictable weather, pests, and temperature swings.
Instead of sowing seeds directly into the ground, seeds are planted in containers filled with a lightweight seed-starting mix. This allows you to control moisture, temperature, and light, which are three things that make a huge difference when you’re working with tiny seeds.
Starting seeds indoors also lets you get a jump on the growing season. Depending on the variety, you can begin seed-starting weeks or even months before the last frost date. This is great for flowers that take longer to mature or for gardeners who want earlier blooms and longer harvest windows.
Growing Cut Flowers from Seed vs. Seedlings
Growing cut flowers from seed offers several advantages over buying seedlings from a nursery, especially if you want variety and more control over your garden from the very beginning.
One of the biggest benefits is choice. Seed catalogs offer an incredible range of flower varieties, colors, and forms that you won’t find at most garden centers, which tend to stock only the most common options.
Seeds are also far more budget-friendly. A single packet of seeds often costs less than one nursery-grown plant and can produce dozens of flowers over the season. If you’re planting a cut flower garden, that difference really adds up.
Starting from seed also allows you to control the growing environment from day one. You can choose the soil mix, avoid chemical fertilizers, and raise plants that are already accustomed to your local conditions. In my experience, seedlings grown at home tend to be sturdier and more resilient once they’re transplanted outdoors.
Beyond the practical benefits, there’s something so fulfilling about growing flowers from seed. Watching a plant progress from a tiny sprout to a full, blooming stem gives you a better understanding of how it grows, and makes the first harvest even more special.
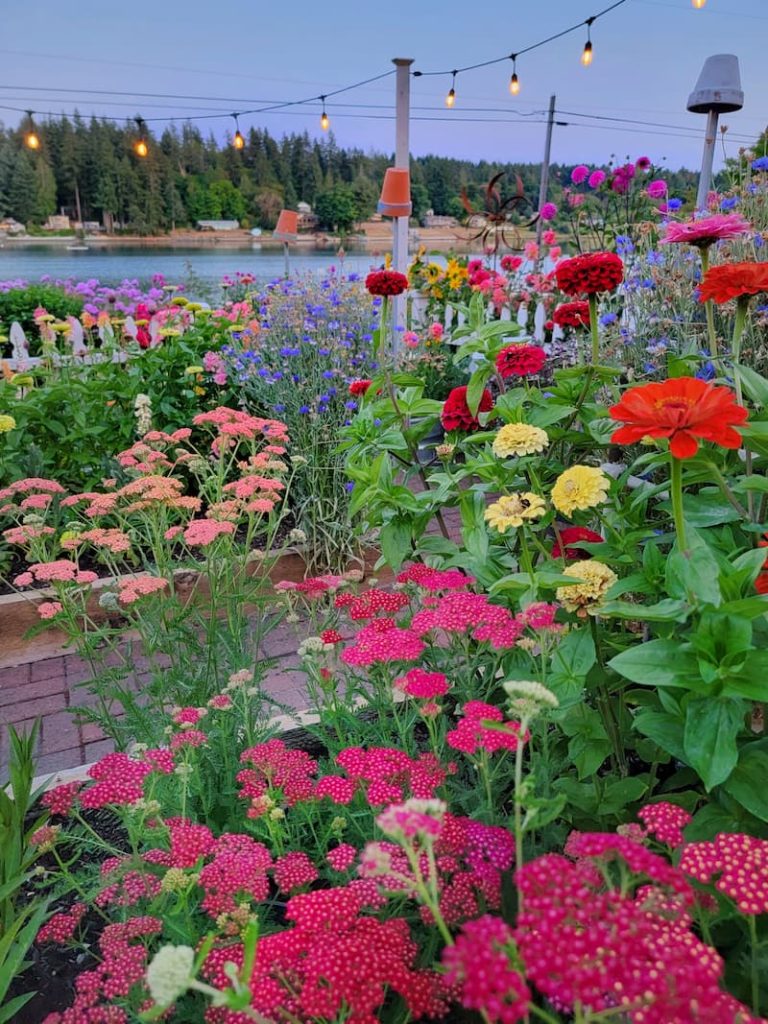
The Best Cut Flowers to Grow From Seed
When choosing cut flowers to grow from seed, I look for varieties that are easy to start, productive in the garden, and long-lasting in a vase. These are flowers that consistently perform well and give you plenty of blooms for homegrown bouquets throughout the season.
Here are some of the best cut flowers to grow from seed, especially if you’re just getting started.
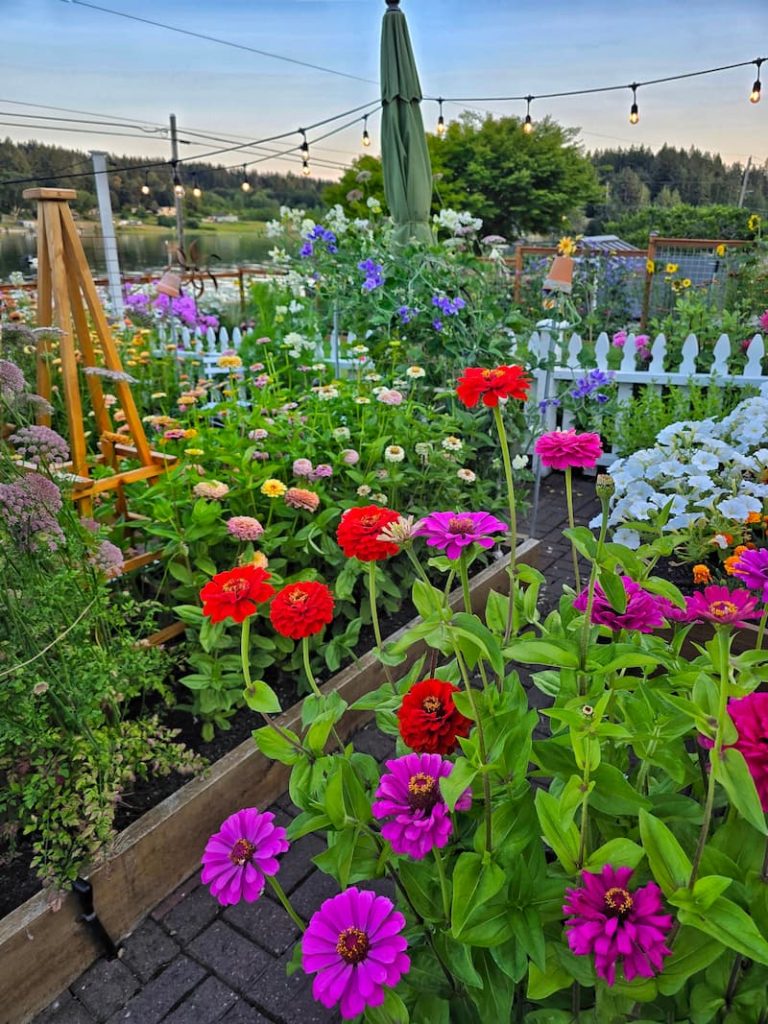
Zinnias
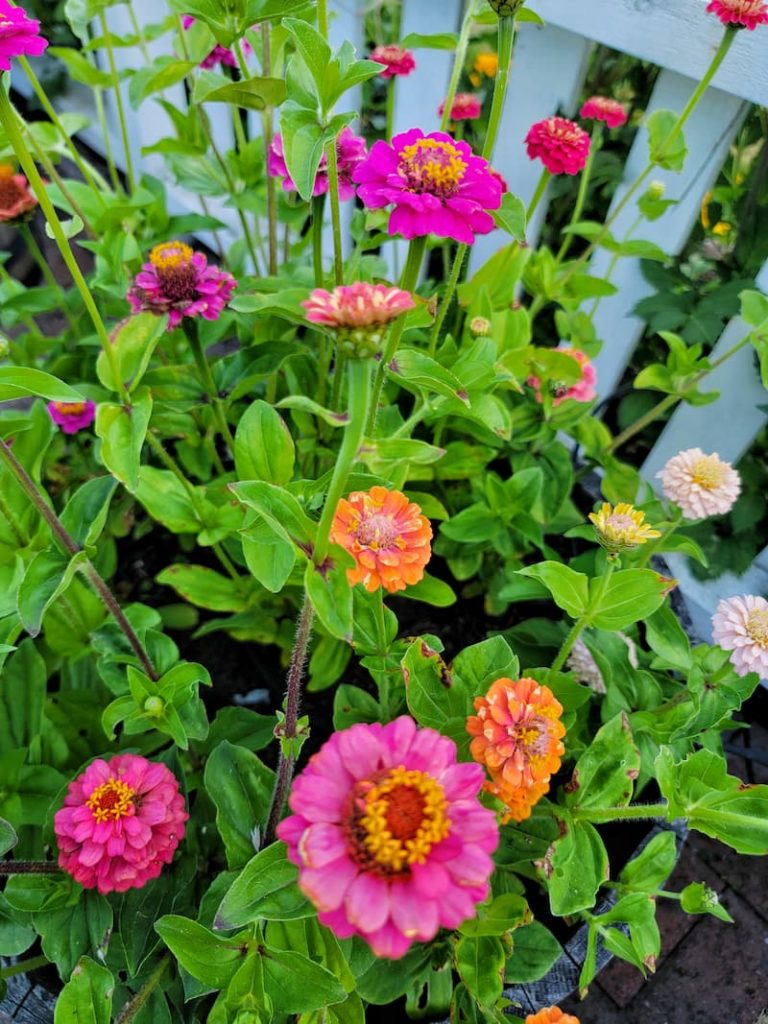
Zinnias are one of the easiest and most amazing cut flowers to grow from seed. They germinate quickly, grow fast, and produce a steady supply of colorful blooms all summer long.
They come in a wide range of colors and flower forms, from simple single blooms to large, dahlia-style flowers, and are true “cut-and-come-again” plants. The more you harvest, the more flowers they produce.
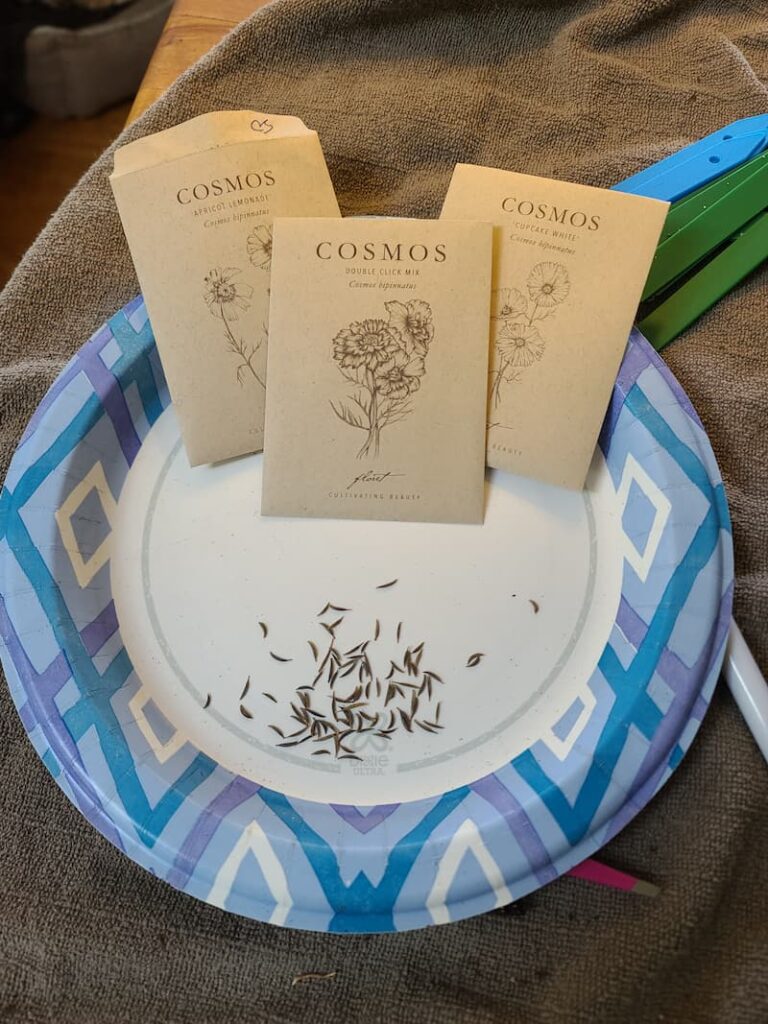
Cosmos
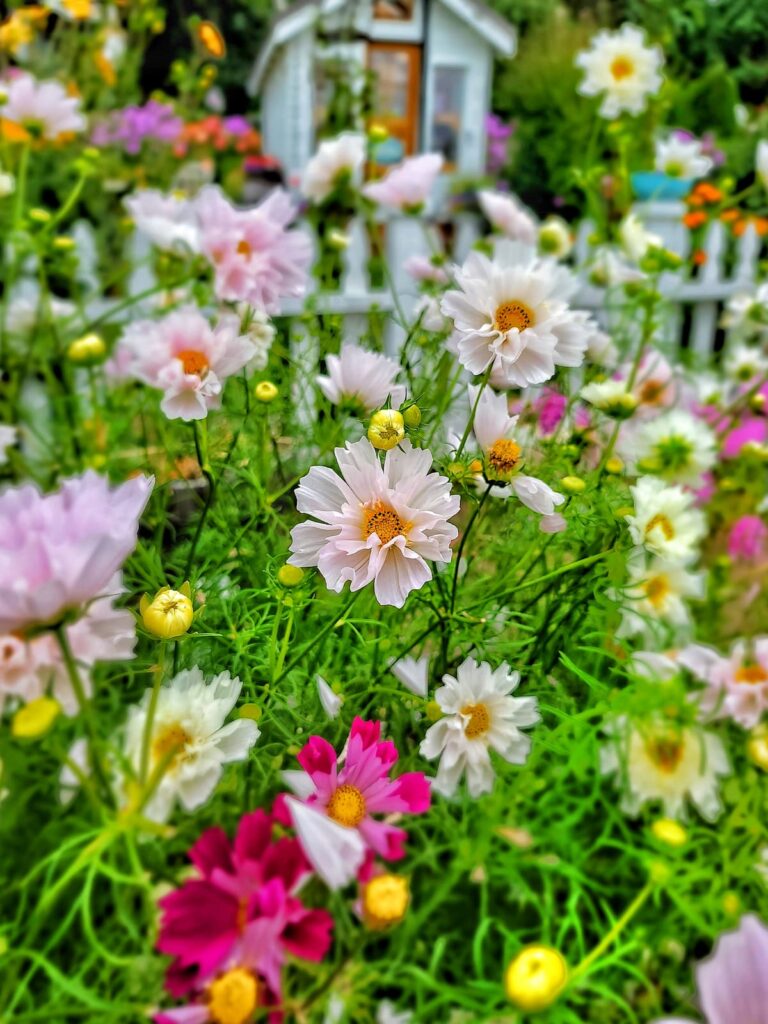
Cosmos are delicate, airy flowers with feathery foliage that add a soft, whimsical feel to arrangements. They’re incredibly forgiving, thrive in less-than-perfect soil, and are a great choice for beginner gardeners.
When harvested at the right stage, cosmos can last 5-7 days in a vase. They also attract bees and butterflies, making them a favorite in pollinator-friendly gardens.
Snapdragons
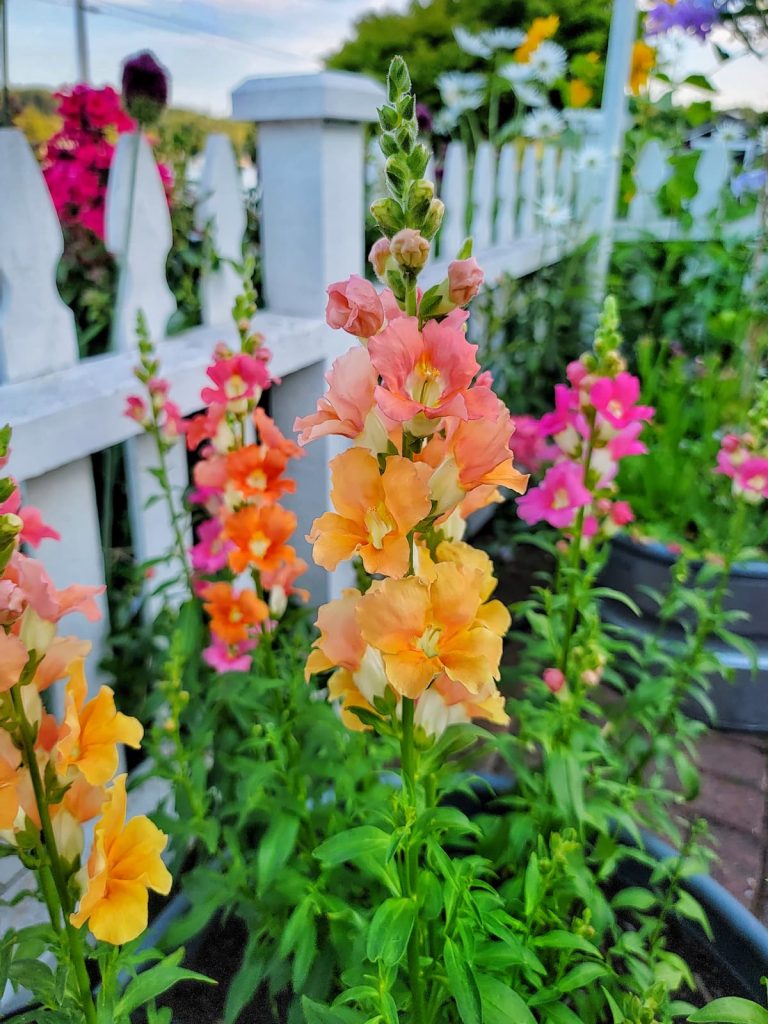
Snapdragons add height and structure to bouquets with their tall, spiky flower stems. Available in nearly every color imaginable, including soft pastels and bold brights, they’re incredibly versatile for floral arranging.
As cool-season flowers, snapdragons are perfect for early spring or fall cutting. They also benefit from succession planting, which helps extend the bloom period.
Let’s Plan Your Dream Garden With Our
Gardening Planner
Unlock Your Garden’s Potential.
Our 35-page Ultimate Garden Planner is designed to help you organize, track, and flourish in your gardening endeavors.
Get yours for $4.99
Sweet Peas
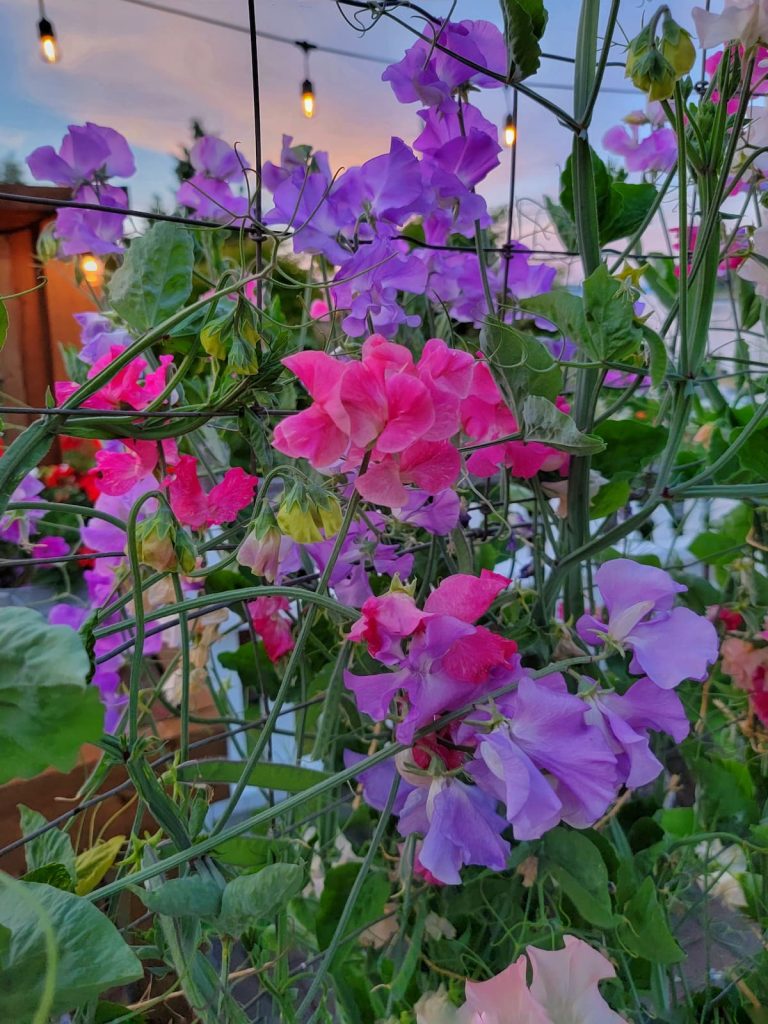
I love sweet peas for their soft, ruffled petals and unforgettable fragrance. They prefer cooler temperatures, which makes starting them early in the season especially important.
Because sweet peas grow vertically, they’re ideal for smaller garden spaces and produce long, straight stems that are perfect for cutting. When harvested early in the morning and conditioned properly, they can last 4-7 days in a vase.
Sunflowers
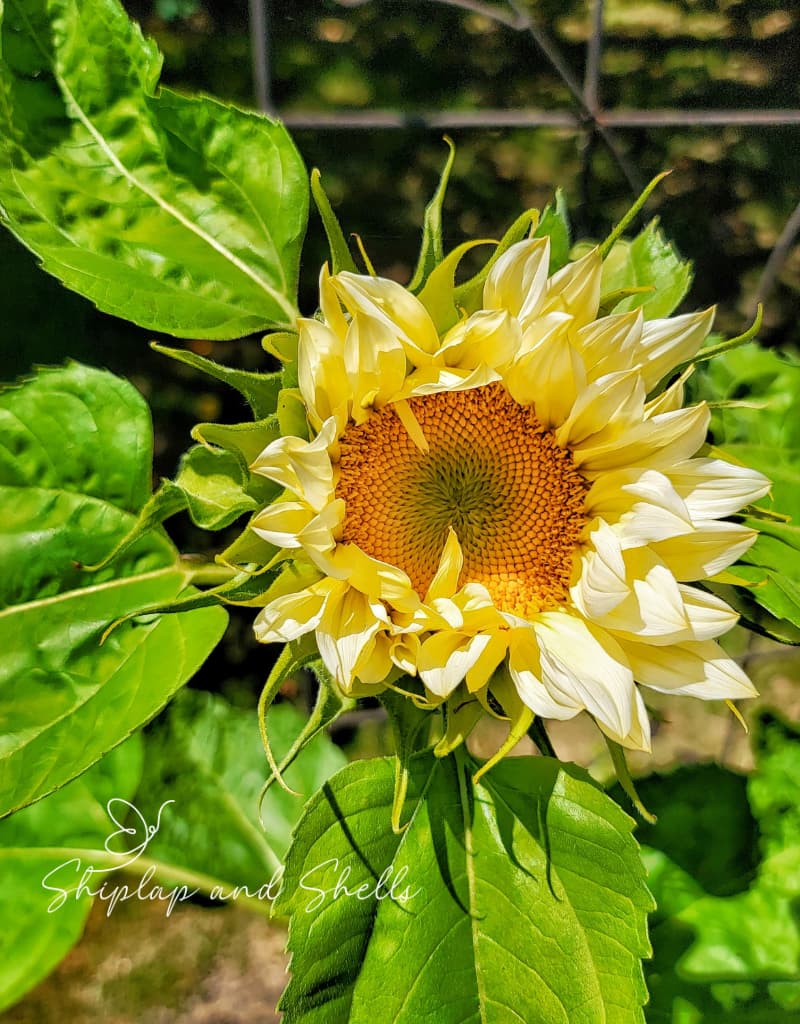
Sunflowers are a bold, cheerful addition to any summer bouquet and are surprisingly easy to grow from seed. From towering single-stem varieties to branching types with multiple blooms, there’s a sunflower for every garden style.
Their sturdy stems make them great for anchoring larger arrangements or standing alone in simple vases.
Marigolds

Marigolds are fast-growing, reliable bloomers that add bright pops of color to fresh flower arrangements. They’re easy to grow from seed and perform well even in less-than-ideal conditions.
Here’s an added bonus for you: marigolds have natural pest-repellent qualities, which are incredibly helpful in your garden.
Dahlias
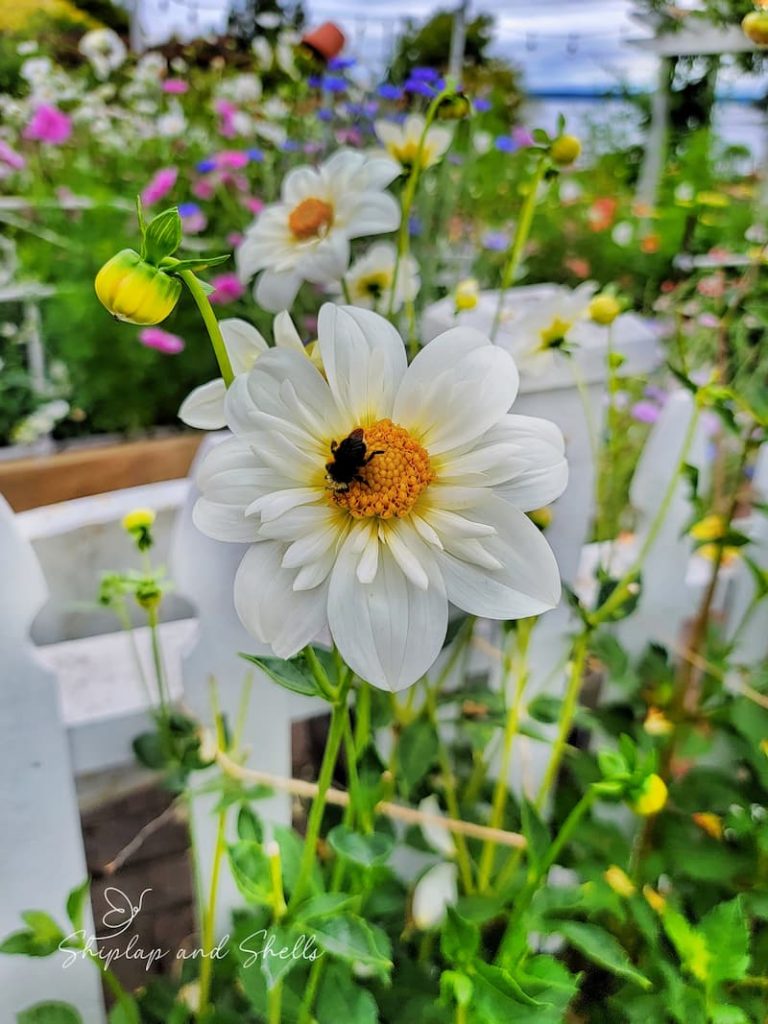
Dahlias are usually grown from tubers, but they can also be started from seed. Seed-grown dahlias offer a fun element of surprise, producing a wide range of colors and flower forms.
I’ve grown the “Bee’s Choice” dahlia seed mix for years, and it’s always exciting to see what blooms appear. They always come up differently. Pollinators love them, and they are the most beautiful cut flowers with good vase life.
Bachelor’s Buttons (Cornflower)
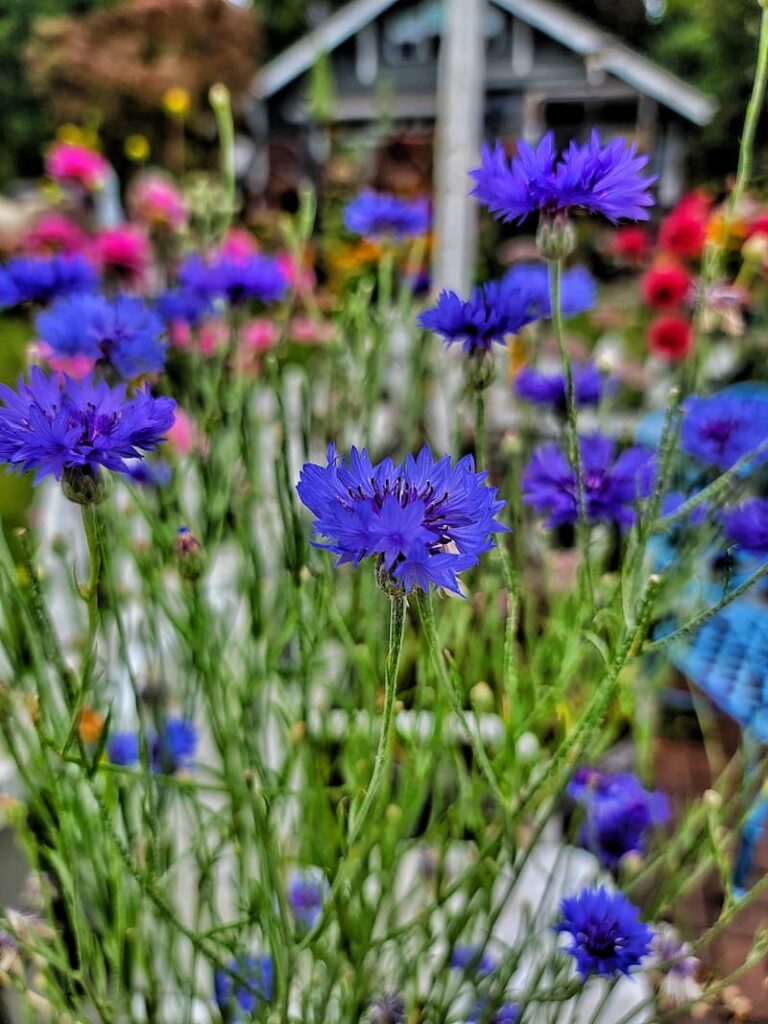
Bachelor’s buttons are easy-to-grow annuals with delicate, frilly blooms. They’re best known for their stunning blue flowers, but also come in pink, purple, white, and burgundy.
These hardy plants are low-maintenance, self-seeding, and great for filling in garden spaces while adding color to arrangements.
Statice
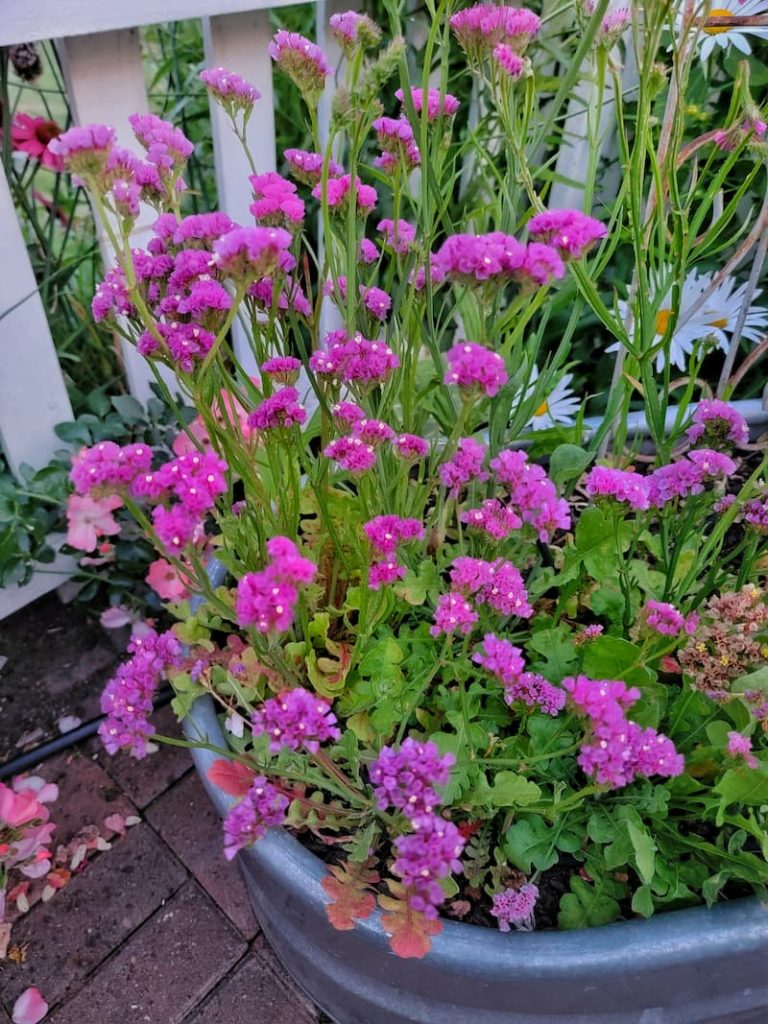
Statice is a favorite for both fresh and dried floral arrangements (dried is my favorite way to share them indoors), thanks to its papery texture and long vase life. Fresh-cut statice can last 10-14 days, and the flowers retain their color beautifully when dried.
It’s easy to grow from seed and thrives in sunny, well-drained garden beds.
Gomphrena (Globe Amaranth)
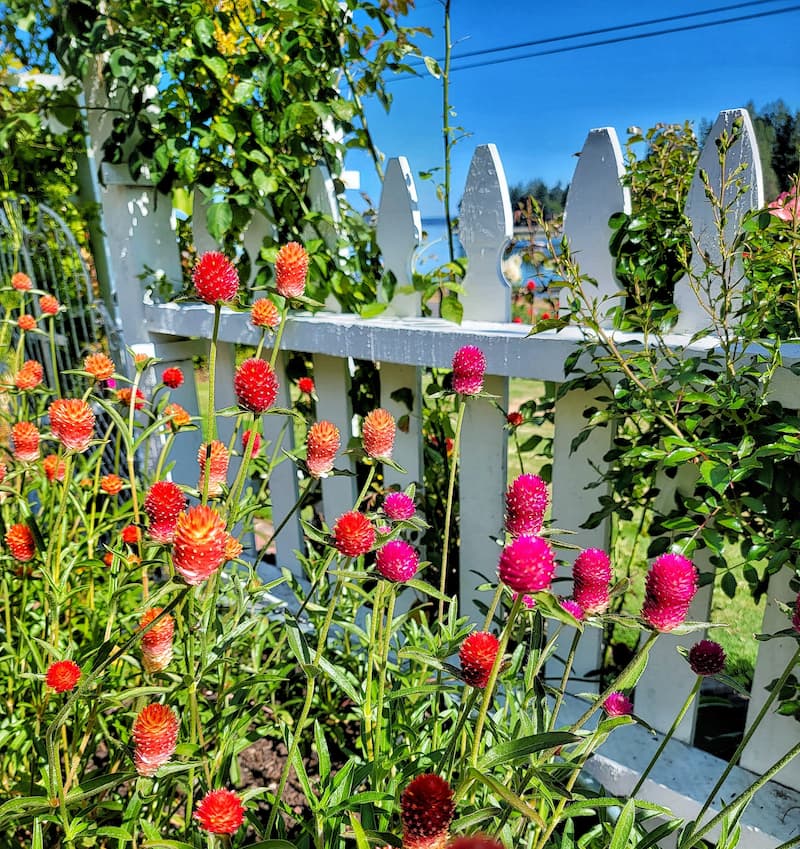
Gomphrena has small, globe-shaped blooms that add texture and long-lasting color to arrangements. It thrives in hot, sunny conditions and is drought-tolerant once established.
Like statice, gomphrena looks amazing when dried and is an excellent choice for wreaths and other crafts.
Frequently Asked Questions
Seed Starting Supplies You’ll Need

You don’t need a complicated setup to start cut flowers from seed. A few basic supplies will get you through the season, and you can always add more tools as your garden grows.
Here’s a simple list of what you’ll need to get started:
If you’d like a deeper dive into seed-starting tools and what’s truly worth buying, I share more details in my post on seed-starting supplies.
Seed Starting Supplies
Check out my favorite supplies and tools for starting seeds indoors. Whether you’re looking for grow lights or a seed starting mix, you’ll find what I use in my own greenhouse.
Seed Starting 101: My Best Tips for Growing Cut Flowers from Seed
Over the years, I’ve learned that successful seed starting doesn’t come from fancy equipment or perfection. It comes from consistency and paying attention to a few key details.
These are the steps I follow each season when starting cut flowers from seed.
Choose the Right Containers
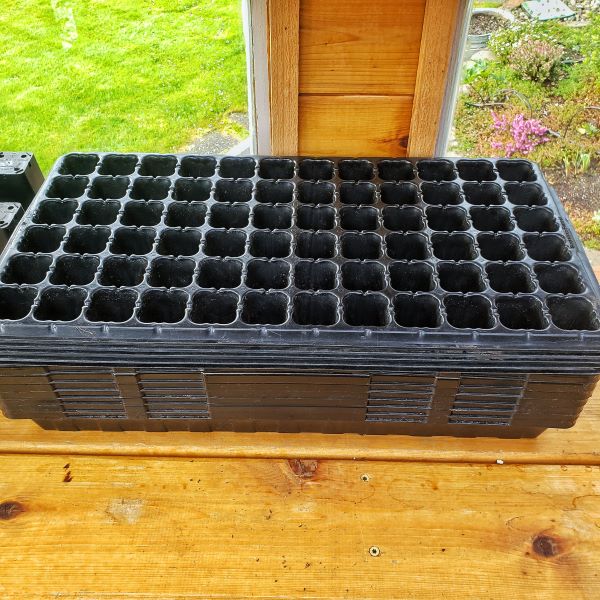
You can start seeds in almost any container as long as it holds soil and drains well. Seed trays, cell packs, peat pots, or even reused plastic cups all work well.

If you reuse containers, wash them thoroughly with a diluted bleach solution (one part bleach to nine parts water) to help prevent disease. Clean containers go a long way toward healthy seedlings.
Use a Moistened Quality Seed-Starting Mix
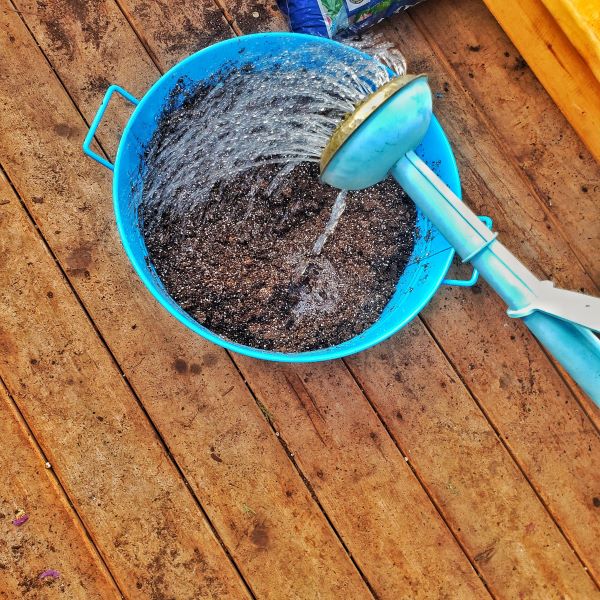
A seed-starting mix is much lighter and finer than regular potting soil, which makes it a better fit for tiny seeds. It allows more proper airflow, drains well, and holds moisture evenly.
Seed-starting mixes also contain fewer nutrients, which helps prevent seedlings from becoming leggy. I always moisten the mix before filling containers so it’s evenly damp (not soaking wet) before planting.
Fill Containers and Prepare for Sowing
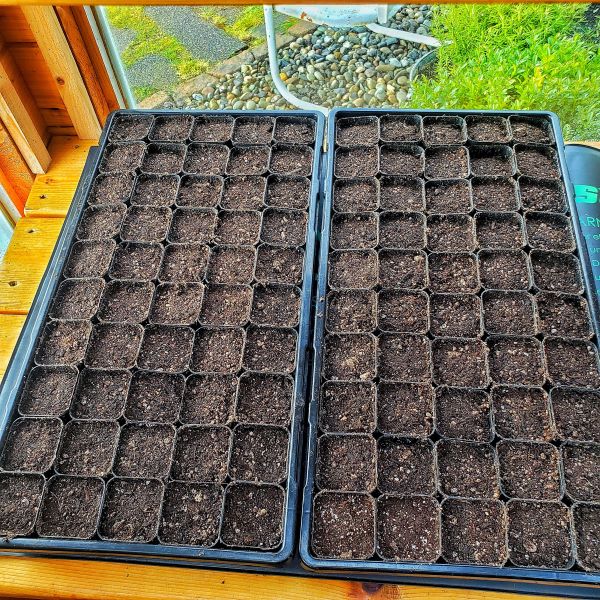
Fill containers to the top with seed-starting mix, then gently tap them on a table or shelf to settle the soil and remove air pockets. This helps create consistent moisture throughout the container.
Once filled, you’re ready to sow your seeds.
Sow Seeds at the Proper Depth
Most seed packets include planting depth instructions, which always make it easier for me when I sow my seeds. A good general rule is to plant seeds about twice as deep as their size.
Place one to two seeds per cell, then lightly cover them with seed-starting mix or vermiculite. Some seeds require light to germinate, so be sure to check the packet to see which seeds should not be covered.
Use One Variety Per Tray

It’s best to plant only one type of flower per tray or container. Germination rates and growth speeds vary, and mixing varieties can make it harder to manage watering, lighting, and height differences under grow lights. I made the mistake of combining seeds in one 72-cell tray when I was new to seed-starting, and it didn’t go well.
Label trays immediately after planting. Seedlings look surprisingly similar at first, and it’s very easy to forget what’s what.
Water From the Bottom

After sowing, avoid watering from above. Top watering can displace seeds and cause uneven germination.
Instead, place containers in a tray with about an inch of water and allow them to absorb moisture from the bottom. Check the soil surface every 10 minutes and remove excess once the soil is evenly moist. Continue bottom watering until seedlings develop their first true leaves.
Provide Warmth for Germination
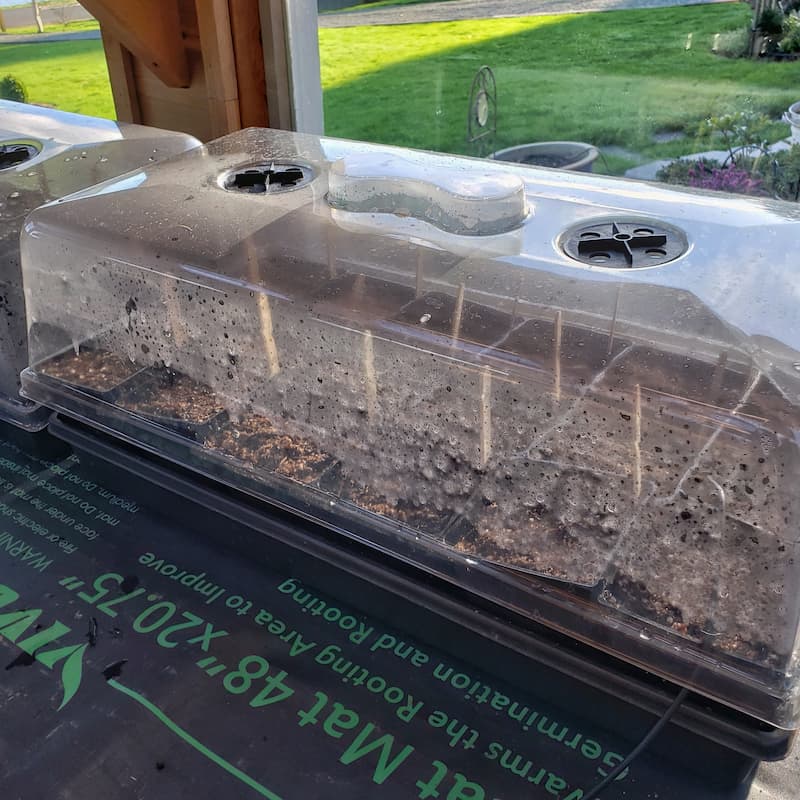
Seeds germinate best in warm, moist conditions. A heat mat set between 65-75°F can significantly improve germination rates, especially in cooler spaces.
Once seeds sprout, remove the heat mat and any humidity covers. Continued heat can cause seedlings to grow too quickly, making them weak.
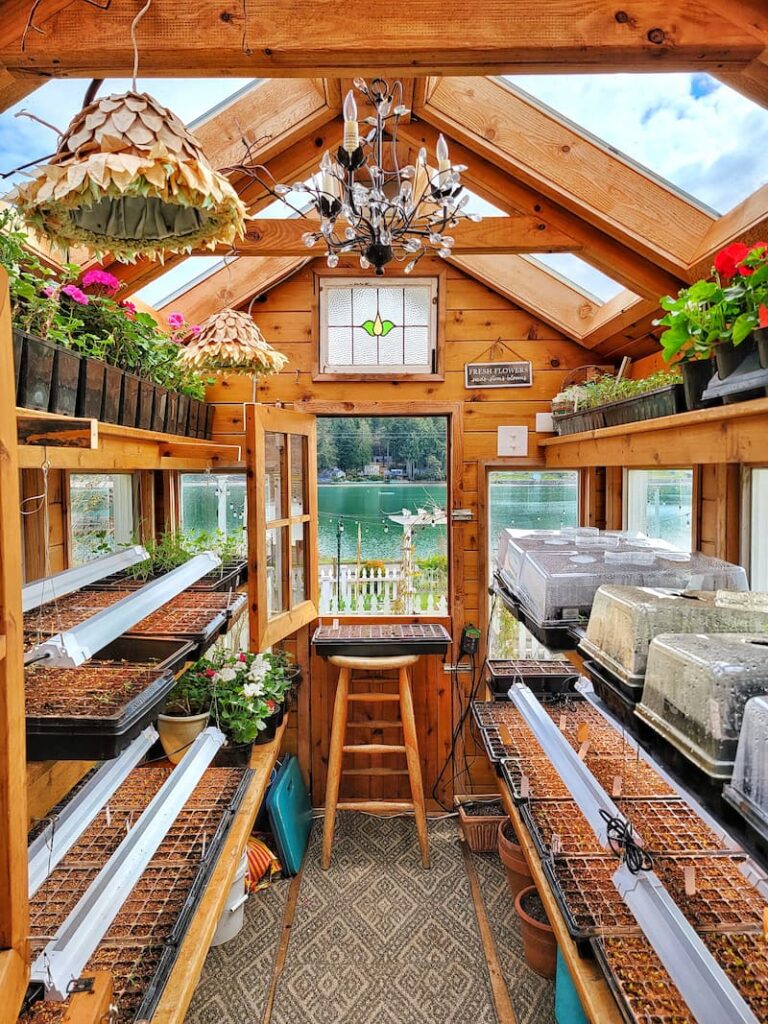
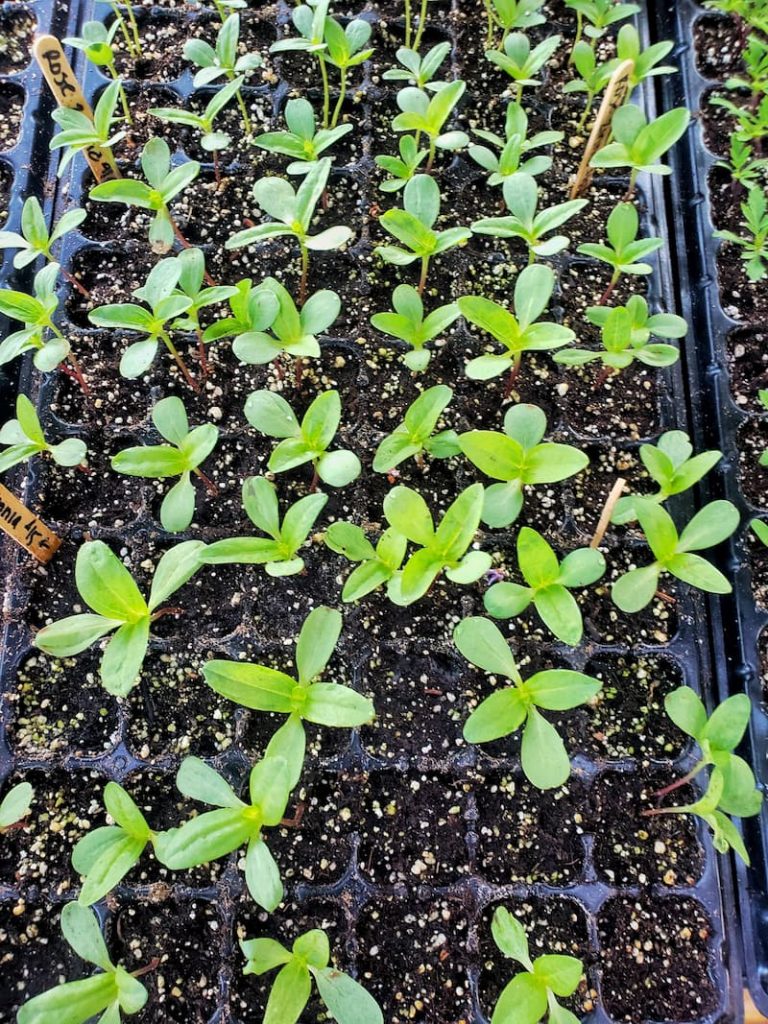
Give Seedlings Plenty of Light
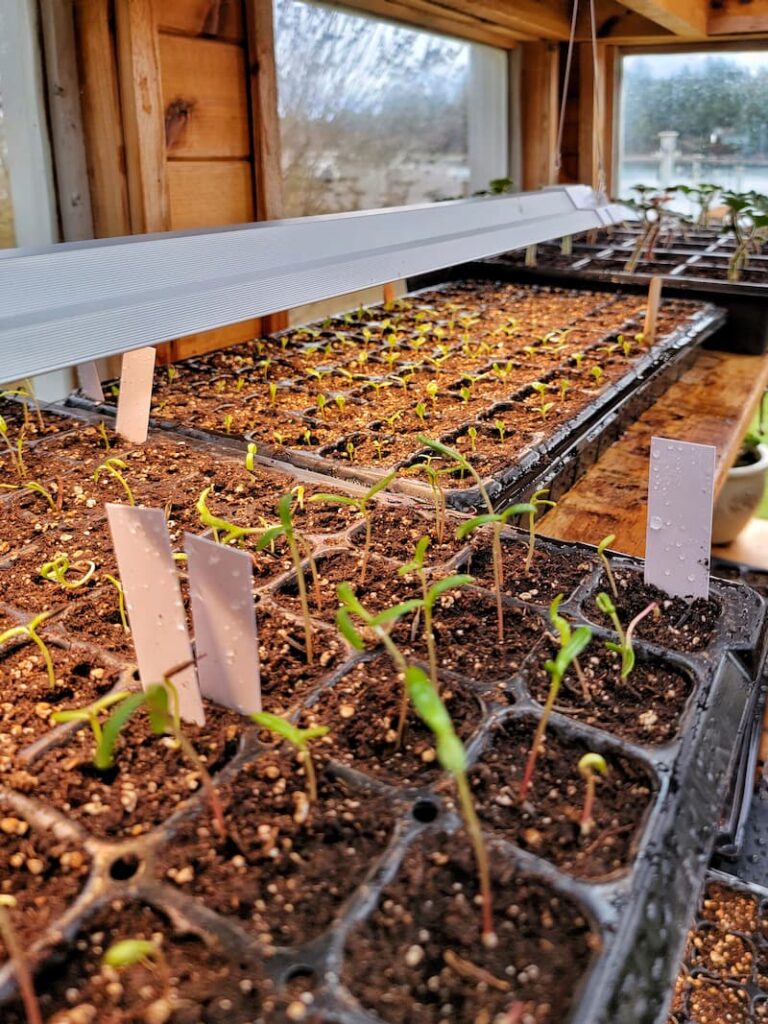
Seedlings need bright light for 12-16 hours per day to grow strong stems. Without enough light, they’ll stretch and become leggy.
If using grow lights, keep them postioned anout 2-3 inches above the tops of the seedlings and adjust them as the plants grow.
Encourage Air Circulation
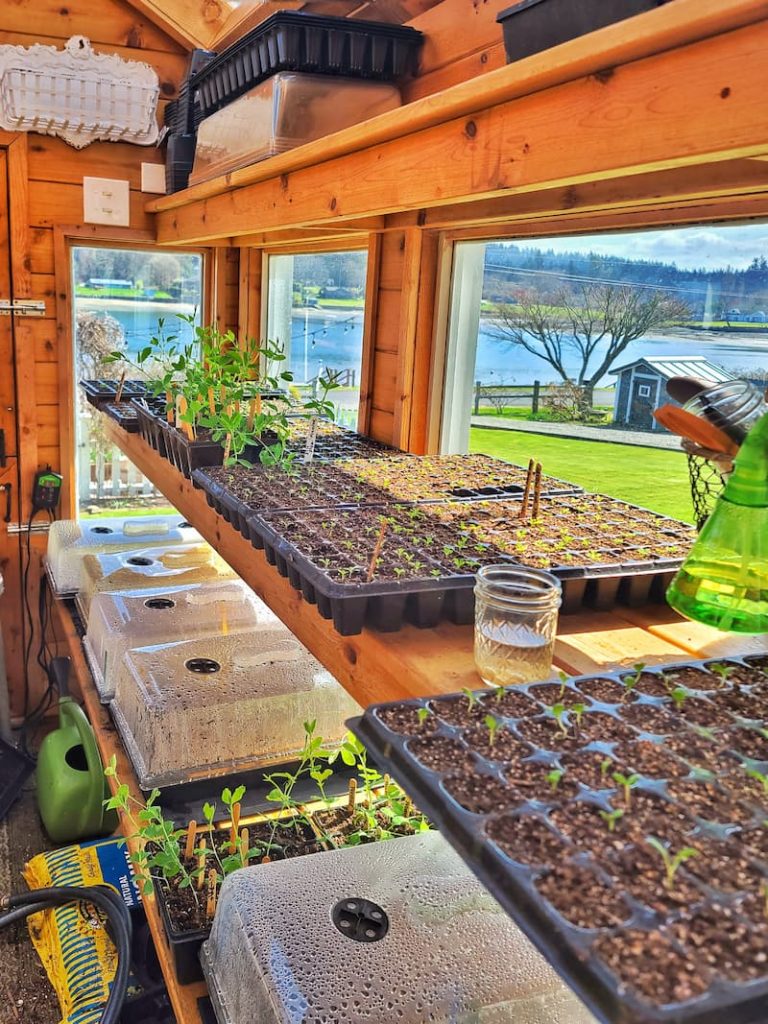
Gentle airflow helps seedlings develop stronger stems and reduces the risk of disease. A small fan running nearby, set on low and not blowing directly on plants, can make a big difference.
Good air circulation is especially important in greenhouses or enclosed spaces.
Feed Seedlings as They Grow

Once seedlings have several sets of true leaves, they’ll benefit from gentle feeding. I use a diluted liquid seaweed and fish emulsion blend and feed weekly according to the product instructions.
This gives young plants the nutrients they need without overwhelming them.
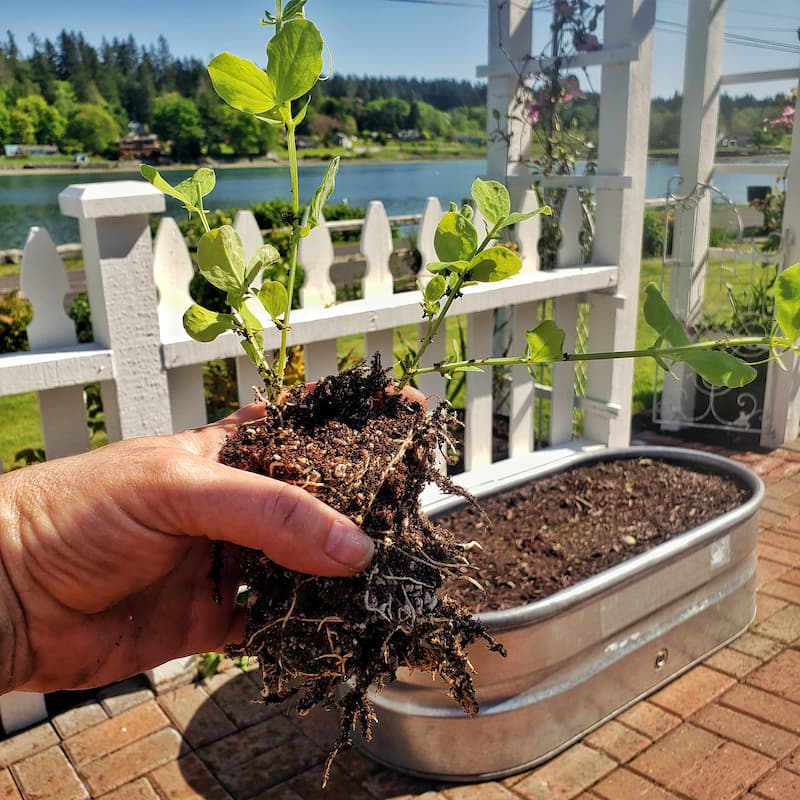
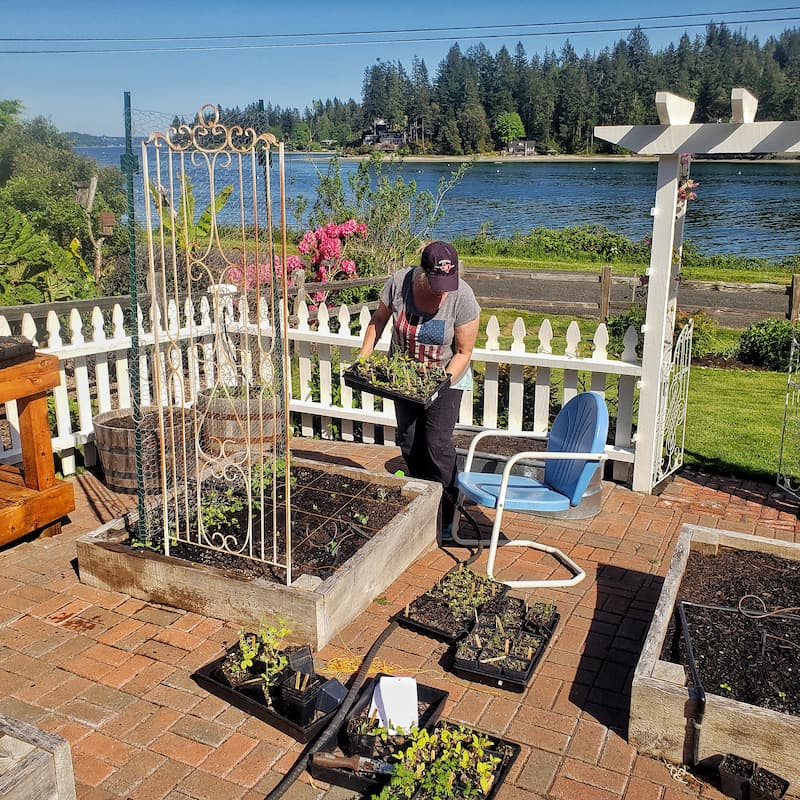
Transplant When Necessary
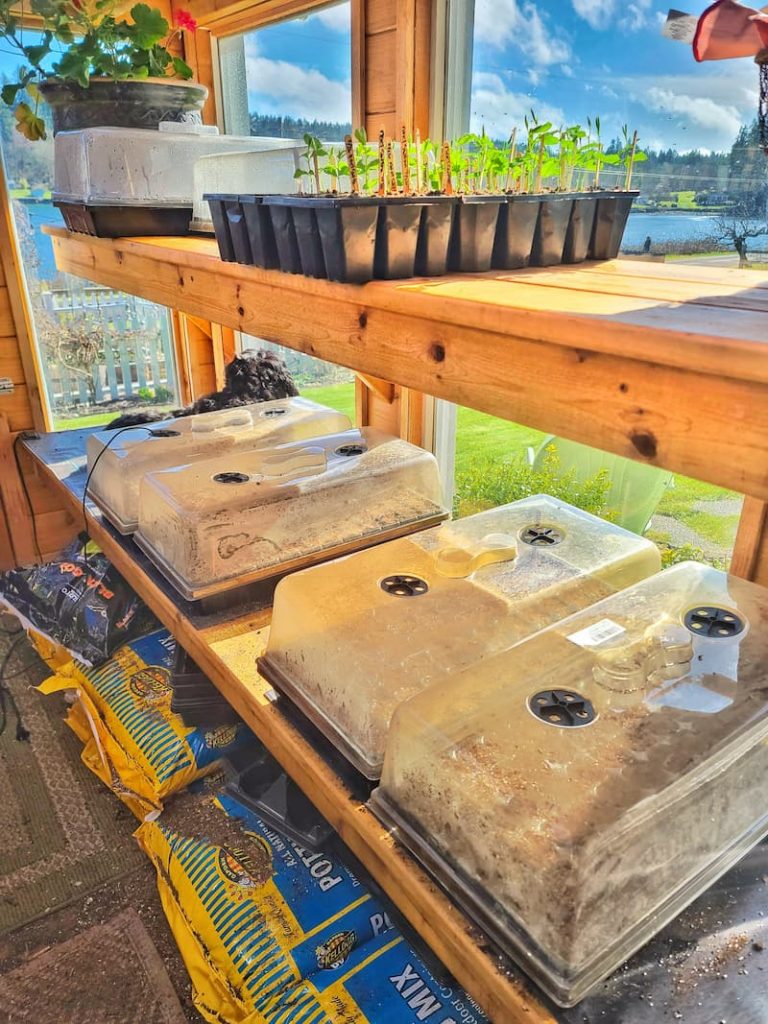
If seedlings outgrow their containers before it’s time to plant outdoors, transplant them into larger pots to give roots more space. Healthy root systems lead to healthier plants in the garden.
Don’t Skip Hardening Off
Before transplanting seedlings into the garden, they need to adjust to outdoor conditions. This process, called hardening off, helps prevent shock.
Start by placing seedlings outside in a sheltered spot for a few hours each day, gradually increasing exposure over one to two weeks. I usually begin with two to three hours on the first day.
Direct Sow Hardy Annuals When Needed
Some hardy annuals prefer to be sown directly in the garden rather than transplanted. Always follow seed packet instructions for direct sowing, especially when frost tolerance is involved.
For certain cold-tolerant seeds, chilling seeds in the refrigerator or freezer for a short time before sowing can help improve germination.
Garden Supplies and Tools
Check out my favorite garden supplies and tools for the growing season. Whether you’re looking for potting soil or deer repellent, you’ll find what I use in my own garden.
Store Leftover Seeds Properly
If you have leftover seeds, store them in a cool, dark, dry place. Most flower seeds remain viable for up to two years, though germination rates may decline over time.
Plan Your Cut Flower Garden Layout
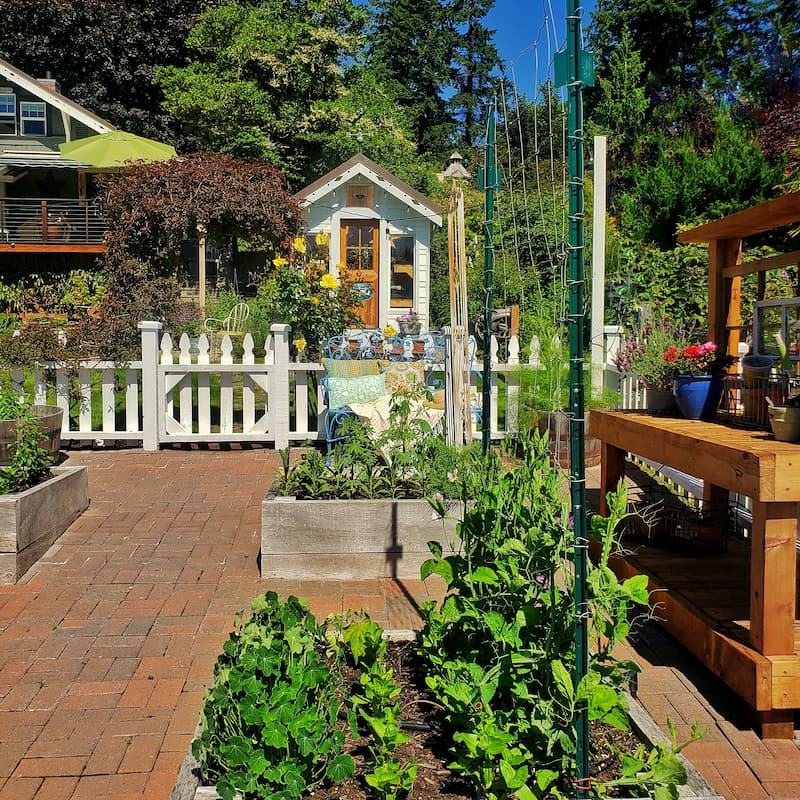
Before buying seeds, plan your garden layout to determine how much space you have available. This helps prevent overcrowding and makes seed selection much easier.
I share more details on planning a cut flower garden in a separate post if you’d like to dive deeper.
Final Thoughts on Growing Cut Flowers from Seed
Growing cut flowers from seed can feel a little intimidating at first, and honestly, it still makes me nervous sometimes. But that’s part of the process. Seed starting is as much about learning and experimenting as it is about growing flowers, and every season teaches you something new.
You don’t need a perfect setup or years of experience to get started. With a few basic supplies, some patience, and a willingness to learn as you go, you can grow strong, healthy plants and enjoy armfuls of beautiful, homegrown blooms throughout the season.
Mistakes will happen (they always do), but that’s how confidence grows, right alongside your seedlings. Celebrate the small wins, learn from what doesn’t work, and don’t forget to enjoy the process. There’s nothing quite like cutting flowers you grew from seed and bringing them inside to enjoy.
If you found this post helpful, feel free to share it with a fellow gardener who’s considering growing cut flowers from seed this year. And as always, I’d love to hear your questions or seed-starting stories in the comments below.
Until next time,
Happy Gardening!
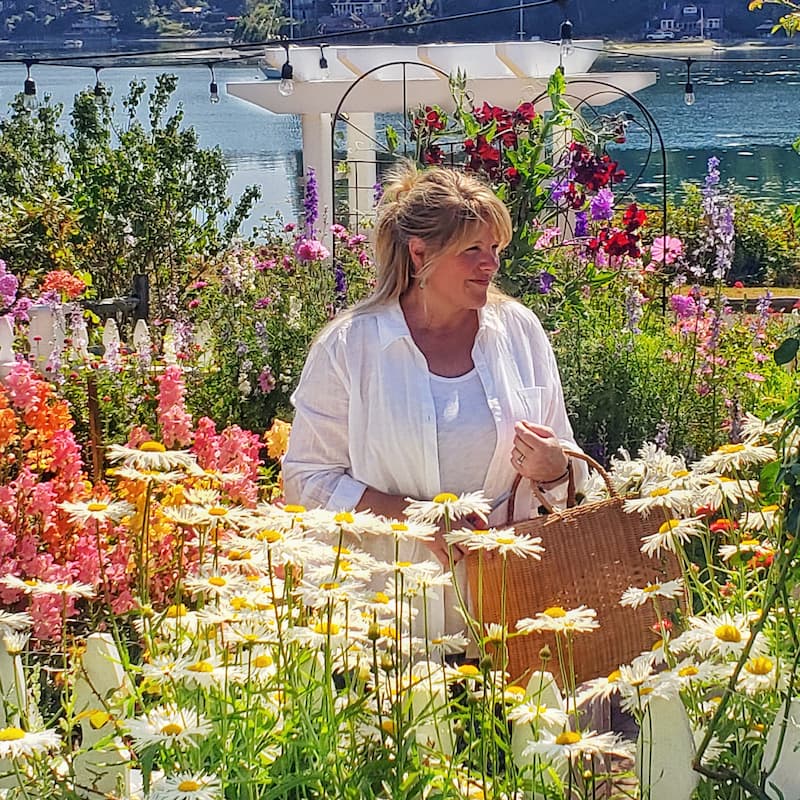
I’m a self-taught hobby gardener. Everything I share on my blog is my opinion and what has worked for me.
MORE POSTS
For You To Enjoy
Follow Me for More Inspiration


Kim,
I can’t wait to get my seeds and study this tutorial even more. I’m sharing this on my Dirt Road Adventures this week.
Oh thank you Rachel! I really appreciate that. We’re going to have so much fun!
This is great Kim! Although I’ve been gardening for 20 years (strange since I’m barely 30) this is the first year I’m going to tackle growing flowers from seed. I added a few of your suggestions to my cart.
I’m so excited you’re going to be growing flowers from seed this year. Yay!
Love love love this first one with the seed starting basics! Although I’m in a different hardiness zone than you it will be really fun to do this together! I’m looking forward to seeing your garden this year! I can’t wait to start sowing my seeds!
I’m feeling the same way Stacy! Can’t wait to get my hands dirty!