
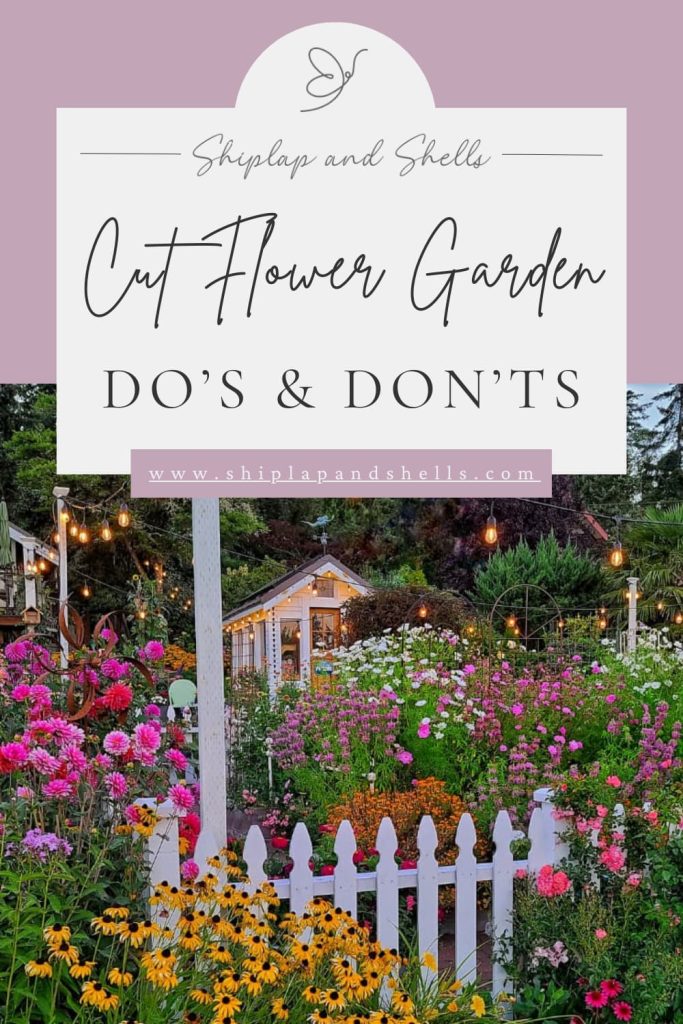
Cut Flower Garden Dos and Don’ts for Beginners
Have you ever dreamed of growing a beautiful cutting garden but aren’t quite sure where to start? Whether you’re a beginner or just looking for a smoother experience, these cut flower garden ‘dos and don’ts’ will help you avoid common mistakes and set you up for success!
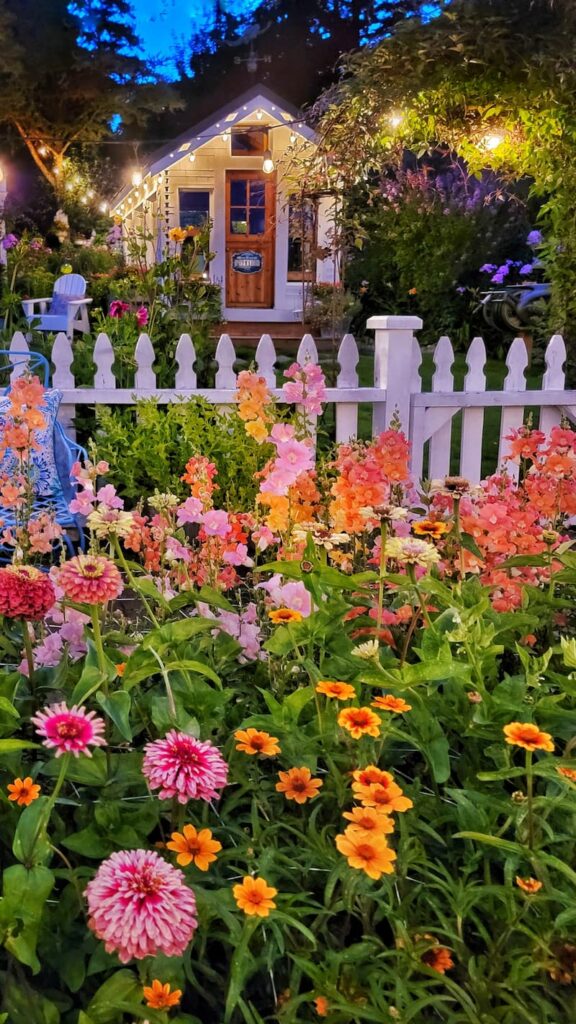
There’s nothing quite like stepping into your garden on a warm summer morning, clippers in hand, and gathering a fresh bouquet of homegrown flowers. It’s one of the simplest joys and the best kind of garden therapy.
Over the years, I’ve learned a lot (sometimes the hard way) about what works and what doesn’t when it comes to growing a thriving cut flower garden. In this post, I’ll share the best tips, biggest lessons, and a few mistakes to help you skip the trial-and-error phase and jump straight into the season filled with beautiful blooms. Let’s get started!
As an Amazon affiliate, I earn a commission from qualifying purchases at no additional cost to you. My blog also features other affiliate links for your convenience. Click here to read my privacy policy.
What is a Cut Flower Garden?
Growing flowers for harvest is a whole different approach from a traditional landscaped garden.
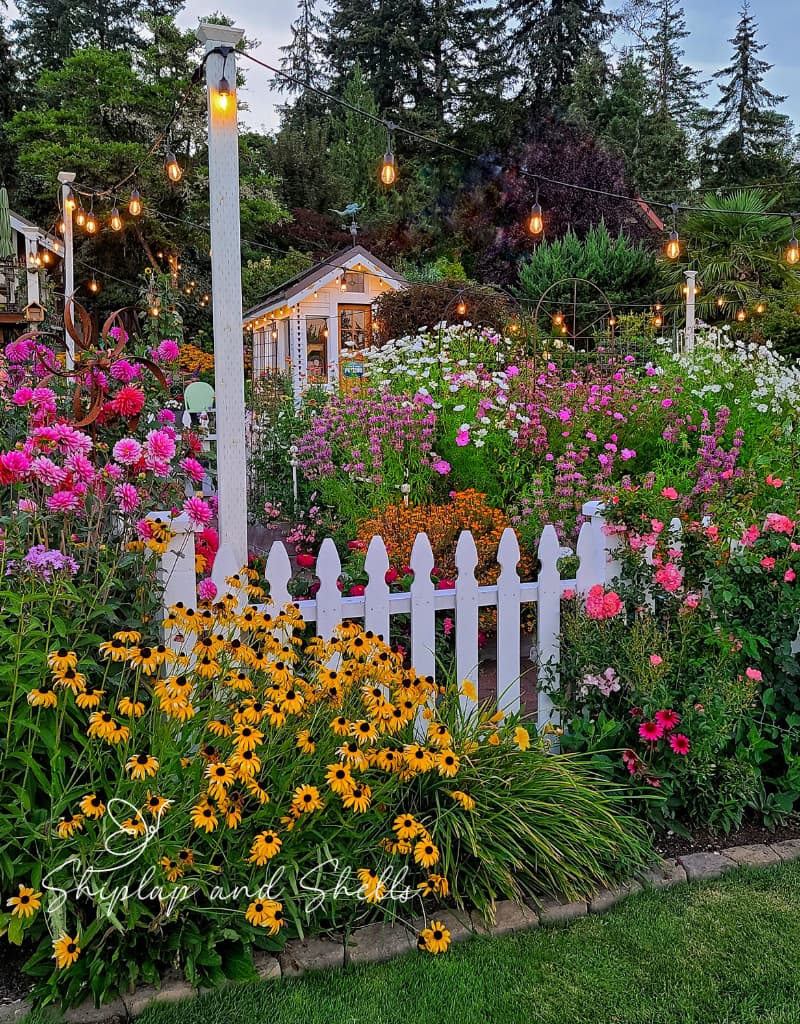
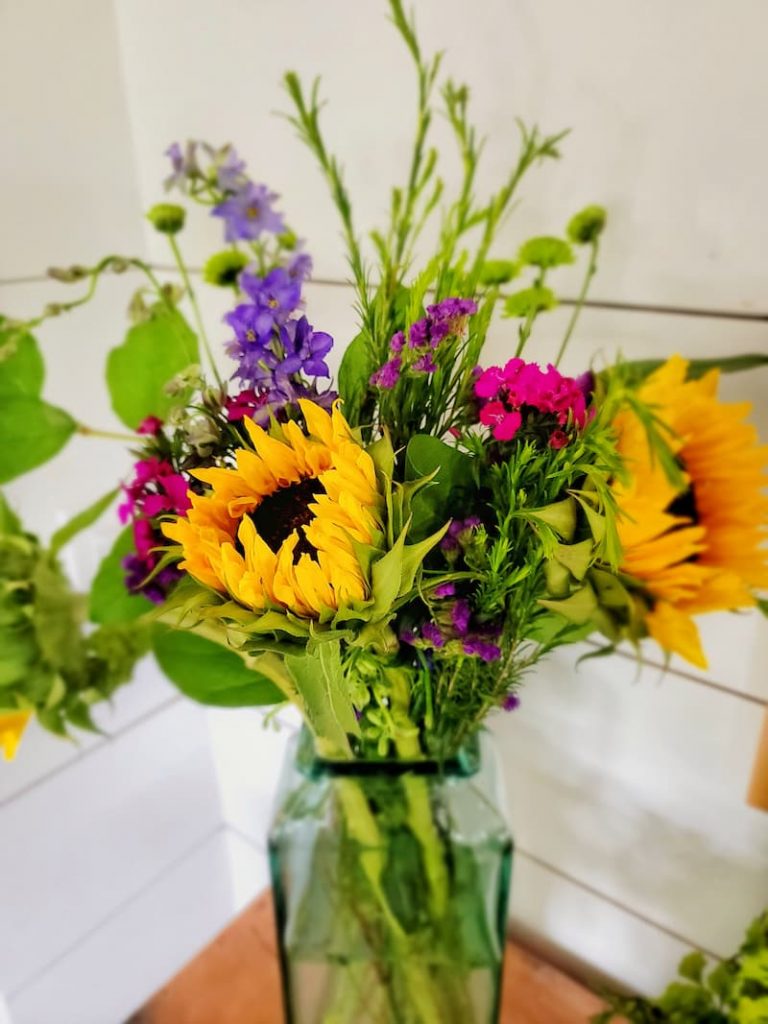
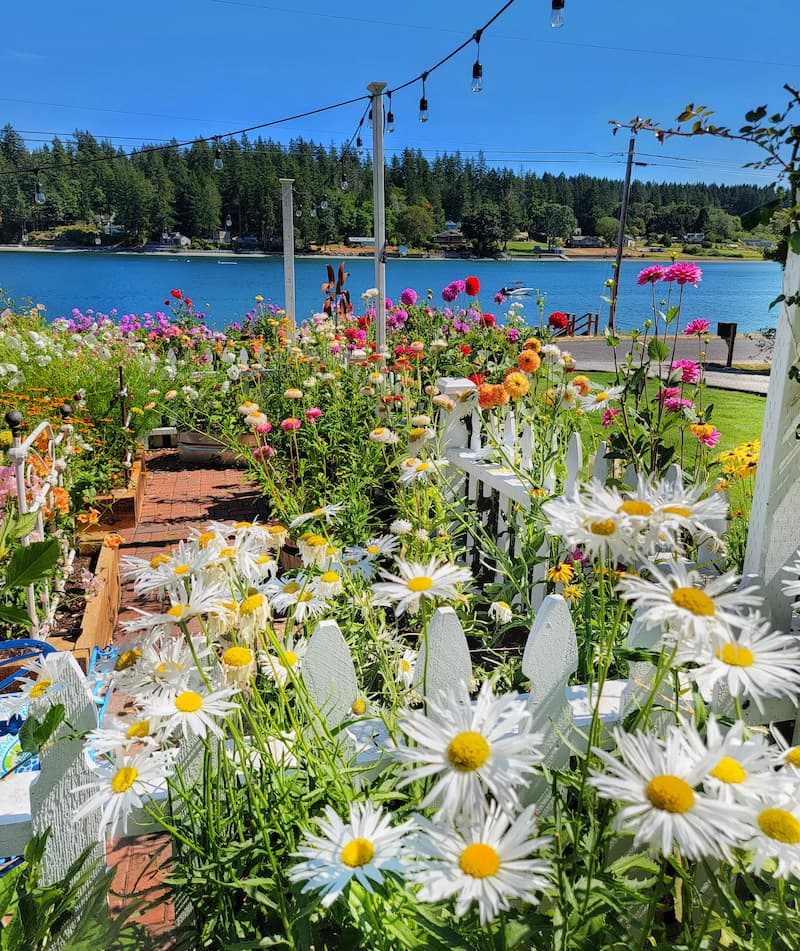
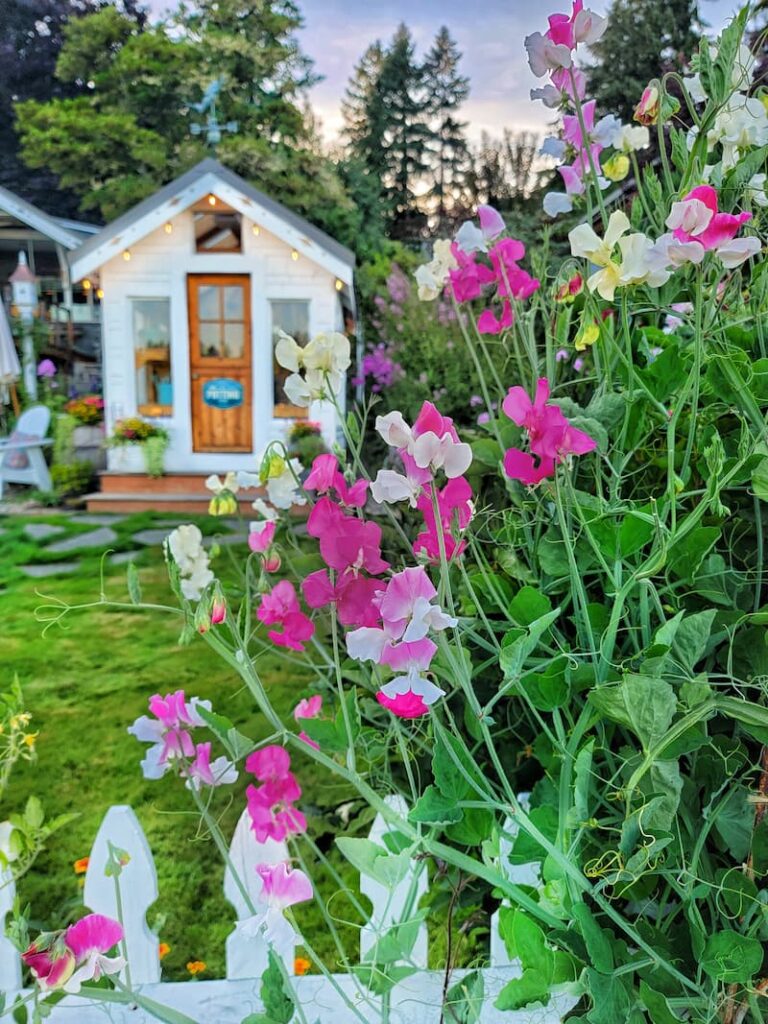
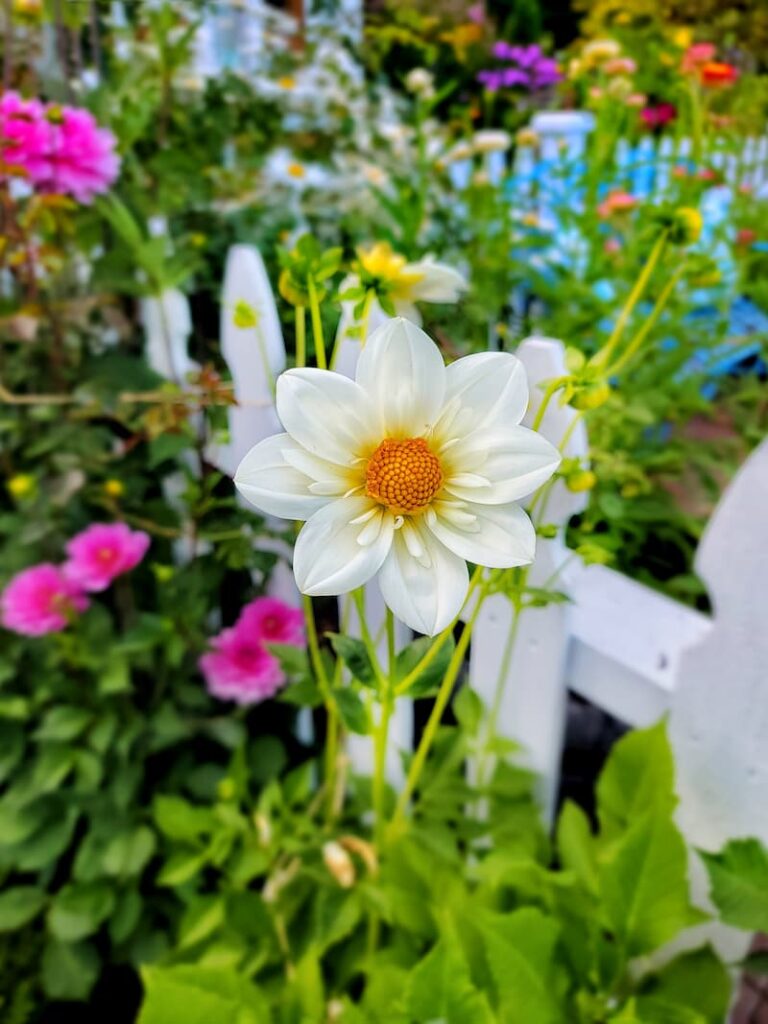
A cut flower garden is designed specifically for growing flowers you can snip and bring indoors for fresh arrangements and bouquets.
The focus isn’t just on aesthetics in the garden but on creating a steady supply of blooms throughout the growing season. This means considering factors like size, color, and bloom time when selecting flower varieties.
I hesitated every time I cut flowers from the yard. My garden just didn’t look the same afterward. Instead of fully enjoying the beautiful blooms I’d worked so hard to grow, I often left them outside to keep my flowerbeds looking full.
That’s when I decided to create a dedicated cut flower garden. Now, I get the best of both worlds: my landscaped garden remains vibrant and full of pollinator-friendly flowers, while my cutting garden provides an endless supply of blooms I can harvest whenever I want.
Now that’s what I call a win-win!
A Quick note about my garden
Most of the flowers I share here are grown from seed in our greenhouse and planted in raised beds and containers throughout our cottage garden.
Benefits of Growing a Cut Flower Garden
There’s just something truly special about stepping outside and gathering a fresh bouquet straight from your garden. But beyond the simple joy of having homegrown flowers, a cut flower garden has plenty of benefits:
Cut Flower Garden Dos and Don’ts
When to Plant Cut Flowers
DO know the average last frost date for your area. This will give you an idea of when it’s safe to plant your seeds and transplant your seedlings.
To be safe, I harden my seedlings right after our last frost date and transplant them into the garden a few weeks later.
When growing cut flowers from seed, follow the directions on the back of the seed packet, which list when to sow them based on your last frost date.
Practice Succession Planting
DO use succession planting to avoid sowing an entire packet of seeds at once.
Succession sowing is when you stagger your plantings over several weeks to help extend your blooms throughout the season.
This way, you won’t have more flowers than you can handle at once, and you’ll always have new blooms ready to cut when needed.
Seed Starting Supplies
Check out my favorite supplies and tools for starting seeds indoors. Whether you’re looking for grow lights or a seed starting mix, you’ll find what I use in my own greenhouse.
Know Your Hardiness Zone
DO know your hardiness zone, which helps you decide which perennial plants will grow and survive in certain areas of North America, and the best time to plant seedlings outdoors.
Hardiness zones are determined by your area’s 30-year average last frost date. I live 60 miles southwest of Seattle, Washington, and am in Zone 8b.
Create a Cut Garden Plan
DON’T buy seeds without a garden plan.
It’s easy to go to a seed site and buy all the pretty flowers you want to see in a cutting garden. Unfortunately, this is one of those mistakes I tend to make year after year (sadly, I have no self-control).
Planning out your garden beds BEFORE you do your seed shopping gives you a more realistic picture of what will fit in your garden space.
I usually start planning in November or December to pick the best seed selection.
Choose Quality Cut Flower Seeds

DON’T use cheap seeds when starting a cut flower garden. Quality cut-flower garden seeds, free from pesticides and disease, will be one of your best investments.
Here are some seed sources that I’ve been very happy with in my own garden:
Pick the Best Cut Flowers to Grow
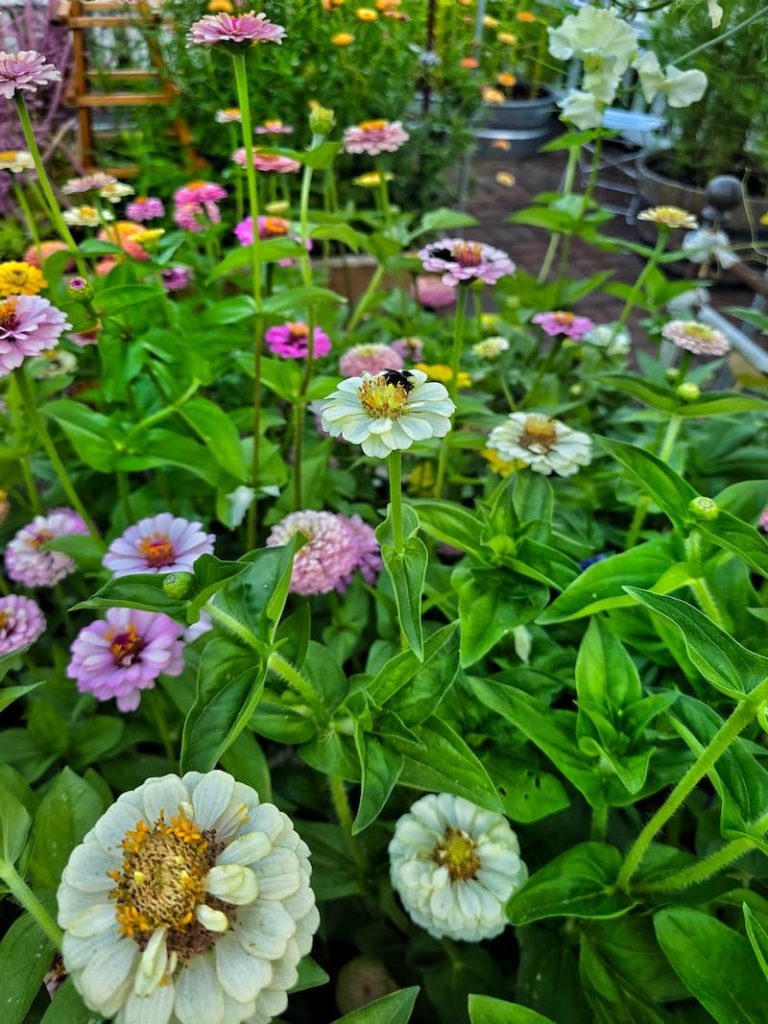
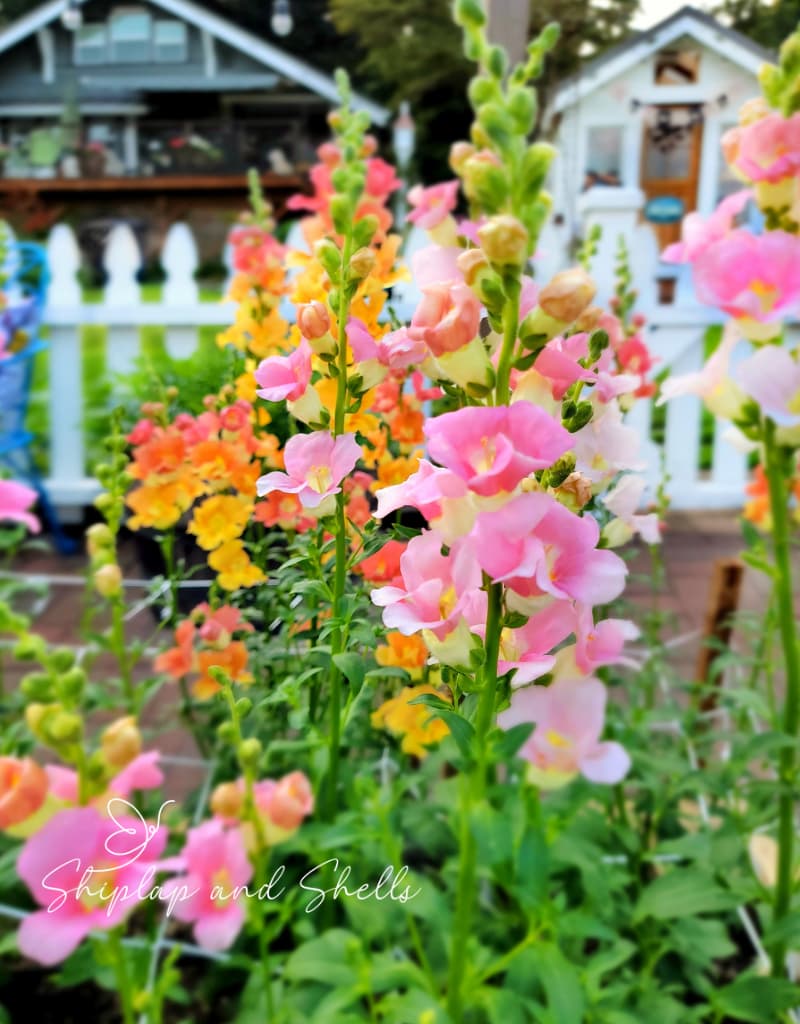
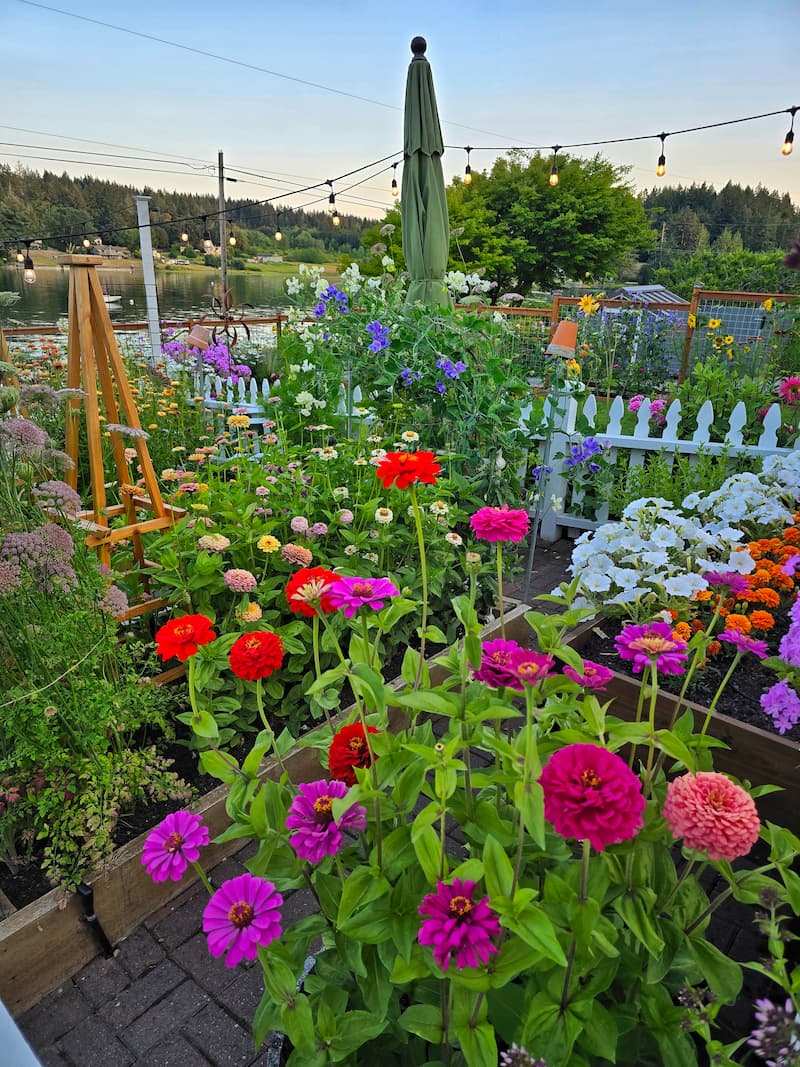
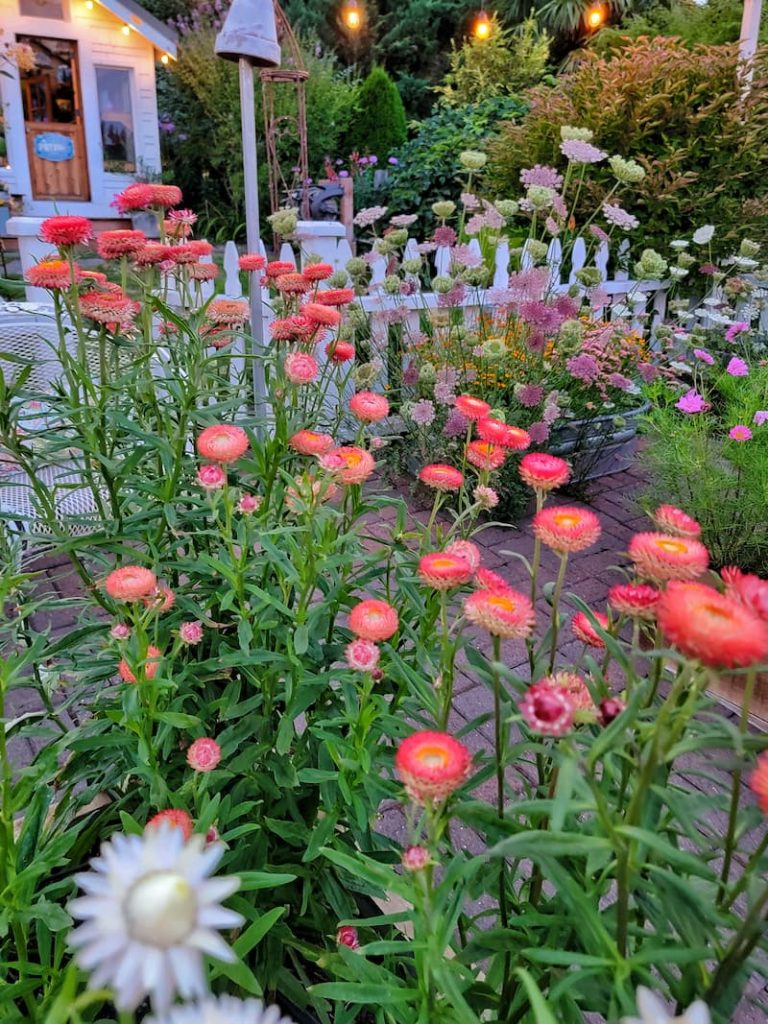
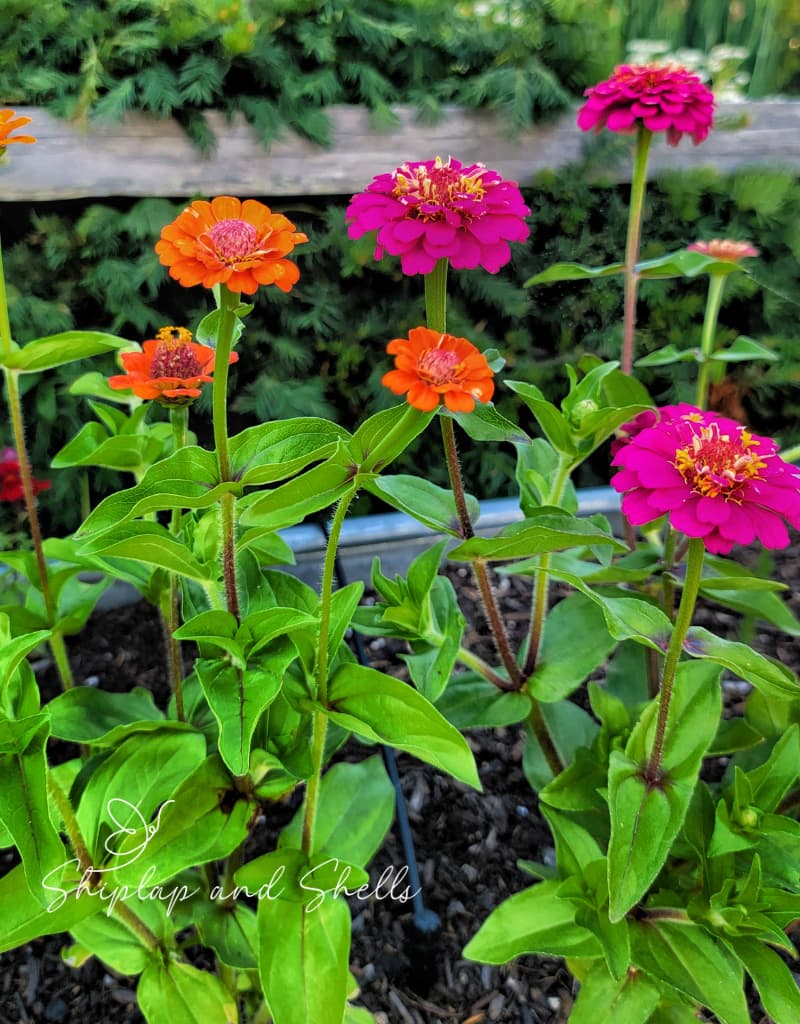
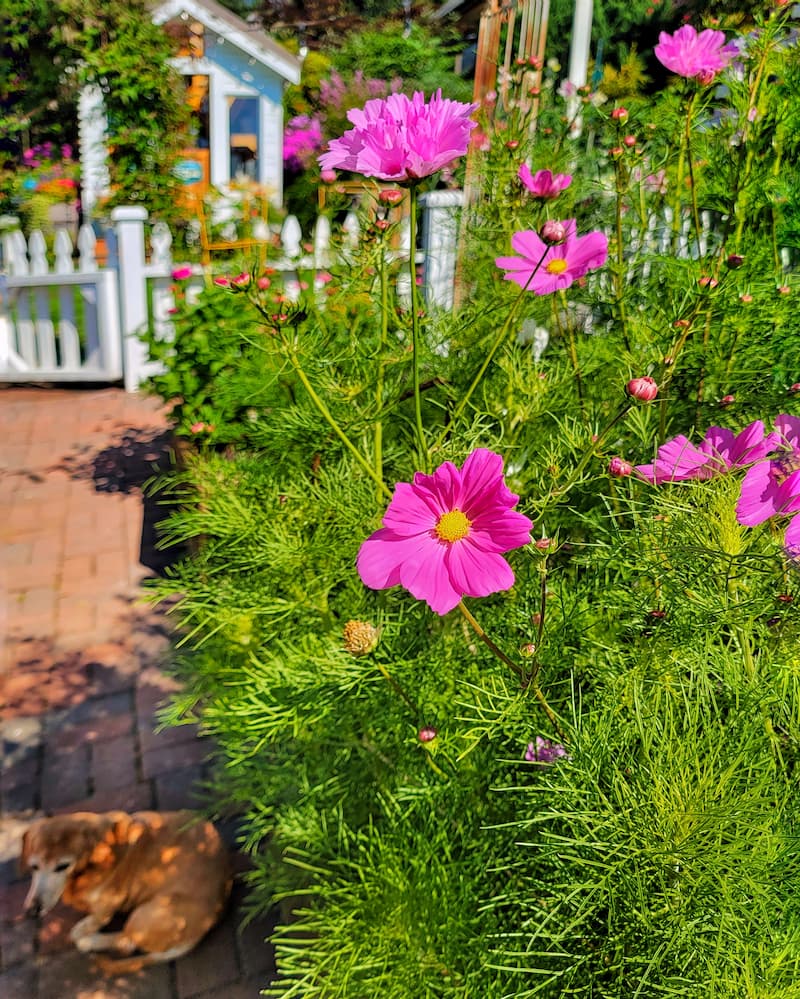
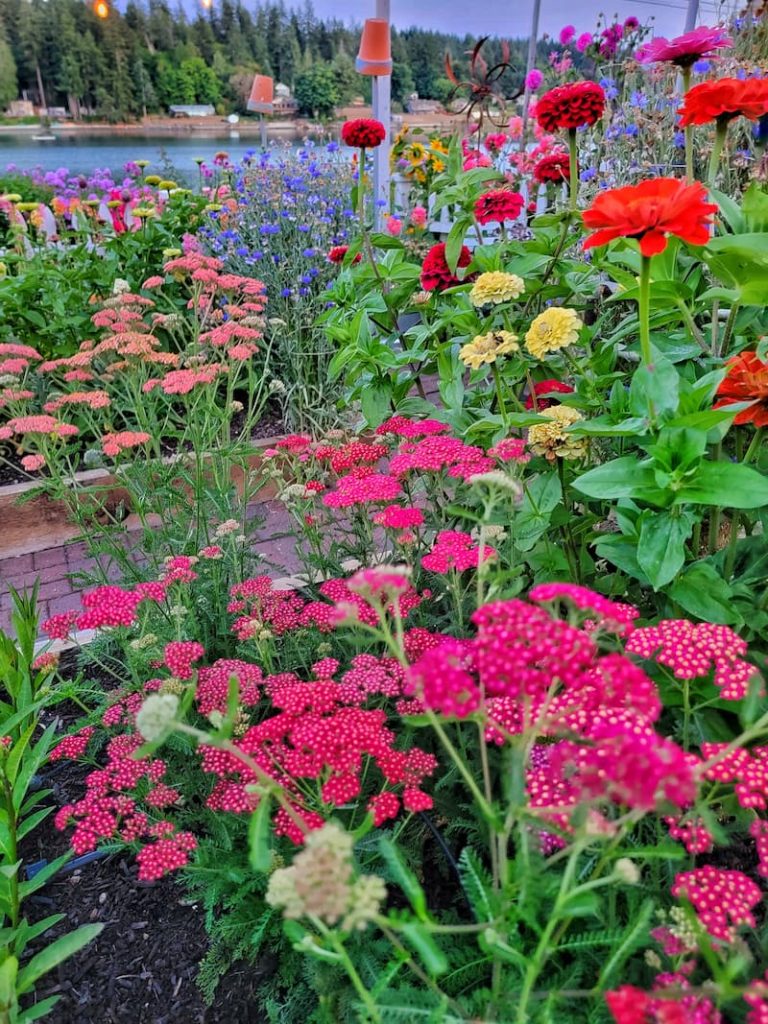
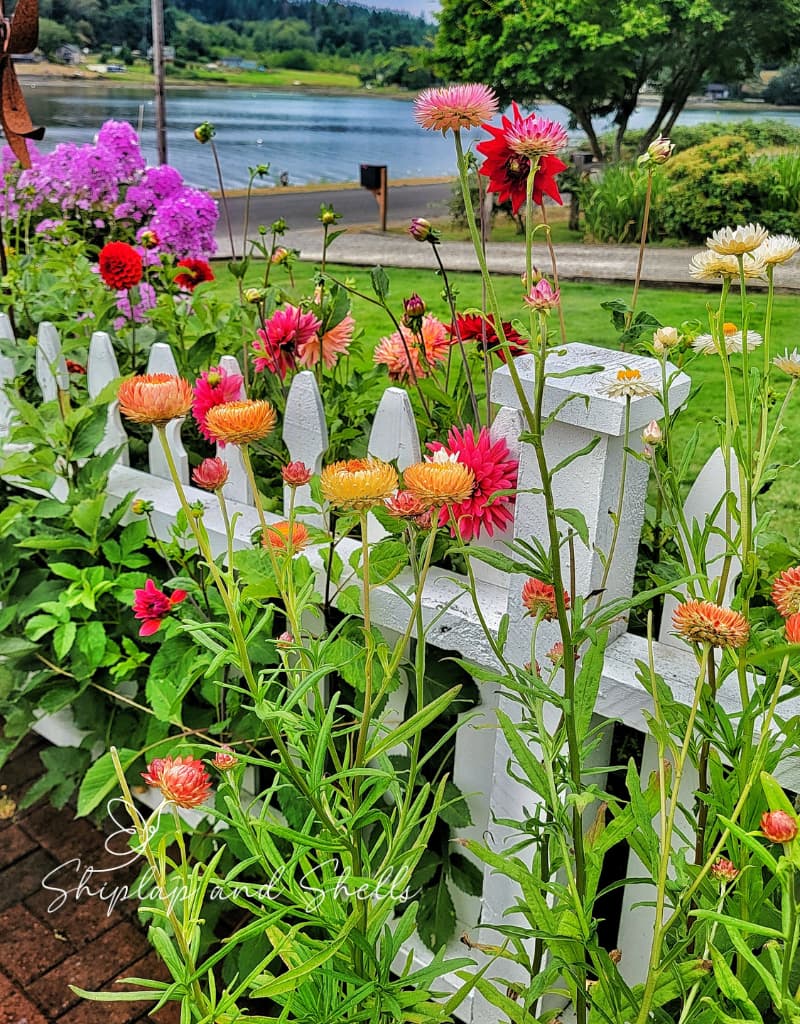
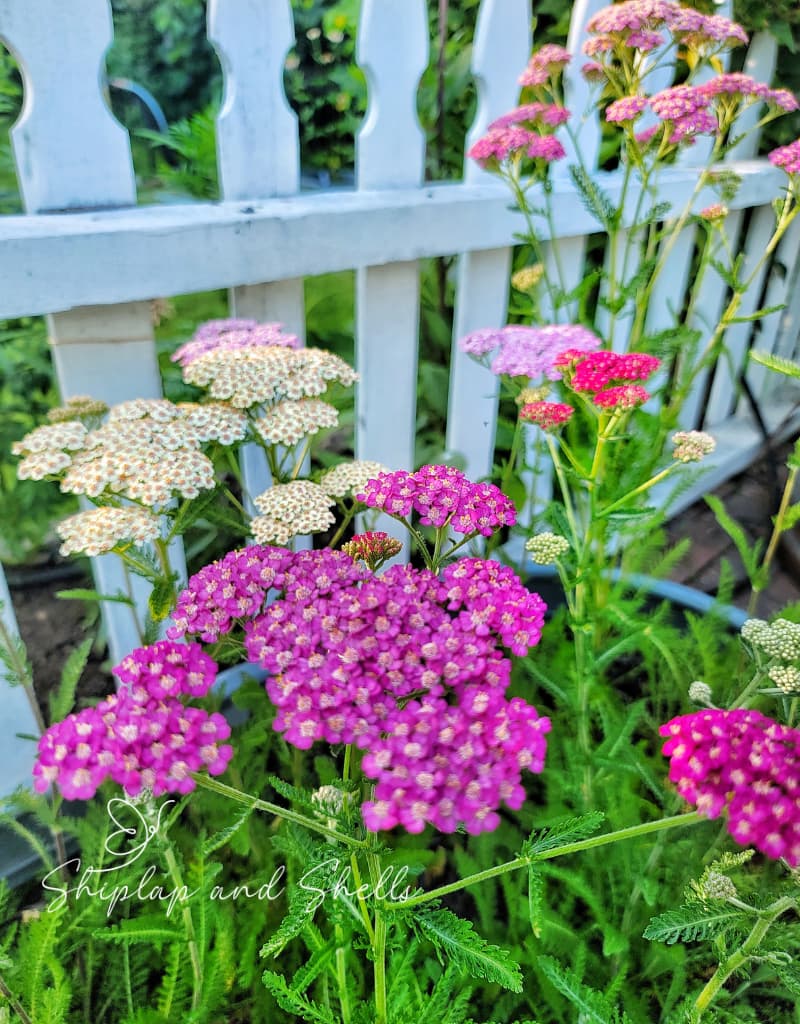
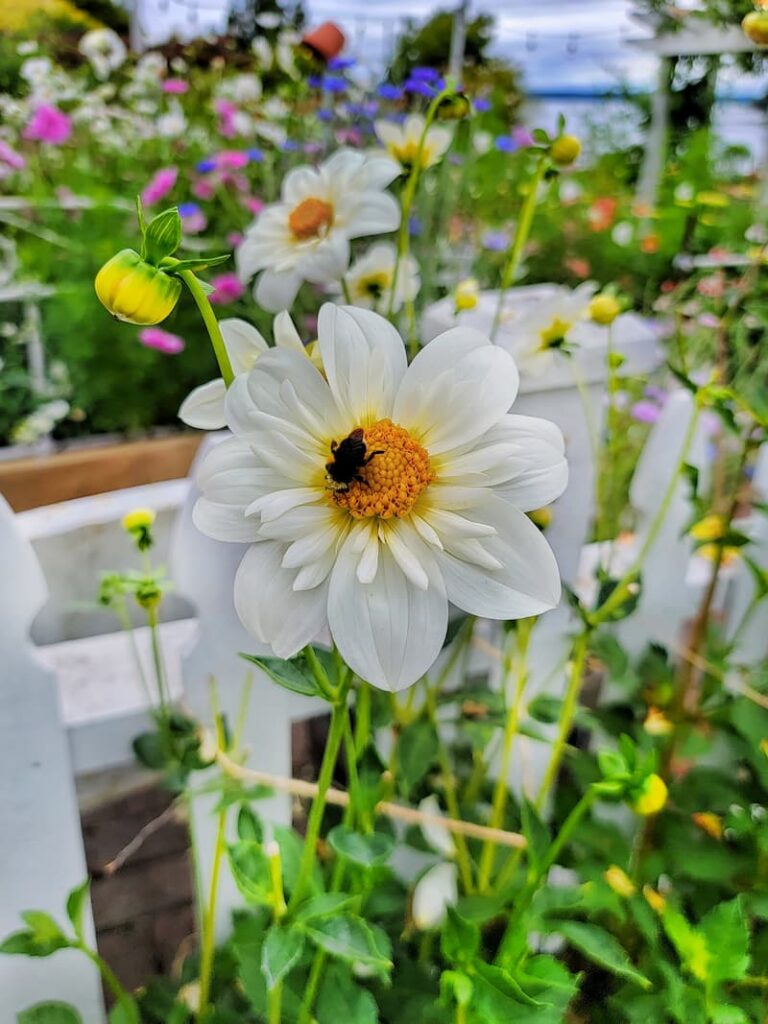
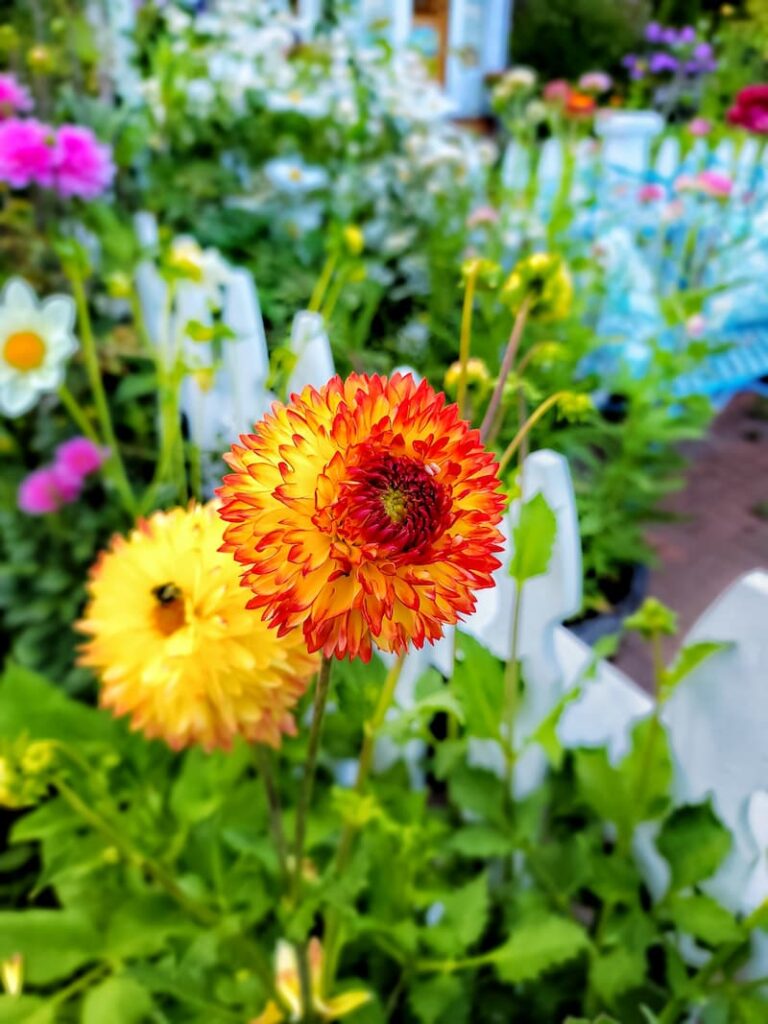
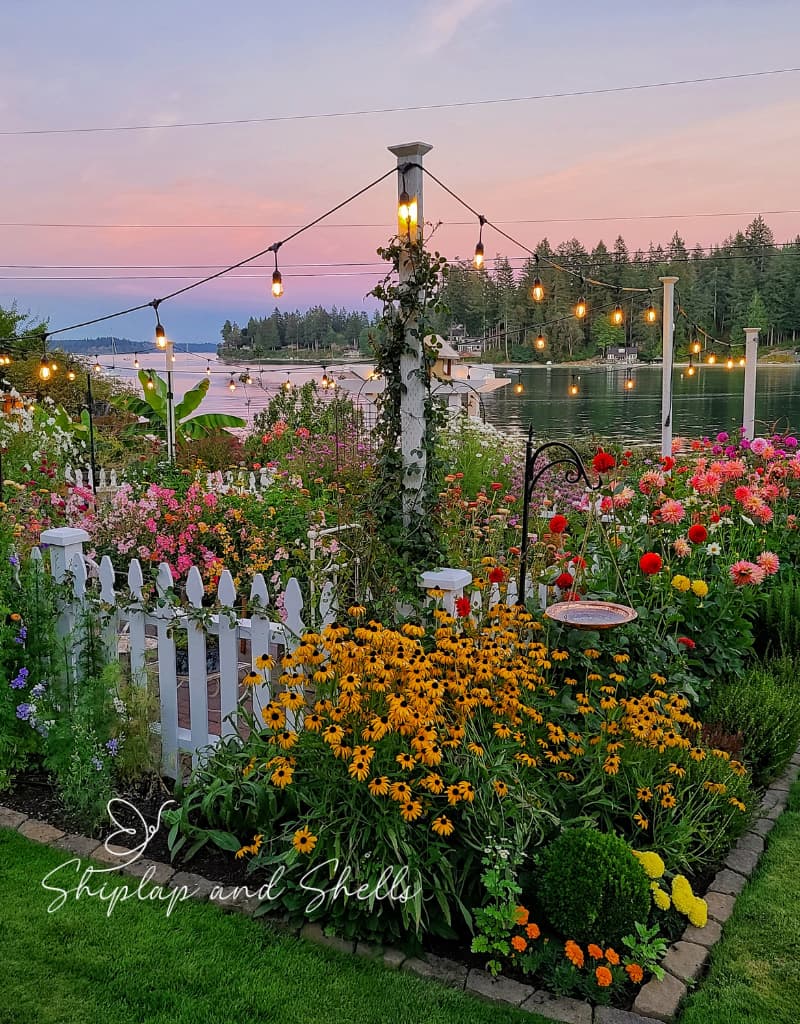
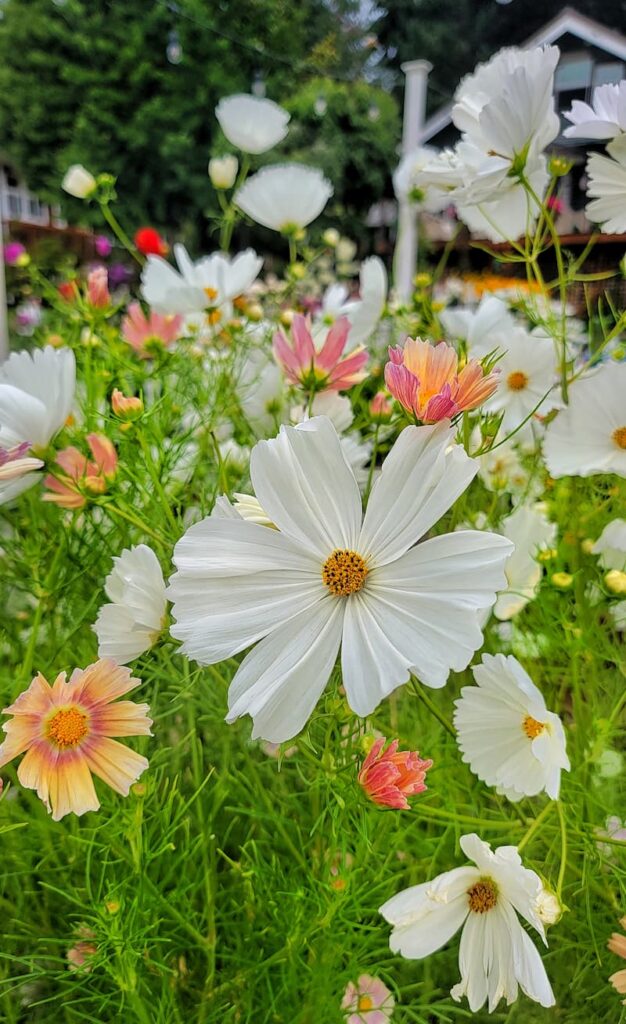
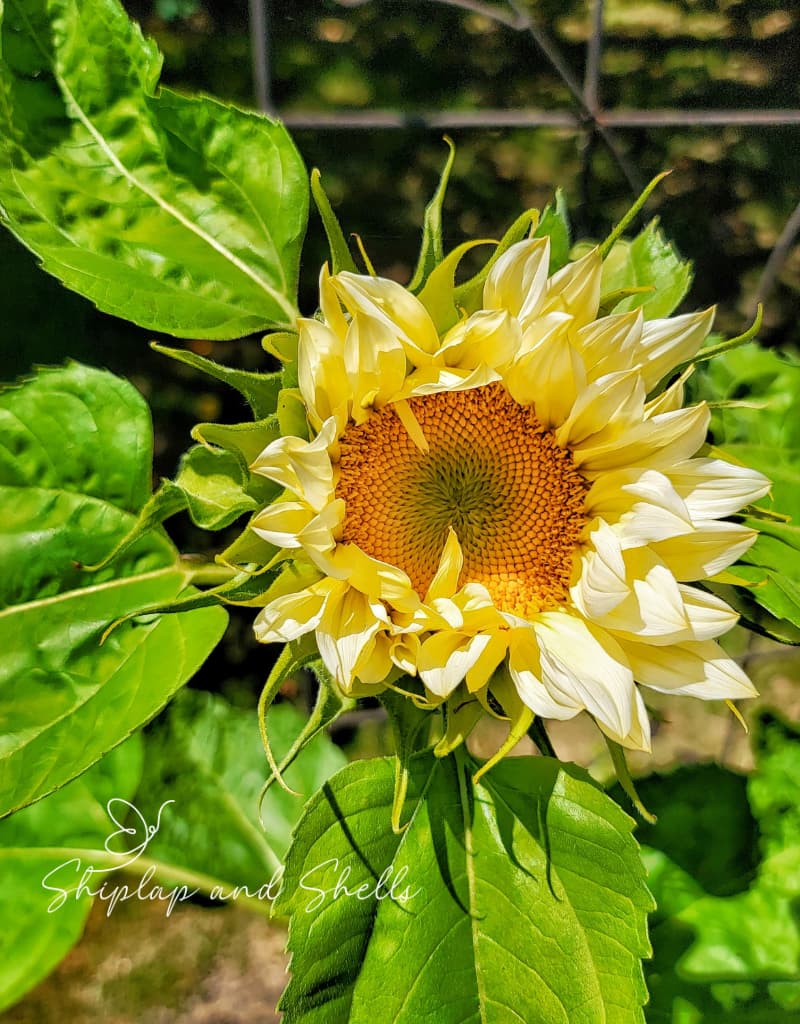
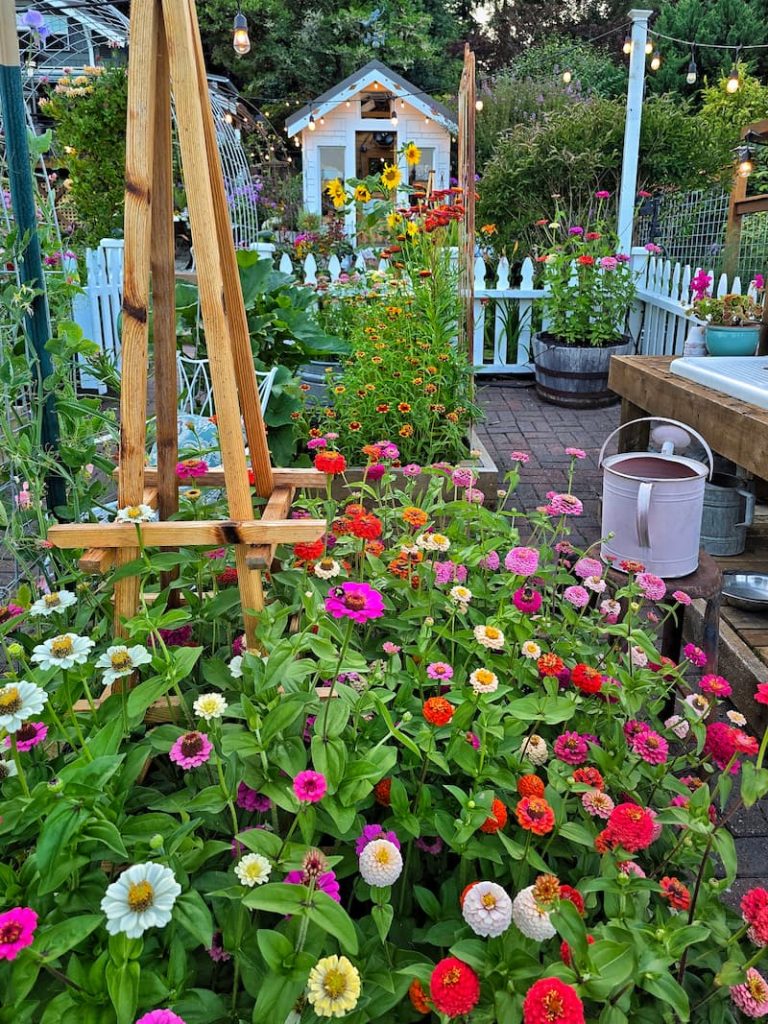
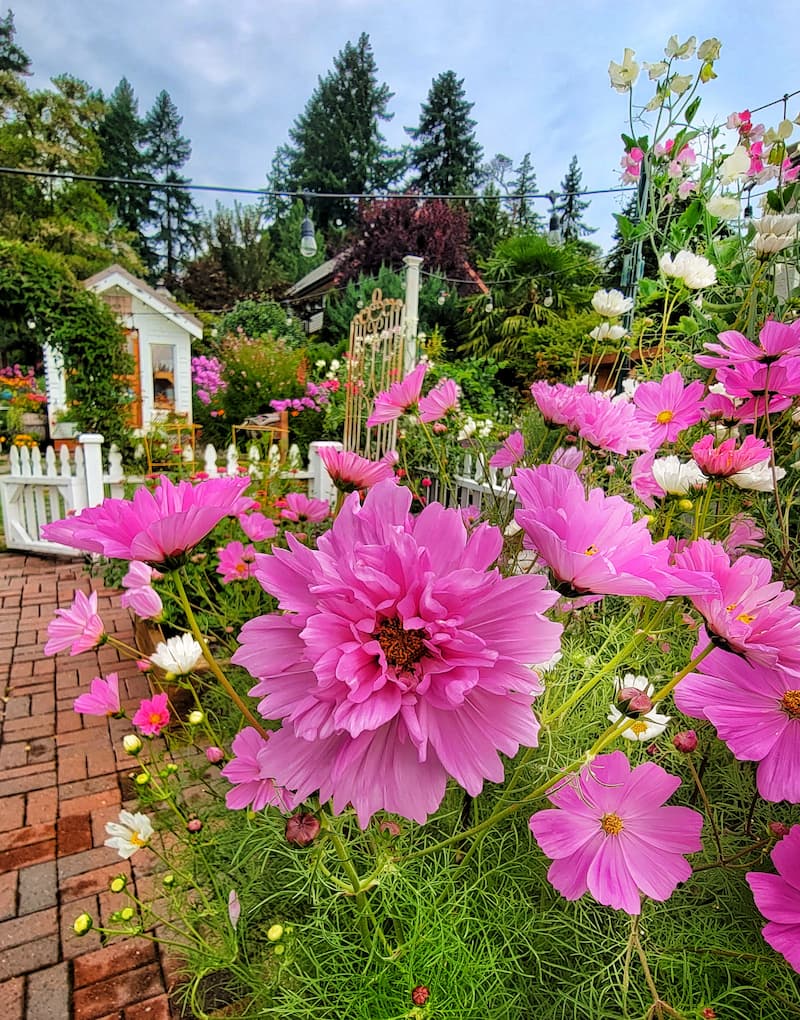
DO choose cut flower plants that produce for several months. Some examples from my garden are hydrangeas, zinnias, cosmos, strawflowers, and dahlias.
Many of my flowers are varieties that produce more blooms the more flowers you cut.
DO choose cut flowers with colors and shapes that coordinate in a vase.
Here are more posts with information about how to grow some of the cut flowers I have in my garden from seed indoors:
Read the Seed Packet Instructions
DON’T forget to read all the information on the seed packets.
DO read the seed packet again when it’s time to transplant the seedlings into the ground for spacing guidelines.
Label Every Single Seed Cell After Sowing
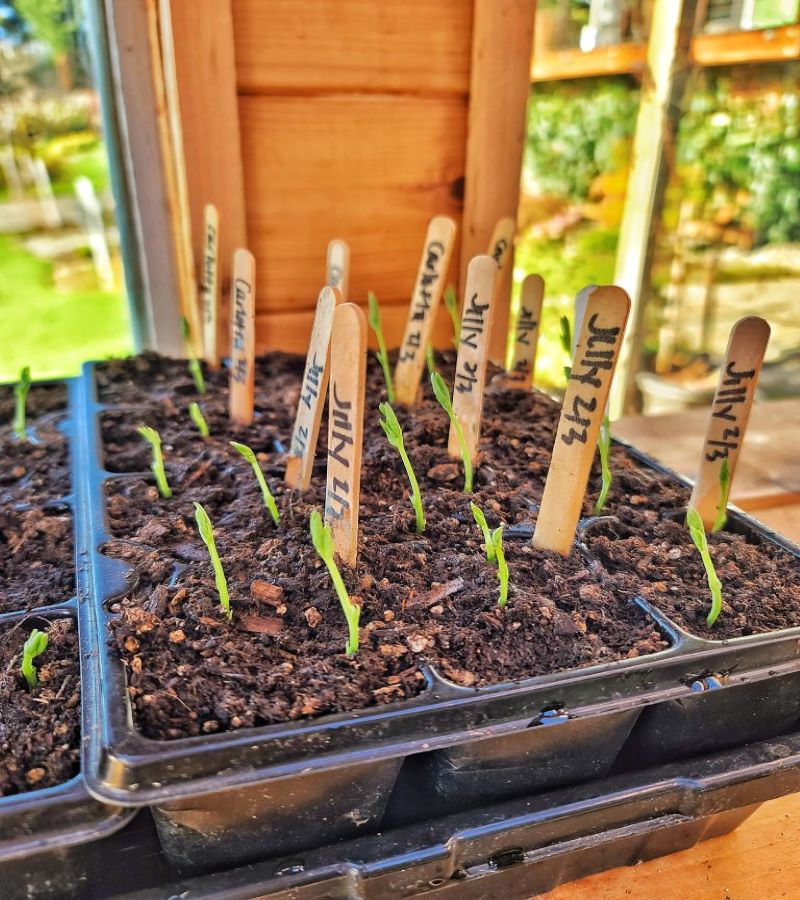
DO make it a habit of labeling your seed cells and pots immediately after sowing.
This year, I decided to save time and money by labeling one cell in each seedling tray for each seed variety. I didn’t realize the risk of losing those labels when the trays were being moved around so much.
Seed trays were consistently moved around the greenhouse and in and out for a week or two while hardening the plants off. I lost a couple of those labels and didn’t know which varieties of plants I was planting until I started seeing the first blooms more than a month later.
The lesson here is to label each cell or pot with the flower’s name and the date you sowed the seeds. The dates will come in handy for your succession planting.
Prepare Your Flower Garden Soil
Soil Test
DON’T skip the soil test before planting your cut flower seedlings. This is one of the most important steps for a healthy garden, but unfortunately, it is often forgotten.
This will give you an idea of which plants will grow the best in your garden’s soil. You’ll also know which amendments are needed for the necessary nutrients.
You can hire a professional to test your soil or buy a soil test.
Add Organic Matter
DO add rich organic matter, such as compost or leaf mold, to the soil to help retain moisture and drainage. We add fish compost to our garden beds every April to provide nutrients to the soil.
Give Flowers Enough Space to Grow
DON’T plant flowers too close together.
When trying to fit all those fun seedlings into your cut-flower garden, it’s hard to remember how big they will get in a few months.
I can’t stress enough how important it is to give your plants the proper spacing in the garden. Your plants will thrive and be more productive by allowing them to receive the light and nutrients they need and providing air circulation to prevent pests and disease.
Follow the directions on the back of the seed packet. They’re there for a reason!
Make Room for New Varieties
DO eliminate what didn’t work in the past before trying new varieties.
It’s always fun to try new seed varieties. But to make room for them in the cut flower garden, you should eliminate the same number of flowers from the mix.
By removing my least favorite performers from the shopping list, I can try 2 or 3 new annuals each year.
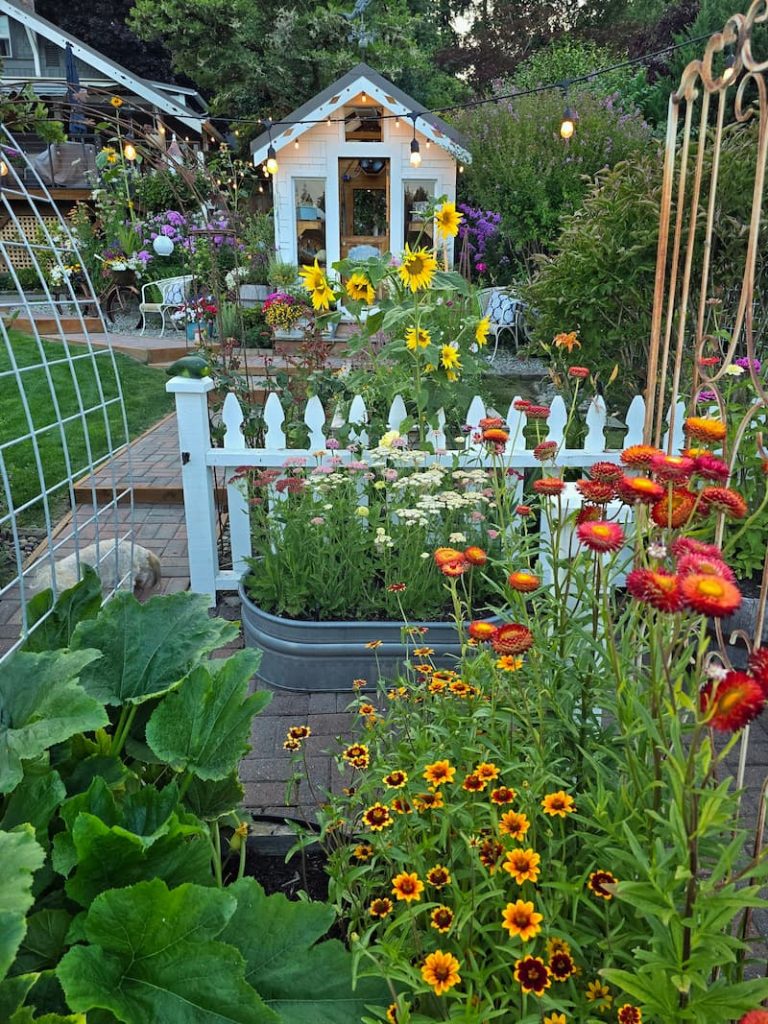
Mix Flowers and Vegetables in Your Garden
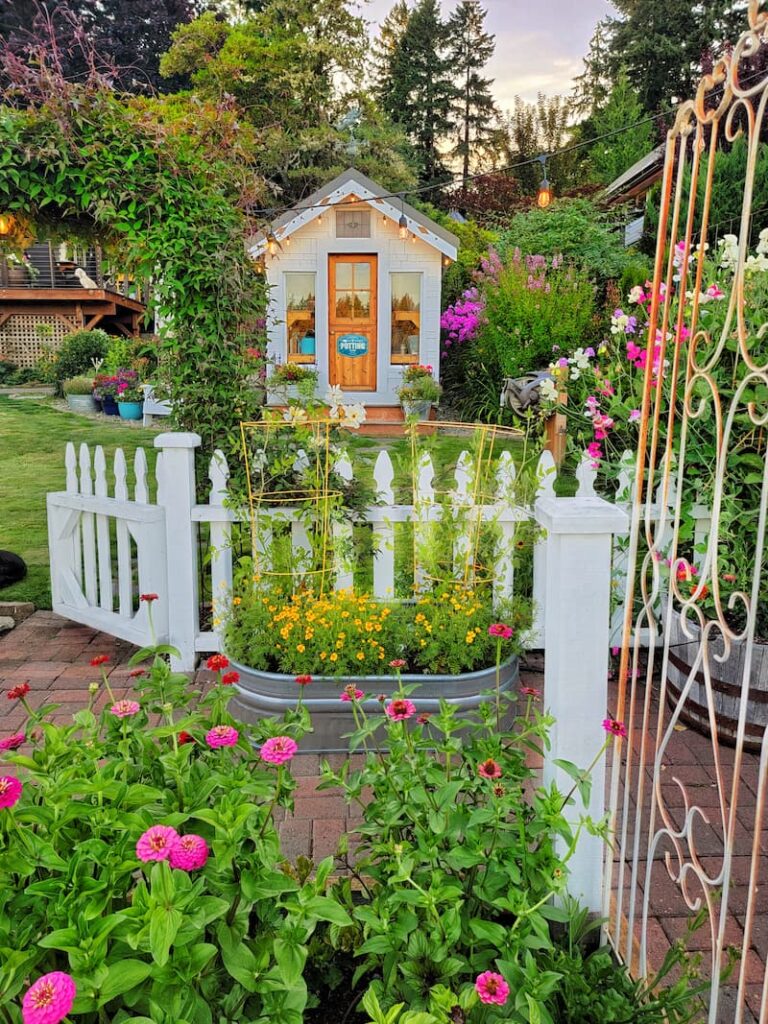
DO mix vegetable plants and herbs in your cut flower garden. The increased pollination from bees and other pollinators will make your garden even more productive and give your flowers the best results. I love the interest the garden creates with a mixture of flowers, herbs, and veggies.
Vegetable companion planting attracts beneficial insects, including pollinators, boosts growth, provides shade and support, and reduces pests.
Here are some of the vegetable and flower companions that are always successful:
Pinch and Cut Your Flowers
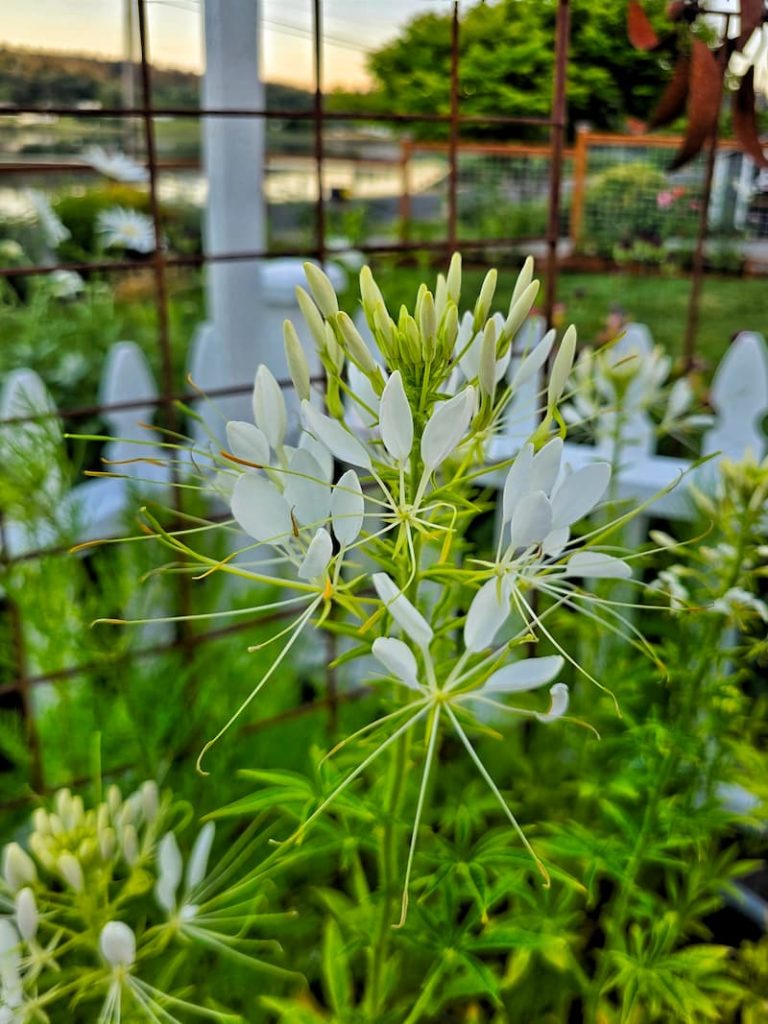
DO pinch certain cut-flower varieties, such as sweet peas, dahlias, cosmos, and snapdragons. A good cut-flower tip is to snip the plant’s central stem to encourage more blooms and straighter stems.
Pinching is a pruning technique that encourages branching in young seedlings and plants.
When you pinch or snip a plant’s early buds, you remove the center, main stem, which forces the plant to grow two new stems below the cut leaf nodes.
Flower production increases, and stems are lengthened. Plants can become busier and flower with larger blooms. Also helps plants from being laggy and lanky.
DON’T be afraid to cut your flowers from the garden. Remember that the more blooms you cut, the more flowers your plants will produce.
DO deadhead any spent blooms regularly to help encourage the plants to focus their energy on producing new flowers rather than maintaining the old ones. This prevents the plants from wasting water and nutrients on the end-of-life blooms.
How Much Sun Does a Flower Garden Need?
DON’T expose your plants to less than 6 hours of direct sunlight. Most cut flowers thrive in the full sun and need a sunny spot to grow. The back of your seed packet should tell you how much sunlight each flower variety needs.
DON’T block flowers from the sunlight by planting tall varieties of plants in front of them. I plant my taller flowers in my garden so they’re behind the shorter varieties in the afternoon, when the raised beds get more sun.
Plants need sufficient light to photosynthesize and produce energy. Plants deprived of sunlight will lean toward the light source. They may become stunted, turning their leaves yellow and causing them to fall off.
The back of the seed packet and plant label contains more information about each flower variety’s sunlight requirements.
Water Your Flower Garden
DON’T overhead water your perennial and annual flowers. When using a drip system or soaker hose, your plants will need only 1/4 as much water as they would with overhead watering. Wet foliage makes plants more susceptible to fungal disease.
The most efficient way to water your garden is by drip or irrigation. Drip irrigation slowly delivers water to the plant’s roots before it evaporates, which is especially important in late summer, when it’s the hottest.
DO water in the early morning before the sun starts heating the garden. When watering in the afternoon, you risk the water evaporating before it reaches the plant’s roots, causing the leaves to burn.
If you can, try not to water in the evening. There won’t be enough time for the leaves to dry out before the temperatures cool, which could lead to powdery mildew and other fungal diseases. If you have no choice but to water in the evening, ensure you water only the plants’ roots, not the foliage.
Overwatering
This is one of the more common causes of plant problems. The damage caused by overwatering is often mistaken for a pest problem.
Roots growing in soggy soil can’t absorb nutrients and may die from a lack of oxygen. Soil that drains poorly is more susceptible to overwatering issues.
When a plant is first overwatered, its leaves turn yellow. If the plant doesn’t have a chance to dry out, it wilts, and its roots can no longer absorb water. Brown edging on the leaves is caused by the plant pushing water through the leaf edges. This causes the veins at the edges to burst.
How to Avoid Overwatering
DO determine the plant’s moisture level by sticking your finger into the soil. Just because the top surface of the soil has dried out doesn’t mean the entire plant is dried out near the roots.
DO add mulch to your garden bed to help absorb water and maintain a consistent moisture level.
DON’T water at the first sign of wilting. It’s normal for most plants to wilt during the heat of the day. Wait until the end of the day to see if the plant has perked up before watering again.
DO choose the right plants for your soil conditions. If possible, try to grow plants that need the same amount of water. Group together plants that need heavy watering, those that can be watered every few days, and drought-resistant plants.
Promote Deeper Root Growth
To promote deeper root growth, you can do a couple of things. Depending on the plant and soil, you can reduce the frequency to a few times a week or increase the watering time.
DO water roots deeply, longer, and less frequently to encourage them to grow deeper. That’s where the soil is cool and nutrient-rich. Drip line systems and soaker hoses efficiently irrigate directly to the plant’s roots.
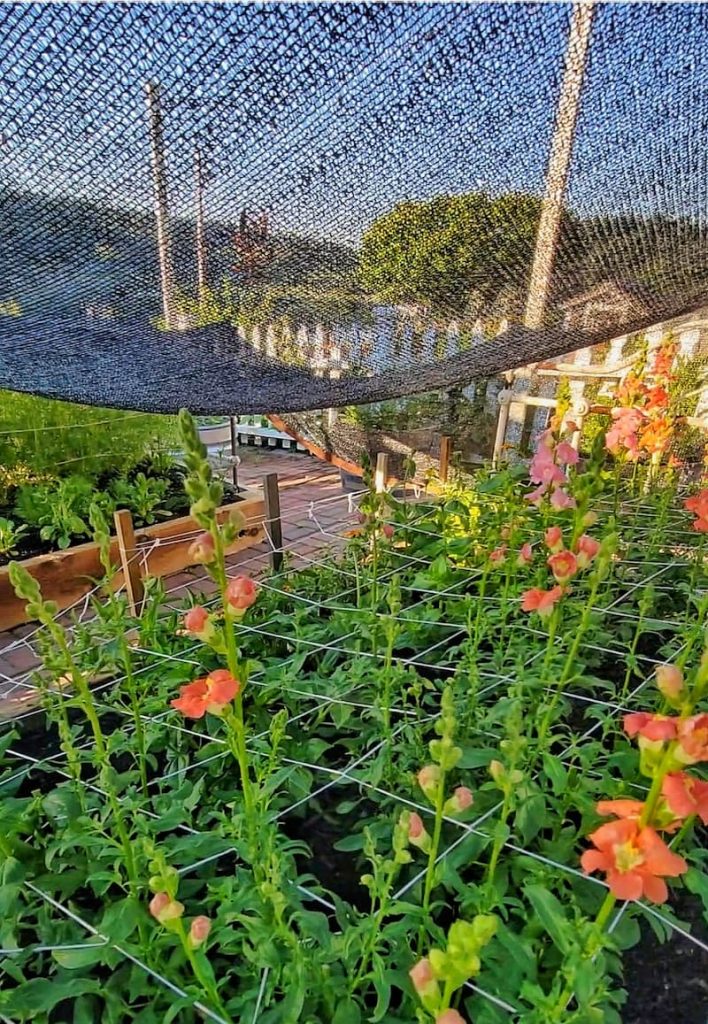
Support Your Cut Flowers
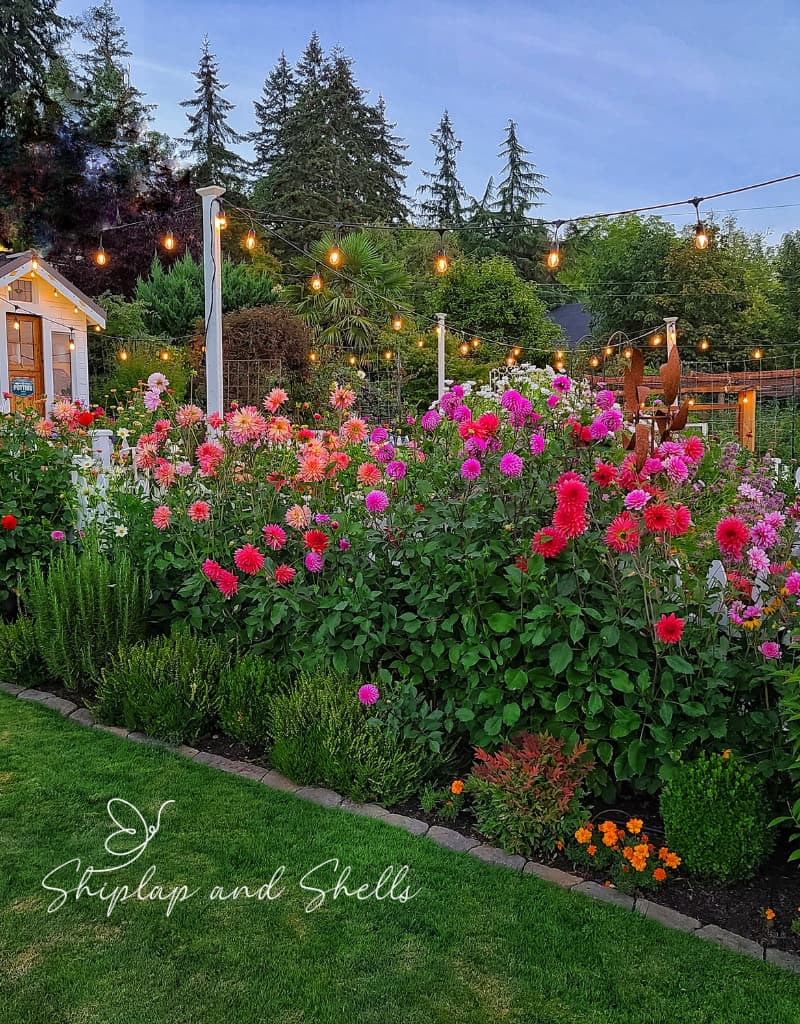
DO support tall flowers. Staking, trellising, netting, and corralling will help to prevent damage from the wind, rain, and heavy growth. Dahlias, snapdragons, sweet peas, cosmos, and daisies need the most support in my garden.
The flower stems will likely grow taller and straighter as they support your taller plants.
The best practice is to start staking them when they’re about a foot tall, then raise the twine or retying the plants as they grow taller.
Maintain a Weed-Free Garden
DO keep weeds out of the garden bed so plants won’t compete with them for water and nutrients.
Add Mulch to Garden Beds
One of the best ways to keep weeds from growing in your garden is to add mulch. It keeps the soil cool and moist while also acting as a barrier between weed seeds and the sunlight needed for germination. Add a 1 to 2-inch layer of mulch to the soil, but no more than 3 inches, so the soil can still get oxygen.
Leave the Ground Be
Your garden is covered with weed seeds, but only the seeds at the top inch or so will get enough light for germination. By digging around and disturbing the area, you’re actually bringing weed seeds to the surface.
Dig only when and where you have to, and cover the area with mulch.
Don’t Water the Weeds
DO water your plants, not the weeds. Drip or soaker hoses help to keep the water exactly where you want it.
Protect Cut Flowers from Pets and Disease
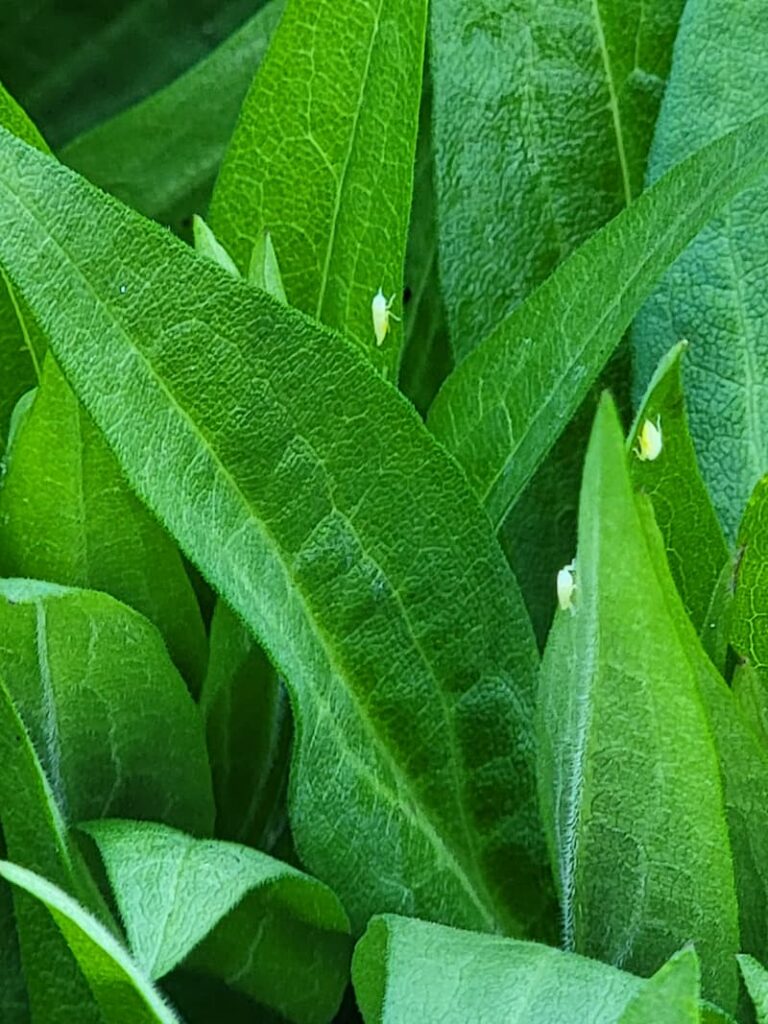
DO catch those pesky pests and diseases at the earliest stages before the problem gets out of control and spreads to the rest of your cut-flower garden.
A simple morning stroll through the garden is not only relaxing, but it’s also a perfect time to spot early signs of pests or diseases before they become a bigger problem.
Nothing can ever guarantee a garden free from pests and disease. Here are some things you can do to keep your garden as healthy as possible and avoid conditions that may promote pests and diseases.
Improve Air Circulation
DO improve air circulation in the garden beds.
Good air flow is key to preventing fungal diseases like powdery mildew and black spot. Overcrowded plants create a human environment where pests and diseases thrive. Keep plants well spaced, prune when necessary, and regularly divide perennials to prevent them from becoming too large and competing for space.
Divide and transplant your perennials regularly to keep them from getting too large and unruly and taking over another plant’s space.
Garden Supplies and Tools
Check out my favorite garden supplies and tools for the growing season. Whether you’re looking for potting soil or deer repellent, you’ll find what I use in my own garden.
Inspect Plants Before Bringing Them Home
Always check new plants at the nursery for signs of disease or pests. Avoid purchasing any with yellowing leaves, wilting, or visible insects. This simple step prevents infestations from spreading to your garden.
Use Companion Planting
Pairing certain flowers and herbs together naturally deters pests and attracts beneficial insects. Herbs like basil, dill, and lavender add beauty and repel harmful bugs while attracting pollinators and predatory insects like ladybugs and lacewings.
Remove Diseased Leaves and Stems Immediately
At the first sign of disease, trim and dispose of infected foliage to stop it from spreading. Never compost diseased plant material, as it can reintroduce the problem next season.
Control Pests Naturally
By staying observant and proactive, you can minimize pest and disease problems, keeping your cut flower garden lush, vibrant, and healthy all season long.
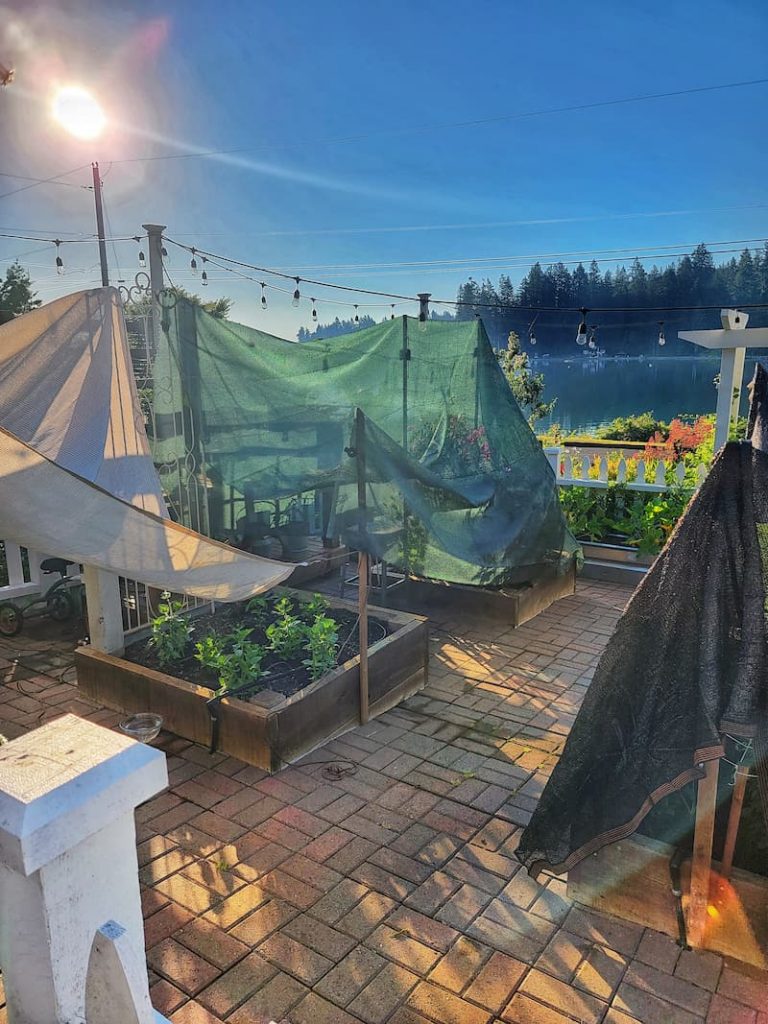
Protect Against Heat Stress
Excessive heat can cause significant concerns in a cut-flower garden. Here are some ways you can help protect your plants from heat stress.
Use shade covers such as shade cloth, umbrellas, or sailcloth. These will help shelter the plant from harmful UV rays during the heat of the day, preventing burnt or wilted leaves.
Water should be used early in the morning to prevent it from evaporating before it reaches the plant’s roots.
Save Unused Cut Flower Seeds
DON’T let extra seats go to waste. Store them properly to keep them viable for future seasons.
Older seeds become less viable over time, but most will likely germinate and grow even after a few years. Understanding how long seeds stay viable is essential for a successful planting season.
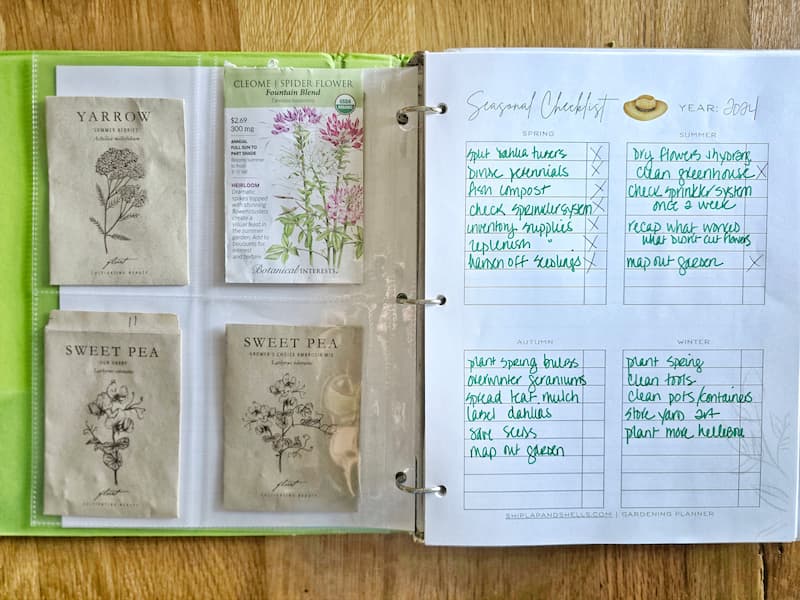
Keep a Garden Journal
DON’T forget to write everything down in a garden journal.
A garden journal is one of the most valuable tools for a successful cut flower garden. It helps you track planting dates, weather patterns, pest issues, and blooming times, making it easier to plan for future seasons.
By recording what works (and what doesn’t), you’ll learn which flowers thrive in your space and how to adjust for better results. A journal also helps you stay organized with seed inventories, garden layoutsma nd to-do lists.
Whether you prefer a notebook or a digital app, keeping notes will make your garden more productive and enjoyable year after year.
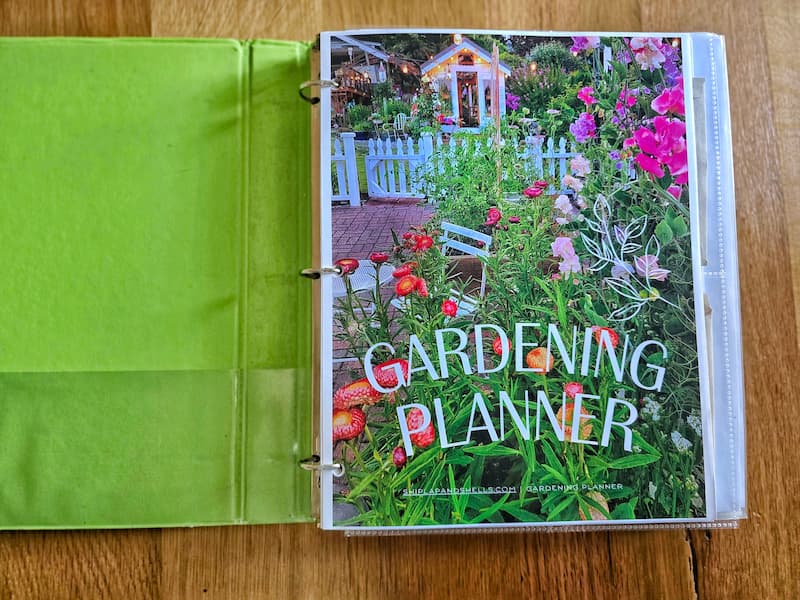
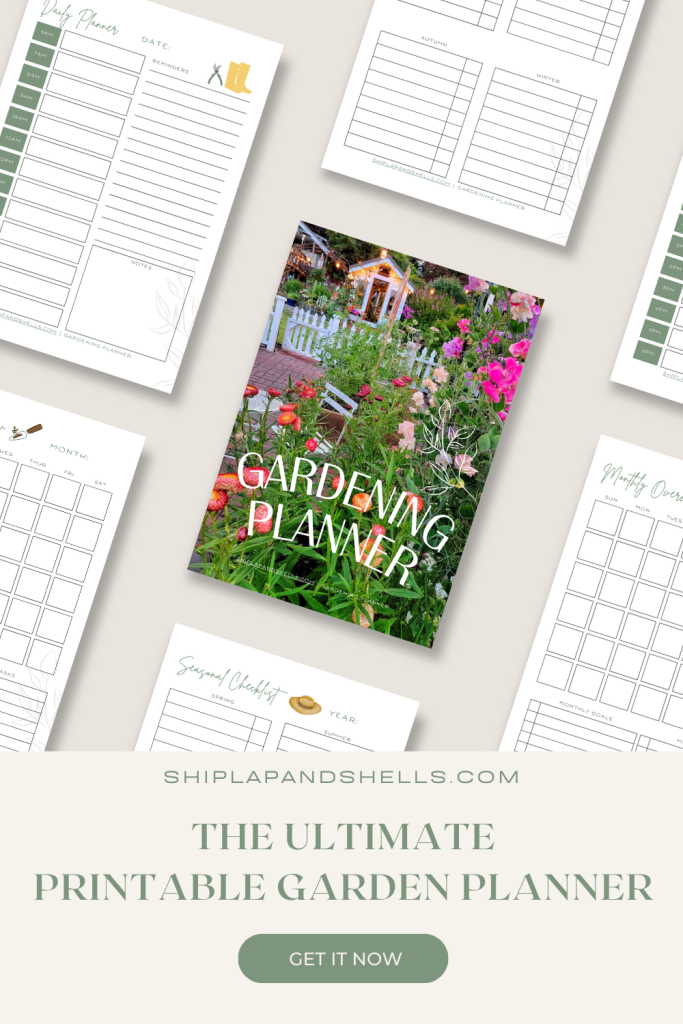
Let’s Plan Your Dream Garden With Our
Gardening Planner
Unlock Your Garden’s Potential.
Our 35-page Ultimate Garden Planner is designed to help you organize, track, and flourish in your gardening endeavors.
Get yours for $4.99
Frequently Asked Questions About Growing a Cut Flower Garden
Final Thoughts for Cut Flower Gardening
There are so many benefits to having a cut flower garden.
It may seem intimidating initially, but with these simple tips, you will be a fabulous flower gardener in no time. Be sure to read the following blog posts if you’re starting out in the garden:
If you have any questions, share them in the comments below. And be sure to share this blog post with anyone who may find these gardening tips helpful.
Until next time,
Happy Gardening!
I’m a self-taught hobby gardener. Everything I share on my blog is my opinion and what has worked for me.
MORE POSTS
For You To Enjoy
Follow Me for More Inspiration

From Life at Bella Terra:
Thank you for all of the cut flower garden information Kim! I need all the help I can get when it comes to gardening!!!
You are so welcome! Thank you for being here Heidi. It means a lot.
Great information for a newbie, Kim. I, like you in the beginning, really have only window boxes and a few potted plants that I can keep alive. I was so in awe of your beautiful cut flower garden, that at the beginning of the season I had my husband build two beds for a cut flower garden. I bought seeds and then got overwhelmed and didn’t do anything. I LOVE all of your tips and tricks, and I would LOVE a blog post with a diagram of what you plant and where. I would even pay for it…a class maybe? Your garden is beautiful and thank you so much for your extremely helpful garden info.
Thank you so much, April for your comments. I can completely understand how overwhelming it can be to start a garden. I hope you will try again next year. Thanks for the great idea for a blog post. I will definitely try to put something together to share where I planted things in the garden. Thanks for following along.
Your garden and home are amazing! I also live in the Pacific Northwest, and I am wondering how often you water your garden during the summer to make it look so lush? Thank you.
Thanks for your comments, Sarah. Sorry it took me so long to respond. We do water every day in the summer, but only because we are so fortunate to have our own well.
The cutting garden looks so pretty Kim! Love all your tips! I need to do a better job at supporting plants – I wasn’t sure how some of these would grow this year but will do better with it next year. xo
Thank you, Stacy! It’s been a great year.
Kim, your posts are so informative! I learned so much and will definitely be referring to your information as I continue to improve my garden. Thanks so much!
Thank you so much, Rachel!
I really needed this post, such great information! Thank you so much for sharing.