
How to Grow Strawflowers For Your Cut Flower Garden From Seed Indoors

Have you ever tried growing strawflowers from seed indoors? If not, you’re in for a treat! These unique, papery-petaled flowers are not only gorgeous in the garden, but they also make some of the best dried flowers you’ll ever grow.
And the best part? Starting them inside is easy, giving them a head start before they’re transplanted into the garden when the weather warms up.
I’ve been growing strawflowers for years, and every time I start them from seed, I’m reminded just how simple the process is. Whether you’re a first-time grower or just looking for a few extra tips, I’ll walk you through everything you need to know, from when to start your seeds to how to keep your seedlings happy and healthy.
So, grab your seed trays and potting mix, and let’s get started!
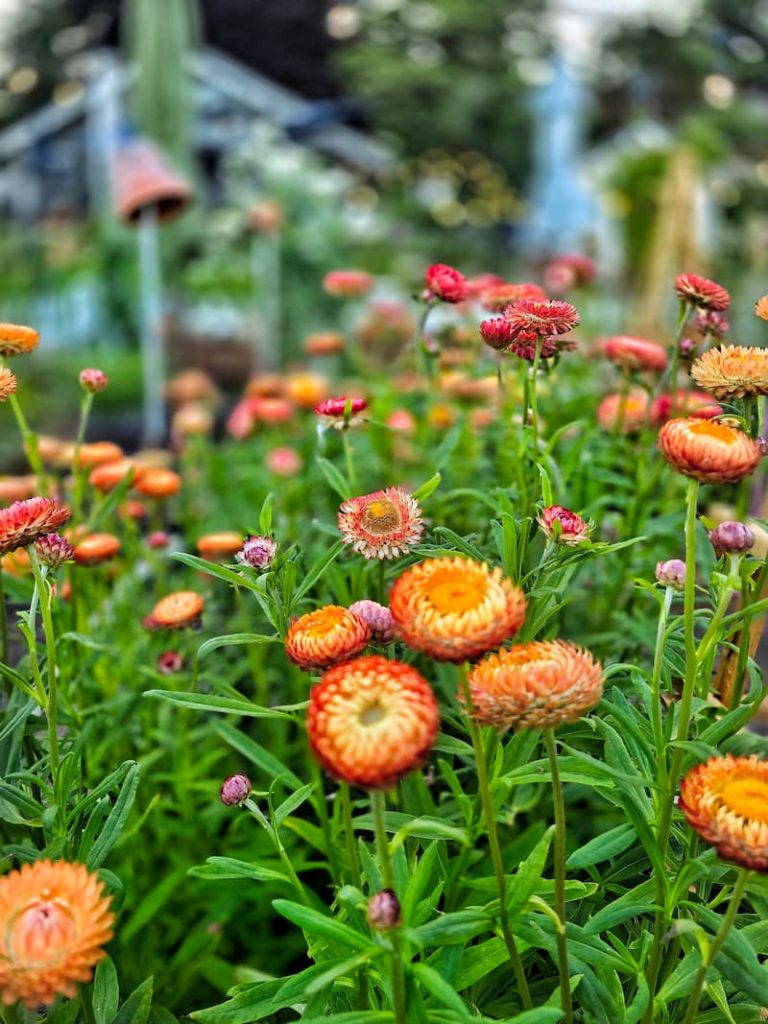
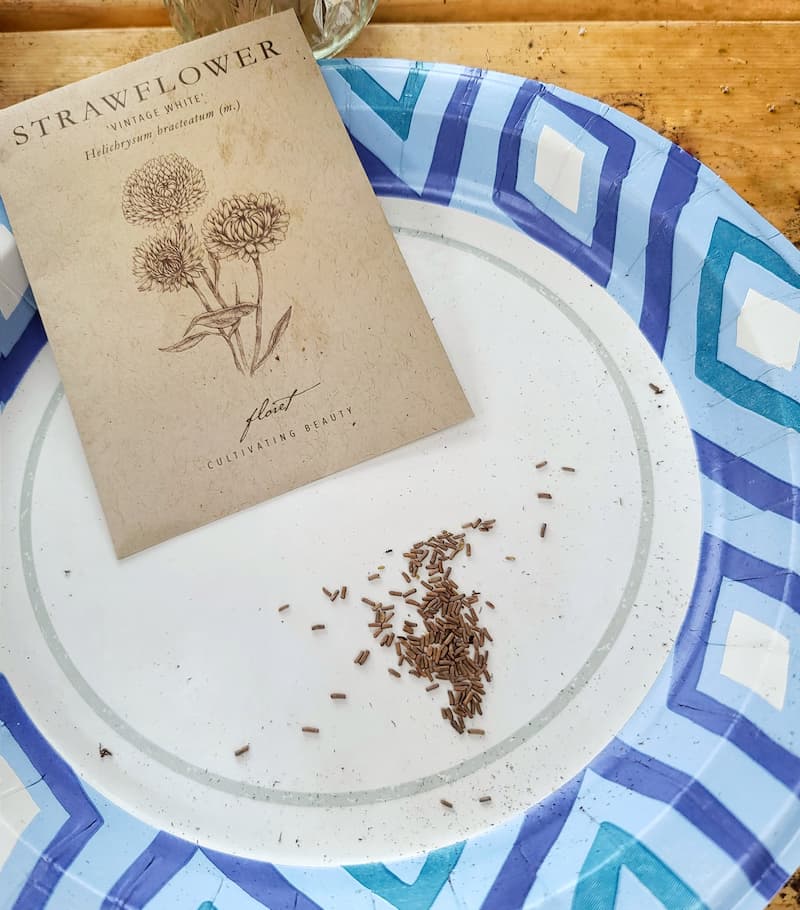
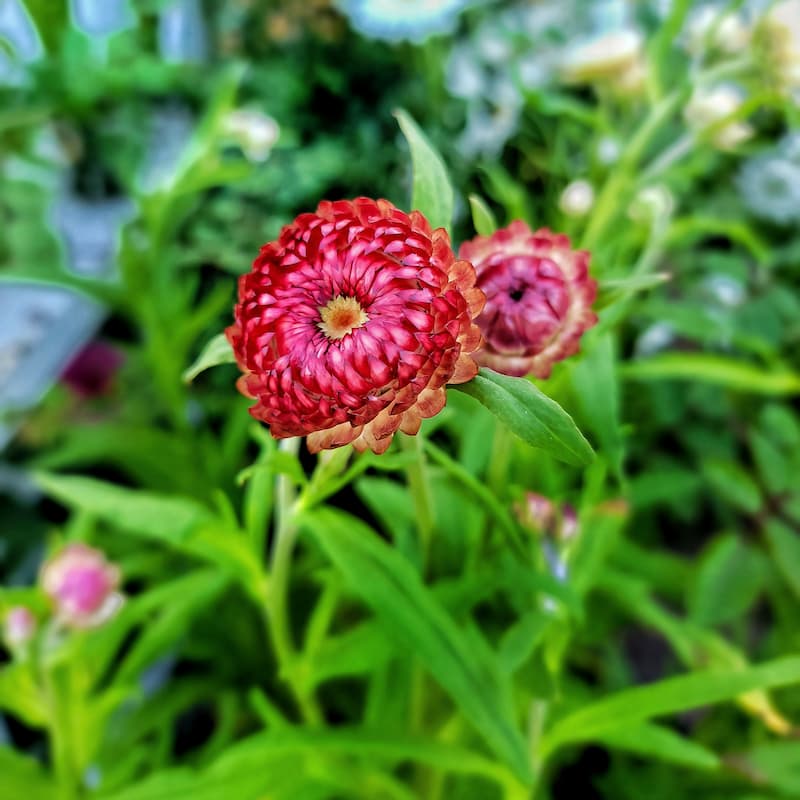
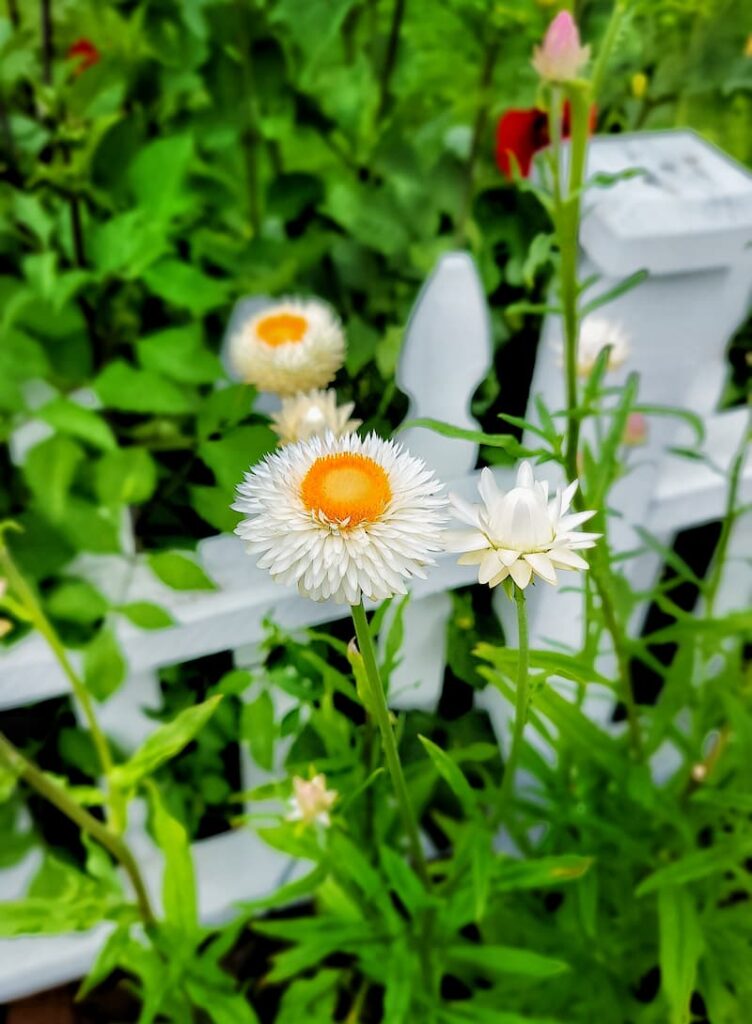
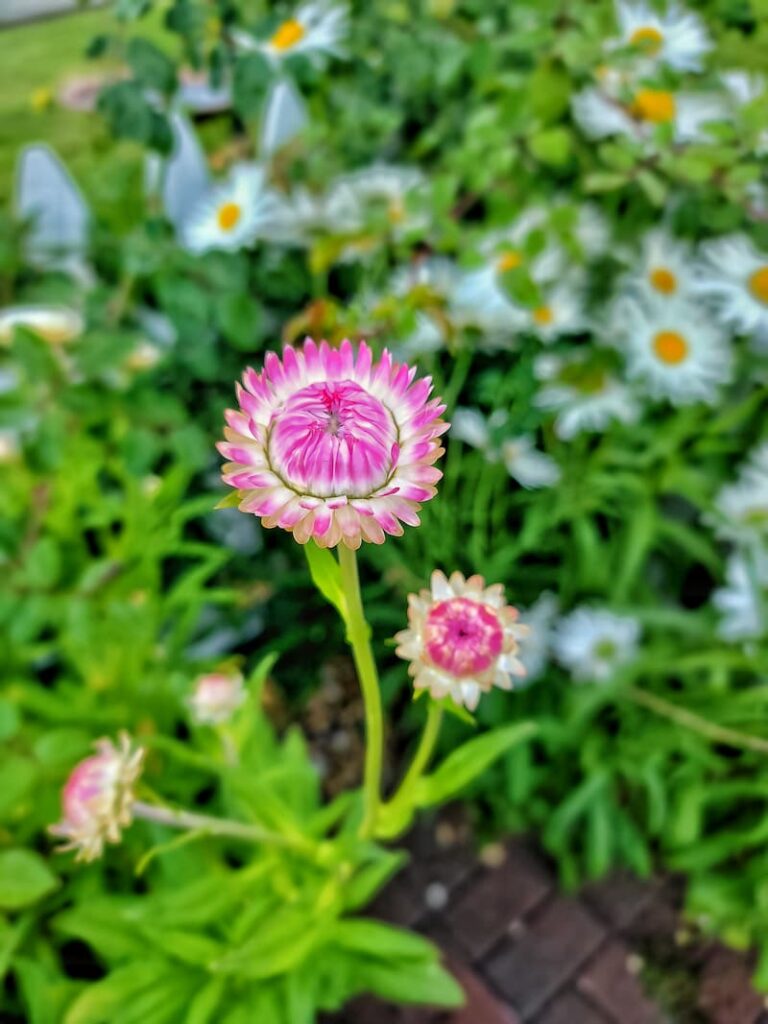
Strawflower petals (modified leaves called bracts) are like stiff paper and hold their shape and color as well as dried flowers. These bracts protect the tender flower parts until they are ready to open and be pollinated
As an Amazon affiliate, I earn a commission from qualifying purchases at no additional cost to you. My blog also features other affiliate links for your convenience. Click here to read my privacy policy.
Strawflowers, which are members of the aster family, are heat-loving and drought-tolerant plants. Their green leaves are covered in dense hairs that protect the plant from drying out.
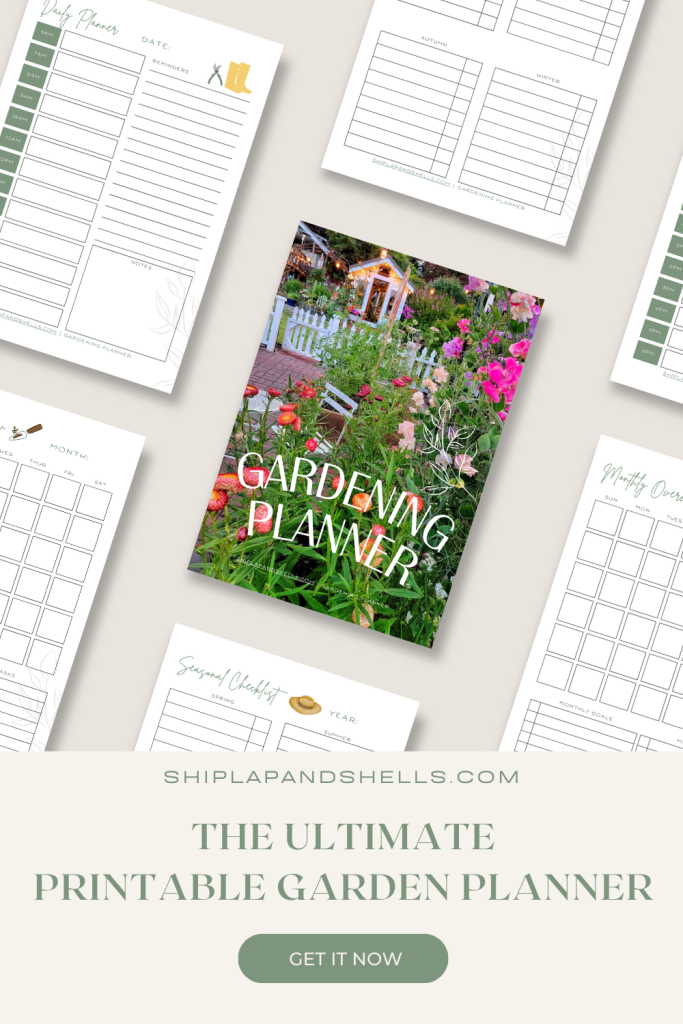
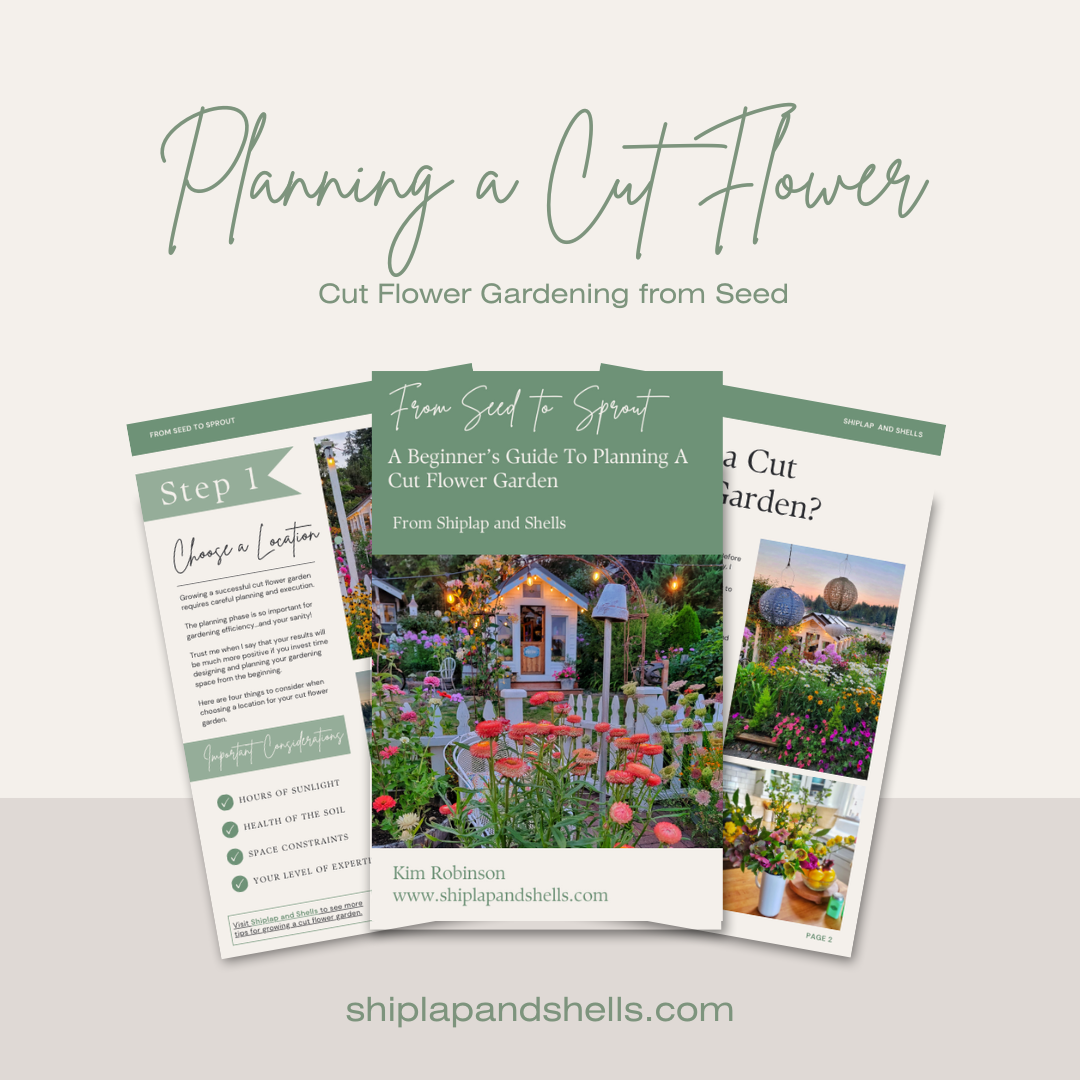
Let’s Plan Your Dream Garden With Our
Gardening Planner
Unlock Your Garden’s Potential.
Our 35-page Ultimate Garden Planner is designed to help you organize, track, and flourish in your gardening endeavors.
Get yours for $4.99
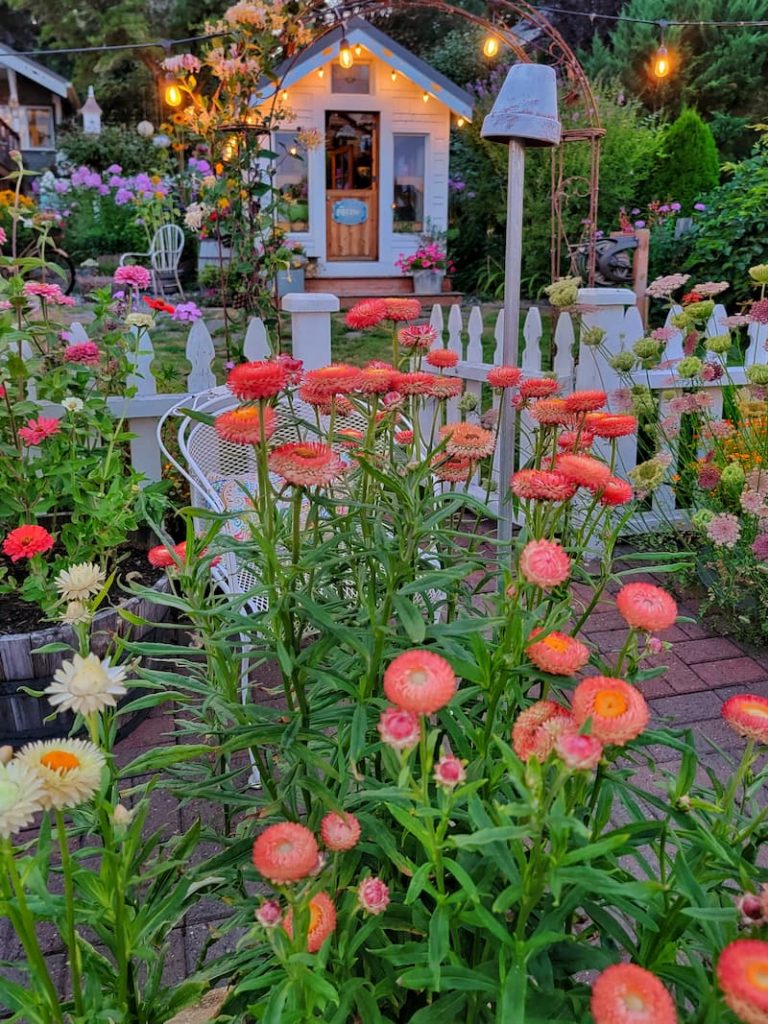
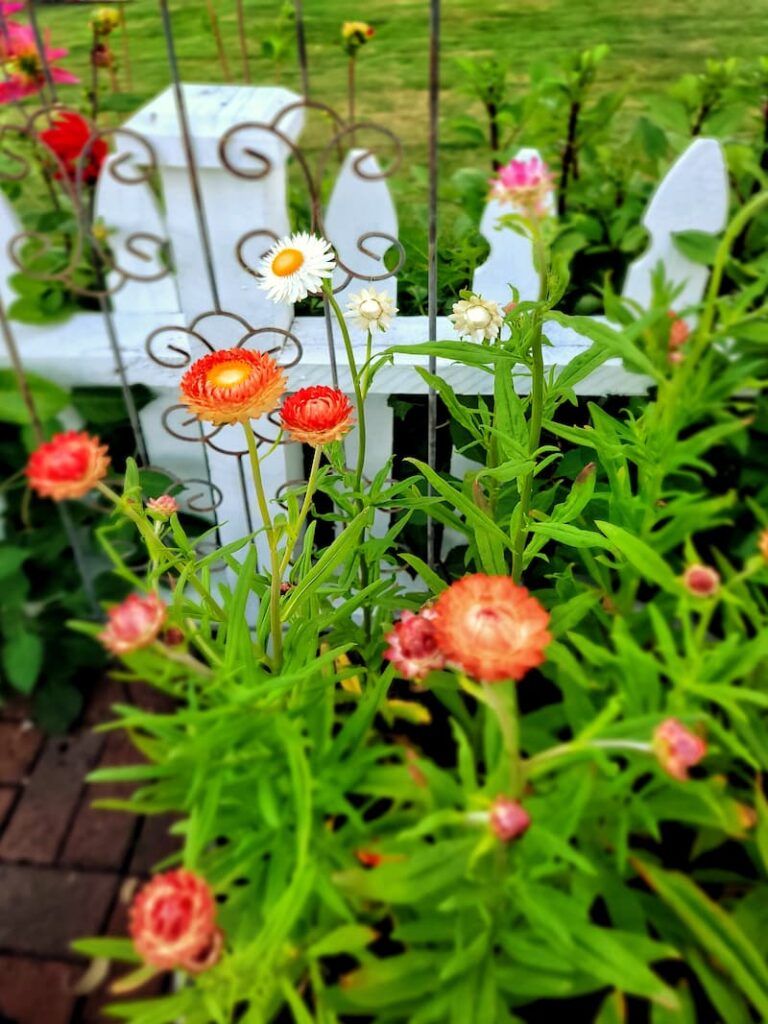
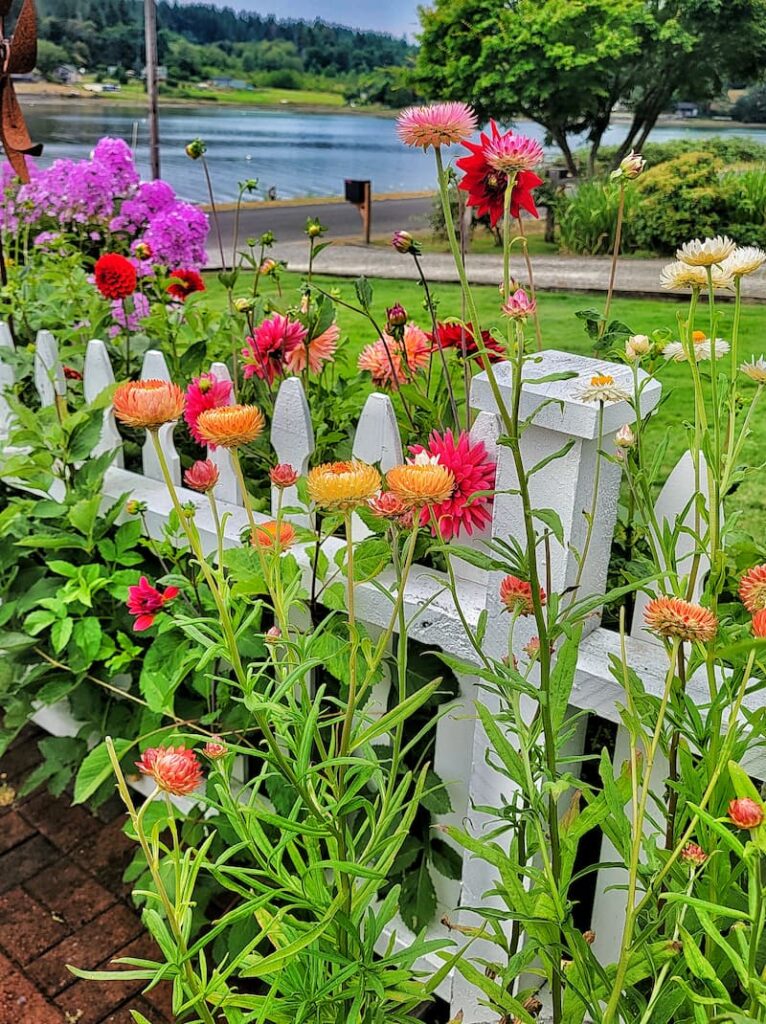
The Perfect Cutting Flower
These are some of the many reasons I love adding strawflowers to any summer or early fall bouquet.
Find more posts about growing a cut flower garden.
When to Grow Strawflowers from Seed
When starting strawflower seeds indoors, sow seeds in trays 6-8 weeks before the last frost of the season.
If you sow the seeds earlier than the recommended time frame, the seedlings will quickly outgrow their pots before the weather has warmed enough to put them out into the garden.
Strawflowers can also be sown directly in the ground as soon as the threat of freezing has passed.
Seed Starting Supplies
Check out my favorite supplies and tools for starting seeds indoors. Whether you’re looking for grow lights or a seed starting mix, you’ll find what I use in my own greenhouse.
Supplies to Sow Seeds
Steps for Sowing Strawflower Seeds
Step 1 – Choose Container
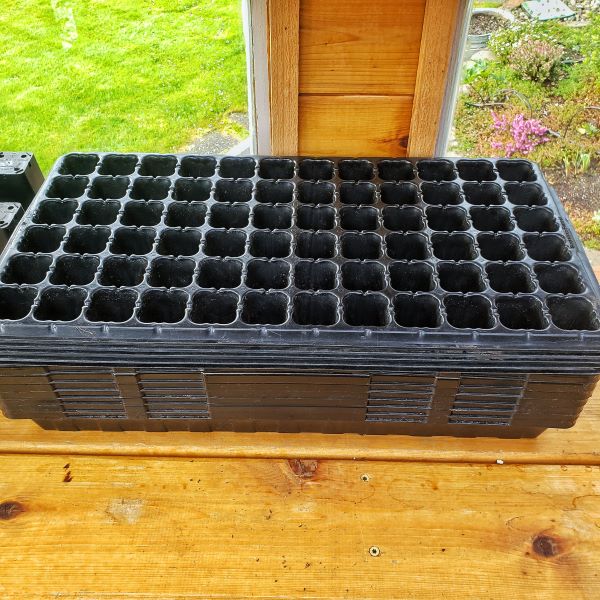
Seed-starting containers should be clean and have drainage holes. My blog post Supplies Needed for Seed Starting provides several container options.
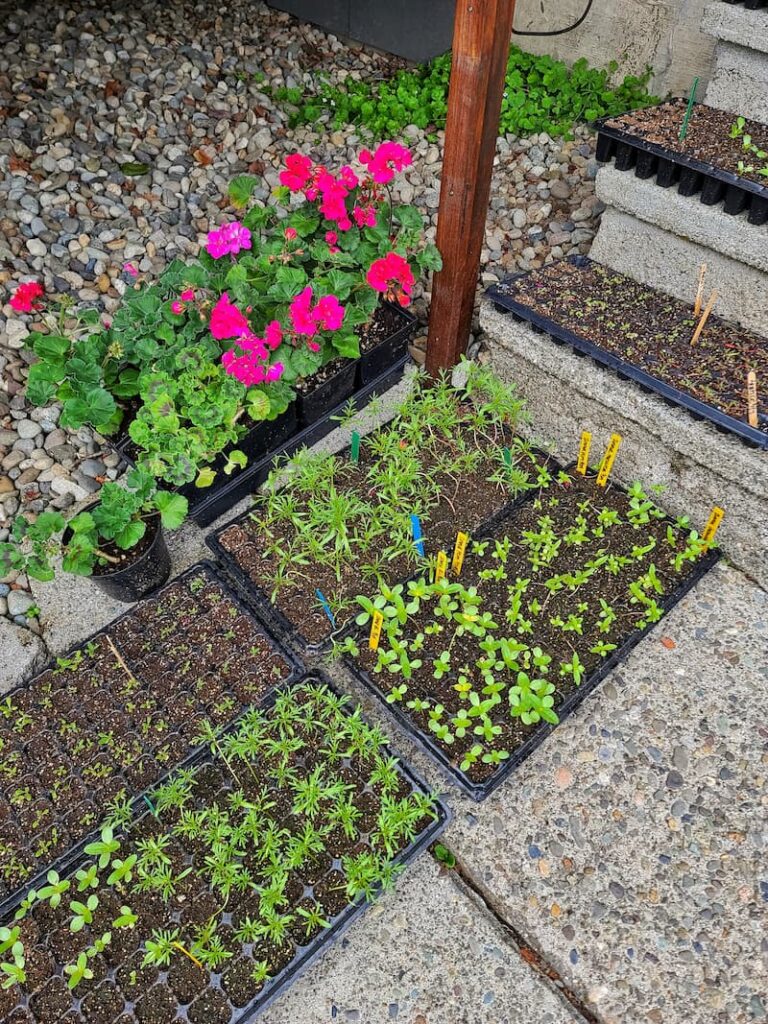
I use cell trays and plastic pots for my seed containers.
Step 2 – Fill Containers with Soil
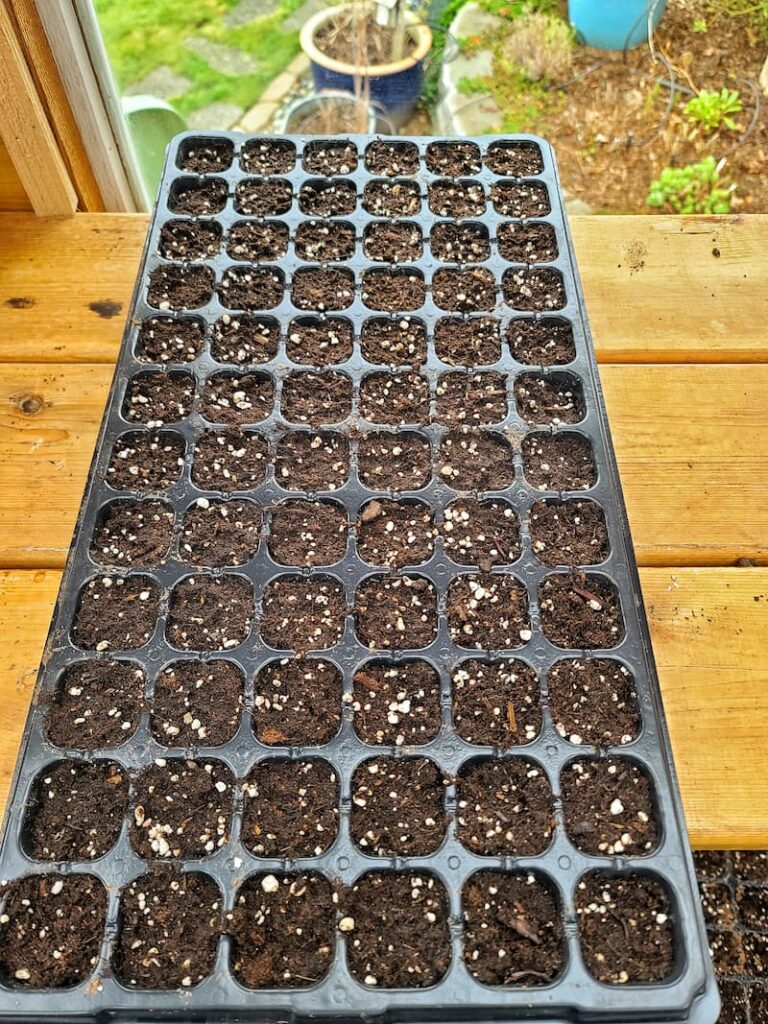
Use a quality seed starter potting mix when sowing your strawflower seeds. Before adding the soil to the container, it should be moistened until it’s thoroughly damp but not soaking wet.
Fill the container to the top with soil. As you go, tap firmly against the table or shelf to ensure the soil settles and prevent air pockets in the containers.
Benefits of Using a Seed-Starting Mix
You can make the mix go even further by filling the bottom half of the container with regular potting soil and then filling the rest with the seed-starting mix, where the seeds will be placed.
Step 3 – Label or Tag

Label the container with the name of the variety of plants and the date planted.
Step 4 – Sow the Seeds
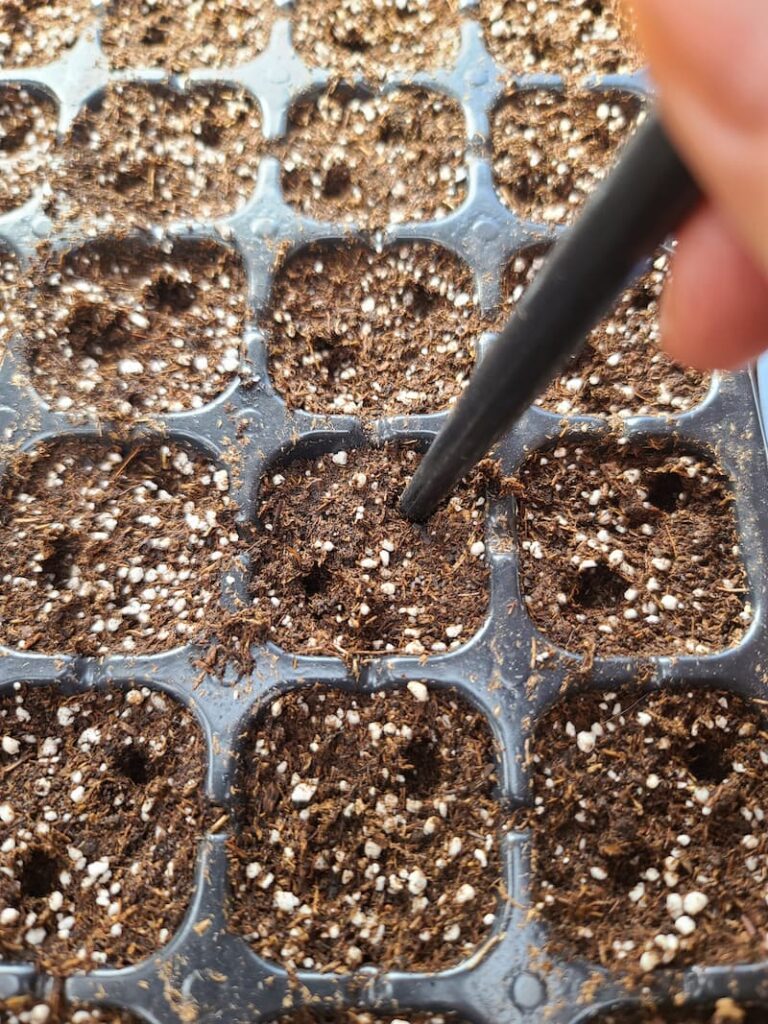
Sow 2 seeds per container or cell by creating a 1-half-inch hole into the soil in 2 opposite corners. You can use a pencil, a dibbler, or even your finger to make a hole.
Strawflower seeds require light to germinate. Press seeds lightly into the soil, but don’t cover them. Seedlings should begin to appear in seven to 10 days.
Step 5 – Bottom Water
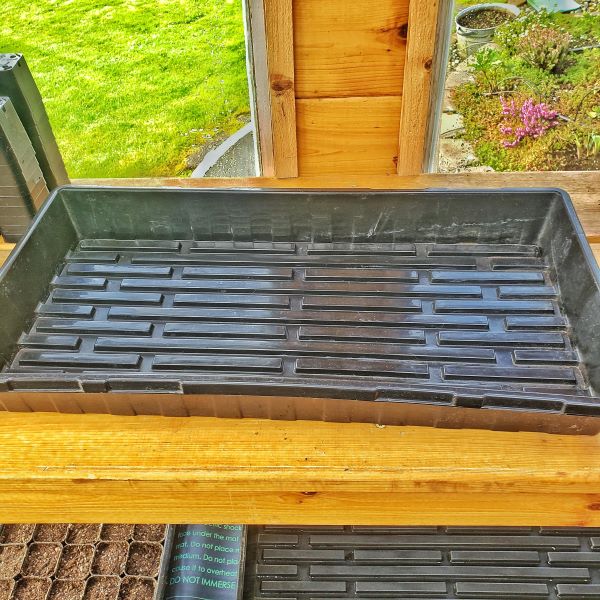
After sowing the flower seeds, set the container in a drainage tray with an inch of water in the bottom, removing once the soil surface is evenly moist. It’s important not to let the container sit in the water for more than an hour.
Step 6 –Place on a Heat Mat and Cover

Place the container on a heated mat or in a warm corner of your house, and cover it with a clear plastic dome. This will help speed up the seed-starting germination process.
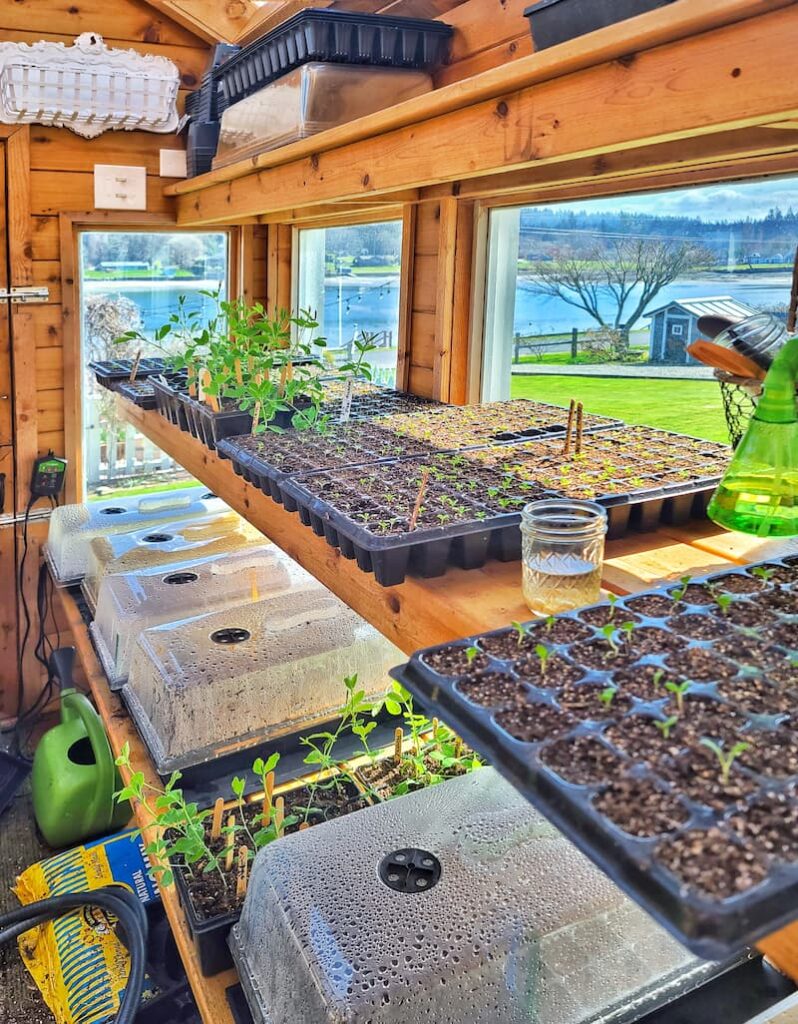
Step 7 – Pick the Right Location
Keep the strawflower seeds in a light, bright space, such as a greenhouse or sunroom. If you don’t have that option, keep the seedlings under a grow light that is on for 16 hours a day.
Step 8 – Continue Watering
Continue to check the soil moistness every 2-3 days. Bottom water again as needed.
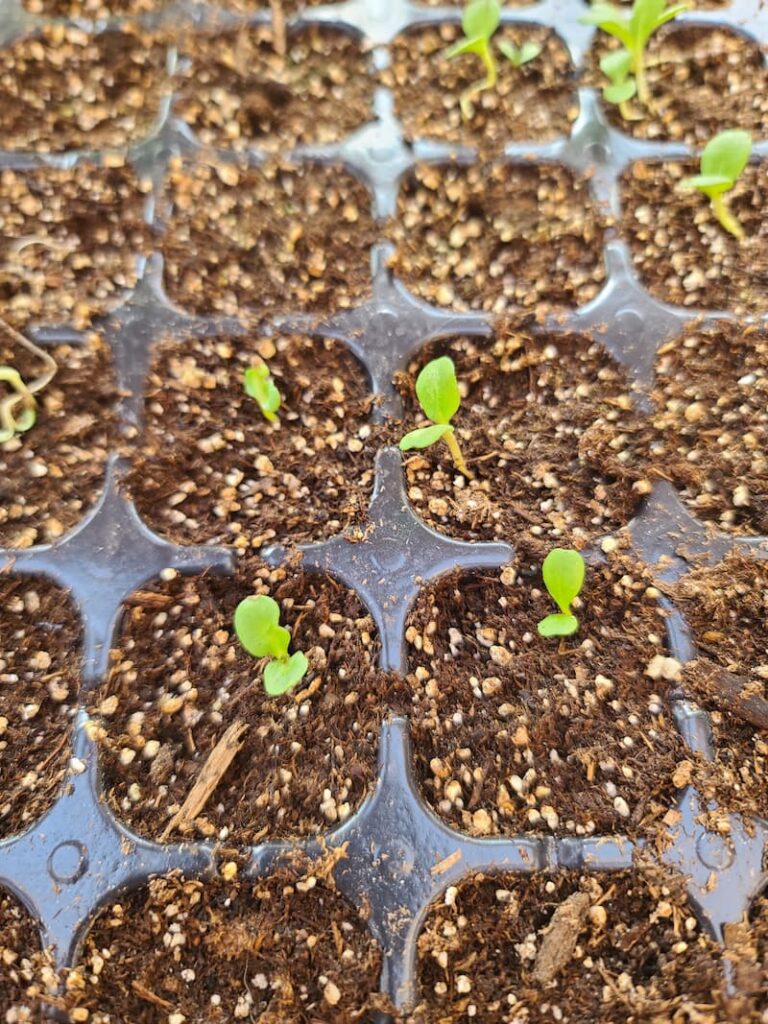
Once the Strawflower Seeds Have Germinated
Step 1 – Remove Heat Mat and Uncover the Container
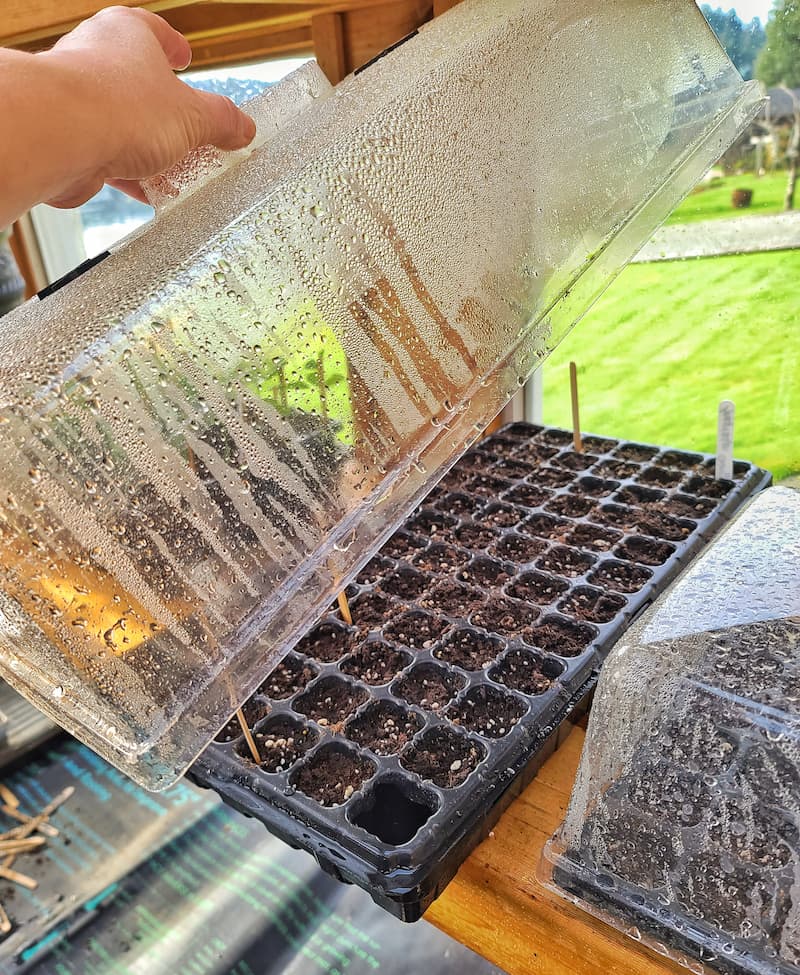
Check the container daily. Once the seeds have germinated and the sprouts are visible, remove the clear dome lid and the seedlings from the heated mat.
Step 2 – Continue to Water When Needed
Check the strawflower seedlings daily to ensure the soil doesn’t dry out.
The very first leaves that appear on the plant are called cotyledons. Be sure to bottom water your seedlings until you see the first real leaves that appear after the cotyledons.
Step 3 – Transplant if Needed
Once those second sets of leaves appear, water with a gentle spray from a watering can or hose when needed, usually every 1-2 days.
If your seedlings start to outgrow their containers before they’re ready to be planted outdoors, you’ll need to transplant them into a larger container while they’re still growing inside. It’s important to give the roots more room to grow.
Step 4 – Hardening Off the Strawflower Seeds
After all danger of frost has passed, you can begin “hardening off” your plants before transplanting them into the garden.
Don’t skip this process! Your plants will go into shock due to the sudden temperature change.
Set the containers in a sheltered spot outdoors. Over a week or two, increase the amount of time they spend outside each day. I usually start with 2-3 hours the first day.
Preparing the Garden Beds
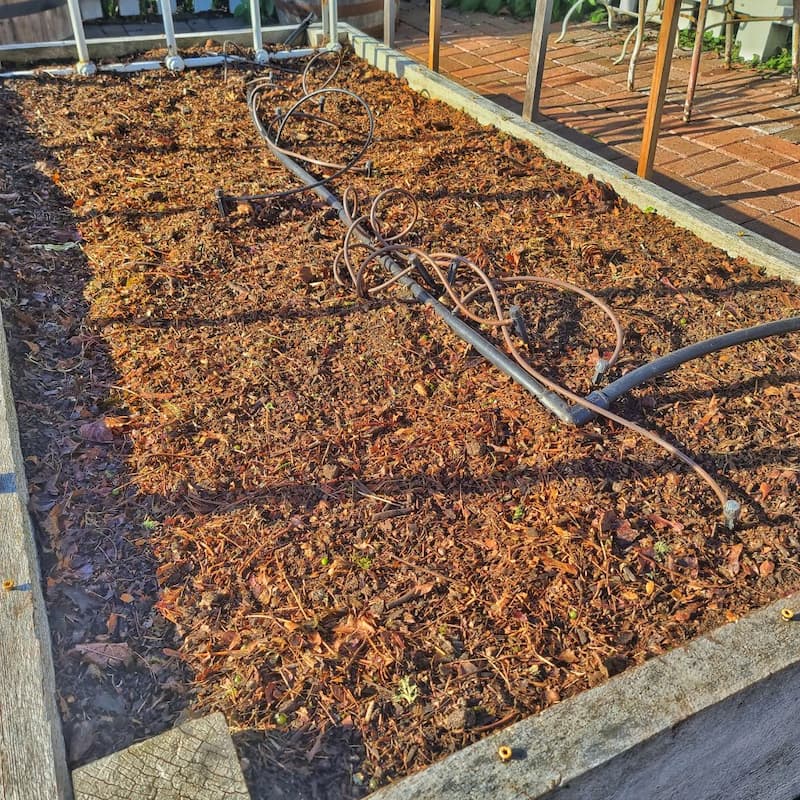
Strawflowers do well in most soils as long as it is well-draining. Add mulch to the bed before planting to help retain soil moisture and even soil temperatures.
Transplanting Strawflower Seedlings into the Garden
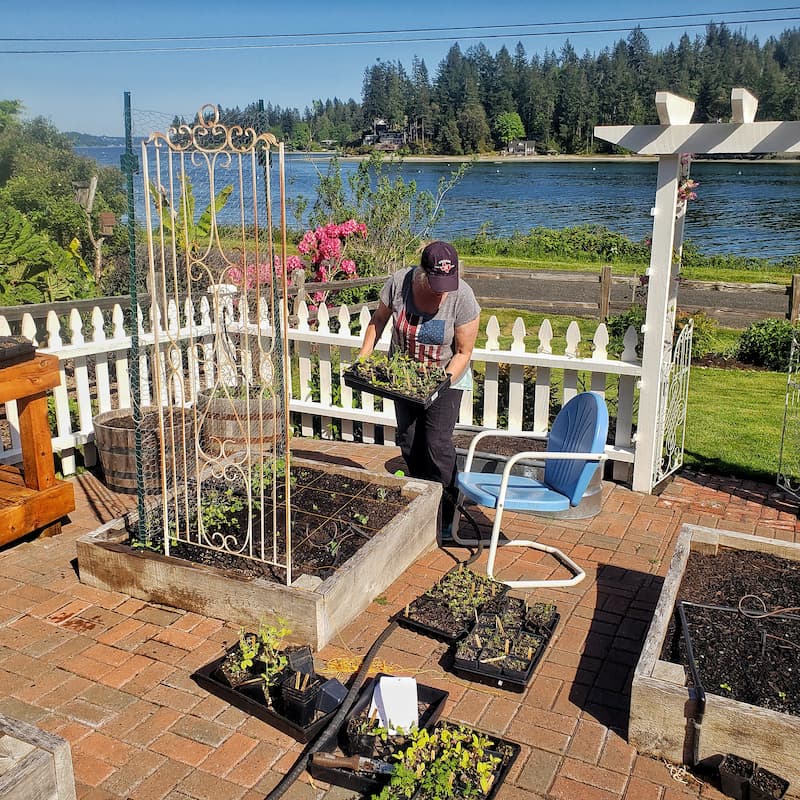
Once the strawflower plants are acclimated to the extreme temperatures, transplant the seed starts to the garden once the threat of frost has passed.
Space your plants out every 12 inches to ensure they have enough room to grow and plenty of airflow.
Strawflowers thrive in full sun, which helps prevent weak stems. They can tolerate part shade, but they won’t bloom as well.
Caring for Strawflowers
Water
These flowers are drought-tolerant, but don’t let them dry out for an extended period of time.
Create a plan to ensure your strawflowers are watered regularly in the garden. As soon as they are transplanted, I set up soaker hoses in the raised beds.
Prolonging Strawflower Blooms in the Garden
Strawflowers don’t need to be pruned regularly. However, deadheading the plant will keep the flowers blooming.
Support Plants Early
Once in the ground, strawflowers will grow quickly, so be sure to stake them early, while they are still young.
Harvesting
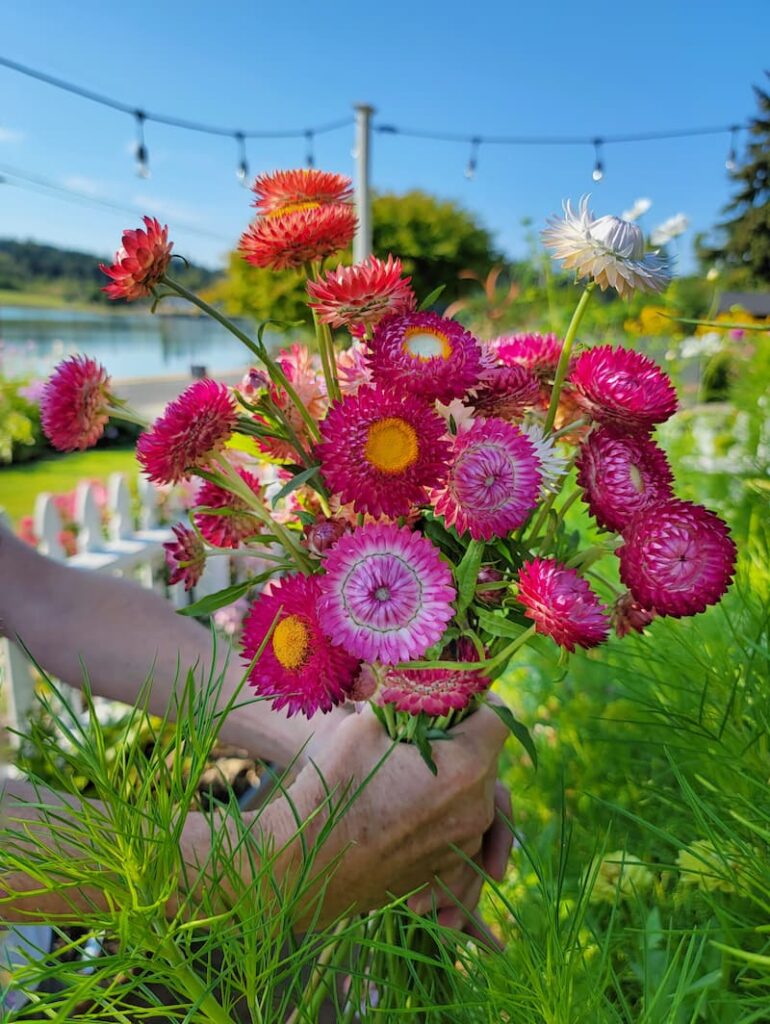
Cut strawflowers when 3-4 sets of bracts (petals) are open but before they are pollinated. If you give the stem a wiggle, and it remains upright, it is ready to harvest.
Cut the stem, leaving 4-5 side shoots below. Strip leaves on the stem before placing them in water.
Fresh flowers will last a week in the vase. Add flower preservatives to the water.
Harvesting Strawflowers for Drying
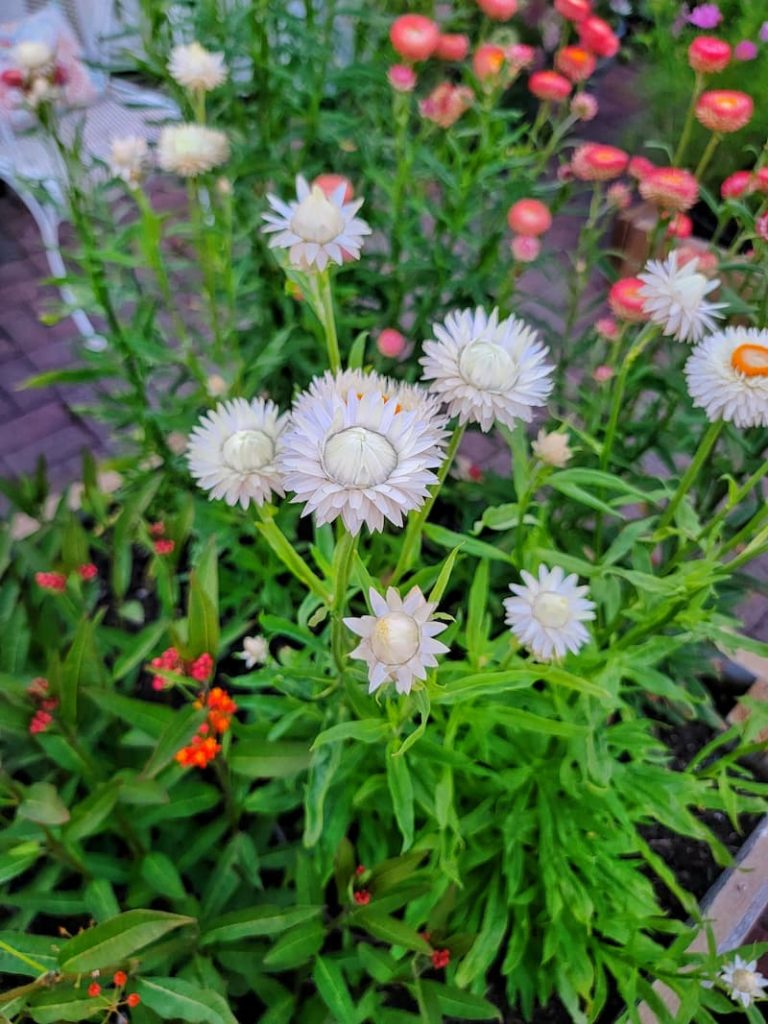
Harvest the strawflowers when only 2-3 bracts have unfurled and have no pollen visible, To dry, remove the foliage and hang upside down in a warm, dark place until firm.
The bracts will continue to open as they dry. You can also use a fan to make the drying process faster.
Saving Seeds From Strawflowers to Sow Next Year
To save seeds for next year’s cutting garden, leave the largest and best-looking blooms on the plant at the end of the season.
The center of the bloom elongates and forms dandelion-like parachutes for each seed as it dries. When lifting the parachutes, the small dark seeds should be at the base of the flower.
Garden Supplies and Tools
Check out my favorite garden supplies and tools for the growing season. Whether you’re looking for potting soil or deer repellent, you’ll find what I use in my own garden.
Final Thoughts on Growing Strawflowers from Seed Indoors
Growing strawflowers from seed indoors is such a simple and rewarding process, and before you know it, you’ll have strong, healthy plants ready to burst into colorful blooms.
Whether you’re growing them for fresh bouquets, dried arrangements, or just to add a little charm to your garden, these flowers are definitely worth the effort.
I’d love to hear about your experience. Have you grown strawflowers from seed before? Drop a comment below, and let’s chat. If you found this guide helpful, don’t forget to share it with your fellow gardening friends.
Until next time,
Happy Gardening!
I’m a self-taught hobby gardener. Everything I share on my blog is my opinion and what has worked for me.
MORE POSTS
For You To Enjoy
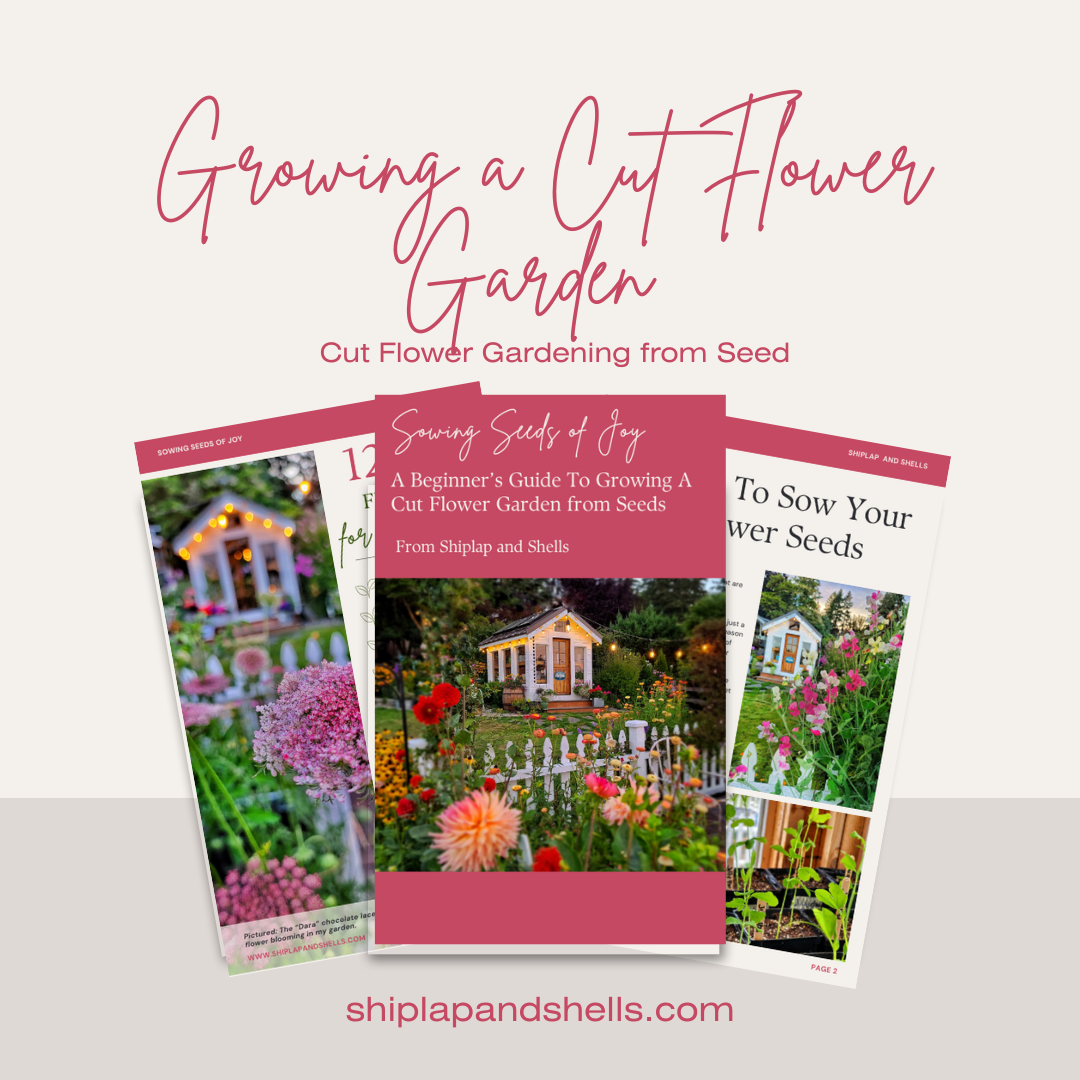
Gardening Made Simple – Your Guide to Growing a Cut Flower Garden
Follow Me for More Inspiration
Shop my Amazon Storefront, LTK sources, and my favorite home decor, garden, and lifestyle products. When you purchase from one of my links, I earn a small commission, which helps me continue sharing all the content you expect on my blog.
Be sure to follow me on Pinterest, Instagram, Facebook, TikTok and LIKEtoKNOW.it. Do you like gardening? Join my Facebook Gardening Tips & Tricks group.


Hi,
Your information was done very well.
This is my first time growing them from seed. Once they have reached about 3 inches they seem to just start falling over. Is this normal for this flower as I have them under lights that are close and they are still falling over as top heavy.
Is this normal for this flower?
Appreciate your response. Thank you,
Thanks for your question Teresa. I’ve had issues with zinnias and cosmos falling over in the past but not strawflowers. Fanning plants for about 10 minutes or so several times a day helps them develop stronger stems. Overwatering plants actually drowns them by depriving the roots of air. When the roots don’t get air, the leaves hang down and the stems droop. Did you start them with seed starting mix or potting soil? Email me at [email protected] and attach a picture so I can look at them and see if I can help in any way.
great pictures, thanks! when you collect seeds are they true to color? If you save seeds from pink strawflowers will they produce more pink strawflowers?
thanks!
So far I would say yes. This will be the first year that I am growing a mix of a few varieties I grew in the garden last year. They are growing faster and bigger than the seeds I bought. Can’t wait to see how they turn out.
Strawflowers were such stars in my garden last year! I had no idea when I planted them how much I was going to fall in love with them!! I have so many dried out down in my studio just waiting for me to do something with them.
I can’t even believe more people don’t talk about strawflowers more. I didn’t even know what they were a few years ago. They are so easy to grow and I do love them dried.
I forgot to mention I’m excited to share your post with my followers this weekend for my Sunday round up From My Neck of the Woods!
Thank you Kristin!
Kim, you inspire me so much! I’m paying attention even more than usual to all your tips since I’m doing my first cutting garden this year!
I can’t wait to see your new garden this year Kristin.