
How to Dry Orange Slices for Your Fall and Winter Holiday DIY Projects

Are you looking for the perfect natural addition to your fall and winter holiday decor? I’ll show you how to dry orange slices to add a touch of warmth, color, and charm to any DIY project.
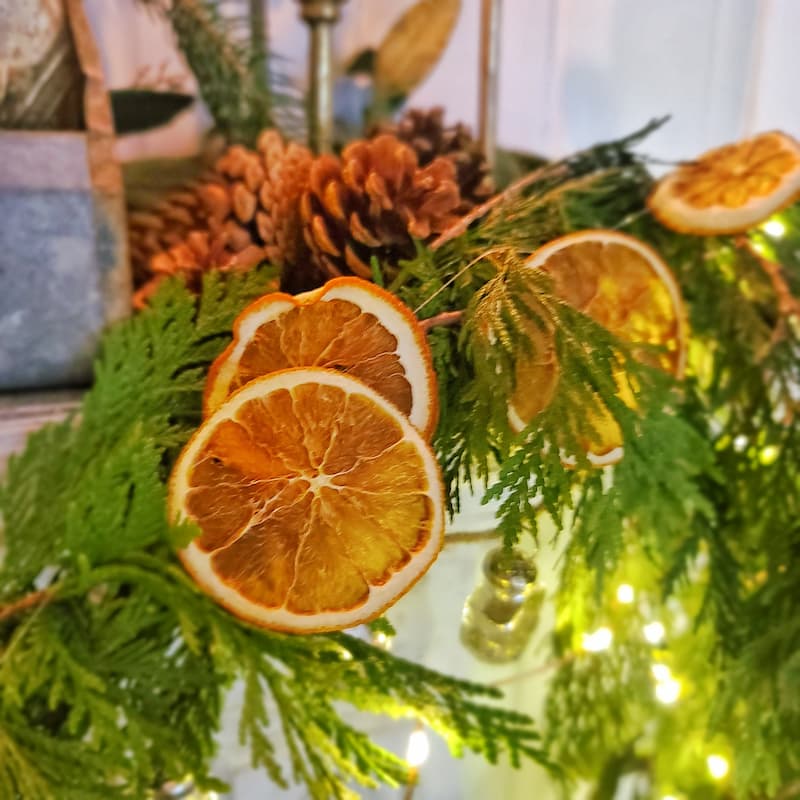
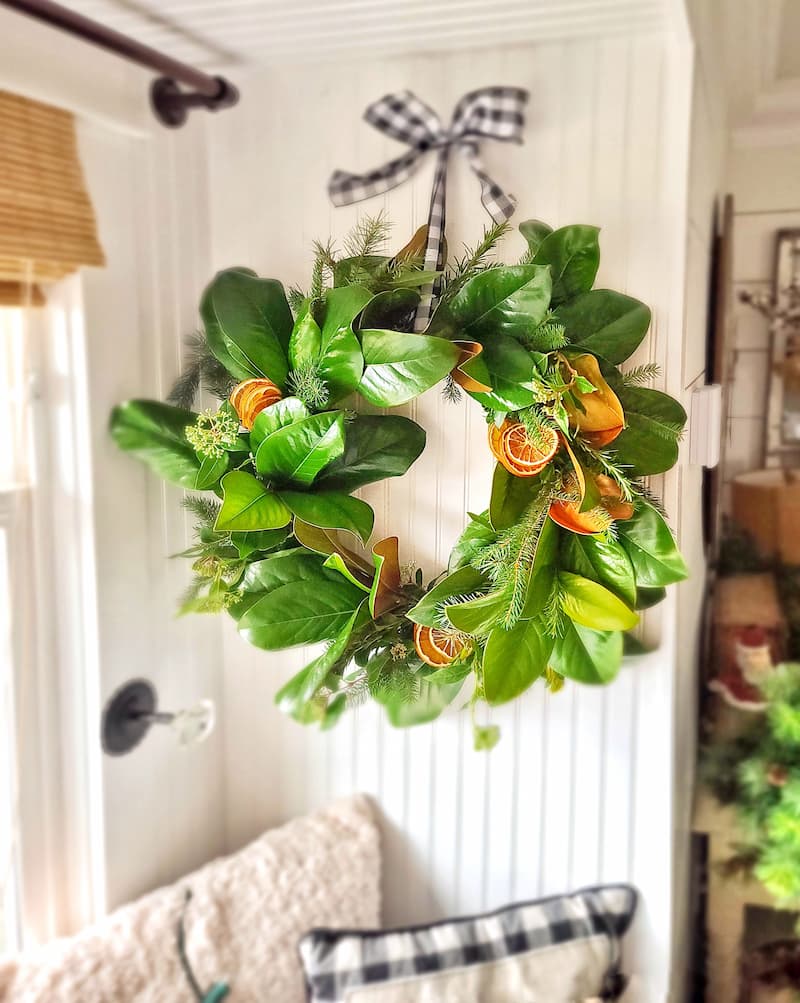
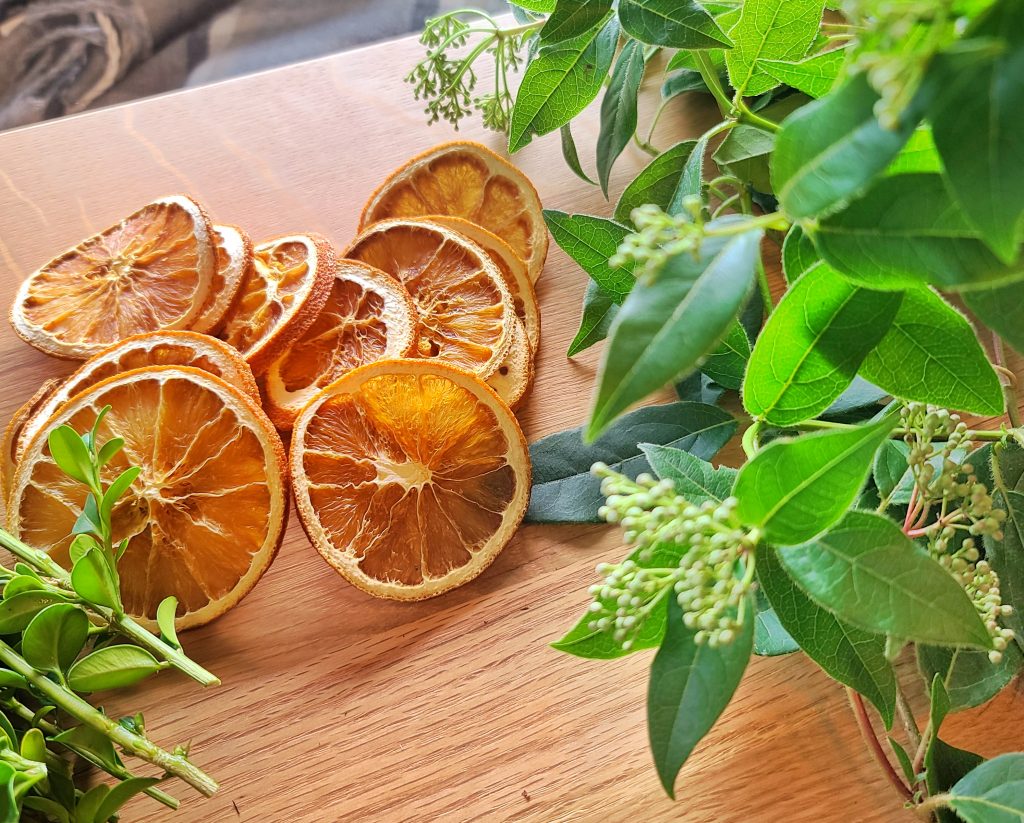
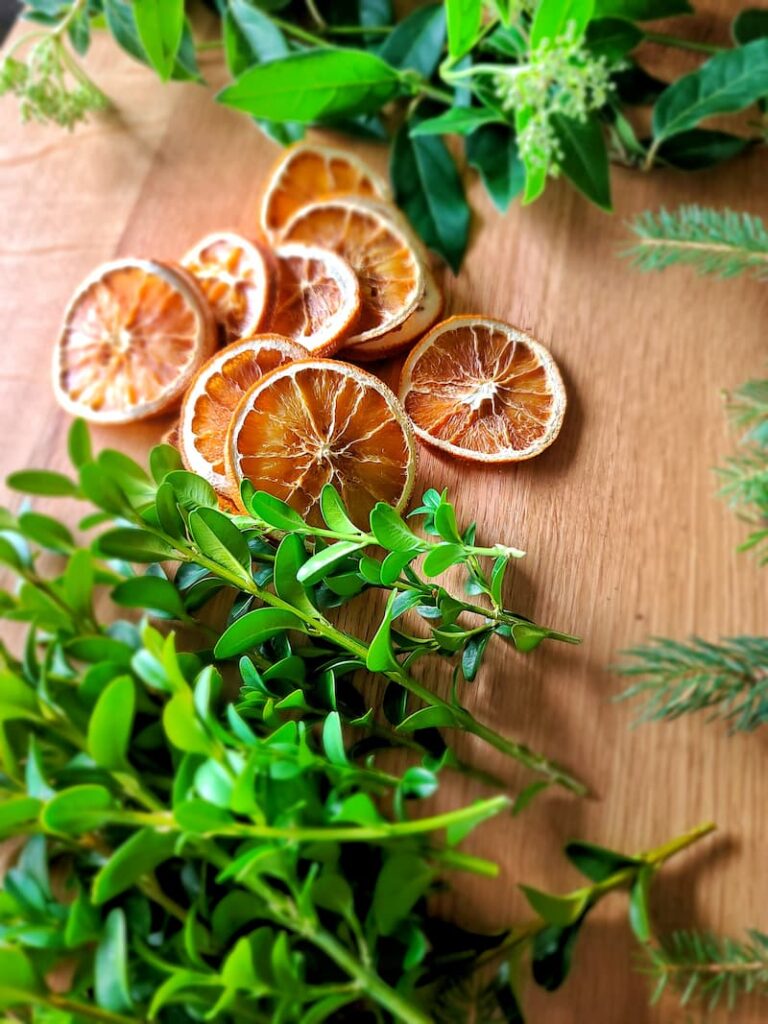
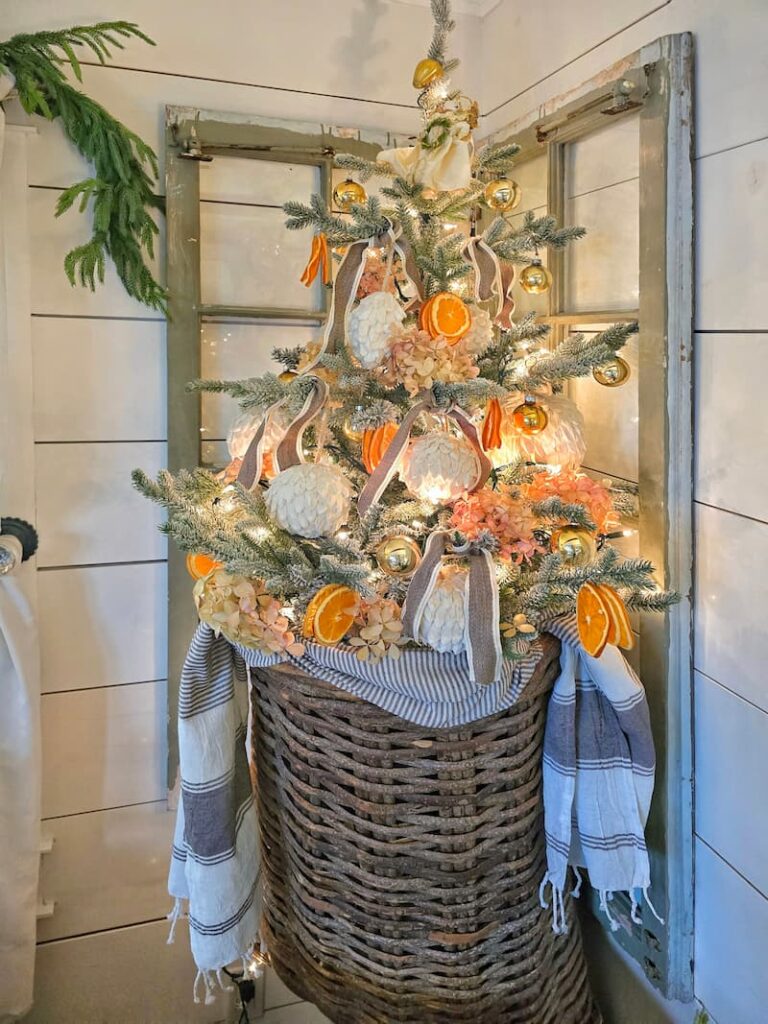
You know that gorgeous golden glow that dried orange slices have when the light hits them just right? That’s exactly why I’m obsessed with using them in everything from garlands to wreaths during the holiday season. They add this amazing rustic charm that screams ‘cozy winter afternoon,’ plus they fill your space with the most subtle, lovely hint of citrus.
I’ve spent years perfecting my orange-drying technique (yes, that’s totally a thing), and I’m excited to share my foolproof method with you. Whether you’re a seasoned crafter or just starting out, I’ll walk you through exactly how to create these beautiful decorative orange slices right in your own kitchen. Trust me – once you see how simple it is, you’ll be adding them to all your holiday projects!
As an Amazon affiliate, I earn a commission from qualifying purchases at no additional cost to you. My blog also features other affiliate links for your convenience. Click here to read my privacy policy.
How Do You Dry Orange Slices at Home?
Ready to fill your home with the most gorgeous DIY decorations?
There’s something almost magical about drying your own orange slices. Not only is it surprisingly easy, but there’s nothing quite like seeing those translucent amber circles come out perfectly dried and ready for crafting.
While I’ve tried pretty much every drying method out there, including the dehydrator, I always come back to my trusty oven method. It’s hands-down the most reliable way to get those picture-perfect slices, and the best part? You already have everything you need right in your kitchen
Suggested Materials to Make Dried Orange Slices
Steps for Making Dried Orange Slices
After some trial and error (and yes, a few crispy failures along the way), I’ve tweaked and fine-tuned the process into something that gives me gorgeous results every single time. And, of course, I’m sharing all my best tips with you!
Step 1: Preheat Your Oven
Set your oven to 200°F (90°C). The key is to slowly dry the slices without burning them.
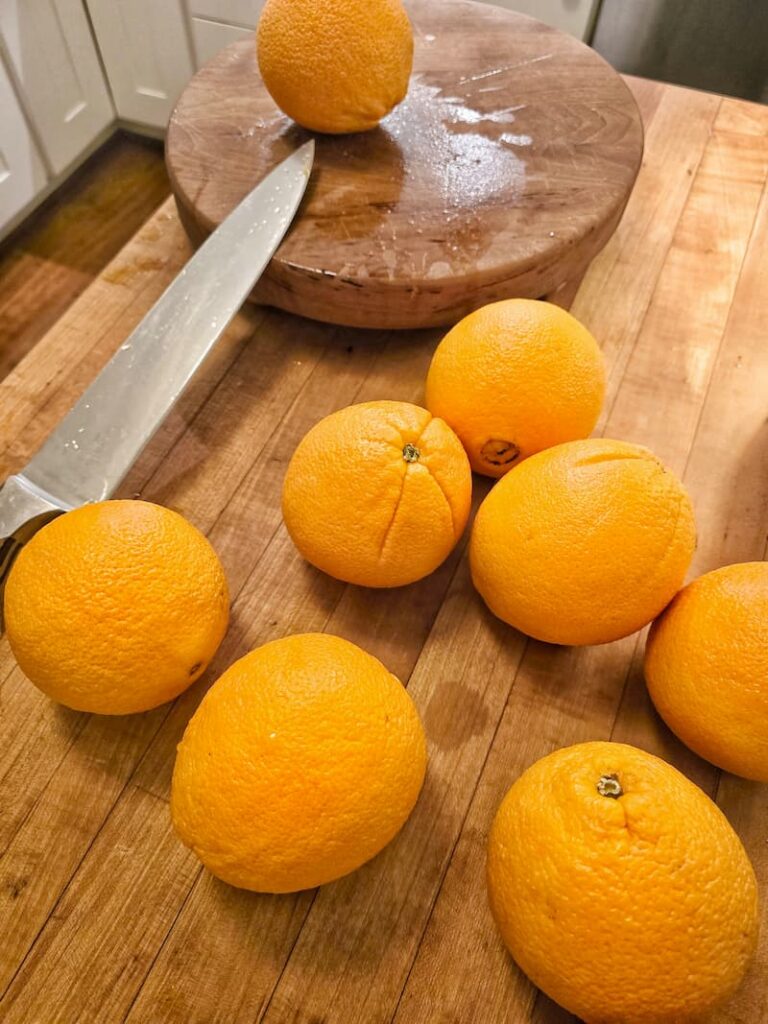
Step 2: Slice the Oranges
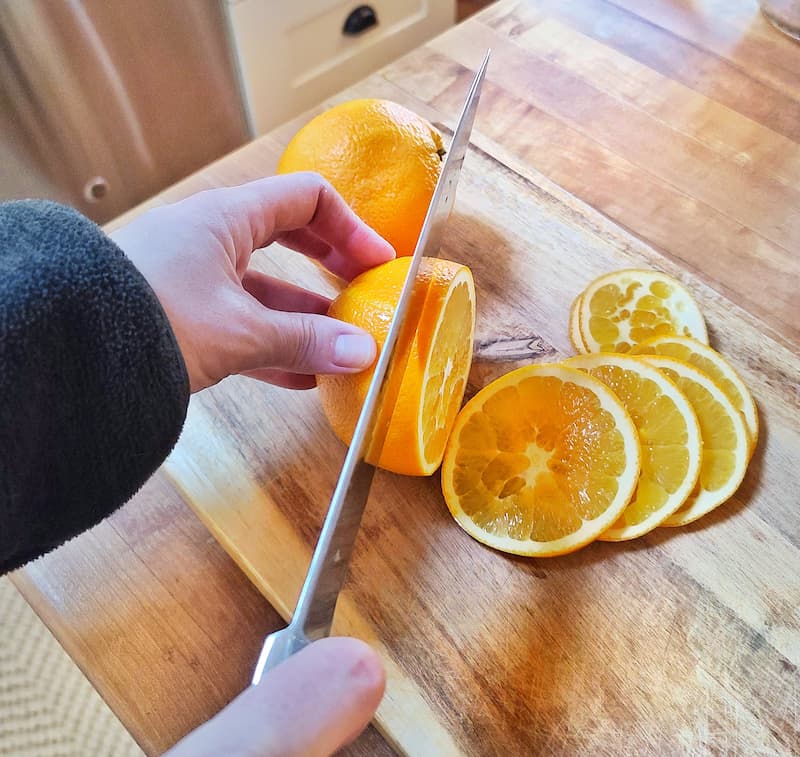
Using a sharp knife or mandoline, slice the oranges into even rounds about 1/4-inch thick.
A popular question is, “How thick is it to cut oranges for drying”? The thinner the slices, the faster they dry, so I slice them 1/4-inch thick.
Try to keep the slices uniform to ensure they dry evenly. Don’t worry if some are slightly thinner or thicker—it adds character!
Step 3: Prepare the Baking Sheets
Line your baking sheets with parchment paper or a silicone baking mat. This prevents the orange slices from sticking and makes cleanup a breeze.
Step 4: Blot Oranges
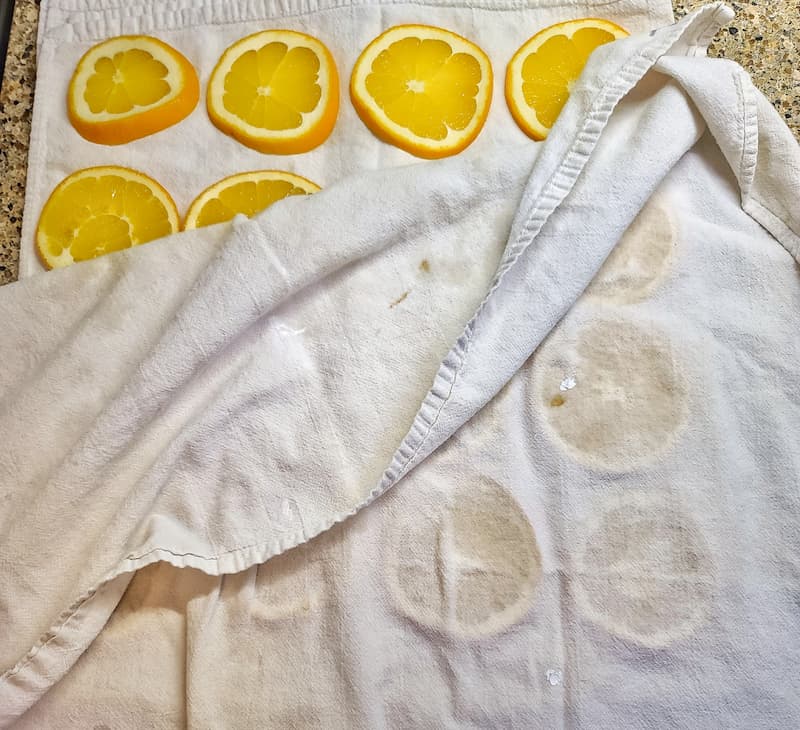
Use a dishtowel to blot the excess juice out of the oranges.
Step 5: Arrange the Orange Slices on the Baking Sheet

Place the orange slices evenly in a single layer on the baking sheet. Make sure there’s a little space between each slice for air circulation. This helps them dry evenly and prevents sticking.
Step 6: Place in the Oven
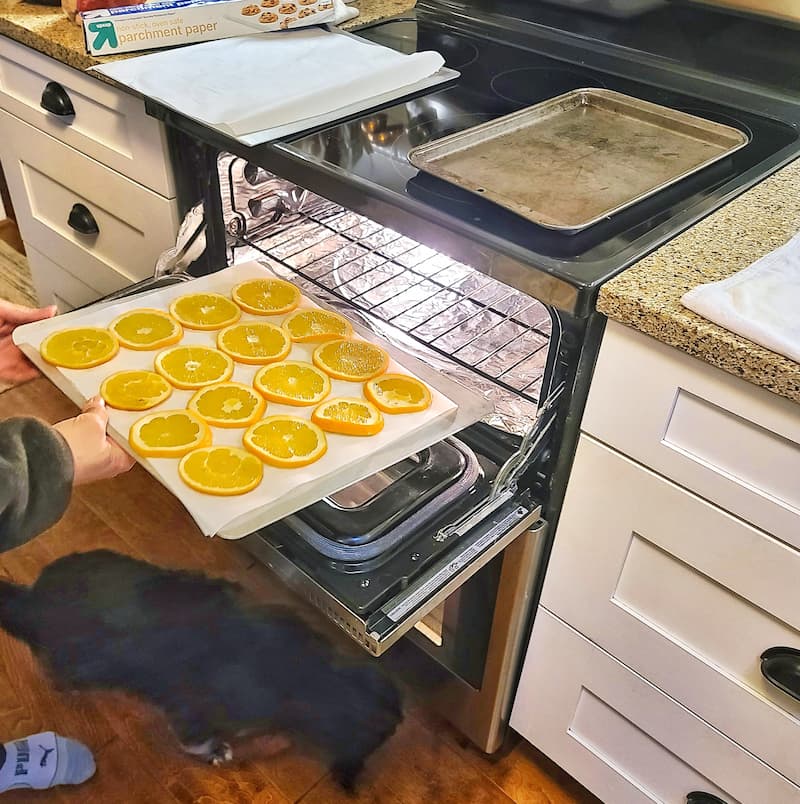
Place the baking sheet in the oven at 200° Fahrenheit for 3-4 hours, turning the orange slices every 30-45 minutes to ensure even drying. If it’s safe, keep the oven door slightly open to allow moisture to escape.
How Do I Know When My Dried Oranges Are Done?
The drying time depends on the thickness of your slices and the moisture content of the oranges.
Your orange slices are ready when they feel dry to the touch but still have a slight flexibility, leathery rather than brittle.
If unsure, let them cool for a few minutes to check their texture.
Step 7: Turn Off Oven

Turn off the oven and leave the dried orange slices in until they have cooled. Remove the slices from the oven and place them on wire cooling racks. Leave overnight to continue drying.
Store them in an airtight container or use them immediately in crafting and decor projects.
Other Methods for Making DIY Dried Orange Slices
While the oven method is the most popular way to dry orange slices at home, there are a few other creative techniques worth exploring, depending on your time and tools.
Can You Dry Oranges in an Air Fryer?
Drying oranges in an air fryer is perfect if you need smaller batches quickly or don’t want to heat up your oven. However, keep in mind that the smaller size of most air fryer baskets means you may need to work in multiple batches.
Let the orange slices dry for 30 minutes to an hour, flipping them halfway through. Keep an eye on them to prevent browning or burning, as air fryers can sometimes run hot.
Can You Dry Oranges in the Microwave?
Yes, you can dry orange slices in the microwave, but this method requires careful attention to avoid burning or uneven results. It is best to use small batches or quick projects with limited time.
Lay the slices in a single layer on a microwave-safe plate lined with a paper towel. Place another paper towel on top of the slices to absorb moisture.
Set the microwave to a medium power level and heat the slices in 30-second intervals. Check the slices after each interval and flip them to ensure even drying. Repeat this process for 4–5 minutes, depending on the slices’ thickness and your microwave’s wattage.
Can You Use a Dehydrator to Make Dried Orange Slices?
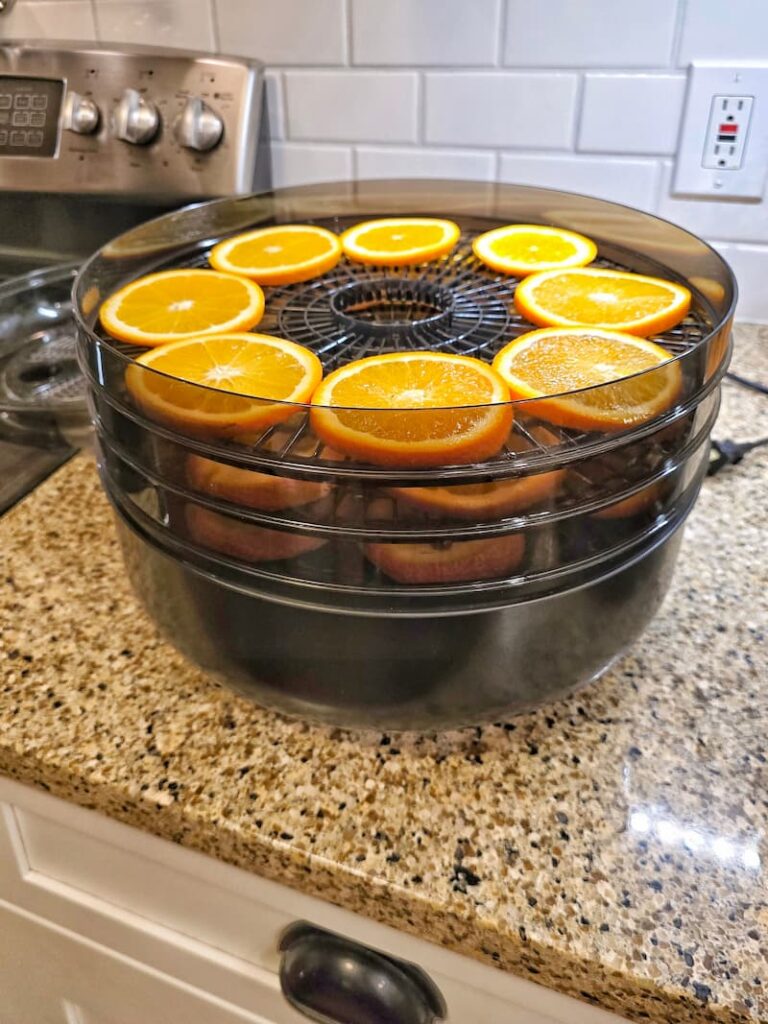
Absolutely! Using a dehydrator is one of the easiest and most reliable ways to make dried orange slices. A dehydrator is designed to circulate warm air evenly, making it a hands-off option for drying citrus slices with minimal effort.
Place the orange slices in a single layer on the dehydrator trays. Make sure the slices don’t overlap to allow proper air circulation.
Most dehydrators have a dedicated fruit or citrus setting, but if yours allows you to adjust the temperature, set it to around 125°F to 135°F (50°C to 57°C).
Most of my research suggested leaving the oranges in the dehydrator for 8-12 hours. However, I personally let my oranges dry for 48 hours. Check on them periodically for doneness.
Common Questions About DIY Dried Orange Slices
Why Are My Dried Oranges Burning?
To avoid burning your dried orange slices, keep a close eye on them as they dry, especially if you’re using an oven or air fryer, as these methods can be less predictable.
Lower the temperature, flip the slices periodically, and check their progress frequently to achieve beautifully dried oranges without any singed edges!
Why are My Oranges Sticky?
If your dried orange slices feel sticky, it usually means they haven’t dried completely. Here are the most common reasons this happens:
How to Fix Sticky Oranges:
How Long Will Dried Orange Slices Last?
Dried orange slices can last for up to 1–2 years, depending on how well they’re dried and stored. By drying the slices thoroughly and storing them properly, you can enjoy your DIY dried orange slices for years.
Do Dried Oranges Attract Bugs?
Dried orange slices can potentially attract bugs if they are not dried thoroughly or stored properly.
How to Prevent Bug Issues:
Do Dried Orange Slices Go Moldy?
Yes, dried orange slices can go moldy if not dried completely or stored in conditions promoting moisture buildup. Mold growth is caused by moisture, which creates the perfect environment for bacteria and fungi to thrive.
Can You Reuse Dried Orange Slices?
Yes, you can absolutely reuse dried orange slices, especially if they’ve been preserved and stored properly! Their durability makes them a versatile option for crafting, decorating, and even some culinary purposes.
How Can You Use Dried Oranges?

Dried oranges are an inexpensive, sustainable way to bring warmth, beauty, and fragrance to your home and projects. Whether you’re crafting, cooking, or decorating, these versatile slices add a natural, vintage-inspired charm to anything they touch.
Home Decor
Crafts
Culinary Uses
Fragrance and Aromatherapy
Gifts
Final Thoughts for Drying Oranges
Here’s what I love most about dried orange slices – they’re not just gorgeous, they’re totally budget-friendly too! For just a few dollars worth of oranges, you can create the most beautiful holiday crafts that’ll last year after year.
There’s something extra special about decking your halls with these natural beauties.
So grab some fresh oranges and create something magical! I promise this will become one of your favorite holiday traditions. There’s nothing quite like the satisfaction of making something this beautiful with your hands.
If you have any questions or additional suggestions, please share them in the comments below. And be sure to share this blog post link with anyone who may find this post helpful.
Until next time,
Happy Creating!
Follow Me for More Inspiration
Shop my Amazon Storefront, LTK sources, and my favorite home decor, garden, and lifestyle products. When you purchase from one of my links, I earn a small commission, which helps me continue sharing all the content you expect on my blog.
Be sure to follow me on Pinterest, Instagram, Facebook, TikTok and LIKEtoKNOW.it. Do you like gardening? Join my Facebook Gardening Tips & Tricks group.


Seriously so excited to try this, Kim! You always decorate in the most amazing ways with orange slices from garlands to wreaths to your gorgeous tree. Can’t wait to pin and will share on an upcoming post. They’re so pretty and I love that you can use them in multiple seasons too. Hugs and thanks for the comprehensive guide too. It helps so much, CoCo
Thanks you so much CoCo! And thank you for sharing it on your blog. That means a lot. Wishing you the very best for 2025!
Hi Kim, I love oranges and just finished making some for this Christmas. I’m going to share this post in my next upcoming post on the blog! Happy Holidays!