
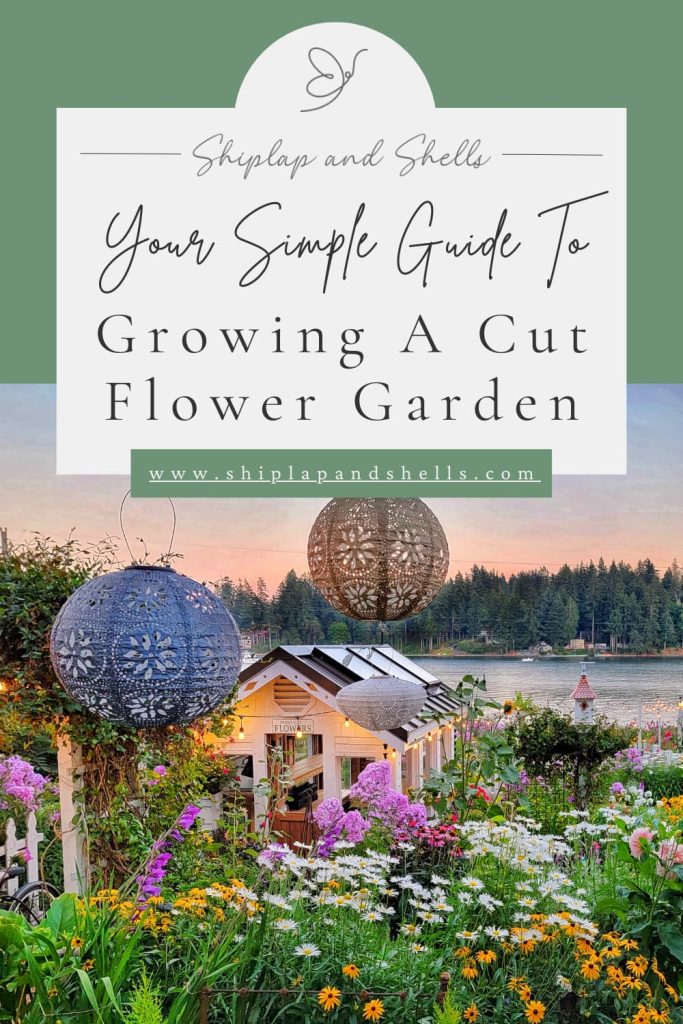
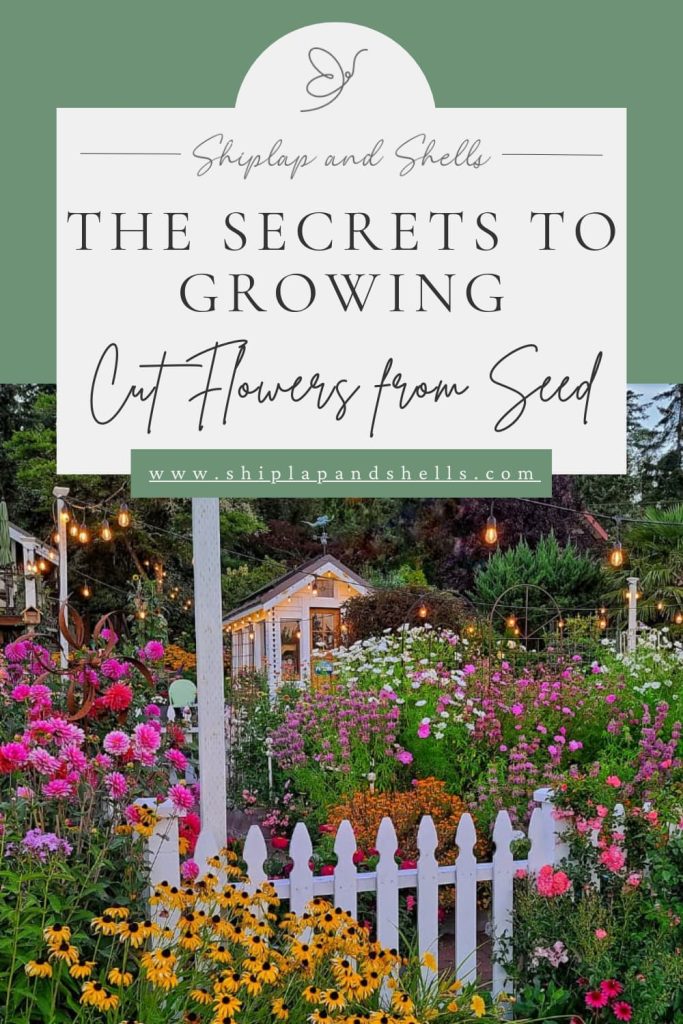
Growing Cut Flowers from Seed: Seed Starting 101
Updated on 1/25/2024
Are you thinking about growing cut flowers from seed but unsure where to start? In this post, I’ll share the benefits of growing flowers from seed and basic seed-starting tips I’ve learned along the way. This is Part 1 in my series on growing a cut flower garden.
Starting a cut flower garden from seed is a great way to get a jump on the season and a chance to grow different varieties of beautiful flowers you may not find at your local nursery or garden center.
Another great reason for growing your own flowers from seeds is how cost-effective it can be. The money it takes to buy a packet of seeds will most likely cost the same as buying one plant!
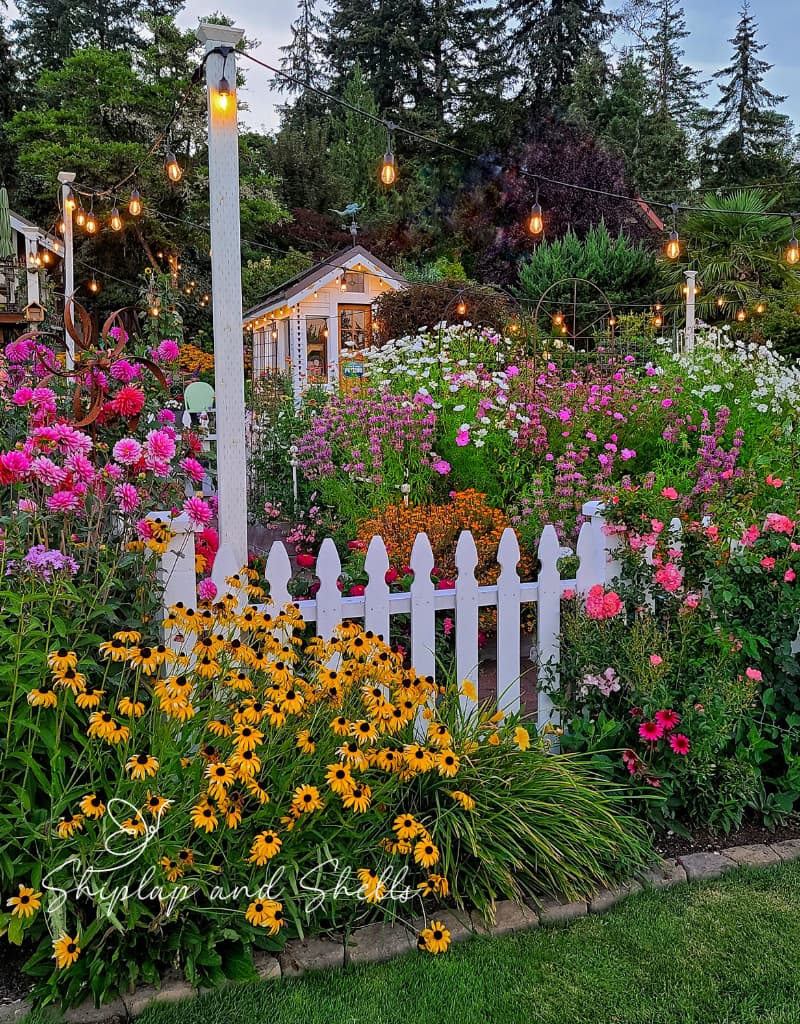
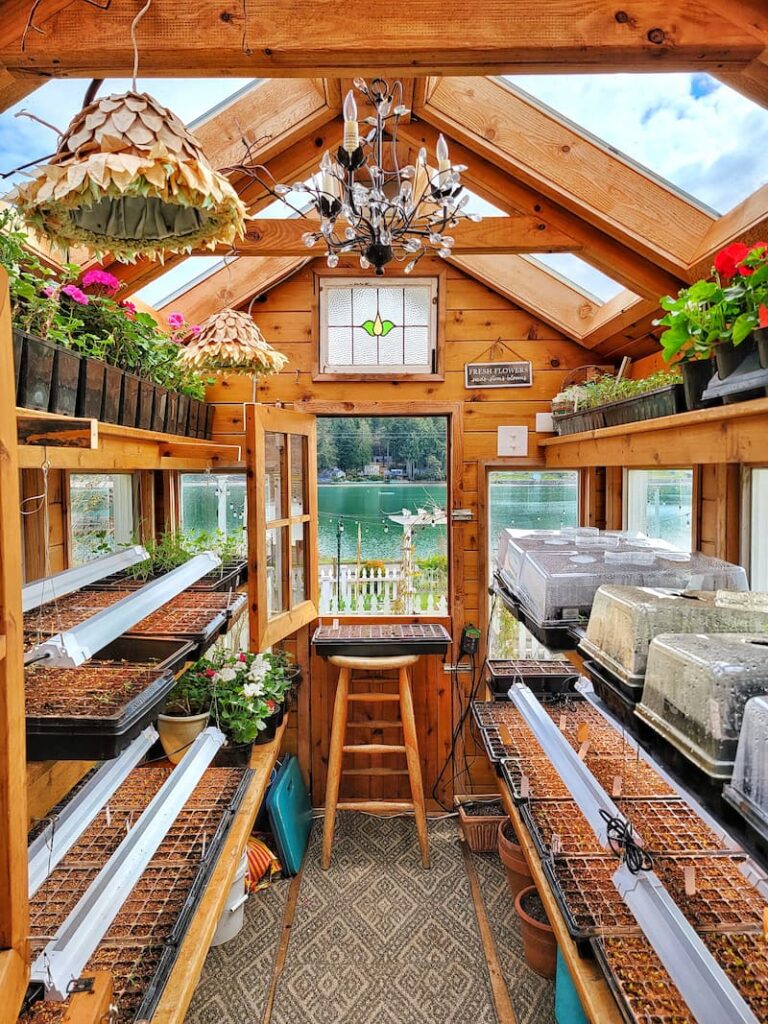
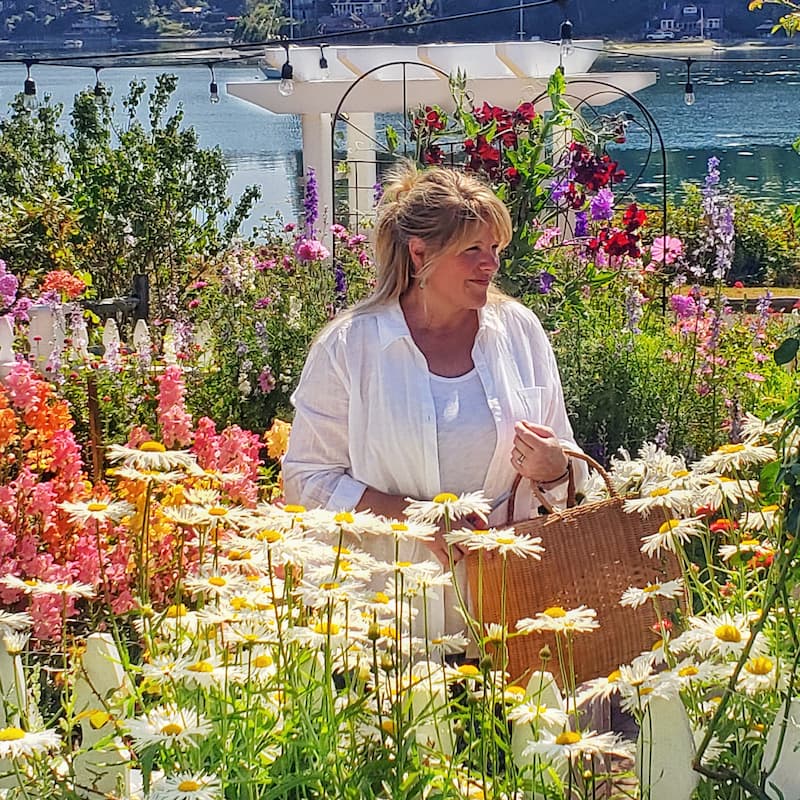
One of my favorite things about gardening is starting my cut flower garden from seed in my greenhouse. There is a sense of accomplishment when you see your first small seedlings sprouting from the soil!
As an Amazon affiliate, I earn from qualifying purchases at no extra cost to you. My blog contains other affiliate links for your convenience as well. Click here to read my privacy policy.
I’m a self-taught hobby gardener, not a Master Gardener. Everything I share with you on my blog is my opinion and things that have worked for me.

What Is Seed Starting?
Seed starting is the process of germinating seeds indoors to give plants a head start before they are transplanted outside.
This method is beneficial for flowers, allowing gardeners to control the environment and ensuring optimal conditions for growth.
During indoor seed starting, seeds are sown in containers filled with the nutrient-rich growing medium rather than directly into the garden soil.
This protects the delicate seeds from harsh outdoor elements and pests. The controlled indoor environment, with consistent temperature and humidity, encourages quicker and more reliable germination.
Gardeners can begin the germination process weeks or even months before the last spring frost date. This is ideal for flowers with a longer maturing period or regions with shorter growing seasons.
Growing Cut Flowers from Seed vs Seedlings
Growing plants from seeds offers several advantages over purchasing seedlings from a nursery.
Seed Starting Supplies
Check out my favorite supplies and tools for starting seeds indoors. Whether you’re looking for grow lights or a seed starting mix, you’ll find what I use in my own greenhouse.
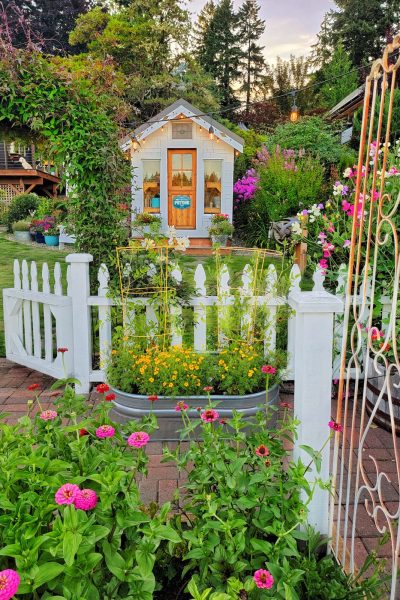
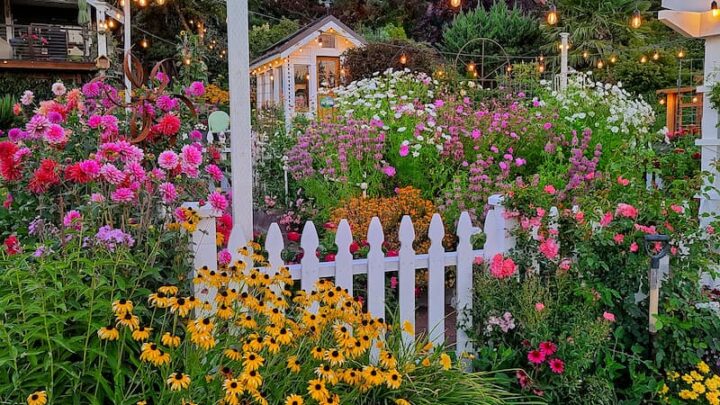
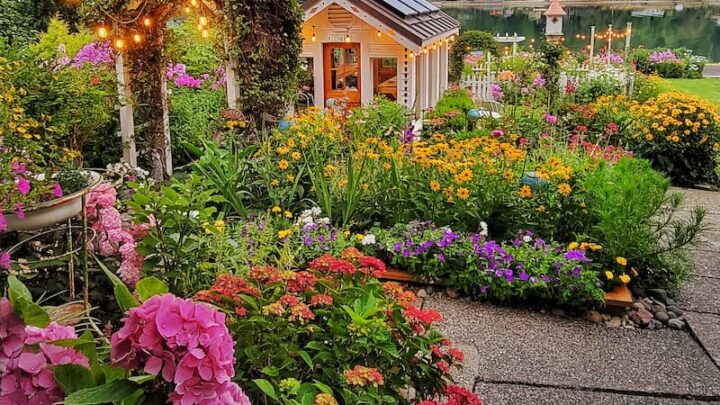
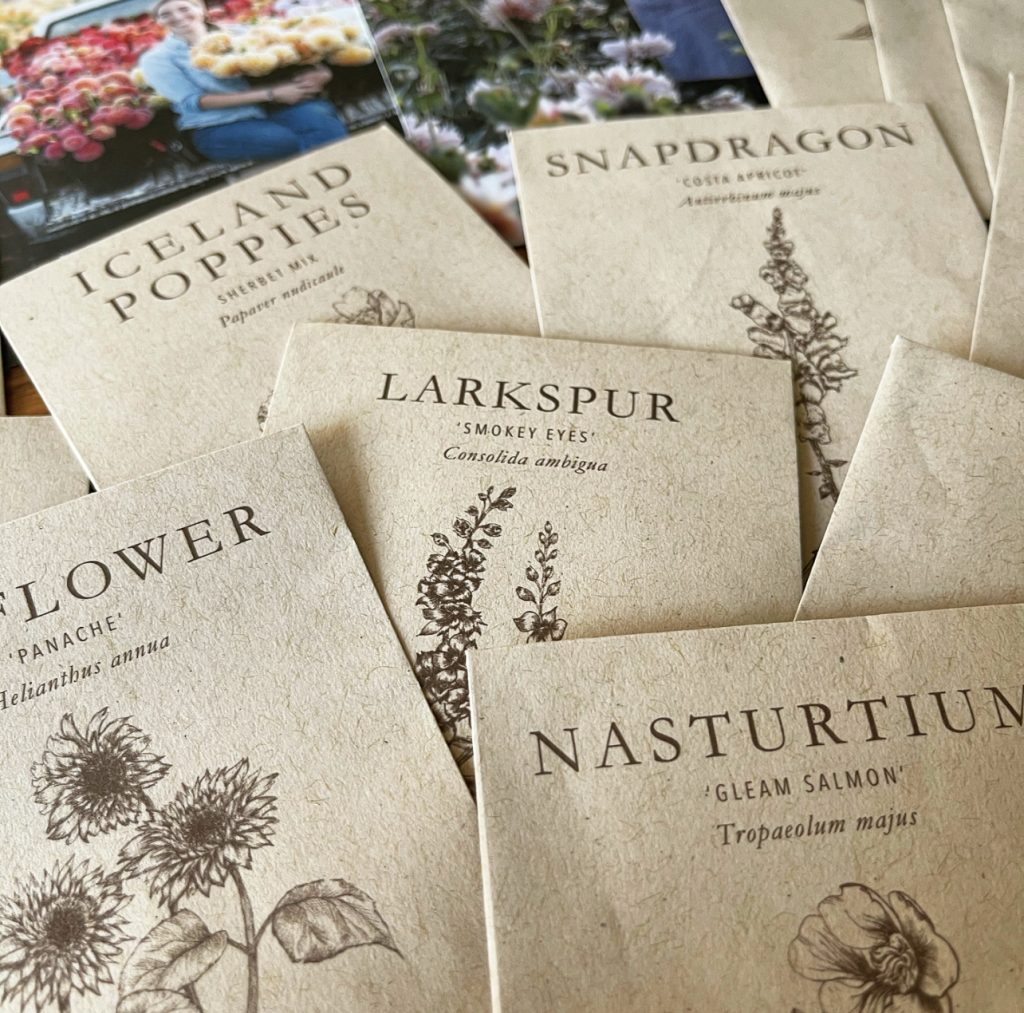
The Best Cut Flowers to Grow From Seed
The best cut flowers to grow from seed are not only beautiful and long-lasting in a vase but also relatively easy to cultivate. Here are some top choices:
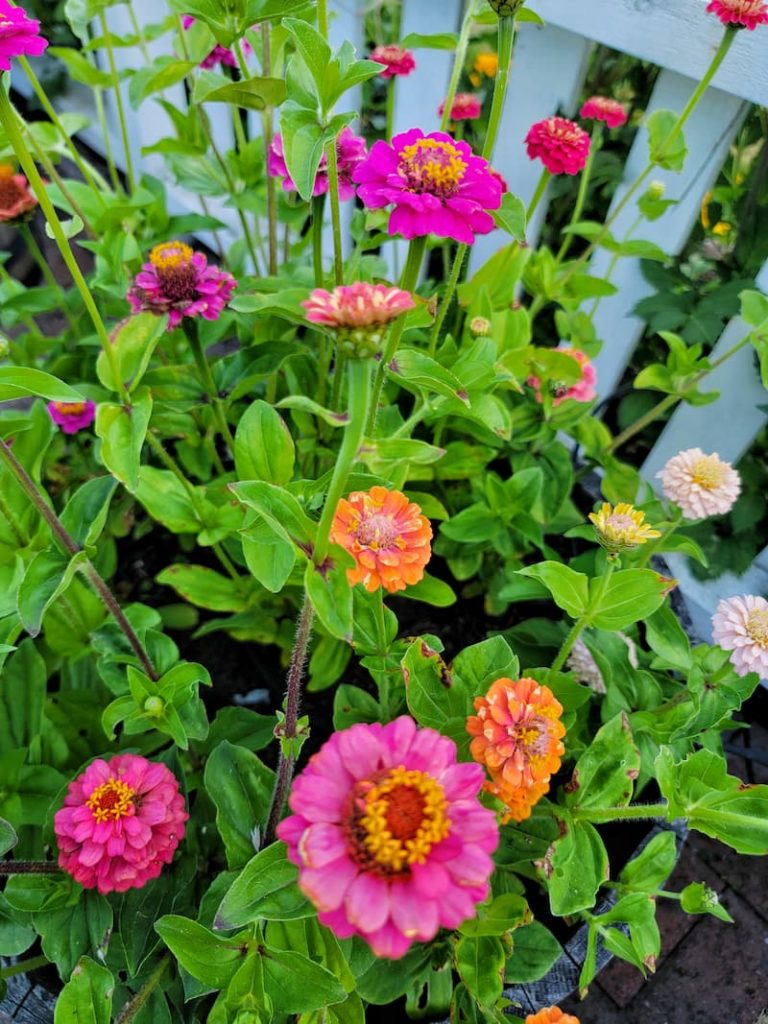
Zinnias
These vibrant and colorful annual flowers are a favorite for many gardeners. Zinnias are easy to grow from seed and bloom, providing a continuous supply of flowers for cutting throughout the summer.
The more you harvest, the more these beauties will produce blooms.
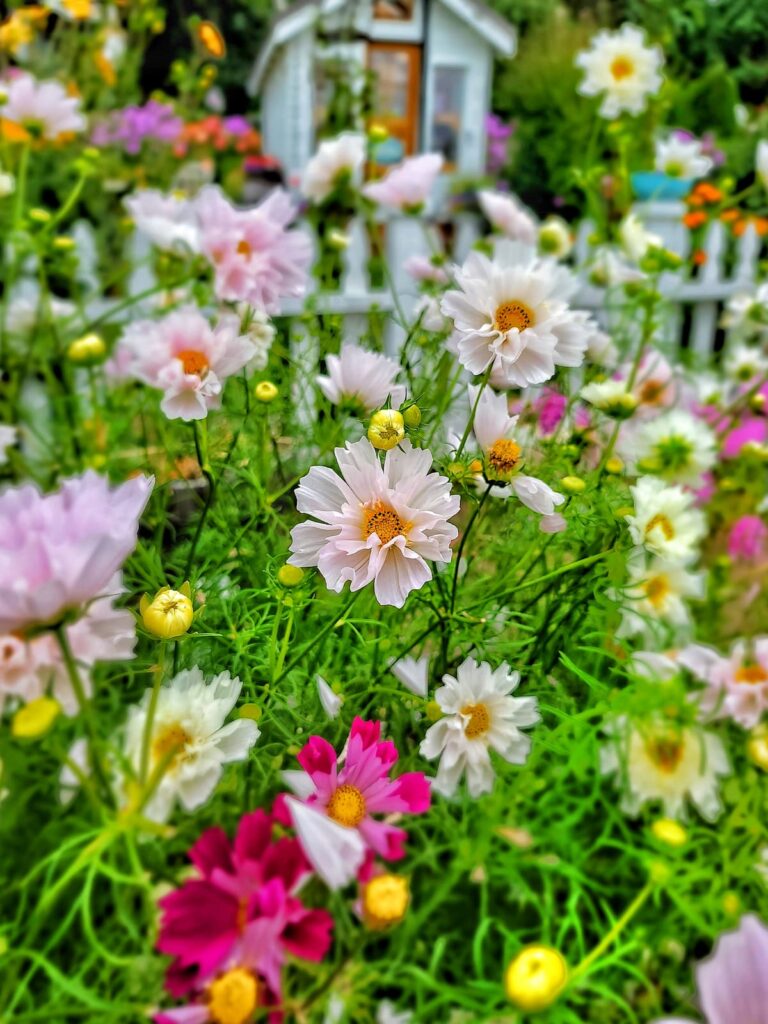
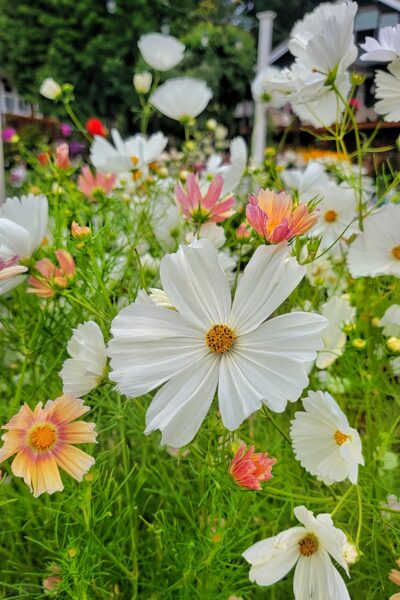
Cosmos
These delicate, daisy-like annual cut flowers with feathery foliage add a whimsical touch to arrangements. Cosmos are drought-tolerant and thrive in poor soil conditions, making them an excellent choice for beginner gardeners.
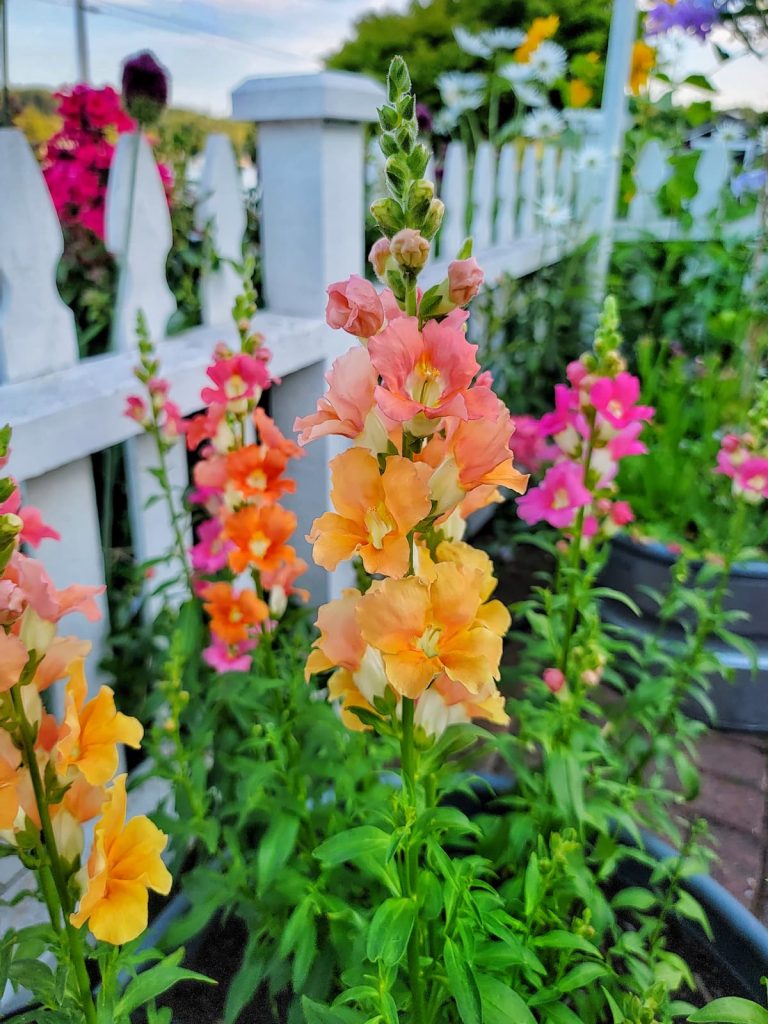
Snapdragons
Offering a range of colors and heights, snapdragons are a versatile choice for cutting gardens. A vase of fresh flowers has a long life and can be sown directly into the garden in early spring.
Snapdragons can benefit from succession planting which is sowing seeds multiple times spaced out over a few weeks.
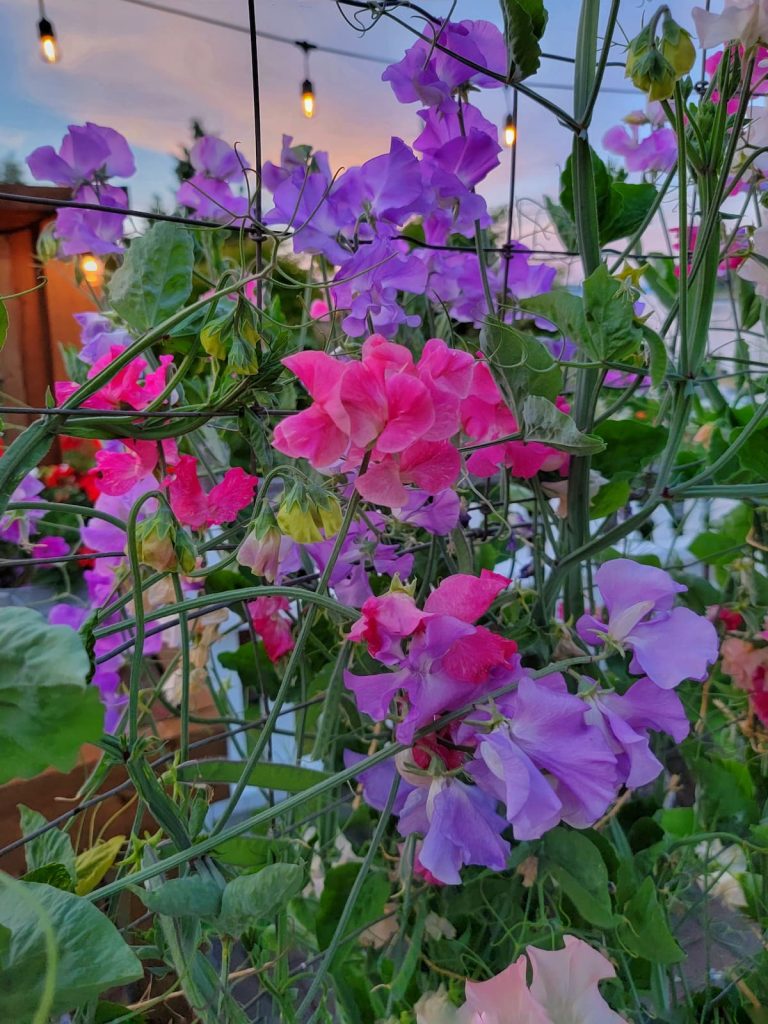
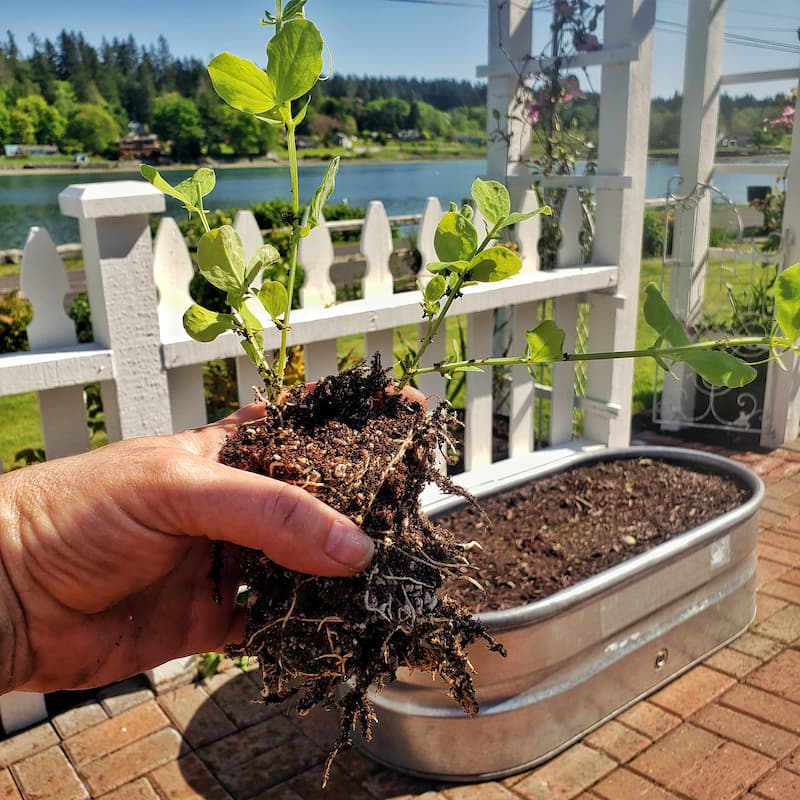
Sweet Peas
Known for their beautiful fragrance and delicate blooms, sweet peas are a classic choice for cut flowers. They prefer cooler temperatures, so it’s best to start them early in the season.
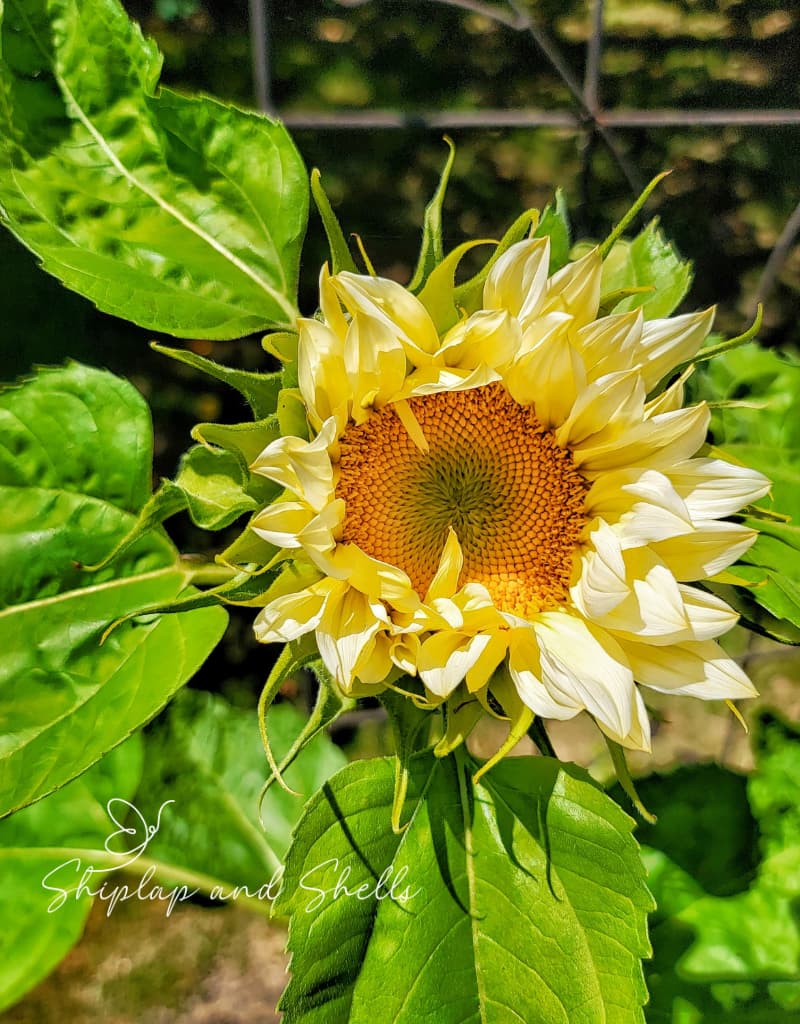
Sunflowers
With their big cheerful blooms, sunflowers are a stunning addition to any bouquet. They come in various sizes and colors, and most varieties are simple to grow from seed.

Marigolds
With their bright, cheerful blooms, marigolds are easy to grow and are great for adding a vibrant touch to your beautiful bouquets.
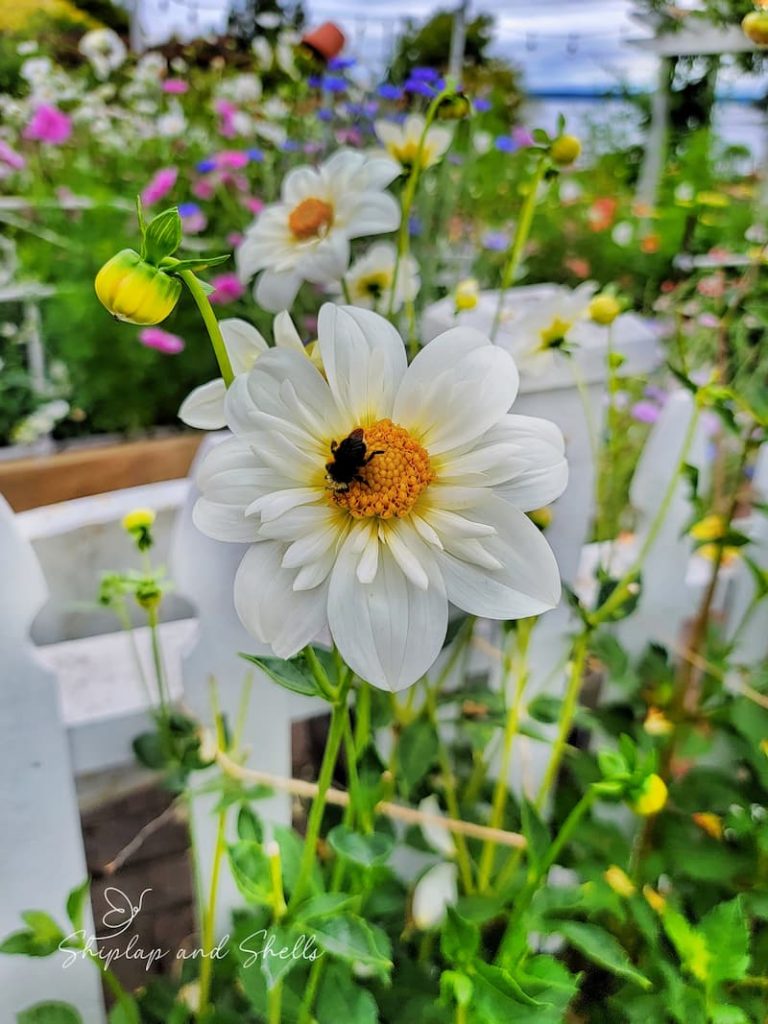
Dahlias
These beautiful blooms are often grown from tubers, but can also be started from seed. They offer a spectacular range of colors and forms and have a good vase life.
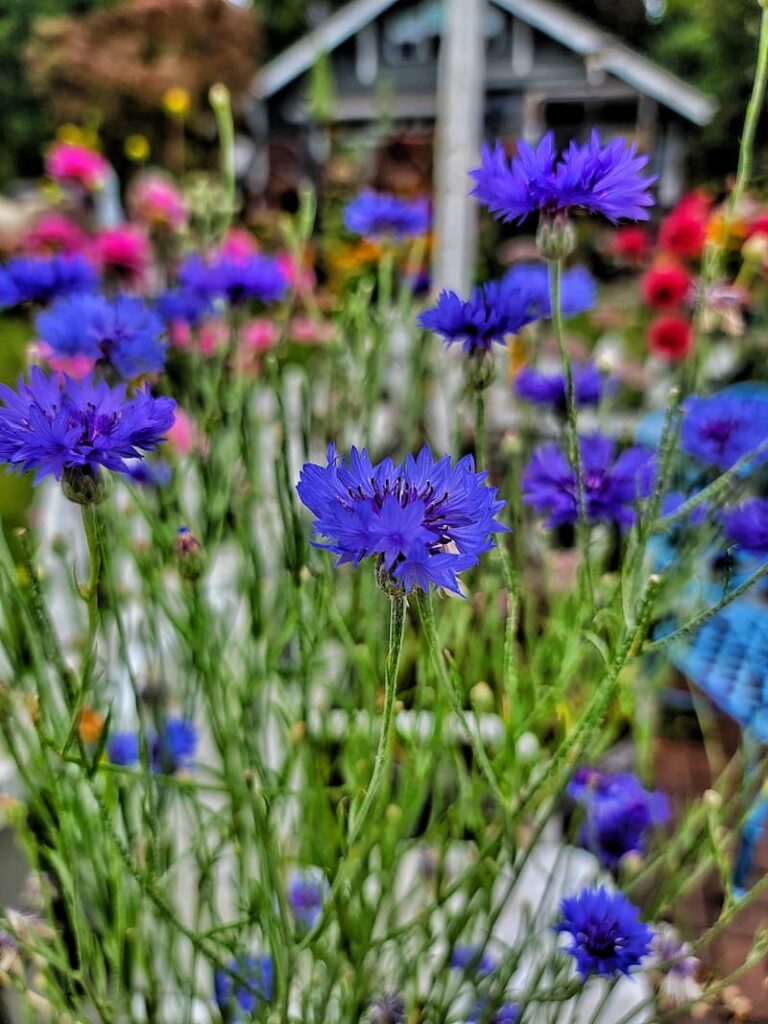
Bachelor’s Buttons (Cornflower)
These charming blue flowers are very easy to grow and can often self-seed in the garden. They’re excellent for adding a pop of color to any arrangement.
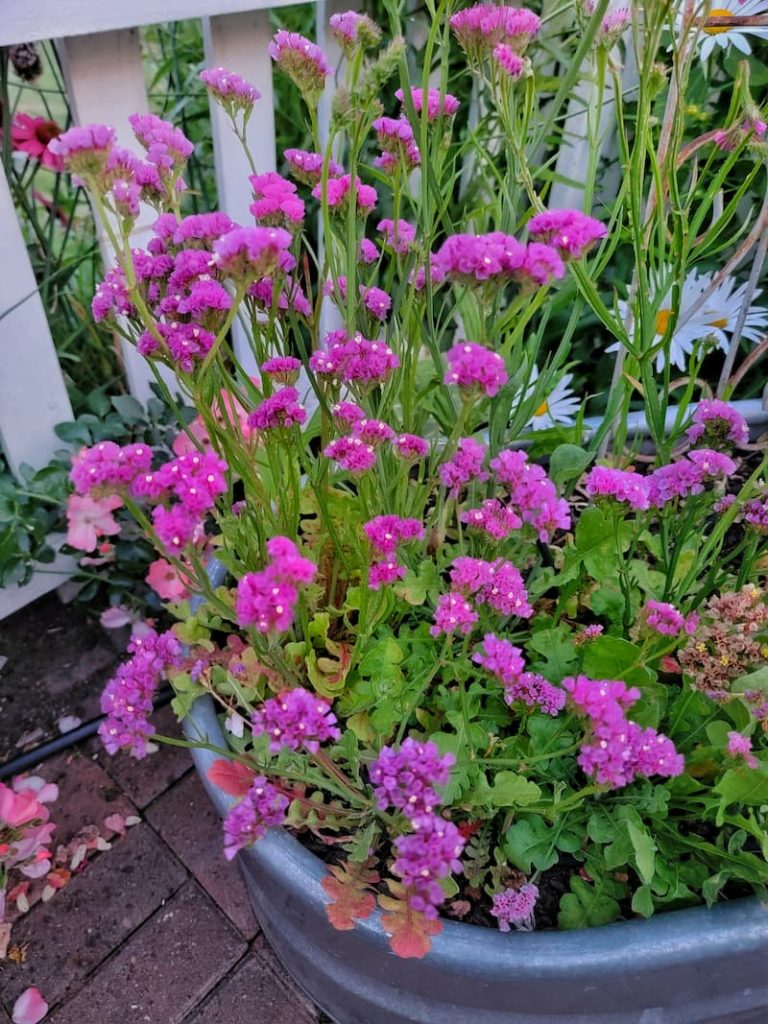
Statice
Known for its papery, long-lasting blooms, statice is a popular choice for both fresh and dried floral arrangements. It’s easy to grow and comes in a variety of colors, including shades of blue, purple, pink, and white.
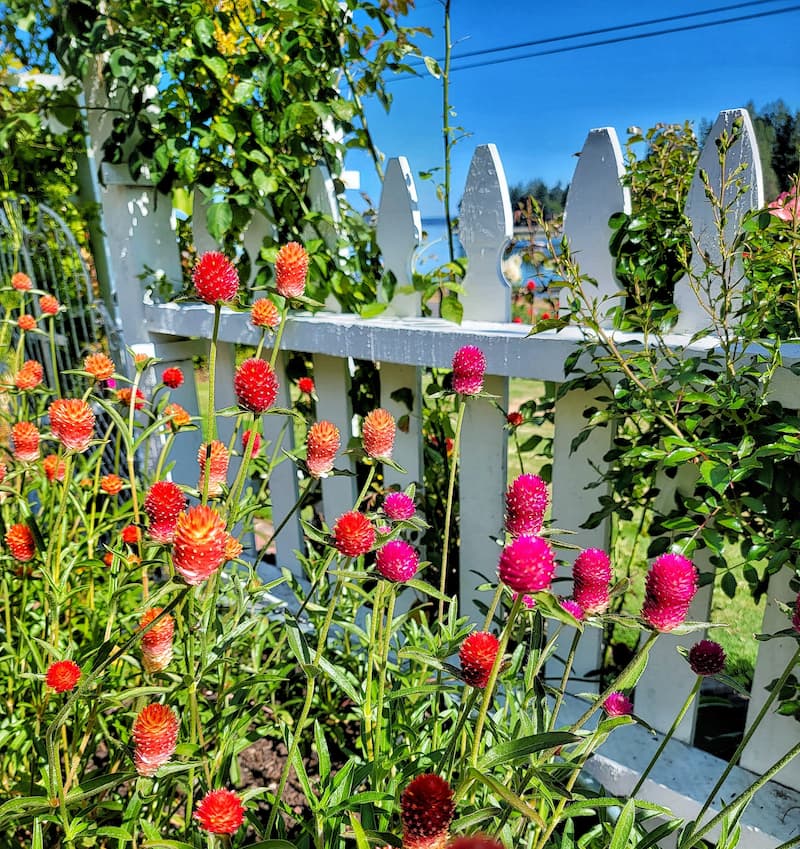
Gomphrena (Globe Amaranth)
These small, globe-shaped flowers are perfect for adding texture and color to arrangements. They are drought-resistant and thrive in hot, sunny conditions, making them a great choice for warmer climates.
When choosing flowers to grow from seed for cutting, it’s important to consider the growing conditions in your area and the specific needs of each plant. With care and attention, these flowers can provide abundant blooms for beautiful, home-grown bouquets throughout the growing season.
‘Growing a Cut Flower Garden’ Series
Learn about the ins and outs of growing a cut flower garden this year. Click the button below to be taken to the entire series of blog posts and choose what is interesting to you.

Common Questions About Starting Cut Flower Seeds Indoors
Can You Start Seeds Without a Greenhouse?
Although I start most of my seeds inside the greenhouse, there are other options if you don’t have one.
Many gardeners grow plants in their basements, garages, or kitchens. If you’re starting seeds in a space without a natural light source, I highly recommend purchasing grow lights for adequate light.
You can put a few trays on top of a radiator to encourage seeds to sprout more quickly. If you have the space, I would suggest buying a heat mat.
Starting seeds indoors will allow you to get a head start with the season and transplant much larger, more established plants into the garden once the weather has warmed up.
When Should You Start Seeds Indoors?
One of the most important tasks when it comes to getting ready to sow seeds is to be aware of your hardiness zone and the expected last frost date in your area. You can check your frost dates on the Old Farmer’s Almanac website.

When starting the process of growing a cut flower garden by seed, read the growing instructions with recommended seed sowing times on the back of the seed packet or the catalog descriptions to determine the best time to sow your seeds.
Varieties such as sweet peas and pansies need to be started as early as 10-12 weeks before your last frost date. Most of the seeds I’ve chosen to grow in my own cutting garden this year will need to be sown 4-6 weeks before my last frost date.
Tip
If you sow the seeds too early and the weather is still too cold to transplant, your seedlings will become too big for their containers, causing your plants to become root-bound.
How Long Does it Take for Flowers to Grow from Seeds?
The time it takes for flowers to grow from seeds varies depending on the type of flower, growing conditions, and care provided.
The speed of growth can depend on:
Supplies You Will Need to Sow Seeds for Your Cut Flower Garden
Here is a basic list of the seed-starting supplies you’ll need for the season. For more detailed information, you can also read my blog post on Supplies Needed for Seed Starting.
Seed Starting 101: My Best Tips for Growing Cut Flowers from Seed
Here are some good cut flower tips from all that I’ve learned throughout the years with my own cut flower garden.
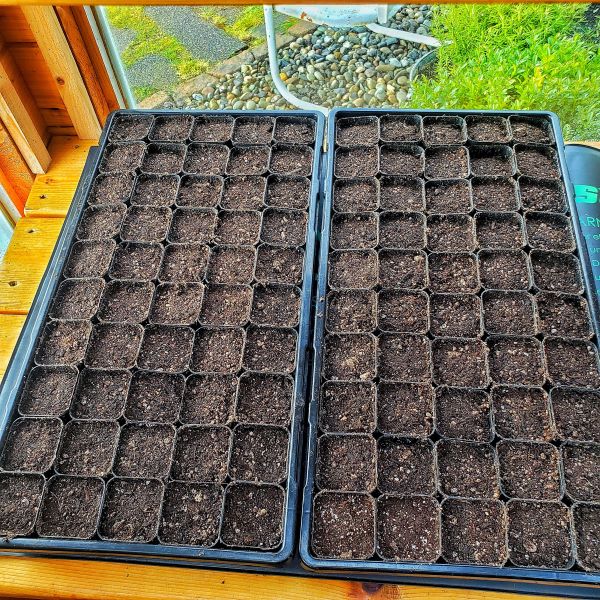
Best Containers for Starting Cut Flower Seeds
You can start seeds in just about anything that holds soil and drains water. If you are just starting out and want to save some money on supplies, you can create holes in the bottom of egg cartons, plastic cups, or Dixie cups and use them as containers.
Peat pots are a good option as well.

If you are reusing old plastic containers or trays, wash them thoroughly with a 1-part bleach/9-part water solution to help kill any lingering diseases or pathogens.
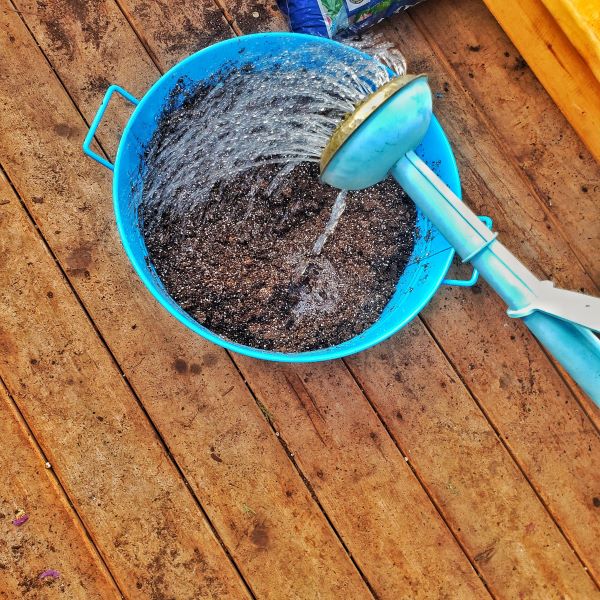
Use Moistened Seed Starting Potting Mix
I use a high-quality organic seed starting potting mix for sowing seeds.
A seed starting mix is better for sowing seeds than regular potting soil because it has a finer texture and higher porosity. This allows for better water and oxygen access for seed germination.
It also contains fewer nutrients, which is beneficial because it prevents seedlings from becoming leggy and weak. A seed starting mix is less likely to contain weed seeds and disease organisms, which can be problematic when a regular potting mix is used.
Seed-starting mixes are usually formulated to maintain a more consistent moisture content, which is vital for successful seed germination.
Moisten the mix before adding it to the containers or cells.
Sowing Your Cut Flower Garden Seeds
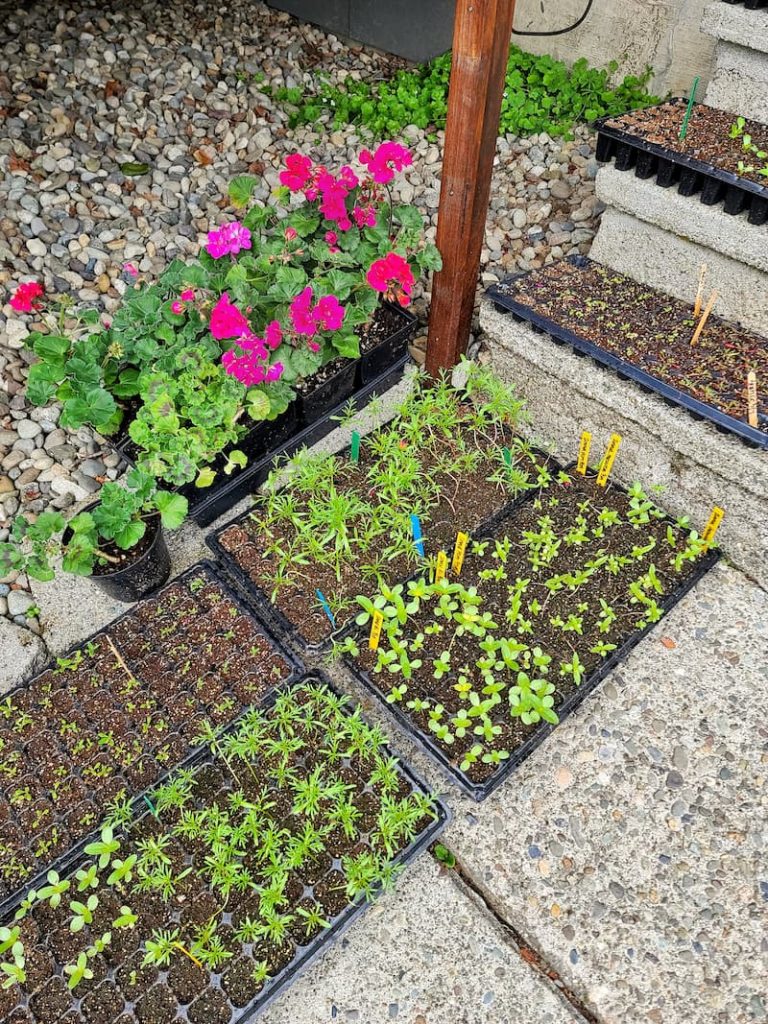
Make holes in each cell using your finger, a dibbler, or a pencil. Most seed packets have directions as to how deep to plant the seeds. A general rule of thumb is to plant the seed twice as deep as it is big.
Drop 1-2 seeds into each hole until the tray is full. Cover the tray with a light dusting of fine vermiculite or seed starting mix, ensuring all the seeds are covered.
Tip
Check the seed packet instructions! Some seeds need light for germination and shouldn’t have anything covering the seeds.
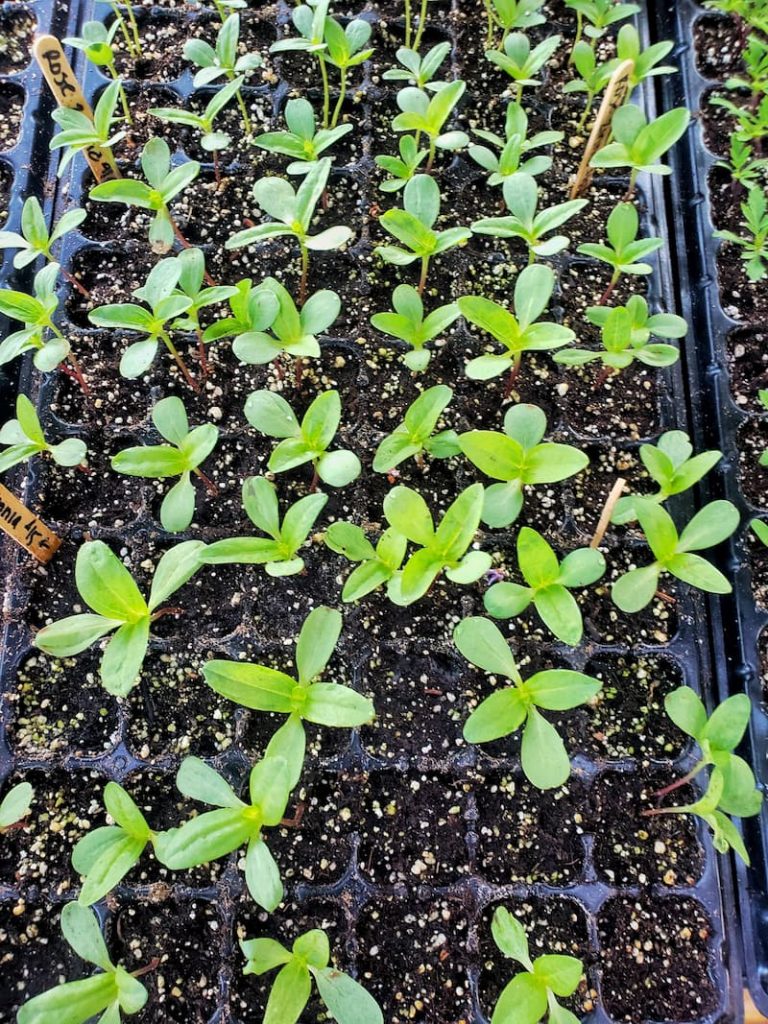
Use Only One Variety Per Cell Tray
Do not seed more than one type of flower in a cell tray. This is especially true if you plan to use a plastic dome lid. Germination rates vary by variety, so it is best to have all cells filled with the same seeds.
The varying heights between plants will also be a concern if you use grow lights. When the light is adjusted for the taller plants within the cell, the shorter plants within the tray can get leggy.

Watering Your Cut Flower Seeds and Young Seedlings
It’s so important not to overhead water after you’ve placed the seeds in the container. You may wash the seeds away and have to start the process over again.
Watering from the bottom allows the roots to be watered thoroughly.

Set the freshly sown seed flats or cells in a waterproof tray with an inch of water in the bottom. This allows the seed to soak up the water from below, making it less likely to overwater.
Leave the water in the trays for 10-30 minutes, checking for moist soil every 10 minutes with your finger at the top of the container. Empty any remaining water once the soil surface is evenly moist. Check on your plant’s soil at least once a day.
Seed trays should not be watered from overhead until the plants have their first set of true leaves.
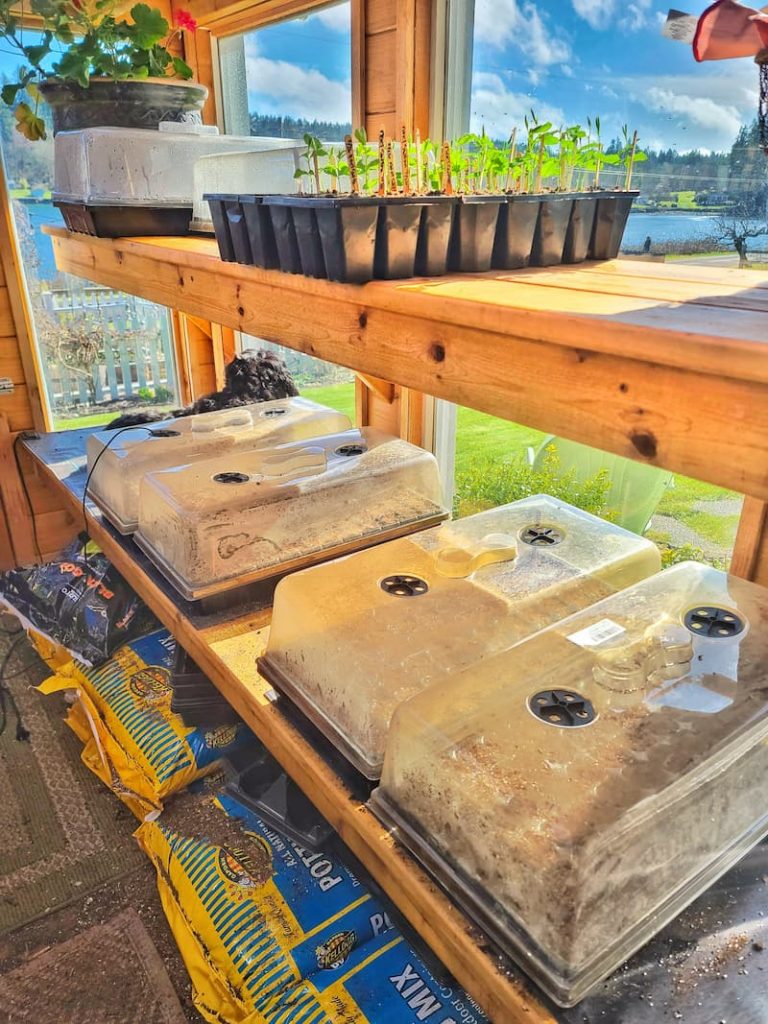
Tools to Help Germinate Quickly
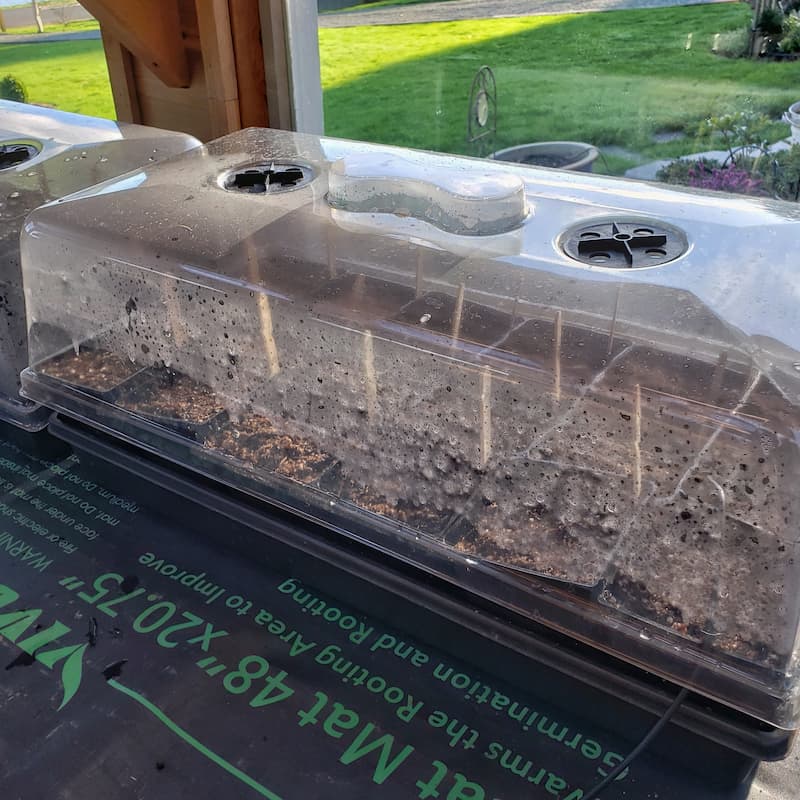
Seeds need to be kept warm and moist to germinate rapidly. Using a heat mat allows bottom heat to get your seeds and will help the germination rate.
Unless the directions on the seed packet state otherwise, set the mat at 65-75° F. You can also put a few trays on top of a radiator.
Using a plastic dome cover to keep up the humidity will also help the seeds germinate quickly. Remove both the mat and plastic lid when the seeds start to germinate.
Tip
If you are new to growing flowers from seed and are researching which items need to be purchased, this might help. You may not have to buy as many heat mats and plastic dome covers as you think.
Once your seeds germinate, you no longer need to use these two items. And because your seeds will be sown at different times depending on the variety (some at eight weeks before the last frost date, some at six weeks), you can move the mat and cover to the next set of seeds you’re ready to start.
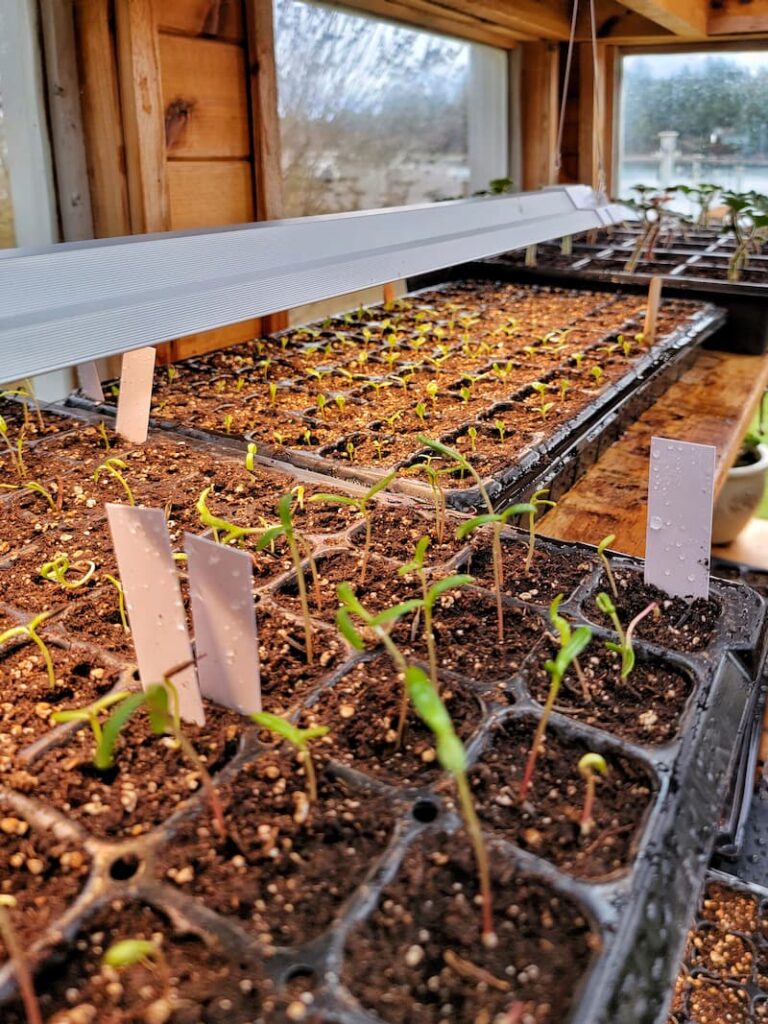
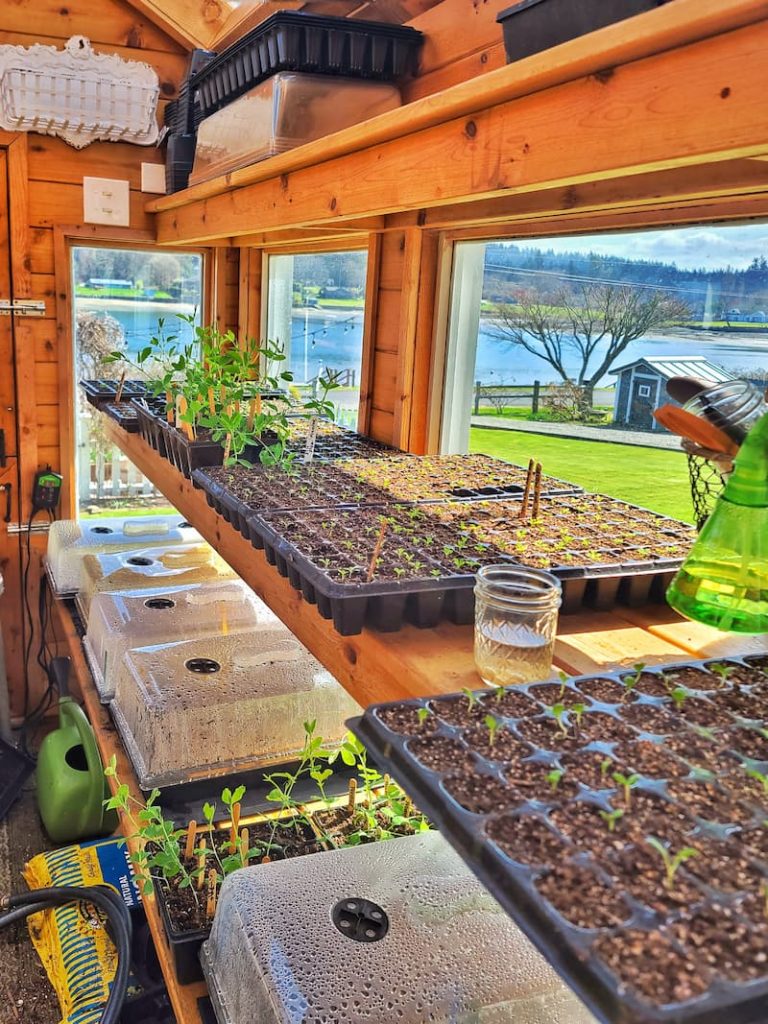
Providing Light When Starting Cut Flower Seeds
It’s a good idea for seed starts to receive 12-16 hours of light daily for the best results. If seedlings do not have enough light, you will end up with leggy plants.
A grow light is a great idea, especially if you are growing your seeds in a basement or somewhere with little light. If you are using a grow light, it must be adjusted to be suspended no more than 3-in. above the top of your plants.
Make sure you adjust the lights as the plants grow taller to be continually 2-3 inches above the tallest plant.

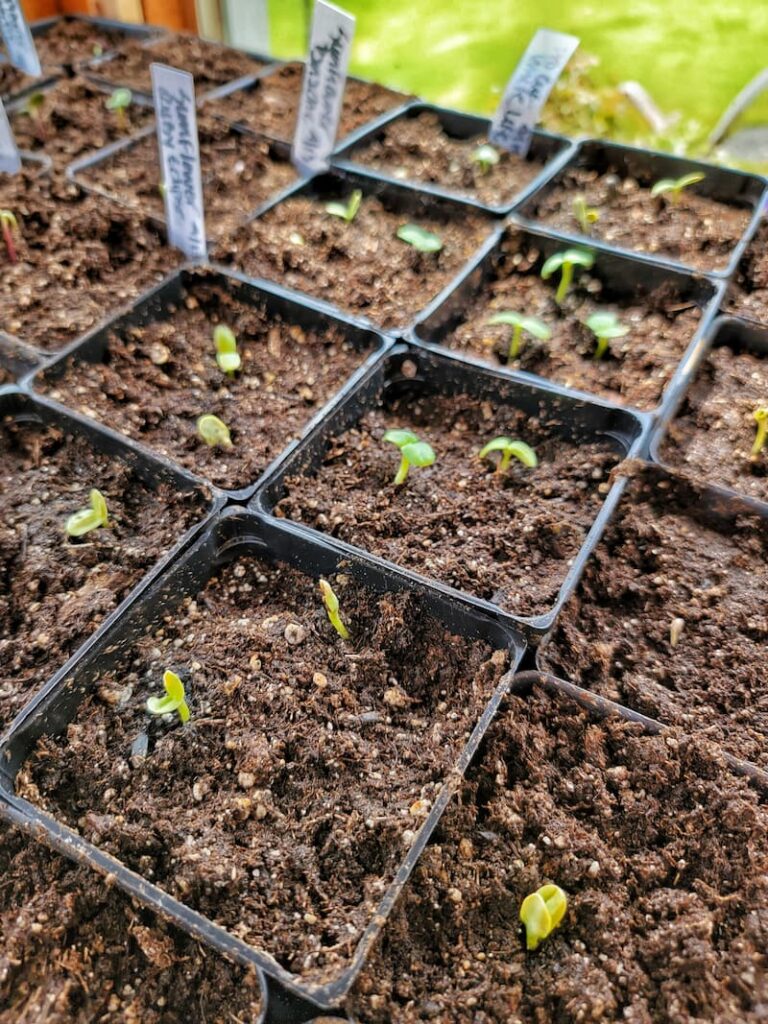
Label Your Plants
Label each cell tray or container with the name of the seed variety and the date sown. It’s extremely important to label your seed trays immediately after sowing.
You would be surprised by how much the seedlings all look the same.
Run a Fan for Circulation When Starting Seeds Indoors
Having a fan running in the greenhouse will help with air circulation. The gentle breeze stimulates young plants, which helps to prevent spindly, weak growth.
Exhaust fans help provide proper ventilation in your greenhouse, protecting your vulnerable new seedlings from diseases and pests. In addition to keeping optimal temperatures, exhaust fans also help with humidity management.
Feeding Your Seed Starts
As the plants grow, they will need to be fed. Add the amount of liquid seaweed and fish emulsion blend, as stated in the instructions, to your watering can and drench plants weekly.
Don’t Forget to Harden Off Your Plants
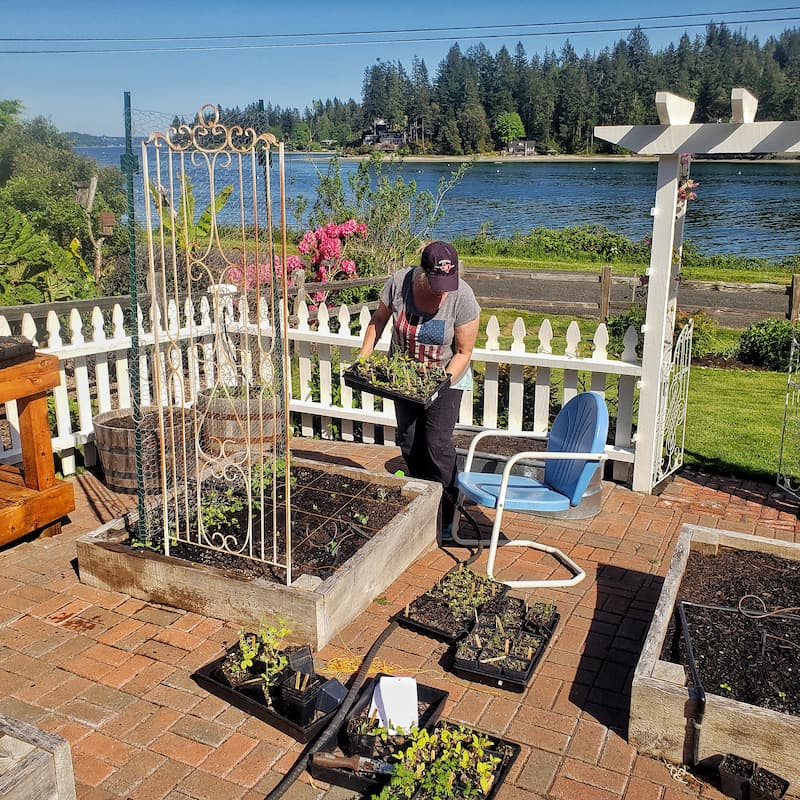
You will need to prepare your seedlings for the transition outside. It is crucial to “harden off” your seed starts to prevent them from going into shock by the sudden change in temperature.
If you suddenly take these seedlings from a warm space they’ve been used to and expose them to bright sun, the wind and temperature swings in the open garden will be stressful to the plant.
For a couple of weeks, set the pots and trays outside in a sheltered area, increasing the amount of time they spend each day. This will help acclimate the seedlings to their new outdoor environment and temperature fluctuations. They can be transplanted into the garden once all danger of frost has passed.
Direct Sow Hardy Annual Seeds in the Cut Flower Garden
Many hardy annuals do not like being transplanted and do best when sown directly into the soil. The seed packet will usually have information on the back of the seed packet, instructing you to directly plant outdoors. Before direct sowing, ensure all danger of frost is gone unless directions state otherwise.
For certain varieties of flower seeds, you’ll have the choice to either direct seed or start indoors. If you indoor seed, you can speed up germination for these cold-tolerant varieties, such as larkspur, by chilling the seeds in a refrigerator or freezer for a week before sowing.
Garden Supplies and Tools
Check out my favorite garden supplies and tools for the growing season. Whether you’re looking for potting soil or deer repellent, you’ll find what I use in my own garden.
How to Use Leftover Seeds
If you have leftover seeds after sowing, you can use them for future use. Be sure to store your seeds in a cool, dark, and dry place, free from rodents or insects.
Most cut flower garden seeds maintain their viability for up to two years, but germination rates decrease over time.
I know the process of growing cut flowers from seed can be intimidating for new gardeners, and it still makes me nervous sometimes. But don’t let that keep you from having fun and making this a fun learning process!
You can read all the blog posts in the GROWING A CUT FLOWER GARDEN series.
I hope this post has inspired you to grow a cut flower garden from seed and given you a better understanding of where to start.
With these seed-starting basics, you can grow healthy seedlings and have the most gorgeous fresh flowers this growing season.
Mistakes are inevitable, but learning and “growing” from your mistakes makes this entire process worth it!
If you have any questions or additional suggestions, please share them in the comments below. And be sure to share this blog post link with anyone who may find these gardening tips useful.
Until next time,
Happy Gardening!
Follow Me for More Inspiration
Shop my Amazon Storefront, LTK sources, and favorite home decor, garden, and lifestyle products. When you purchase from one of my links, I earn a small commission, which helps me continue sharing all the content you expect on my blog.
Be sure to follow me on Pinterest, Instagram, Facebook, TikTok and LIKEtoKNOW.it. Do you like gardening? Join my Facebook Gardening Tips & Tricks group.


Other Posts You May Enjoy...

Make sure you visit my friend Stacy of Bricks ‘n Blooms to learn how to grow seeds without a greenhouse.

Kim,
I can’t wait to get my seeds and study this tutorial even more. I’m sharing this on my Dirt Road Adventures this week.
Oh thank you Rachel! I really appreciate that. We’re going to have so much fun!
This is great Kim! Although I’ve been gardening for 20 years (strange since I’m barely 30) this is the first year I’m going to tackle growing flowers from seed. I added a few of your suggestions to my cart.
I’m so excited you’re going to be growing flowers from seed this year. Yay!
Love love love this first one with the seed starting basics! Although I’m in a different hardiness zone than you it will be really fun to do this together! I’m looking forward to seeing your garden this year! I can’t wait to start sowing my seeds!
I’m feeling the same way Stacy! Can’t wait to get my hands dirty!