
Dahlia Planting Guide for Beginners
If you’ve ever stood in a garden center holding a bag of dahlia tubers and wondered if you were in over your head, I’ve been there. My first season, I second-guessed every decision: depth, spacing, whether to water, whether to wait.
Now, after growing dahlias for years here in my Zone 8b Pacific Northwest garden, they’re one of the flowers I look forward to most.
This guide covers everything: choosing tubers, planting, feeding, staking, pest control, and storing your tubers for next season. Whether you’re planting your first tuber or expanding a cutting garden, you’ll find practical advice here that comes from real seasons, real mistakes, and a lot of trial and error.
As an Amazon affiliate, I earn a commission from qualifying purchases at no additional cost to you. My blog also includes other affiliate links for your convenience. Click here to read my privacy policy.
Abundant Dahlia Varieties to Choose From
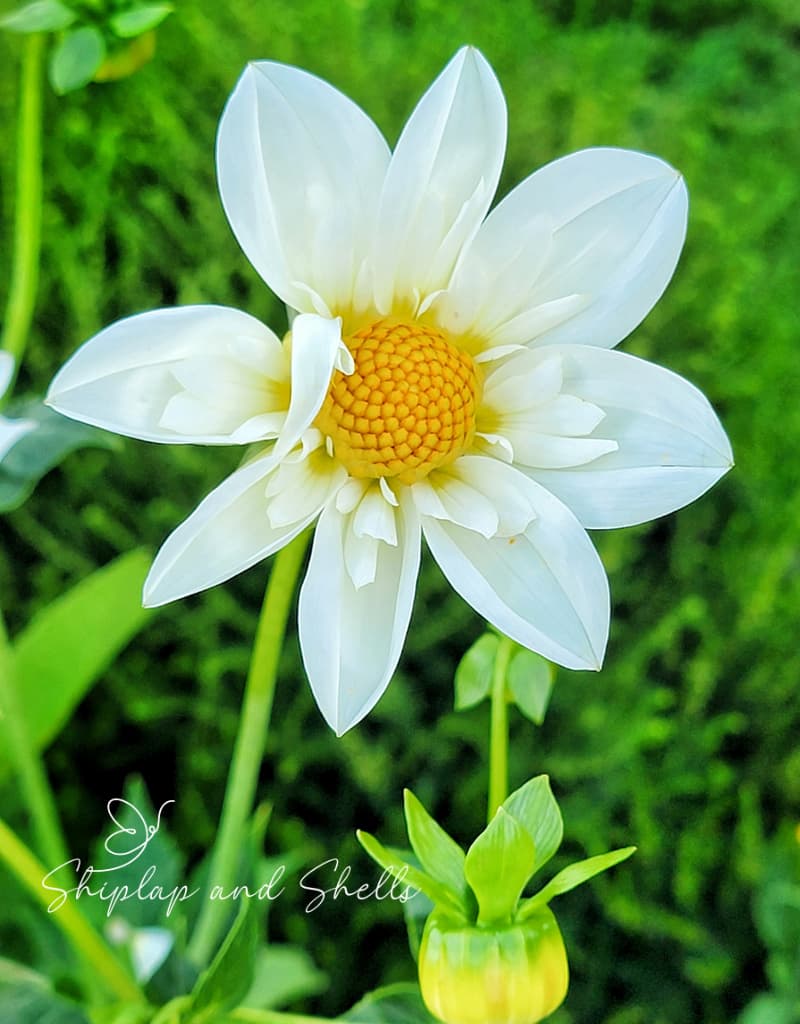
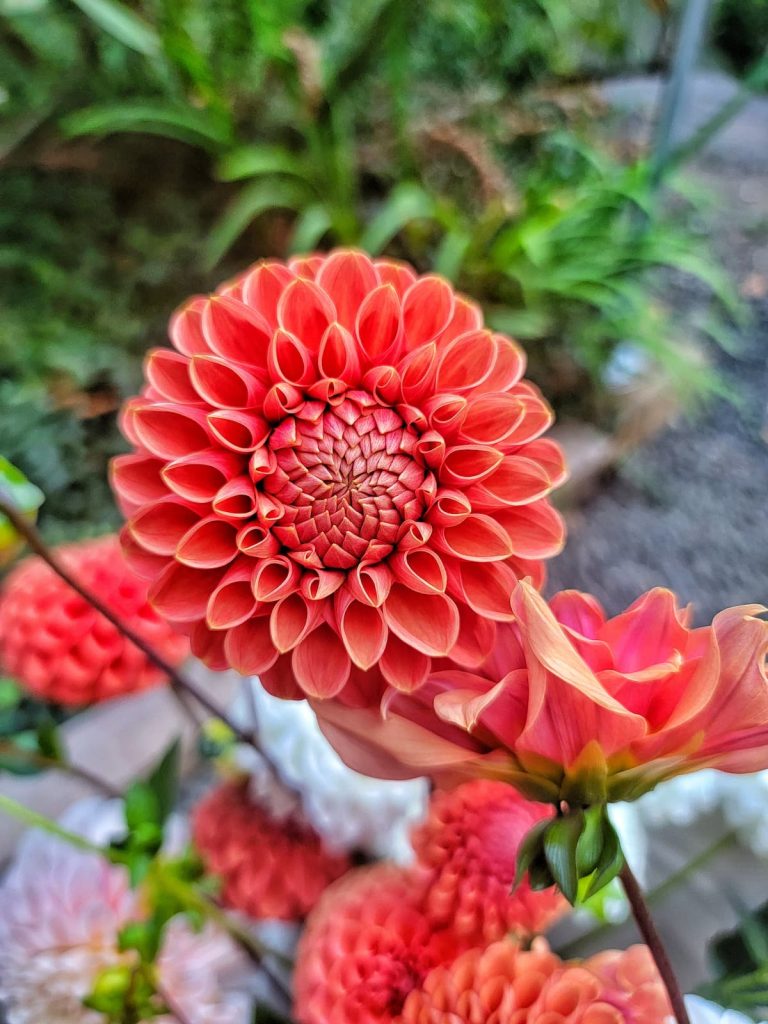
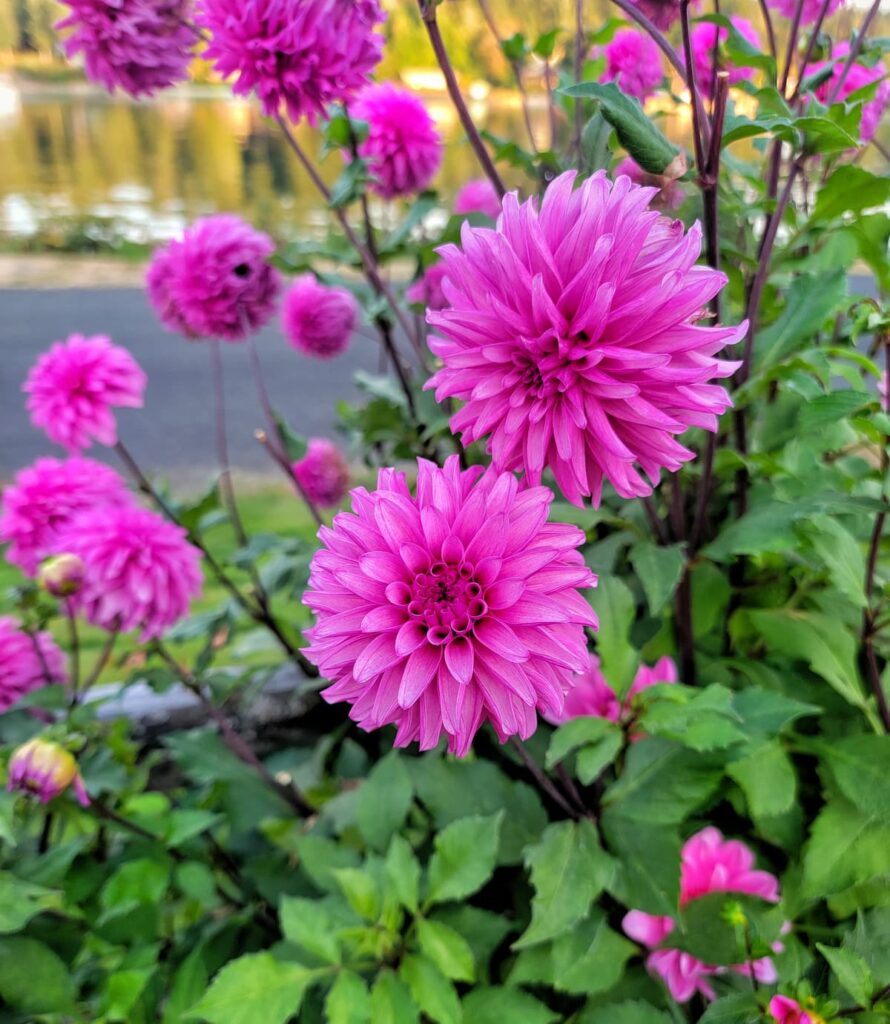
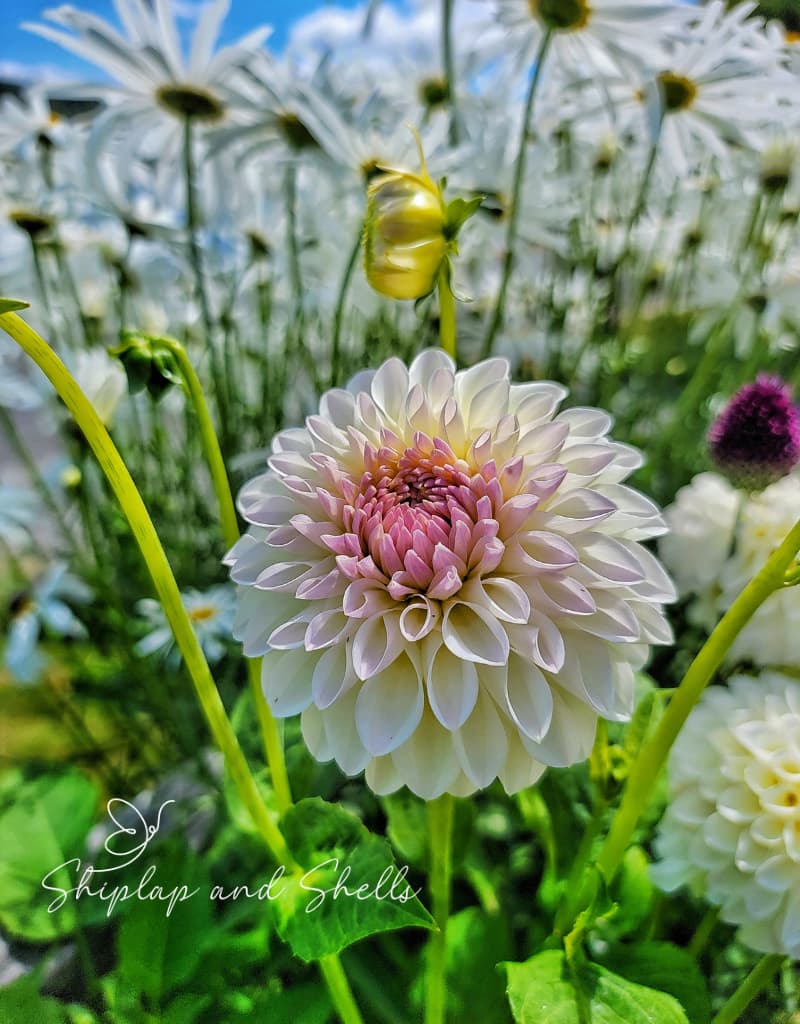
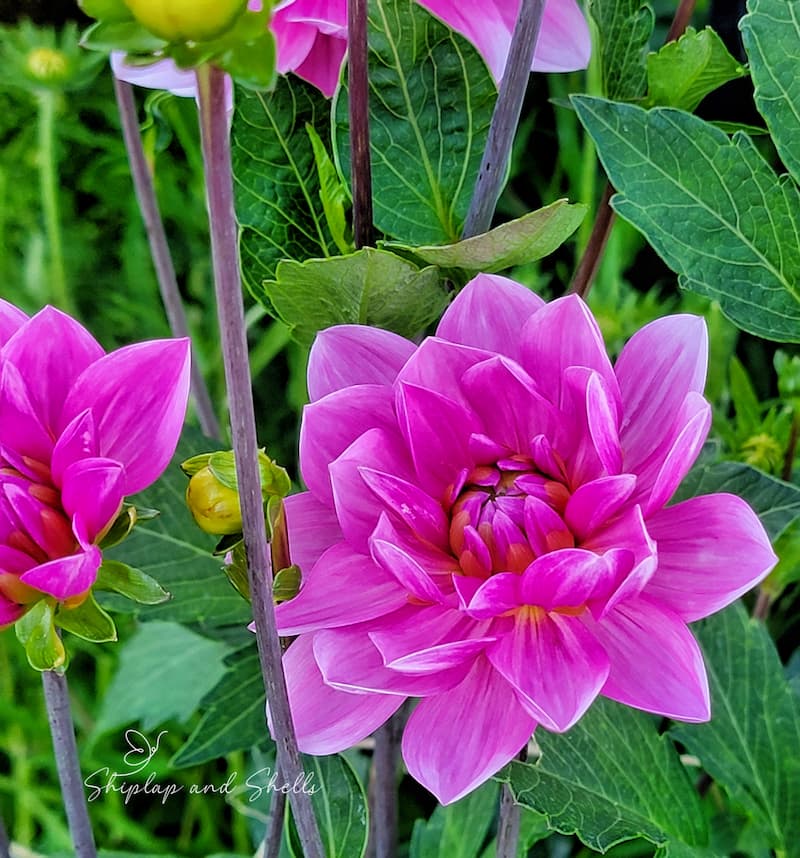
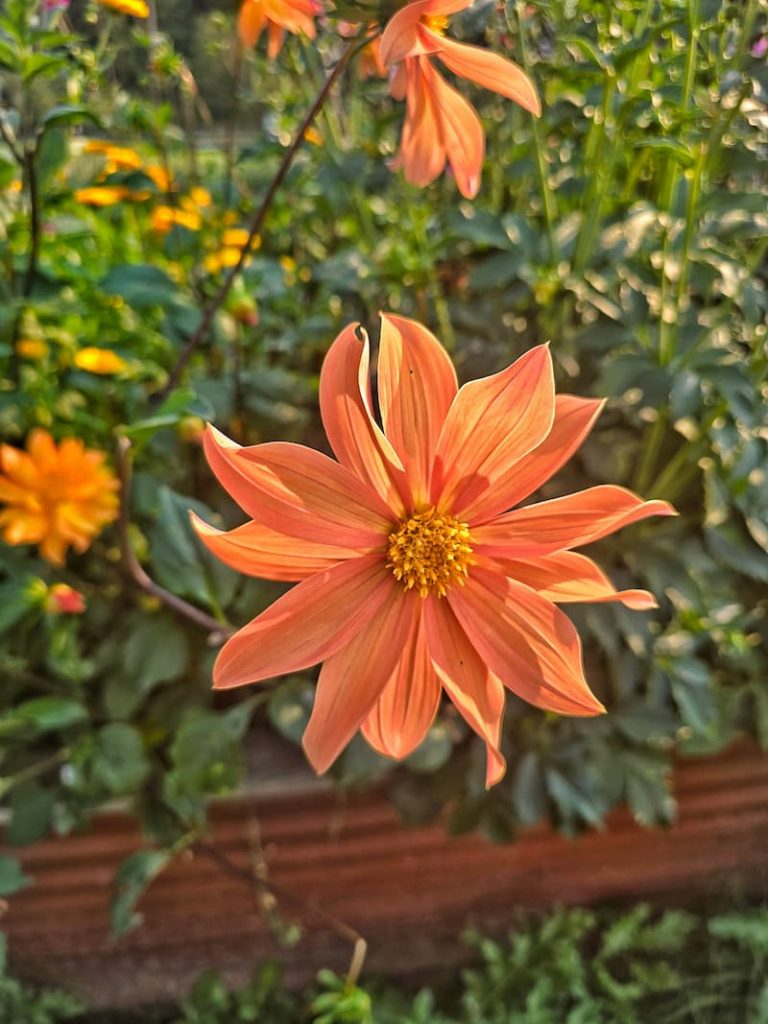
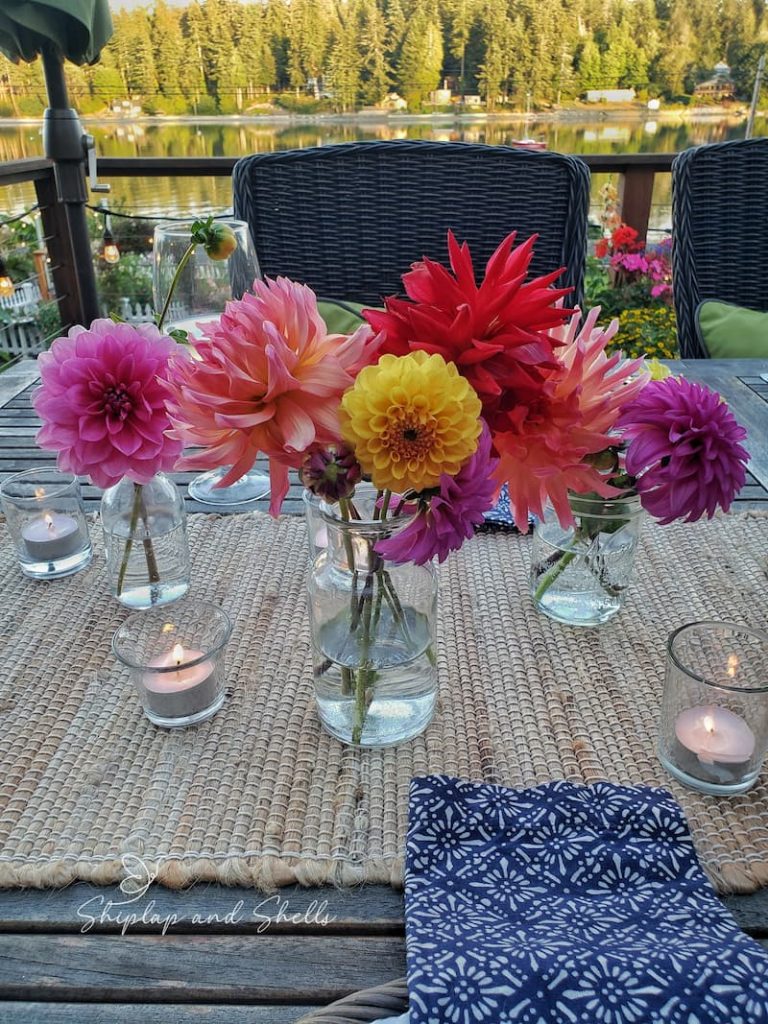
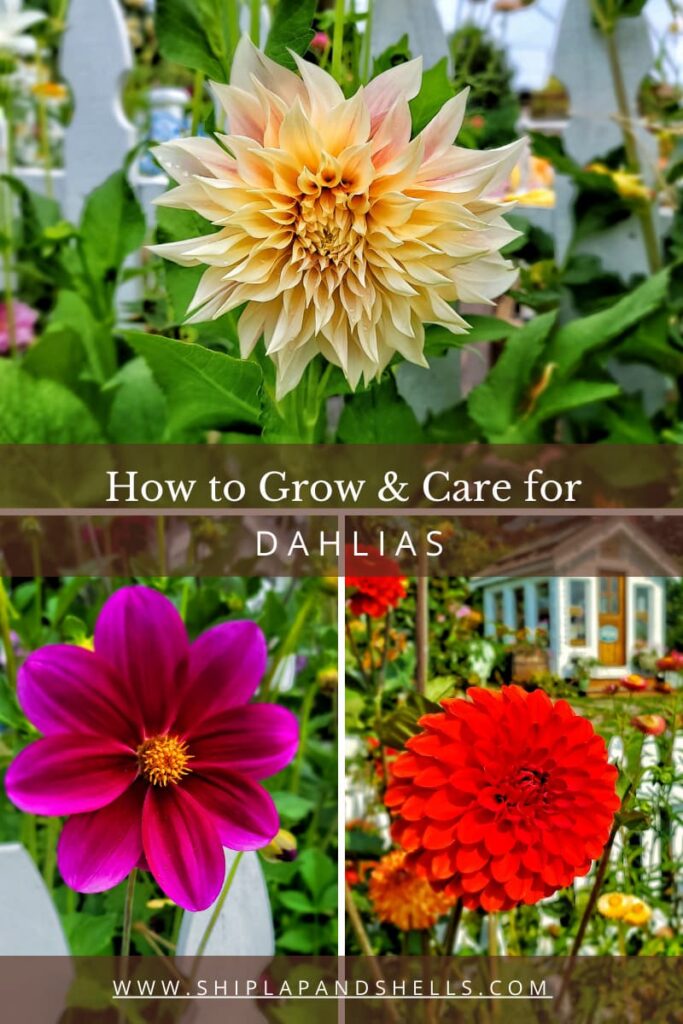
Dahlias are one of my favorite flowers to grow, especially in a cutting garden, and a big part of that is the sheer variety. According to the American Dahlia Society, there are 42 recognized species and thousands of named varieties, each one different from the next.
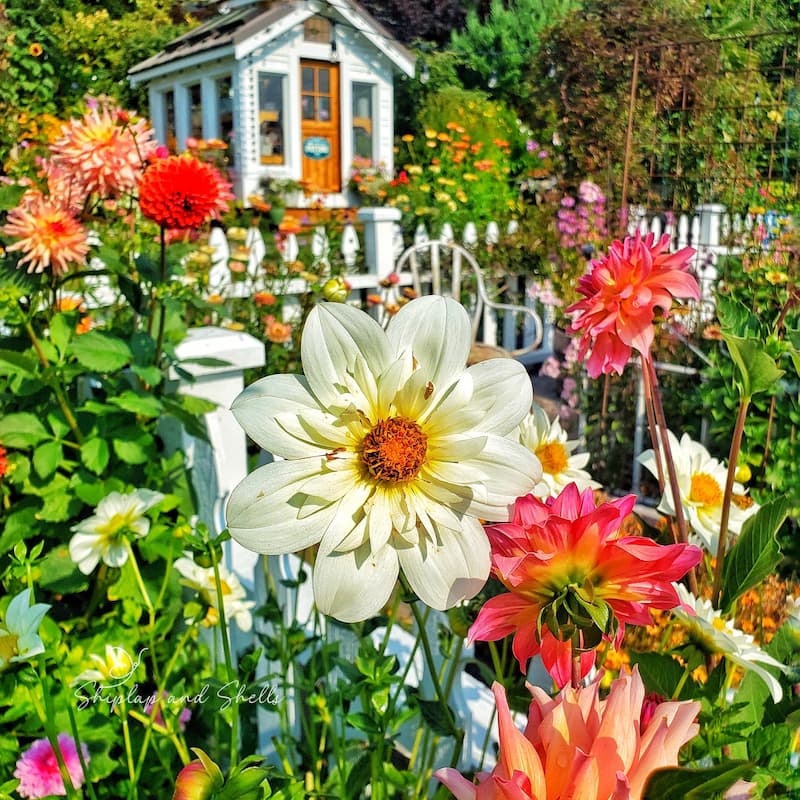
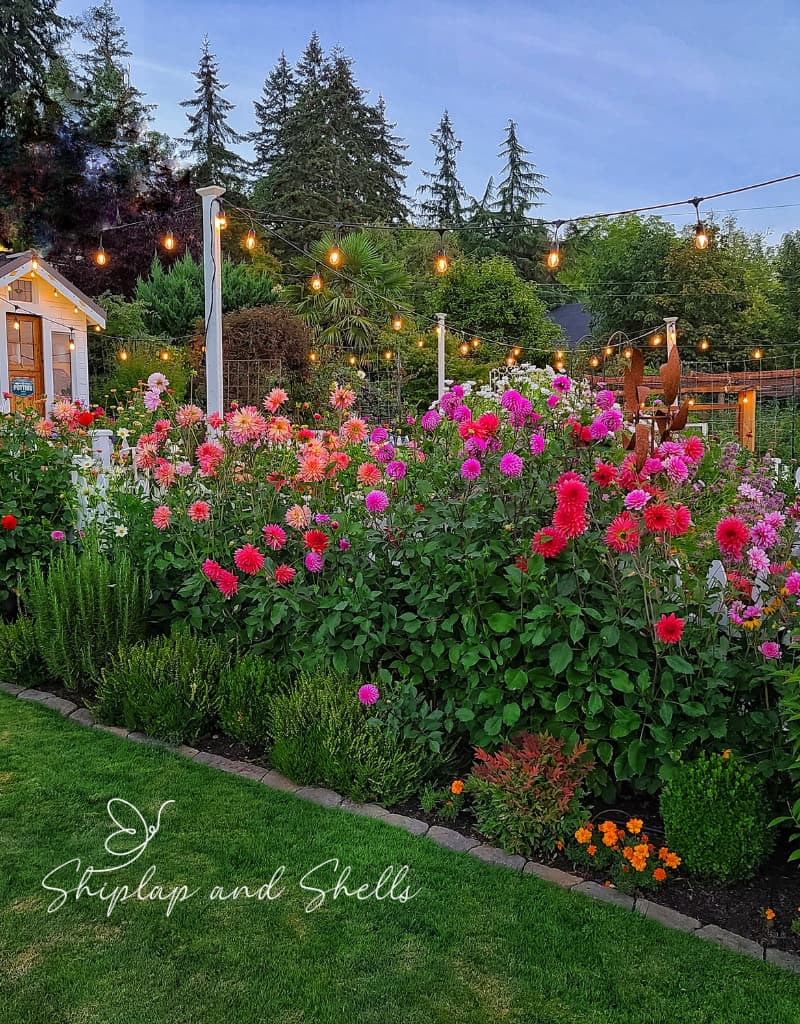
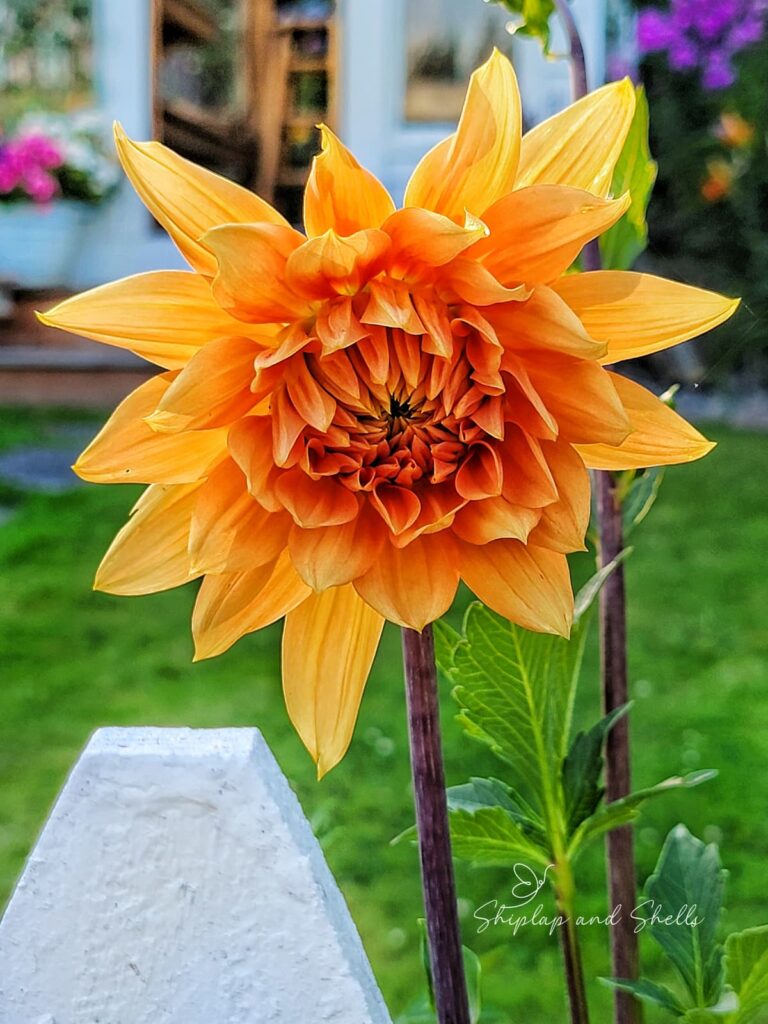
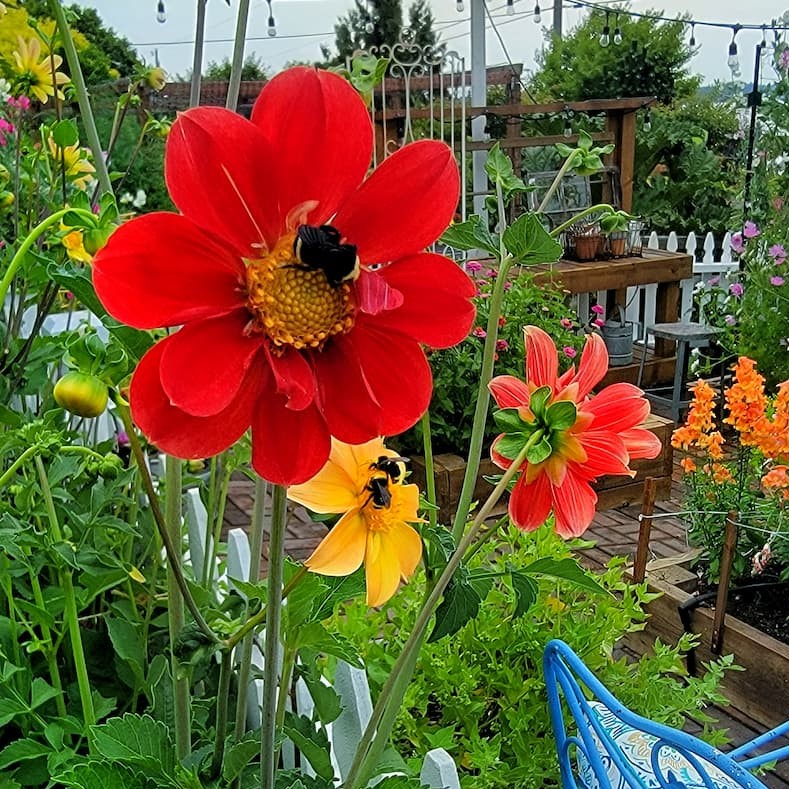
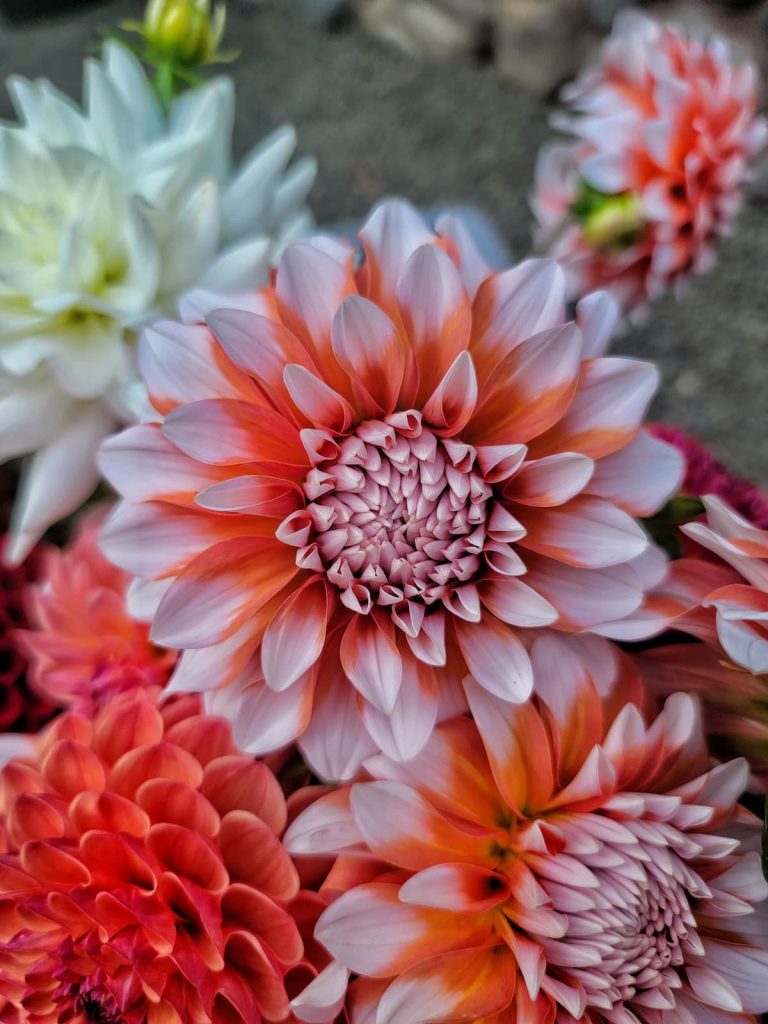
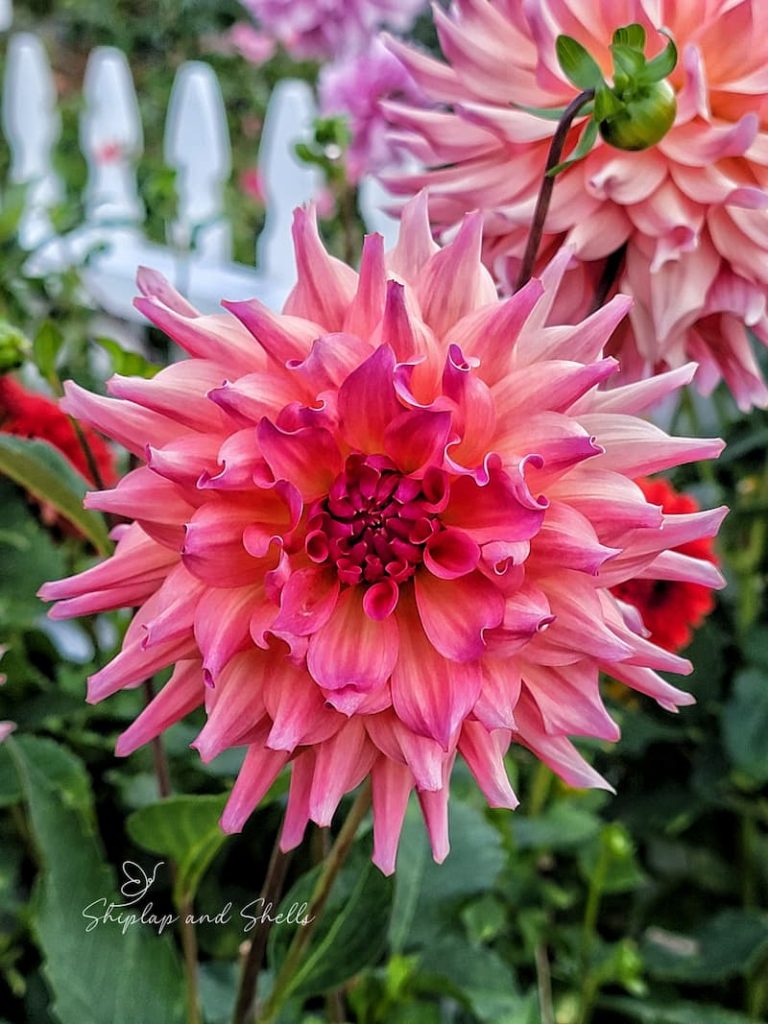
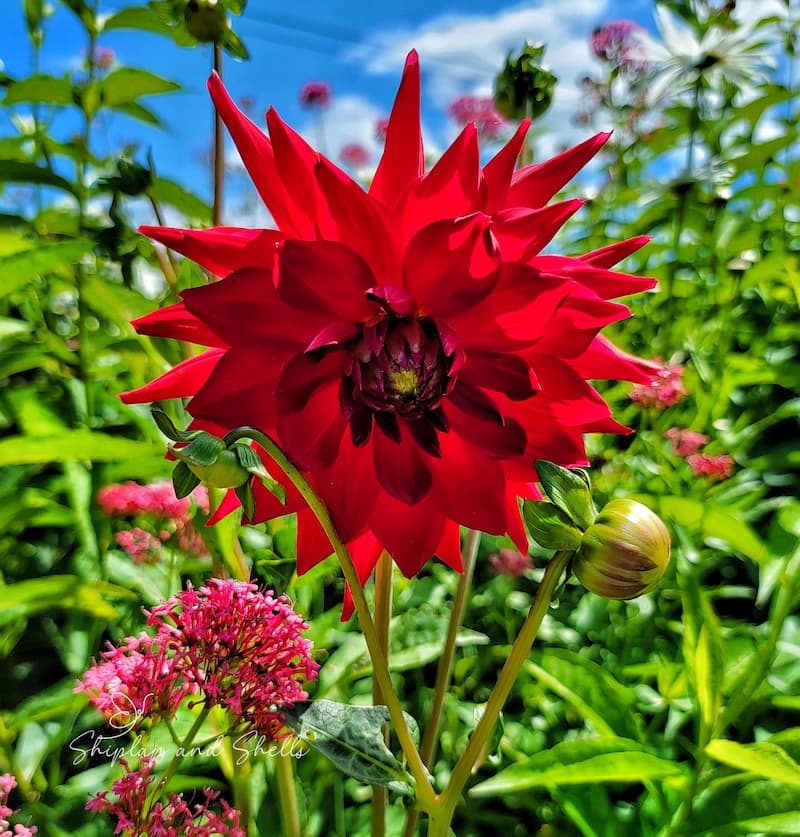
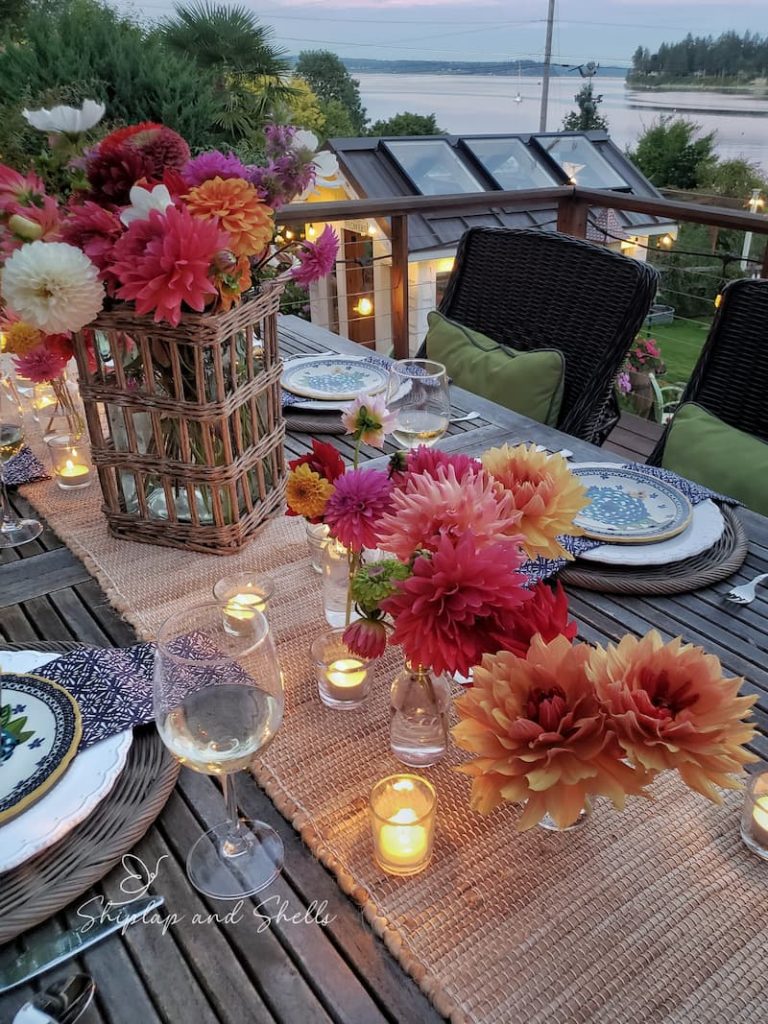
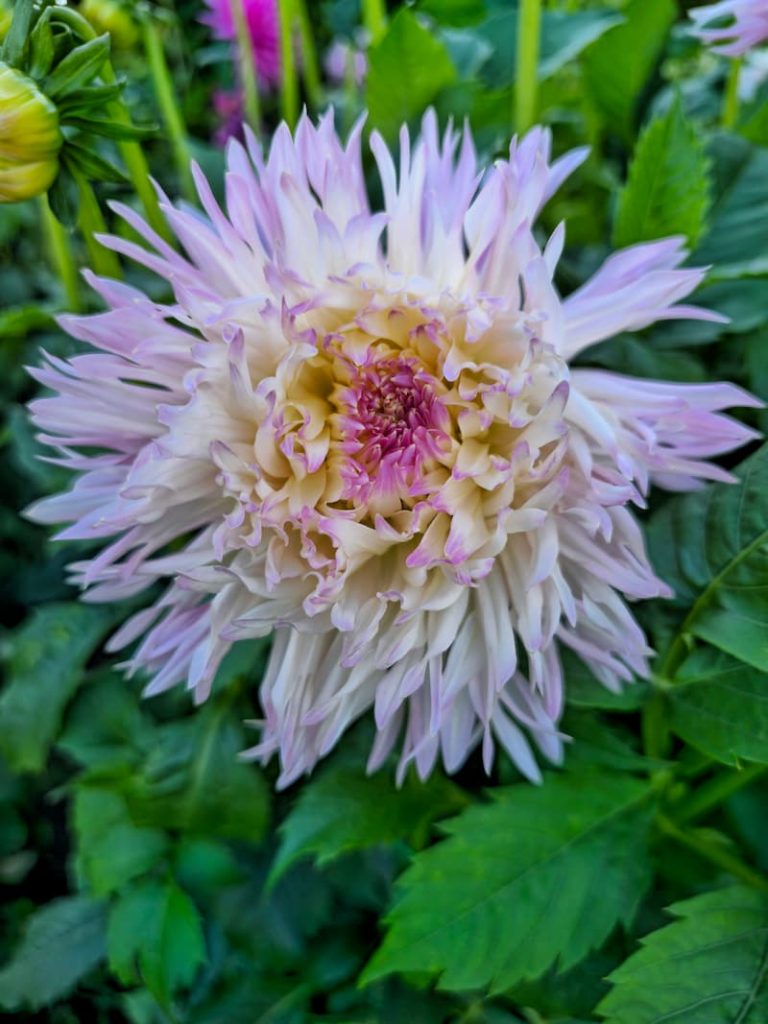
Petite pompom dahlias. Ball dahlias. Dinner plate varieties with blooms the size of your head. Soft blush, deep burgundy, bright coral, bi-color… the range is genuinely remarkable. And because dahlias bloom later in summer, just as many other flowers are winding down, they carry the garden through to the first frost.
Fair warning: grow a few, and you’ll want more every season. Don’t say I didn’t warn you.
Understanding Dahlia Growing Zones
Before you plant, it helps to know how dahlias behave in your climate. They’re considered tender perennials, which means they’re hardy in some zones and need extra care in others.
Zones 8-11
If you garden in a warmer climate, dahlia planting is fairly straightforward. Tubers can stay in the ground over winter as long as they’re protected from heavy rain and hard freezes.
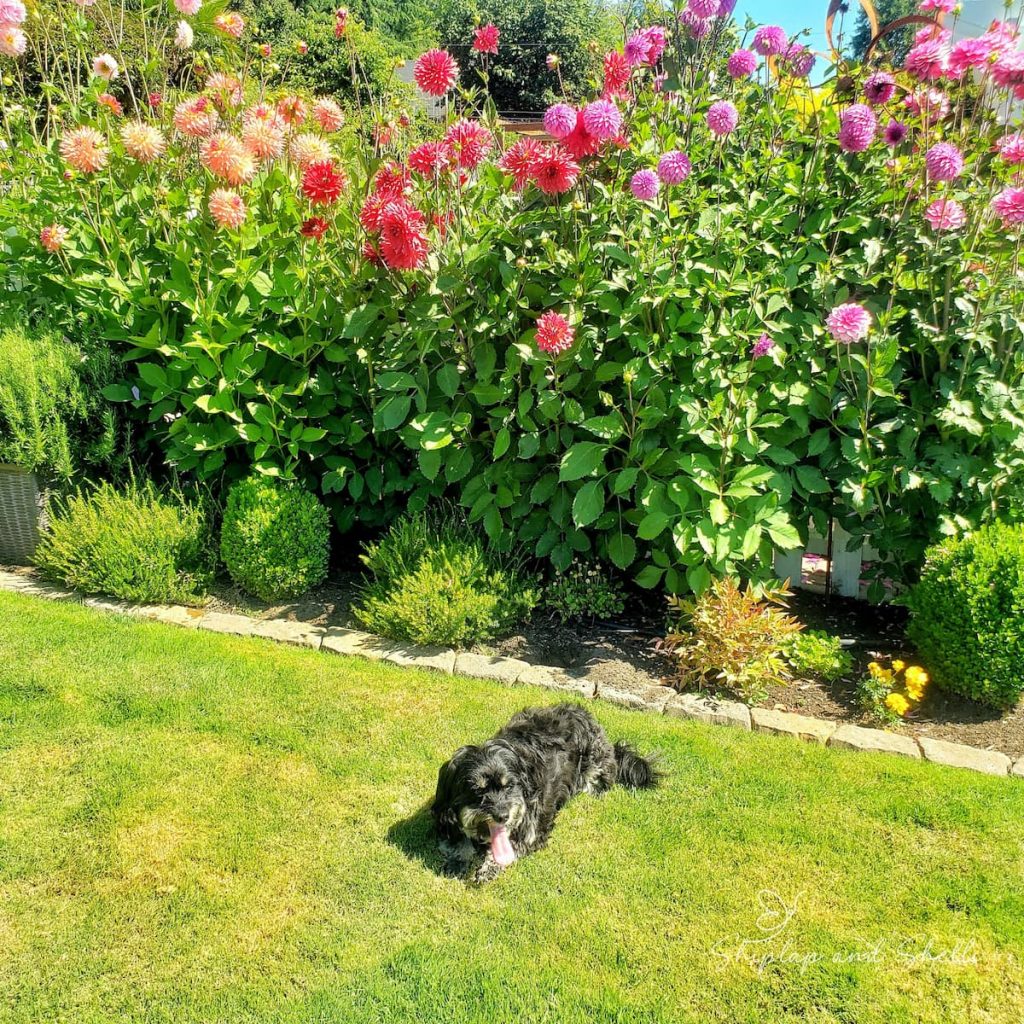
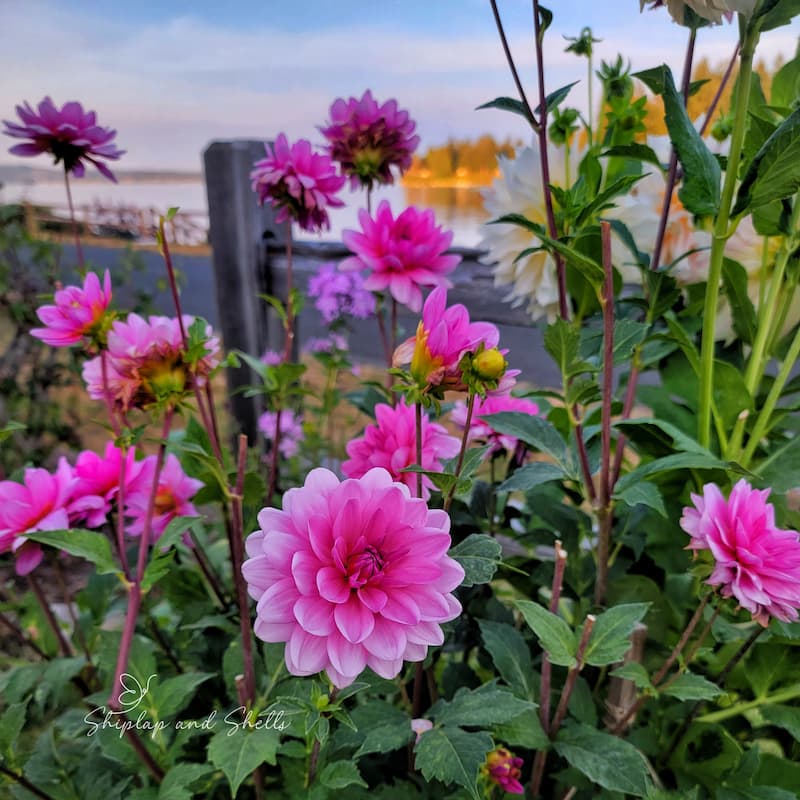
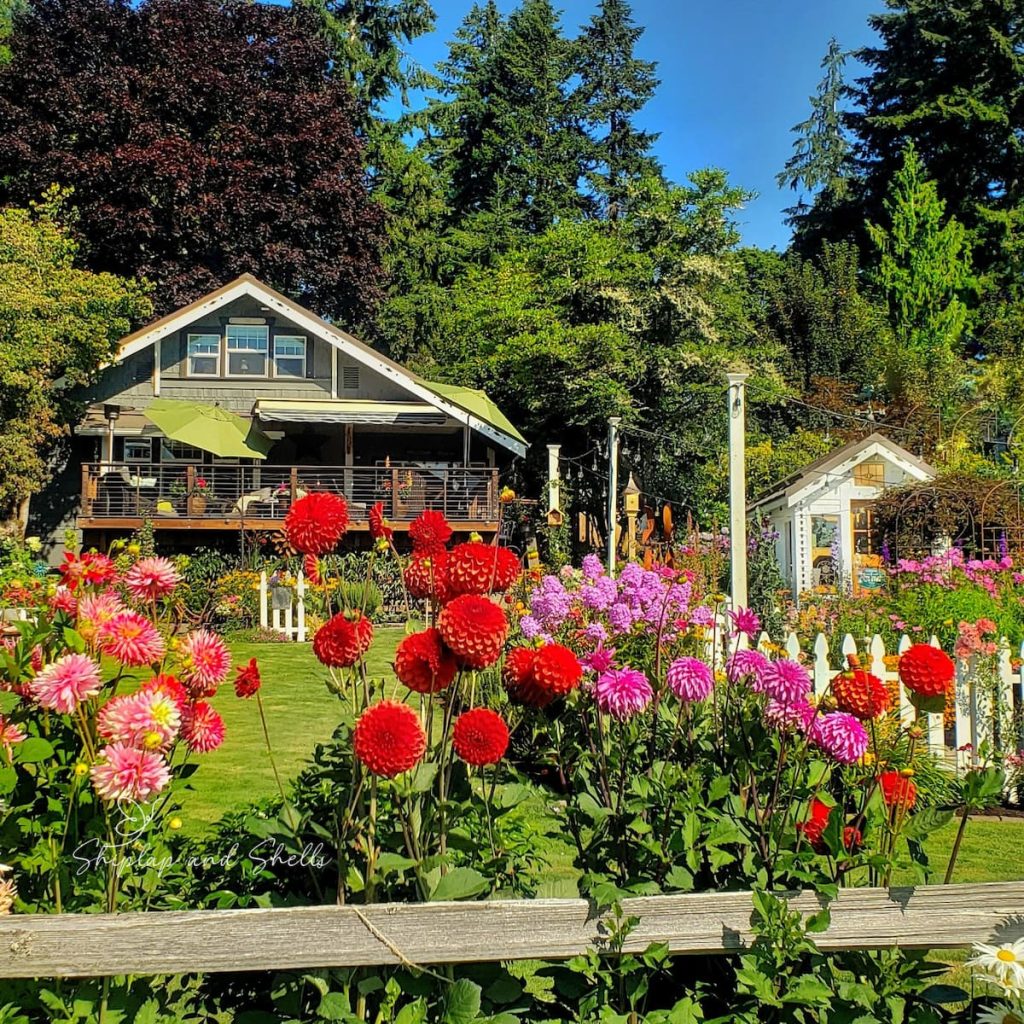
Here in my Zone 8b garden on Puget Sound, dahlias start blooming by mid-summer and keep going until the first fall frost. They’re usually the last flowers standing each year. I leave my tubers in the ground year-round, but I always add a thick layer of mulch or finely chopped leaves around each plant in the fall to protect against cold snaps and excess moisture.
Zones 2-7
In cooler climates, dahlias need a little more attention. Tubers should go in the ground in the spring after all frost danger has passed. And they’ll need to come back out in the fall before the ground freezes. You can either treat them as annuals and start fresh each year, or dig and store the tubers. I’ll walk you through the process later in the post.
Dahlias in these zones typically bloom mid to late summer and will keep flowering right up until frost hits.
Not sure which zone you’re in? The USDA Hardiness Zone Map lets you look at it by zip code.
Seed Starting Supplies
Check out my favorite supplies and tools for starting seeds indoors. Whether you’re looking for grow lights or a seed starting mix, you’ll find what I use in my own greenhouse.
Ideal Dahlia Growing Conditions

Dahlias aren’t fussy once they’re established, but they do have a few specific needs. A little prep work up front makes a big difference come bloom time.
Soil
Choose a sunny, well-drained spot. Dahlias don’t like sitting in soggy soil, so drainage matters. Before planting, work in 2 to 4 inches of good compost or well-aged manure.
I also add a light dusting of bone meal and a balanced organic fertilizer to support strong root development from the start. Mix everything in well. You want those tubers settling into a healthy foundation.
Spacing
Dahlias start small but fill in quickly, and crowding leads to weak growth and poor air flow. For most varieties, plan on 12 to 18 inches between plants. Dinnerplate dahlias need a little more room, closer to 18-24 inches.
Give them space now, and you’ll thank yourself later when you’re trying to water, stake, and cut blooms without fighting your way through a tangle of stems.
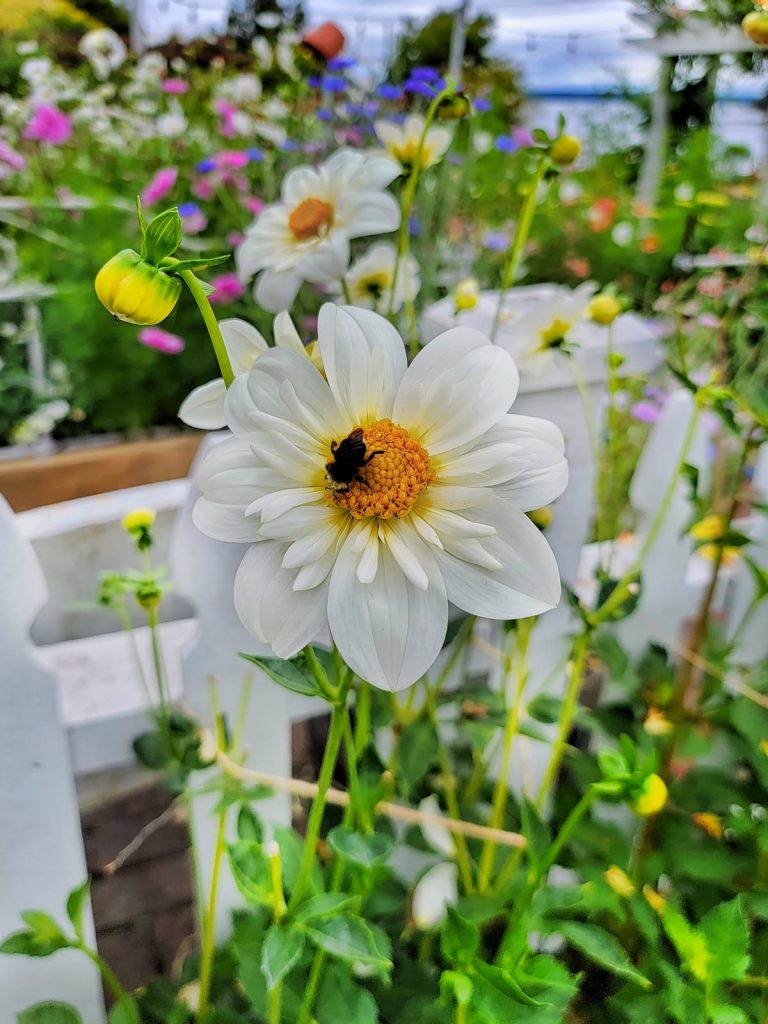
Sunlight
Dahlias need 6 to 8 hours of direct sun daily, and morning sun is ideal. It dries the dew off the foliage and reduces the risk of fungal issues later in the season.
That said, intense afternoon sun combined with temperatures above 90°F can cause wilting and stressed plants. If you’re gardening in a hot climate, a few things help:
A little protection during the hottest part of the day goes a long way towards keeping blooms looking their best well into fall.
4 Ways to Plant Dahlias
Starting from Seed
Growing dahlias from seed is a fun experiment, especially if you want a large number of plants or enjoy seeing what surprise bloom types turn up. Start seeds indoors 6-8 weeks before your last expected frost date, using seed-starting trays and a light soil mix. Provide warmth and good light for germination, then transplant outdoors once the weather has settled.
One thing to know: dahlias grown from seed won’t always resemble the parent plant, and most won’t form tubers large enough to store their first year.
Planting Tubers Directly in the Ground

This is the most reliable method for most home gardeners. Once soil temperatures reach 60°F and all frost danger has passed, dig a hole 4-6 inches deep. Lay the tuber on its side with the eye facing up, cover with 2-3 inches of soil, and wait.
Don’t water right away. Dahlia tubers are prone to rot in cool, damp soil before they’ve had a chance to sprout. Wait until you see the first green growth pushing through before you reach for the hose.
Starting Tubers Indoors
If you want a head start on the season, pot your tubers up indoors about 4 weeks before your outdoor planting date. Use well-draining potting soil, place them somewhere sunny, and water sparingly until shoots appear. Transplant outside once the risk of frost has passed. This is especially useful in cooler climates where the growing window is shorter.
Growing Dahlias and Containers
Short on garden space? Dahlias grow beautifully in pots. Choose a container at least 12-14 inches wide and deep with good drainage, and plant your tuber the same way you would in the ground.
Container dahlias will need more frequent watering and feeding than their in-ground counterparts. Look for compact or dwarf varieties. They’re better suited for two smaller spaces and don’t require as much staking.
Dahlia Planting Depth

Plant dahlia tubers 4-6 inches deep, and no deeper. Cover with 2-3 inches of soil at first, then fill in the rest as the plant begins to grow. This keeps the tuber from sitting in cold, damp soil while it’s still dormant.
Too deep, and the tuber struggles to break dormancy. You may get weak, leggy growth or nothing at all. Too shallow and it’s exposed to temperature swings and drying out. The 4-6 inch range is the sweet spot, and it’s worth getting right.
Supplies for Planting Dahlias Outdoors
Planting dahlias doesn’t require a lot of fancy tools, but having the right supplies on hand will make the process easier and set your plants up for success. Here’s what you’ll need:
Optional but helpful: plant labels, stakes or supports (especially for taller varieties), and a soil thermometer to make sure the ground is warm enough (around 60°F) before planting.
Dahlia Care and Maintenance
Watering
Once you see the first green growth pushing through the soil, you can start watering. Before that, hold off. Tubers sitting in cool, damp soil before they’ve sprouted are prone to rot.
Once your dahlias are established, water deeply 2-3 times a week, depending on your climate and soil type. I use a drip irrigation system in my garden, which delivers water directly to the roots and helps conserve moisture during hot, dry stretches. Sandy soils and high heat will mean more frequent watering. Too much water, on the other hand, can cause yellowing leaves, mushy stems, and fungal issues like powdery mildew.
Always water at the base of the plant rather than overhead to keep the foliage dry.
SHOP DRIP SYSTEMS
Fertilizing
Dahlias are heavy feeders. Start fertilizing when plants reach about 6 inches tall, then feed every 4-6 weeks throughout the growing season.
Use a balanced, low-nitrogen fertilizer, something like a 5-10-10 or 10-20-20. Too much nitrogen early on pushes leafy growth at the expense of blooms, which is the opposite of what you want. Water well before and after feeding to prevent root burn and help the nutrients absorb evenly.
The goal is strong stems and abundant flowers, not just a lush green plant.
Pinching

One of the simplest things you can do for your dahlias is pinch them back when they’re young. It feels counterintuitive; cutting back something you want to grow, but it works every time.
Once your plant reaches about 12 inches tall, use clean garden shears or your fingers to snip off the top 3-4 inches of the main center stem, just above a set of leaves. This redirects the plant’s energy into producing side shoots instead of growing straight up. The result is a bushier, sturdier plant with more flower-producing stems and longer, straighter cuts, exactly what you want if you’re growing dahlias for bouquets.
If you skip pinching, your dahlias will still bloom. But the plants tend to grow tall and leggy, with fewer flowers and stems that are more prone to flopping. It takes 30 seconds to make a real difference.
Staking
Dahlias are strong growers, but once they start producing heavy blooms, those tall stems can become top-heavy fast. Staking early, when plants are about 1-2 feet tall, is much easier than trying to rescue a full-grown plant that’s already leaning.
For individual plants, bamboo stakes, tomato cages, and metal plant supports all work well. Tie stems loosely with soft garden twine as they grow.
For larger beds or rows, I use the corral method, and it has been a genuine game-changer.
Here’s how it works:
This method is especially useful for taller varieties and dinnerplate dahlias, which are the most prone to toppling under their own weight. Once you try it, you won’t go back.
Pest and Disease Control
Like most garden favorites, dahlias have a few vulnerabilities. But a little prevention goes a long way.
Slugs, Snails, and Earwigs
Slugs and snails go straight for tender young dahlia shoots, often causing serious damage just as plants are getting started. Once flowers open, earwigs move in and chew unsightly holes in the petals.
Apply slug bait as soon as you plant your tubers and keep reapplying throughout the season. I use SLUGGO. It’s organic, safe for pets and kids, and it works. Don’t skip this step. I had years where I let it slide and watched entire plants disappear before they had a chance to grow. Beer traps, copper tape, and diatomaceous earth are also worth trying if your garden has a history of slug activity.
SHOP SLUGGO SNAIL BAIT
Powdery Mildew
Powdery mildew shows up reliably in late summer here in the Pacific Northwest, that white, powdery fungus that creeps across the leaves and weakens plants if you let it go. I don’t wait for symptoms anymore. Starting in late July or early August, I spray with an organic fungicide or neem oil before anything appears.
Good air circulation helps too. Space your plants properly, avoid overhead watering, and remove any affected foliage as soon as you spot it.
Deadheading
If you want dahlias blooming from mid-summer to the first frost, deadheading is non-negotiable. Removing spent flowers tells the plant to keep producing new ones rather than putting energy into seed formation.
Look for flowers that are fading or dropping petals. Follow the stem down to where it meets a larger central stem and snip just above that junction with clean shears.
One thing worth knowing: don’t mistake an unopened bud for a spent bloom. Buds are round and firm. Spent flowers feel soft or papery and often have a pointy, cone-like center where the petals have dropped. Once you know what to look for, it becomes second nature.
Harvesting
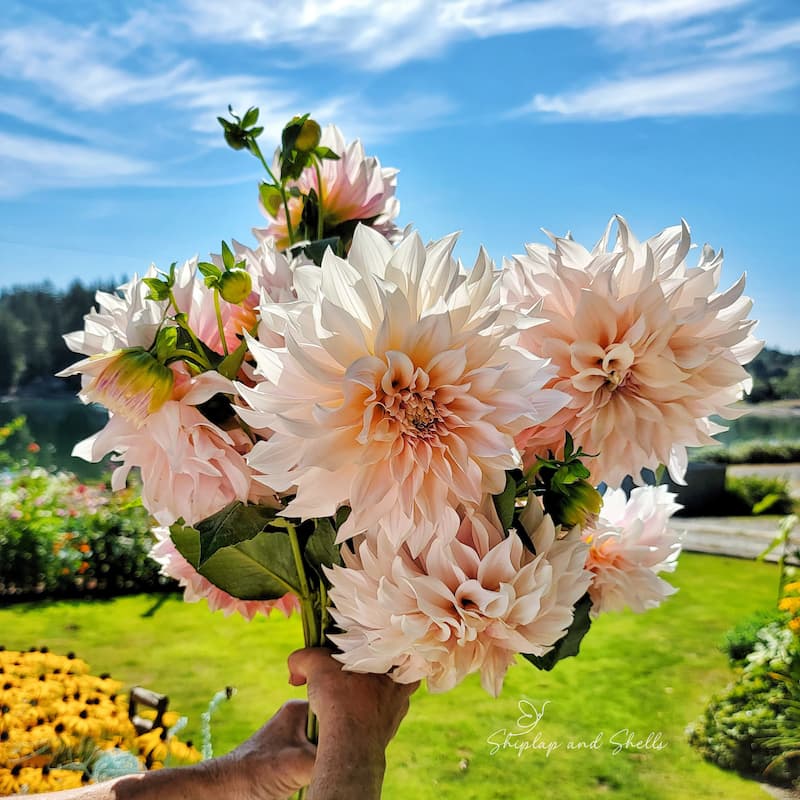
The more you cut dahlias, the more they bloom. These are not flowers that want to be left alone.
Cut in the early morning before the heat sets in. Since dahlias don’t continue opening after they’re cut, pick them when they’re almost fully open but before the petals start to curl or brown at the edges.
Use clean, sharp snips and make a 45-degree cut just above the leaf node. Drop stems immediately into a bucket of cool water. Strip any leaves that would sit below the waterline, then move blooms to a clean vase with fresh water and flower food. With good care, cut dahlias will last 5-7 days.
Skip any flower that’s already browning on the back of the bloom. It won’t last in a vase, no matter what you do.
Dahlia Winter Care and Storage
After months of blooms, the first hard frost will tell you the season is over. You’ll know it when you see it. The foliage blackens quickly, sometimes overnight. Once it happens, cut the stems back to 1-4 inches above the ground and start thinking about what comes next.
Zones 8 and Warmer
If you garden in a milder climate, you can leave your tubers in the ground over winter. I do this every year in my Zone 8b garden with no issues, but I always add a generous layer of mulch or finely chopped leaves over the root zone before temperatures drop. It doesn’t take long, and it’s good insurance against cold snaps and excess moisture.
Zones 7 and Colder
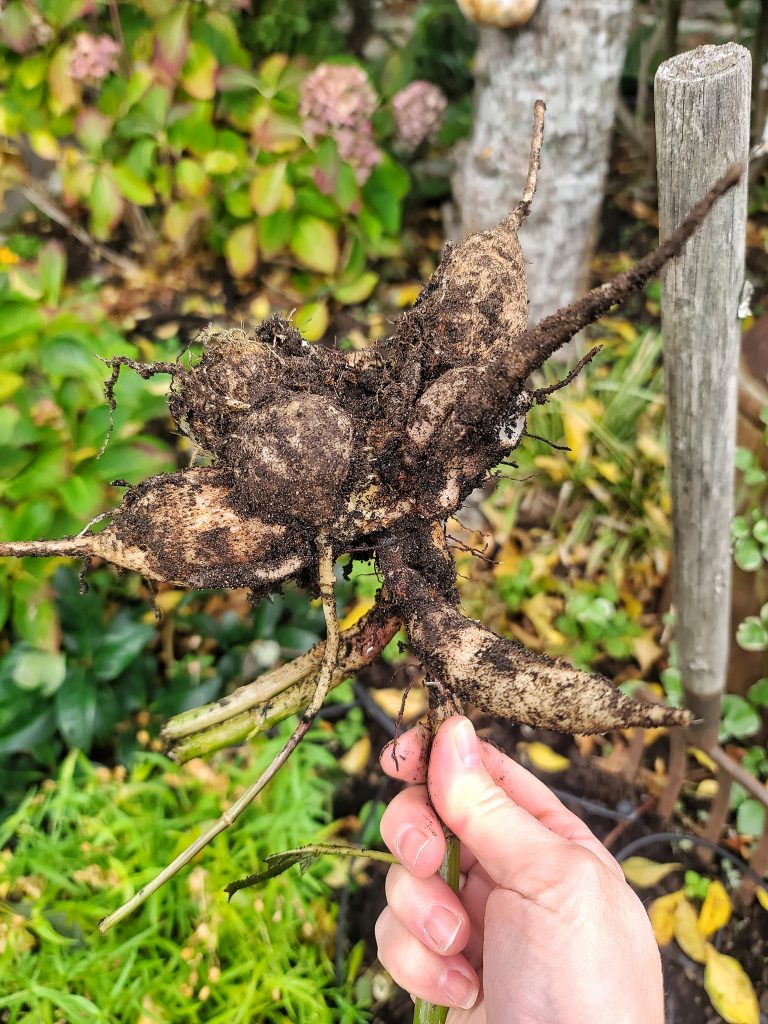
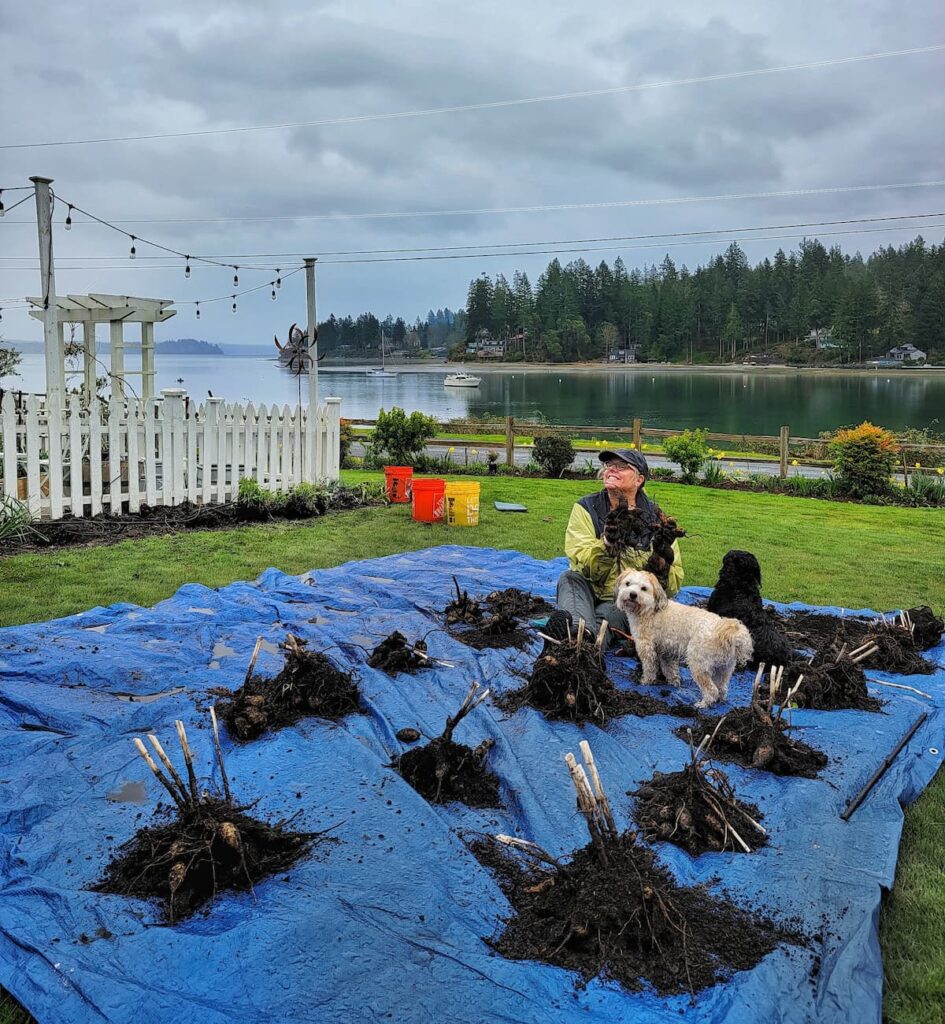
In colder zones where the ground freezes, tubers need to come out of the ground before winter sets in. Use a garden fork or shovel to gently lift the clump, working carefully to avoid puncturing the tubers. They’re more fragile than they look at this stage.
Dividing Tubers
Dahlias produce large underground clumps quickly, so dividing every year, either in fall before storage or in early spring before planting, keeps things manageable and improves blooming.
Here’s how:
No eye means no plant. It’s worth taking your time here.
Storing Tubers for Winter
Once tubers are completely dry, pack them in slightly dampened peat moss or sawdust, or wrap them individually in plastic cling wrap to prevent moisture loss. Cardboard boxes lined with newspaper work well for storage.
Keep them somewhere cool, frost-free, and well-ventilated, ideally around 40 to 45°F. Make sure tubers aren’t touching each other so that if one goes bad, it doesn’t spread to the rest.
Check on them once a month through winter and pull any that show signs of rot or mold. A little maintenance now protects everything you worked for during the season.
Spring Best Practices
As the soil starts warming up and the season turns, it’s time to check your tubers and get them ready for another year.
Inspecting Stored Tubers
If you stored your tubers over winter, go through them carefully before planting. Look for soft spots, shriveling, or any sign of mold. Toss anything mushy or clearly damaged. A bad tuber won’t produce new growth and can spread rot to healthy ones nearby.
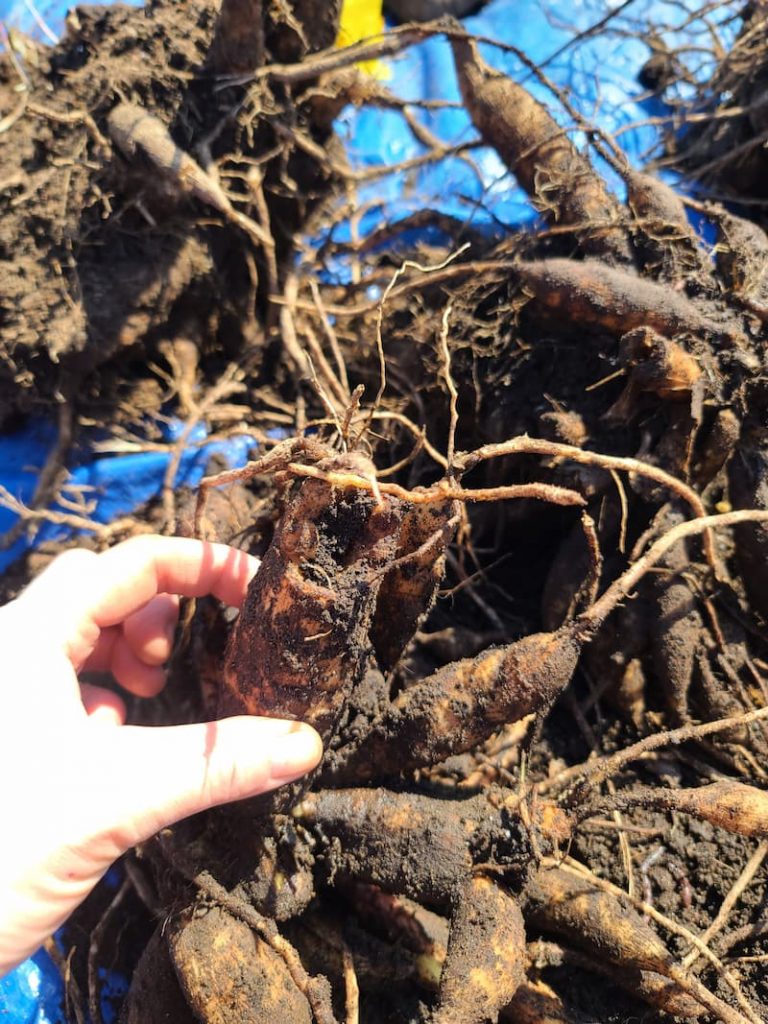
If you didn’t divide in the fall, do it now. Split the clumps into smaller sections, making sure each piece has at least one viable eye. These look like small, raised pink or white bumps near the base of the old stem. No eye, no bloom. It’s that simple.
Dividing In-Ground Tubers
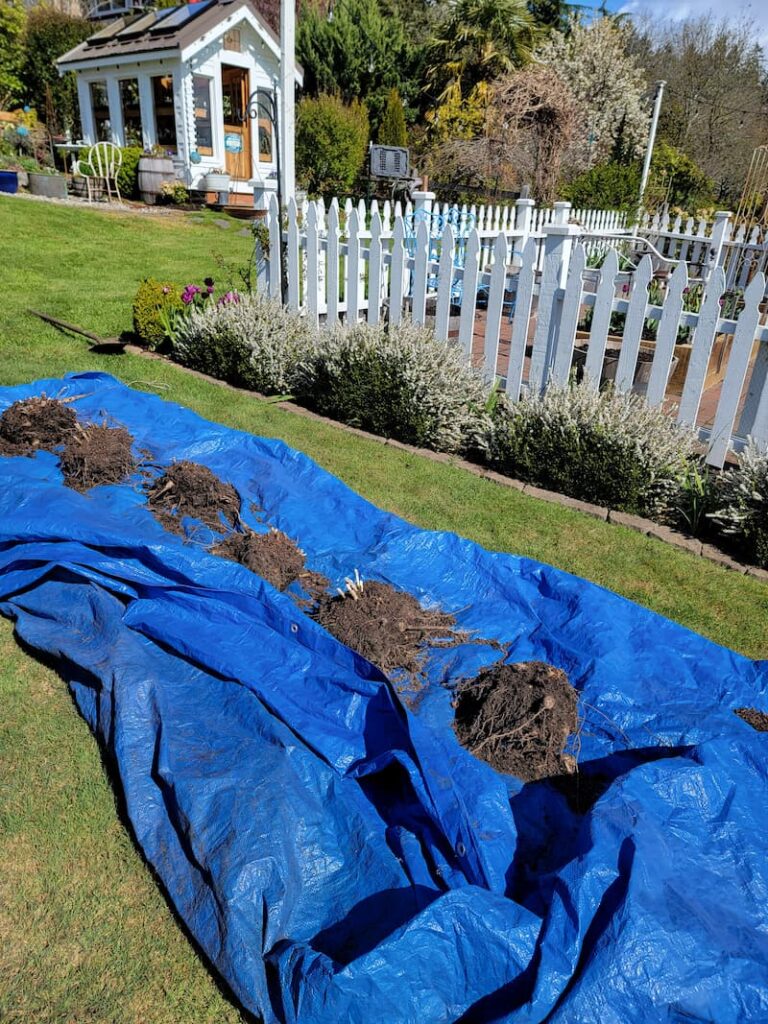
If you left your dahlias in the ground over winter, dig them up now before replanting. Clumps that have overwintered in place can grow surprisingly large, and crowded tubers tend to produce fewer blooms.
Lift them gently, inspect for rot or damage, divide into sections with visible eyes, and replant once your soil has reached 60°F and all frost risk has passed.
A little time spent on spring prep sets your dahlias up for their strongest season yet.
Dahlia Care Frequently Asked Questions
Do Dahlias Do Better in Pots or In the Ground?
Both work, but they perform differently. In the ground, dahlias have more room for root expansion and typically grow larger with more blooms. In containers, they’re easier to move and a practical solution for patios or small spaces. Just make sure your pot is at least 12-14 inches wide and deep with good drainage. Either way, they need full sun, well-draining soil, and consistent moisture once established.
Do Dahlias Come Back Every Year?
They can, depending on your climate. In zones 8 through 11, tubers can stay in the ground over winter with a layer of mulch for protection and will return the following spring. In colder zones, tubers need to be dug up and stored indoors to survive. With a little extra care, you can keep the same varieties going season after season.
Do Dahlia Flowers Spread?
No. Dahlias don’t self-seed or spread through runners. New plants come from divided tubers, which form underground and can be separated from the parent clump each year. They stay exactly where you put them.
What Happens If You Don’t Dig Up Dahlias?
In zones 7 and colder, leaving tubers in the ground over winter usually means losing them. They’ll rot or freeze and won’t produce new growth in spring. In warmer zones, they can stay in the ground as long as they’re protected with mulch.
Do You Soak Dahlias Before Planting?
It’s not required, but if your tubers feel especially dry, a brief 30-60 minute soak in room-temperature water can help rehydrate them. Don’t go longer than that. Over-soaking leads to rot. In most cases, your soil will provide all the moisture they need.
Why are My Dahlias All Leaves and No Flowers?
Usually one of a few things: too much nitrogen from over-fertilizing, not enough sun, inconsistent watering, improper planting depth, or pest or disease pressure.
Dahlias need at least 6-8 hours of full sun daily and a low-nitrogen fertilizer to push blooms over foliage. Address whichever factor fits your situation and give the plant a little time to respond.
Should I Remove Lower Leaves from Dahlias?
Yes, removing a few lower leaves improves the air circulation and reduces the risk of fungal disease. Just don’t overdo it. Never remove more than one-third of the foliage at once. Leaves fuel photosynthesis, which is what gives your plant the energy to produce all those blooms.
Garden Supplies and Tools
Check out my favorite garden supplies and tools for the growing season. Whether you’re looking for potting soil or deer repellent, you’ll find what I use in my own garden.
Final Thoughts on Growing Dahlias

If you’re planting your first tuber this season, I hope this guide takes some of the guesswork out of it. Dahlias have a reputation for being complicated, but most of what they need is pretty straightforward: the right soil, enough sun, a little patience in the early weeks, and consistent attention once they get going.
Every season teaches me something new. A variety I underestimated. A pest I wasn’t watching for. A bloom that stopped me in my tracks on an ordinary Tuesday. That’s the thing about dahlias, they’re generous flowers. Give them what they need, and they’ll give you plenty in return.
If you have any questions, favorite varieties, or hard-won lessons from your own garden, I’d love to hear them in the comments below.
Until next time,
Happy Gardening!
I’m a self-taught hobby gardener. Everything I share on my blog is my opinion and what has worked for me.
MORE POSTS
For You To Enjoy
Follow Me for More Inspiration

|
They really are the prettiest flowers! Yours always look so pretty by thee sea!
Thank you, Stacy! I don’t know what I’d do without them in my garden.
Kim you’ve grown some beatuiful dahlias thank you for all of your tips!
Thank you, Stacy! I have some new varieties that I’m excited to see in the garden this year.
You dahlias are so gorgeous! I love dahlias and am just starting to grow them. I didn’t dig mine up in the autumn so I’m thinking now (spring for me) is the time I should dig them up and separate them out. Also a new home would be good I think. Thanks so much for sharing all your tips.
Thank you for sharing your Dahlias, I can’t grow them in Florida! I’d love for you to share over at our weekly Wednesday Creative Crafts Linky Party https://creativelybeth.com/creative-crafts-linky-party-7-join-in-the-fun/
Have a great week!
Creatively, Beth
Thank you for the information Beth. I will definitely come visit or link party!
I have wanted to plant these for the last several years. Living in Michigan can be tricky caring for plants and this post was so helpful! Thanks for all the great info!
I am so glad this helped Kim! Dahlias can be very tricky and I know how lucky I am to have such an amazing climate for growing them here. I hope you decide to grow some next year!
Your dahlias look amazing! Great article!!!
Thank you Stacy! That means a lot coming from an incredible Master Gardener like you. So happy you are here.
Kim,
Absolutely beautiful flowers and what n informative post!! Thanks so much for taking the time to visit!
Hugs,
Deb
Oh thank you Deb. Dahlias are such a beautiful flower. I appreciate the compliment!