
Supplies for Successfully Sowing Cut Flower Seeds Indoors

Do you want to grow cut flowers from seed this year, but aren’t quite sure what supplies you actually need? Starting cut flower seeds indoors is one of the best ways to get a healthy jump on the growing season, and having the right tools makes the process much smoother.
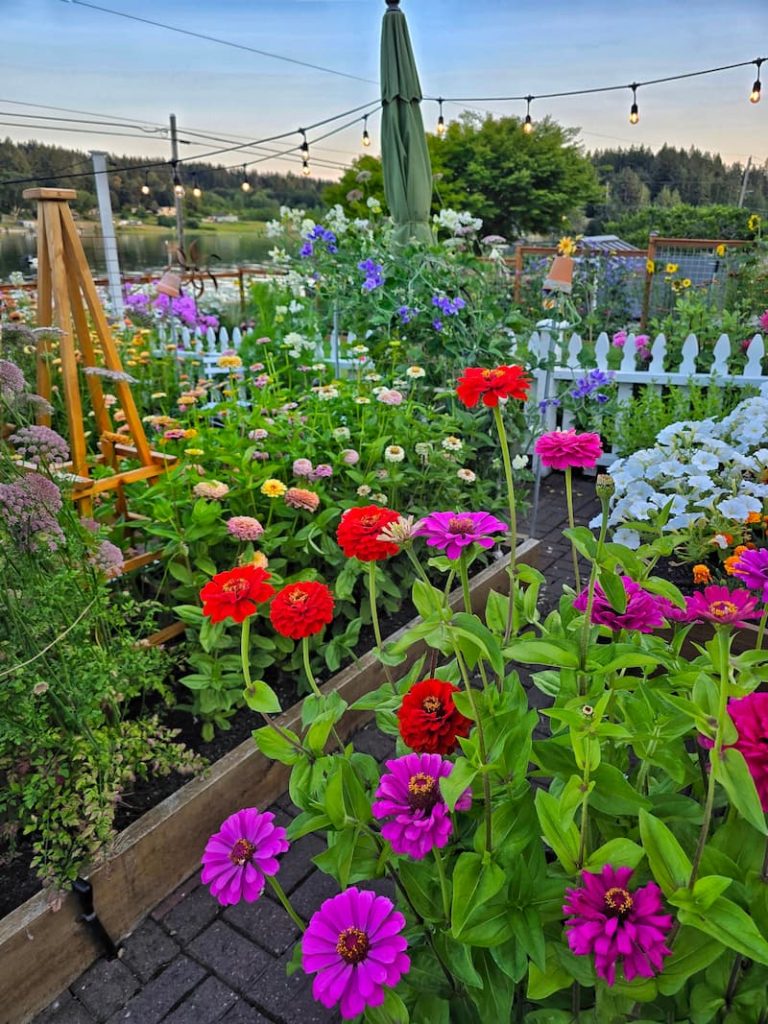
Living in the Pacific Northwest has taught me a lot about working around unpredictable weather. Cold springs, lingering frost, and damp conditions are exactly why I choose to start those delicate flower seeds indoors rather than planting them directly into the garden and hoping for the best.
The good news is that seed starting doesn’t have to be complicated or expensive. With a simple setup and a few well-chosen supplies, you can grow strong, healthy seedlings that are ready to thrive once they’re planted outside.
In this post, I’m walking through the seed-starting supplies I use every season to start cut flower seeds indoors, including what is essential, what’s optional, and what truly makes a difference for growing healthy, happy seedlings.

As an Amazon affiliate, I earn a commission from qualifying purchases at no additional cost to you. My blog also features other affiliate links for your convenience. Click here to read my privacy policy.
What is Seed Starting (and Why It Matters)
Seed starting is the process of growing plants indoors before transplanting them into the garden once outdoor conditions are right. For cut flowers, this early start makes a big difference in plant health, bloom timing, and overall success.
By starting seeds indoors, you can control the environment during the most sensitive stage of growth. Consistent moisture, steady temperatures, and reliable light help seed germinate more evenly and develop strong root systems before facing the challenges of the outdoors.
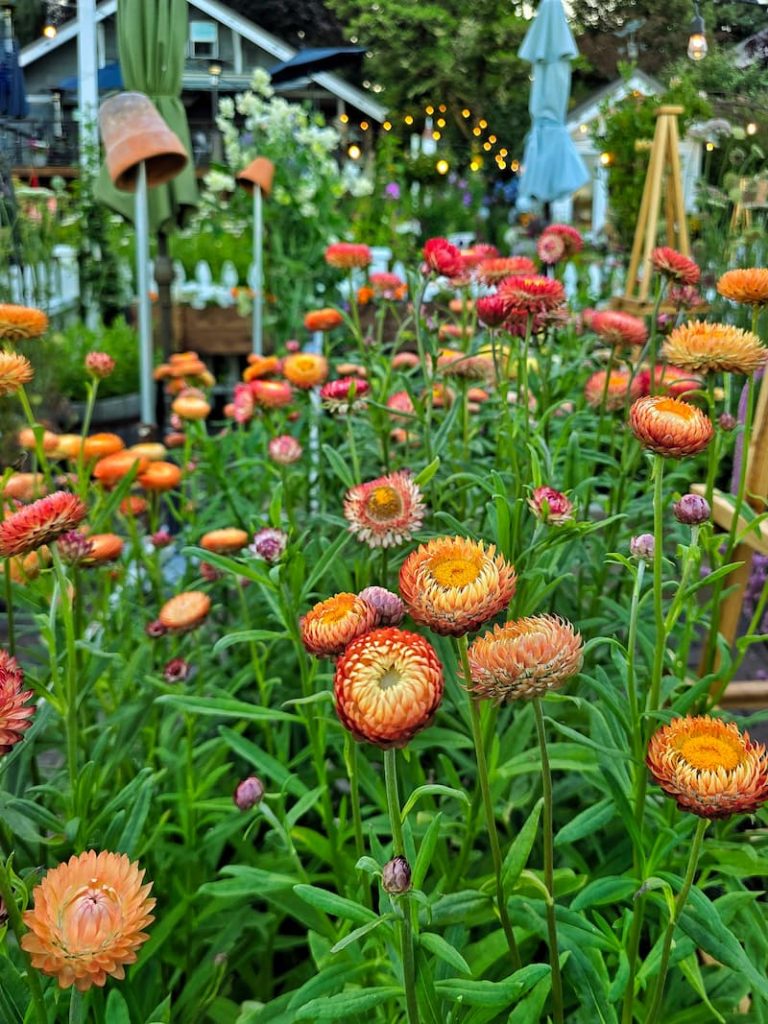
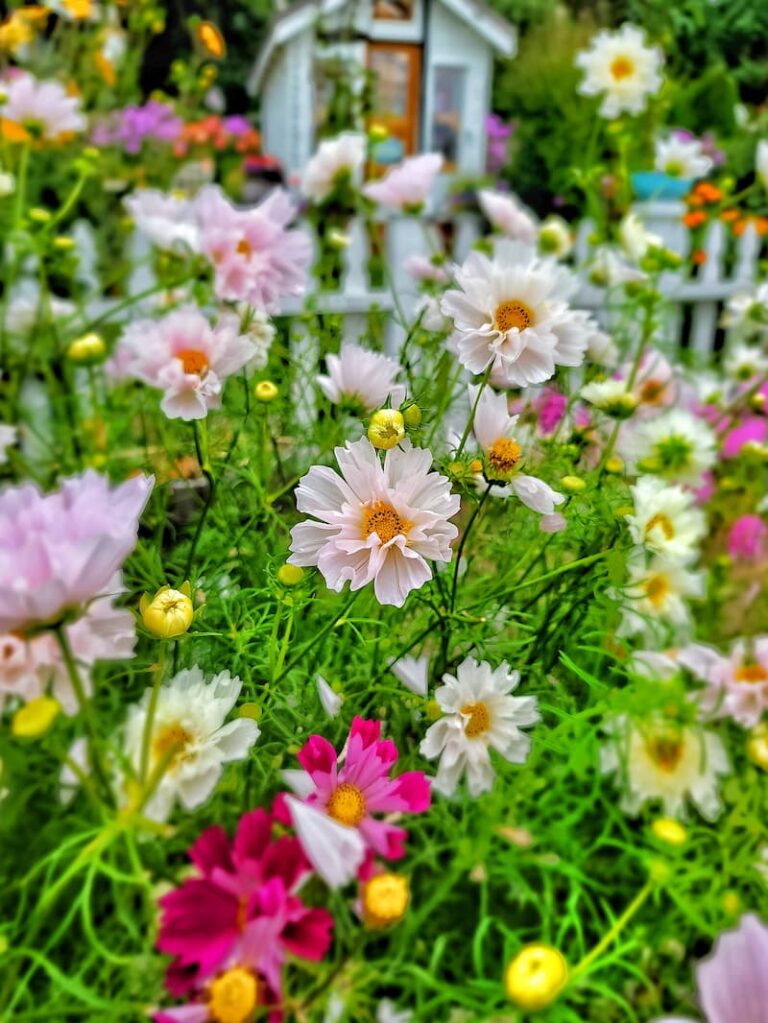
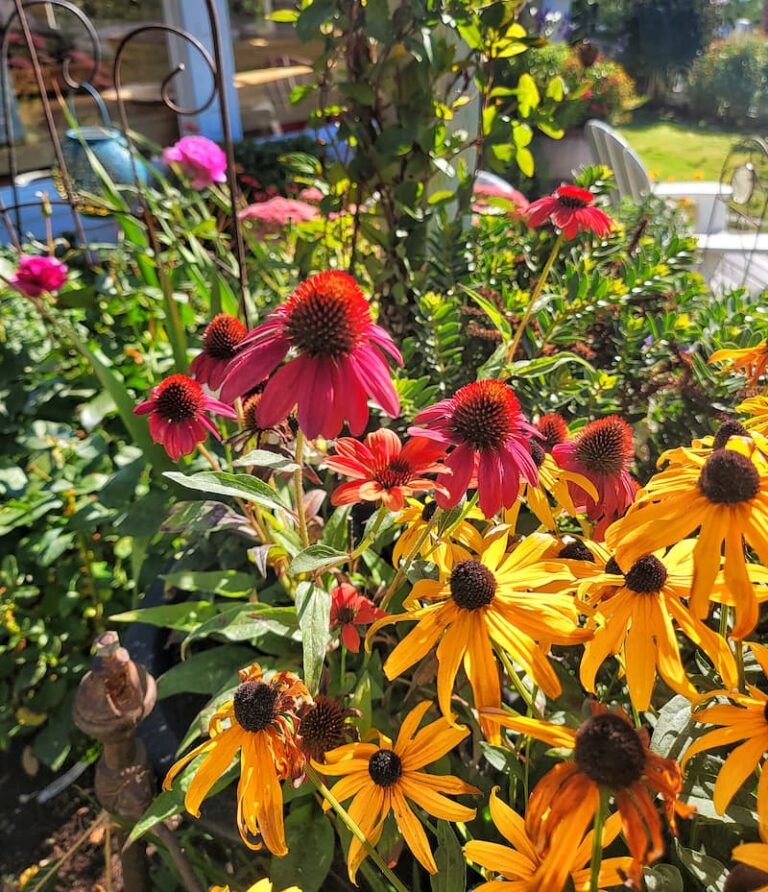
It’s especially helpful for cut flowers that need a longer growing season or benefit from an early head start. It also allows you to grow a wider variety of flowers, including specialty and heirloom varieties that aren’t always available as nursery seedlings, all while keeping costs down.
Where to Start Seeds Indoors
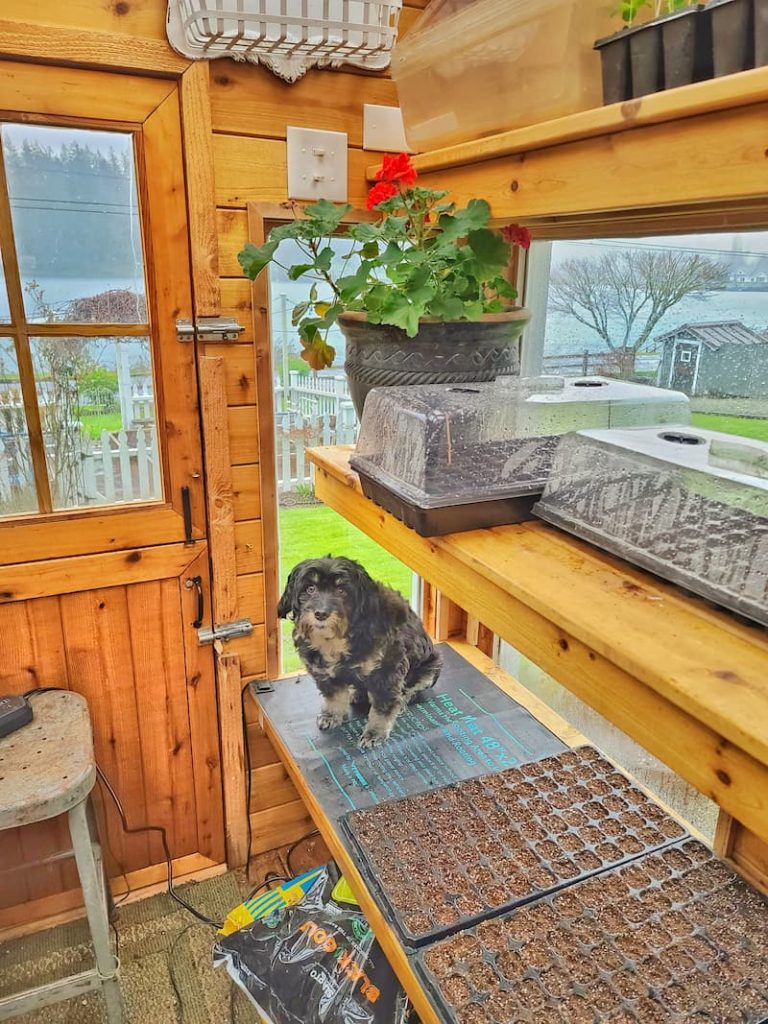
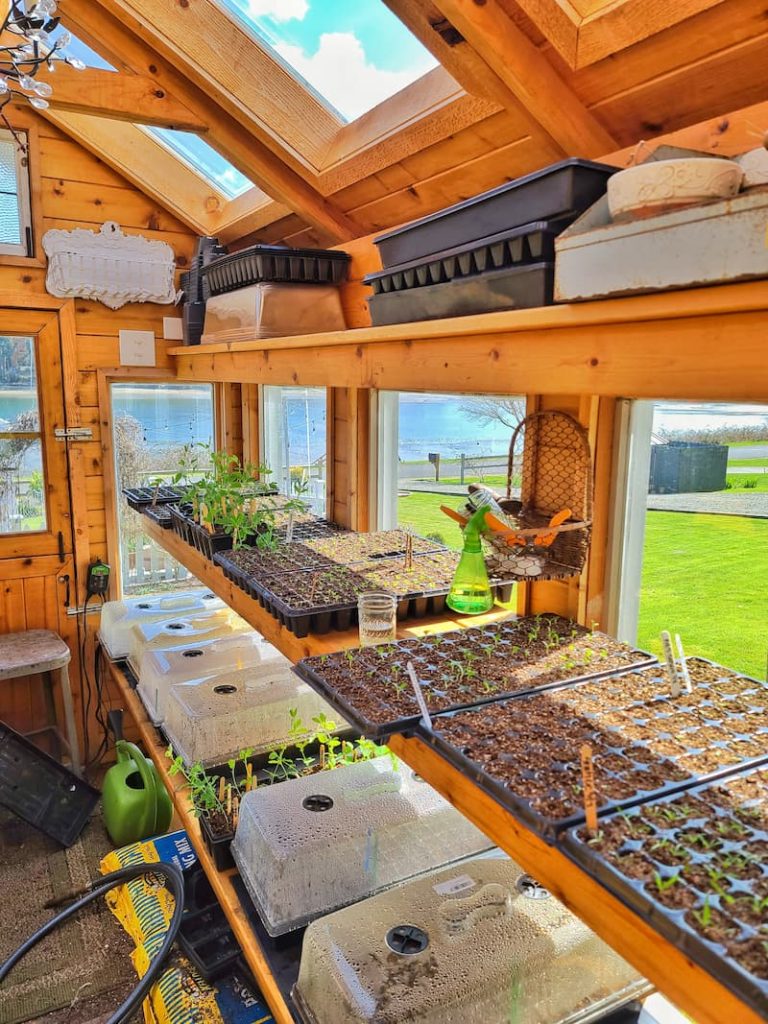
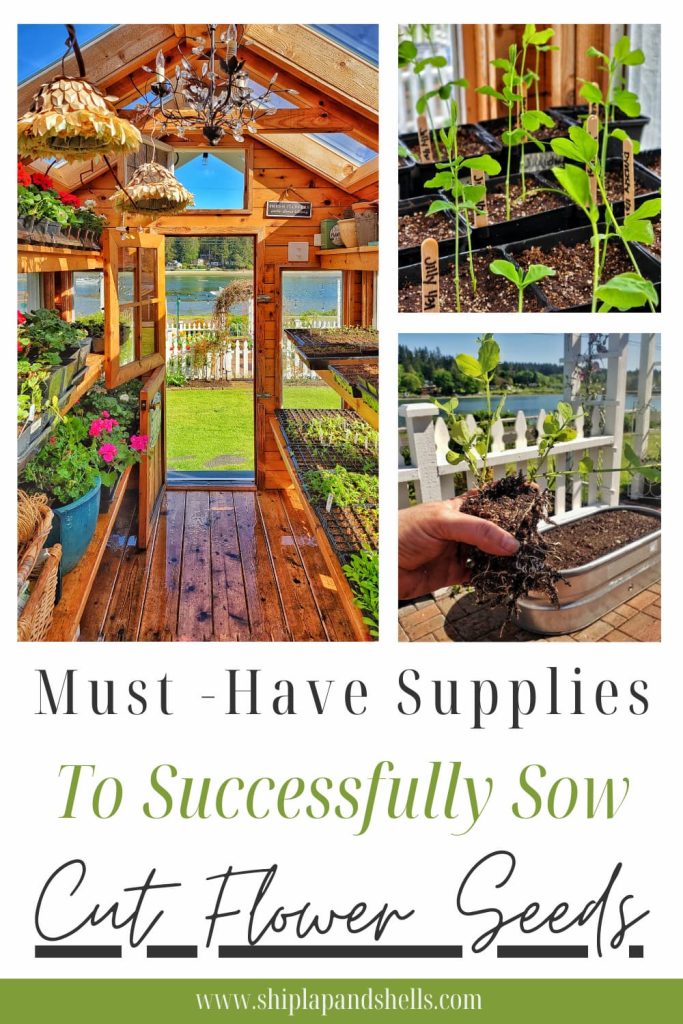
I start most of my seeds in a heated greenhouse, but that doesn’t mean you need one to be successful. Seed starting can happen in many different spaces, and the best spot is simply the one that works with your home, your schedule, and your sanity.
The key things to look for are warmth, consistent light, and a place where you can easily check on your seedlings every day. Seeds don’t need anything fancy, but they do appreciate a little attention.
Many gardeners start seeds on a sunny windowsill, a spare table, or a shelving unit fitted with grow lights. If natural light is limited (or unreliable… hello, Pacific Northwest winters), grow lights are a game-changer and take a lot of the guesswork out of the process.
Basements, garages, and laundry rooms can also work well as long as temperatures stay above about 65°F and there’s room for trays, lights, and airflow. I always recommend choosing a spot that’s out of reach of pets and away from cold drafts. Seedlings are tougher than they look, but they still need a calm environment.
14 Best Seed Starting Supplies for Flower Gardeners
If this is your first year starting cut flower seeds indoors, seeing a long supply list can feel a little intimidating. I promise, it doesn’t have to be.
Over the years, I’ve tested plenty of seed-starting tools in both my greenhouse and indoor setups, and I’ve learned that you don’t need everything to be successful. A few core supplies will get you started, and the rest can be added as your confidence (and seed collection) grows.
Below is a list of the seed-starting supplies I use each season to grow healthy cut flower seedlings indoors. I’ll share what’s essential, what’s helpful (but optional), and where you can save money by keeping things simple.
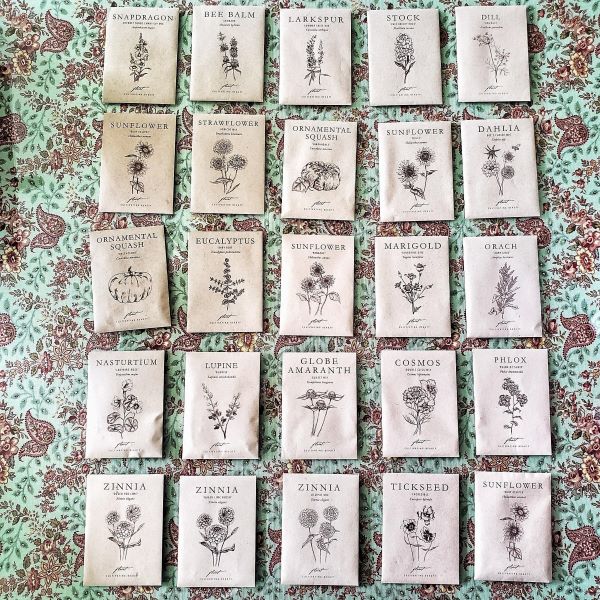
1. Quality Seeds
Starting with quality seeds makes a noticeable difference when growing cut flowers from seed. Healthy, reliable seeds are more likely to germinate well, grow evenly, and produce strong plants that hold up in the garden and in the vase.
I’ve learned over the years that investing in good seeds saves a lot of frustration later. Better seeds typically mean:
I used to buy most of my seeds from Floret Flowers, and while they now offer a smaller selection of their Florest Originals (like zinnias and celosia), they’re still beautiful varieties.
These days, I enjoy experimenting with seeds from several sources, including Botanical Interests, Johnny’s Selected Seeds, Renee’s Garden, and Eden Brothers.
Trying seeds from different companies has become part of the fun for me; each season feels a little like a small experiment to see what performs best in my garden. If you’re just starting out, stick with one or two trusted seed companies and build from there as you gain confidence.
Seed Starting Supplies
Check out my favorite supplies and tools for starting seeds indoors. Whether you’re looking for grow lights or a seed starting mix, you’ll find what I use in my own greenhouse.
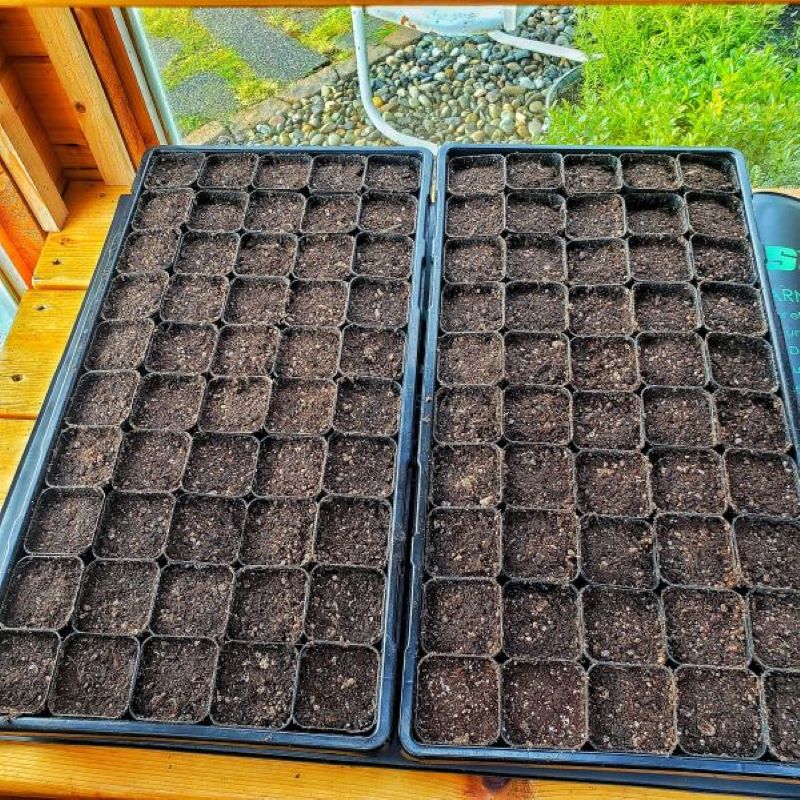
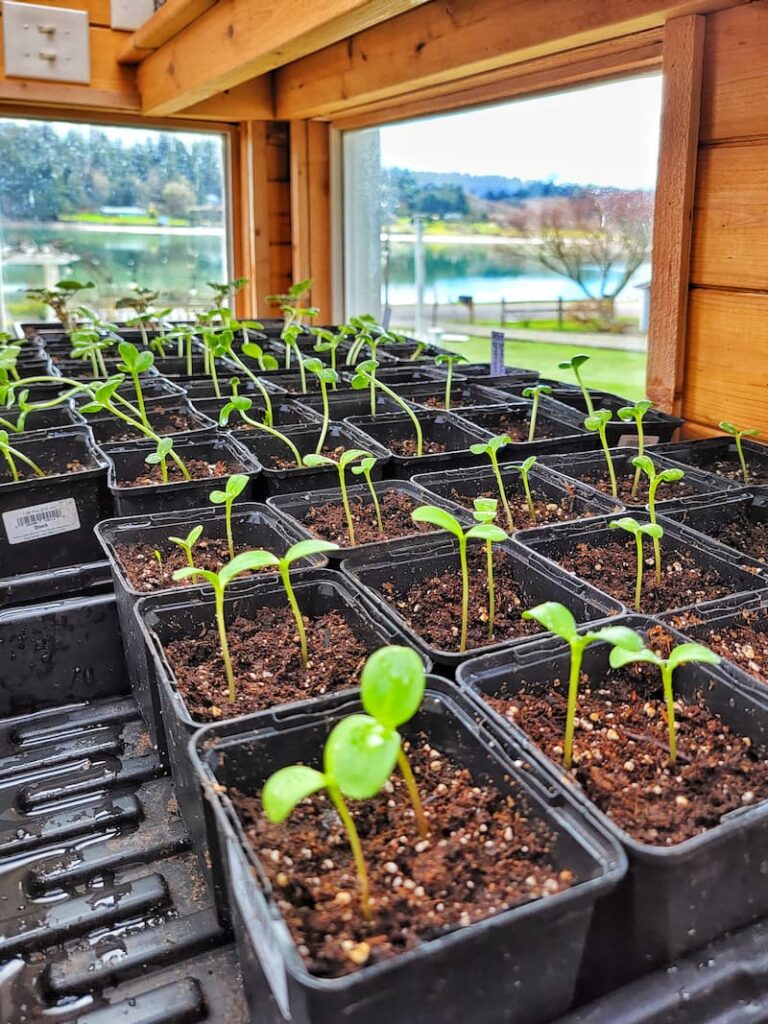
2. Seed Starting Mix
If there’s one place I don’t cut corners when starting cut flower seeds indoors, it’s the soil. A good seed-starting mix really is worth it, and once you see the difference, you’ll understand why.
Seed-starting mix is specifically designed for delicate seeds and young seedlings. It has a finer texture than regular potting soil, which allows tiny roots to grow easily, drains well so seeds don’t sit in soggy conditions, and holds moisture evenly so the soil doesn’t dry out too quickly.
Using regular potting soil is one of the most common mistakes new gardeners make when starting cut flowers from seed. It’s often too heavy and can contain bark, fertilizers, or additives that are simply too much for young seedlings to handle.
When choosing a seed-starting mix, look for one that is:
SHOP FOR… high-quality seed-starting mix
I always start with a high-quality seed-starting mix and moisten it before filling containers. That small step alone makes sowing seeds easier and helps ensure more even germination.
3. Vermiculite
Vermiculite is a natural mineral that’s often used in seed starting to help manage moisture and improve germination. When heated during processing, it expands into lightweight, spongy flakes that are gentle on emerging seedlings.
I like to use vermiculite in two simple ways:
A light covering of vermiculite helps keep the soil surface evenly moist without becoming waterlogged. It also allows light to reach seeds that need it for germination and makes it easier for tiny seedlings to push through the surface as they emerge.
SHOP FOR: vermiculite
Vermiculite can also help reduce fungal growth by preventing soil from crusting over. That said, it’s a helpful addition, not a requirement.
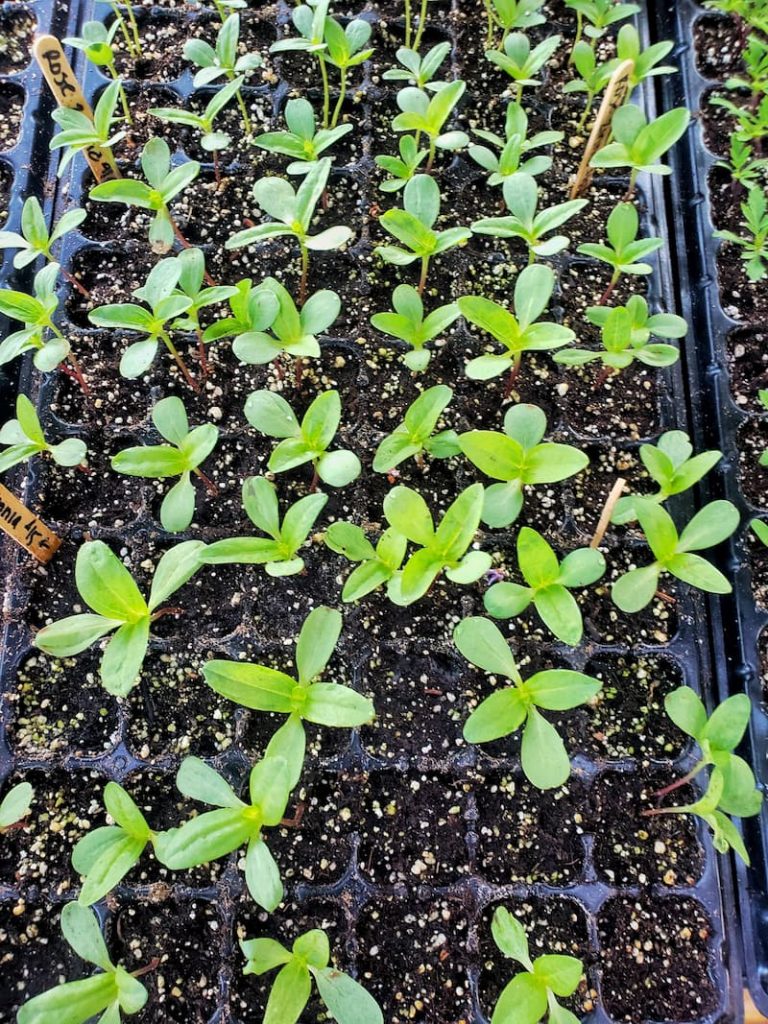
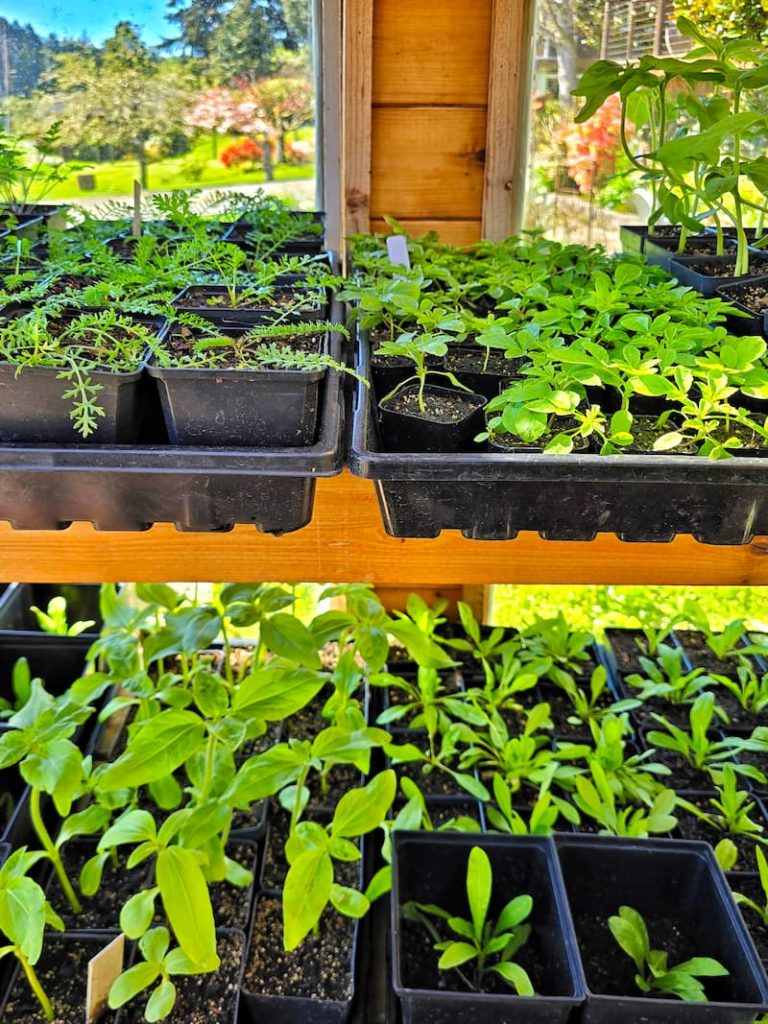
4. Seed Starting Containers

Choosing the right container is one of the most important parts of starting cut flower seeds indoors, but it doesn’t need to be complicated or expensive.
Any container that holds soil and has drainage holes can work. Seedlings need room for roots to grow and a way for excess water to drain so they don’t sit in soggy soil.
What You Can Use as Seed-Starting Containers
There are lots of options, and you may already have some of these at home:
You don’t need to buy everything new. Reusing containersis a great way to save money, especially when you’re just getting started.
What I Use Most Often
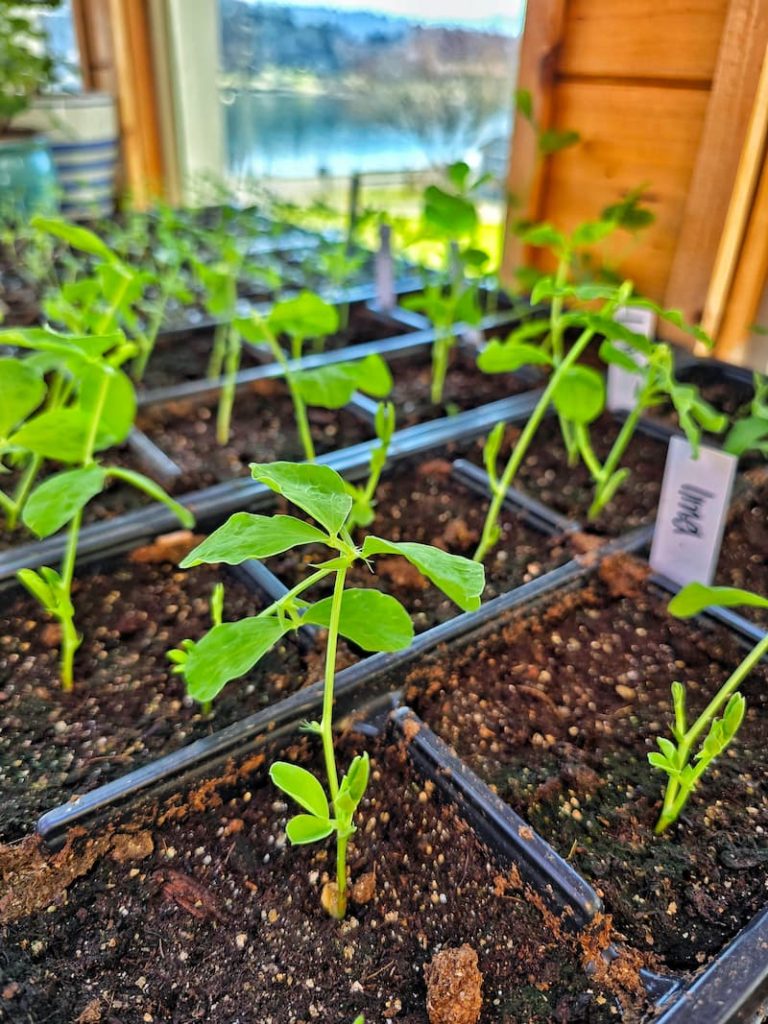
For most of my cut flower seeds, I get the best results with 72-cell trays. They give seedlings enough room to grow without needing to be repotted before it’s time to move them into the garden, which saves a lot of time later on.
SHOP FOR: 72-cell flats
For larger seeds or fast-growing plants, like sweet peas, pumpkins, or vining flowers, I switch to 4-inch pots or deeper containers.
Sweet peas especially appreciate extra root space. Root trainers work well, but I’ve also had success using rolled-up newspaper tubes. This is a great example of how seed starting doesn’t have to be fancy to be effective.
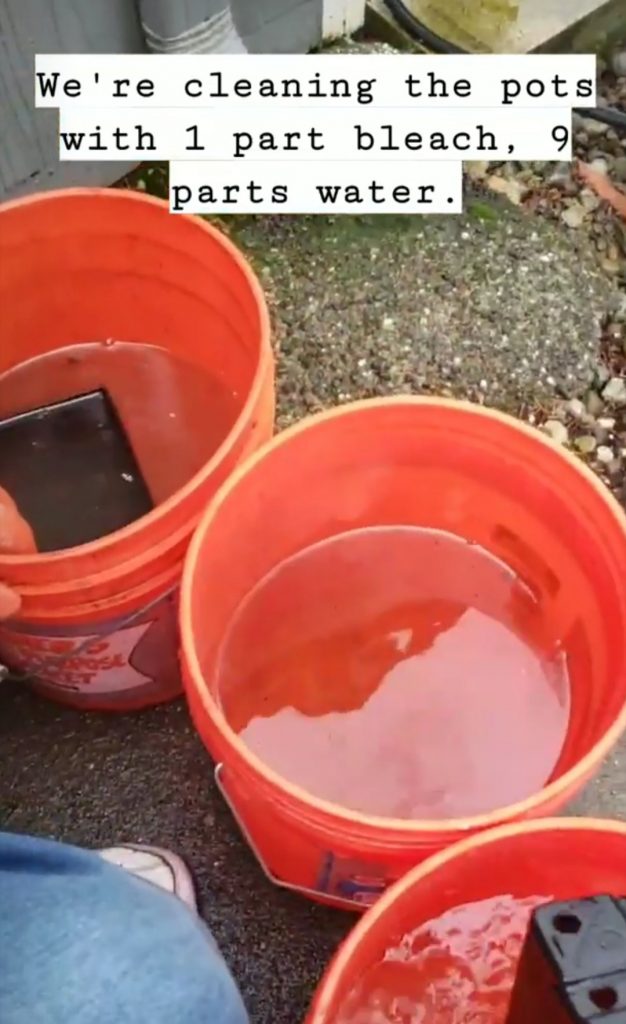
Clean Reused Containers
If you’re reusing pots or trays, it’s important to clean them first. I wash mine with a simple solution of one part bleach to nine parts water to help remove any lingering diseases or pathogens from previous seasons.
5. Drainage Trays
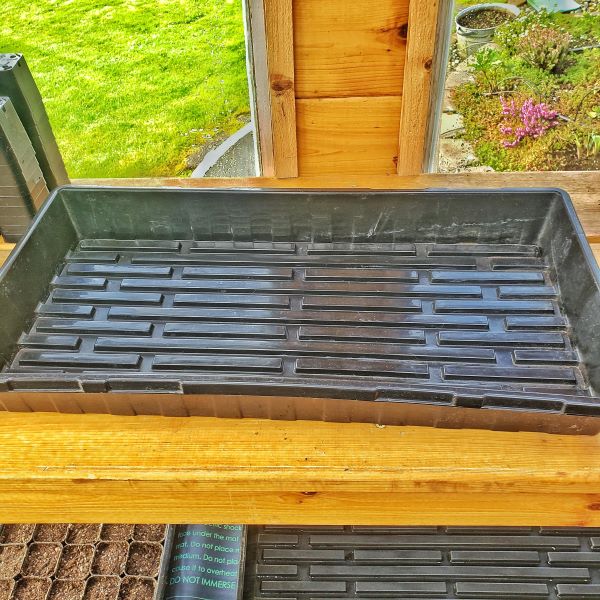
Drainage trays are one of those behind-the-scenes supplies that make seed starting much easier, especially once you start bottom watering.
These trays sit beneath your seed-starting containers and catch excess water, allowing seedlings to soak up moisture through the drainage holes rather than being watered from above. Bottom watering helps prevent seeds from washing away and encourages stronger root growth.
SHOP FOR: drainage/seedling tray
When I first plant seeds, I fill the bottom tray with water and let the containers absorb moisture as needed. Once the soil surface is evenly moist, I pour off any remaining water so seedlings aren’t left sitting in soggy conditions. I continue bottom watering until the plants develop their first true leaves.
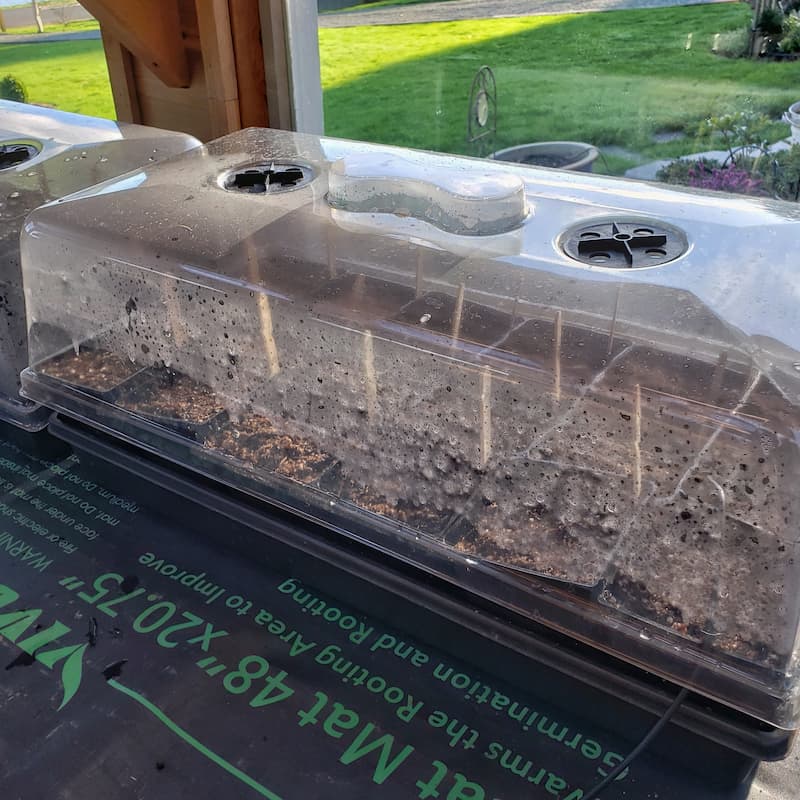
6. Humidity Domes
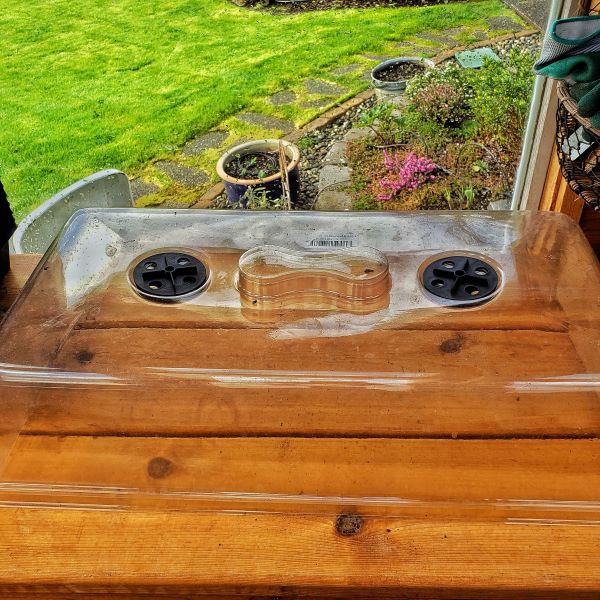
Humidity domes help create a warm, moist environment that encourages seeds to germinate more quickly and evenly. They fit over seed trays or containers and trap moisture during the early stages of seed starting.
I like using clear plastic or acrylic domes so I can easily keep an eye on what’s happening underneath. They’re especially helpful in dry indoor spaces or when starting seeds that prefer consistent moisture during germination.
Keep in mind that once seeds begin to sprout, it’s important to remove the dome so seedlings don’t stay too wet or grow weak from excess humidity.
SHOP FOR: humidity dome lid
I like to think of humidity domes as temporary helpers that are useful during germination, but once the seedlings are up and growing, they’ve done their job.
7. Heating Mats
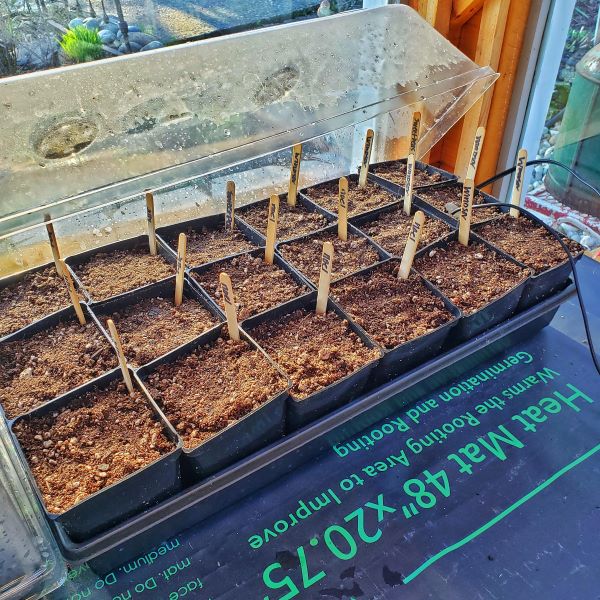
Heat mats provide gentle bottom warmth that can significantly improve germination, especially for seeds that need warmer soil temperatures. They’re especially helpful if you’re starting seeds in a cool room, basement, or greenhouse early in the season.
The goal of a heat mat isn’t to warm the air; it’s to warm the soil. That steady bottom heat helps seeds germinate faster and more evenly, which can make a noticeable difference with warm-season flowers.
I use heat mats with thermostats so I can control the temperature better, but you don’t need anything fancy to get started. In a pinch, placing seed trays on top of a refrigerator or near a radiator can offer similar warmth.
How Long to Use a Heat Mat
Heat mats are only needed until the seeds germinate. For most flowers, that’s anywhere from a few days to a couple of weeks, depending on the variety.
Once you see seedlings emerge, remove them from the heat mat. Continued heat after germination can cause seedlings to grow too quickly, becoming leggy or weak.
SHOP FOR: heat mats
Seeds That Don’t Need Heat Mats
Not all seeds benefit from extra warmth. Cool-season flowers like sweet peas, poppies, and larkspur generally prefer cooler conditions and often germinate just fine without added heat.
A quick check of the seed packet will usually tell you whether bottom heat is helpful. When in doubt, I err on the side of keeping things simple. Most cut flowers don’t need constant warmth once they’ve sprouted.
Garden Supplies and Tools
Check out my favorite garden supplies and tools for the growing season. Whether you’re looking for potting soil or deer repellent, you’ll find what I use in my own garden.
8. Grow Lights
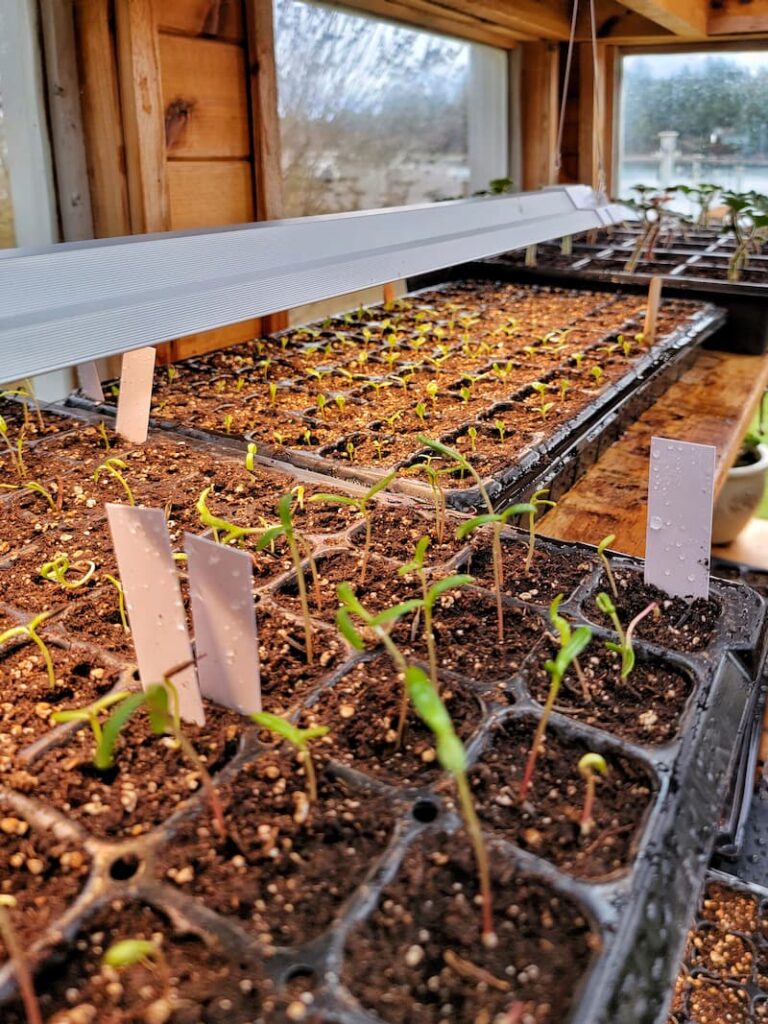
Once seeds germinate, light becomes one of the most important factors in growing strong, healthy seedlings. Without enough light, young plants will stretch toward the nearest source, becoming tall, thin, and weak.
For most indoor setups, grow lights are the easiest way to provide consistent, reliable light, especially if you don’t have a bright, south-facing window. I started using grow lights in my greenhouse last year, and while my flowers did well with natural light, the added grow lights made my seedlings grow even better.
Seedlings generally need 12 to 16 hours of light per day. This mimics the natural daylight they’d receive outdoors and helps support steady, balanced growth.
When using grow lights, keep them positioned close to the seedlings, about 2-3 inches above the tops of the plants, and raise them as the seedlings grow. Lights that are too far away are one of the most common reasons seedlings become leggy.
You don’t need anything complicated. Simple shop-style LED grow lights work well, and using a timer can take the guesswork out of turning lights on and off each day.
SHOP FOR: heat lamps and grow lights
Tip:
Use a power strip if you’re running muliple grow lights and heat mats.
9. Seed Starter Kits
Seed starter kits can be a convenient option if you’re growing a small number of seeds or just want an easy, all-in-one setup. These kits usually include a seed-starting tray, a drainage tray, a humidity dome, and sometimes a grow light.
If you’re new to seed starting and feeling unsure about what to buy, a starter kit can take the guesswork out of the process. Everything fits together, and you can get started right away without piecing supplies together individually.
But if you’re starting a larger cut flower garden or sowing multiple trays as I do, buying supplies separately can make more sense. You’ll have more flexibility in container size and layout, and it can be more cost-effective over time.
SHOP FOR: Seed Starter Kits Available
- Seed Starter Tray with Light, 6PCS Seed Starter Kit with Grow Light, Seedling Starter Trays with Humidity Domes, Covers Height 3.9″, Indoor Gardening Plant Germination Trays (12 Cells per Tray)
- Seed Starter Tray with Grow Light, 5 Pack Seed Starter Kit with Heat Mat, Seedling Starter Trays with Timing Controller Adjustable Brightness
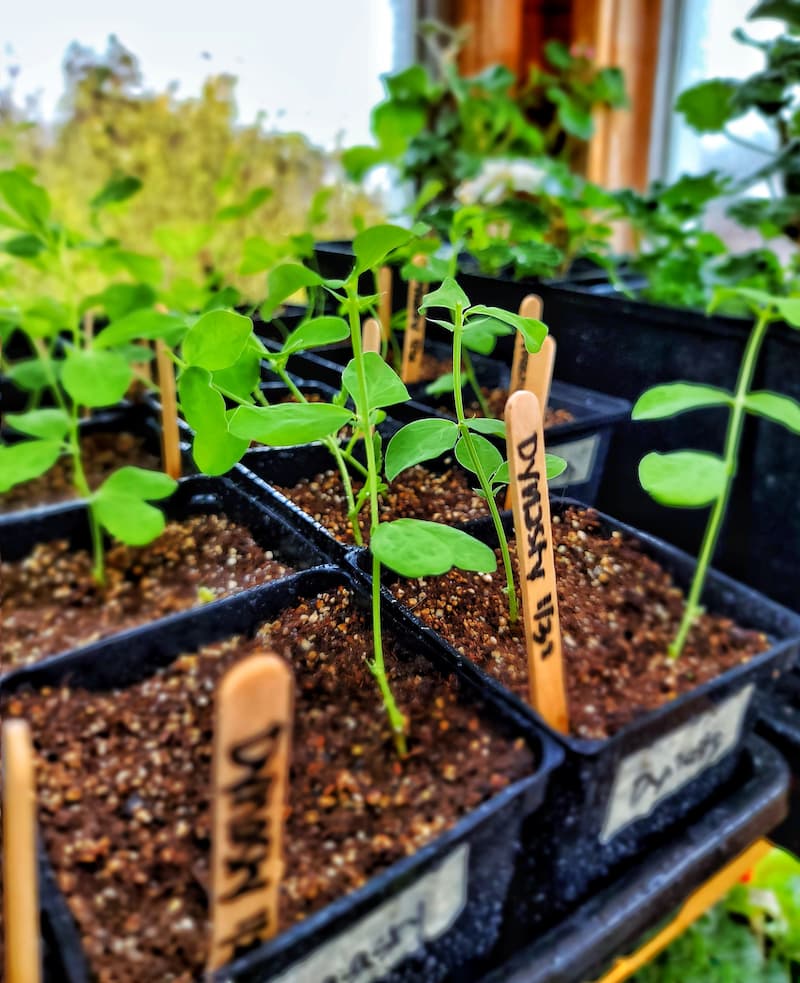
10. Plant Labels or Tags
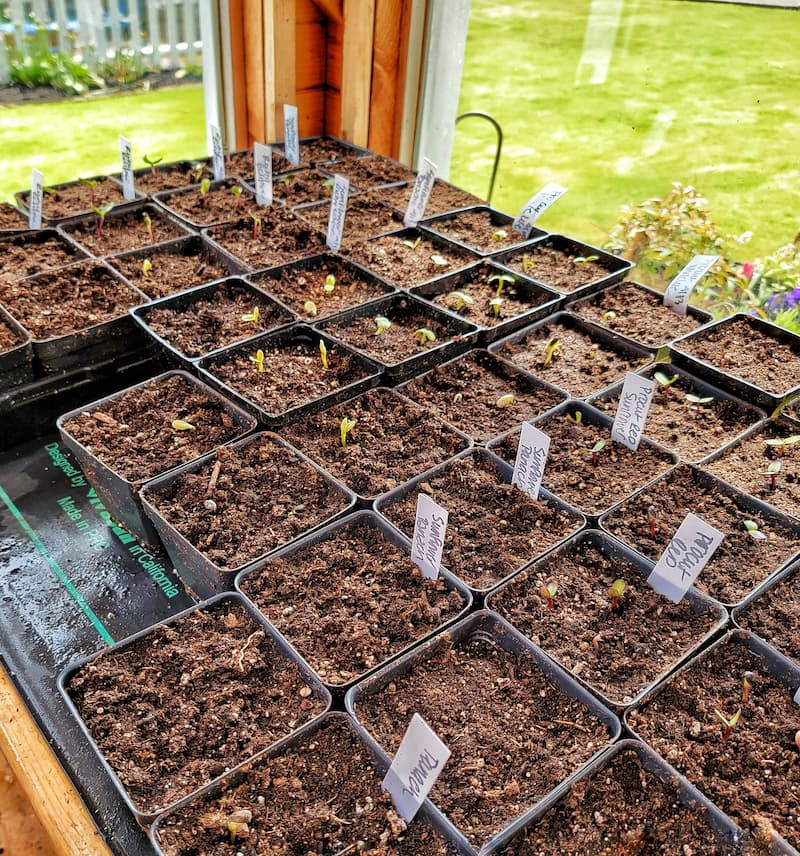
Plant labels are one of those seed-starting supplies that seem optional until you skip them once and instantly regret it.
As soon as you sow your seeds, label each tray or container with the variety name and the date planted. I use simple plant tags and a permanent marker, but anything that won’t wash off will do.
Seedlings all look surprisingly alike in the beginning, and it doesn’t take long to forget what’s what, especially if you’re starting multiple trays at once. Ask me how I know.
SHOP FOR: plant tags
Taking a minute to label everything right away saves a lot of confusion later, especially when it’s time to transplant seedlings into the garden or track how long certain varieties take to germinate.
11. Table or Shelves
When starting seeds indoors, the amount of space you need depends on how many seeds you’re growing and your setup. The good news is that seed starting doesn’t need a dedicated room or permanent setup; you can make it work with what you already have.
Tables
A sturdy table works well for small to medium seed-starting setups. Dining tables, folding tables, or work tables can all do the job. I recommend protecting the surface with a waterproof tray, plastic tablecloth, or old shower curtain to catch spills and excess water.
Tables are easy to access, which makes daily checking, watering, and adjusting lights much simpler, something you’ll appreciate once the seed-starting season is in full swing.
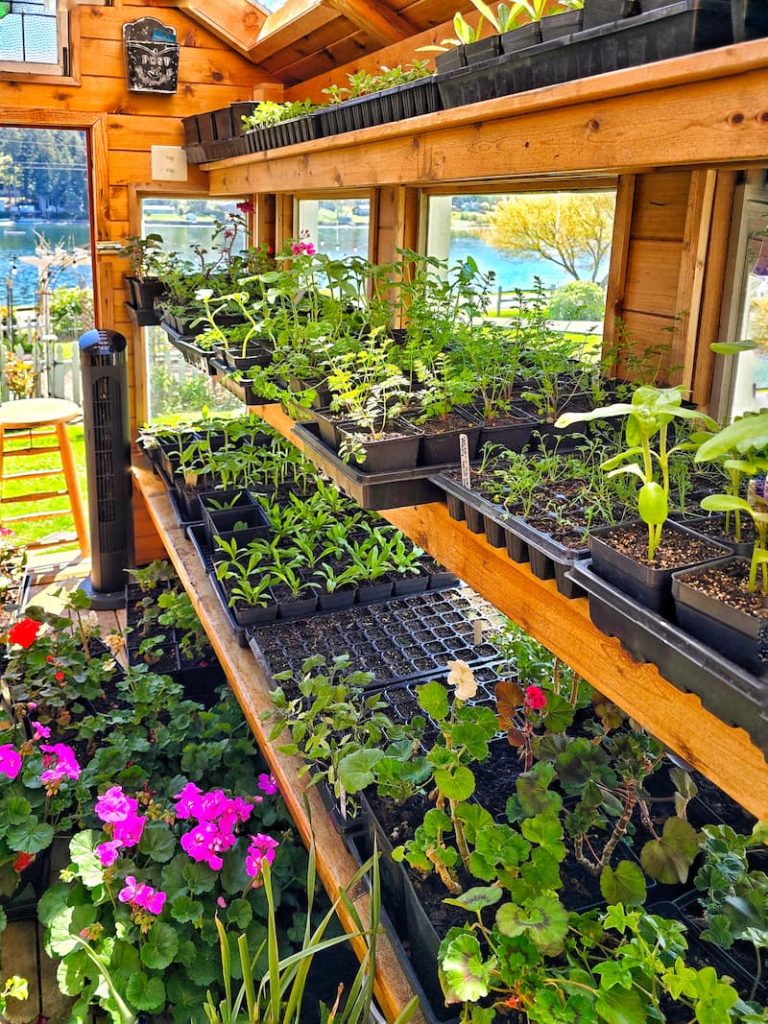
Shelves
Shelving units are great for maximizing vertical space, especially if you’re starting multiple trays. Multi-tier shelves let you stack trays and use grow lights on each level so all seedlings get equal light.
Wire racks are lightweight, affordable, and allow good air circulation around the trays. Adjustable shelves make it easy to raise lights as seedlings grow.
Other Options That Work Well
12. Temperature-Controlled Heater and Fan
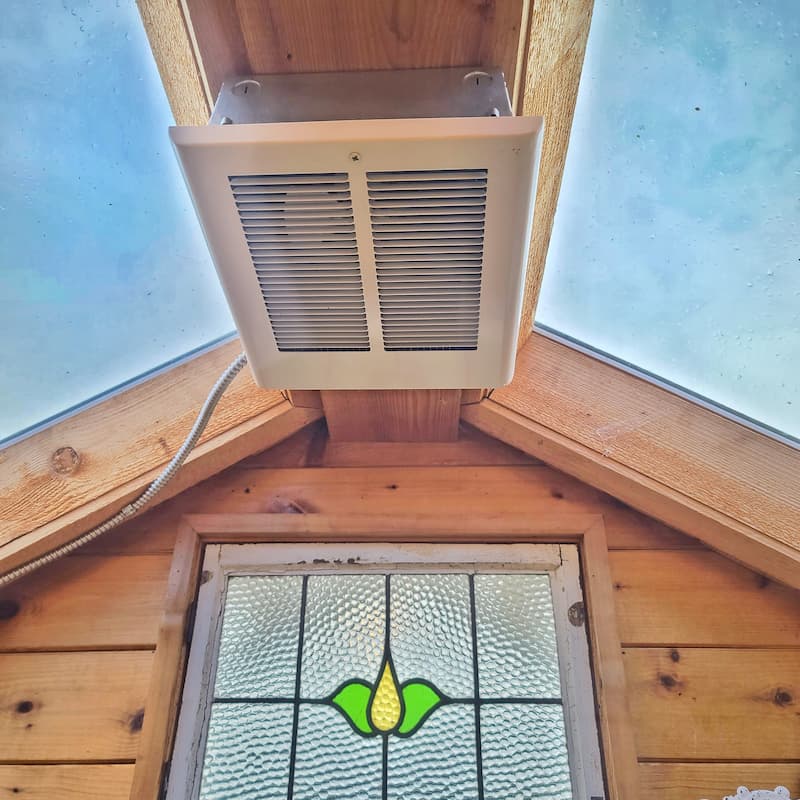
Heater
A temperature-controlled heater is extremely helpful if you’re starting seeds in a greenhouse or an unheated space during the colder months. Consistent temperatures help seeds germinate more reliably and keep young seedlings from being stressed by cold nights or sudden temperature swings.
I keep our greenhouse at a minimum of 45°F during winter, which allows me to start seeds early and overwinter tender plants like geraniums. You don’t need tropical conditions, just steady, protected warmth so seedlings can grow at their own pace.
Fluctuating temperatures can slow germination or cause uneven growth, so having an automatic heater that turns on and off makes seed starting far less stressful.

Fan
A fan may not seem essential at first, but it plays an important role in creating a healthy, growing environment. Gentle air circulation helps prevent excess moisture from settling on seedlings, which reduces the risk of fungal diseases.
Running a fan also strengthens young plants. The light movement mimics outdoor conditions and encourages sturdier stems instead of soft, floppy growth.
Even a small, low-setting fan aimed away from the seedlings can make a noticeable difference. The goal isn’t wind, it’s airflow.
13. Watering Can or Hose
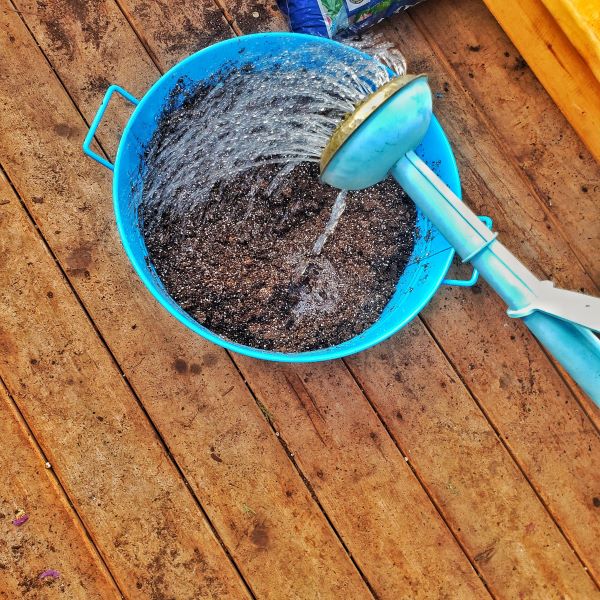
A watering can or hose is a must for keeping seedlings evenly moist throughout the seed-starting process. Until seeds germinate, I stick with bottom watering to avoid washing tiny seeds out of place.
Once seedlings are established and have their first set of true leaves, gentle overhead watering is fine. A watering can with a narrow spout gives you better control and helps prevent overwatering.
If you’re working in a greenhouse, a hose with a soft spray nozzle works well, especially as plants grow larger. The key is consistency: checking moisture levels daily and watering as needed rather than on a set schedule.
14. Plant Journal/Planner
A plant journal or garden planner is one of the most valuable tools you can have, especially when starting seeds year after year. It’s more than a place to jot down notes; it becomes a record of what worked, what didn’t, and what you want to try next season.
I use mine to track seed varieties, sowing dates, germination times, and transplant notes. It’s amazing how helpful this is the following year when you’re standing in the greenhouse, trying to remember which flowers thrived and which ones struggled.
Keeping a journal also helps you fine-tune your timing. Over time, you’ll notice patterns, what germinates quickly, what prefers cooler conditions, and which varieties are worth growing again.
Even a simple notebook works. The goal isn’t perfection, just consistency. A few notes each season can make your seed-starting process smoother, more successful, and far less guesswork-driven.
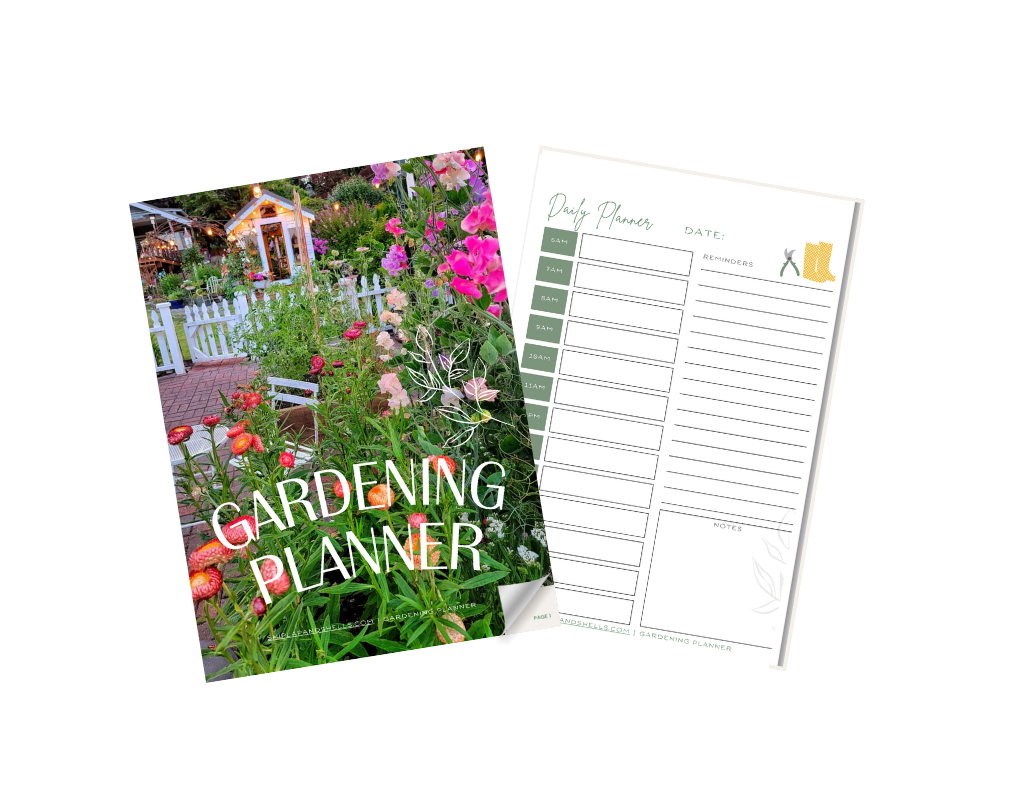
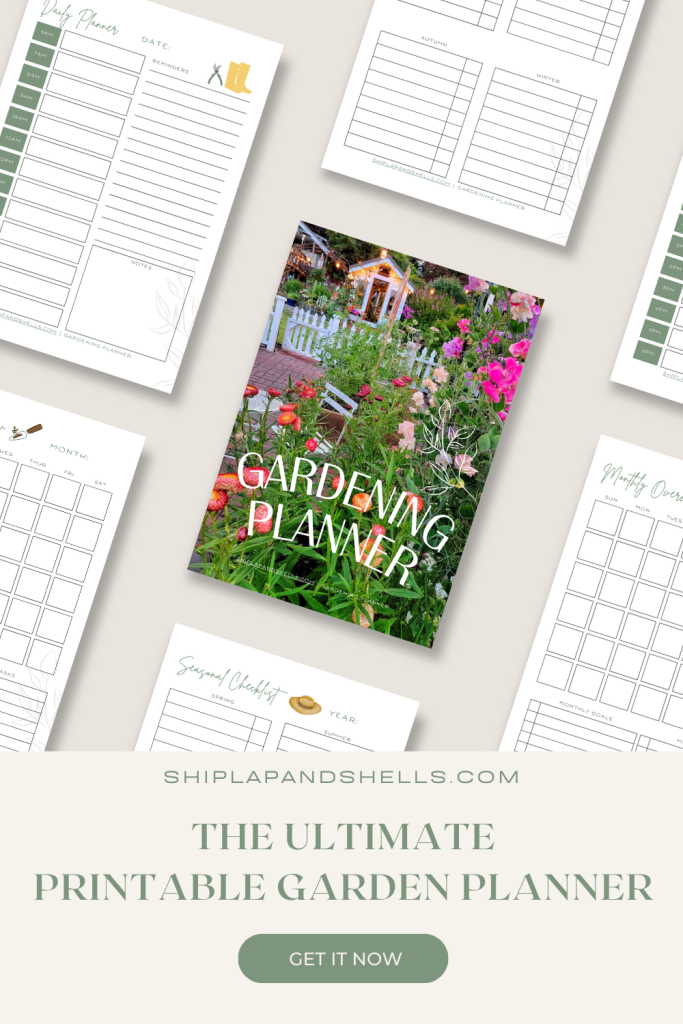
SHOP FOR: my 35-page digital garden planner
Let’s Plan Your Dream Garden With Our
Gardening Planner
Unlock Your Garden’s Potential.
Our 35-page Ultimate Garden Planner is designed to help you organize, track, and flourish in your gardening endeavors.
Get yours for $4.99
Explore Other Posts With Posts On Seed Starting

Here are some of the important posts from my ‘Growing a Cut Flower’ series to get you started:
Final Thoughts on Seed Starting Supplies for a Cut Flower Garden
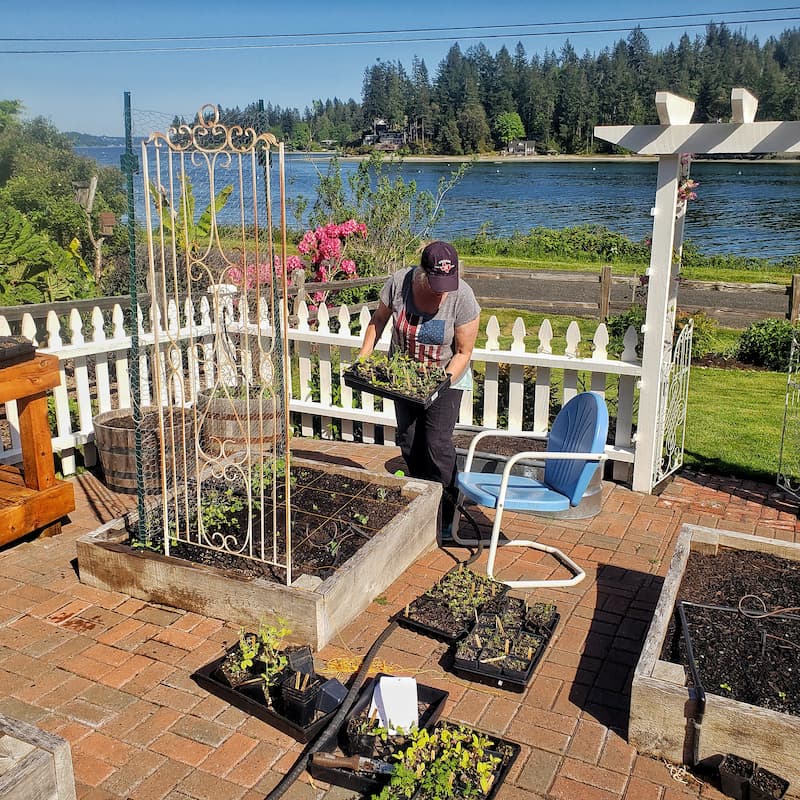
Starting a cut flower garden from seed doesn’t require a complicated setup or a greenhouse full of fancy equipment. With the right supplies and a little patience, you can grow strong, healthy seedlings that will reward you with armfuls of flowers all season long.
Over the years, I’ve learned that successful seed starting is really about creating a comfortable environment for young plants and paying attention as they grow. A few reliable tools, a warm spot, good light, and daily check-ins go a long way.
Don’t feel like you need to buy everything at once or get it perfect the first year. Start small, use what you have, and add supplies as you learn what works best for your space and gardening style.
If you found this post helpful, be sure to share it with a fellow gardener who’s dreaming of seed trays, spring blossoms, and that first tiny sprout pushing through the soil.
Until next time,
Happy Gardening!
I’m a self-taught hobby gardener. Everything I share on my blog is my opinion and what has worked for me.
MORE POSTS
For You To Enjoy
Follow Me for More Inspiration

Beautiful blog Kim! I can’t wait to read more. ? I love growing plants from seed but it’s been a long long time. Now I know where to come when I’m ready to do some more! Your photos are so inspiring – thanks for all of it!
Thank you so much Barbara! I am so thrilled that you came here to check things out! My plan is to post a gardening post at least once a week. I hope you like them!
Great article!!! You grow so much from seed!!! Someday for me! ?
Thank you for the compliment Stacy! It’s so much fun, I hope you get to join in on the fun soon! Thank you for visiting my blog!
If I had this beautiful space at my disposal I would give it a try. .just be rewarding seeing a plant develop from seed.
Cindy
Thank you so much for visiting my blog Cindy! It is a really rewarding experience!
It’s been rewarding. I’m having so much fun right now!