
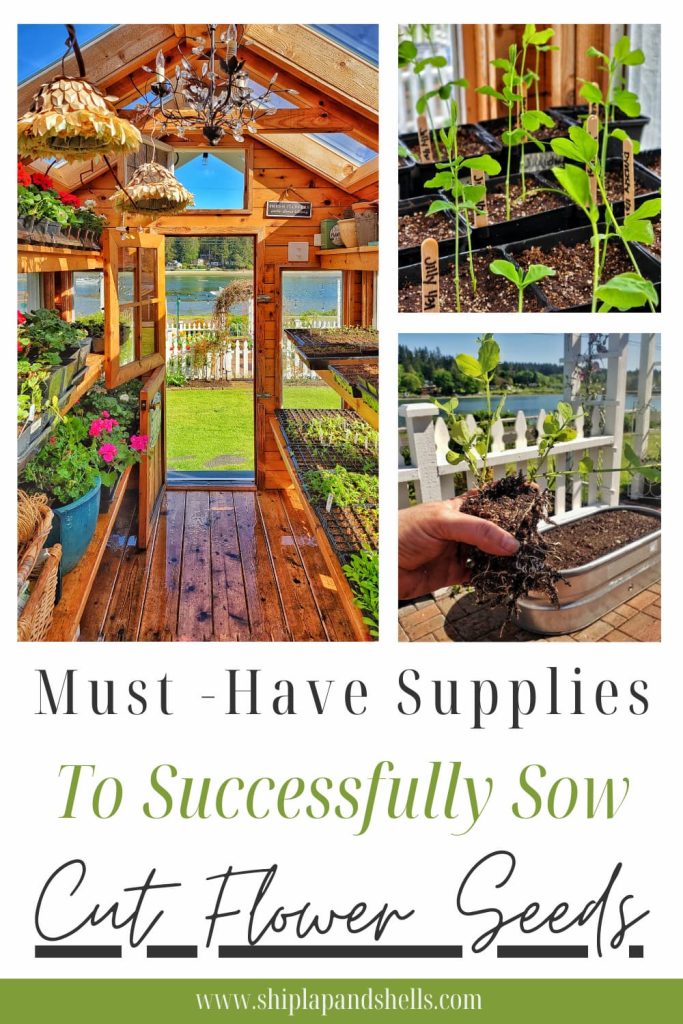
Supplies for Successfully Sowing Cut Flower Seeds Indoors

Are you considering growing your flowers and vegetables from seed this year? I’ve compiled a list of what supplies are needed to start sowing your seeds indoors to grow strong and healthy plants.
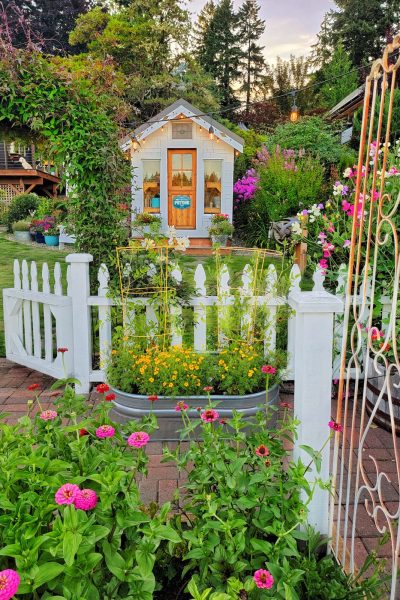
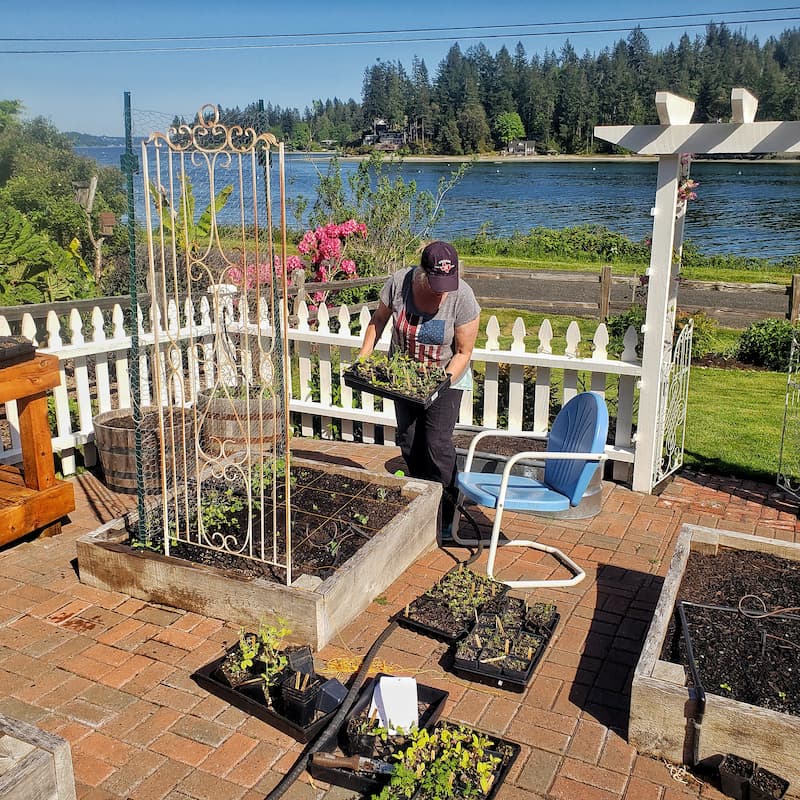
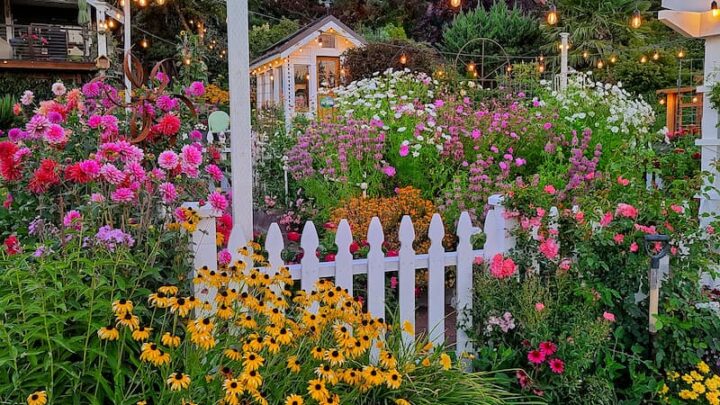
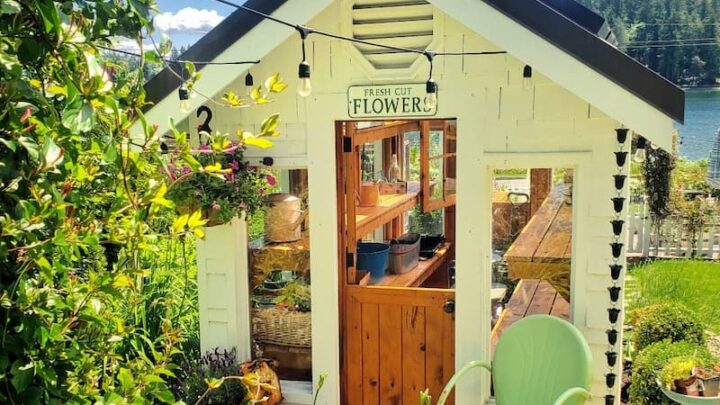
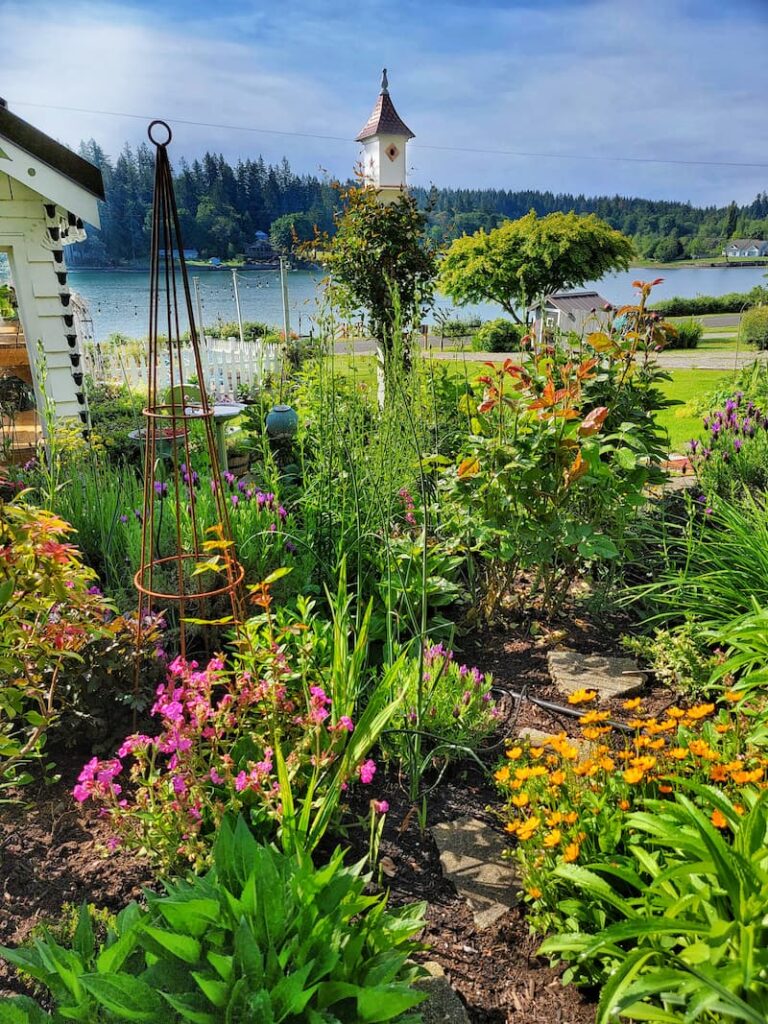
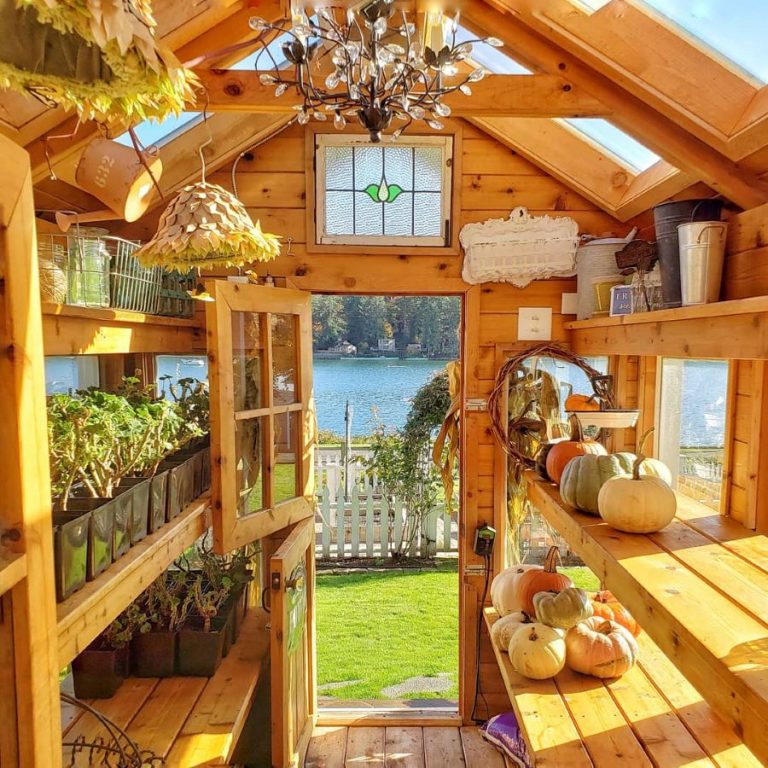
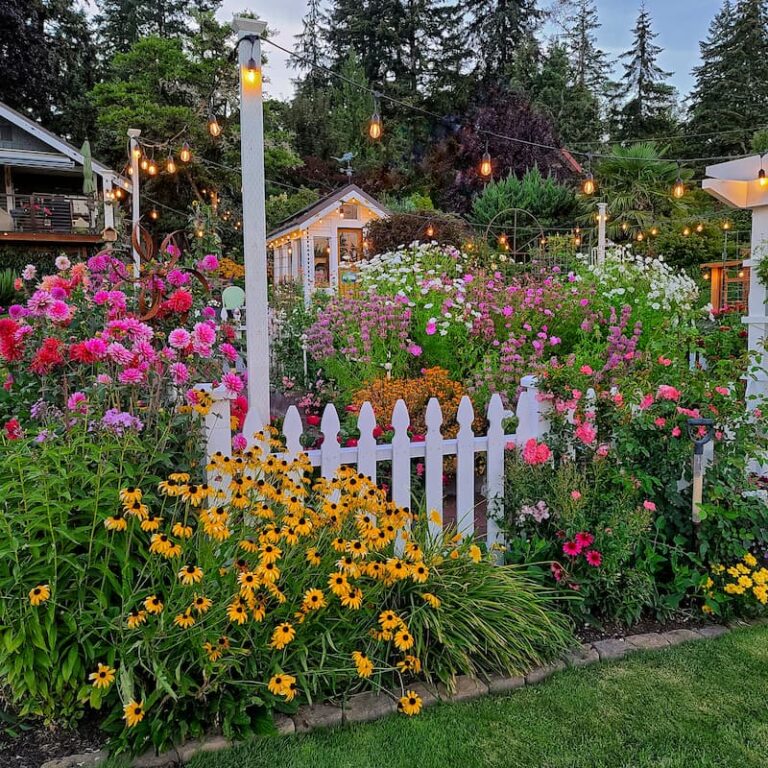
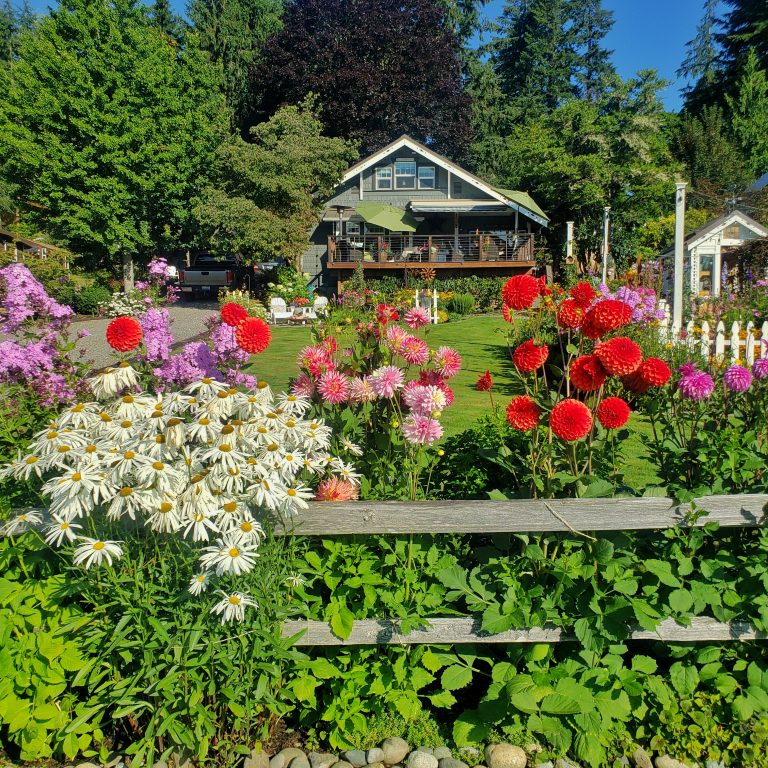
I start seeds in the greenhouse rather than planting them directly in the garden. This is mainly because the weather can be unpredictable this time of year in the Pacific Northwest, and seeds are so delicate and can be damaged very easily.
When growing a cut flower garden from seed, it all starts with how you sow your seeds. It’s important to have the right supplies to start sowing your seeds and just the right environment to grow healthy seedlings.

As an Amazon affiliate, I earn from qualifying purchases at no extra cost to you. My blog contains other affiliate links as well for your convenience. Click here to read my privacy policy.
I’m a self-taught hobby gardener, not a Master Gardener. Everything I share with you on my blog is my personal opinion and things that have worked for me.
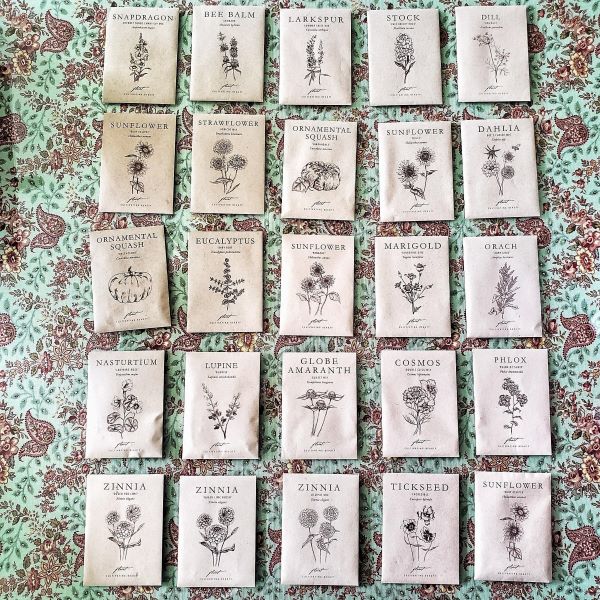
Quality Seeds
Using quality seeds is essential for growing a successful cut flower garden.
They are more likely to produce strong, healthy plants that are more resistant to disease and pests and are better equipped to withstand harsh weather conditions.
Investing in quality seeds means your flowers will provide the following:
I have bought over 90% of my flower seeds from Floret Flower Farm. To see the cut flower seeds I chose to grow for the last three years, click the buttons below.
Seed Starting Supplies
Check out my favorite supplies and tools for starting seeds indoors. Whether you’re looking for grow lights or a seed starting mix, you’ll find what I use in my own greenhouse.
Seed Starting Mix
Using regular potting soil is one of the mistakes beginning gardeners make when starting their cut flower garden from seed.
Start your seeds with a high-quality seed-starting mix that contains nutrients and the proper pH balance.
Look for seed-starting media that is free of toxic substances, and avoid anything containing a synthetic fertilizer or bark, which can burn young plants. Find a seed-starting potting mix that holds moisture properly.
Vermiculite
You can use vermiculite in combination with a seed starting mix for planting seeds in containers.
After sowing the seeds, you can lightly cover them with a thin layer of vermiculite. Here are some of the benefits:

Containers
Choose the Right Container to Start Your Seeds
One of the most important seed-starting supplies is the container that holds the seeds. There are many options for choosing the right container for your seeds. You can start them in anything 2-3 inches deep that holds soil and has drainage holes.
There are so many different sizes and shapes of containers and seedling trays to grow seedlings. Choose from a variety of seed-starting containers:
It’s crucial to have holes in the bottom of the container for a plant’s healthy root system, which needs space to grow so any water can drain. Otherwise, the water will sit in the container, and the plant will rot.
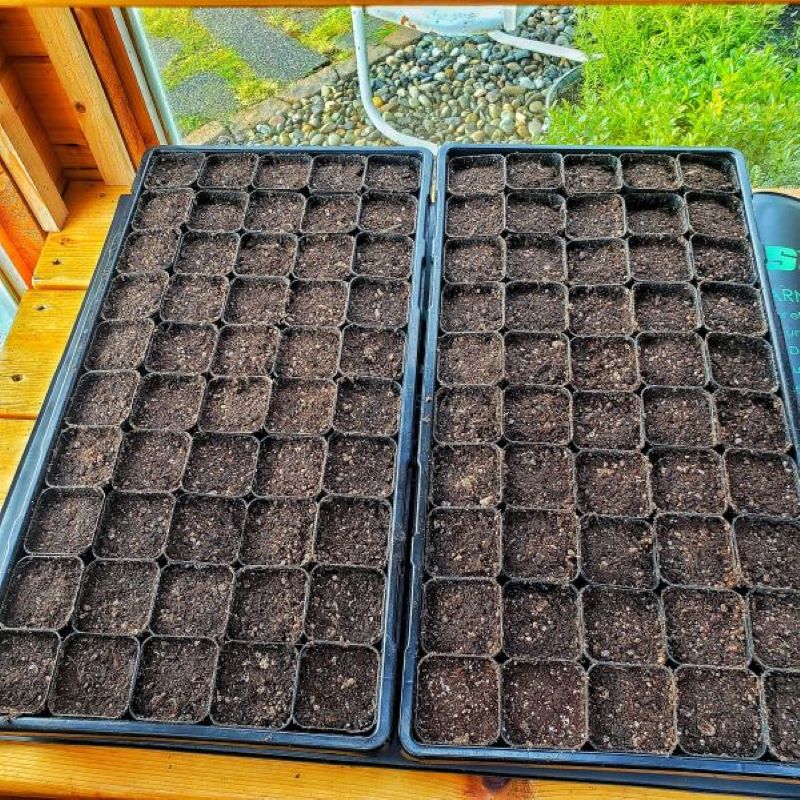
I get the best results with cell trays for most of my seeds. The 72-cell flats are my favorite because I never have to re-pot seedlings to a larger pot before it’s time to transplant them in the garden.
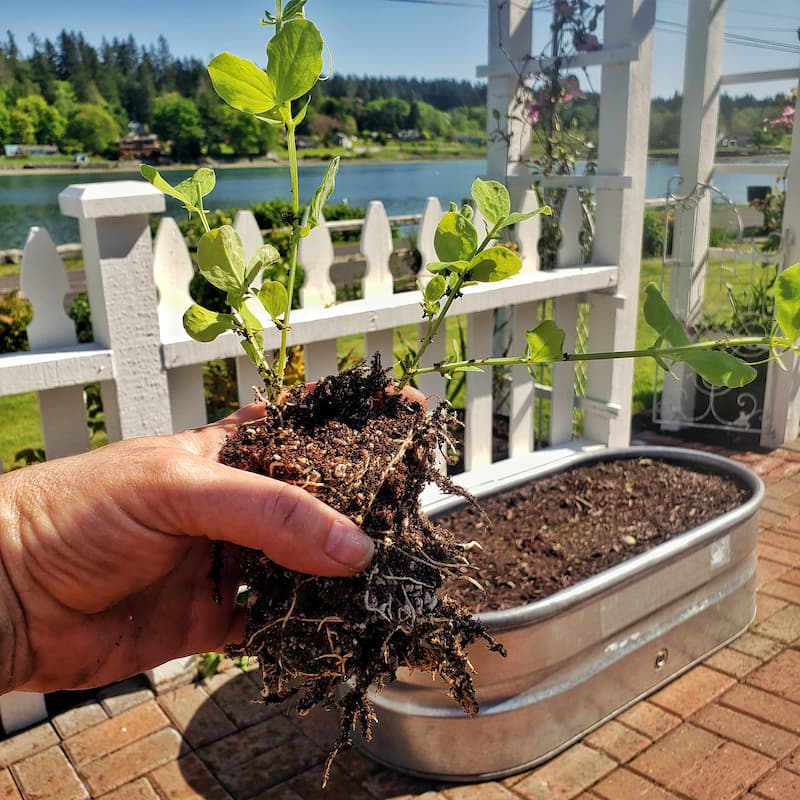
When planting sweet peas, pumpkins, or vines, I use larger containers, usually 4-inch pots. Root trainers are great for sweet peas, but I have seen a rolled-up newspaper tube work just as well. With so many choices out there, spending a lot of money on containers is unnecessary.
‘Growing a Cut Flower Garden’ Series
Learn about the ins and outs of growing a cut flower garden this year. Click the button below to be taken to the entire series of blog posts and choose what is interesting to you.

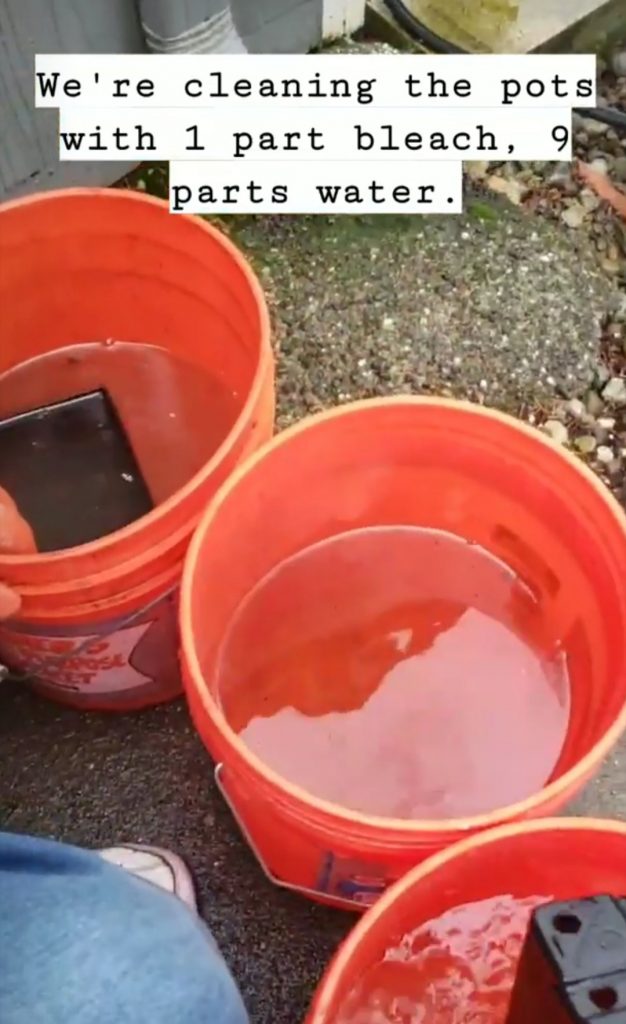
Clean Used Containers
If you decide to reuse pots or containers, wash them with a one-part bleach / nine-part water solution to kill any diseases or pathogens.
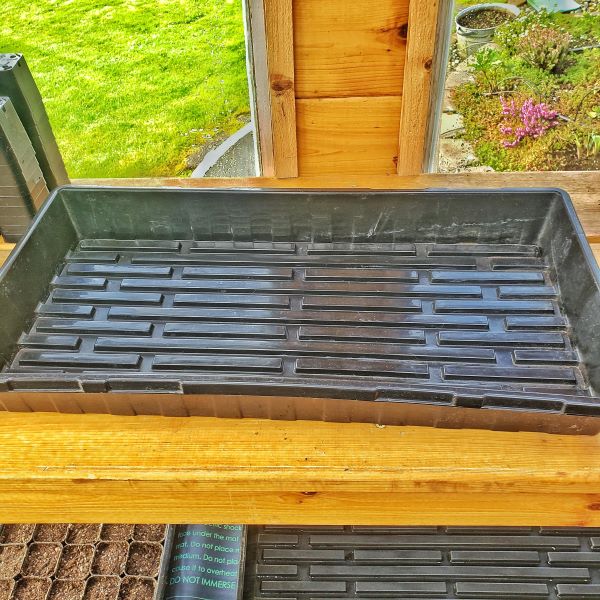
Drainage Plastic Trays
You will need a drainage or seedling tray to set the plant containers in.
Filling a bottom tray with water when the seeds are first planted allows the plants to soak up water through the bottom holes in the containers.
This watering method helps prevent overwatering and keeps the seeds from washing away if watering overhead. Continue bottom watering until the first leaves start to appear.
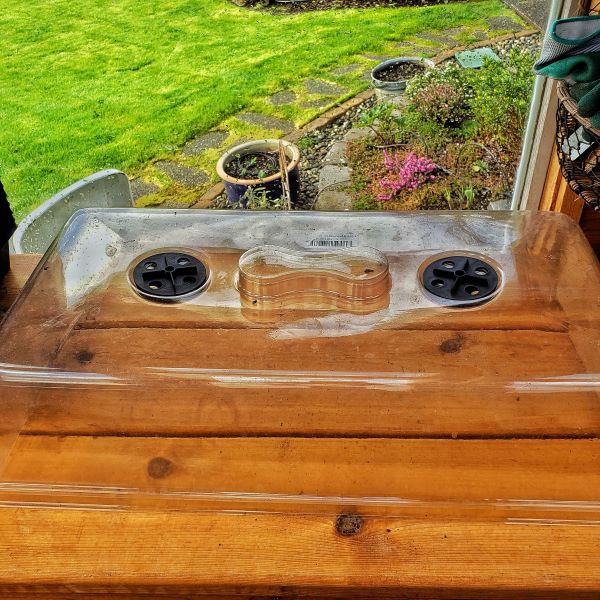
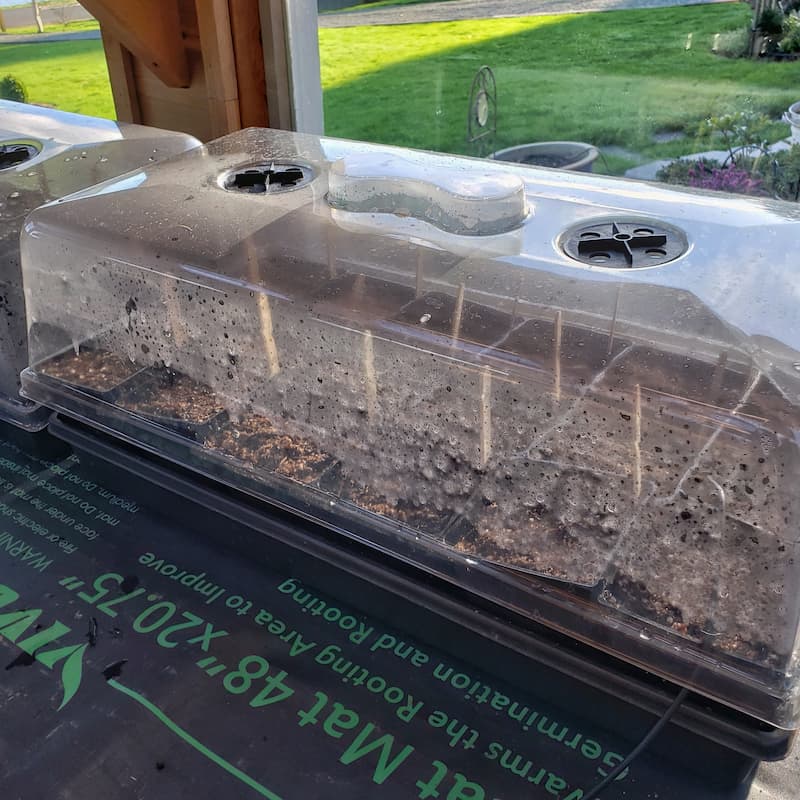
Humidity Domes
A humidity dome lid provides a warm and moist environment for indoor seed starting which encourages germination. I recommend using clear acrylic lids that will fit snugly over the seed trays and flats or pots.
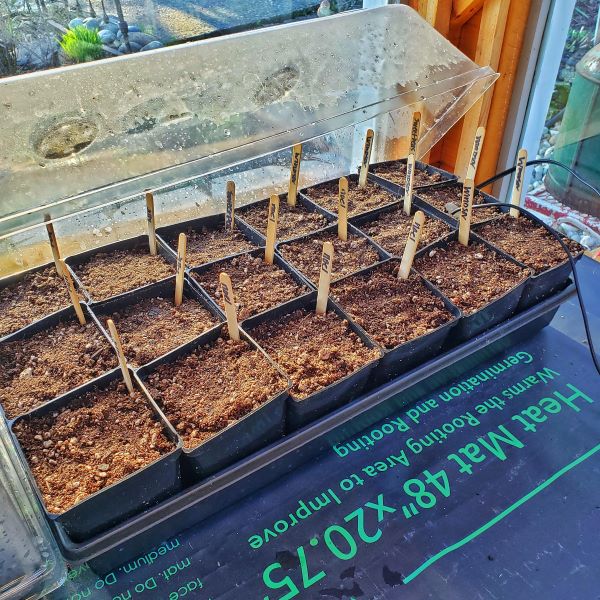
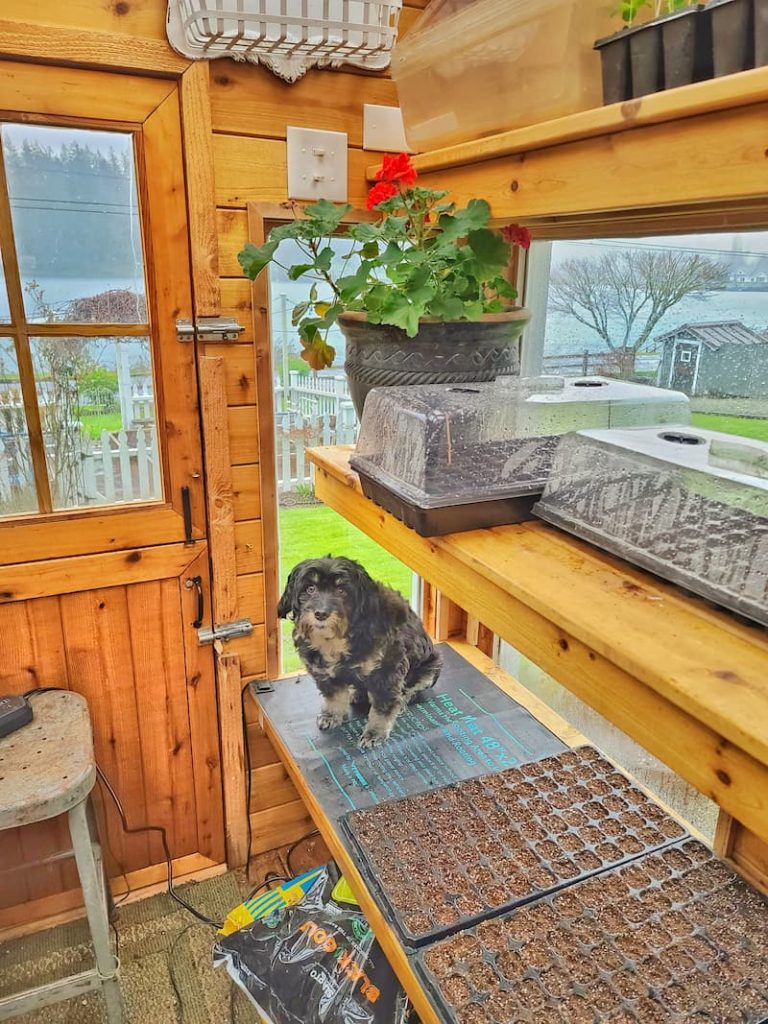
Heating Mats
Incorporating a heat mat can significantly enhance seed growth, especially in a greenhouse setting.
However, if you don’t have access to a greenhouse, you can achieve similar results by placing your seed trays on top of a radiator or refrigerator.
The concept here is to utilize bottom heat, which raises the soil temperature, giving your seeds a head start. This warmth not only accelerates germination but also maintains an ideal, moist environment for the seeds to thrive quickly and healthily.
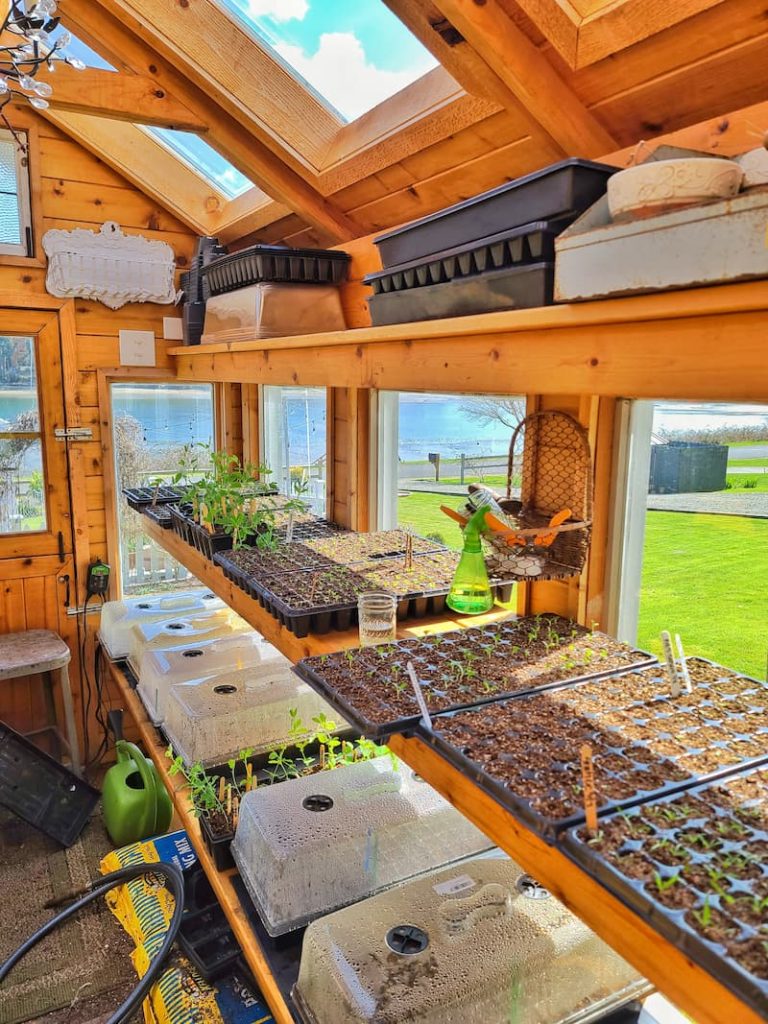
Grow Lights
New seedlings need adequate light to grow healthy and strong, with around 14-16 hours of light. Without it, plants tend to become weak and spindly without enough light,
Heat lamps are recommended when growing seedlings, especially when growing plants in your home or basement. They provide light and heat to encourage healthy, strong plants and help speed up growth.
I started using grow lights in my greenhouse last year. In the past, I relied on the natural light from the skylights and windows in my outdoor structure, and my flowers have always thrived in my cut flower garden.
Seed Starter Kits
If you’re planning to grow a small number of seeds, purchasing a seed starting kit is a convenient and cost-effective option. These kits typically bundle several essential components, such as a seed-starting tray, drainage tray, humidity dome, and grow light.
While you might find it more economical to buy these items separately if you’re sowing a variety of seeds like I do, the all-in-one seed starter kit offers simplicity and value for those who need just a few.
Essentially, if you’re only buying a couple of kits, opting for a pre-assembled seed starter kit is likely the best choice for both ease of use and budget-friendliness.
Here are a few of them to choose from:
Seed Starter Kits Available
- Seed Starter Tray with Light, 6PCS Seed Starter Kit with Grow Light, Seedling Starter Trays with Humidity Domes, Covers Height 3.9″, Indoor Gardening Plant Germination Trays (12 Cells per Tray)
- Seed Starter Tray, 40 Cells Seed Starter Kit with Seedling Heat Mat, Germination Tray with Humidity Control Domes, Cloning Kit, Propagation and Germination Station, Heat Mat for Plants Starter Kit
- Seed Starter Kit with Grow Light,72 Cells Seed Starter Tray with Humidity Dome and Seedling Heat Mat Seedling Starter Trays for Seed Starter, Seed Growing Germination Kit, Plant Propagation Kit
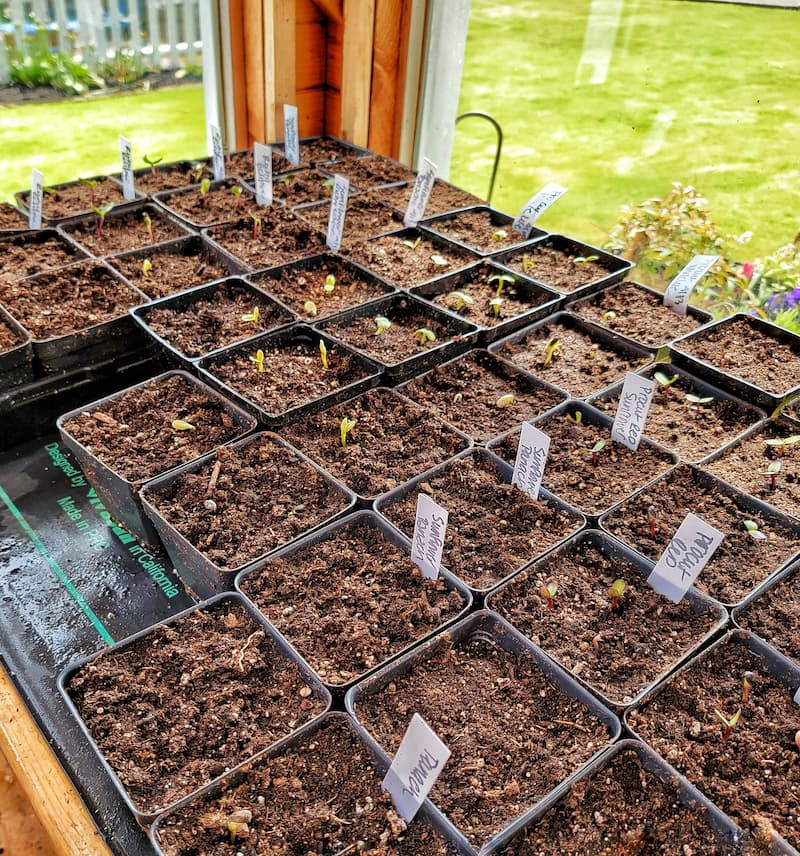
Plant Labels or Tags
Label your seedling containers as soon as you sow your seeds. Write the name of the seed variety and the date you sowed the seeds on the plant tag with a marker.
This is one of the seed-starting supplies that often gets overlooked, but labeling plants is so important when growing seedlings and transplanting them outdoors for the growing season.
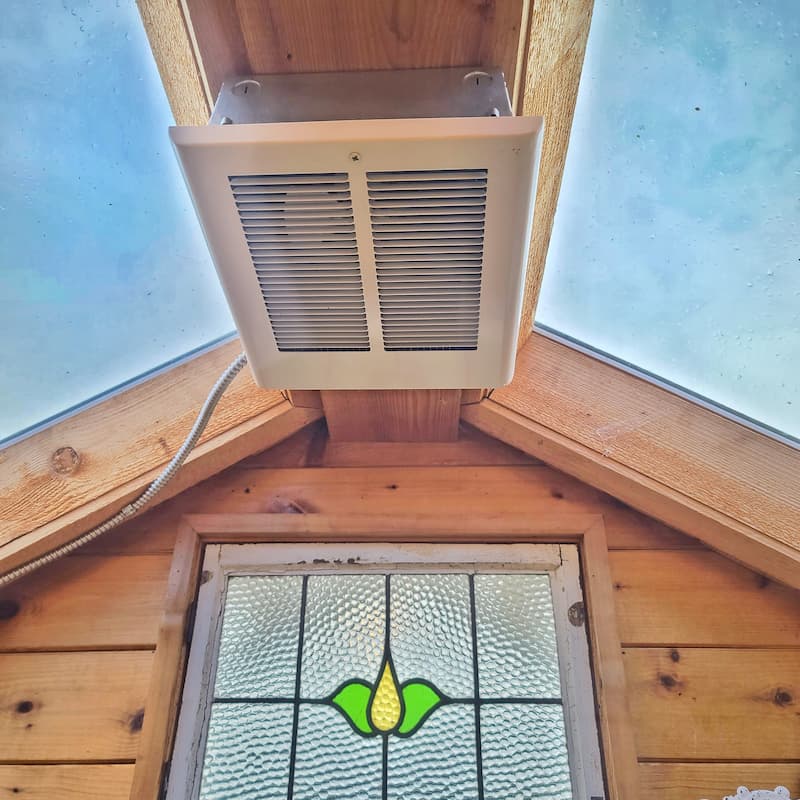
Temperature-Controlled Heater and Fan
Heater
A temperature-controlled heater in the greenhouse is important when planting seeds because it helps ensure that the temperature and humidity levels are optimal for them to germinate and grow.
Temperature and humidity fluctuations can delay or prevent seed germination, so having a heater that can maintain an ideal temperature is essential for successful seed planting.
I keep our greenhouse at a minimum of 45°F. throughout the winter to grow seedlings and overwinter my geraniums.

Fan
Having a temperature-controlled fan in the greenhouse when planting seeds is important because it helps to create a consistent and optimal environment for the seeds to germinate and grow.
CLICK HERE for the thermostat link.
The fan helps to regulate the temperature and promote good air circulation, providing a more even and consistent temperature throughout the day and night.
A fan also helps to reduce the risk of diseases, such as fungal diseases, from developing on the seedlings by reducing humidity and increasing air circulation.
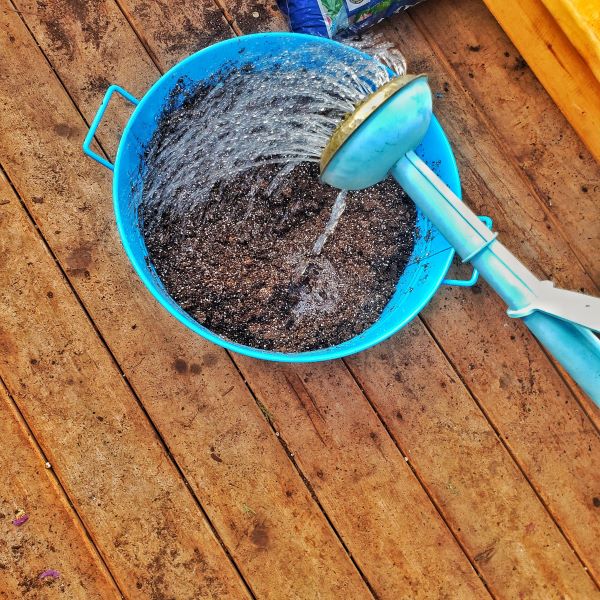
Watering Can or Hose
Water your seedlings in the greenhouse using a watering can or a hose regularly. Until your seeds germinate and sprout, continue bottom watering, so you are not washing the tiny seeds away.
Garden Supplies and Tools
Check out my favorite garden supplies and tools for the growing season. Whether you’re looking for potting soil or deer repellent, you’ll find what I use in my own garden.

The right seed-starting supplies are essential for growing a cut flower garden in the greenhouse.
With the proper supplies and patience, you can create a beautiful, productive cut flower garden that will provide you with a continuous source of fresh flowers.
If you have any questions or additional suggestions, feel free to share them in the comments below. And be sure to share this blog post link with anyone who may find these gardening tips useful.
Until next time,
Happy Gardening!
Follow Me for More Inspiration
Shop my Amazon Storefront, my LTK sources, and my favorite home decor, garden, and lifestyle products. When you purchase from one of my links, I earn a small commission which helps me to continue sharing all the content you expect on my blog.
Be sure to follow me on Pinterest, Instagram, Facebook, TikTok and LIKEtoKNOW.it. Do you like gardening? Join my Facebook Gardening Tips & Tricks group.

Beautiful blog Kim! I can’t wait to read more. ? I love growing plants from seed but it’s been a long long time. Now I know where to come when I’m ready to do some more! Your photos are so inspiring – thanks for all of it!
Thank you so much Barbara! I am so thrilled that you came here to check things out! My plan is to post a gardening post at least once a week. I hope you like them!
Great article!!! You grow so much from seed!!! Someday for me! ?
Thank you for the compliment Stacy! It’s so much fun, I hope you get to join in on the fun soon! Thank you for visiting my blog!
If I had this beautiful space at my disposal I would give it a try. .just be rewarding seeing a plant develop from seed.
Cindy
Thank you so much for visiting my blog Cindy! It is a really rewarding experience!
It’s been rewarding. I’m having so much fun right now!