How to Successfully Harden Off Your Seedlings and Young Plants
Did you know that seedlings and young plants need time to adjust to the outdoors before being planted in the garden? In this post, I’ll walk you through the hardening-off process and share how to help your plant seedlings make a smooth transition from indoors to outside.
Hardening off is the process of gradually introducing your plants to outdoor conditions like sun, wind, and cooler temperatures. Because they’ve been growing in a protected space, like your home or a greenhouse, this gentle adjustment period helps prevent shock and sets them up for success in the garden.
It’s an important step that’s often overlooked, but it makes a big difference in how well your plants grow.
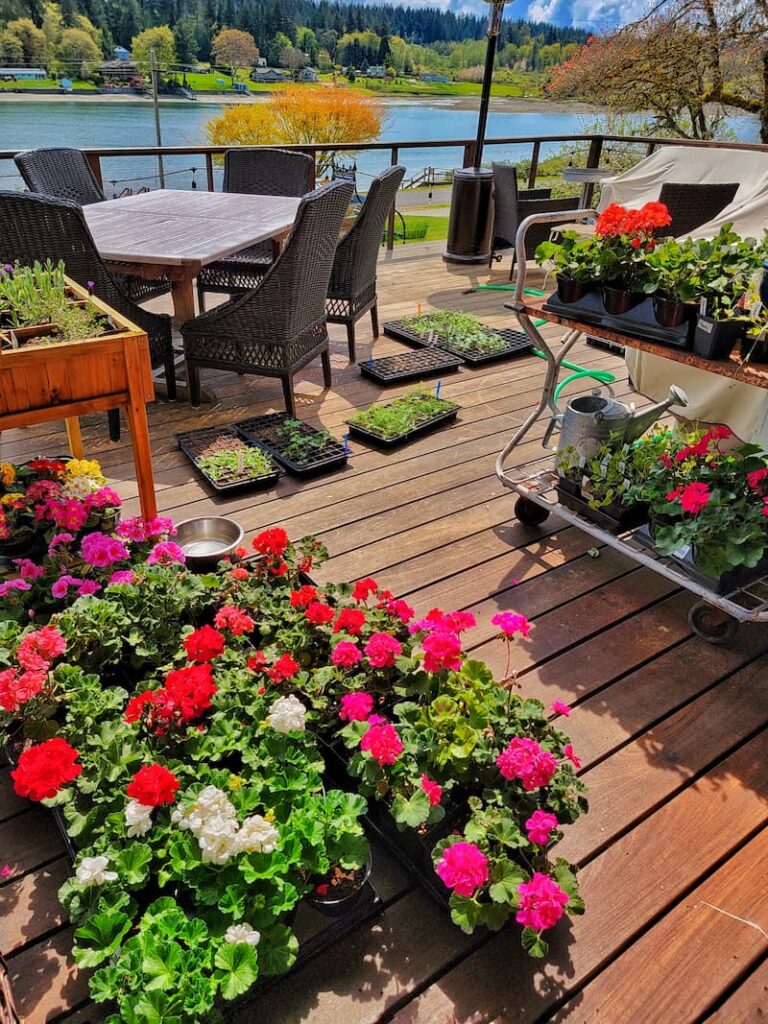
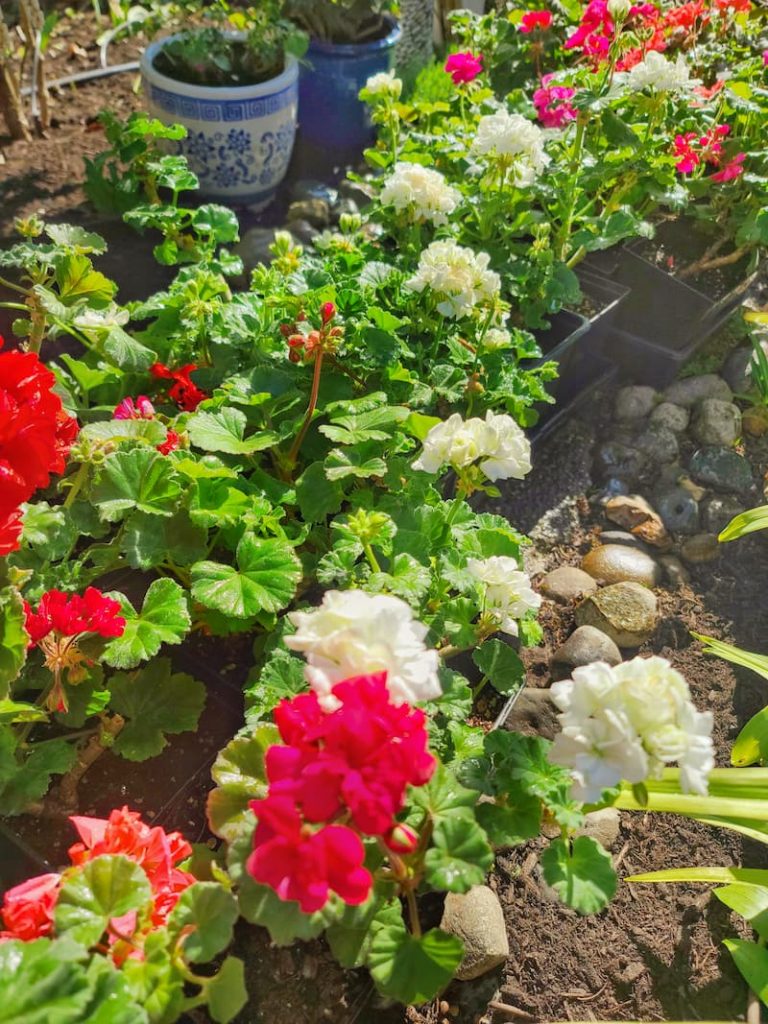
I learned this firsthand a few years ago during one of my annual spring trips to Costco. I brought home my usual geraniums, excited to get them planted in the window boxes right away.
What I didn’t realize was that these plants had been growing indoors, and planting them outside immediately caused them to struggle. Some didn’t recover. That experience taught me just how important it is to let plants adjust gradually.
As an Amazon affiliate, I earn a commission from qualifying purchases at no additional cost to you. My blog also features other affiliate links for your convenience. Click here to read my privacy policy.
What is Hardening Off?
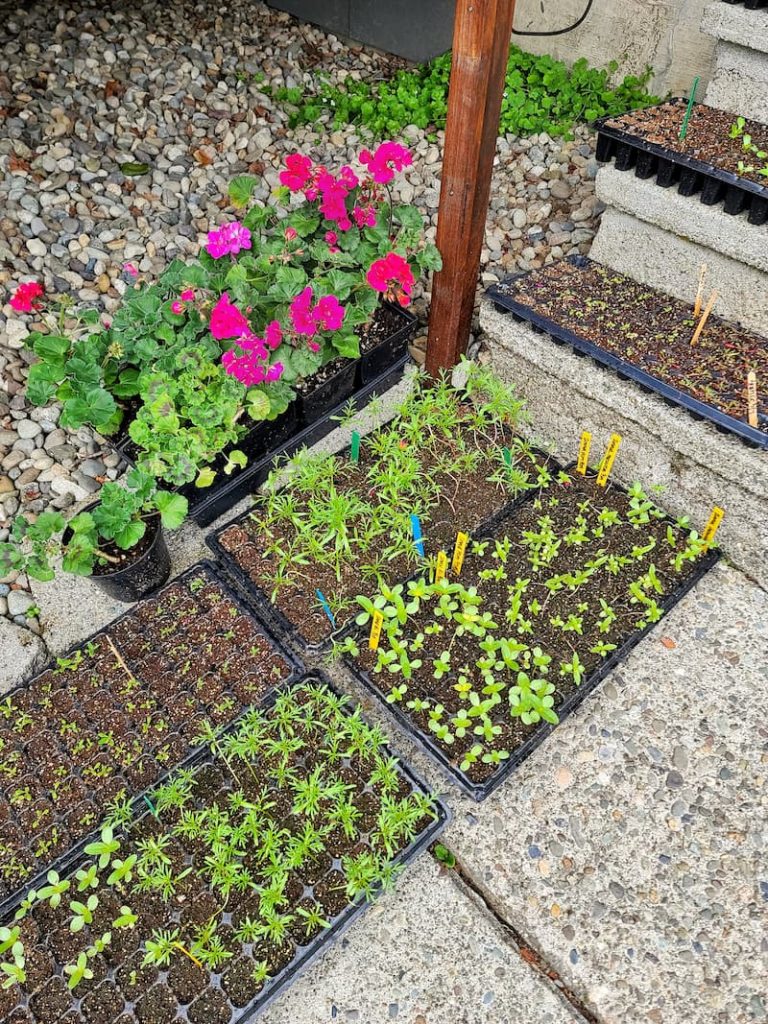
As I said at the beginning of this post, hardening off your young plants and seedlings is the method of gradually getting used to life outside.
The idea is simple. Start by putting your plants outdoors for just a couple of hours a day, then slowly increase the time they spend outside over the course of a week or two. This gentle approach helps strengthen your plants so they won’t go into shock once they’re planted in the garden for good.
Many new gardeners skip this step because they don’t realize how important it is. But once you understand how it works, it’s easy to build into your planting routine, and your plants will thank you for it.
Why is Hardening Off Flowers So Important?
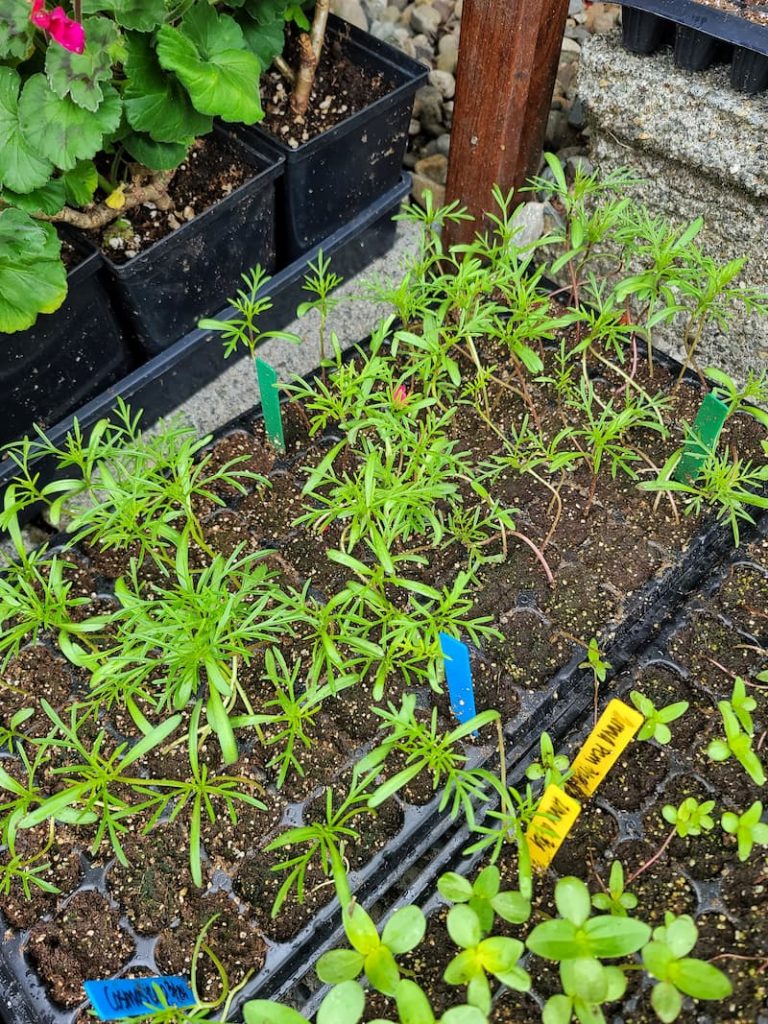
By gradually easing your seedlings and young plants into the sun, wind, or temperature swings that come with being outdoors, you’re helping prevent transplant shock. This transition period gives them time to build strength and adjust without being overwhelmed.
It also helps your plants develop thicker leaf cuticles, which means they’re better at holding onto moisture and coping with the elements once they’re planted in the ground.
Taking the time to harden off your flowers might seem like a small step, but it makes a big difference in helping them grow strong and healthy.
Seed Starting Supplies
Check out my favorite supplies and tools for starting seeds indoors. Whether you’re looking for grow lights or a seed starting mix, you’ll find what I use in my own greenhouse.
How to Harden Off Seedlings
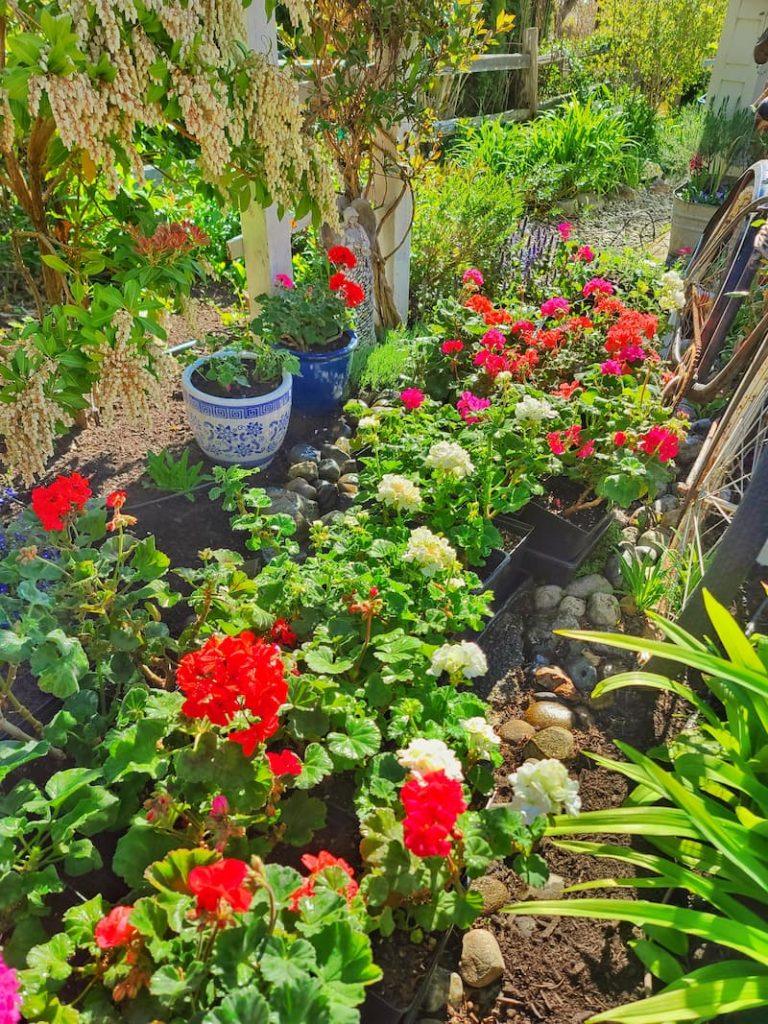
To begin hardening off, move your seedlings from their indoor space to a sheltered outdoor spot each day.
At first, just give them a couple of hours outside, ideally in a shaded or partly shaded area that’s protected from wind. Then, gradually increase the time and sunlight exposure each day over the course of 7 to 10 days.
During this process, make sure your seedlings stay well-watered. Being outside can dry them out more quickly than they’re used to indoors, so keep an eye on the soil and don’t let them dry out.
How Big Should Seedlings Be Before Hardening Off?
Timing is important when it comes to hardening off. It’s not just about how tall the seedlings are, it’s about whether they’re developed enough to handle the change in environment.
Here’s what to look for:
True Leaves
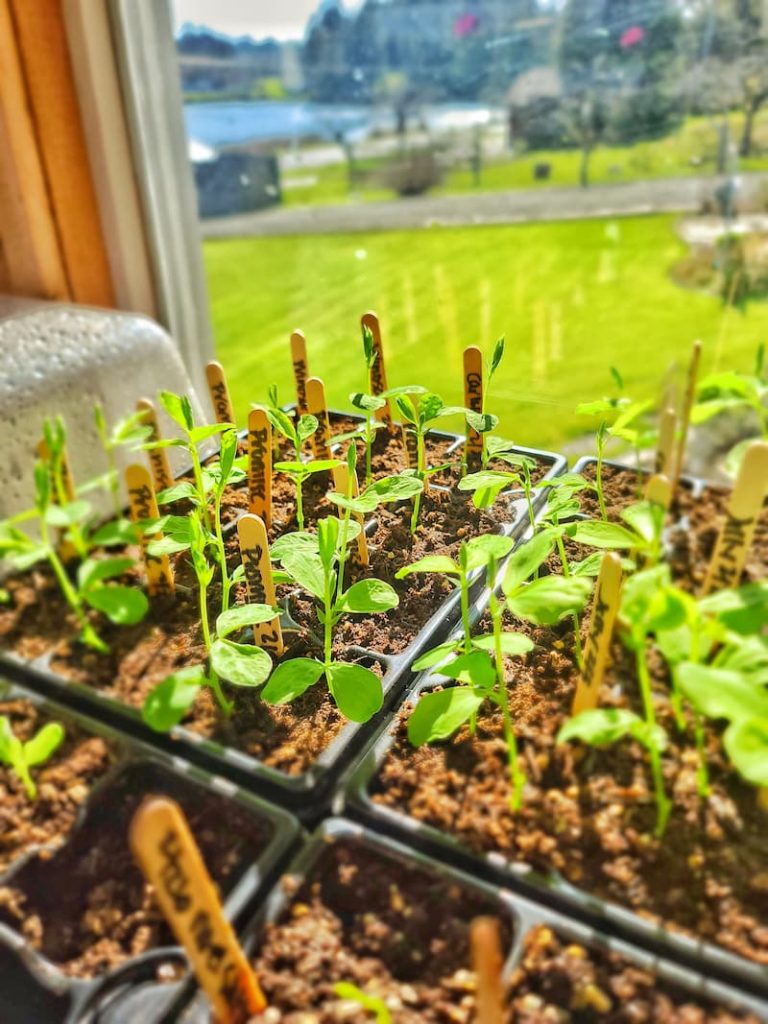
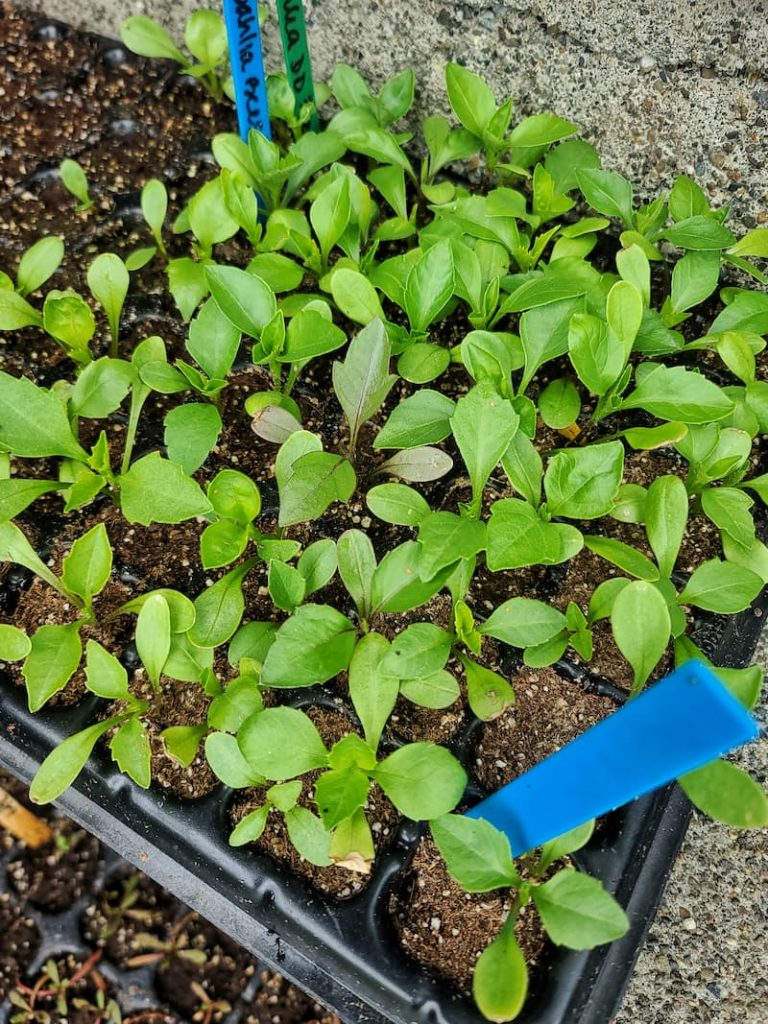
Your seedlings should have at least 2–3 sets of true leaves (not just the small seed leaves, or cotyledons). True leaves mean the plant is growing well and is ready for the next stage.
Stem Strength
Stems should be sturdy and upright. They don’t have to be thick, but they shouldn’t be floppy or stretched out. If your seedlings have been growing under lights, a bit of indoor air circulation (like a fan) helps them grow stronger stems.
Root Development
The root system should be developed enough to hold the soil together when you gently remove the seedling from its container. But they shouldn’t be root-bound or circling the bottom of the pot.
General Health
Your seedlings should look healthy, with no signs of disease, pests, or yellowing leaves. Strong, vibrant plants will handle the transition outdoors much better.
Introduce Your Plants to the Outdoors
Start the hardening-off process about 7 to 10 days before you plan to transplant your seedlings into the garden. For most plants, that means beginning after the last risk of frost in spring. However, if you’re working with cold-hardy varieties, you can often start planting them outside 2 to 4 weeks before your area’s last frost date.
Once daytime temperatures are consistently above 45°F, you can begin. On the first day, place your seedlings in a sheltered, shady spot outdoors—out of direct sun and shielded from wind—for about an hour. This gentle introduction gives them a chance to start adjusting without being overwhelmed.
Be sure to water your plants well during this transition. Outdoor air and sun can dry out soil faster than indoor conditions, so keeping the soil evenly moist is important, especially during the first few days of hardening off.
Increase Outdoor Time Gradually
After spending 1–2 hours in a protected, shady spot on the first day, you’ll slowly increase your seedlings’ outdoor time each day. Be sure to bring them back inside at night, especially if temperatures drop below 55°F. Cool nights can be too much for tender plants early in the process.
Each day, try to increase their time outside by an hour or two and gradually introduce more sun and wind exposure. When you’re ready to expose your seedlings to direct sunlight, start with just 10–15 minutes on the first day.
Slowly build up their time in the sun to prevent sun scald or other stress. Keep an eye out for signs like wilting or yellowing leaves—these can be early warnings that your plants need a little more time to adjust.
The exact length of time needed for hardening off depends on the plant variety and the outdoor temperatures, but most seedlings will be ready for transplanting after 7 to 10 days of this gradual exposure.
When to Leave Seedlings Outdoors Overnight
Once your seedlings can handle full sun during the day, and nighttime temperatures stay consistently above 50°F, it’s usually safe to leave them outside overnight.
This is the final step before transplanting them into the garden, and a great sign that they’re strong enough to thrive in their new home.
How Long Does It Take to Harden Off Plants?
Hardening off your seedlings takes a little time, but it’s well worth the effort. Think of it as preparing your plants for a big step—life in the real world of the garden! On average, the process takes about 7 to 10 days, depending on the weather and the needs of your plants.
A Sample Hardening Off Schedule
Here’s a general guide to help you ease your seedlings into their new outdoor environment:
Day 1-2
Place your seedlings in a sheltered, partially shaded spot outdoors for 1–2 hours. This area should be protected from wind and direct sunlight. Consider it their gentle introduction to outdoor life.
Day 3-4
Increase their time outside by an hour or two each day. Keep them in the shade, but if conditions are mild, you can begin introducing short periods of soft morning sun.
Day 5-7
Extend their time outdoors to 4–6 hours a day. Your seedlings can enjoy more direct sunlight and a bit more breeze at this stage. Keep an eye on how they respond and adjust as needed.
Day 8-10
Now your plants should be getting used to a full day outdoors. Let them experience a full range of elements—sun, light wind, and even a gentle spring rain. If nighttime temperatures stay above 50°F, you can start leaving them outside overnight.
Final Transition
Once your plants have successfully adjusted to full days and nights outdoors, they can be planted in the garden. Just make sure the forecast looks favorable, and avoid transplanting right before a cold snap or heavy rain.
Every plant is a little different, and weather conditions can vary, so don’t be afraid to tweak the schedule if needed. The goal is to build strong, resilient plants that will thrive in their new garden home.
Tips to Make Hardening Off Easier
Hardening off doesn’t have to be complicated. Just a few thoughtful steps can make the process go smoothly and help your plants adjust with minimal stress.
Choose the Best Conditions
One of the most helpful things you can do is check the weather forecast before putting your seedlings outside each day. Calm, dry weather is ideal.
Avoid hardening off on days with strong winds, heavy rain, or sudden temperature drops, as these conditions can be too harsh for tender young plants.
Time It Right
The best time of day to start the hardening-off process is in the morning or early evening, when the sun is gentler and temperatures are cooler. Midday sun can be too intense, especially for seedlings just starting the transition.
Go Slow and Stay Consistent
It’s better to move slowly than to rush the process. Watch your plants closely and adjust based on how they respond. Consistency is key—try to take them out at the same time each day to help them settle into the routine.
Water Your Plants
Proper watering is just as important as sunlight and temperature when hardening off your seedlings. As your plants spend more time outdoors, they’ll dry out faster than they did indoors, especially on breezy or sunny days.
Start by lightly watering your seedlings during their short outdoor sessions. As their time outside increases, so should the amount of water they receive. Aim to keep the soil, not soggy. Overwatering can lead to root rot and other problems, so check the soil regularly and water just enough to keep your plants happy and hydrated.
This step helps your seedlings adjust to outdoor moisture levels while encouraging strong, healthy root growth.
Hardening Off Seedlings in a Greenhouse
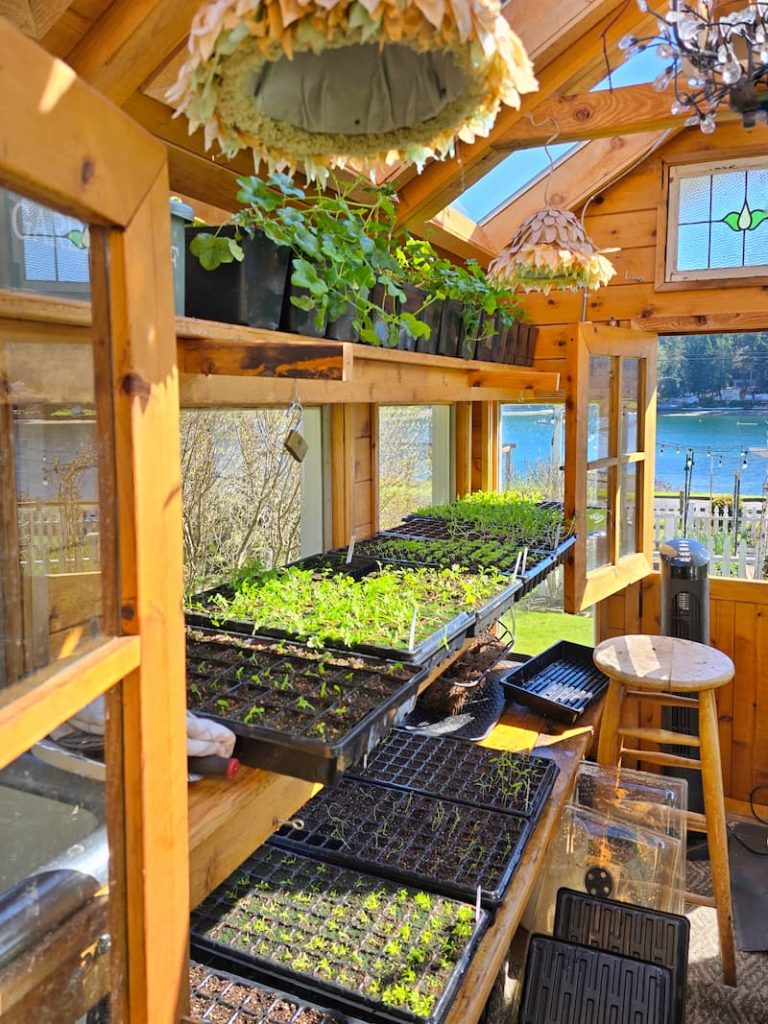
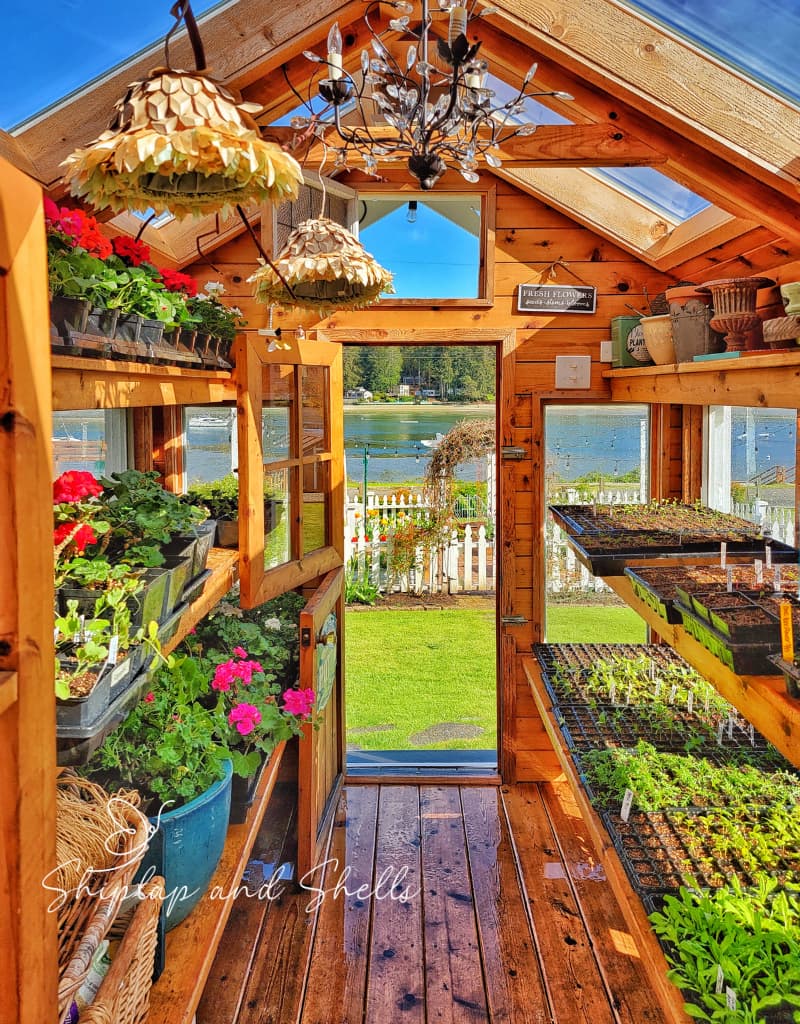
Using a greenhouse is a great way to begin the hardening-off process in a more controlled setting. While your seedlings are still protected from the harshest elements, like strong winds or sudden cold snaps, they can start adjusting to natural light and outdoor temperature changes.
To ease them into the transition, begin by opening the greenhouse vents or doors a little more each day for 7 to 10 days. This will bring in fresh air and gradually increase their exposure to outdoor conditions.
Even though a greenhouse provides a helpful head start, I still take my seedlings through the full outdoor hardening-off process. It gives them the best chance to thrive once they’re planted in the garden.
Hardening Off Seedlings in a Cold Frame
Cold frames are another great tool for hardening off seedlings, especially when spring weather is still a bit unpredictable. They offer protection while still allowing your plants to experience real outdoor conditions.
Start by opening the lid of the cold frame during the day for 7 to 10 days. Each day, increase the exposure by lifting the lid for longer periods, gradually letting in more sunlight, fresh air, and gentle breezes. This slow and steady approach helps your seedlings adjust to temperature changes and light levels without being overwhelmed.
By the end of the process, your plants will be sturdier, better adapted, and more than ready to take their place in the garden.
Transplant Your Acclimated Plants and Seedlings in the Garden
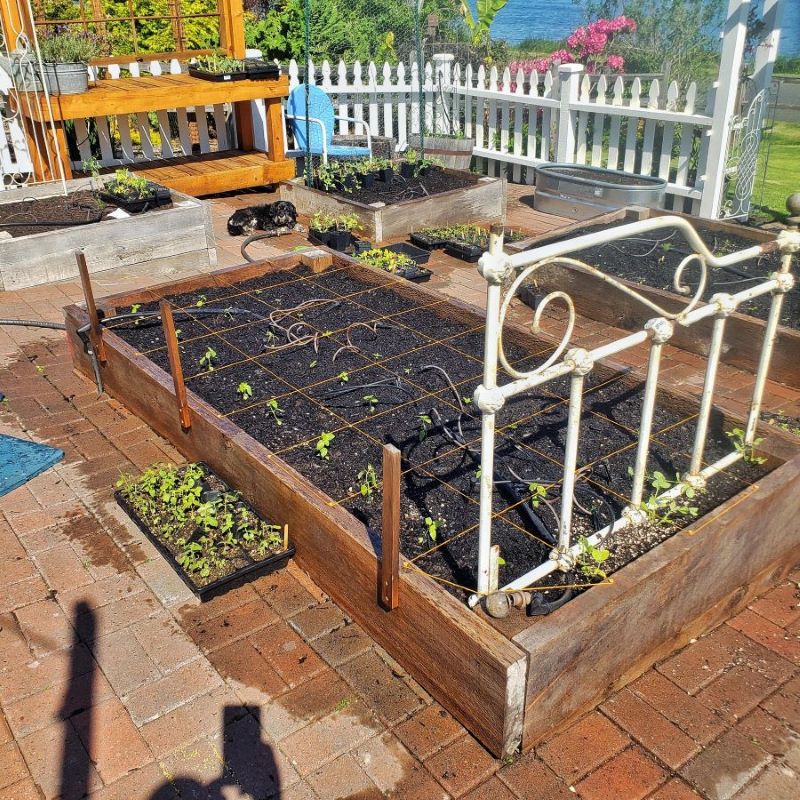
After 7 to 10 days of gradual exposure to the outdoors, your seedlings should be fully acclimated and ready to settle into their permanent home in the garden.
For the smoothest transition, try to transplant on a cloudy day or during the early morning hours when the sun is less intense. This helps reduce the risk of transplant shock, giving your plants time to adjust without the added stress of strong sunlight or heat.
Be sure to water thoroughly after planting to help the roots settle in and get off to a healthy start.
Common Questions About Hardening Off Seedlings
Can You Skip Hardening Off Seedlings?
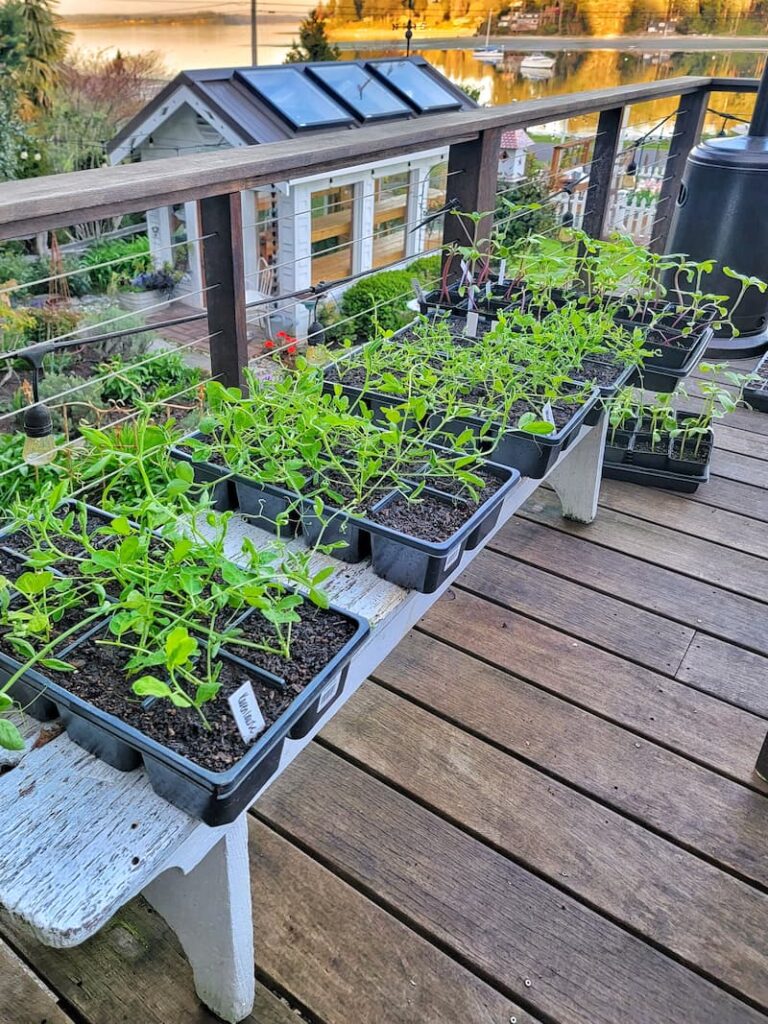
It might be tempting to skip the hardening-off process, especially if you’re short on time or if the gardening season sneaks up on you. But skipping this step can be hard on your plants.
Seedlings raised indoors or in a greenhouse are used to stable conditions. Without a gradual introduction to outdoor elements, they can go into shock when exposed to full sun, wind, or cooler temperatures. This can lead to sunburned leaves, stunted growth, or even plant loss.
If you’re pressed for time, even a shortened hardening-off period is better than none. Just a few days of gradually increasing outdoor exposure can give your plants a much better chance to adjust, settle in, and thrive once they’re in the ground.
How Long Should You Harden Off Seedlings?
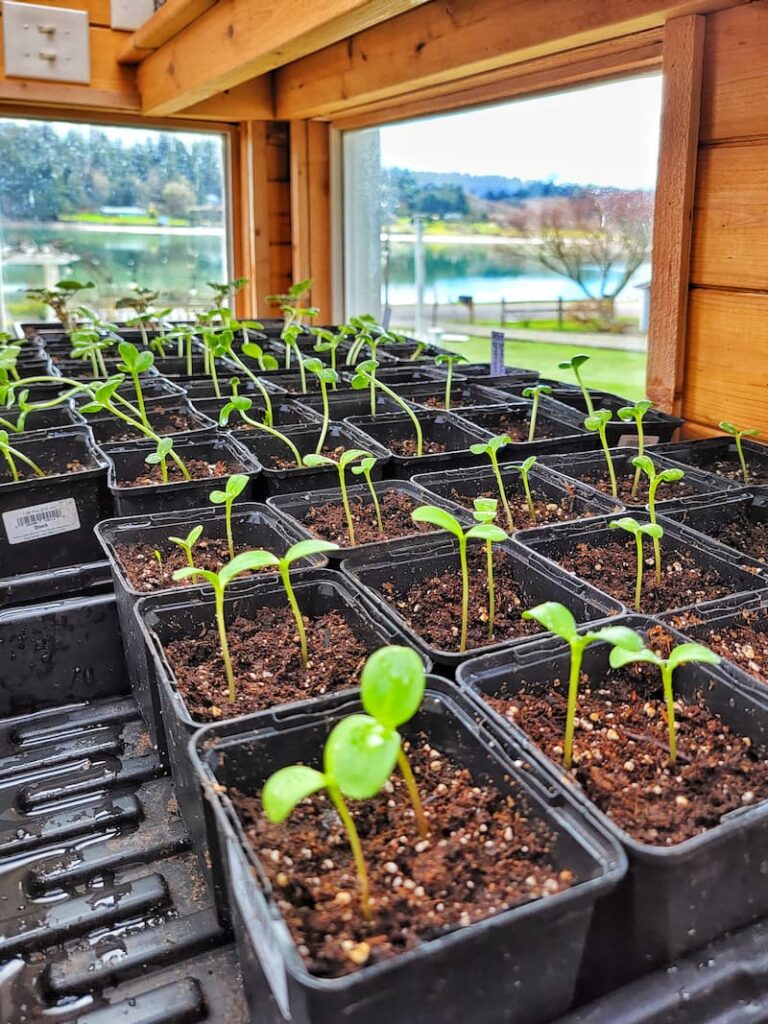
Hardening off your seedlings usually takes 7 to 10 days. This gradual process gives them time to adjust to the outdoor environment (including sunlight, wind, and temperature changes) before planting in the garden.
Taking it slow helps reduce transplant shock and gives your plants the best chance to grow strong and healthy in their new home.
What is the Fastest Hardening Process?
If you’re short on time, it is possible to speed up the hardening-off process without skipping the essential steps. A condensed timeline of 5 to 7 days can work, as long as you’re careful and attentive to your seedlings’ needs.
Here’s a faster hardening-off schedule that still gives your plants the support they need:
Day 1
Place your seedlings outside in a sheltered, partially shaded spot for 2–3 hours. Avoid strong wind or direct sunlight—this first step is all about a gentle introduction to the outdoors.
Days 2-3
Increase their time outside to 3–4 hours. Begin to expose them to some direct morning sunlight, while keeping them protected from harsh midday rays and wind.
Days 4-5
Extend outdoor time to 5–6 hours. At this point, your seedlings should be able to handle more direct sun and mild breezes, but keep an eye out for any signs of stress like drooping or scorched leaves.
Day 6
Let the seedlings stay outside for the entire day, including some time in direct sun and exposure to cooler temperatures in the evening.
Day 7
If nighttime temperatures remain above 50°F (10°C), it’s usually safe to leave them out overnight in a protected spot. This final step helps your seedlings adjust to the full range of outdoor conditions, including overnight temperature drops and morning dew.
⚠️ Quick tip: Keep an eye on the weather forecast during this faster schedule. Be ready to bring your seedlings in or provide extra protection if sudden cold, rain, or high winds are expected.
‘Growing a Cut Flower Garden’ Series
Learn about the ins and outs of growing a cut flower garden this year. Click the button below to be taken to the entire series of blog posts and choose what is interesting to you.
Can You Harden Off Seedlings in the Rain?
Yes, you can harden off seedlings in the rain, as long as you’re aware of the conditions. Light rain and overcast skies can actually be helpful, offering natural humidity and protection from harsh sun, while keeping the soil from drying out too quickly. But taking a few precautions is important to keep your young plants safe and stress-free.
Light Rain and Overcast Conditions
Cloudy, drizzly days can be ideal for hardening off. Gentle rain mimics natural watering, and cloud cover softens the transition to outdoor light. Just make sure the rain is light and not part of a storm system that brings wind, thunder, or hail, which can damage delicate seedlings.
Protect from Heavy Rain
If a heavy rain is in the forecast, it’s best to hold off or provide some cover. Strong downpours can flatten young plants or wash away seedlings in lightweight containers. A clear plastic lid, greenhouse panel, or even a patio umbrella can help shield them while still allowing some outdoor exposure.
Watch the Temperature
Rain often comes with cooler temperatures. While a mild spring shower is usually fine, chilly rain can stress tender seedlings. If temps are dipping too low, bring the plants inside or cover them to protect them from the cold and damp.
Ensure Good Drainage
Make sure your seedling containers have proper drainage. Too much standing water can lead to root rot or other moisture-related problems. Lightweight pots with drainage holes and well-draining soil are key to keeping your seedlings healthy—even on rainy days.
How to Know When Seedlings Are Ready for Transplanting?
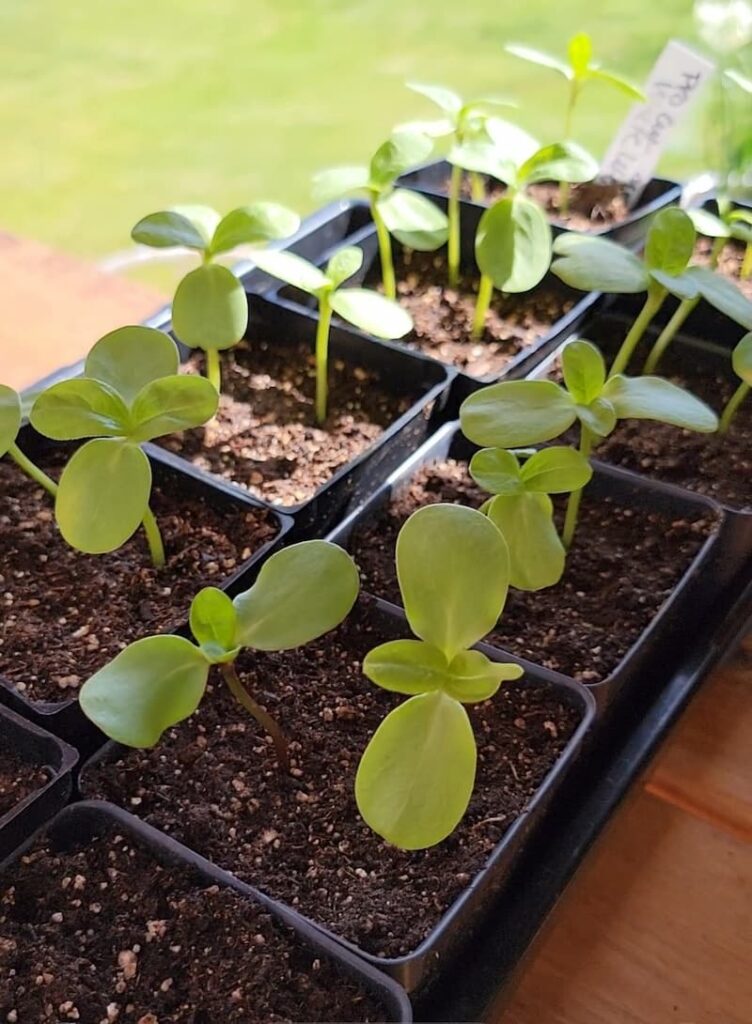
Knowing when your seedlings are ready to move into the garden is just as important as the hardening-off process. Here are the key signs to look for:
True Leaves
Your seedlings should have at least 2–3 sets of true leaves. These are the leaves that come in after the initial seed leaves (cotyledons). True leaves signal that your plant has moved beyond the early growth stage and is ready for the next step.
Root Development
Check the bottom of the container. If you see roots beginning to poke out of the drainage holes, that’s a good sign. The roots should be white or light-colored and look healthy. Avoid transplanting if they’re tightly circling the pot, which can mean the seedling is root-bound.
Sturdy Stem
A thick, upright stem that can support the plant on its own is ideal. If your seedlings look leggy (tall and floppy), they may need more time under grow lights or more time to develop strength before planting.
Size
Most seedlings are ready to transplant when they’re a few inches tall. This gives them enough size and maturity to handle the move without being overwhelmed.
Overall Health
Look for vibrant green color, upright posture, and no signs of stress like yellowing leaves, wilting, or pests. Healthy seedlings are much more likely to thrive once they’re in the ground.
Garden Supplies and Tools
Check out my favorite garden supplies and tools for the growing season. Whether you’re looking for potting soil or deer repellent, you’ll find what I use in my own garden.
Final Thoughts for Hardening Off Young Plants and Seedlings
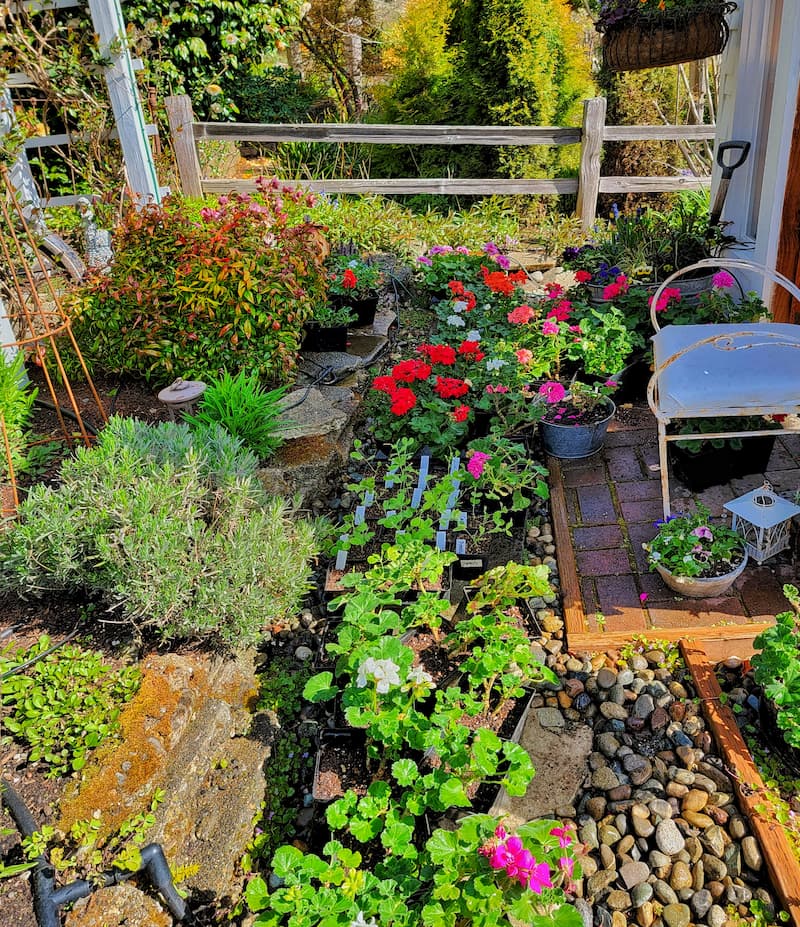
Hardening off your seedlings is one of the most important steps you can take to ensure a strong, healthy start for your garden. It takes a bit of effort. Moving trays in and out each day can feel like a chore, but it’s time well spent that pays off in the long run.
By gradually allowing your plants to adjust to sunlight, wind, and changing temperatures, you’re setting them up to thrive. This simple but effective method can reduce transplant shock and help your garden grow confidently.
Have questions or tips of your own? I’d love to hear from you. Feel free to leave a comment below! If you find this post helpful, don’t forget to share it with a fellow gardener.
Until next time,
Happy Gardening!

I’m a self-taught hobby gardener. Everything I share on my blog is my opinion and what has worked for me.
MORE POSTS
For You To Enjoy
Follow Me for More Inspiration
Shop my Amazon Storefront, LTK sources, and favorite home decor, garden, and lifestyle products. When you purchase from one of my links, I earn a small commission, which helps me continue sharing all the content you expect on my blog.
Be sure to follow me on Pinterest, Instagram, Facebook, TikTok and LIKEtoKNOW.it. Do you like gardening? Join my Facebook Gardening Tips & Tricks group.


I have to tell you, it’s a lot of fun going through this process with someone. Especially when you live so far away, I love seeing how different our growing times are different.
Your seedlings look amazing! I am ready to put my snapdragons and sweet peas in the ground this week. And then I’m starting to harden off a few others before the onslaught of seedlings makes their journey to the outdoors. So fun! Can’t wait to see your garden this year! It’s already off to a great start!