
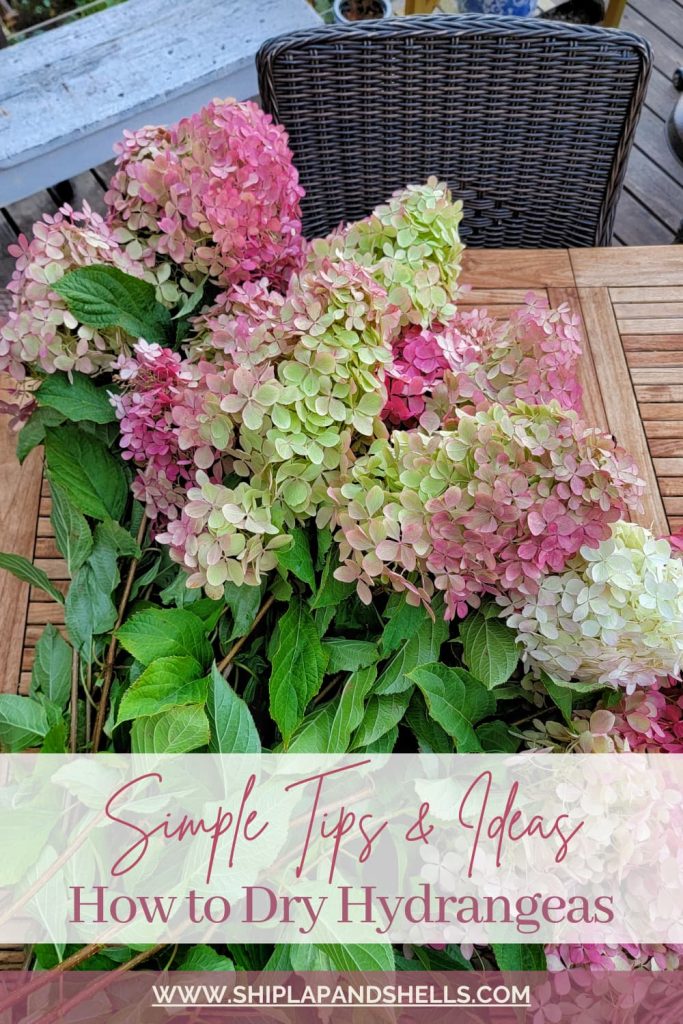
How to Dry Hydrangea Blooms for Home Decor: 5 Simple Strategies

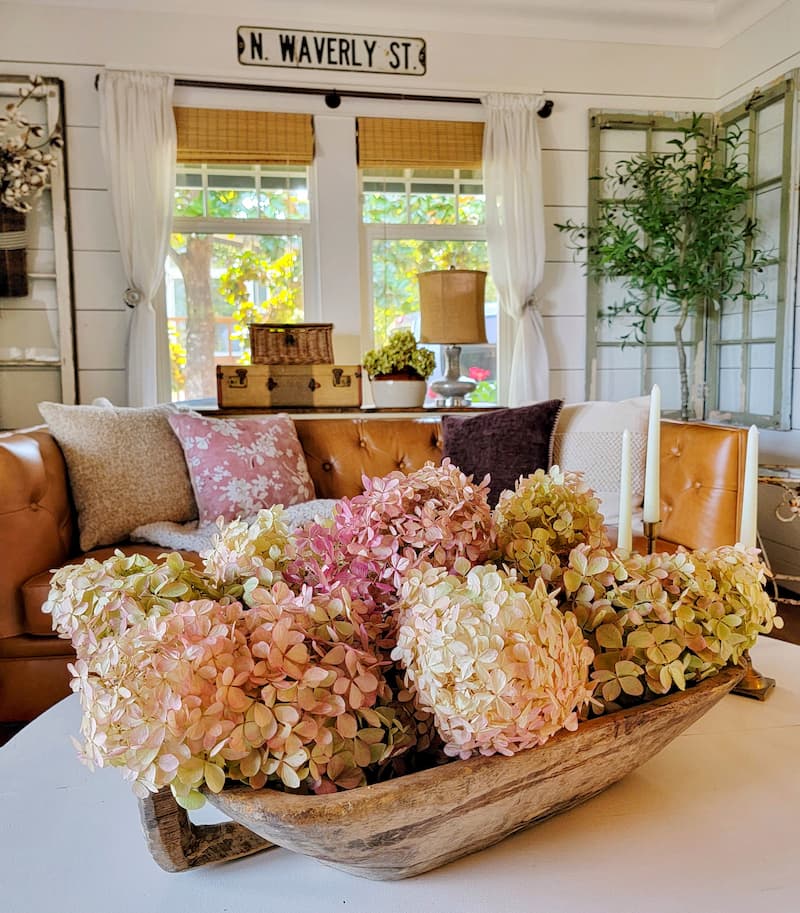
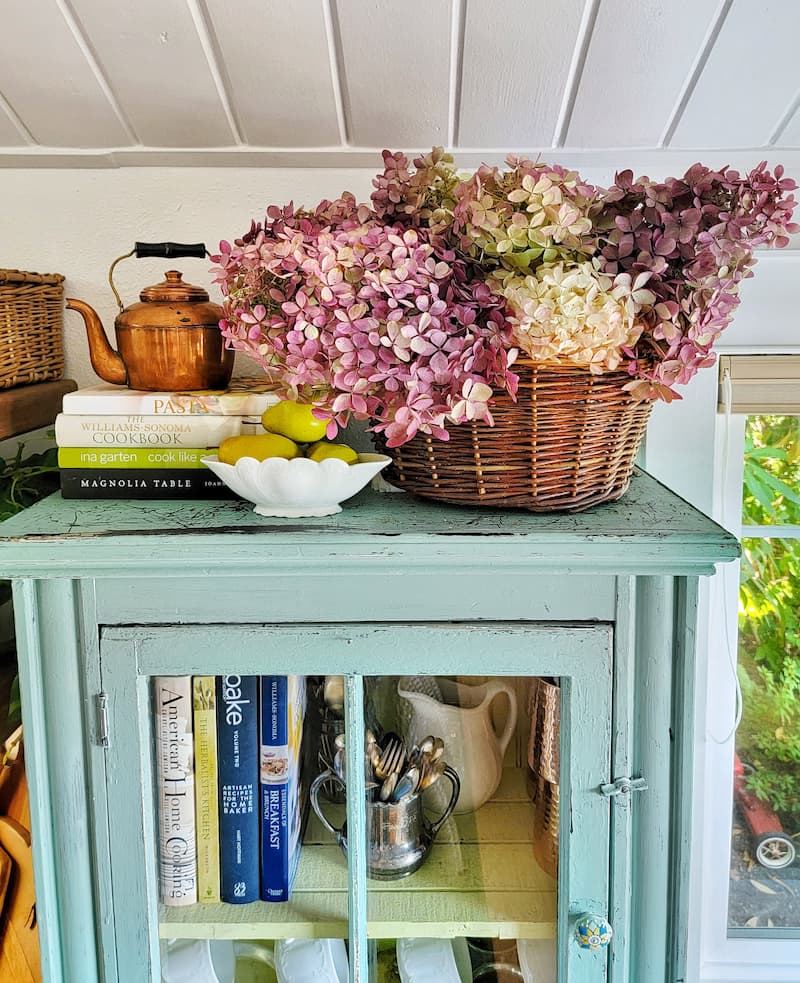
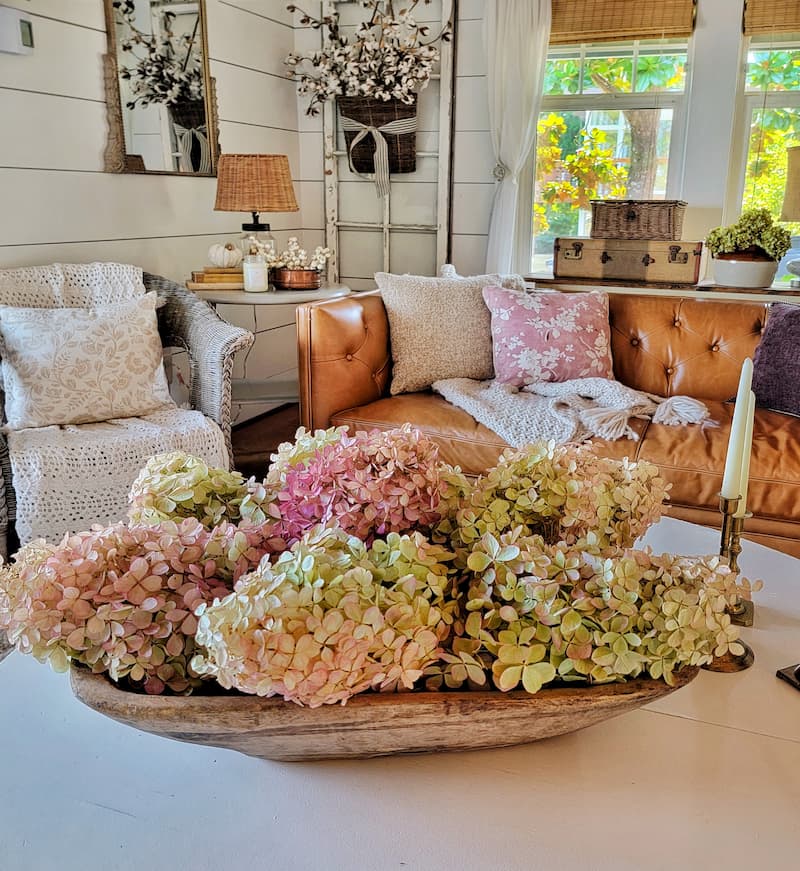
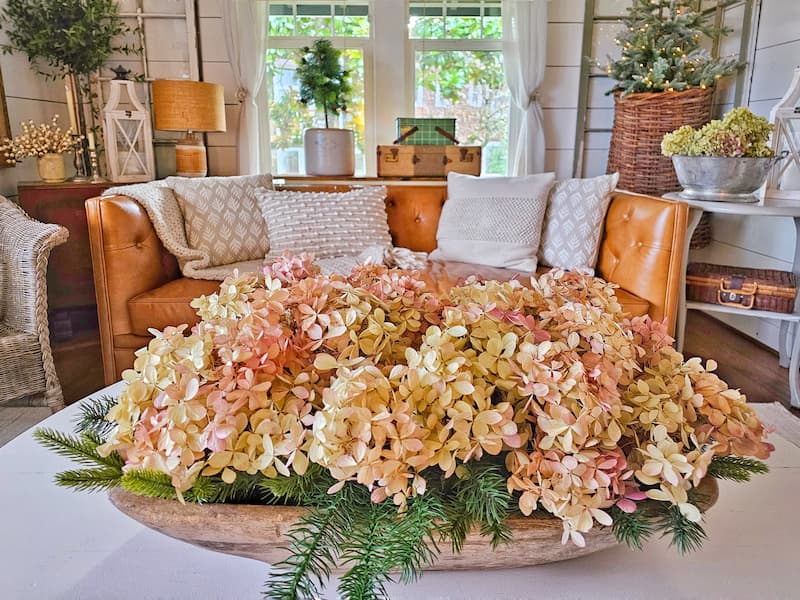
Hydrangeas don’t have to end with the growing season. Drying hydrangeas is one of my favorite ways to stretch those blooms into fall, winter, and beyond. Their faded tones and papery petals fit in just about any room of the house.
I’ve dried hydrangeas every year here at our beach cottage, and I’ve learned which methods are worth your time and which ones end in shriveled, brown disappointment. Here are five simple ways to dry hydrangeas, plus the one thing that matters more than any method… timing.
As an Amazon affiliate, I earn a commission from qualifying purchases at no additional cost to you. My blog also features other affiliate links for your convenience. Click here to read my privacy policy.
When to Cut Hydrangeas for Drying
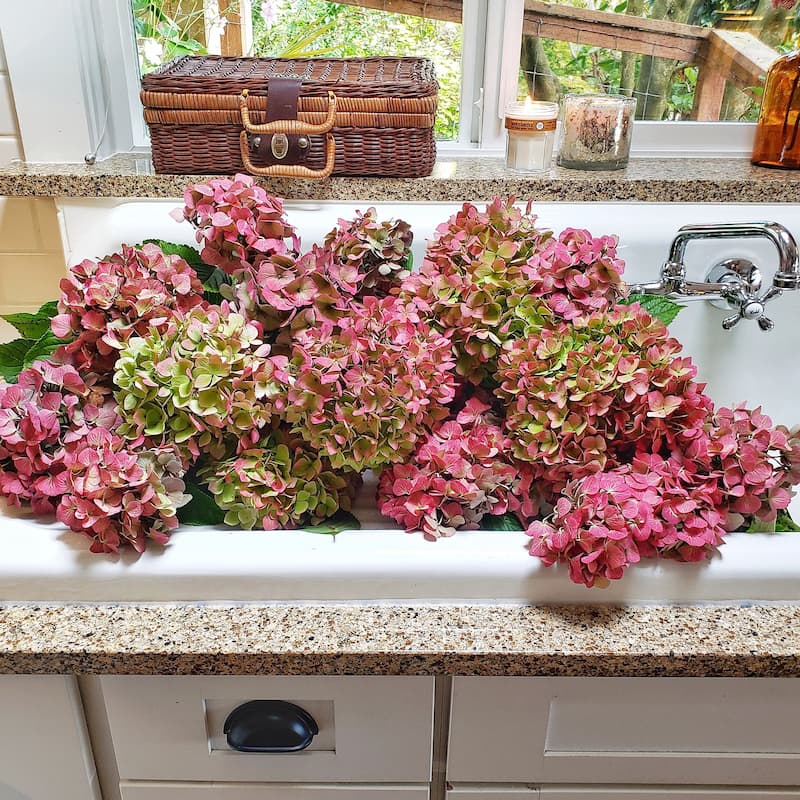
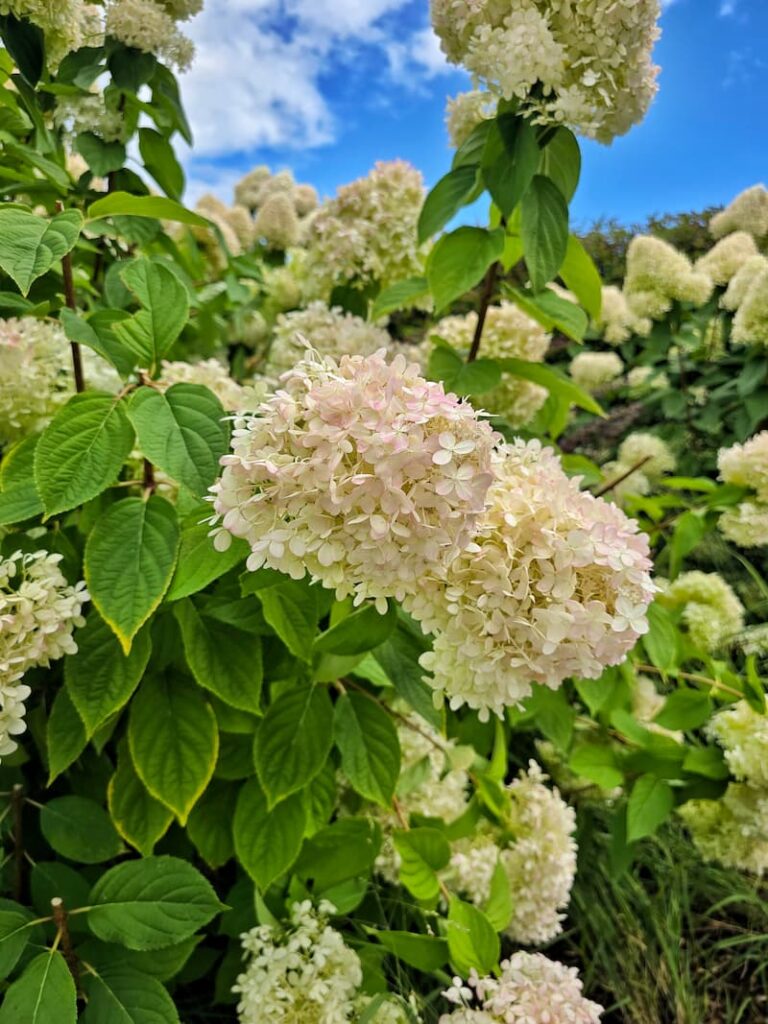
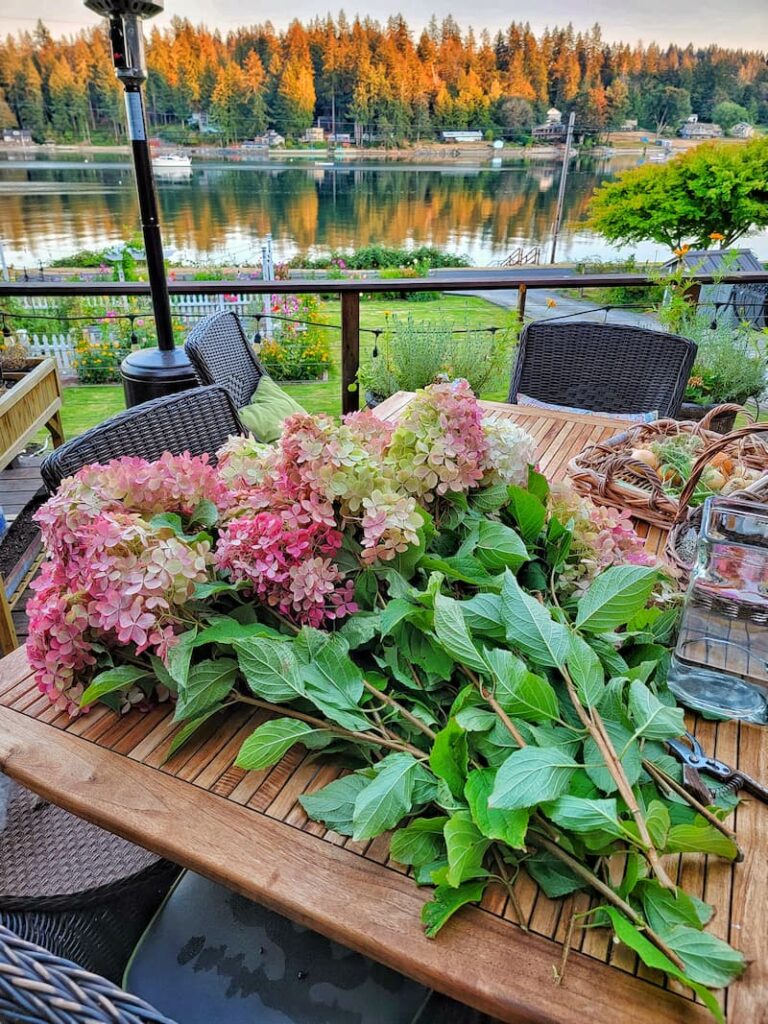
Timing is everything. Cut too early, and the blooms are still holding too much moisture, so they wilt rather than dry. Wait too long, and they turn brown on the bush.
Here in the Pacific Northwest (Zone 8b), I usually start harvesting in late August. Depending on your climate and your hydrangea variety, your window may run from late summer into early fall.
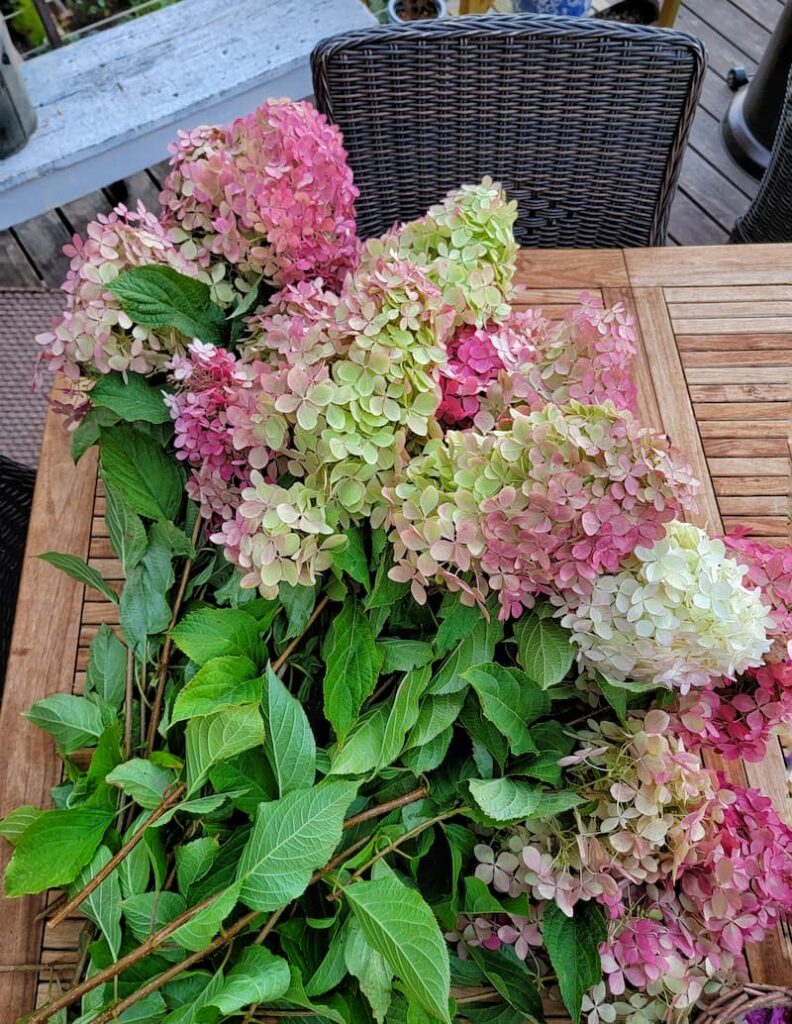
You’re looking for blooms that:
Skip anything still fresh and saturated. And don’t cut right after rain or while morning dew is still sitting on the petals. Wet blooms wilt rather than dry.
5 Simple Ways to Dry Hydrangeas
1. Drying Hydrangeas in a Vase of Water
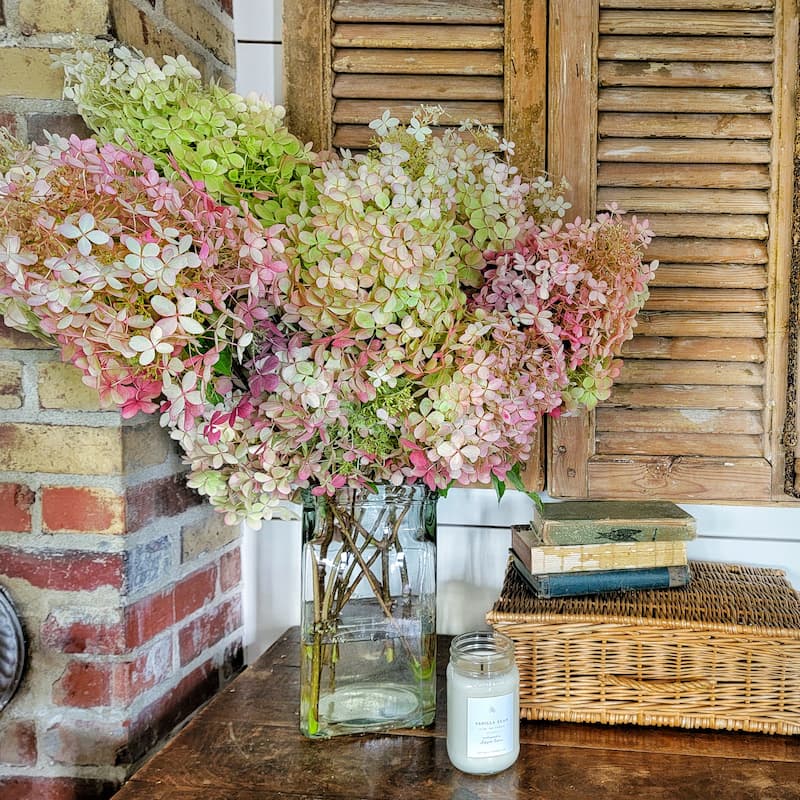
This is my go-to method. It sounds backwards, drying flowers in water, but the slow evaporation is exactly what keeps the petals from shriveling. You’ll get stronger petals and better color than with air drying.
2. Air Drying Hydrangeas Upside Down
Drying a big batch for a wreath or garland? This is the way to go. The colors won’t stay quite as vibrant, but the rustic look is perfect for fall crafting.
3. Drying Hydrangeas with Silica Gel
Want to keep that just-picked look? Silica gel is your best bet. It preserves the most color of any method, which makes it ideal for pastel blooms or delicate arrangements.
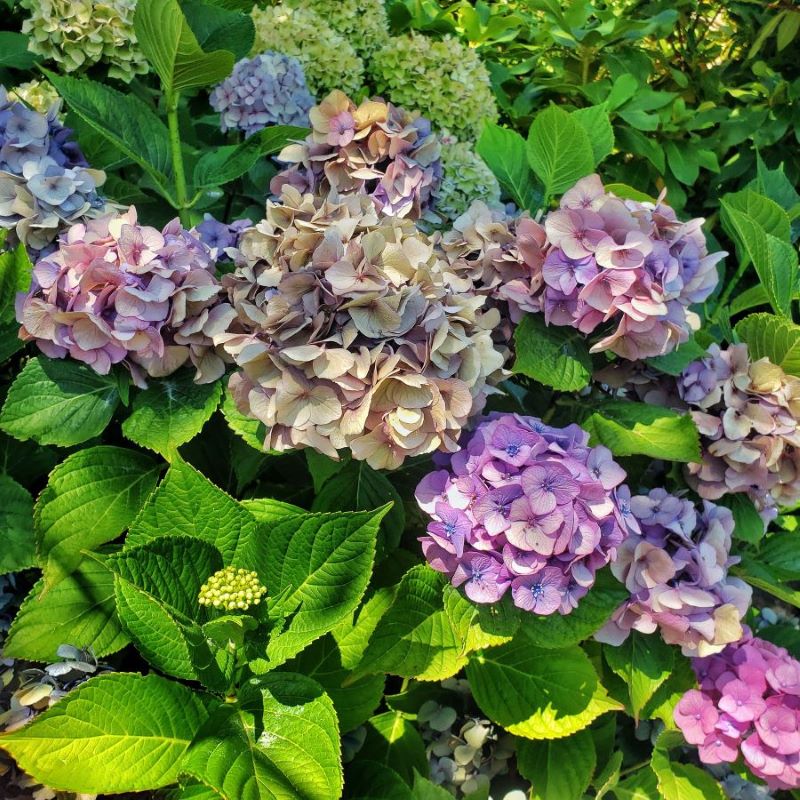
4. Letting Hydrangeas Dry on the Bush
If you sometimes forget to cut your flowers on time (I’ve been there), nature can do the work for you.
Leave the blooms on the bush until they feel papery and take on that antique look. Just don’t wait too long. Once they turn brown, they’ve missed their moment. Cut them and bring them inside before the weather turns wet and windy.
5. Sealing Dried Hydrangeas with Hairspray
This one isn’t a drying method so much as insurance. A light coat of hairspray helps dried blooms hold their shape, keep their color, and resist crumbling, which matters most if they’re headed for a wreath or garland.
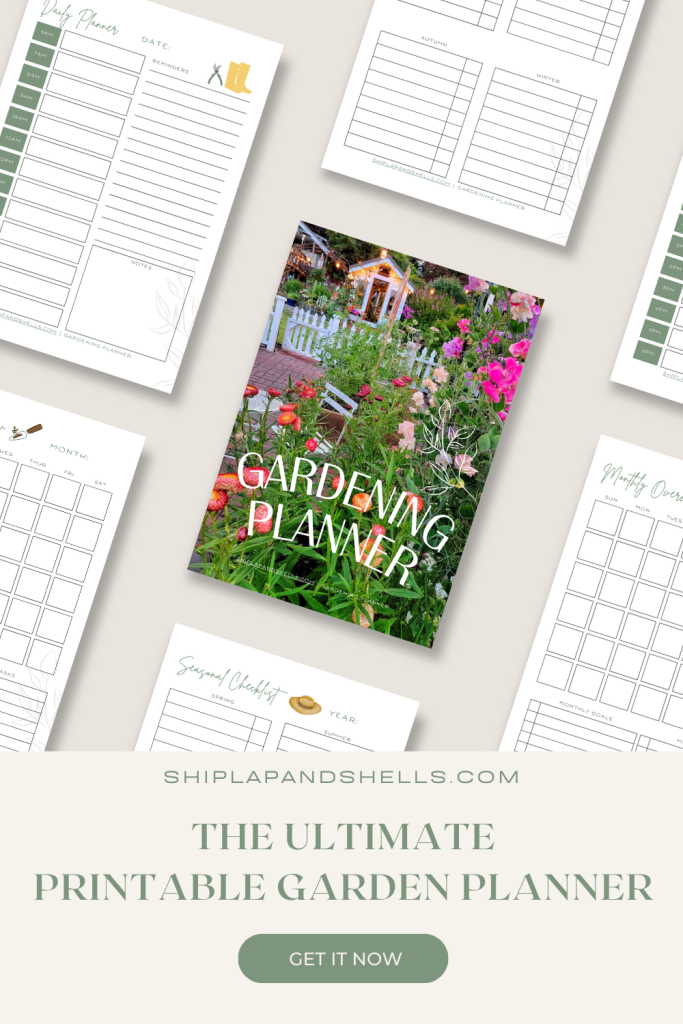
Let’s Plan Your Dream Garden With Our
Gardening Planner
Unlock Your Garden’s Potential.
Our 35-page Ultimate Garden Planner is designed to help you organize, track, and flourish in your gardening endeavors.
Get yours for $4.99
How Long Do Dried Hydrangeas Last?
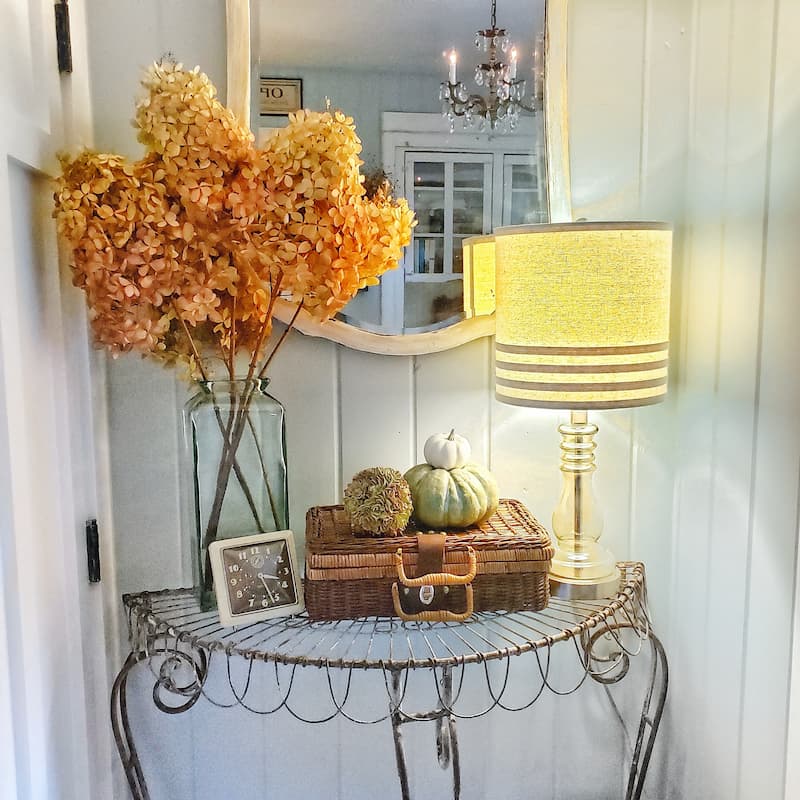
With gentle care, dried hydrangeas can last anywhere from several months to a few years. How they were dried matters, but where you display them matters more.
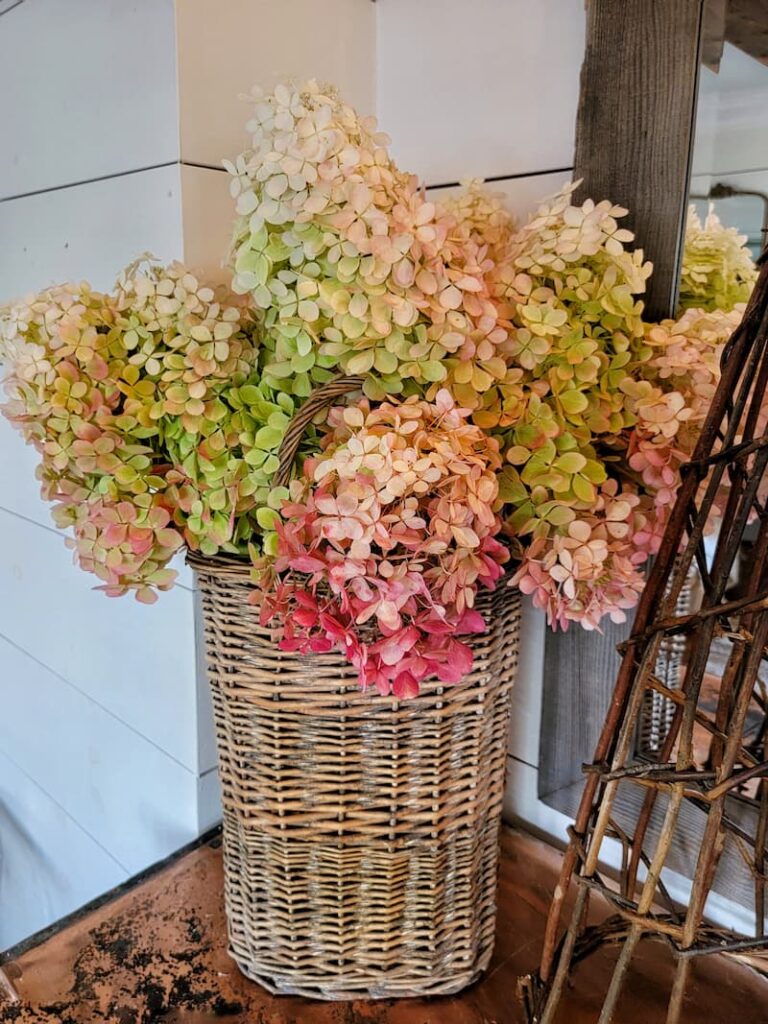
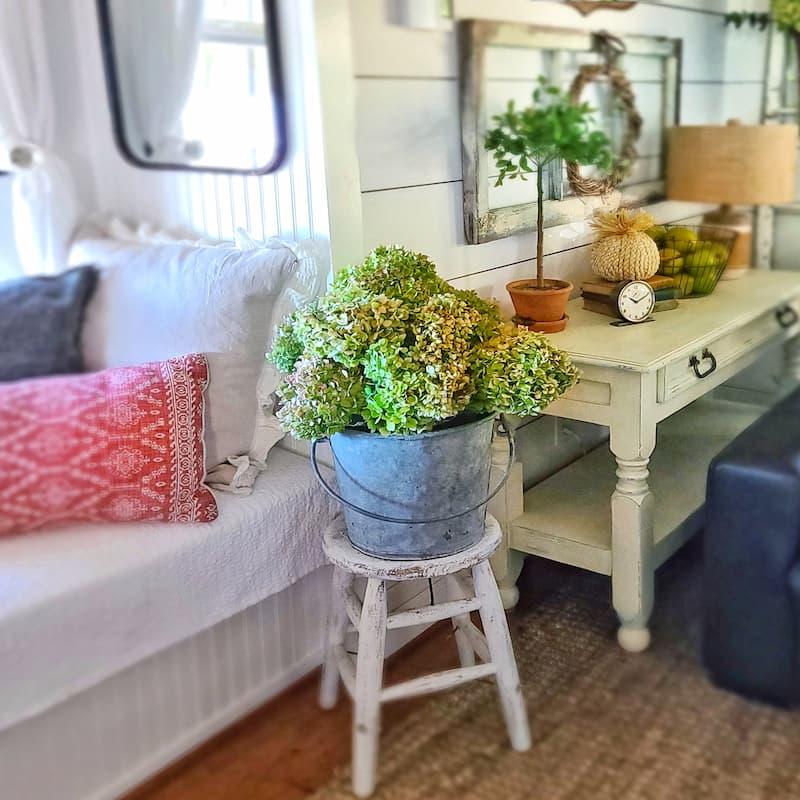
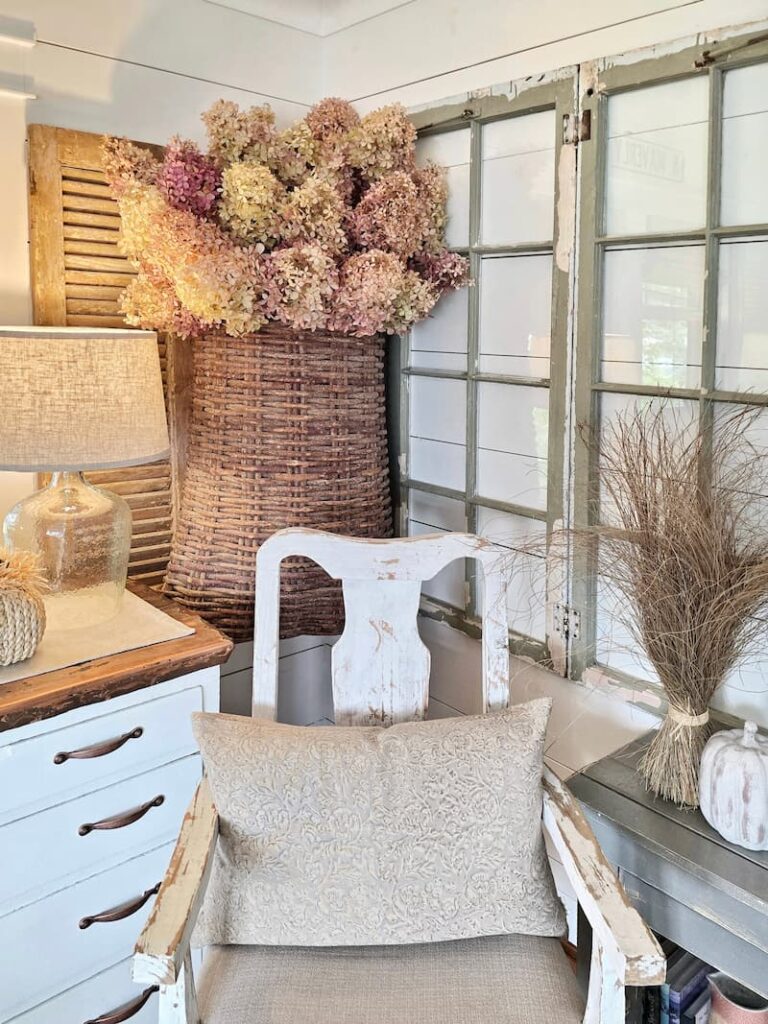
What to Do with Dried Hydrangeas
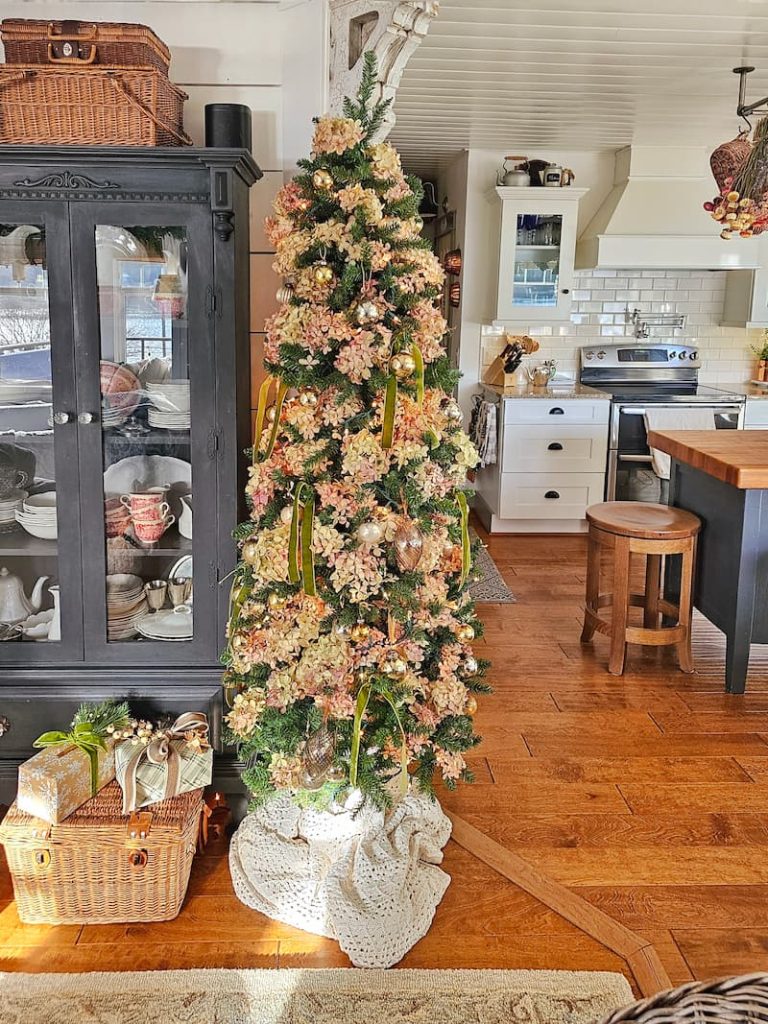
Dried hydrangeas are the gift that keeps on giving. A few of my favorite ways to use them:
Shop for Fall Home Decor
Are you looking for candles, throws, pillows, and all things fall decor? Take a look at my favorites!
Frequently Asked Questions About Drying Hydrangeas
Is It Better to Dry Hydrangeas in Water Or Air?
Water drying gives you stronger petals and better color, so it’s my pick for display blooms. Air-drying works best for large batches headed to wreaths or crafts, where a muted, rustic look is fine.
Why Did My Hydrangeas Wilt Instead of Drying?
They were cut too early. Fresh, saturated blooms hold too much moisture to dry properly. Wait until the petals feel slightly papery and the color has started to shift, and never cut right after rain or heavy dew.
Can you Dry Hydrangeas that Have Turned Brown?
Brown blooms have already dried on the bush. They’ve lost their color and tend to be brittle. You can still use them in rustic arrangements. For those soft, faded tones, cut the blooms while they’re papery but still holding color.
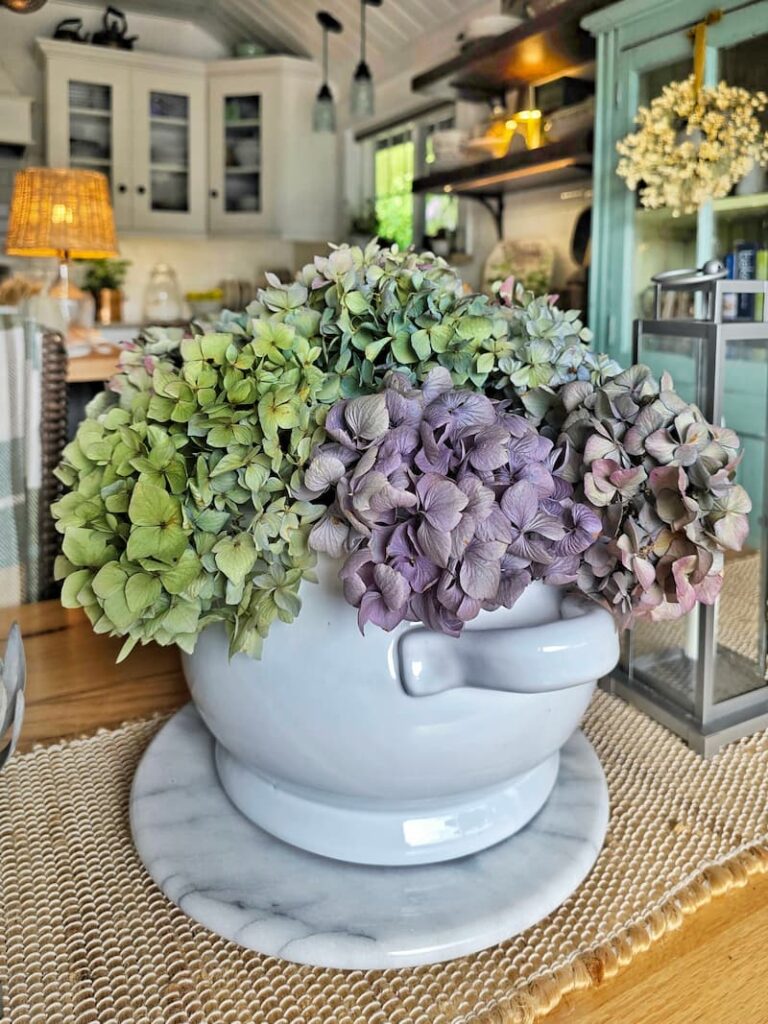
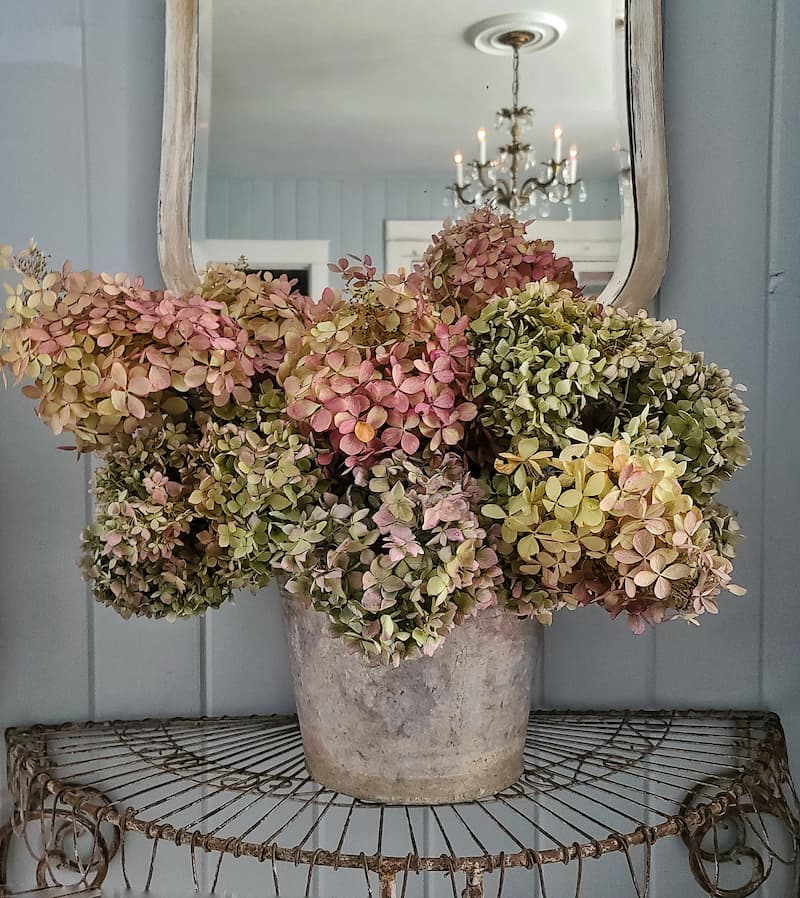
Do Dried Hydrangeas Keep Their Color?
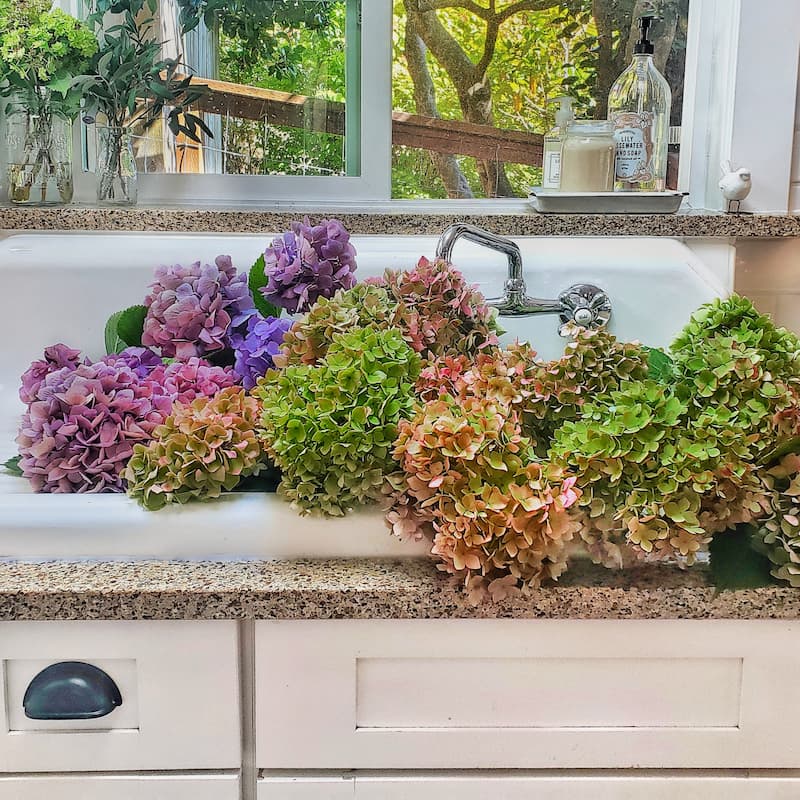
They keep a softer version of it. Expect greens, dusty roses, and faded blues rather than saturated summer shades. Silica gel preserves the most color, vase drying comes in second, and air drying gives the most muted result.
Whichever method you use, keep the finished blooms out of the direct sun.
When Should You Cut Hydrangeas for Drying?
Late summer to early fall, when the blooms feel papery and have started changing color. In my zone 8b Pacific Northwest garden, that’s usually late August.
Final Thoughts on Drying Hydrangeas
No matter which method you choose, the secret is to cut the hydrangea blooms at just the right moment and give them a dry spot out of the sun to finish.
Hydrangeas give so much to the garden. Now you can enjoy them long after the season ends, whether that’s a simple bouquet on your nightstand or a homemade wreath on the front door.
If you found this post helpful, share it with a fellow gardener. And I’d love to hear your favorite drying method in the comments.
Until next time,
Happy Hydrangea Drying!
MORE POSTS
For You to Enjoy
Follow Me for More Inspiration

hi Kim, thank you for all the details in your article. very helpful. Can you share some of the varieties that work well for you to dry. I planted Sister Therese which is white in bloom, but turns green when ready to pock for drying. Would love to plant some that are blush and white when ready to pick and some that you like that are in the blue and purple family. Thank you.
Hi Mindy! Thank you for your comment. My very favorite variety of hydrangeas to dry are panicles. My strawberry shake shrub has the most amazing colors in the fall, the blush and cream mixes. The flower heads are white at the beginning of the season. Although I don’t have a limelight shrub, I’ve seen how beautiful they can be. As much as I like mopheads and the beautiful colors of the blues and purples, they don’t seem to give the vibrant colors that the panicles do. And they seem stronger and last longer.
If you have any other questions, let me know or email me at [email protected]
I have ALWAYS wanted to know how to do this, Kim! I adore hydrangeas and even though ours last a good while I’m always bummed when the season is over. We still have a few blooms left so I’m excited to try your technique and see if I can extend their beauty just a bit. Thanks so much for putting this together. I can’t wait to share it on Friday! Hugs, CoCo
I love this post. I am new to hydrangeas this year and your post is going to be so helpful!! Thanks for sharing!
I’m Experiment with this bush thanks for sharing wisdom for me to watch and learn 🤝
Kim, your extra details regarding just when to cut the stems for drying are very informative. I have had luck with both methods 2 and 3. For #2, I have just been putting the stems in 1 inch of water. Glad to hear you say 2 too 3 inches. This helps knowing I don’t need to be so precise. This year I briefly soaked the entire cutting (flower head and stem) in an insecticidal soap to make sure I was not introducing aphids, mites or other pest to my building where I am drying. I am anxious to see if the quick soak hampers drying.
Love all these lovely hydrangea photos! I waited too long to cut my hydrangeas so they are brown, but I am still going to use them in fall decor. I only have old fashioned Annabelle hydrangeas. I love all your different blooms!
Kim, I am so glad I found you!!!! I’m your neighbor and love gardening blogs that are in my zone! I have several hydrangeas and love to dry them and so excited to see these methods. I have so many questions about all these different types, when to cut, how to cut back etc. This is a huge help. Thanks and so excited to catch up on all your posts, I’m on Henderson Bay just your side of the Purdy Spit. I am fairly new to gardening, I really get such joy out of all your pictures. Thank you for sharing new friend!
Kathy
Hi Kathy! So nice to meet you. I love connecting with neighbors in the area. I really appreciate you following along. If there’s a certain topic you would like to know more about and don’t see here, let me know. I don’t always have the answers but love to get more ideas about what people are wanting on the blog. Have a great holiday weekend!
Great tips and gorgeous photos. I am happy to feature you at TFT today! Thanks for sharing!
Thank you so much for the feature Amber!
I need help with my hydrangeas. They simply don’t bloom! This year, I believe it was because my husband pruned them in the very early spring, and maybe this variety only blooms on old wood? However, even in years when I have left them un-pruned, they just barely flower. They are in an East facing flower bed. The plants look amazing, super green and healthy…just no flowers! I love hydrangeas, they are my favorite!
My hydrangeas seem to bloom heavier on alternate years. THIS is not the year!!!! One year when mine were almost dry, I went out to the bush and s lightly spray painted them gold and copper! It worked well! Easier than trying to find a place to paint them. Some day my sister-in-law across the street is gonna have the men in the little white coats come drop a net on me. Reminds me of Alice in Wonderland where they paiinted the roses red.
That is awesome! Not about this not being the “good” year for your hydrangeas, but the fact that you go out and paint your hydrangeas. Very impressive for sure!
Kim,
Thanks for these great tips! I’ve successfully dried hydrangeas and never knew what I did right. Now I know how to do it correctly every time. Thanks so much!
Rachel.
That’s so funny! I did the same thing last year. It worked, but now I know why!
What an amazing tip! Love decorating with dried hydrangeas!
Yours are so pretty!
Happy day!
KariAnne
Thank you KariAnne! They make quite a statement.
I really want to try this. Since I have a brown thumb, will it work to use the cut hydrangeas from the grocery store? That’s the only place around here where I can get some. Also, how do you keep them from falling apart once they are dried? Do they fall apart/crumble? Thanks! Pinned.
I was actually stumped when you asked about flowers from the grocery store. I even searched the internet and couldn’t find anything on this. What I can say is that hydrangeas do best when drying them after they have begun to fade and turn papery. So if you see those characteristics, then I would at least try. And I would spray hairspray on the hydrangea heads to keep them from crumbling. Thank you for pinning!
I kept waiting on my hydrangeas, because they were so beautiful, but I waited too long. They are brown now. Since brown is a color of fall in the Northeast, I plan to cut them and use their beauty somehow. Next year with your expertise I won’t be so shy. Mine are osk leaf hydrangeas. Thank you for your lovely posts.
Osk should say oak.
Thank you for visiting Kooki! I still have the same problem as well. I just went out to cut more hydrangeas today, and they were too far gone. So sad. I’ll be happy with a 25% success rate! You absolutely can use them in some decor, they’ll look great!
Thank you for sharing Kim, I can’t wait to try this! Next year I’ll have to buy some more plants as I’ve enjoyed their beauty this summer & they’re pretty easy to care for. I keep mine in pots on my deck away from the deer.
I’m just bought a couple more this year, and I’m obsessed! It’s so smart that you are keeping them away from the deer. I have never had any problems with the deer eating them, knock on wood!
Kim,
The hydrangeas and their arrangements are so pretty!! Just so lovely! Thanks so much for sharing!!
Thanks so much for taking the time to stop by and for letting me know that you did by leaving a comment!! Stay safe, healthy and happy!!
Hugs,
Debbie
Your blog posts make me so happy Debbie. Very enjoyable my friend!
Kim,
I had no idea how easy it is to preserve hydrangeas. Thanks so much for the great tips!
You are most certainly welcome! Hope it works for you!
These blooms are gorgeous!!! You have inspired me to clip some of my hydrangeas tomorrow, and bring inside to dry.
That makes me so happy Emily! I love how they look right now!
These are all such beautiful hydrangeas! I love to go to Washington and see them blooming!
Thank you Danielle! They are so incredible this time of year.