How to Safely Transplant Flower Seedlings: Tips for Beginners
Safely transplanting flower seedlings is one of the most important steps in growing a healthy, thriving garden. If you’ve been nurturing your seedlings indoors, knowing when and how to move them outside can make all the difference between strong, blooming plants and ones that struggle to adjust.
If you’re new to gardening, or even if you’ve been doing it for years, this transition can feel like a big moment. I still find myself double-checking the forecast before planting day, even after all this time.
In this guide, I’ll walk you through exactly when to transplant seedlings, how to prepare them for the move, and simple steps to help them settle in and thrive in your garden.
As an Amazon affiliate, I earn a commission from qualifying purchases at no additional cost to you. My blog also includes other affiliate links for your convenience. Click here to read my privacy policy.
Why Transplant Flower Seedlings Indoors First
Sometimes your seedlings outgrow their original containers before it’s time to move them into the garden, and that’s completely normal. If they’re starting to look crowded or stressed, it may be time to pot them up into a larger container.
Giving seedlings more space helps reduce competition for water and nutrients, allowing their roots to grow stronger. And strong roots are exactly what you want before transplanting them outdoors.
Not every seedling will need this step. If they’re already growing in larger cells or pots, they may be just fine until planting day. Slower-growing or more compact varieties usually don’t need to be repotted at all.
A little observation goes a long way. Your seedlings will usually tell you what they need.
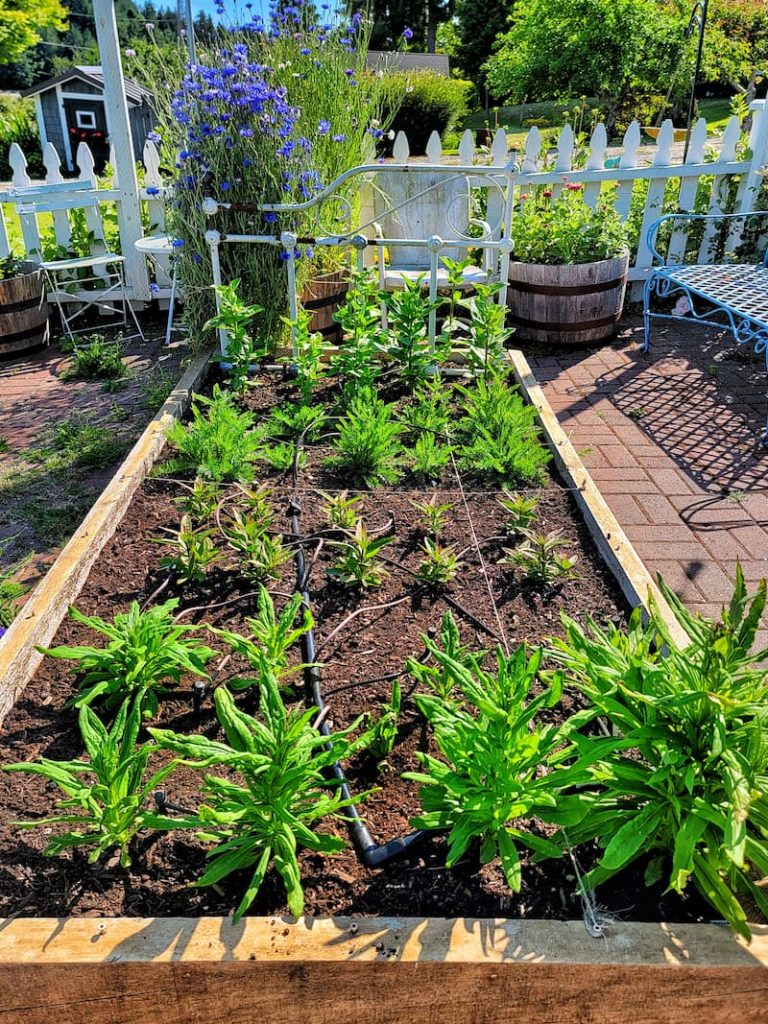
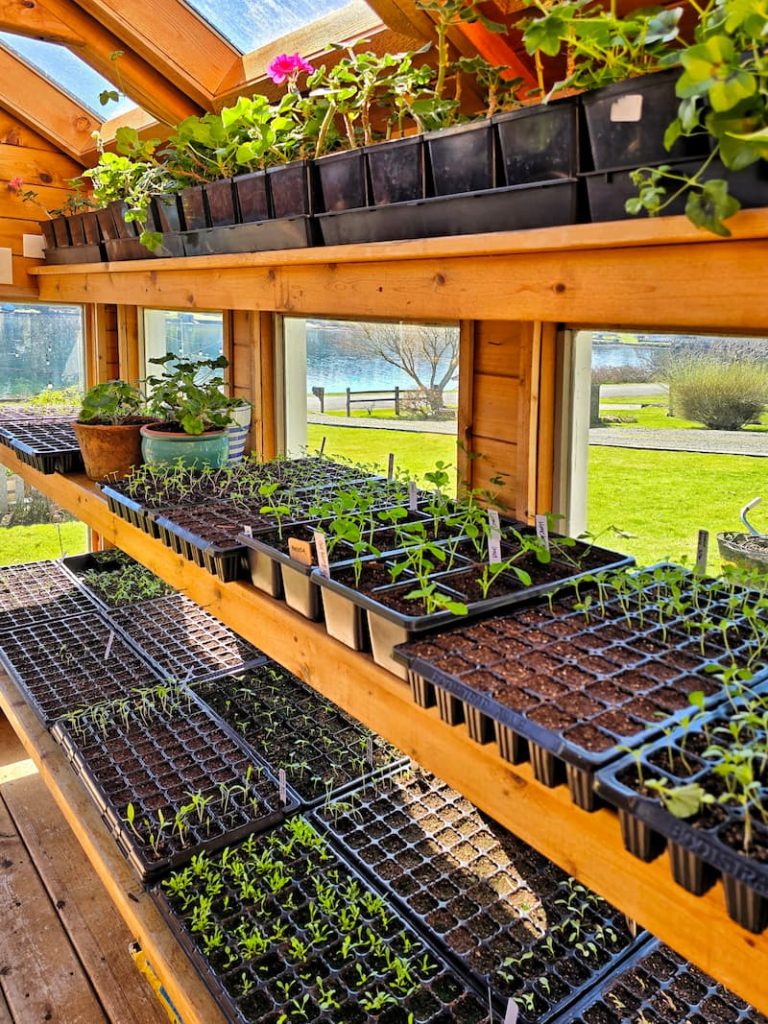
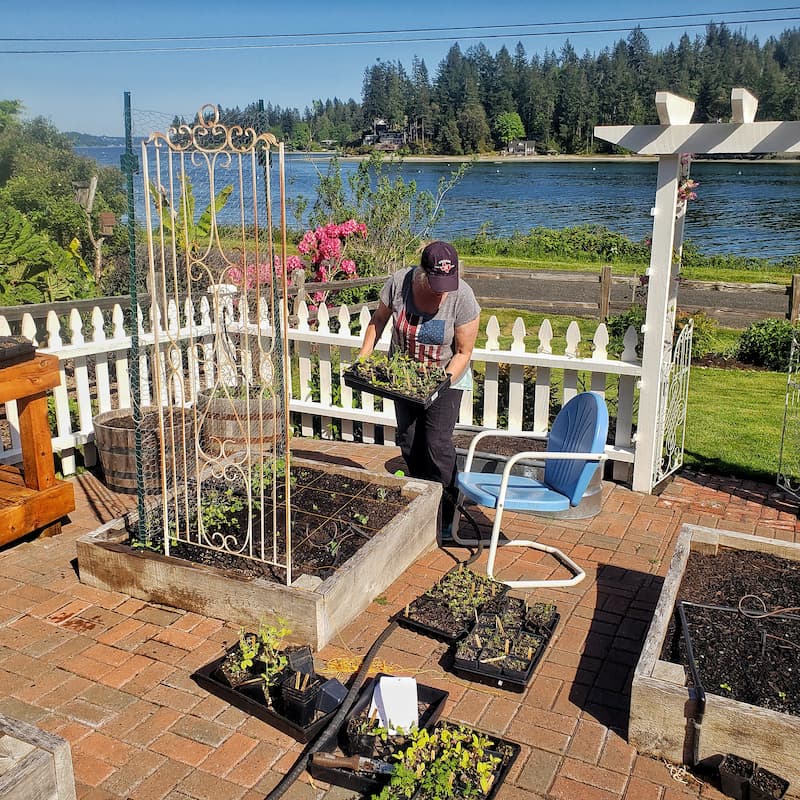
A Quick note about my garden
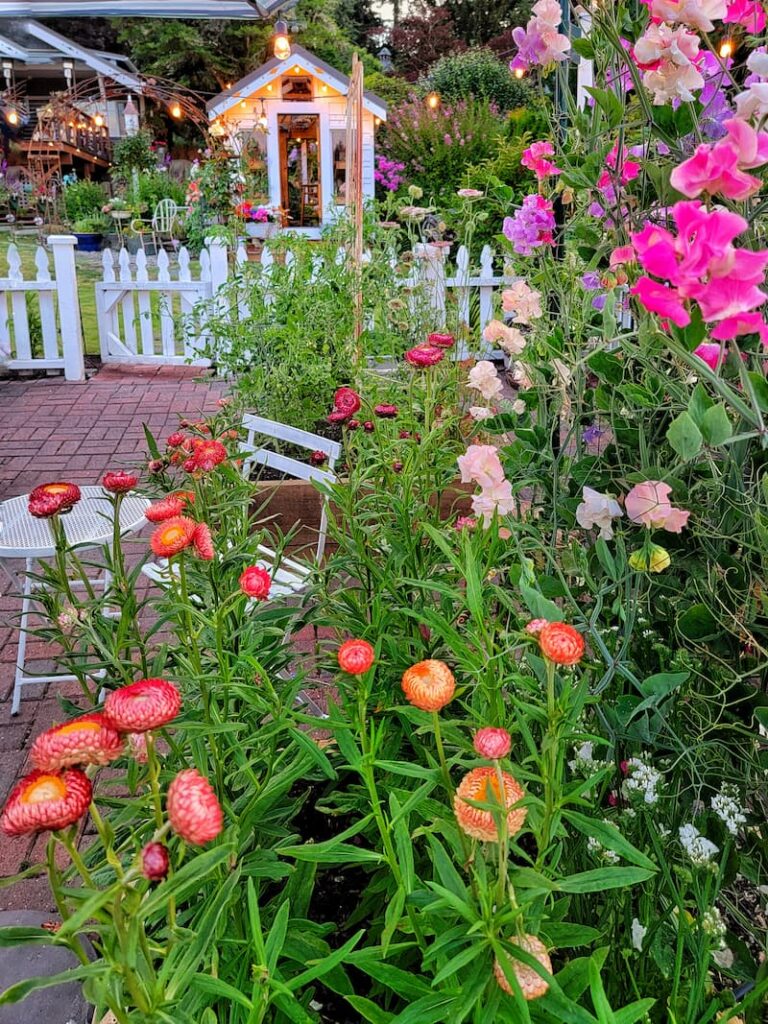
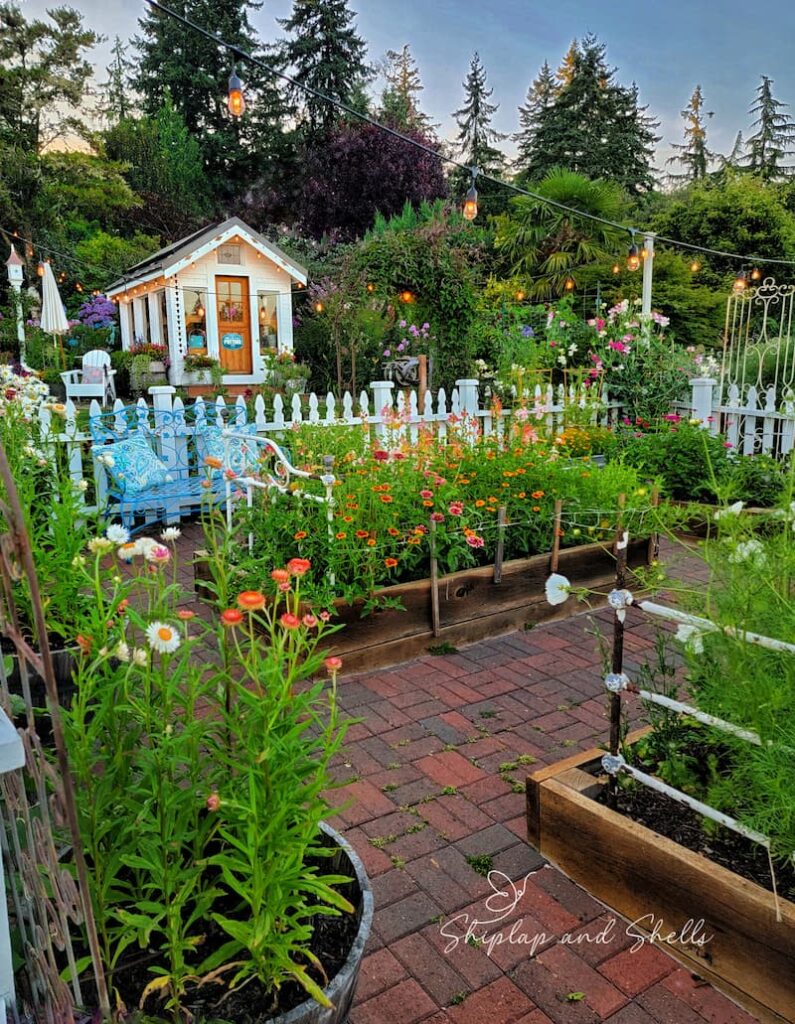
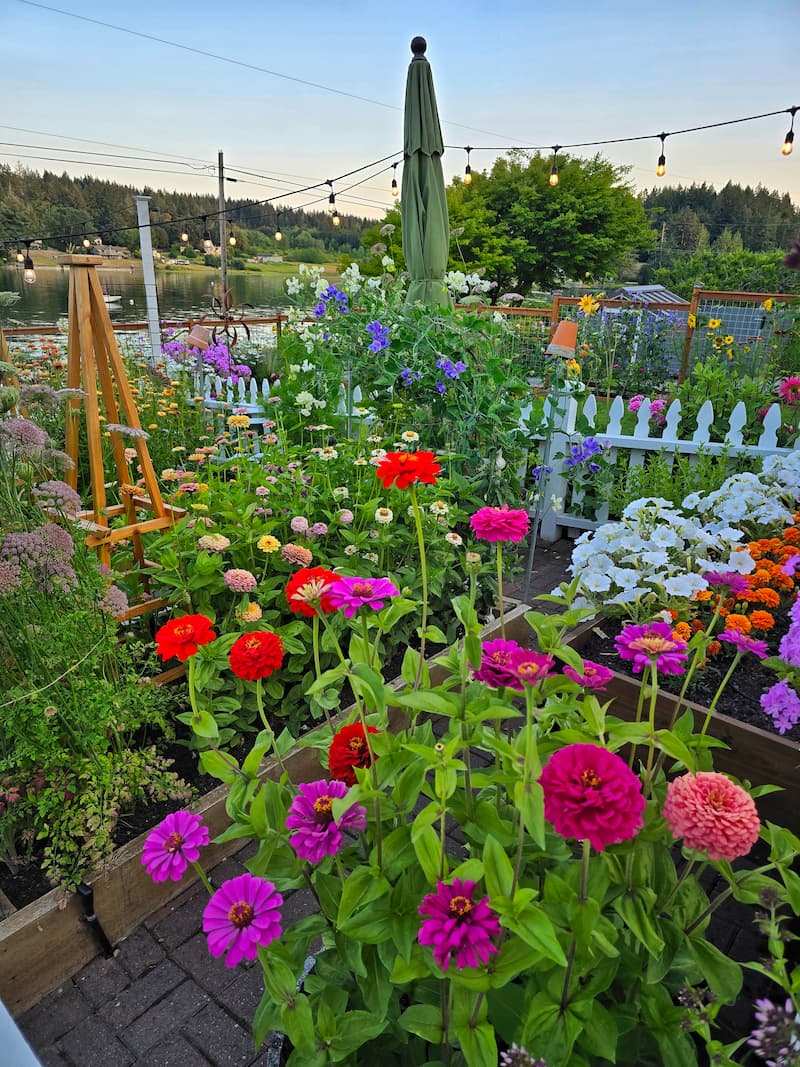
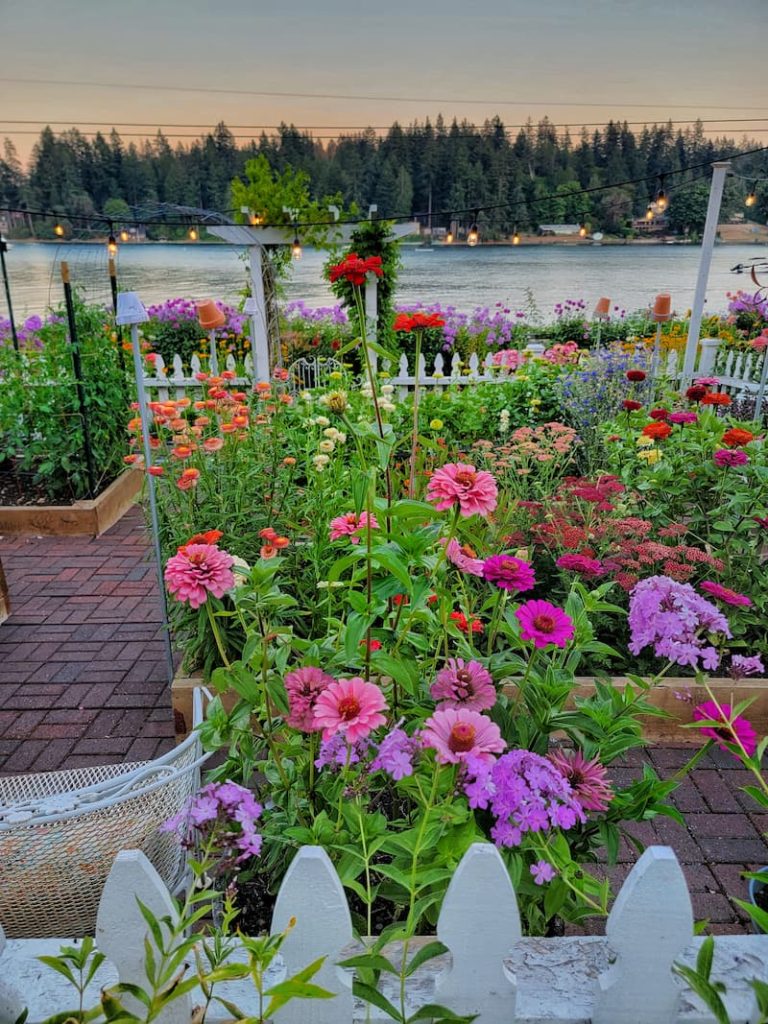
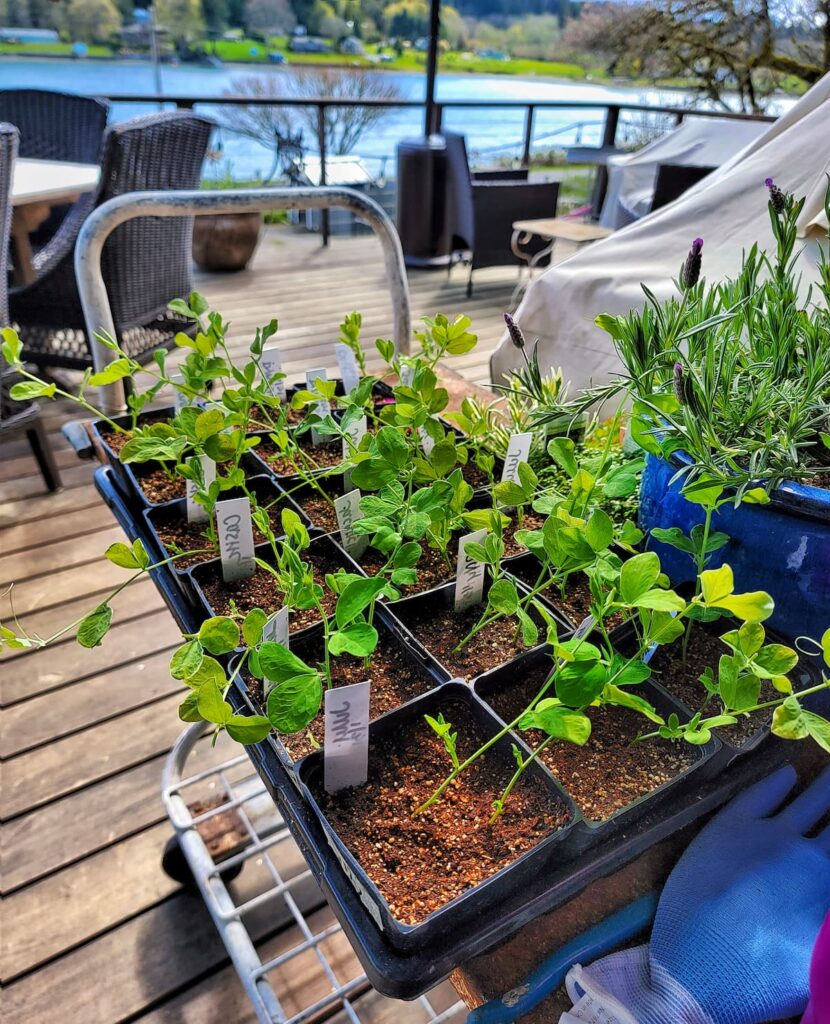
Most of the flowers I share here are grown from seed in our greenhouse and planted in raised beds and containers throughout our cottage garden.
When Should You Transplant Flower Seedlings Outdoors?
Timing really is everything when it comes to transplanting flower seedlings. Moving them outside too early can expose them to cold damage, while waiting too long can slow their growth.
The most important rule? Wait until all danger of frost has passed. Even strong, healthy seedlings can’t handle a surprise cold snap.
If you’re not sure when your last frost date is, a quick zip code search can give you a reliable guideline. I still check the forecast a few extra times before planting, just to be safe.
Beyond frost, pay attention to your seedlings themselves. They should look sturdy, have a few sets of true leaves, and be ready to handle outdoor conditions.
If you’re ever unsure, it’s almost always better to wait a few extra days than to rush the process.
How Big Should Flower Seedlings Be Before Transplanting?
This is one of the most common questions, and for good reason. Knowing when your seedlings are truly ready for life outdoors can feel a little uncertain at first.
If you transplant too soon, they may not be strong enough to handle wind, sun, and cooler nights. But if you wait too long, they can become rootbound or stressed, which can slow their growth after planting.
So what’s the sweet spot?
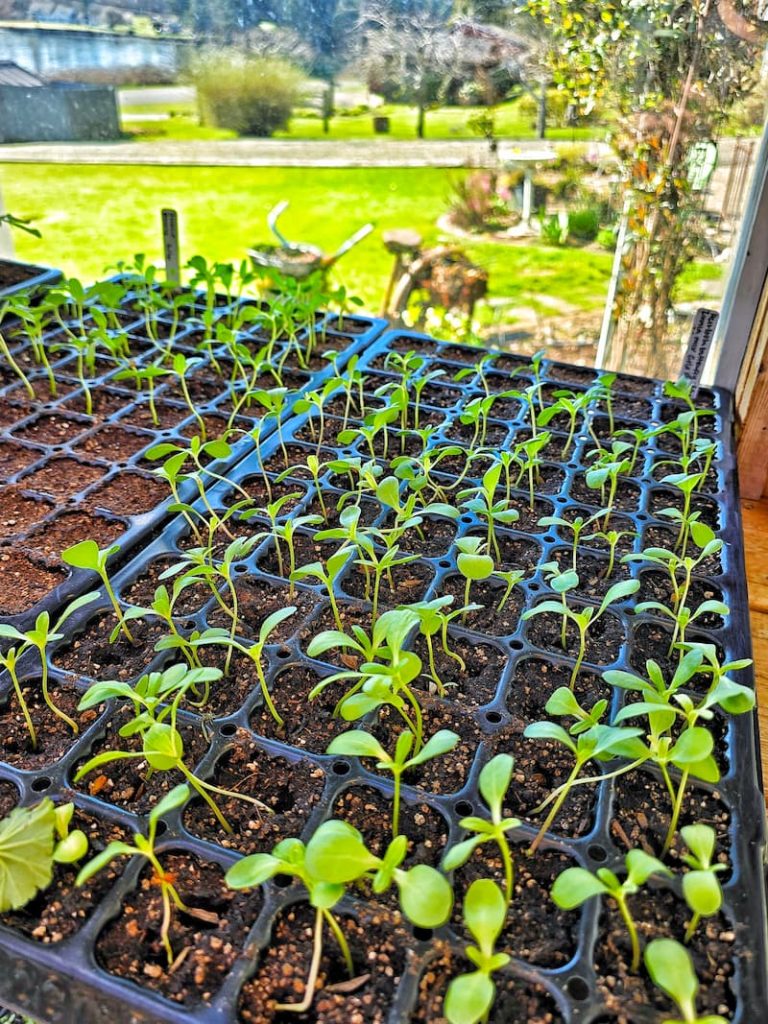
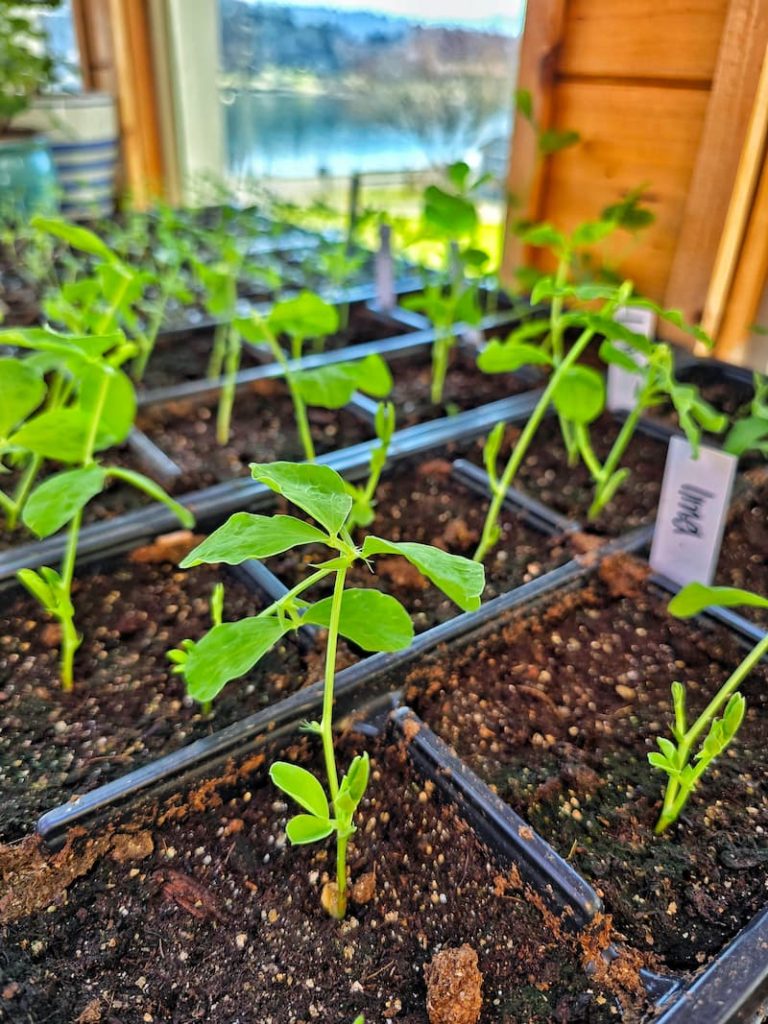
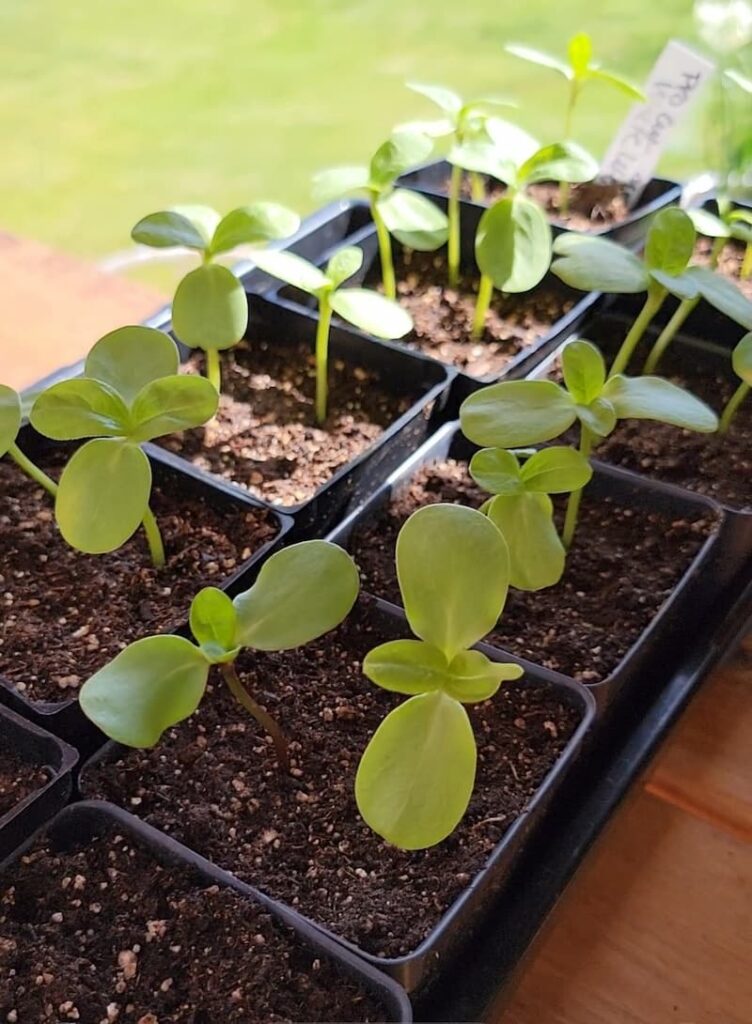
Most flower seedlings are ready to transplant once they have 2-3 sets of true leaves. These are the leaves that grow after the initial seed leaves (called cotyledons) and are a good sign that your plant is maturing.
At this stage, your seedlings should also have a developing root system and enough strength to handle the transition from their indoor environment to the garden.
How Do You Know When Seedlings Are Ready to Transplant?
As I mentioned earlier, one of the clearest signs that your seedlings are ready for the presence of true leaves. But there are a few other things to look for that can help you feel more confident about the timing.
Start by checking the roots. If you see healthy white roots peeking out from the bottom of the container, that’s usually a good sign that your seedling is ready. You can also gently slide the plant out to make sure the roots are developed but not tightly circling.
Next, take a look at the overall plant structure. A seedling that’s ready to transplant should be standing upright with a sturdy stem, not thin, floppy, or leggy.
And finally, trust what you’re seeing. If your seedlings look strong, balanced, and healthy, they’re likely ready to handle the move to the garden.
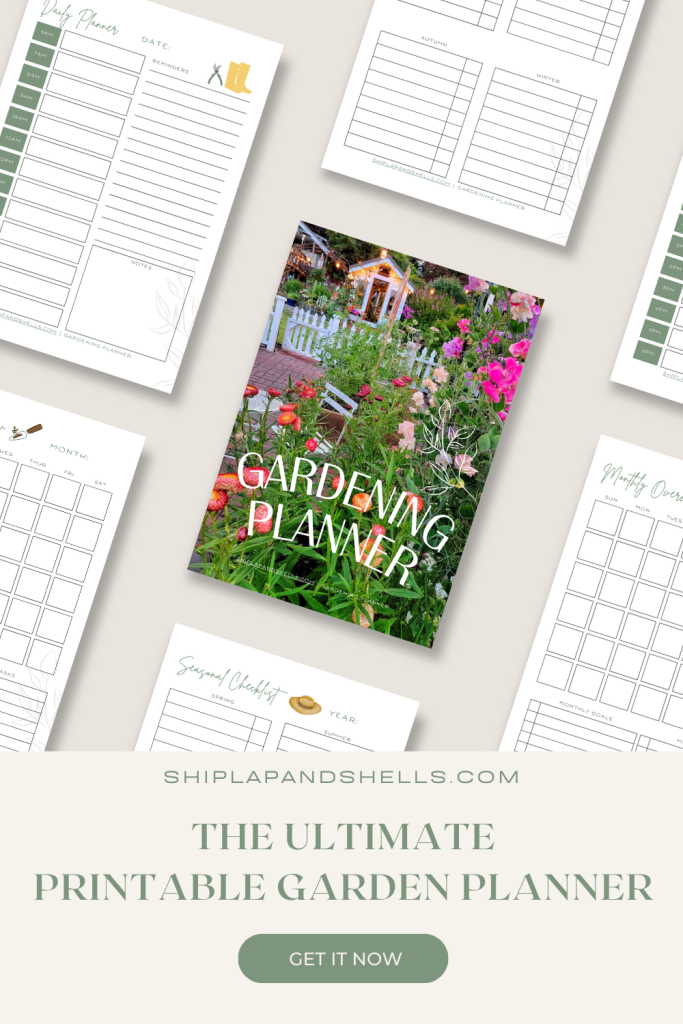
Let’s Plan Your Dream Garden With Our
Gardening Planner
Unlock Your Garden’s Potential.
Our 35-page Ultimate Garden Planner is designed to help you organize, track, and flourish in your gardening endeavors.
Get yours for $4.99
What Happens if You Transplant Seedlings Too Early?
It’s tempting to get a head start, especially when the sun is shining and your garden beds are ready. But transplanting seedlings too early can set them back more than it helps.
If your seedlings haven’t developed strong roots or enough true leaves, they’re not quite ready to handle outdoor conditions. The sudden shift from a protected indoor space to wind, sun, and cooler temperatures can cause stress.
You might notice slowed growth, yellow leaves, or even lose a few plants. Young seedlings are still establishing their root systems, so they can struggle to take up water and nutrients when conditions aren’t ideal.
Giving them a little more time indoors, even just a few extra days, can make a noticeable difference in how well they adjust once planted.
What Happens if You Transplant Seedlings Too Late?
Waiting too long to transplant can cause a different set of problems.
When seedlings stay in their trays or pots for too long, their roots can begin circling the inside of the container. This is called becoming rootbound, and it makes it harder for a plant to spread its roots and take in water and nutrients once planted in the garden.
You may notice your plants starting slowly or struggling to grow as quickly as expected.
Overcrowding can also become an issue. As seedlings continue to grow, they compete for light, space, and nutrients, which can weaken the plants and make them more vulnerable to pests and disease.
Keeping an eye on your seedlings and transplanting them at the right time helps them establish more easily and grow stronger from the start.
Garden Supplies and Tools
Check out my favorite garden supplies and tools for the growing season. Whether you’re looking for potting soil or deer repellent, you’ll find what I use in my own garden.
The Best Way to Transplant Seedlings Outdoors
When it comes to transplanting seedlings, success comes down to timing, gentle handling, and a few simple techniques.
If you’re wondering how to give your young plants the best possible start, these steps will walk you through everything from preparing your garden beds to helping your seedlings settle in after planting.
Let’s take it step by step so the transition from pot to garden feels as smooth as possible… for you and your plants.
Harden Off Your Flower Seedlings
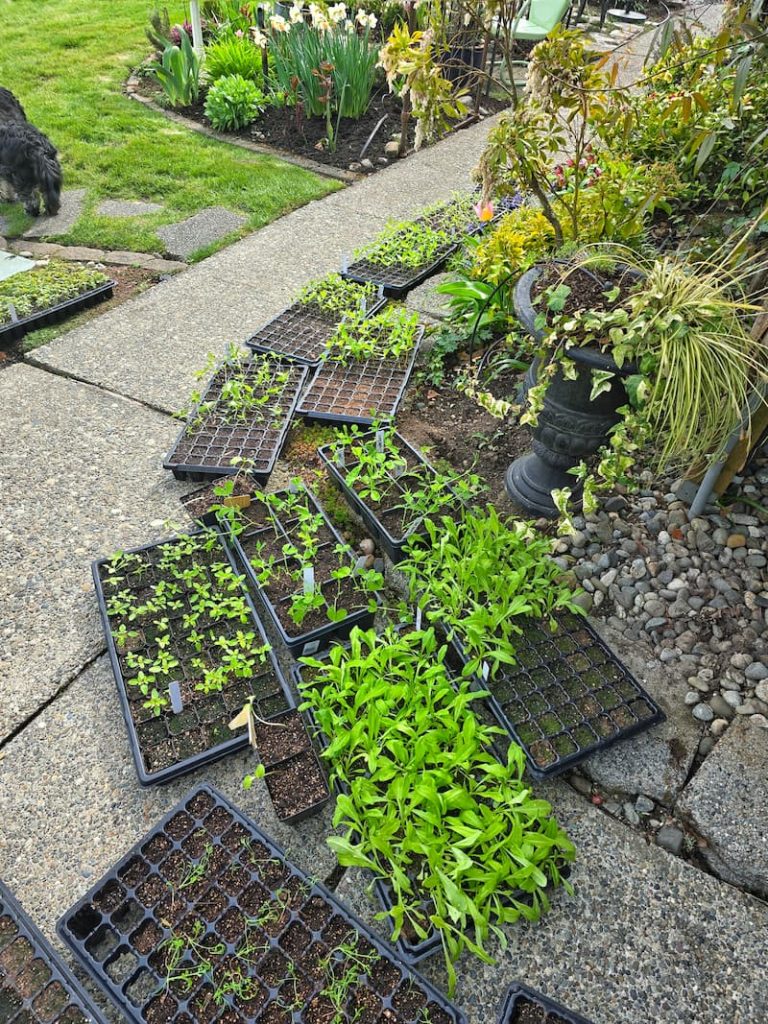
Before moving your seedlings into the garden, they need to adjust to outdoor conditions. This process is called hardening off, and it helps prevent unnecessary stress on your young plants.
After growing in a controlled environment like a greenhouse or indoors, seedlings aren’t used to direct sun, wind, or cooler temperatures. Moving them outside too quickly can slow their growth or damage delicate leaves.
Start by placing your seedlings outdoors in a shaded, protected area for a few hours each day. Gradually increase their time outside and their exposure to sunlight over the course of 7 to 10 days.
By the end of this process, your seedlings will be much better prepared to handle life in the garden.
Water Your Seedlings Before Transplanting
Give your seedlings a good drink the day before transplanting. Well-hydrated roots are more resilient and better able to handle the move into the garden.
Moist soil also helps the root ball hold together when you remove seedlings from their containers, which reduces the risk of damage.
Just be careful not to overwater. You’re aiming for evenly moist soil (not soggy) so the roots stay healthy and ready to establish in their new space.
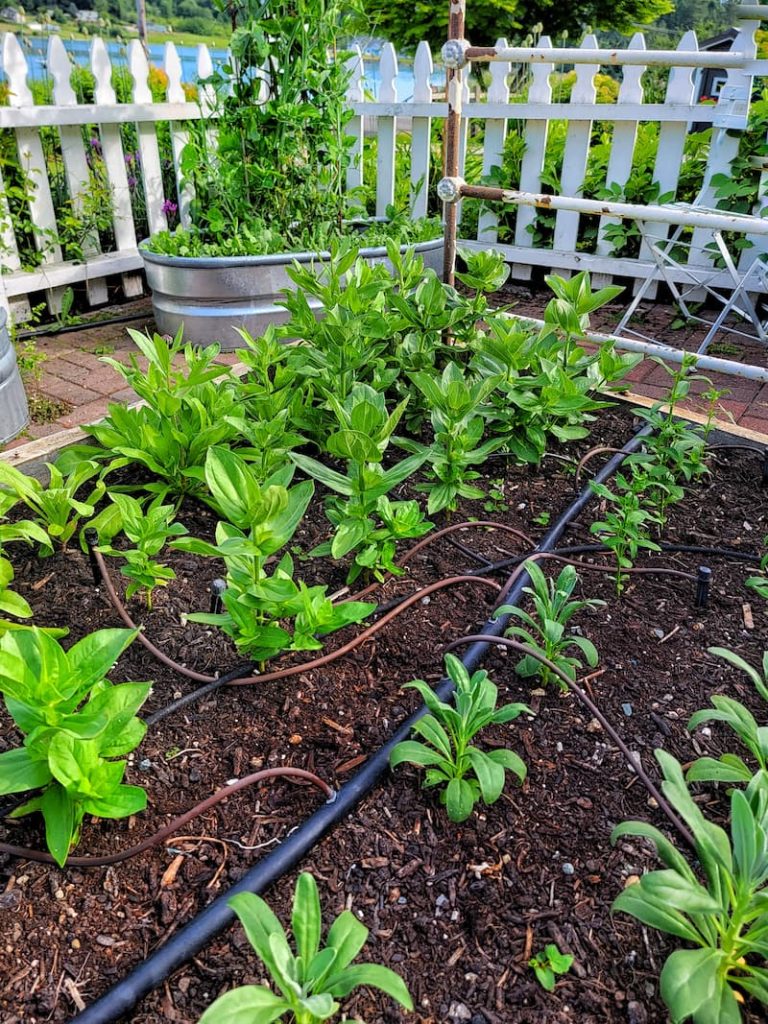
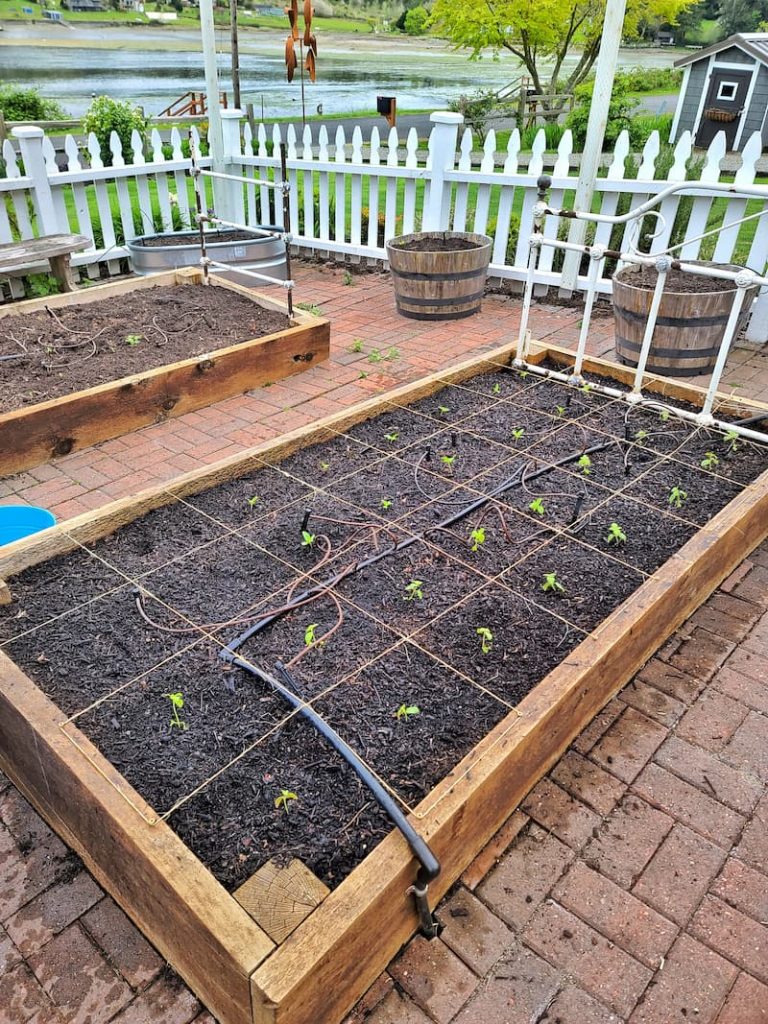
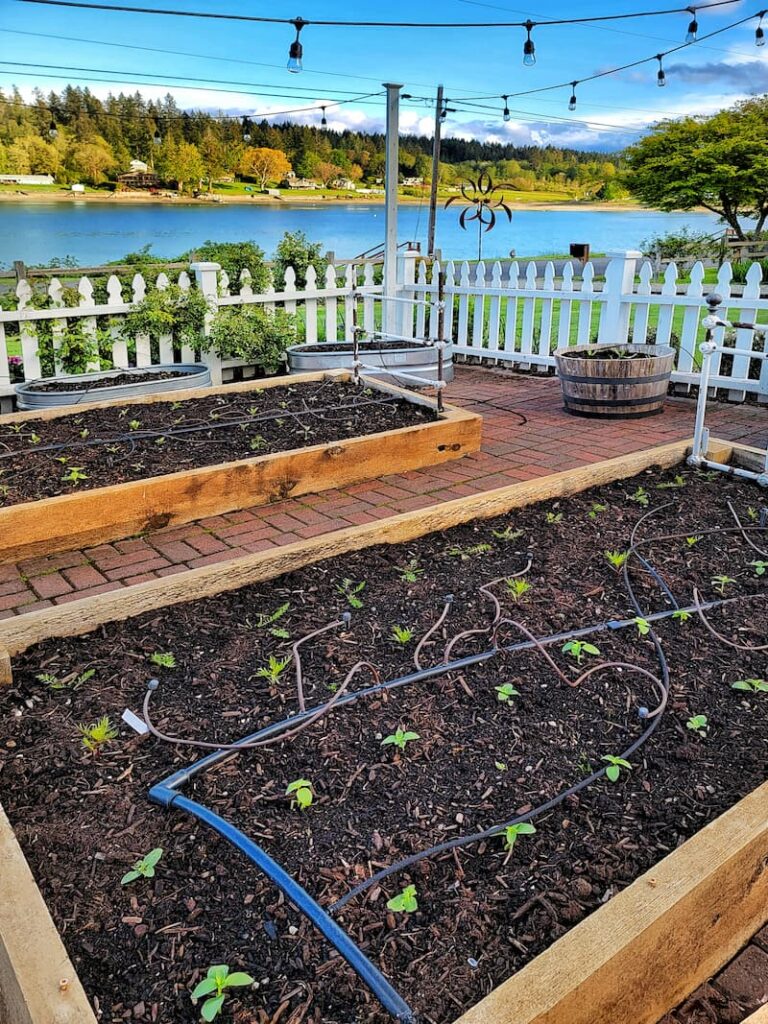
Choose the Right Spot for Your Seedlings
Where you plant your seedlings matters just as much as when you plant them. Choosing the right location helps them adjust more easily and continue growing strong.
Start by considering sunlight. Make sure each plant is placed where it will receive the amount of light it needs, whether full sun, partial sun, or shade, based on the variety you’re growing.
It’s also important to think ahead. Consider how large your plants will become and give them enough space to grow. Proper spacing improves air circulation, reduces the risk of disease, and keeps plants from competing for nutrients.
Taking a few extra minutes to choose the right spot can make a big difference in how your garden fills in over time.
Wait for a Mild Day to Transplant
When it’s time to transplant, try to choose a calm day with mild temperatures. Cloudy or slightly overcast conditions are ideal because they help protect seedlings from harsh sunlight while they’re adjusting.
Early morning is one of the best times to plant. The soil is still cool, and your seedlings will have an entire day to settle in before temperatures drop at night.
Avoid transplanting during the heat of the day, when strong sun and higher temperatures can put extra stress on young plants.
Prepare Your Soil Before Planting
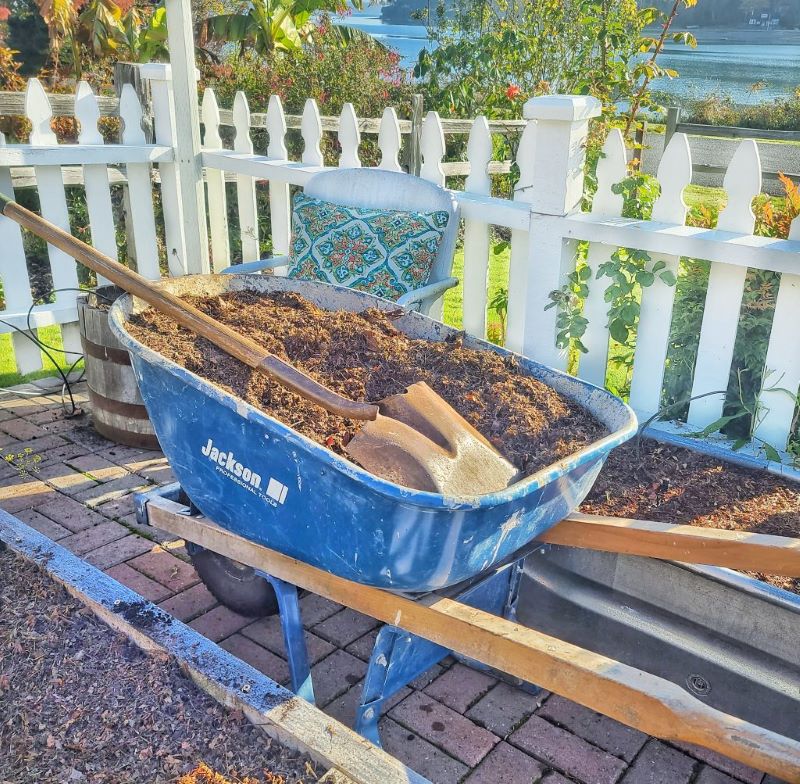
Before transplanting, take a little time to prepare your garden beds. Healthy soil gives your seedlings the best chance to establish quickly and grow strong.
If possible, test your soil’s pH and adjust it based on the needs of the flowers you’re growing. This helps ensure your plants can properly absorb nutrients.
Next, mix in organic matter like compost or well-rotted manure. This improves soil structure, adds nutrients, and helps the soil retain moisture without becoming too compact.
Finally, make sure your soil is loose and well-draining. Compacted soil can make it difficult for roots to spread, while well-aerated soil allows them to settle in more easily.
SHOP COMPOST
SHOP SOIL TESTS
How to Remove Seedlings from Trays Without Damaging Roots
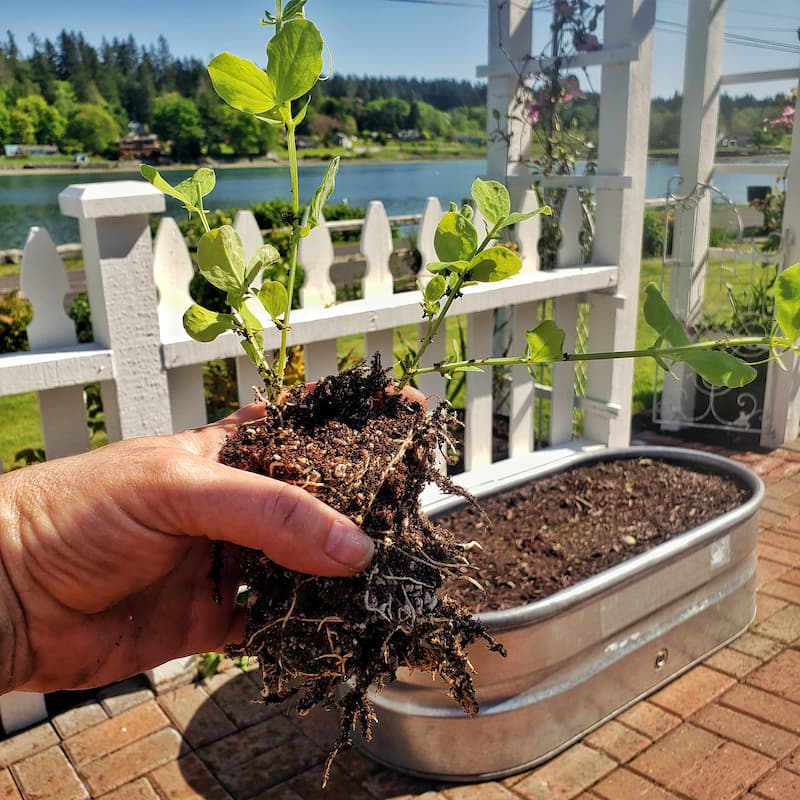
Carefully removing seedlings from their trays helps protect delicate roots and reduces transplant stress.
Follow these simple steps:
Taking your time with this step helps keep your seedlings strong and ready to settle into their new home.
Planting Your Seedlings in the Garden
You’ve done all the prep work. Now it’s time to get your seedlings into the ground. These simple steps will help make the transition smooth and stress-free.
Dig the Right-Sized Hole
Dig a hole slightly larger than the rootball so the roots have space to spread and establish.
Loosen the Roots
If roots are circling, gently tease them apart to encourage outward growth and faster establishment.
Plant at the Correct Depth
Set the seedlings at the same depth growing in their container. Planting too deep or too shallow can cause problems.
Backfill and Press Gently
Fill the soil around the plant and press lightly to remove air pockets while keeping the soil loose.
Water Thoroughly
Give each plant a deep watering right after planting to help settle the soil around the roots.
Add Mulch
Apply a thin layer of mulch to retain moisture and regulate soil temperature. Keep it a few inches away from the stem.
Provide Support if Needed
Stake taller or more delicate plants early so they have support as they grow.
Ongoing Care for Your Flower Seedlings
Getting your seedlings into the ground is a big step, but a little extra care in the first few weeks will help them establish and grow strong.
Keep Up with Watering
In the early days after transplanting, seedlings are working to establish their roots. Keep the soil consistently moist, but not soggy, to support healthy growth.
Water in the morning whenever possible so plants can absorb moisture before the heat of the day.
Watch for Pests and Disease
Young seedlings are more vulnerable to pests and diseases. Check your plants regularly and address any issues early to prevent them from spreading.
Whenever possible, use organic methods and choose disease-resistant varieties for added protection.
Feed Them Gently
Once seedlings are established, you can apply a balanced, slow-released fertilizer to support continued growth.
A little goes a long way; overfeeding can do more harm than good.
Transplanting Seedlings to Containers
Don’t have space for a full garden? Growing flowers in containers is a simple and beautiful way to enjoy blooms on patios, decks, or balconies.
When transplanting seedlings into pots, keep these key tips in mind:
Container plants rely entirely on you for water and nutrients, so consistent care is key to keeping them healthy and thriving.
SHOP SHADE CLOTH

Frequently Asked Questions About Transplanting Seedlings
Final Thoughts on Transplanting Flower Seedlings
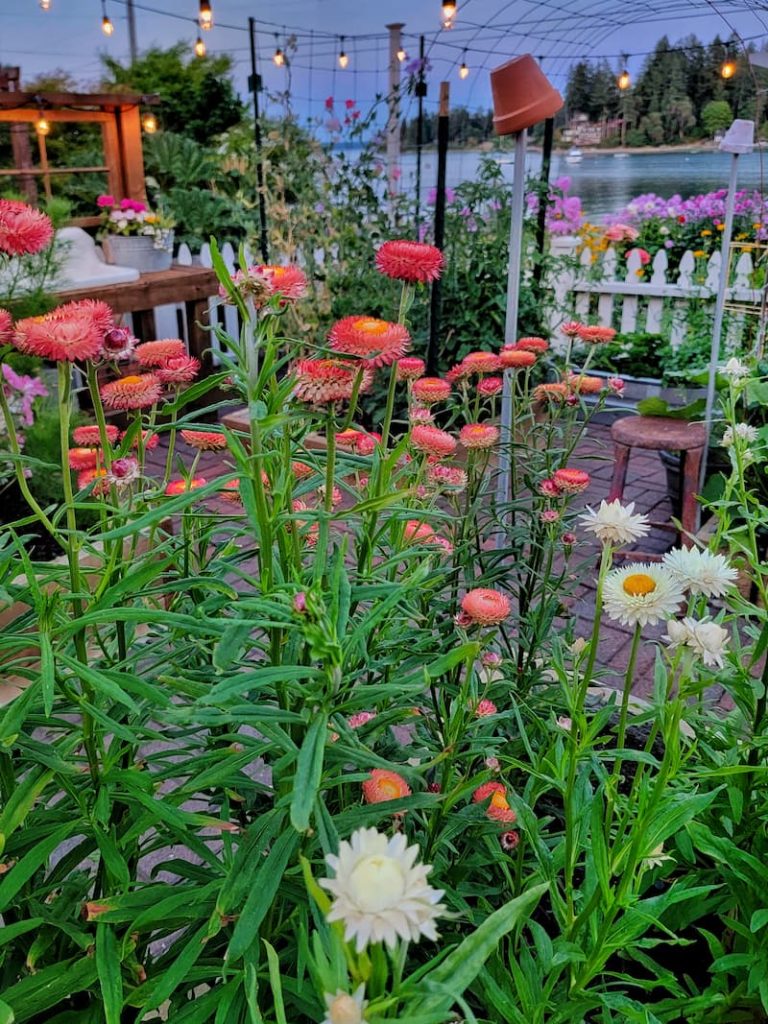
Transplanting your flower seedlings is one of those moments in the garden where everything starts to come together. All the time you spent planting seeds and caring for them indoors finally begins to show in a real, visible way.
With the right timing, a little preparation, and a gentle hand, your seedlings will settle in and start growing stronger each day. And even if things don’t go perfectly, that’s all part of the process; every season brings new lessons and more confidence along the way.
If you found this post helpful, feel free to share it with a fellow gardener who’s getting ready to transplant their seedlings, too.
Until next time,
Happy Planting – here’s to a season full of beautiful flowers!
I’m a self-taught hobby gardener. Everything I share on my blog is my opinion and what has worked for me.
MORE POSTS
For You To Enjoy
Follow Me for More Inspiration