
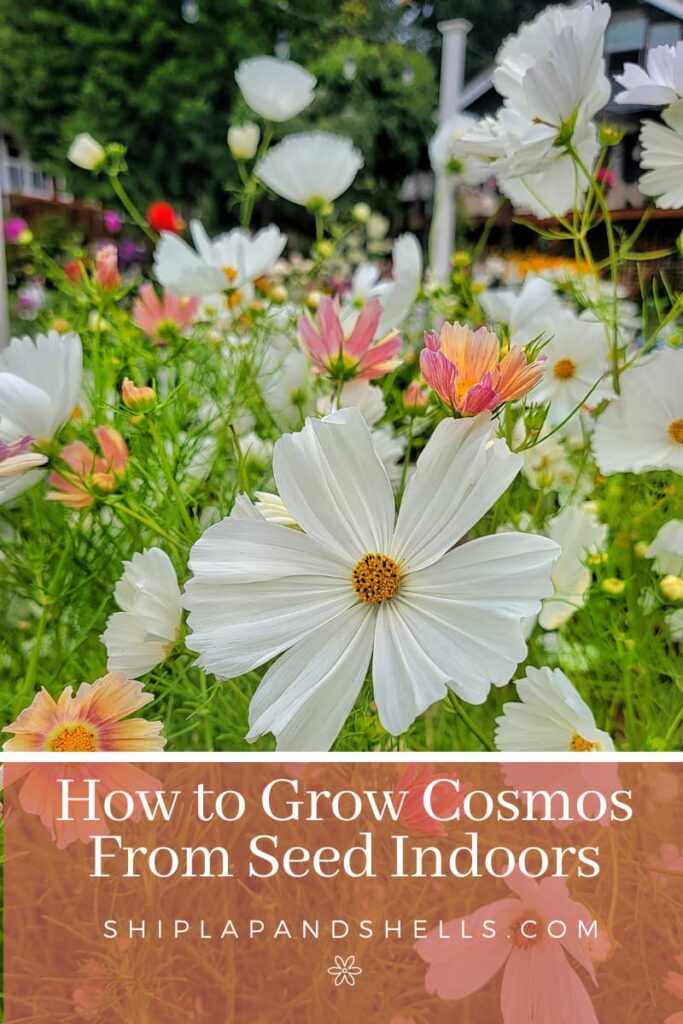
How to Start Cosmos Seeds Indoors: Step-By-Step Guide
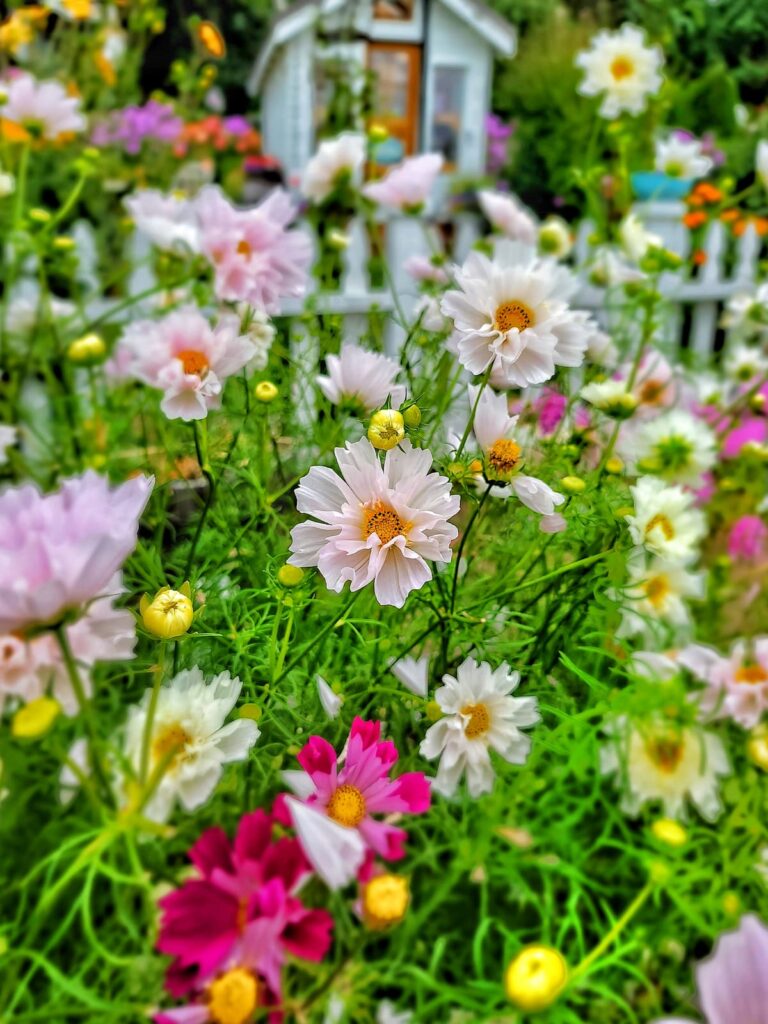
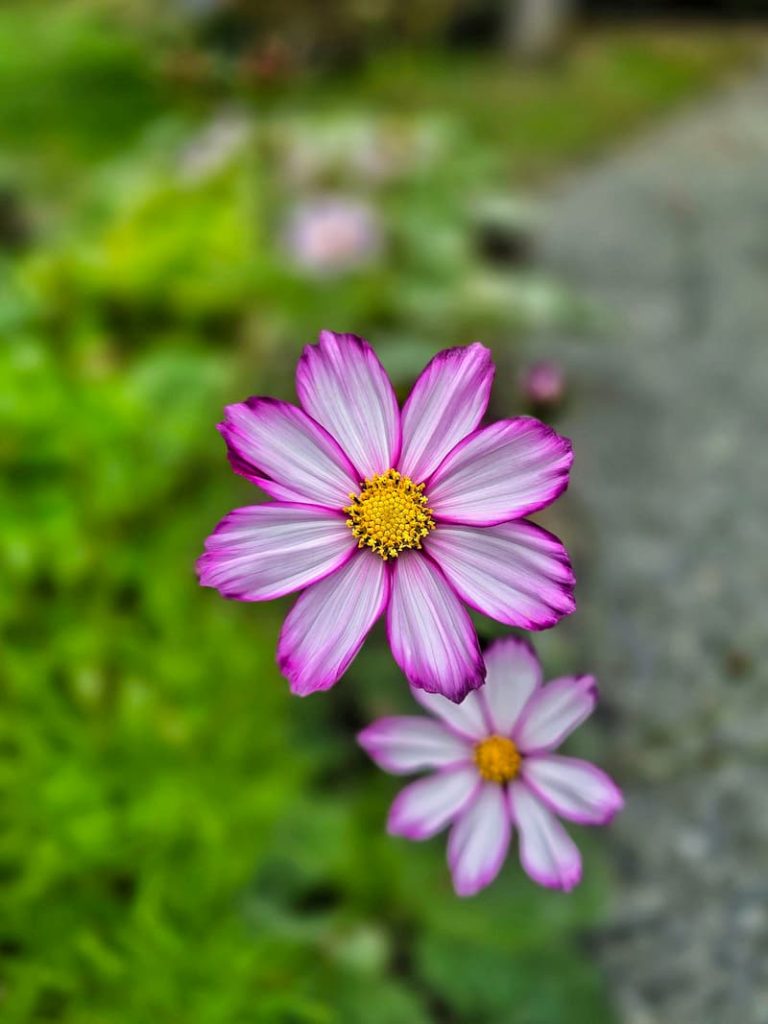
If you want a garden filled with airy, cheerful blooms all summer long, learning how to start cosmos seeds indoors is a wonderful place to begin. These easy-to-grow flowers are a favorite in cottage gardens and cut flower beds thanks to their delicate foliage, tall stems, and steady stream of blooms.
Starting cosmos seeds indoors gives your plants a gentle head start on the season. By the time warm weather arrives, you’ll have sturdy young seedlings ready to move into the garden, where they’ll quickly grow into tall, fluttery flowers perfect for summer bouquets.
In this post, I’ll walk you through exactly how to start cosmos from seed indoors, from sowing the seeds to caring for young seedlings as they grow stronger each day.
In my Pacific Northwest garden (Zone 8b), once cosmos begin blooming, they rarely seem to stop. And the best part? It all starts with a tiny seed in early spring.
As an Amazon affiliate, I earn a commission from qualifying purchases at no additional cost to you. My blog also contains other affiliate links for your convenience. Click here to read my privacy policy.
Key Takeaways for Starting Cosmos Seeds Indoors
A Quick note about my garden
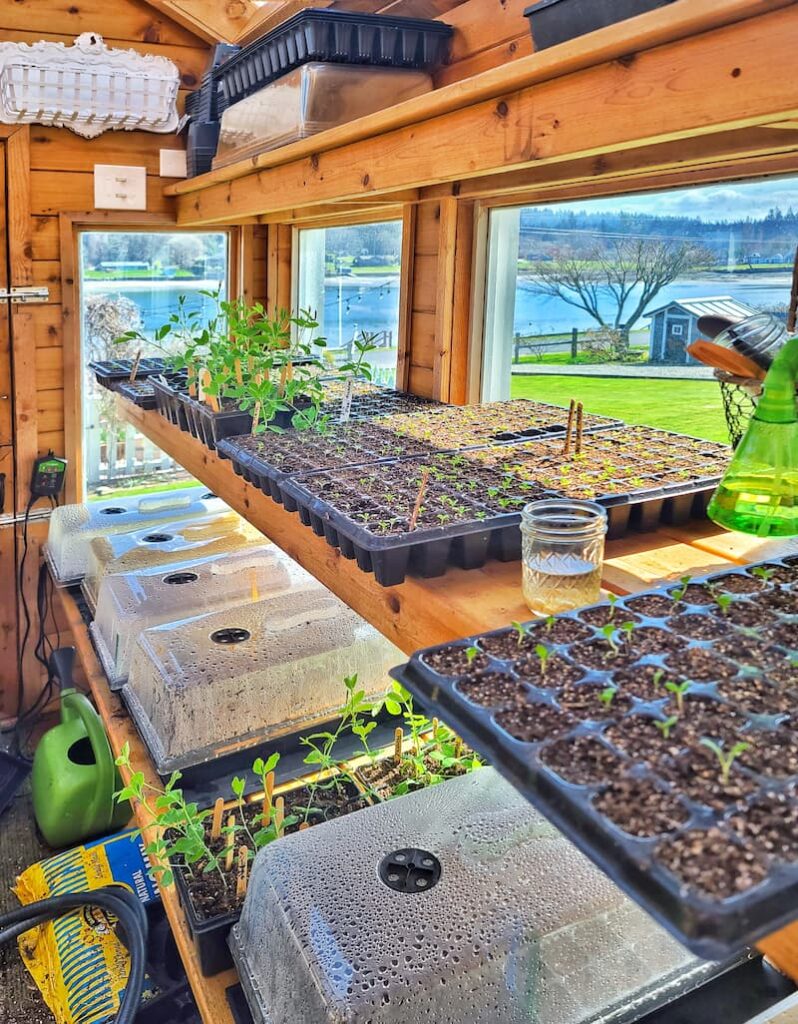
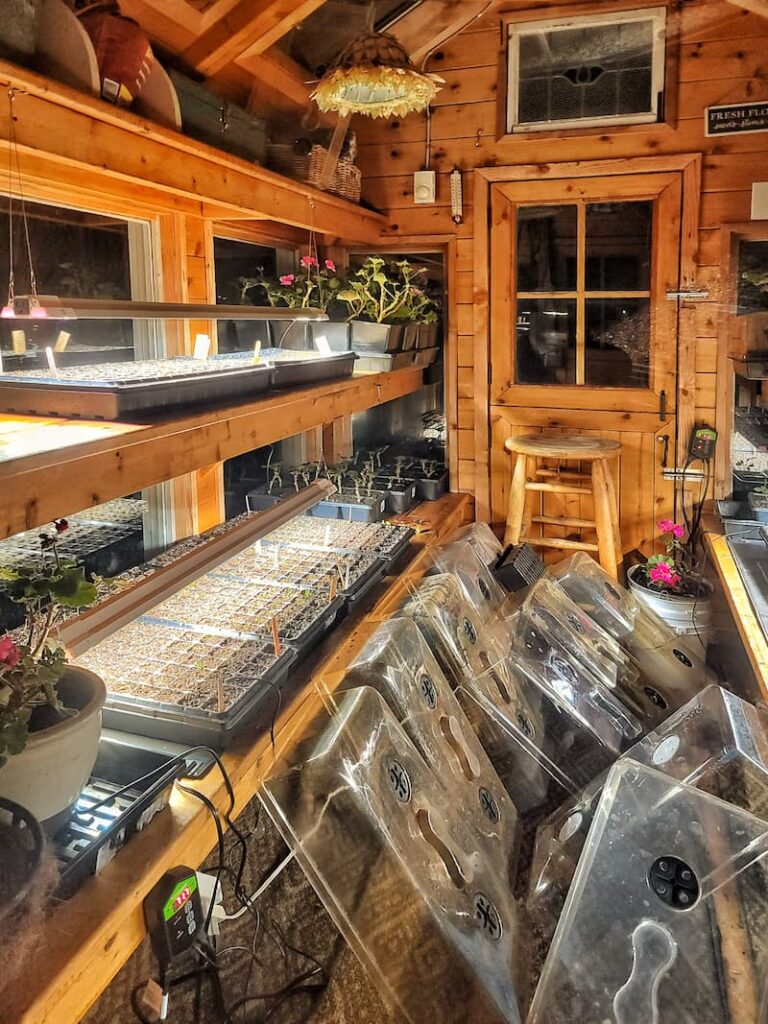
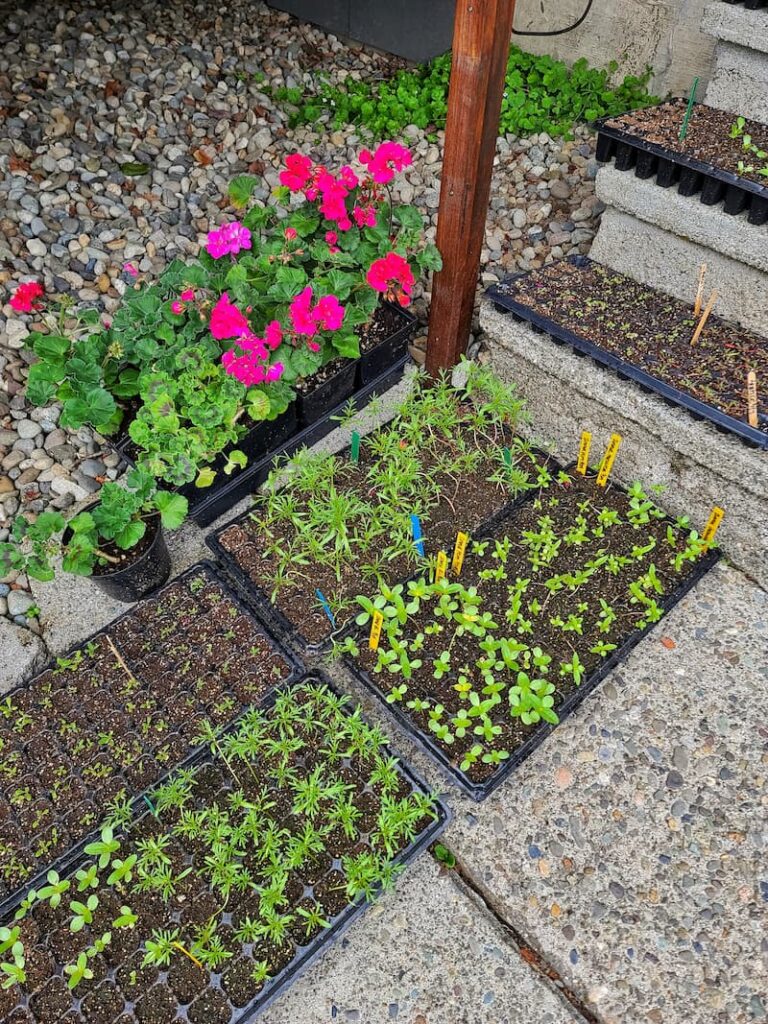
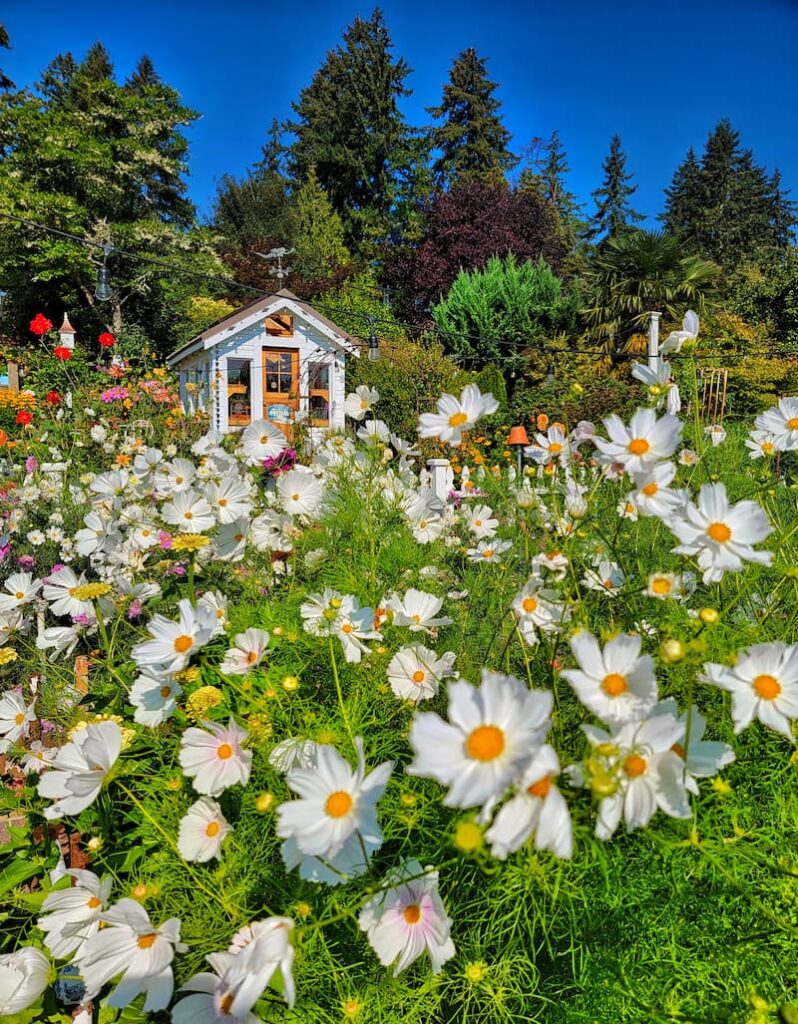
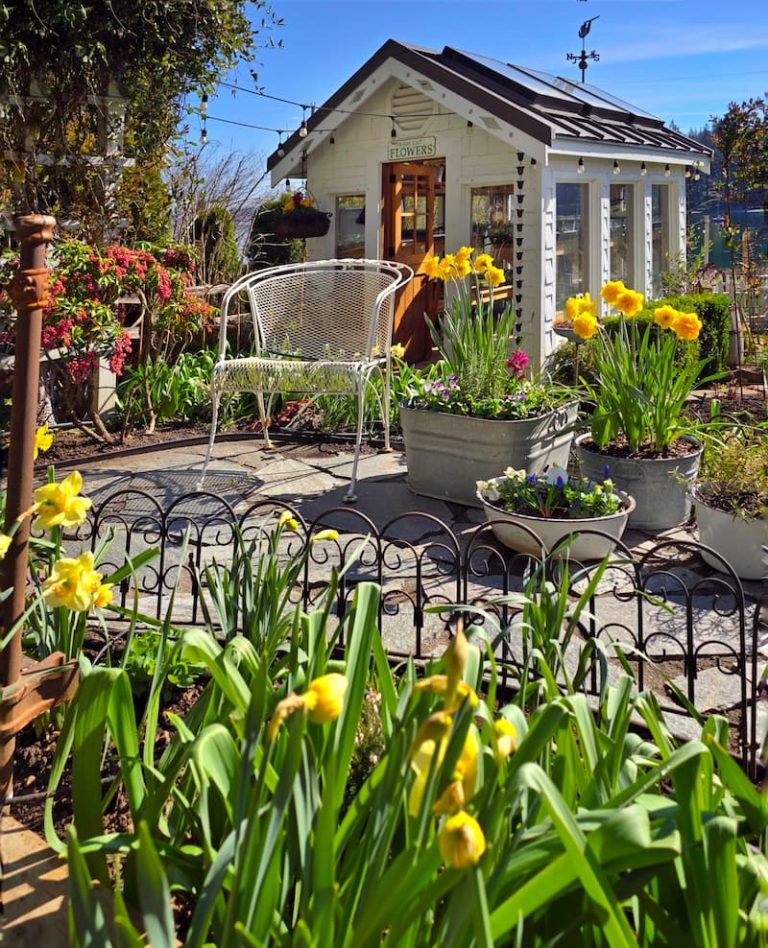
Most of the flowers I share here are grown from seed in our greenhouse and planted in raised beds and containers throughout our cottage garden.
How to Start Cosmos Seeds Indoors
Starting cosmos seeds indoors is simple and a great way to get a head start on the growing season.
Plant the seeds about 1/2 inch deep in a seed-starting mix about 4-6 weeks before your last frost date. Keep the soil lightly moist and place the containers in a warm location until the seeds germinate.
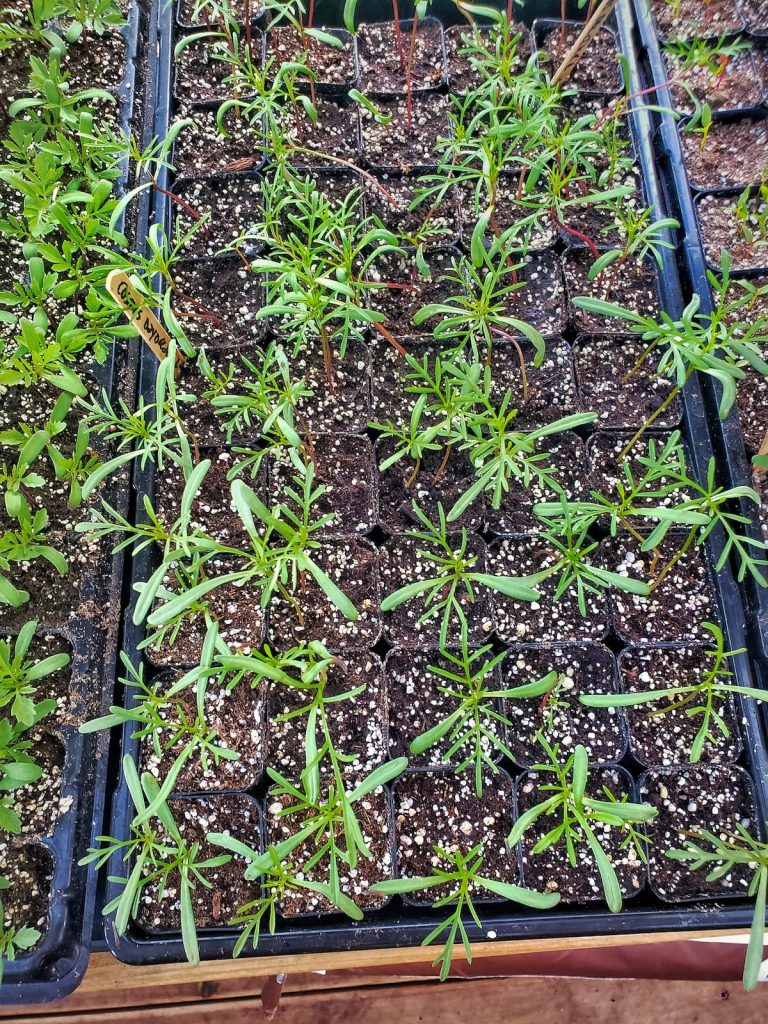
Most cosmos seeds sprout within 5-10 days. Once seedlings appear, move them into bright light so they grow sturdy and compact.
After several weeks of growth and a short period of hardening off, the young plants can be transplanted into the garden once the danger of frost has passed.
Why Start Cosmos Seeds Indoors?

Starting cosmos seeds indoors is a simple way to give your plants a gentle head start on the growing season. Instead of waiting for outdoor soil to warm up in spring, you can begin growing healthy seedlings indoors and have them ready to transplant once the danger of frost has passed.
While cosmos can certainly be direct sown outdoors, starting them indoors lets you enjoy earlier blooms and gives young plants a stronger start in the garden. This can be especially helpful in cooler climates or in gardens where spring weather is unpredictable.
In my Pacific Northwest garden, having trays of seedlings already growing indoors makes the transition into spring planting feel much easier. By the time garden beds are prepared, those young plants are already well on their way to becoming tall, blooming flowers.
When to Start Cosmos Seeds Indoors
The best time to start cosmos seeds indoors is about four to six weeks before your last expected frost date. This timing gives the seedlings just enough time to grow strong roots and sturdy stems before moving into the garden.
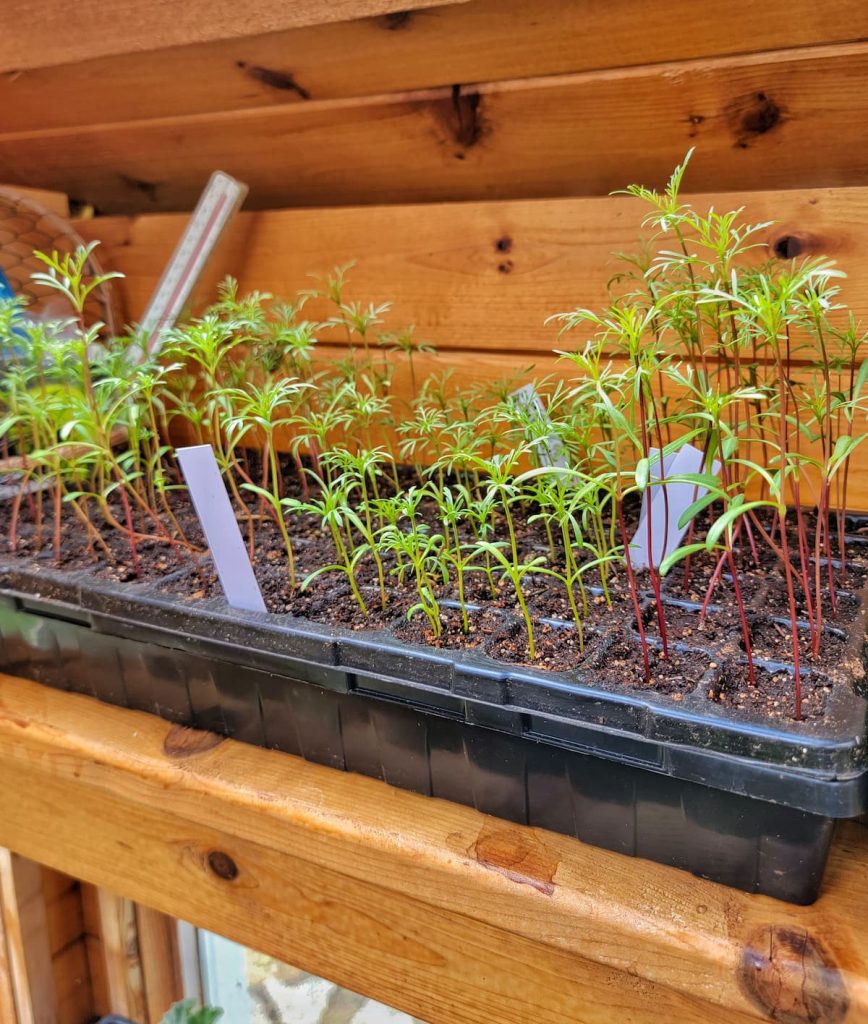
Starting seeds too early can actually work against you. Cosmos grow quickly, and if they sit in small containers for too long, they can become leggy or stressed before outdoor temperatures are ready for them.
In my Pacific Northwest garden (Zone 8b), I usually begin sowing cosmos seeds indoors in early spring so they’re ready to transplant once the risk of frost has passed.
Cosmos can also be direct sown outside once the soil warms, but starting them indoors gives you a gentle head start, and those first blooms tend to arrive just a little earlier.
And when those first flowers appear, the garden suddenly feels like summer.
Let’s Plan Your Dream Garden With Our
Gardening Planner
Unlock Your Garden’s Potential.
Our 35-page Ultimate Garden Planner is designed to help you organize, track, and flourish in your gardening endeavors.
Get yours for $4.99
Supplies You’ll Need to Sow Cosmos Seeds Indoors
Starting cosmos seeds indoors doesn’t require anything complicated. A few simple supplies are all you need to get healthy seedlings growing.
Supplies you’ll need:
If you’re growing seeds in a greenhouse or bright sunroom, you may not need extra equipment. But if natural light is limited, a simple grow light can make a big difference in keeping seedlings compact and healthy.
Cosmos are wonderfully unfussy plants, making them great flowers for both beginners and experienced gardeners.
Seed Starting Supplies
Check out my favorite supplies and tools for starting seeds indoors. Whether you’re looking for grow lights or a seed starting mix, you’ll find what I use in my own greenhouse.
How to Start Cosmos Indoors from Seed: Step-By-Step
Starting cosmos seeds indoors is simple, and once you’ve done it once or twice, it becomes one of those early spring garden rituals that’s easy to repeat each year.
Cosmos germinate quickly and are easy to grow, making them the perfect flower for both beginner and experienced gardeners.
Follow these steps to get your cosmos seedlings off to a strong start.
Step 1: Choose a Clean Container with Drainage Holes
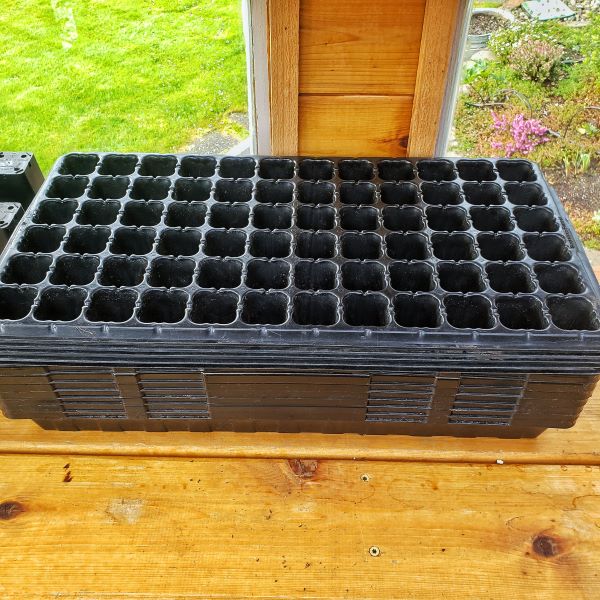
Start with clean containers that have drainage holes. Seed trays, cell packs, or small nursery pots all work well.
Using containers with proper drainage helps prevent soggy soil, which can cause young seedlings to struggle.
If you’re reusing containers from a previous season, be sure they’re clean and sanitized before planting.
More information on how to clean your used containers can be found in my post Seed Starting 101: Growing a Cut Flower Garden Series.
SHOP CELL TRAYS
SHOP PLASTIC POTS
Step 2: Fill Containers with Moistened Seed-Starting Mix
Fill each container with a light seed-starting mix that is slightly moistened but not soaking wet.
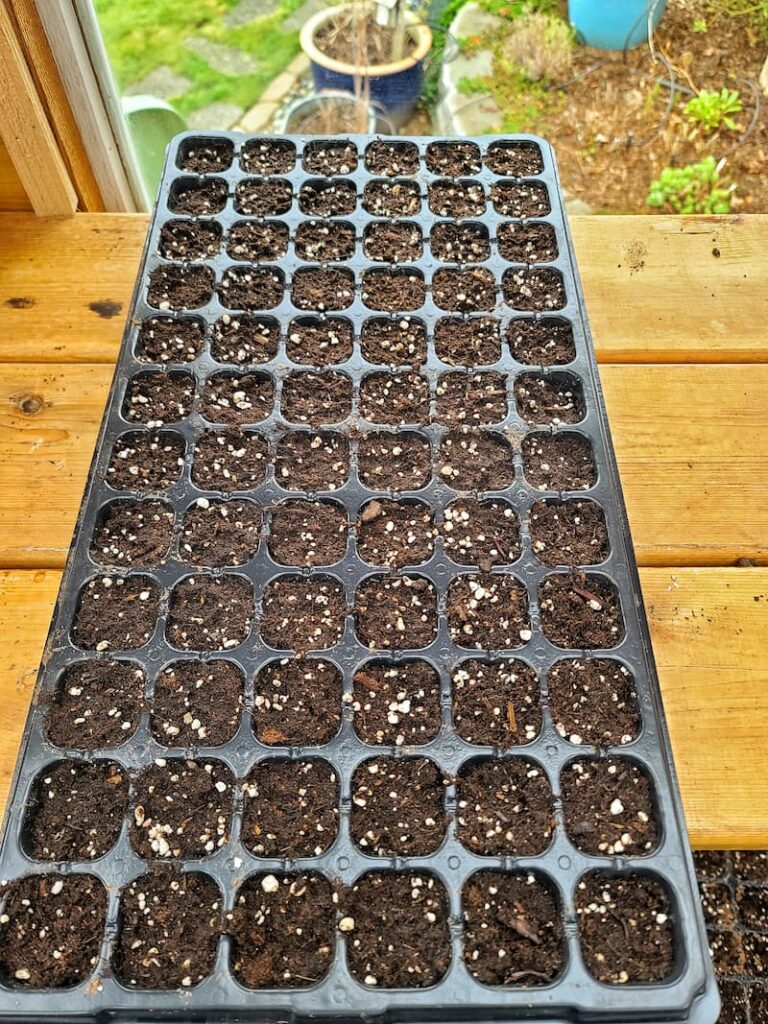
Gently tap the container on the table or shelf as you fill it to help the soil settle and remove air pockets. This helps the seeds stay in contact with the soil, which improves germination.
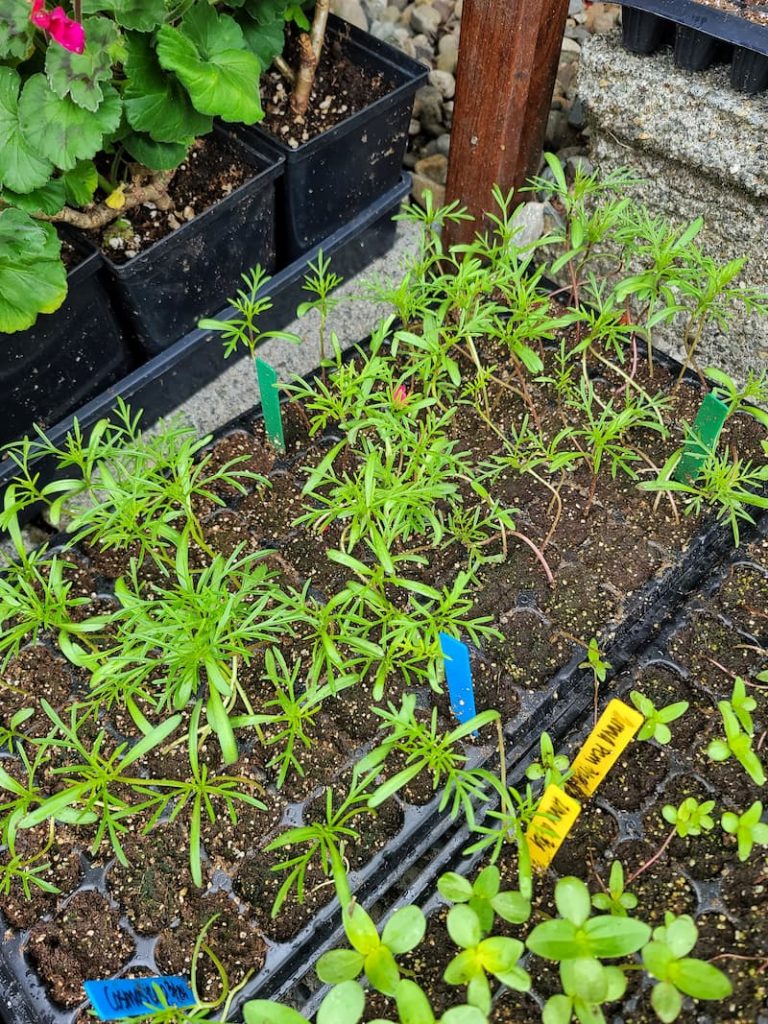
Step 3: Label Your Containers

Before sowing, label each container with the cosmos variety and planting date.
It’s a small step, but it’s incredibly helpful once seedlings begin to grow and trays start filling up with different flowers.
SHOP LABELS
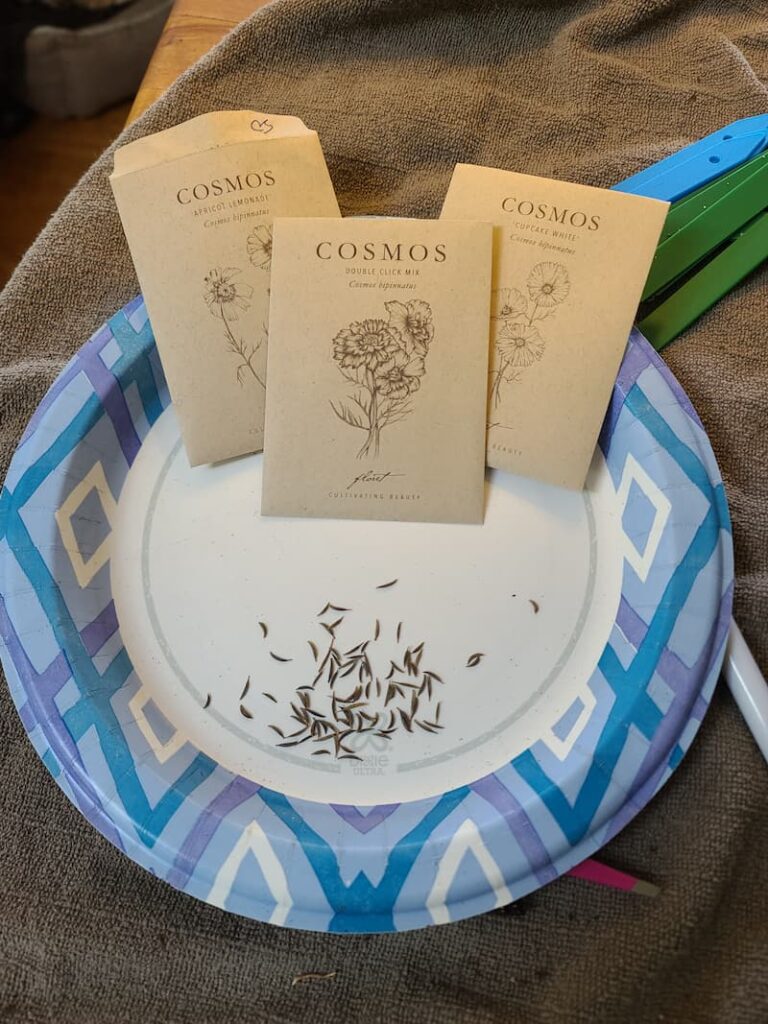
Step 4: Sow the Cosmos Seeds
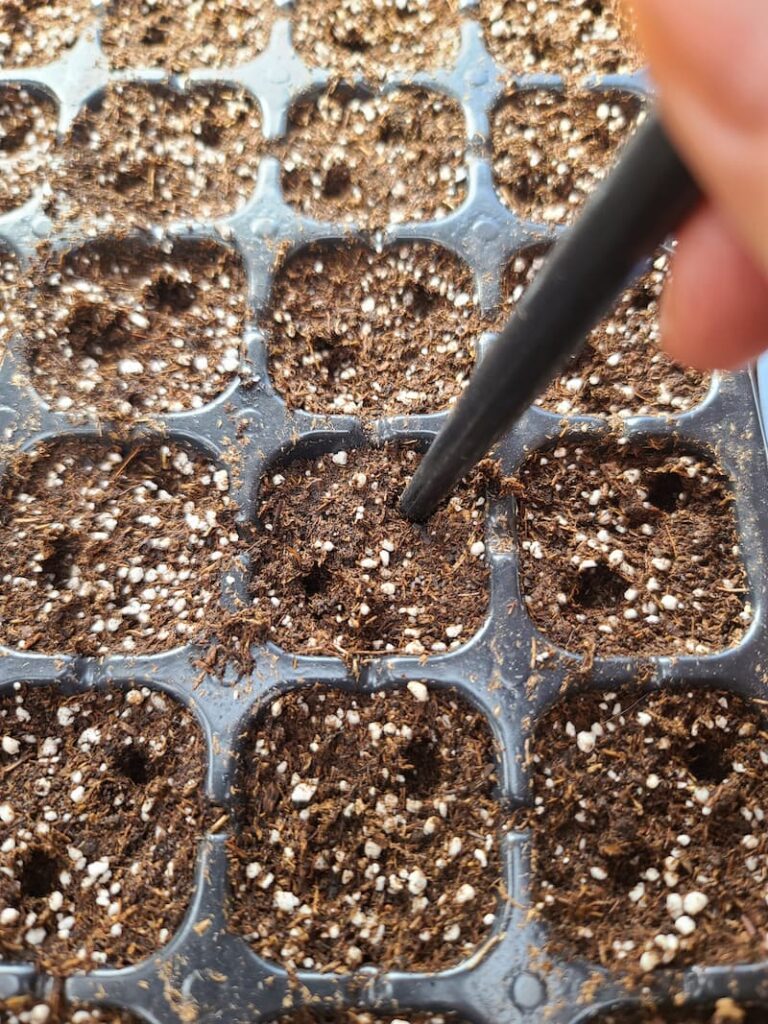
Cosmos seeds are long and narrow, making them easy to handle.
Plant two seeds per cell or container, about 1/2 inch deep, placing them in opposite corners if possible. Cover them lightly with seed-starting mix or a small sprinkle of vermiculite.
You can use a pencil, dibbler, or even your fingertip to make the planting holes.
SHOP VERMICULITE
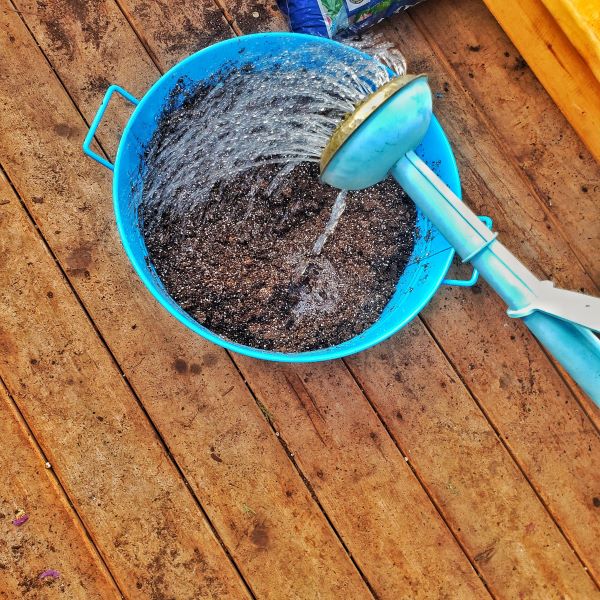
Step 5: Bottom Water the Containers
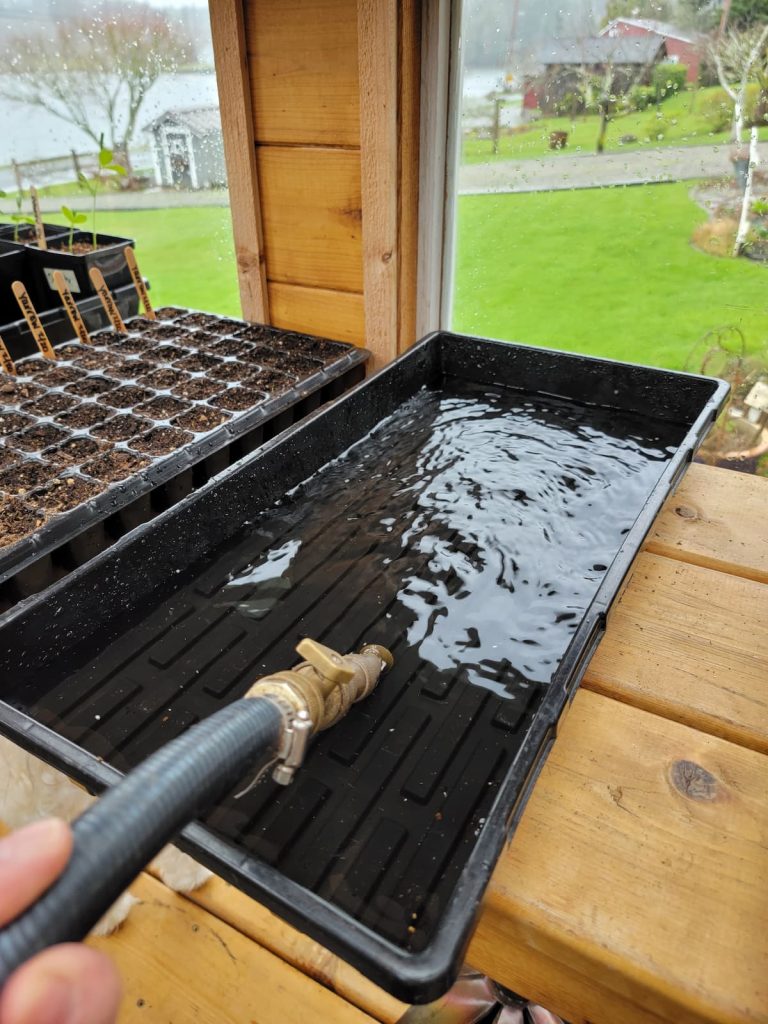
Place the containers in a tray with about an inch of water and allow the soil to absorb moisture from below.
Bottom watering keeps the seeds in place and helps avoid disturbing the soil surface. Once the soil feels evenly moist, remove the containers from the tray.
Seed trays shouldn’t sit in standing water for more than about an hour.
SHOP DRAINAGE TRAYS
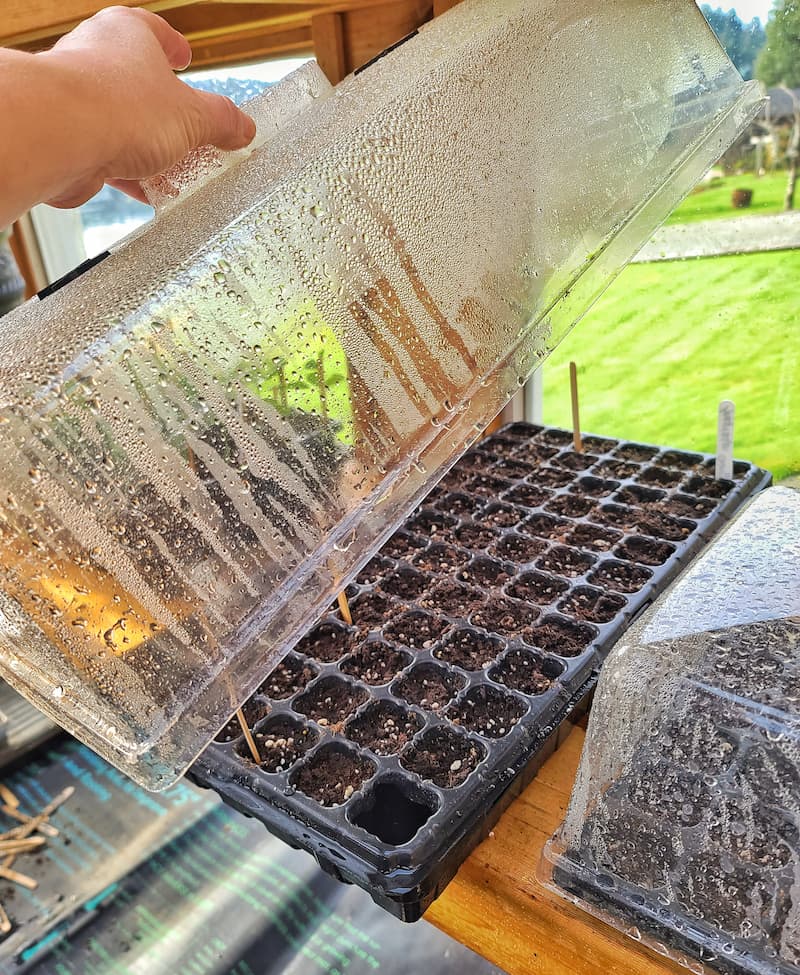
Step 6: Provide Warmth and Humidity

Place the containers on a heat mat or in a warm, bright location. Covering the tray with a clear humidity dome can help maintain moisture and speed up germination.
Cosmos seeds typically sprout within 5-10 days, depending on temperature.
Once seedlings appear, the growing process starts to move quickly.
SHOP HEATED MATS
SHOP CLEAR PLASTIC DOME
Step 7: Give Seedlings Plenty of Light
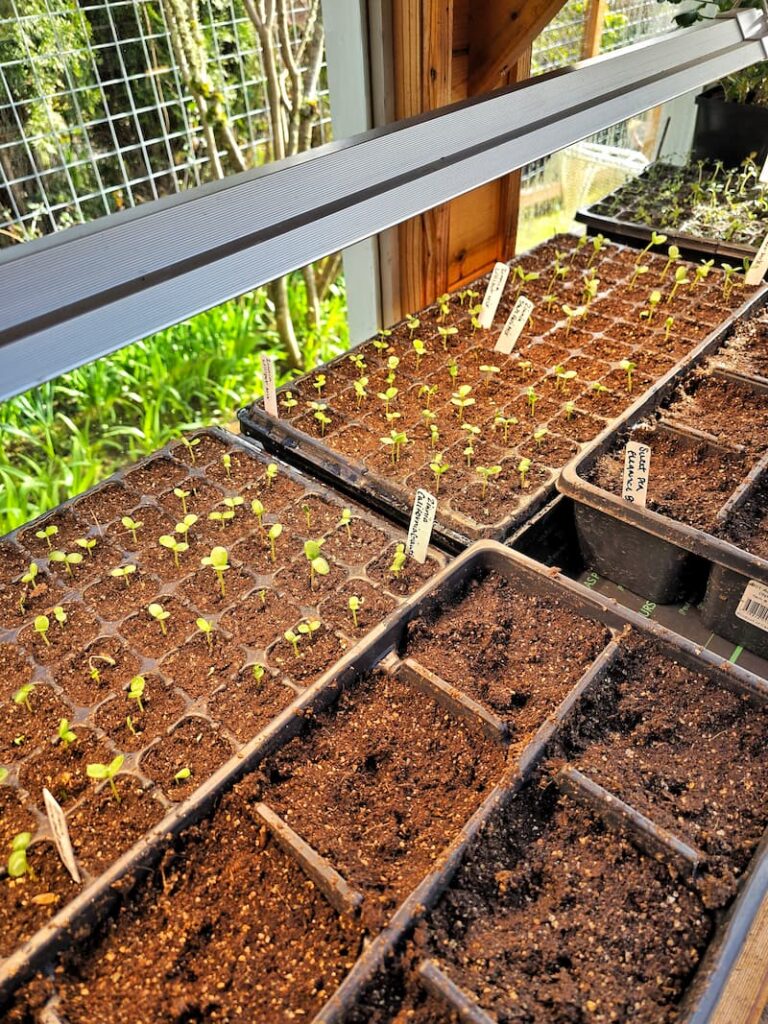
Move the seedlings to a bright location such as a greenhouse, sunroom, or under grow lights.
Strong light helps prevent seedlings from stretching and keeps the plants compact and sturdy as they grow.
SHOP GROW LIGHTS
Step 8: Monitor Moisture
Check the soil every few days and water when the top layer begins to dry.
Young cosmos seedlings prefer evenly moist soil but don’t like sitting in soggy conditions.
With good light and consistent moisture, the seedlings will quickly begin to grow stronger stems and their first set of true leaves.
How Long Do Cosmos Seeds Take to Germinate?
Cosmos seeds germinate fairly quickly and are one of the easiest flower seeds to start indoors. In warm conditions, most cosmos seeds will sprout in about 5-10 days.
For the best germination, keep the seed tray in a warm location with temperatures around 70-75°F (21-24°C) and the soil lightly moist but not soggy. A heat mat can help maintain steady warmth, which often encourages faster and more even sprouting.
Once the seedlings begin to emerge, remove the humidity dome and move the trays into bright light right away. Strong light helps keep the young plants compact and sturdy rather than tall and leggy.
Before long, you’ll notice the first set of true leaves forming, and your cosmos seedlings will begin growing quickly from there.
Caring for Cosmos Seedlings After Germination
Once your cosmos seeds have sprouted, a few small adjustments will help the young seedlings grow strong and healthy.
At this stage, the focus shifts from germination to providing the right light, moisture, and airflow so the plants can continue developing sturdy stems and healthy leaves.
Remove the Dome and Heat Mat
As soon as you see sprouts, remove the containers from the heat mat and take off the humidity dome or plastic cover.
At this stage, seedlings no longer need the extra warmth and moisture. In fact, leaving them covered for too long can encourage mold or damping off, which can damage young plants.
Provide Plenty of Light
Giving your cosmos seedlings plenty of bright light is essential for healthy growth. Place the trays in a sunny window, greenhouse, or under grow lights so the young plants receive strong, consistent light each day.
Adequate light helps keep the seedlings compact and sturdy instead of tall and leggy as they grow.
Keep the Soil Slightly Moist
Cosmos seedlings prefer evenly moist soil, but they don’t like sitting in soggy conditions.
Continue bottom watering when possible by placing the container in a shallow tray of water and allowing the soil to absorb moisture from below. This helps avoid disturbing the delicate seedlings.
Once the plants develop their first true leaves (the second set of leaves that appear after the initial seed leaves), you can begin watering gently from the top if needed.
Provide Good Air Circulation
Good airflow is one of the easiest ways to prevent common seedling problems like mold or damping off.
A small fan set on low nearby or an open window can help move air around the seedlings. You don’t need strong wind, just enough circulation to keep moisture from lingering on the soil surface.
Even a few hours of gentle airflow each day can help strengthen the stems as the plants grow.
Light Feeding for Healthy Growth
Cosmos seedlings don’t need much fertilizer, but a small boost can help them grow into sturdy young plants.
Once the first true leaves appear, feed them with a half-strength liquid fertilizer every 7-10 days. A balanced fertilizer such as 10-10-10 or 20-20-20 works well, or you can use a gentle organic option designed for seedlings.
Too much fertilizer can lead to tall, leggy plants, so a light touch is best.
When to Pinch Cosmos Seedlings
Pinching helps encourage fuller, bushier plants with more stems and blooms.
When seedlings reach about 10-12 inches tall and have several sets of true leaves, use clean snips to remove the top few inches of growth just above a leaf node.
This signals the plant to branch out, producing more flowering stems later in the season.
When to Pot Up Cosmos Seedlings
If your seedlings outgrow their starter cells before it’s time to plant outside, move them into slightly larger containers.
Giving the roots more space helps prevent stress and allows the plants to continue growing steadily until outdoor conditions are ready.
Handle the seedlings gently and try to disturb the roots as little as possible during the move.
How to Harden Off Cosmos Seedlings
Before planting cosmos seedlings in the garden, they need time to adjust to outdoor conditions. This process is called hardening off.
Start by placing the plants outside in a sheltered, shady area for a few hours each day. Gradually increase their exposure to sunlight and wind over the course of 7-10 days.
It’s tempting to rush this step, but taking the time to harden off seedlings properly helps them settle into the garden much more successfully.
Soon enough, they’ll be ready to move into their permanent spot outdoors.
Garden Supplies and Tools
Check out my favorite garden supplies and tools for the growing season. Whether you’re looking for potting soil or deer repellent, you’ll find what I use in my own garden.
Preparing Garden Beds for Cosmos Seedlings
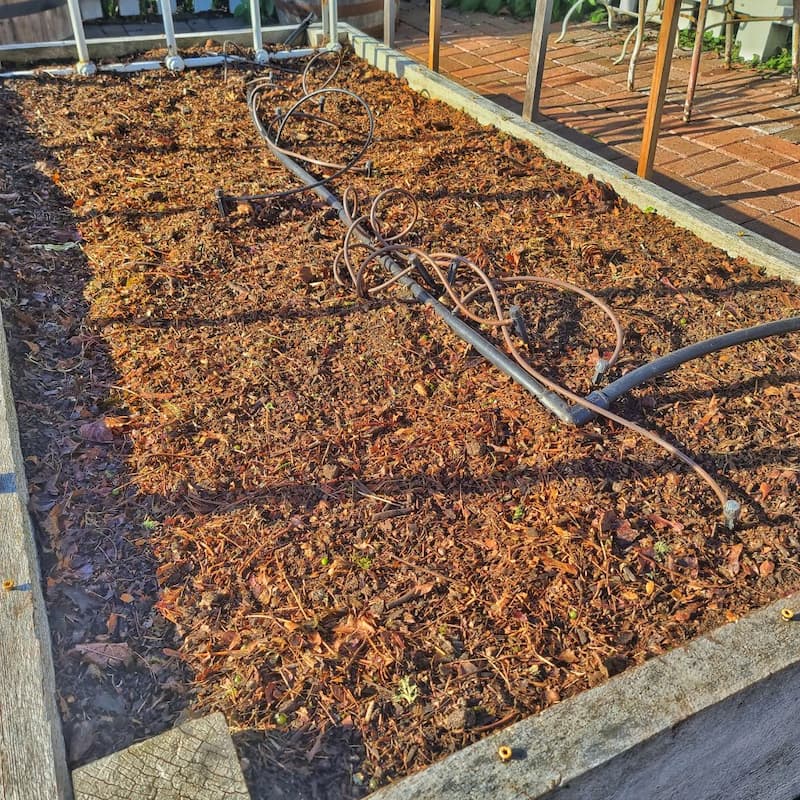
Before transplanting your cosmos seedlings into the garden, spend a little time preparing the garden beds. Providing the right conditions for your young plants from the start makes it much easier for them to settle in and begin growing quickly.
Cosmos grow best in full sun and well-draining soil, so choose a spot that receives at least 6-8 hours of direct sunlight each day. These tall, airy plants also benefit from good airflow around them, especially as they begin filling out during the warmer months.
If your soil feels dense or slow to drain, loosening it and mixing in a bit of compost or organic matter can help create a healthier environment for developing roots.
In my Pacific Northwest garden, I usually take a few minutes to loosen the soil and add a little fish compost before planting. It’s a simple step, but it gives young seedlings a nutrient boost and helps them settle into their new space more comfortably.
Transplanting Cosmos Seedlings to the Garden
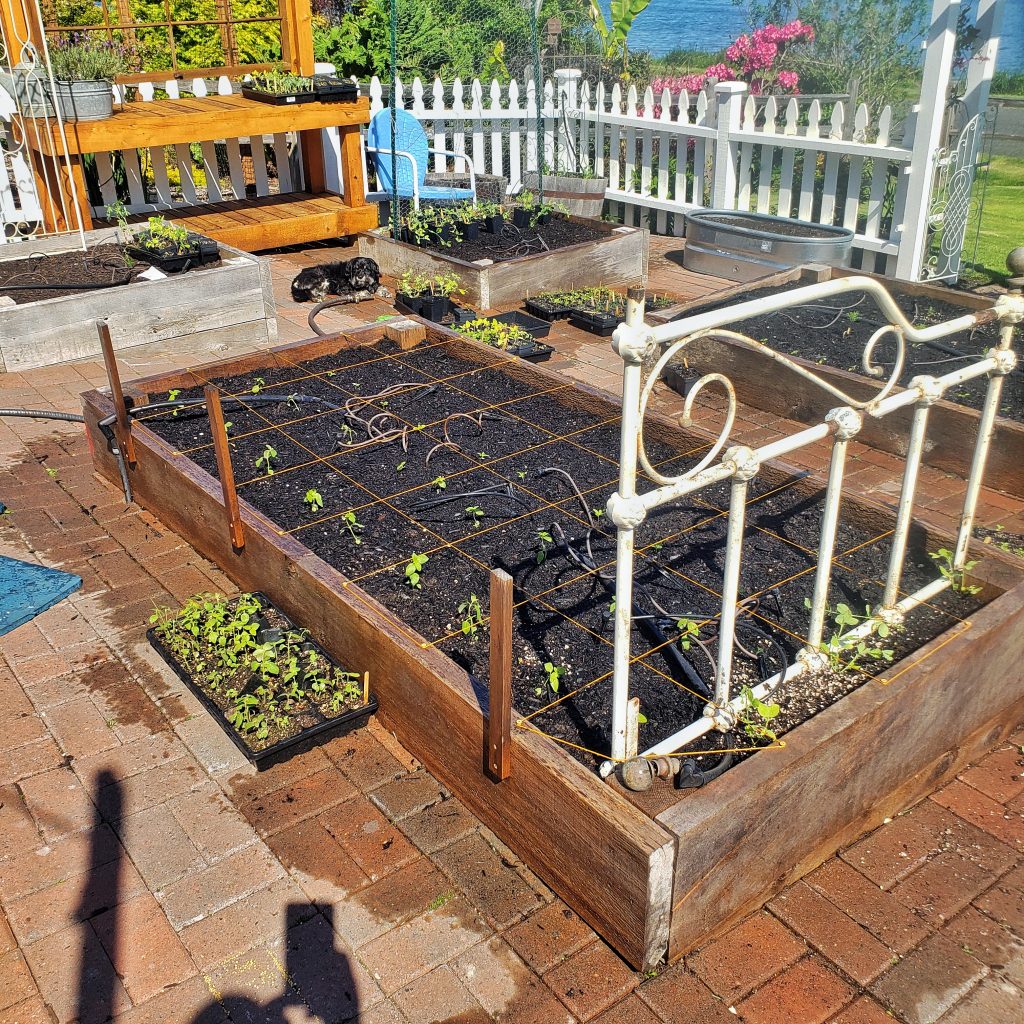
After several weeks of growing indoors, your cosmos seedlings will be ready to move into the garden. They should be about 4-6 inches tall and have several sets of true leaves. At this stage, they should look sturdy and upright rather than tall and floppy.
If you’ve hardened them off properly over the previous week, they’ll be ready to adjust to outdoor conditions. Be sure there’s no danger of frost and nighttime temperatures are consistently above 50°F (10°C) before planting cosmos outdoors.
Choose a sunny spot with well-draining soil, and space the plants about 9-12 inches apart, depending on the variety. Giving each plant enough room allows good air circulation and gives the stem space to grow strong and upright.
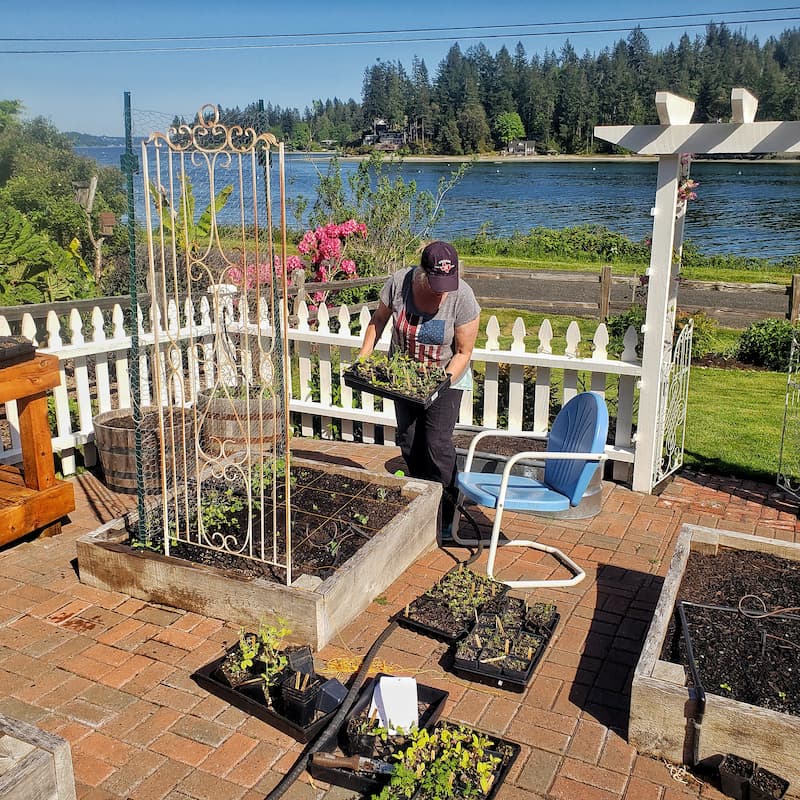
Carefully remove each seedling from its container, keeping as much of the root ball intact as possible. Plant it at the same depth it was growing in the pot, and gently firm the soil around the base of the plant.
After transplanting, water the seedlings well to help the roots settle into their new home.
Once your seedlings are settled into the garden, zinnias are surprisingly easy to grow. A little sunshine and regular watering are often all they need to get started.
How to Grow and Care for Cosmos in Your Garden
Next steps after your seedlings are in the ground!
Common Questions About Growing Cosmos from Seed Indoors
Final Thoughts for Starting Cosmos Indoors from Seed
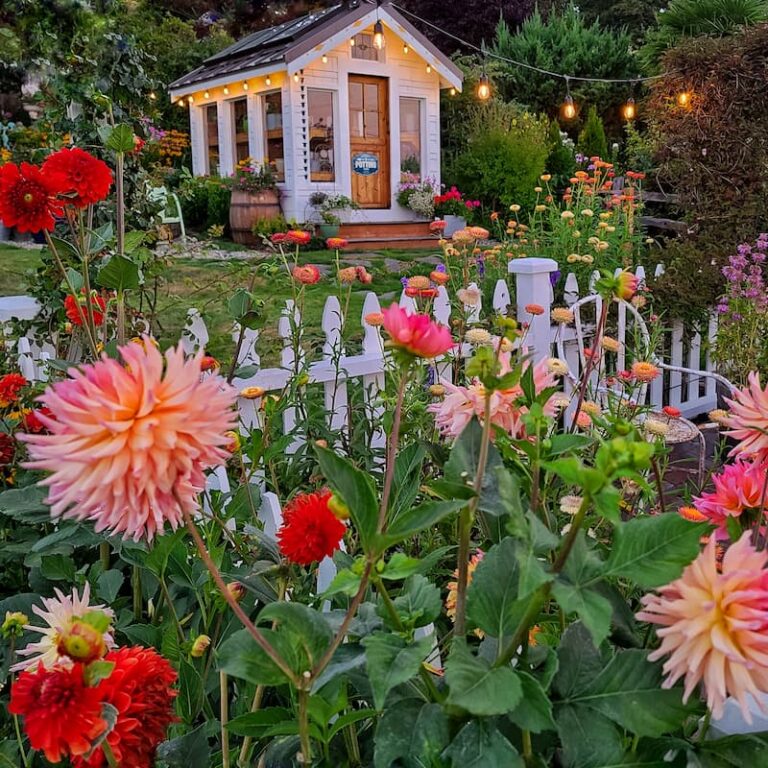
Growing cosmos from seed indoors is one of the simplest ways to fill your garden with cheerful summer flowers. With just a little early care, those tiny seedlings quickly grow into tall, airy plants covered in blooms that seem to last all season.
Cosmos have a wonderfully relaxed way of growing. Give them sunshine, a bit of space, and the occasional snip for bouquets, and they’ll happily keep producing flowers week after week.
In my own garden, cosmos are often one of the first flowers I reach for when creating a floral arrangement. Their delicate stems and fluttery blooms mix beautifully with so many other flowers in the garden.
If you’re looking for an easy flower to start from seed, cosmos are a wonderful place to begin.
And if you found this post helpful, feel free to share it with a fellow gardener who’s dreaming about summer flowers, too.
Continue reading “How to Grow and Care for Cosmos in the Garden” to learn how to take care of your seedlings once they’re in the ground.
Until next time,
Happy Gardening!
I’m a self-taught hobby gardener. Everything I share on my blog is my opinion and what has worked for me.
MORE POSTS
For You To Enjoy
Follow Me for More Inspiration


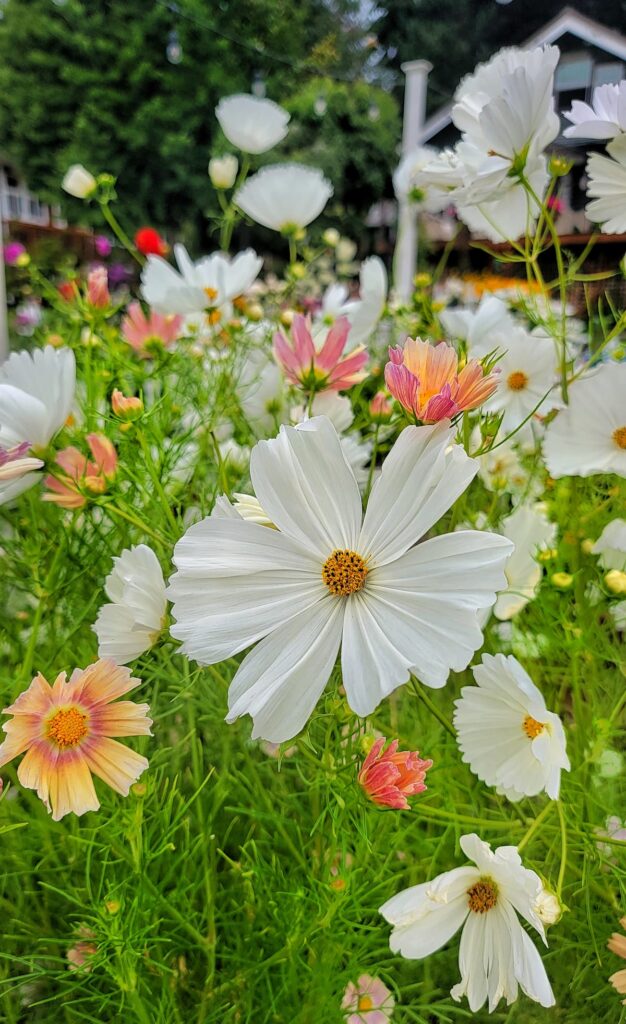
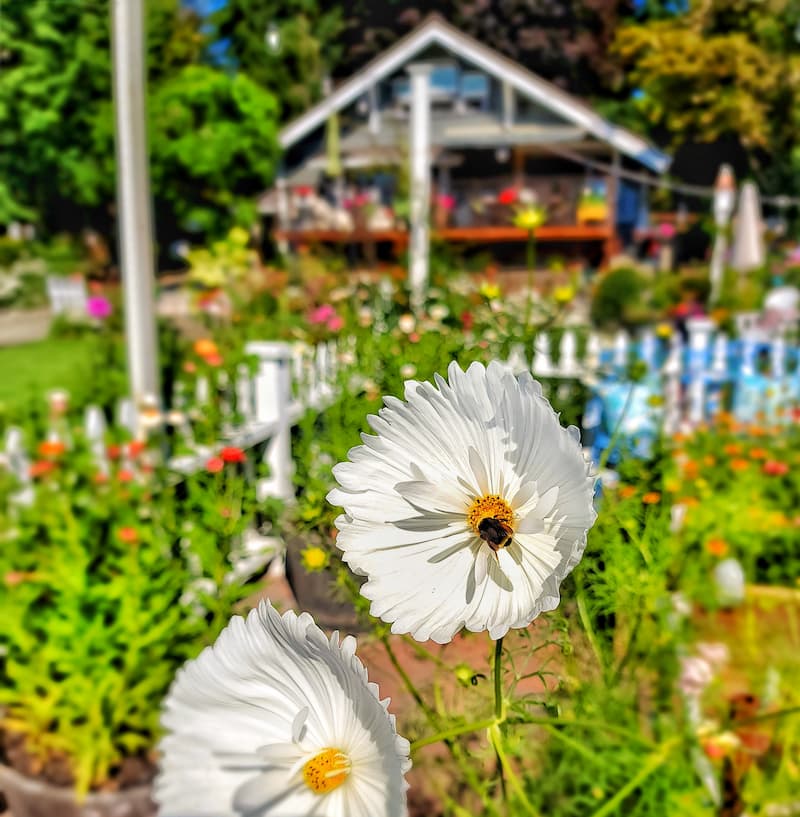
my favorite are the whites. I have a all white garden and they are the stars.Margaret
I love the white cosmos too! Especially the cupcake variety.
Ah I loe cosoms! I can’t wait to grow them again this year! THanks for sharing!
I love cosmos! What is the white single variety that you show. White is what I’m looking for but am having trouble finding. Thanks.
I just love your yard and gardens.
Hi there,
I’m so sorry I’m so late in responding. I believe the ones you are asking about are called the cupcake variety. The pollinators absolutely LOVE them.