How to Grow Beautiful Zinnias Indoors From Seed
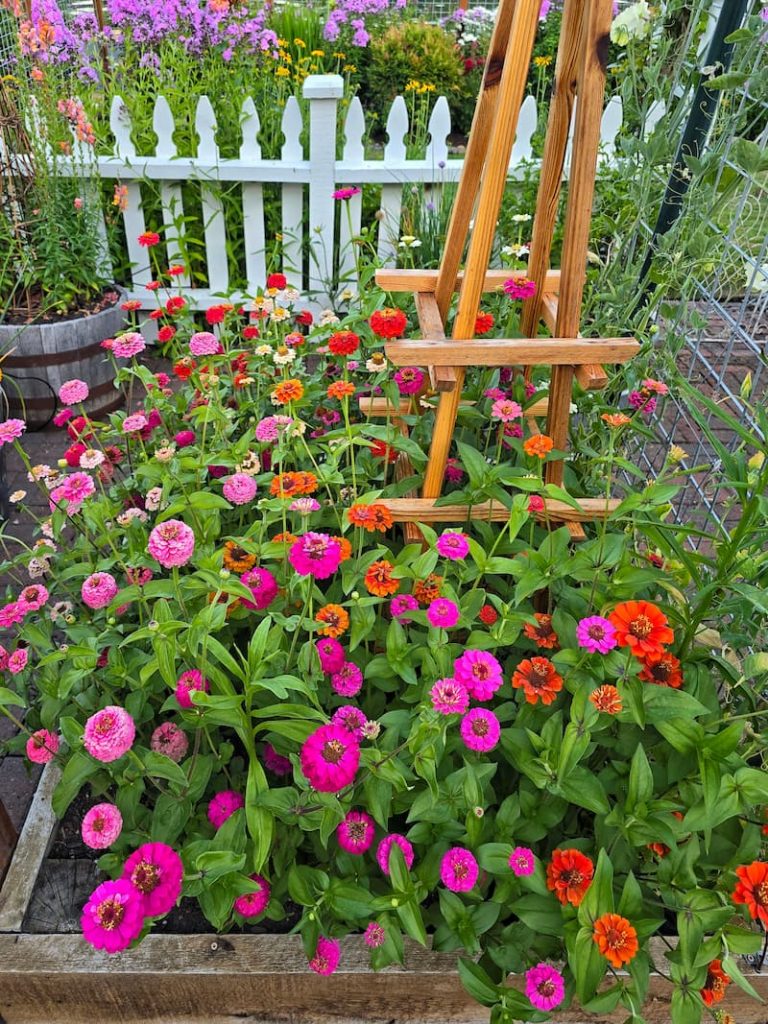
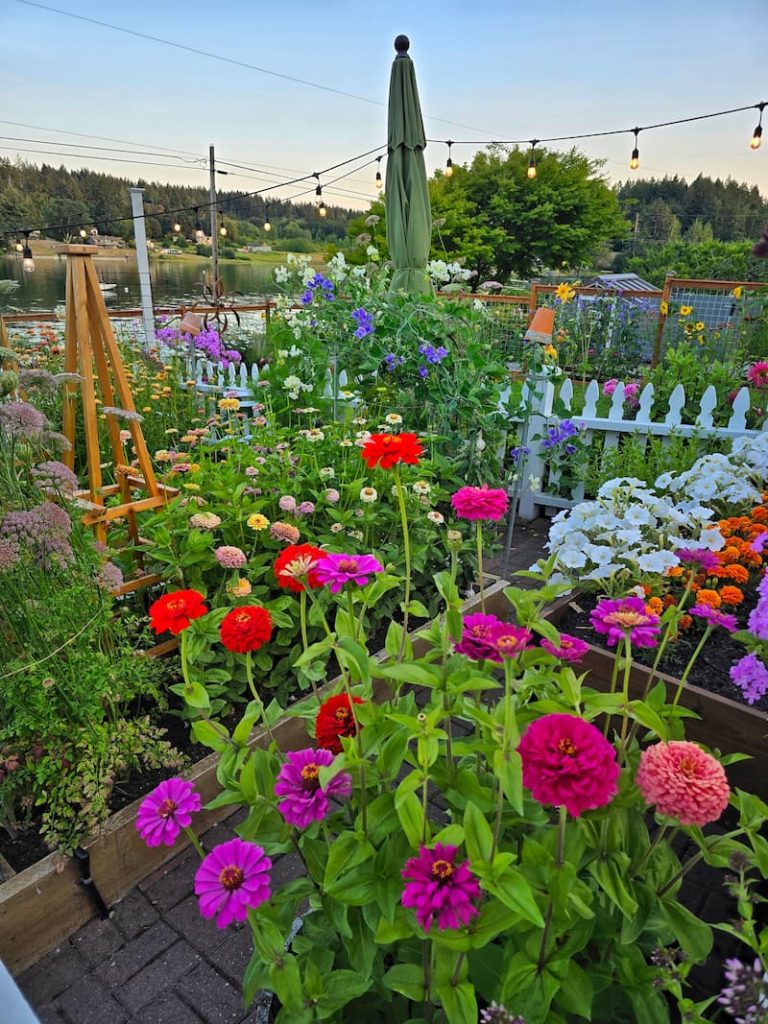
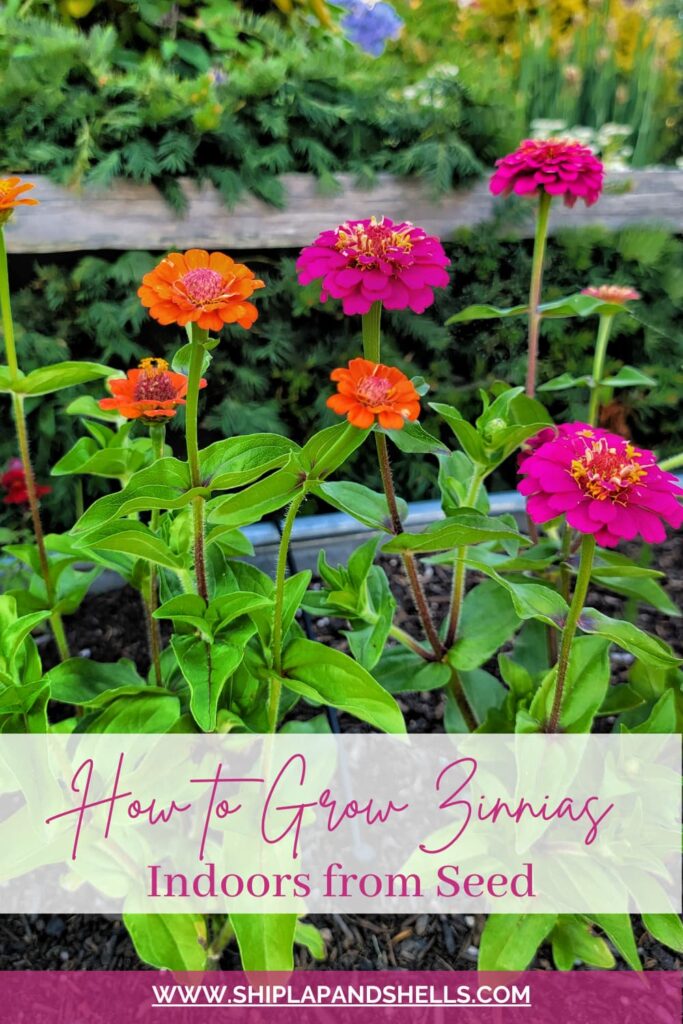
Have you ever dreamed of having a garden full of bright, cheerful zinnias that just keep blooming all summer long? In this post, I’ll walk you through everything you need to know to grow beautiful zinnias, from picking the right seeds to keeping them blooming all season.
I’ve been growing zinnias from seed for years, and they never fail to make me smile. Whether you want to fill your garden beds with color, attract butterflies and bees, or have an endless supply of fresh-cut flowers for your home, zinnias are the way to go. And the best part? They’re super easy to grow from seed!
Whether you’re starting a garden for the first time or just looking for a fun, low-maintenance flower to add to your yard, you’re in the right place.
As an Amazon affiliate, I earn a commission from qualifying purchases at no additional cost to you. My blog also features other affiliate links for your convenience. Click here to read my privacy policy.
Why are Zinnias the Perfect Cutting Flower to Grow?
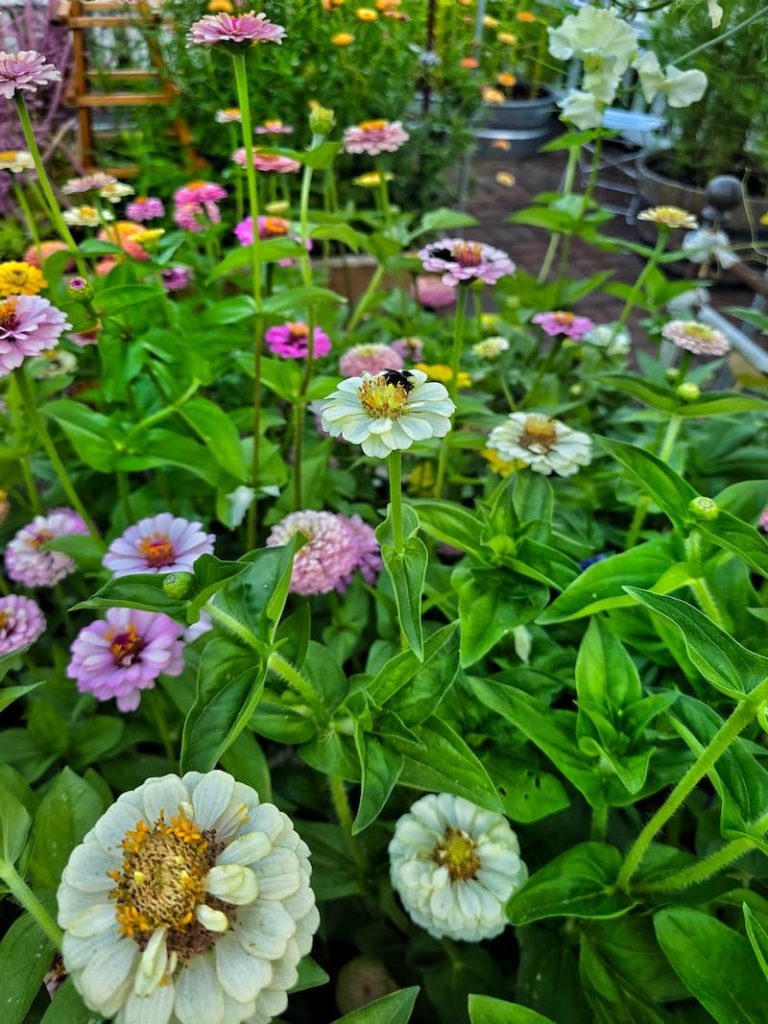
I love zinnias and think they are the perfect cut flower for any summer or early fall bouquet. Here is why I’m such a fan:
General Questions About Growing Zinnias From Seed
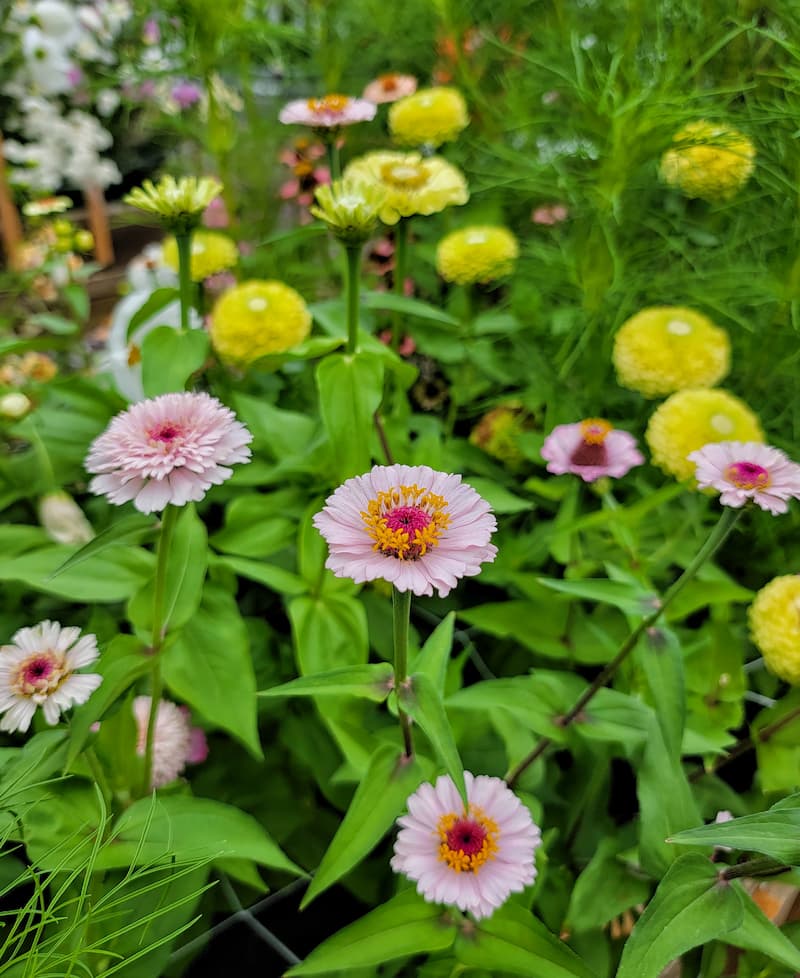
If you’re new to growing zinnias or just want to make sure you’re giving them the best care, you probably have a few questions, and you’re not alone.
Zinnias are easy to grow, but knowing a little more about their needs can help you get the most out of these gorgeous blooms. How long do they take to grow? Do they need full sun? What kind of soil do they like? I’ve got you covered!
In this section, I’ll answer some of the most common questions gardeners have about growing zinnias from seed so you can enjoy a garden full of healthy, vibrant flowers all season long.
How Long Does it Take to Grow Zinnias from Seed?
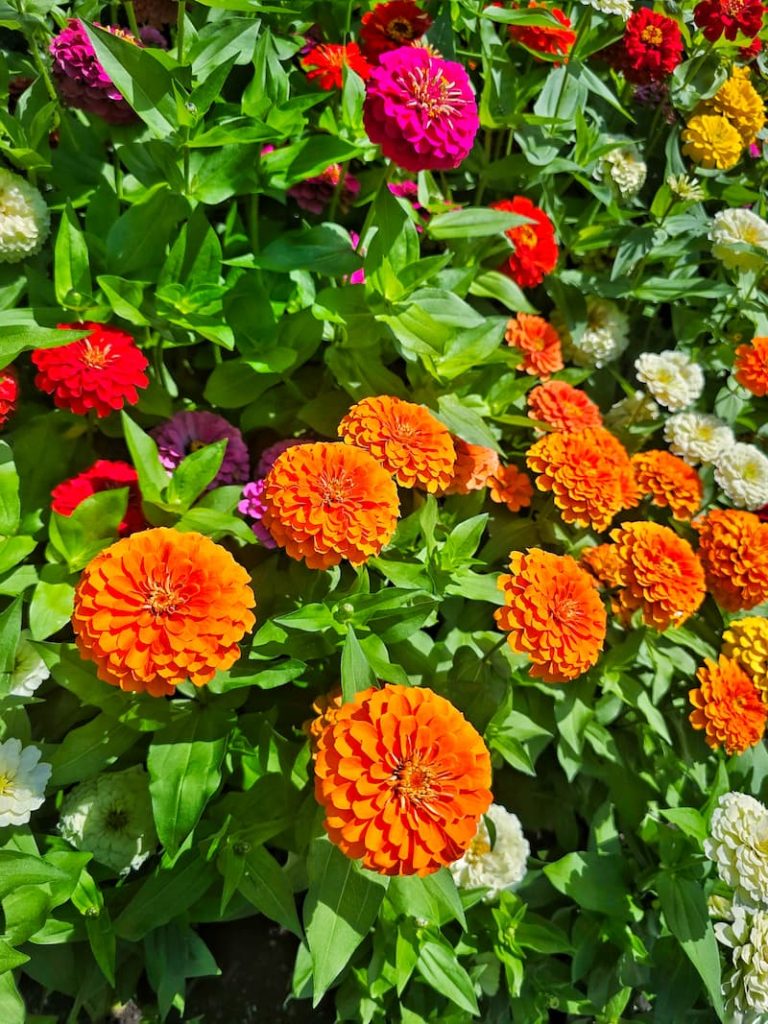
Zinnias are fast growers, which is one of the reasons they’re such a favorite among gardeners. From the time you plant the seeds, you can expect to see sprouts within 5 to 7 days, as long as the soil is warm and moist.
Once they’ve sprouted, they grow quickly, and you’ll usually see your first blooms in 6 to 8 weeks. The exact timing can depend on the variety you’re growing, but most zinnias will start flowering by mid to late summer if planted in the spring.
With regular deadheading (removing spent blooms), they’ll keep producing flowers until the first frost.
Do Zinnias Like Sun or Shade?
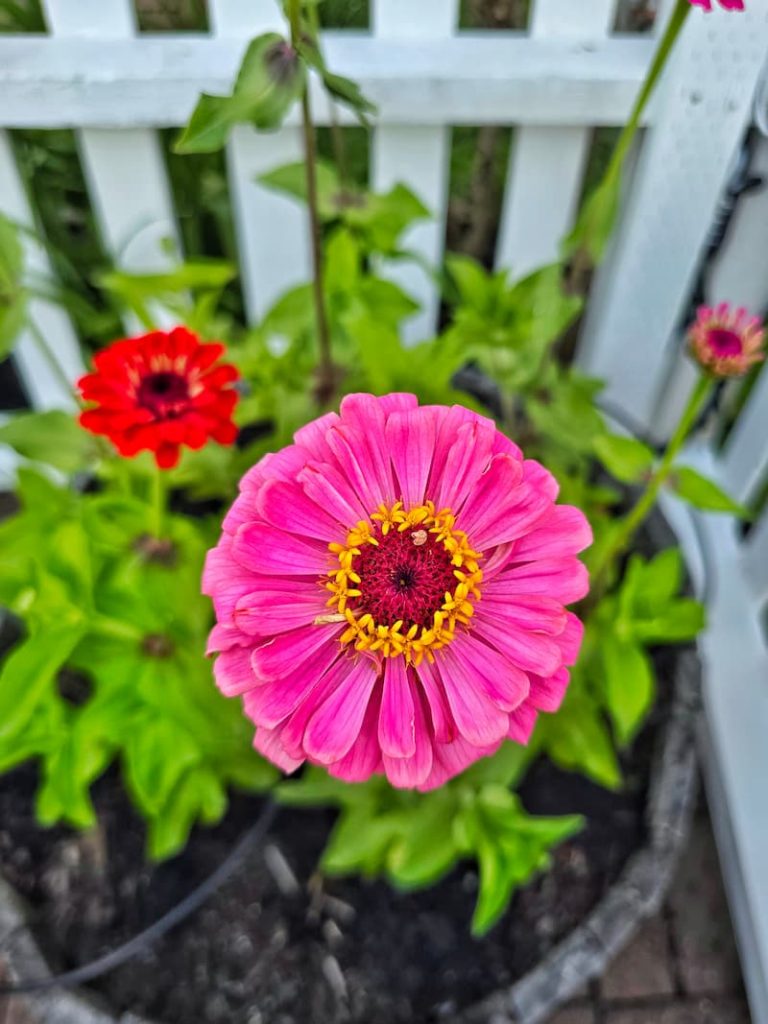
Zinnias love the sun! These flowers thrive in full sun, which means they need at least 6 to 8 hours of direct sunlight each day. The more sun they get, the better they’ll bloom.
If zinnias are planted in too much shade, they may become leggy, produce fewer flowers, and be more prone to disease. So, if you want bright, healthy zinnias with tons of blooms, be sure to plant them in a sunny spot.
Do You Need to Fertilize Zinnias?
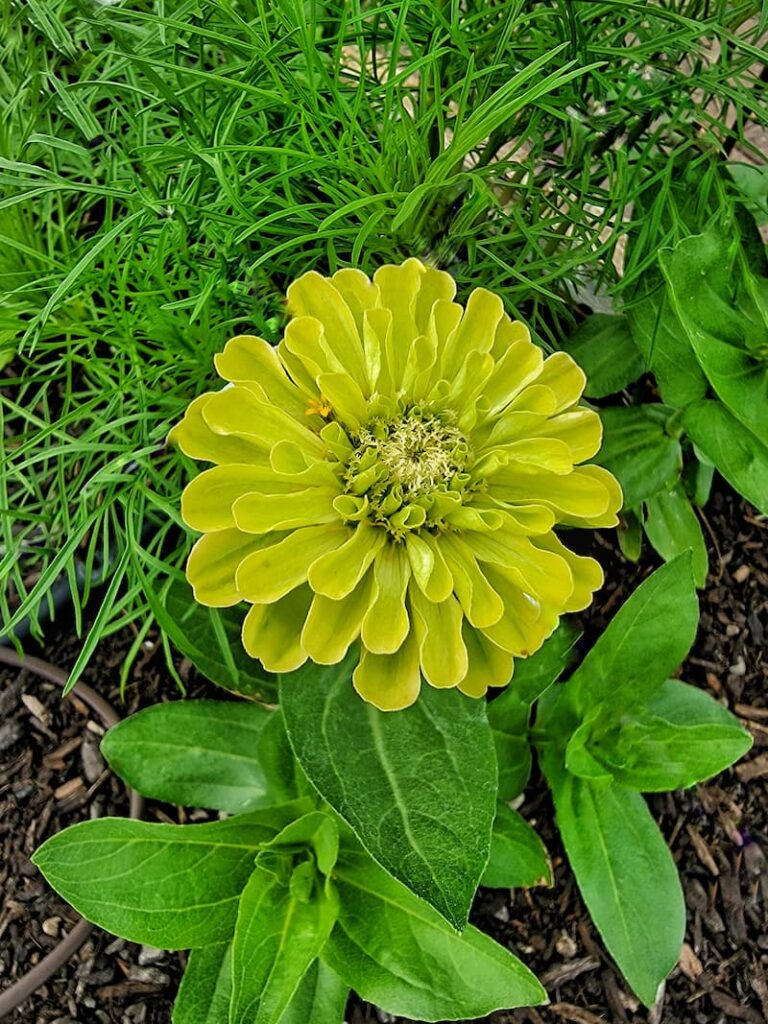
Zinnias don’t need a lot of fertilizer, but giving them a little boost can help them grow strong and produce more flowers. If your soil is already rich, you may not need to fertilize.
However, if you want bigger blooms and healthier plants, apply a balanced, all-purpose fertilizer (like 10-10-10 or 20-20-20) once a month.
If you’re looking for organic options, compost, or a light feeding of fish emulsion or liquid seaweed, every few weeks can also keep them happy. Just be careful not to overdo it—too much nitrogen (the first number on a fertilizer label) can lead to lots of leafy growth but fewer flowers. So, a little fertilizer goes a long way.
What Kind of Soil for Growing Zinnias?
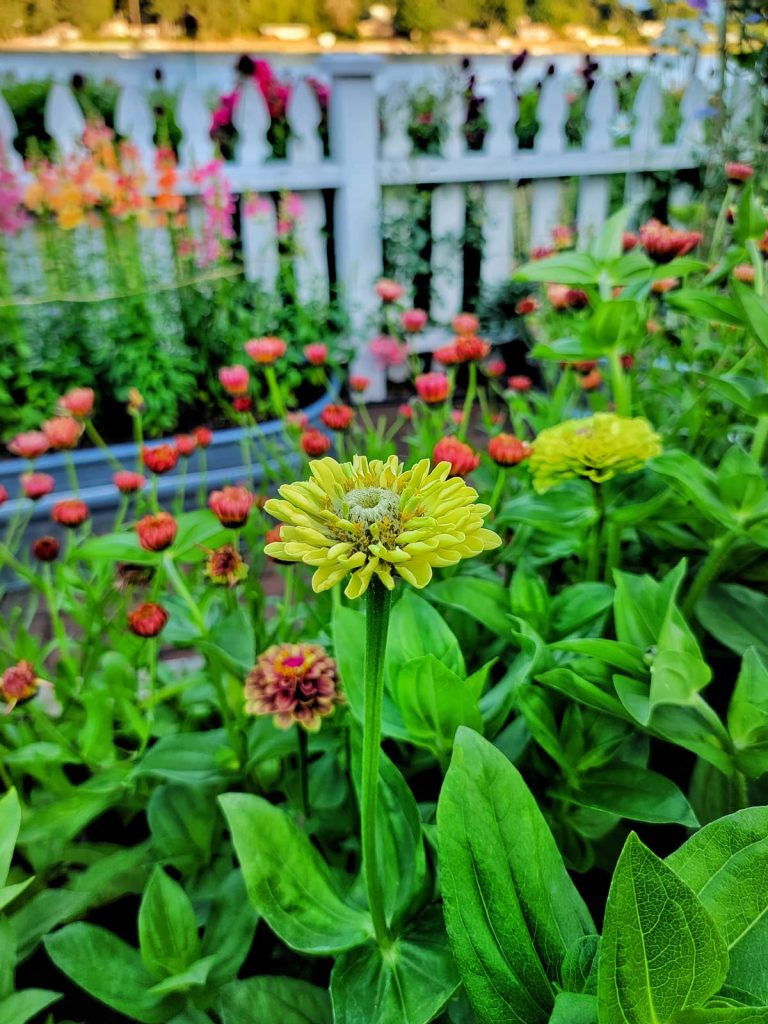
Zinnias aren’t too picky about soil but do best in well-draining moderately rich soil. They prefer loamy or sandy soil that allows water to drain easily while retaining moisture.
For the healthiest plants and the most blooms, use a neutral to slightly acidic soil pH (around 5.5 to 7.5). If your soil is heavy clay or tends to stay soggy, add compost or sand to improve drainage. Good drainage prevents root rot and other problems.
If you have average garden soil, your zinnias will likely thrive with a little organic matter. But these tough flowers will still put on a great show even in less-than-perfect conditions.
Two Ways to Grow Zinnias from Seed
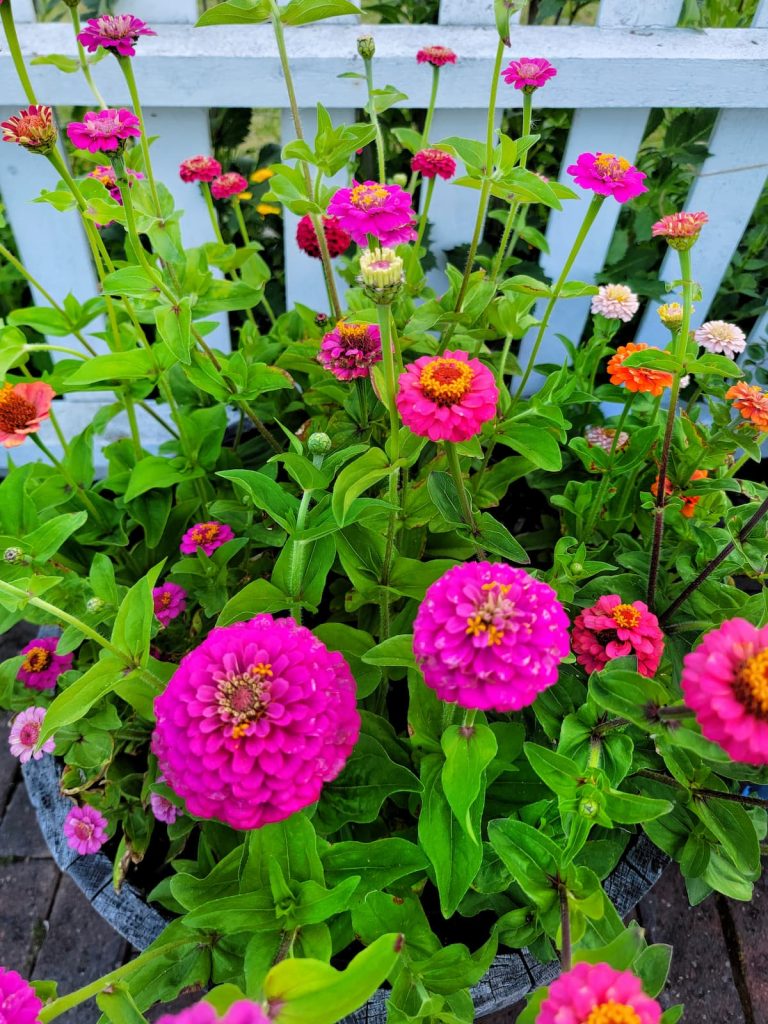
One of the best things about zinnias is their ability to grow from seed. Whether you want to start them indoors for a head start on the season or plant them directly in the garden, both methods work well.
Starting seeds indoors lets you get a jump on early blooms, while direct sowing is the simplest way to grow zinnias with little fuss.
Not sure which method is best for you? In this section, I’ll walk you through both ways so you can decide what works best for your garden. No matter which method you choose, you’ll have beautiful, colorful zinnias blooming in no time.
Growing Zinnias from Seed Indoors
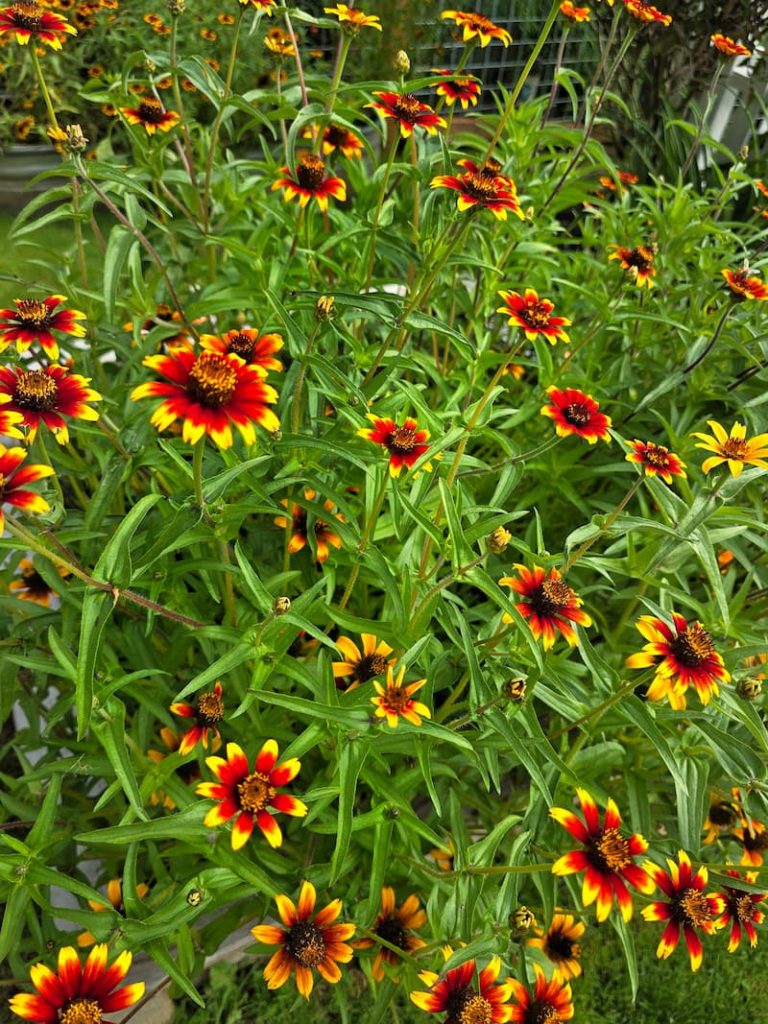
Starting zinnias from seed indoors is a great way to get a head start on the growing season, especially if you live in a cooler climate with a short summer. By planting indoors, you can have strong, healthy seedlings ready to go as soon as the weather warms up, giving you earlier blooms than if you waited to sow seeds outside.
Why Choose This Method?
Growing zinnias indoors is ideal if you want to:
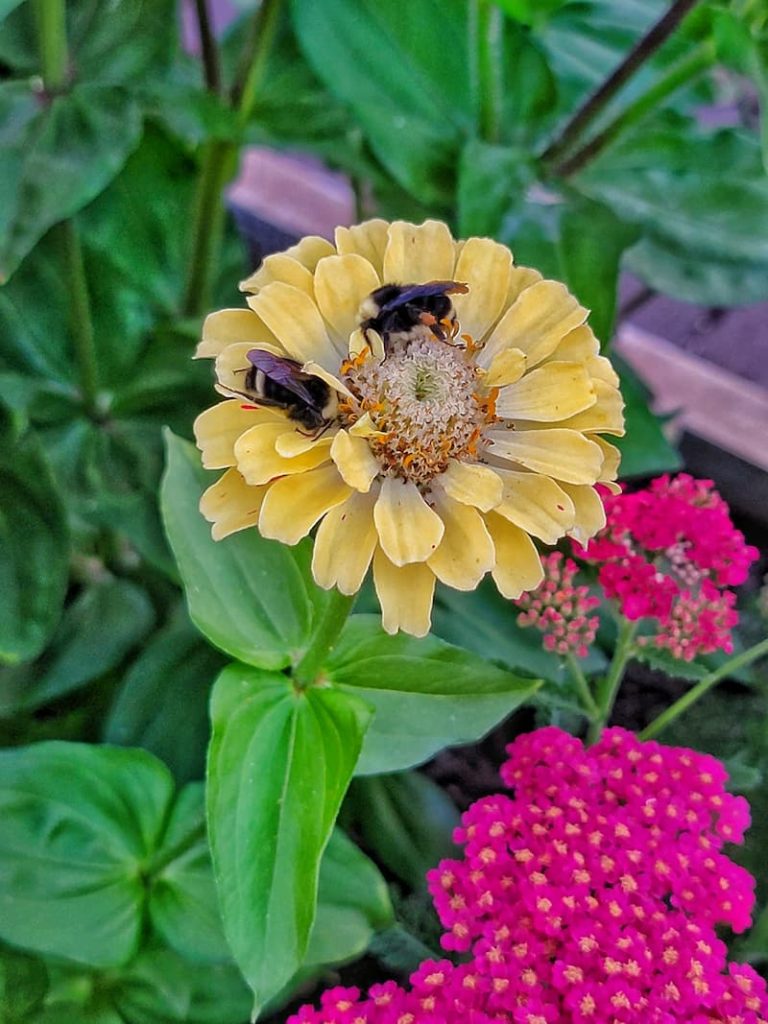
How It Differs from Direct Sowing
Unlike direct sowing, indoor-grown zinnias need an extra step of transplanting before they can be planted in the garden. They may also need more early attention, like watering and providing enough light. However, the reward is stronger plants and earlier flowers, making this method worth the effort for many gardeners.
Growing Zinnias from Seed Outdoors
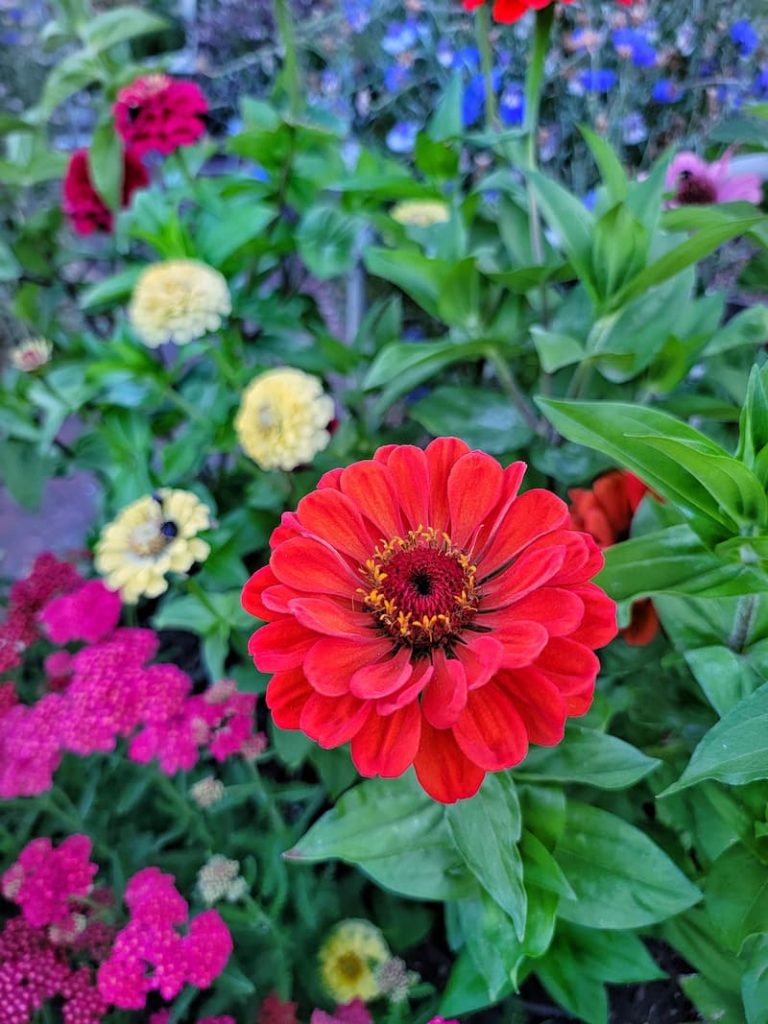
If you’re looking for a simple, no-fuss way to grow zinnias, direct sowing (planting seeds directly in the garden) is the way to go! Zinnias grow quickly and don’t mind starting right in the soil, making them easy and low-maintenance flowers to grow from seed.
Why Choose This Method?
Growing zinnias directly outdoors is an excellent choice if you:
How It Differs from Starting Seeds Indoors
Unlike indoor seed starting, direct sowing skips the transplanting step, meaning less work for you. However, it does require waiting for warm weather, so your zinnias may bloom a little later than those started indoors. But because zinnias don’t always love being transplanted, direct sowing can lead to stronger, more resilient plants right from the start.
Growing Zinnias from Seed Indoors
When to Grow Zinnias Indoors from Seed
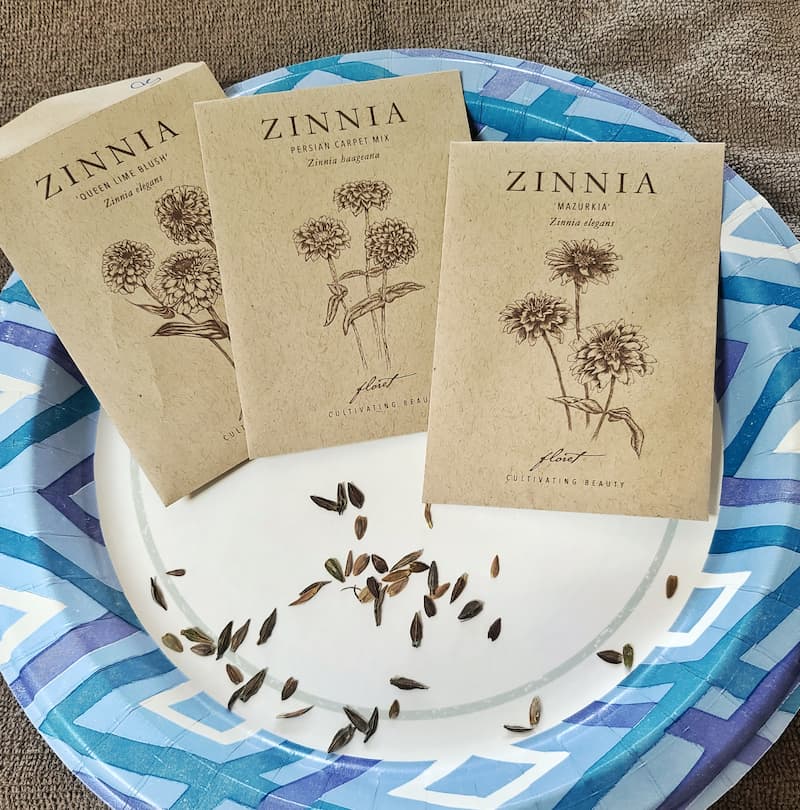
When starting indoors, sow zinnia seeds 4-6 weeks before the season’s last frost. Your average last frost date can be found here.
If you plant zinnia seeds earlier than the recommended time frame, the seedlings will quickly outgrow their pots before the weather has warmed enough to put them into the garden.
Zinnias can also be sown directly in the ground as soon as the threat of freezing has passed.
Seed Starting Supplies
Check out my favorite supplies and tools for starting seeds indoors. Whether you’re looking for grow lights or a seed starting mix, you’ll find what I use in my own greenhouse.
Supplies You’ll Need to Sow Zinnia Seeds
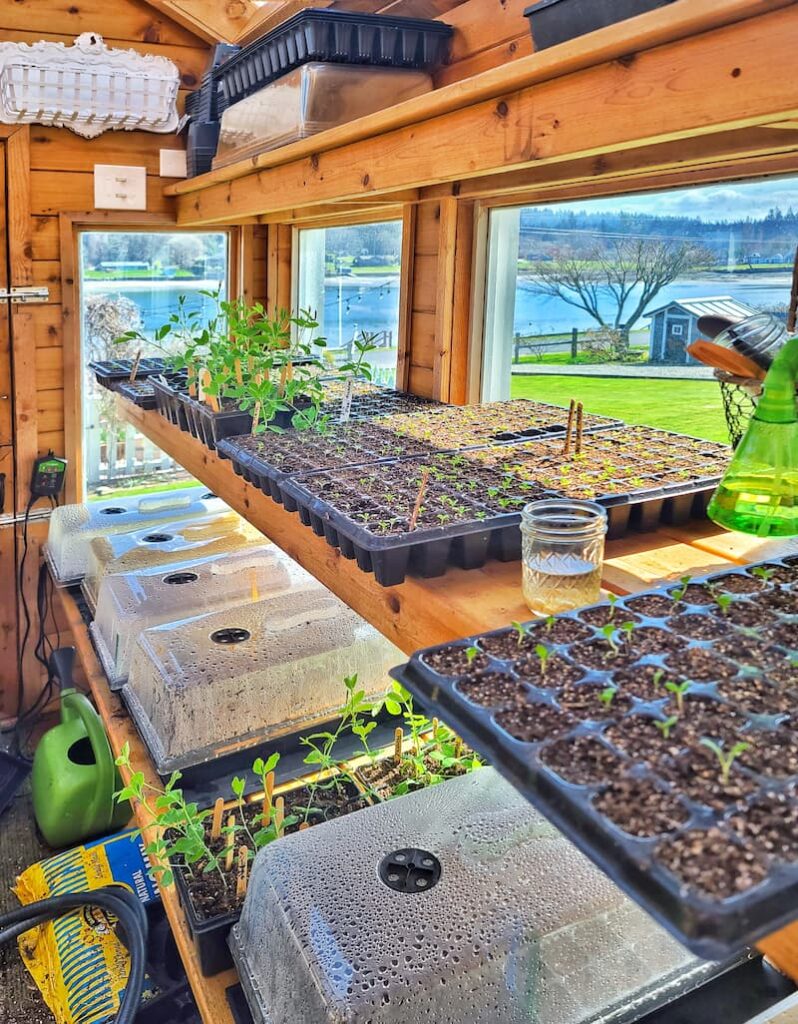
Steps for Sowing Zinnia Seeds Indoors
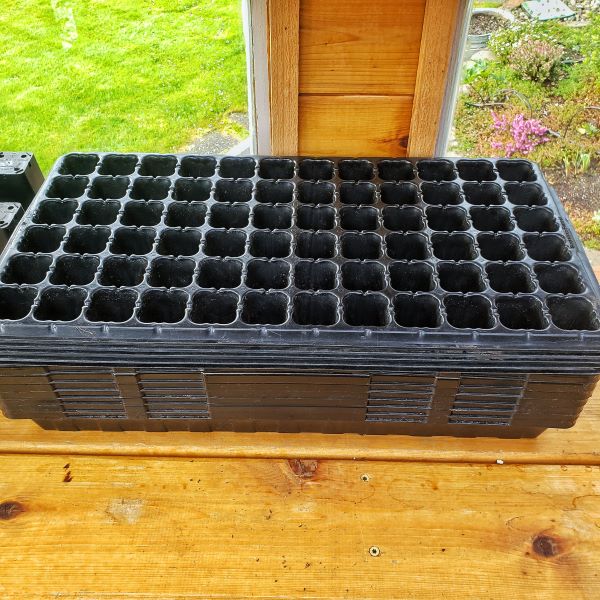
Step 1 – Choose a Clean Plant Container With Drainage Holes
Seed-starting containers should be clean and have drainage holes. You can read my blog post, Supplies Needed for Seed Starting for several container options. I use cell trays and plastic pots for my seed containers.
If you’re reusing old plastic containers or trays, wash them thoroughly with a one-part bleach/nine-part water solution to kill any lingering diseases or pathogens.
You can read more about how to clean your used containers in my post, Seed Starting 101 – Growing a Cut Flower Garden Series.
SHOP CELL TRAYS
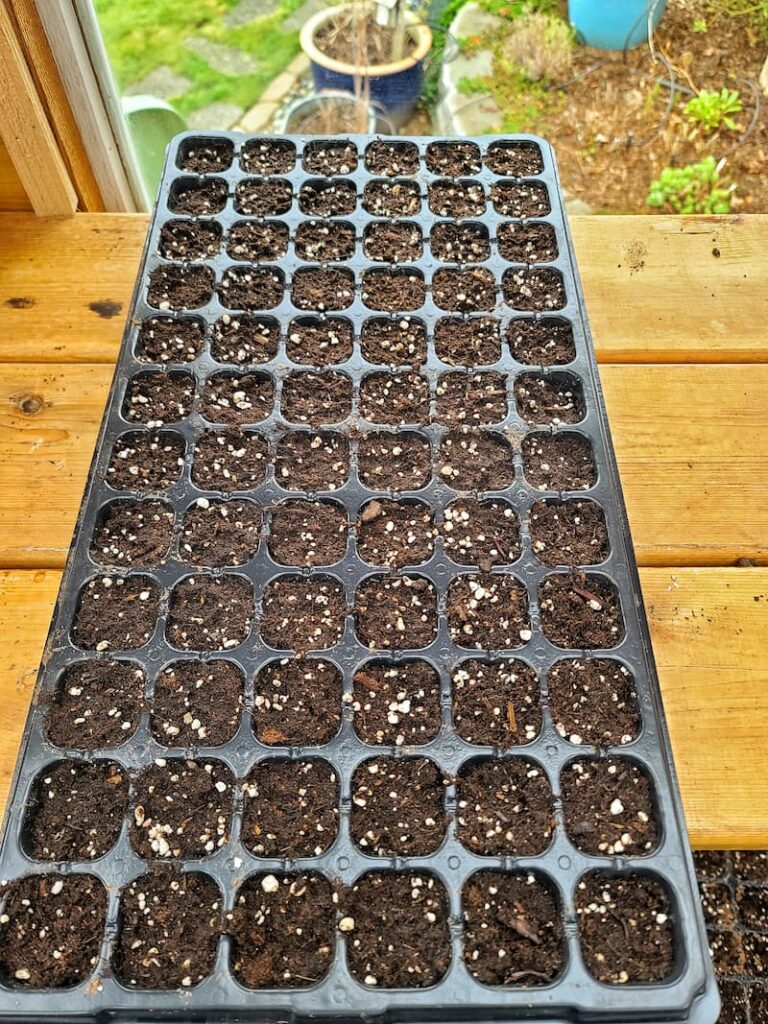
Step 2 – Fill Containers with Moistened Seed Starter Mix
Before adding the seed starting mix or potting soil to the container or seed trays, moisten them until thoroughly damp but not soaking wet.
Fill the cell trays or container to the top with the moistened seed starter mix. As you go, tap firmly against the table or shelf to ensure the soil settles and prevent air pockets in the containers.
Benefits of Using a Seed Starting Mix
I recommend using a quality organic seed starter potting mix rather than a regular potting soil when sowing your zinnias seeds for the following reasons:
You can make the seed starting mix go even further by filling the bottom half of the container with regular potting soil and then filling the rest with the seed starting mix, where the seeds will be placed.

Step 3 – Label or Tag the Containers
Label the container with the name of the variety of plants and the date planted.
You would be surprised by how easily you can forget what you’ve planted in a particular container after only a few days.
SHOP LABELS
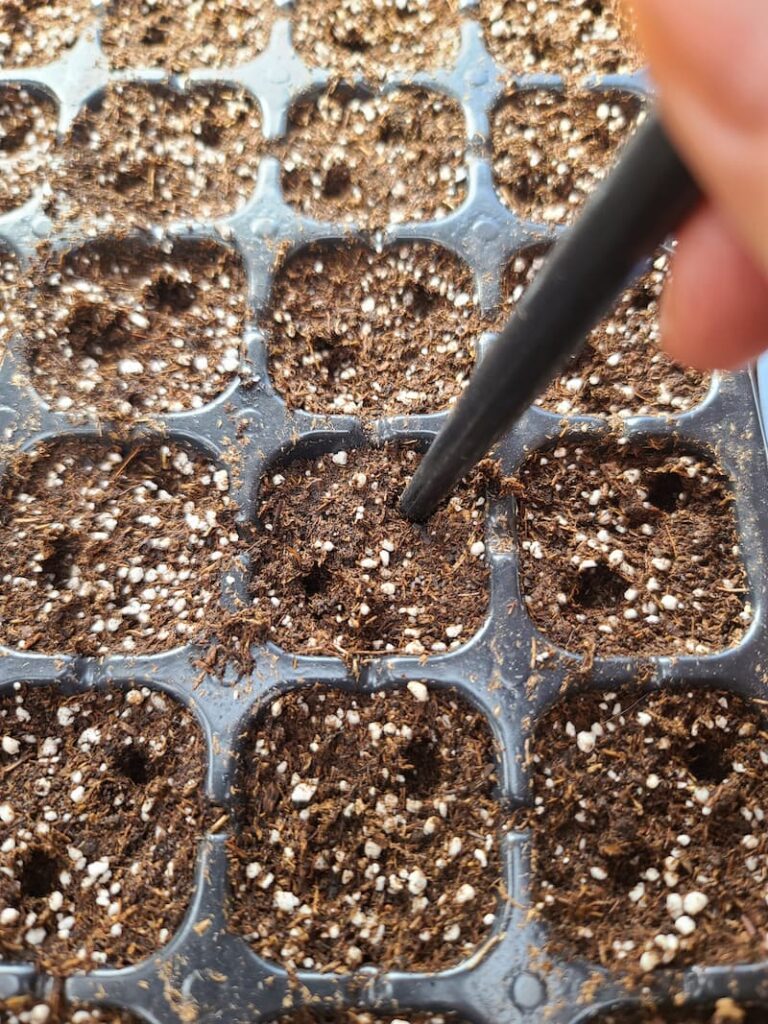
Step 4 – Sow the Zinnia Seeds
Sow two seeds per container or cell by creating a one-half-inch hole into the soil in two opposite corners. You can make the hole with a pencil, dibbler, or even your finger.
Add a light dusting of seed starter potting mix or vermiculite, covering the seeds.
SHOP VERMICULITE
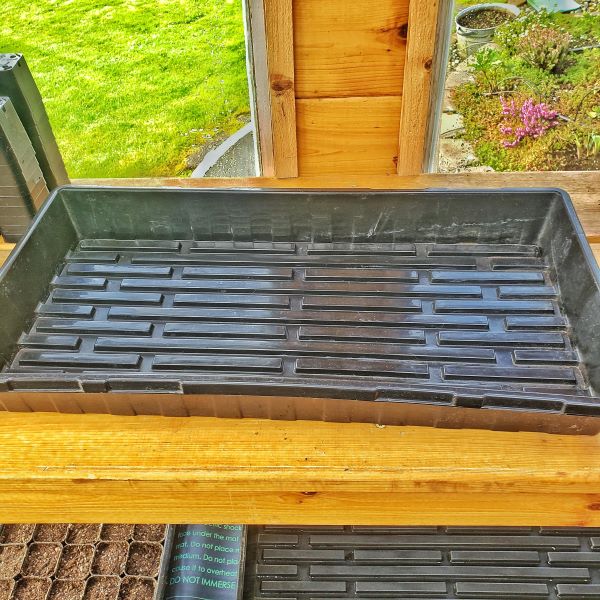
Step 5 – Bottom Water Your Seed Containers
After sowing the flower seeds, set the container in a drainage tray with an inch of water in the bottom if needed. It’s important not to let the container sit in the water for more than an hour.
It’s important not to overhead water after you’ve placed the seeds in the container. You may wash the seeds away and have to start the process over again.
Watering from the bottom allows the roots to be watered thoroughly.
SHOP DRAINAGE TRAYS
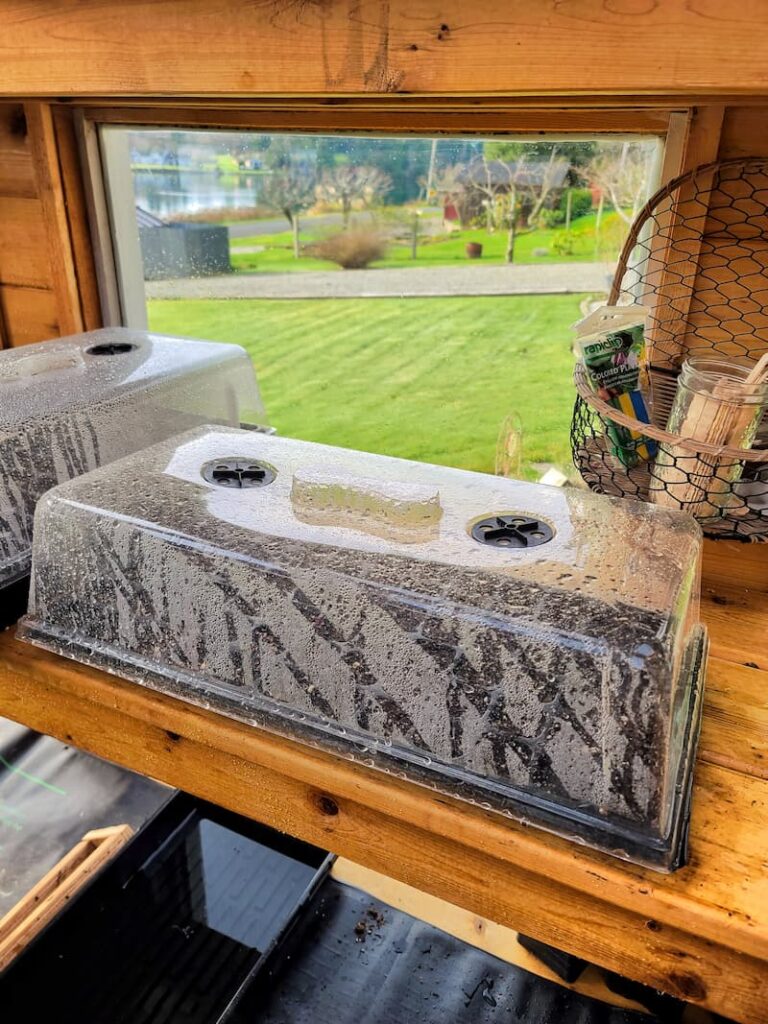
Step 6 –Place the Seed Container on a Heat Mat and Cover
Place the container on a heated mat or in a warm corner of your house, and cover it with a clear plastic dome. This will help speed up the seed-starting germination process.
SHOP HEATED MATS
Step 7 – Pick the Indoor Right Location
Keep your seed starts in a light, bright space like a greenhouse or sunroom. If you don’t have that option, keep the seedlings under a grow light.
SHOP GROW LIGHTS
Step 8 – Continue Watering
Continue to check the soil moistness every 2-3 days. Bottom water again as needed.
Check your containers every other day or so and bottom water when the soil looks and feels dry. Remove the tray of water once the soil surface is evenly moist.
Growing Zinnias After the Seeds Have Germinated
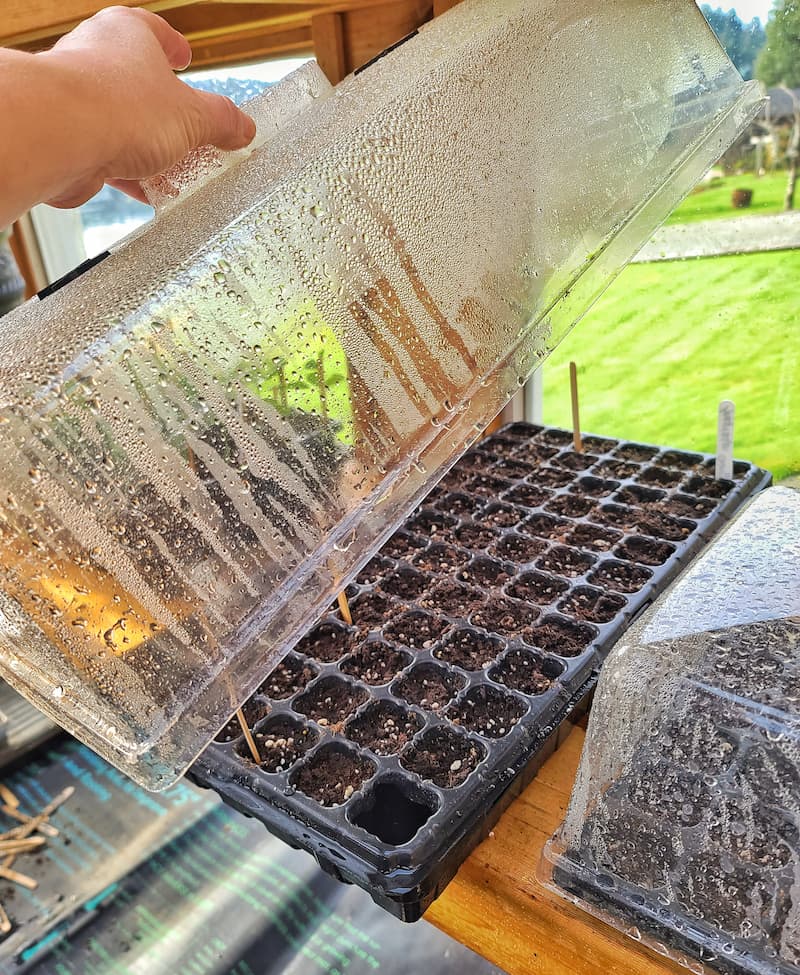
Step 1 – Remove the Heat Mat and Uncover the Container
Check the seed container daily. Once the seeds have germinated and the sprouts are visible, remove the clear dome lid and the seedlings from the heated mat.
Step 2 – Continue to Water When Needed
Check the seedlings daily to ensure the soil doesn’t dry out.
The very first leaves that appear on the young plants are called cotyledons. Be sure to bottom water your seedlings until you see the first real leaves that appear after the cotyledons.
Once those second sets of leaves appear, water with a gentle spray from a watering can or hose when needed, usually every 1-2 days.
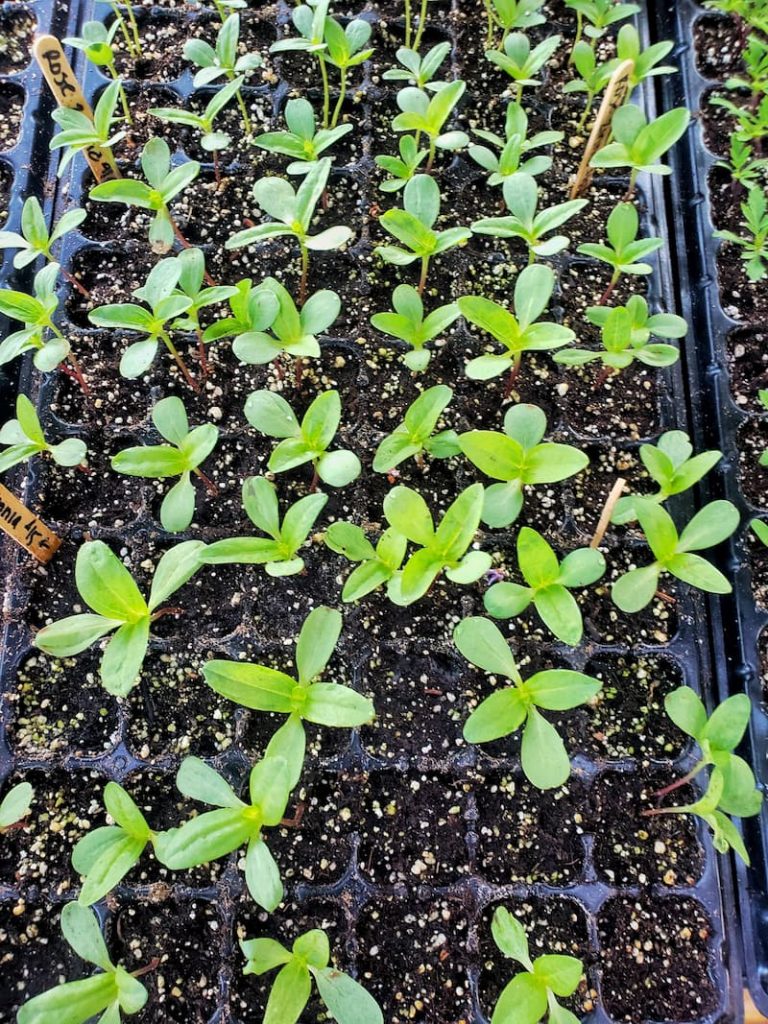
Step 3 – Transplant the Zinnia Seedlings if Needed
If your seedlings start to outgrow their containers before they’re ready to be planted outdoors, you’ll need to transplant them into a larger container while still growing inside. It’s important to give the roots more room to grow.
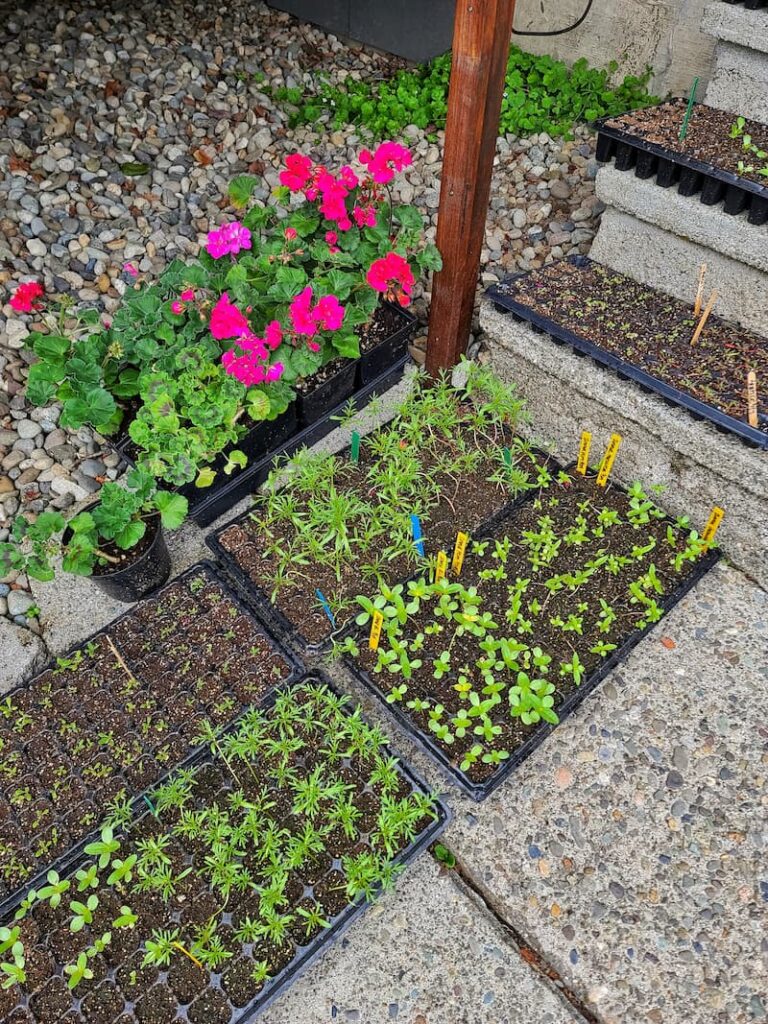
Step 4 – Harden Off the Zinnia Seedlings
After all danger of frost has passed, you can begin “hardening off” your zinnia plants before transplanting them into the garden flower beds.
Don’t skip this process! Your plants will go into shock by the sudden change in temperature.
Set the containers in a sheltered spot outdoors, increasing the time they spend outside each day over a week or two. I usually start with 2-3 hours on the first day.
Prepare the Garden Beds for Zinnia Seedlings
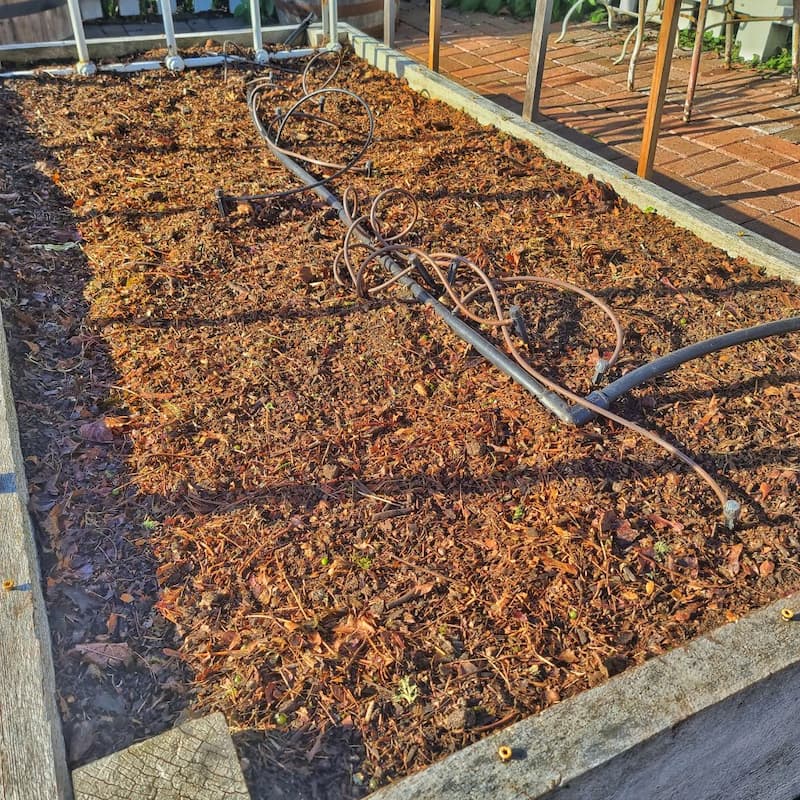
Before planting your zinnia seedlings (or directly sowing seeds), it’s important to prepare the garden beds so your flowers have the best possible start.
Zinnias thrive in well-draining soil, plenty of sunlight, and a space that allows good air circulation. Taking a little time to prep the soil will help your plants grow strong and produce vibrant, long-lasting blooms.
Zinnias love heat and full sun, so plan for a location to meet their needs.
This annual plant can be adaptable to most soil conditions. But zinnias will thrive when planted in well-drained soil and organic matter is added.
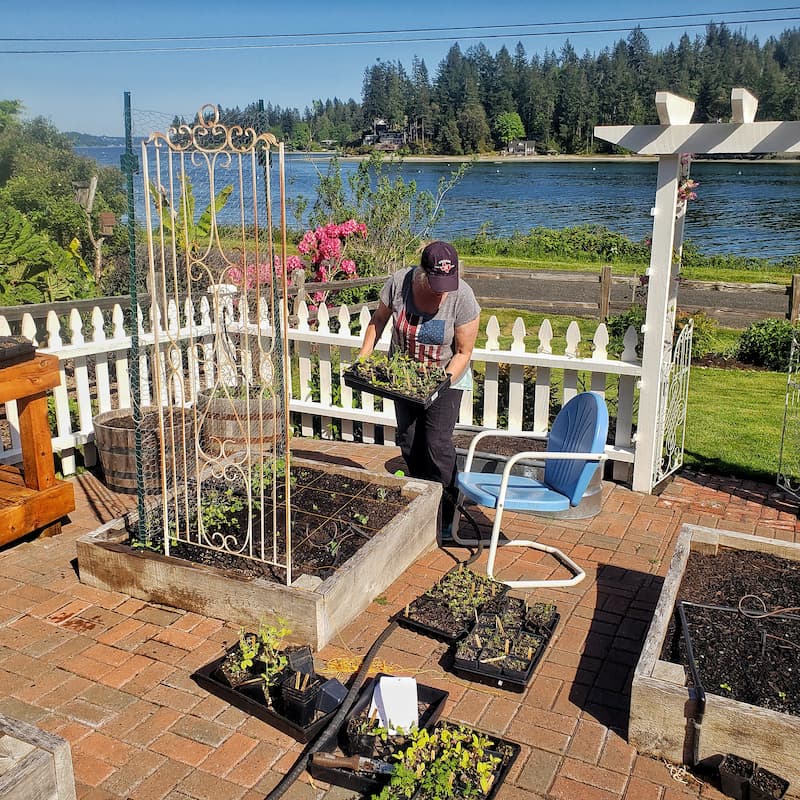
Once the zinnia seed starts have acclimated to the outdoor temperatures, they can be transplanted into the garden once the threat of frost has passed.
It’s recommended to succession sow zinnias every 2-3 weeks to ensure nonstop blooming into the fall. I have never had to do that. I’ve always had colorful flowers until the first frost.
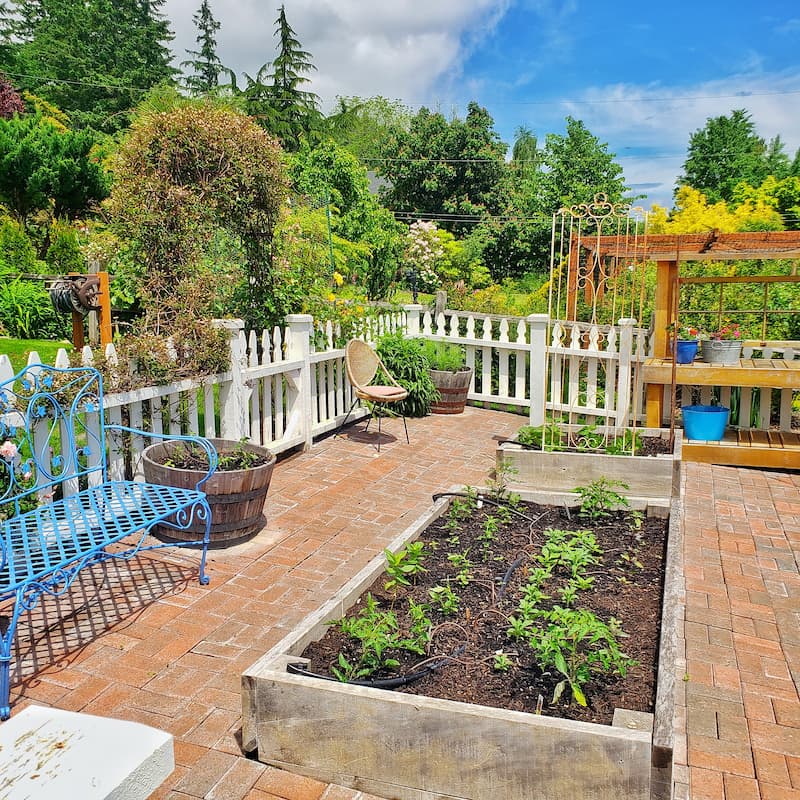
Check the back of your seed packet for spacing directions. Zinnia plants get very bushy and need extra room to spread out, so space plants at least 9-12 inches apart.
Give zinnias lots of space. Good air circulation will help prevent pests and fungal diseases like powdery mildew.
Transplant Zinnia Seedlings to the Garden
Once your zinnia seedlings have grown 2-3 inches tall and the weather is warm (with no more frost), it’s time to move them to the garden.
Water them well after transplanting, and keep the soil consistently moist as they adjust to their new home.
Growing Zinnias from Seed Outdoors
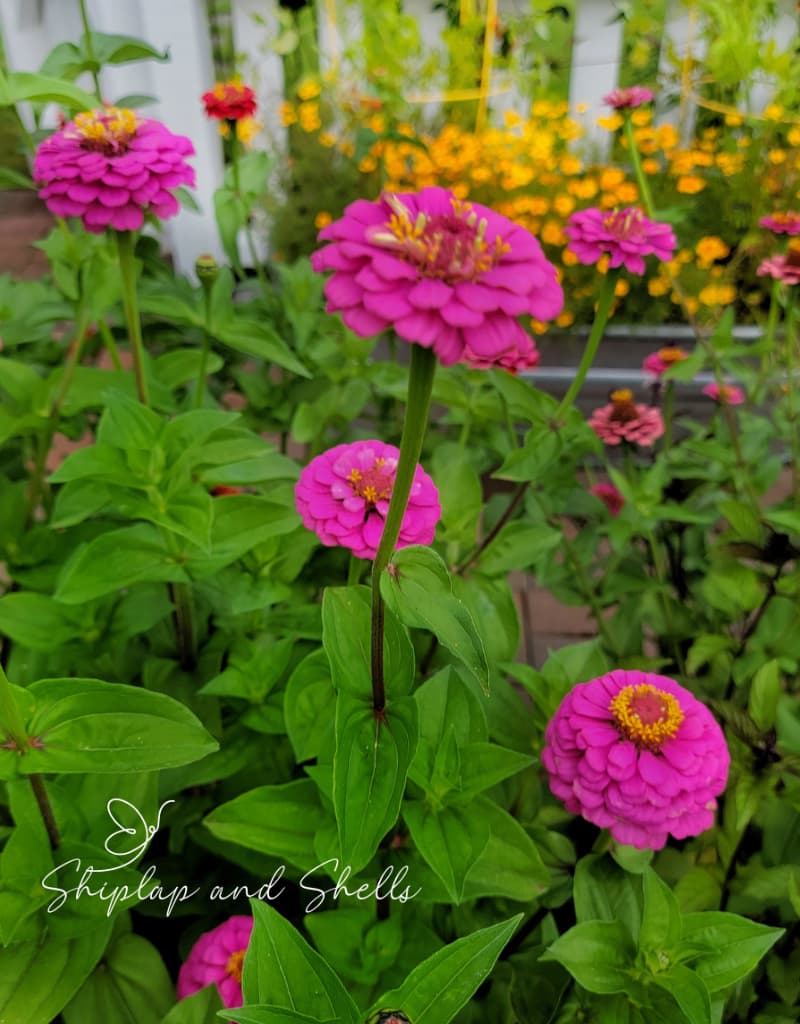
Growing zinnias directly from seed outdoors is one of the easiest and most rewarding ways to enjoy these beautiful flowers. Since zinnias grow quickly and don’t like being disturbed, many gardeners prefer direct sowing over starting them indoors.
With the right timing and a good planting spot, you’ll have vibrant, healthy zinnias blooming all summer long.
When to Plant Zinnia Seeds Outdoors
The best time to plant zinnia seeds outdoors is after your last frost date, when the soil has warmed to at least 60°F (16°C). Zinnias are warm-season flowers and don’t tolerate cold temperatures, so planting too early can result in poor germination or damaged seedlings.
This means sowing zinnia seeds in late spring to early summer for most regions. If you’re unsure about your last frost date, check a local planting calendar or wait until nighttime temperatures consistently exceed 50°F (10°C).
If you want continuous blooms, you can succession plant by sowing new seeds every 2-3 weeks until midsummer. This ensures a steady supply of fresh flowers well into the fall.
Where to Plant Zinnia Seeds Outdoors
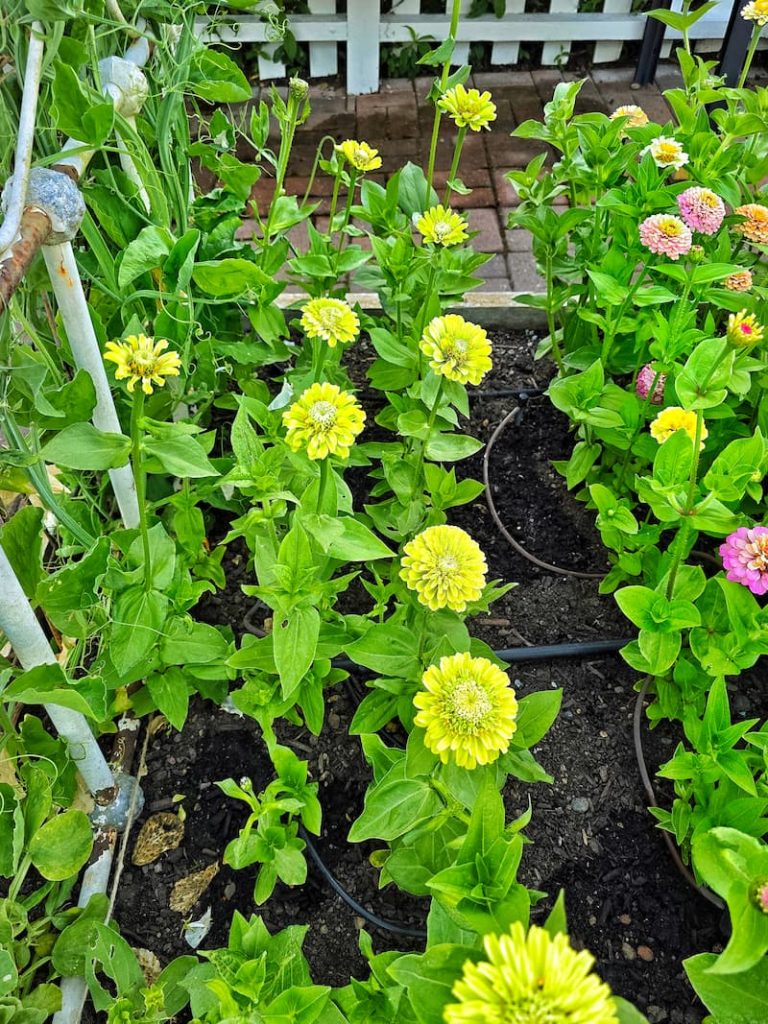
Choosing the right location for your zinnias is key to growing healthy, vibrant flowers. Zinnias thrive in:
Zinnias do well in garden beds, borders, and containers, making them a versatile choice for any sunny space. Just be sure they have plenty of room to grow and enjoy soaking up the summer sun.
Steps for Sowing Zinnia Seeds Outdoors
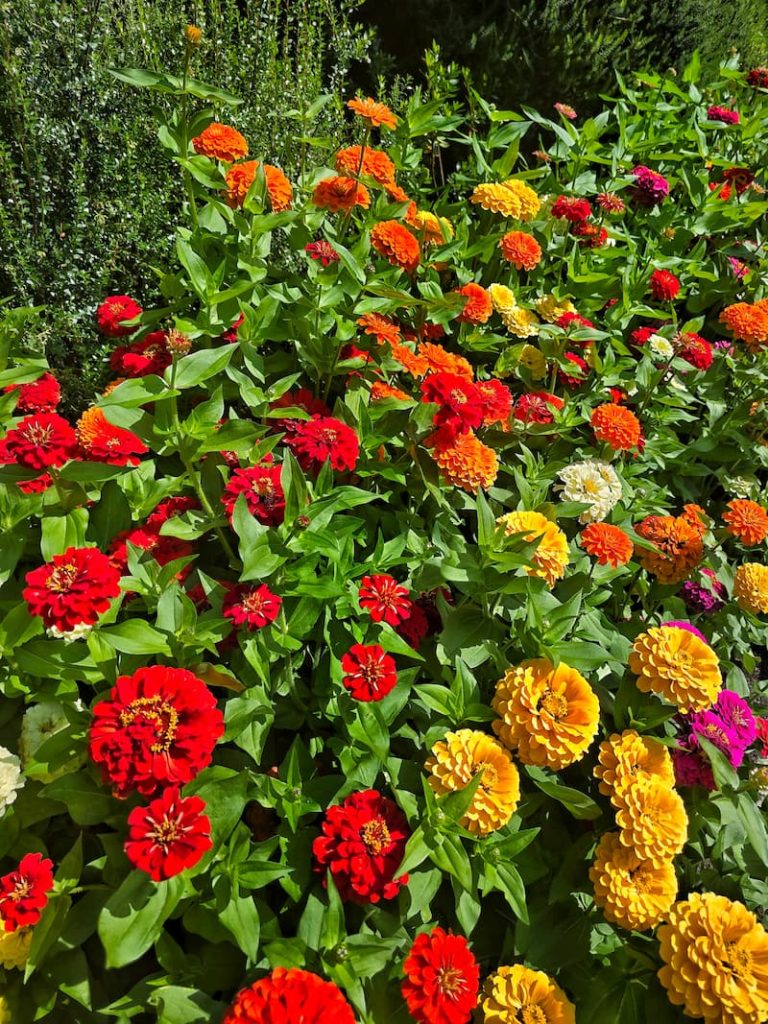
Planting zinnia seeds directly in the garden is quick and easy! Once you’ve chosen a sunny, well-draining spot, follow these simple steps to get your zinnias off to a great start.
Step 1 – Prepare the Soil
Loosen the top 6-8 inches of soil with a rake or garden fork. Remove weeds, rocks, and debris to create a smooth planting surface. If needed, mix in compost for added nutrients and better drainage.
Step 2 – Sow the Seeds
Plant seeds about ¼ inches deep in the soil. Space them a few inches apart—you’ll thin them later as they grow. Lightly cover the seeds with soil and gently pat it down.
Step 3 – Water Gently
Use a fine water spray to keep the soil moist but not soggy. Continue watering regularly until the seeds germinate (in about 5-7 days).
Step 4 – Thin the Seedlings
Once seedlings are 2-3 inches tall, thin them to 6-12 inches apart, depending on the variety. This gives each plant enough space to grow strong and healthy.
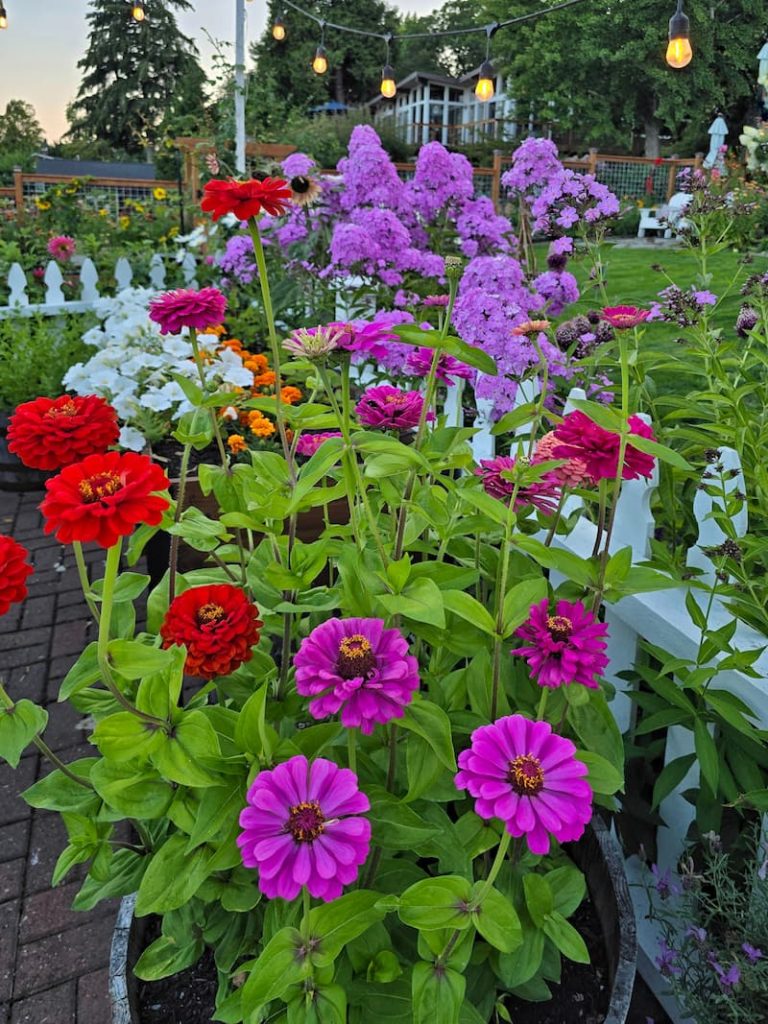
Keep Up With Care
Water regularly, especially in dry weather. Zinnias prefer deep, consistent watering but don’t like sitting in wet soil. Mulch around plants to help retain moisture and keep weeds down.
Can I Just Scatter Seeds?
Yes! You can scatter zinnia seeds, but a little extra care will go a long way for the best results. Zinnias are hardy and germinate in most well-prepared garden beds, but tossing seeds on the soil without covering them may lead to uneven growth or lower germination rates.
If you want to scatter seeds for a more natural, wildflower-style garden, here are a few tips to improve success:
- Loosen the Soil First – Rake the soil lightly before scattering seeds to help them make good contact with the earth.
- Press Seeds In — Gently press the seeds into the soil or lightly rake over them after scattering. They should be no more than ¼ inches deep.
- Water Gently – Keep the area evenly moist until the seeds germinate in 5-7 days.
- Thin Seedlings Later – If too many sprout close together, thin them to 6-12 inches apart so they have room to grow.
While scattering works, planting in rows or small clusters will give you a tidier, more controlled zinnia patch. But if you love a carefree, cottage-garden look, go ahead and scatter—zinnias are tough and will likely thrive.
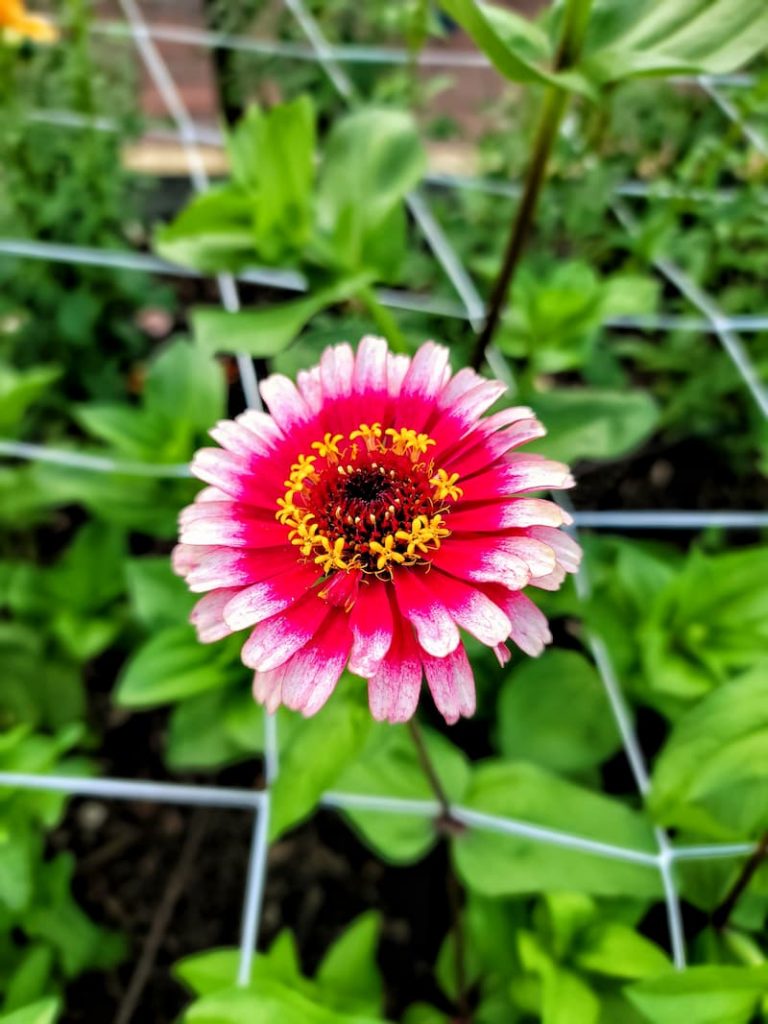
How Many Zinnia Seeds Do You Put in One Hole?
For best results, plant 1 to 2 zinnia seeds per hole. Since not every seed will germinate, planting two increases the chances of getting a strong seedling. If both seeds sprout, you can thin out the weaker ones once the seedlings are about 2-3 inches tall.
If you’re sowing in rows or a larger garden bed, you can also scatter seeds lightly and thin them later, making sure the final spacing is 6-12 inches apart, depending on the variety. Giving each plant enough space helps improve airflow, prevents disease, and allows for fuller blooms.
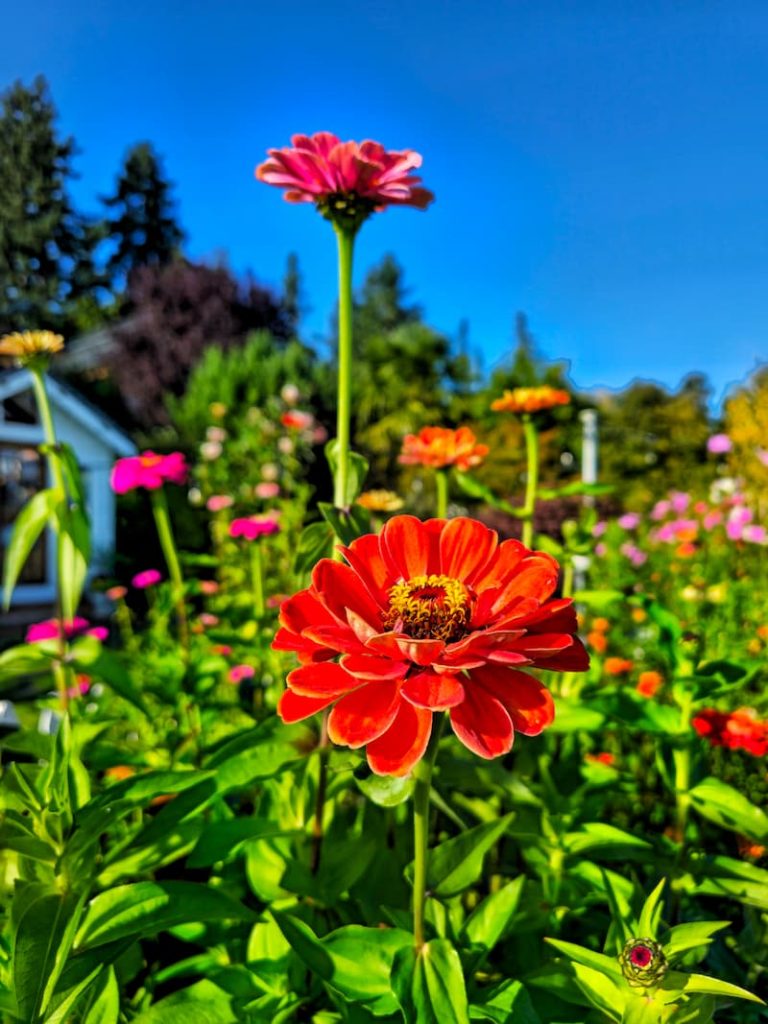
Do Zinnia Seeds Need to Be Soaked Before Planting?
No, zinnia seeds do not need to be soaked before planting. They have a high germination rate and sprout quickly—usually within 5 to 7 days—as long as the soil is warm and moist.
However, if you want to speed up germination slightly, you can soak them for a few hours before planting. This can help soften the seed coat, especially when planting in drier conditions. Just be sure not to soak them too long (no more than 4-6 hours) to prevent rot.
For the easiest and most reliable results, plant your zinnia seeds directly into moist soil. They’ll be up and growing in no time.
Do Zinnias Do Better in Pots or in the Ground?
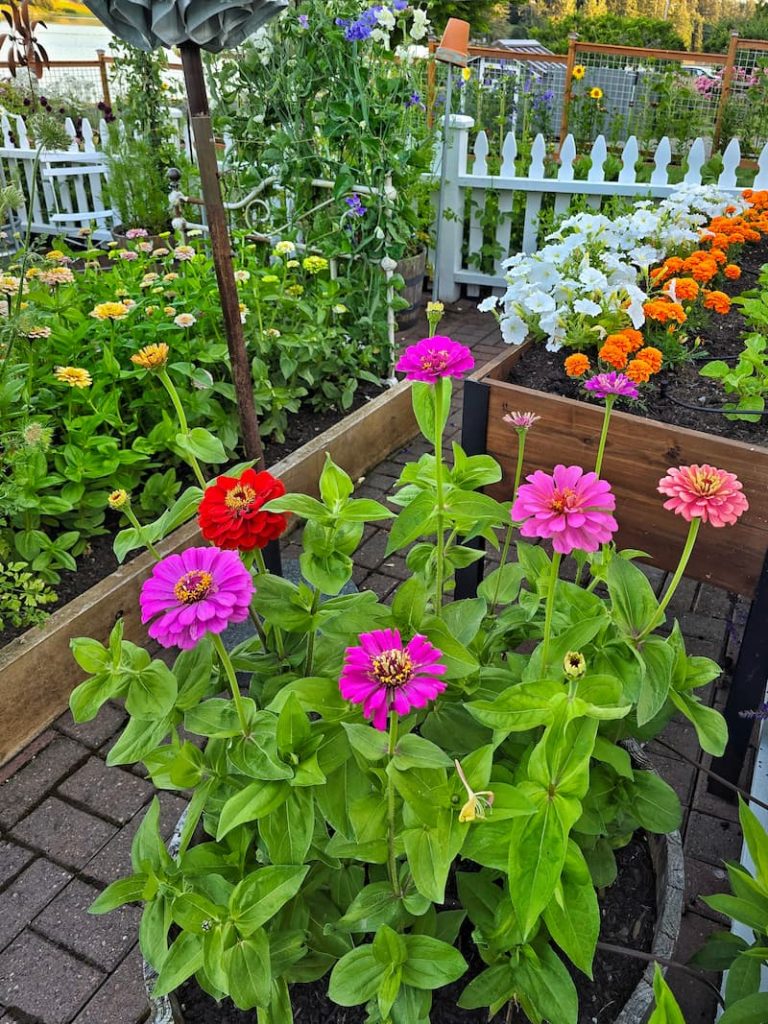
Zinnias thrive in pots and garden beds, but the best option depends on your space and gardening goals.
Do Zinnias Do Well in Containers?
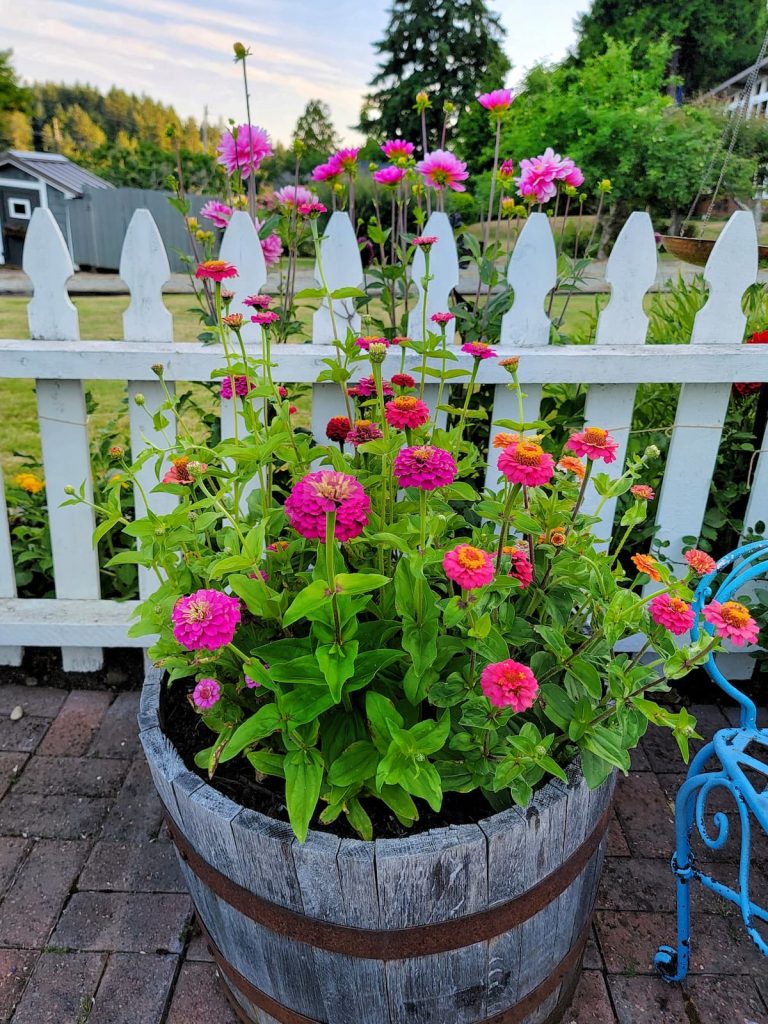
Yes! Zinnias do great in containers if they get plenty of sunlight (6-8 hours per day) and regular watering. The key to success is using a well-draining potting mix and choosing a container large enough to prevent the soil from drying out too quickly.
Since potted plants can dry out faster than those in the ground, you may need to water more frequently, especially in hot weather.
Do You Start Zinnias in Containers?
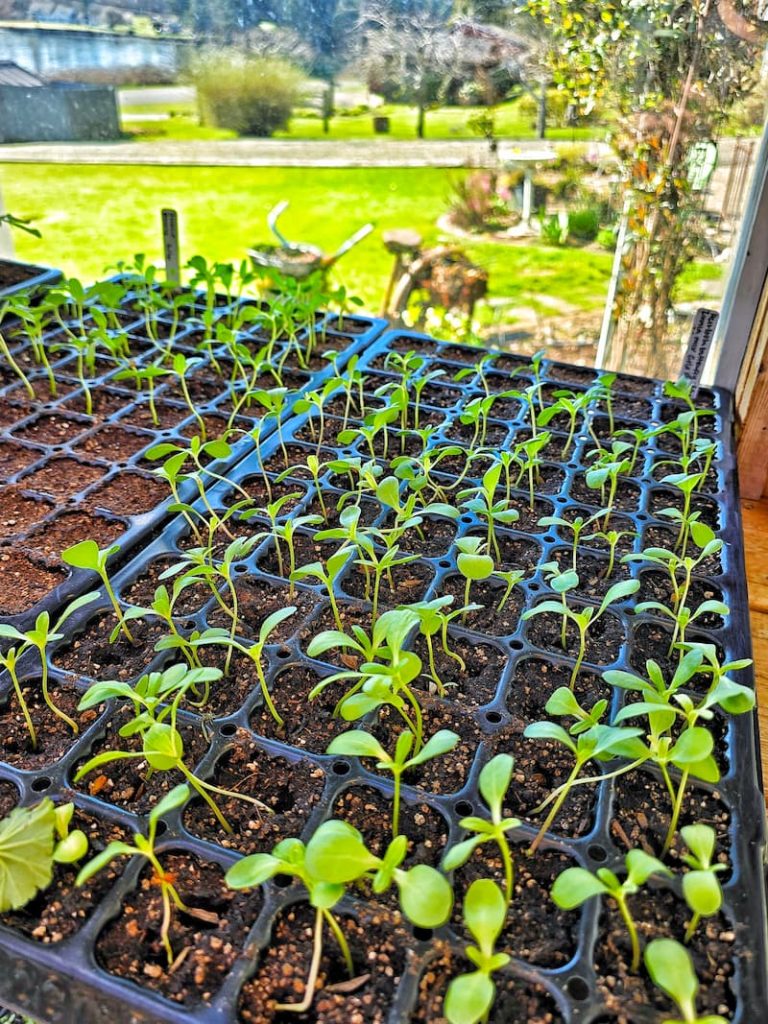
You can start zinnias in containers, either for transplanting later or to grow them entirely in pots. If you’re starting them for transplanting, use small seed-starting pots or trays, then move them to a larger container or the garden once they’re 2-3 inches tall.
If you’re growing them fully in containers, plant the seeds directly into the pot where they’ll grow since zinnias don’t like being transplanted too much.
Caring for Zinnias
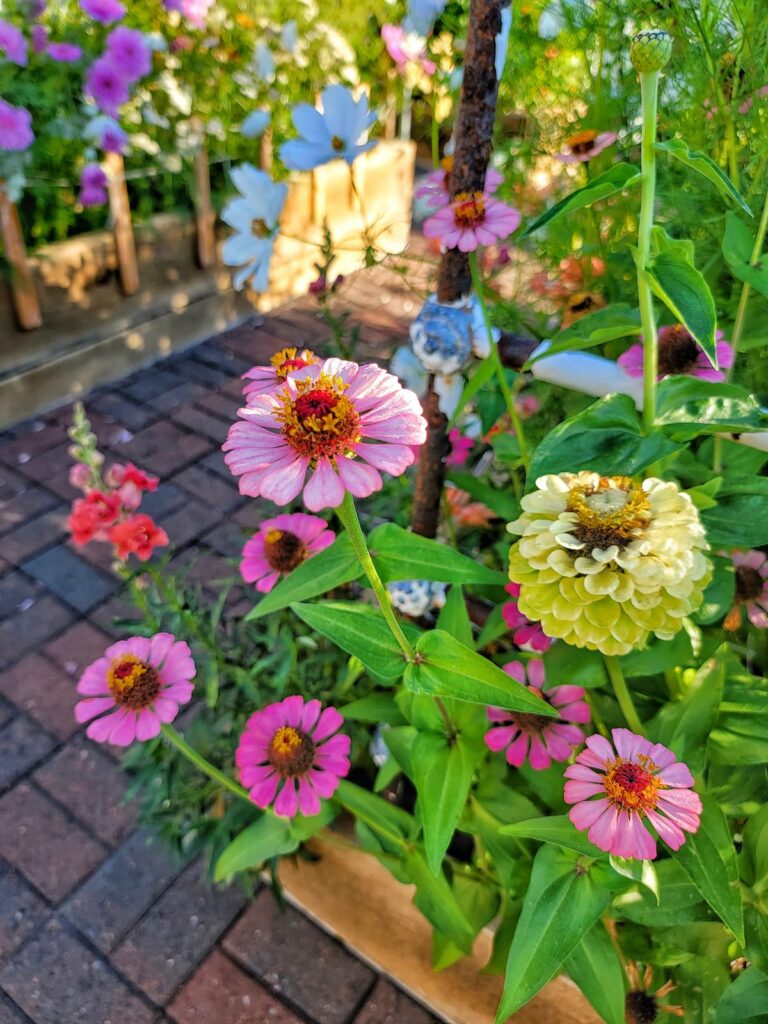
Once your zinnias are planted and growing, they don’t need much fuss, but a little care will keep them blooming strong all season long. These hardy flowers thrive with regular watering, occasional feeding, and a bit of deadheading to encourage more blooms.
Whether you’re growing them in garden beds or containers, a few simple maintenance steps will help your zinnias stay healthy, vibrant, and full of color until the first frost.
In this section, I’ll cover everything you need to know to keep your zinnias looking their best, from watering tips to disease prevention and everything in between.
Support Plants Early
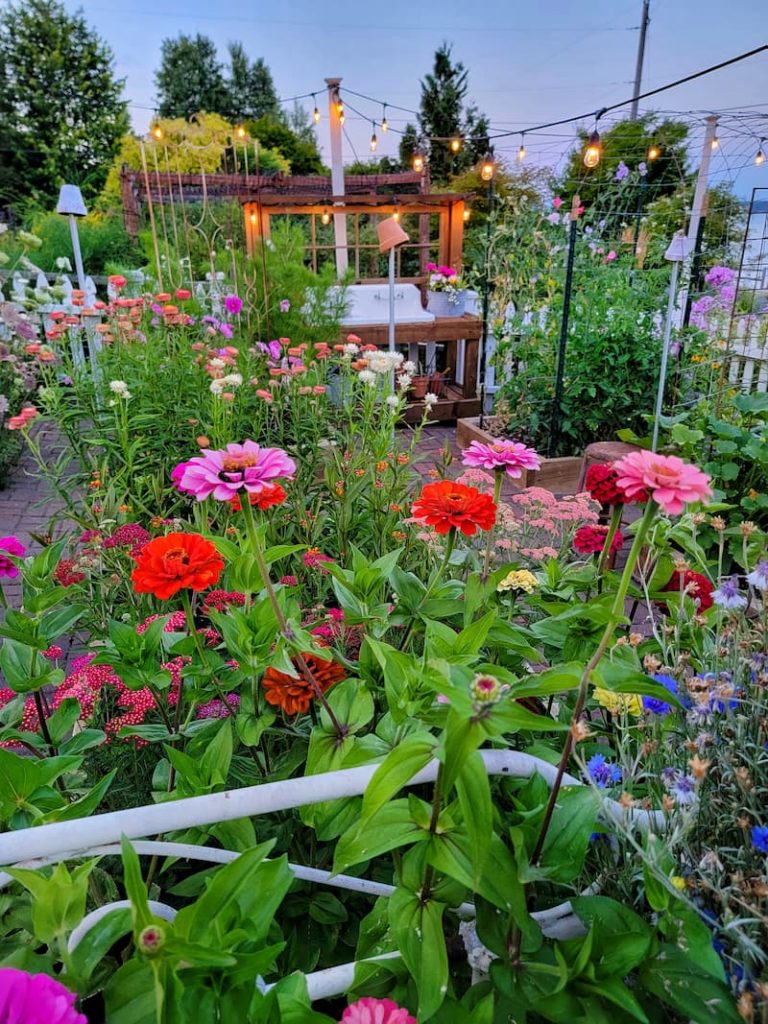
Once planted in the ground, zinnias grow quickly, so be sure to stake them early while they are still young.
I use both the corral method and netting to support my zinnias.
As the plant’s long stems grow taller, add another layer of twine or raise the netting to keep the wind and hard rains from damaging the zinnias.
Some tall or large-flowered zinnia varieties, like ‘Benary’s Giant’ or ‘California Giants,’ can benefit from early support to prevent them from flopping over as they grow.
Using plant stakes, cages, or flower netting when the plants are still young helps keep them upright and encourages better airflow, reducing the risk of disease. It’s much easier to add support early rather than trying to fix drooping stems later.
Water Your Zinnias Regularly
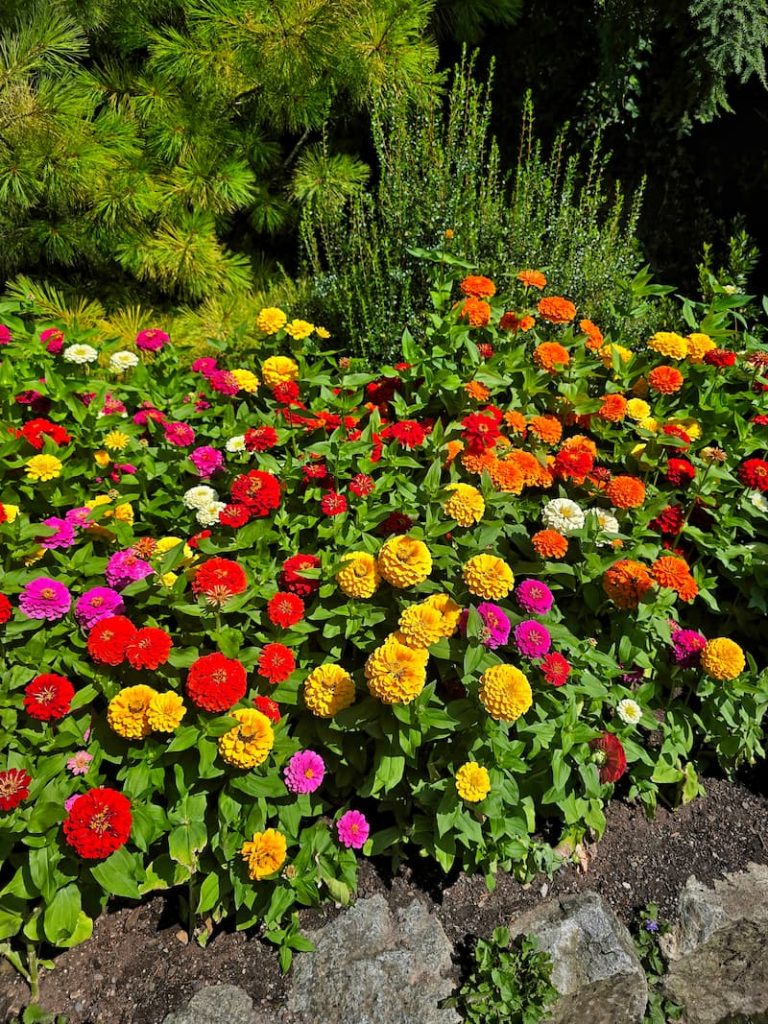
Create a plan to make sure your zinnias will be watered regularly in the garden.
For convenience and efficiency, I set up soaker hoses and drip irrigation in the raised garden beds. These watering systems ensure that my zinnias will never dry, even when I’m on vacation.
Zinnias love the sun but also need consistent watering to stay healthy and produce blooms. Aim to water them deeply, about 1 inch per week from rainfall or manual watering. If you’re growing them in pots, they may need watering more often, especially in hot weather.
To prevent mildew and disease, water at the base of the plant rather than overhead.
SHOP SOAKER HOSES
SHOP DRIP IRRIGATION
How to Keep Zinnias Blooming All Summer?
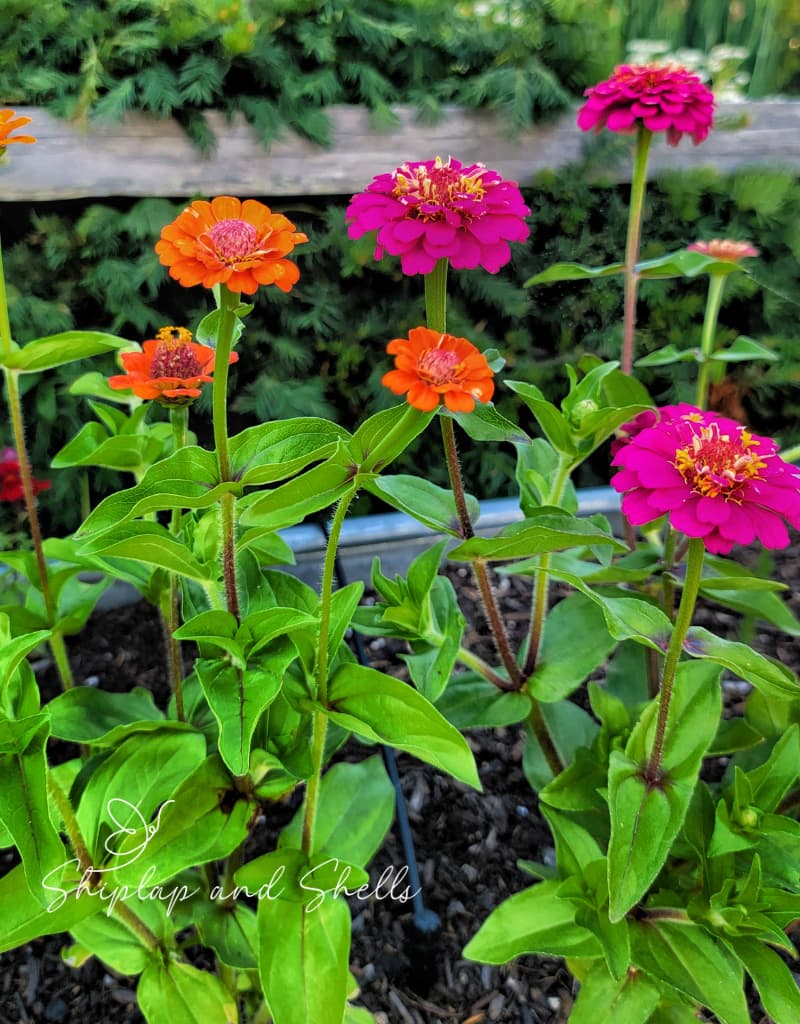
Zinnias are easy to grow and will bloom nonstop with a little care. Cut them often or deadhead spent blooms to encourage continuous flowering. Water deeply, about 1 inch per week, and avoid shallow watering. Space plants 6–12 inches apart for good airflow and to prevent powdery mildew.
For more blooms, fertilize monthly with a balanced (10-10-10) or bloom-boosting fertilizer. Organic options like compost or liquid seaweed also help keep plants healthy and productive.
How Do You Make Zinnia Seeds Grow Faster?
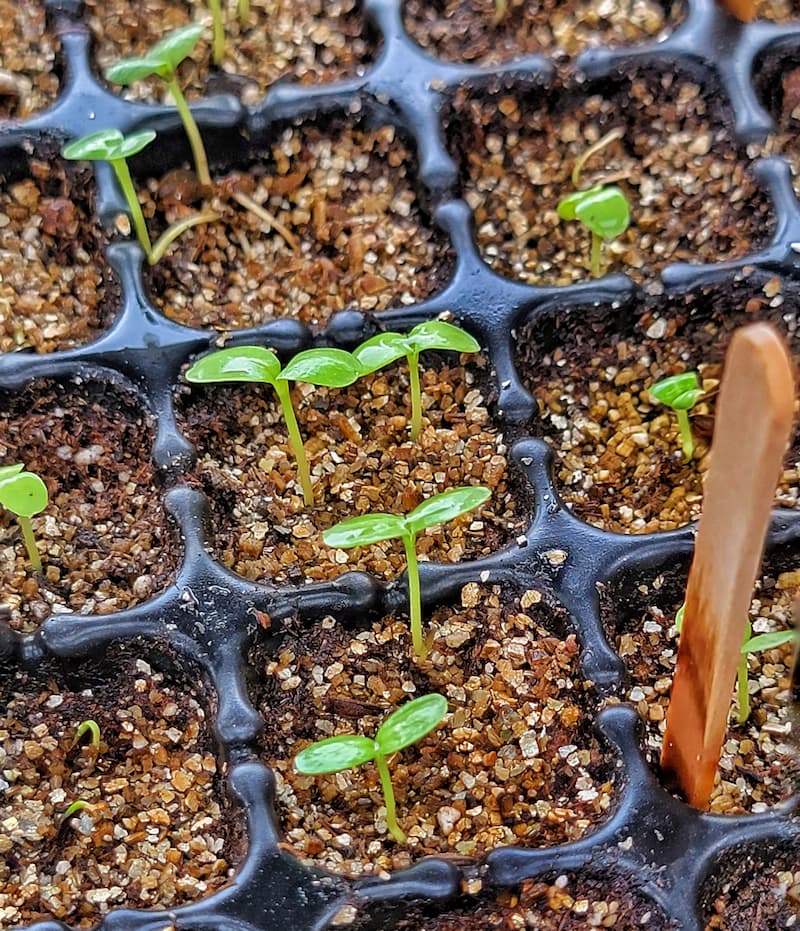
Zinnia seeds sprout quickly in warm soil (70–80°F). Wait until after the last frost to plant outdoors, or use a heat mat indoors. Soaking seeds for 4–6 hours can speed up germination, though it’s optional.
Plant in light, well-draining soil, and keep it evenly moist (but not soggy) until sprouts appear, usually in 5–7 days. Once sprouted, give seedlings 12–14 hours of bright light daily.
Thin seedlings to 6–12 inches apart for stronger growth. For an extra boost, feed with diluted balanced fertilizer or compost tea once true leaves appear.
How to Make Zinnias Bushy?
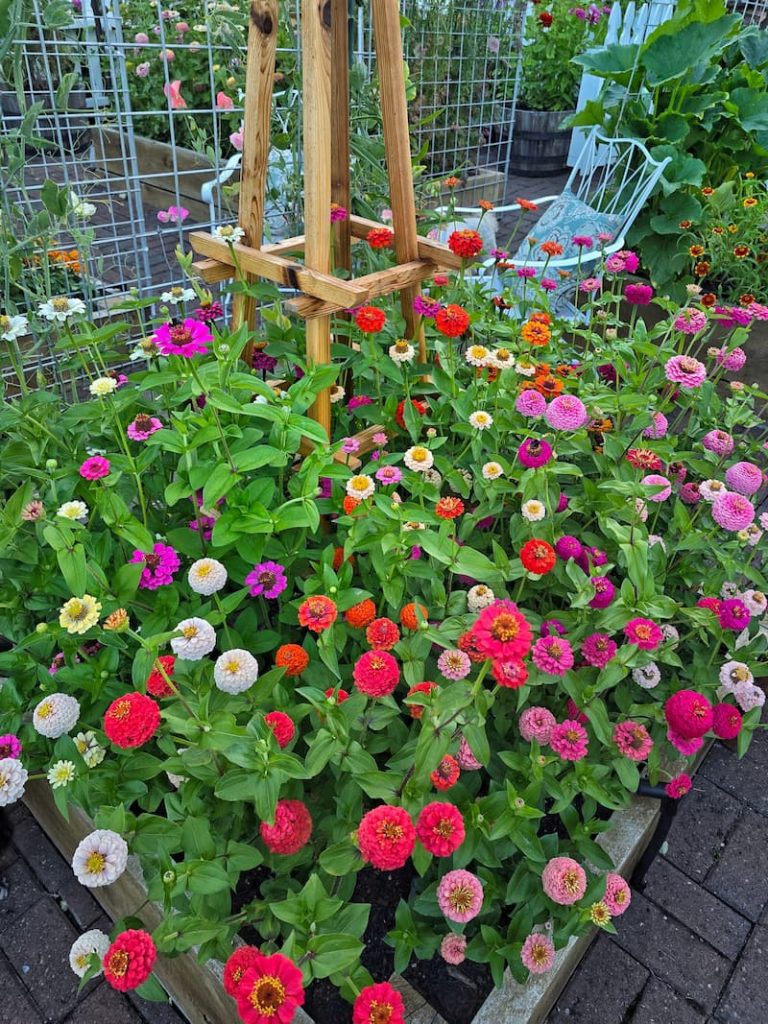
For fuller, bushier zinnias, pinch plants when they’re 6–12 inches tall by removing the top 1–2 inches above a leaf pair. This encourages side branching and more blooms.
Space plants 6–12 inches apart to prevent crowding and promote strong, bushy growth. Regularly cut blooms or deadhead spent flowers to keep new growth coming.
Grow zinnias in full sun (6–8 hours daily) and fertilize lightly with a balanced mix once a month. Organic compost or liquid seaweed also helps maintain healthy, compact plants.
Pinch Zinnia Plants
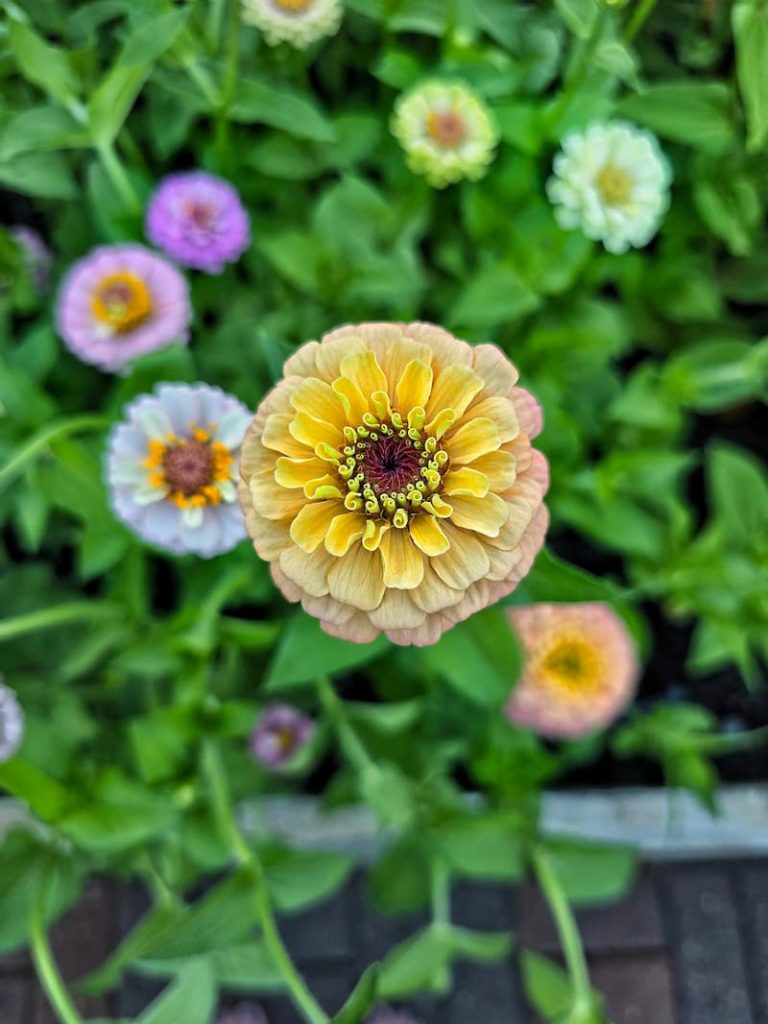
To get the longest stems possible, you should pinch them when they’re young seedlings.
Once the zinnia plants are 8-12 inches tall and have at least three sets of leaves on each stalk, snip 3-4 inches off the top, just above the leaf joint, with clean, sharp pruners.
Pinching the seedling signals the plant to send up multiple stems and side shoots from below where the cut was made. It encourages bushier growth and more blooms throughout the season.
Harvest Your Zinnias for More Blooms
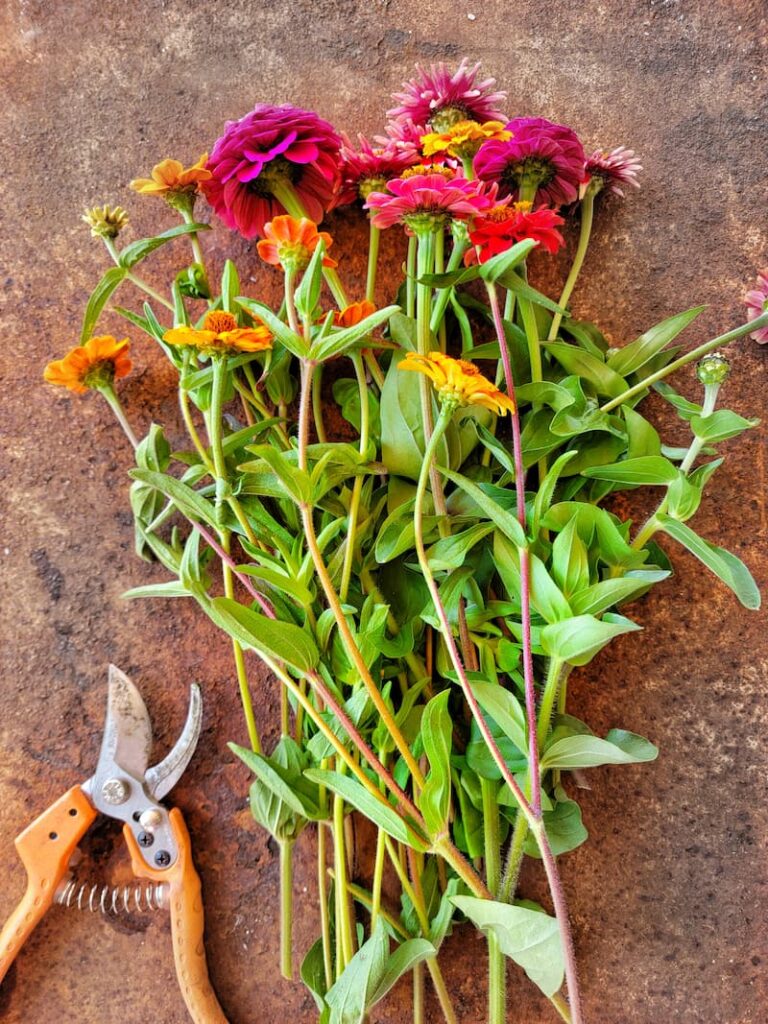
Zinnias are cut-and-come-again flowers — the more you cut, the more they bloom. Harvest regularly for continuous flowers all season.
Cut zinnias when stems are strong and stiff (not droopy). Use sharp scissors to cut at a 45-degree angle, taking a long stem and leaving two sets of leaves to encourage branching. Remove lower leaves to keep the vase water clean.
Zinnias last 7–10 days in a vase with flower preservatives. Add a drop of bleach to slow water discoloration. Harvest in the morning for the best vase life, and avoid storing them in coolers as they are cold-sensitive.
Deadhead Spent Flower Heads
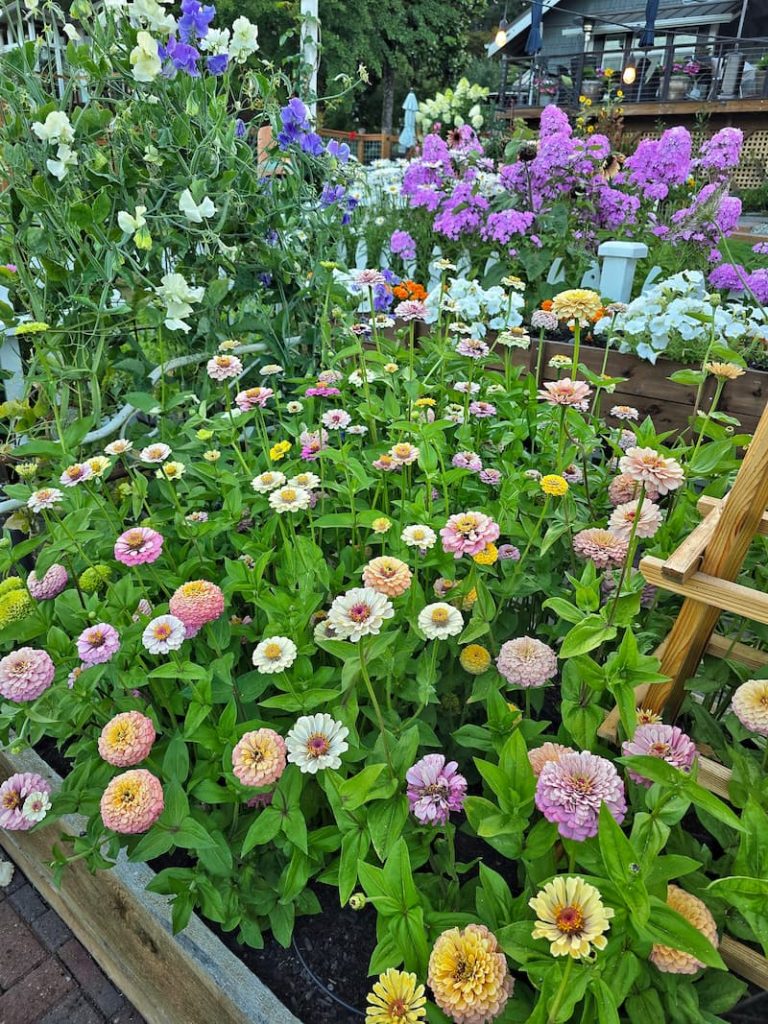
Deadheading spent blooms keeps zinnias focused on producing new flowers instead of seeds. Look for fading or dried blooms and snip them off just above a leaf node with clean scissors.
While deadheading, remove any yellowing leaves or weak stems to keep plants healthy.
Remember, harvesting is cutting fresh flowers for bouquets, while deadheading removes old, spent blooms. Check your plants every few days and deadhead regularly for continuous blooms all season.
The Most Common Mistakes Made When Growing Zinnias
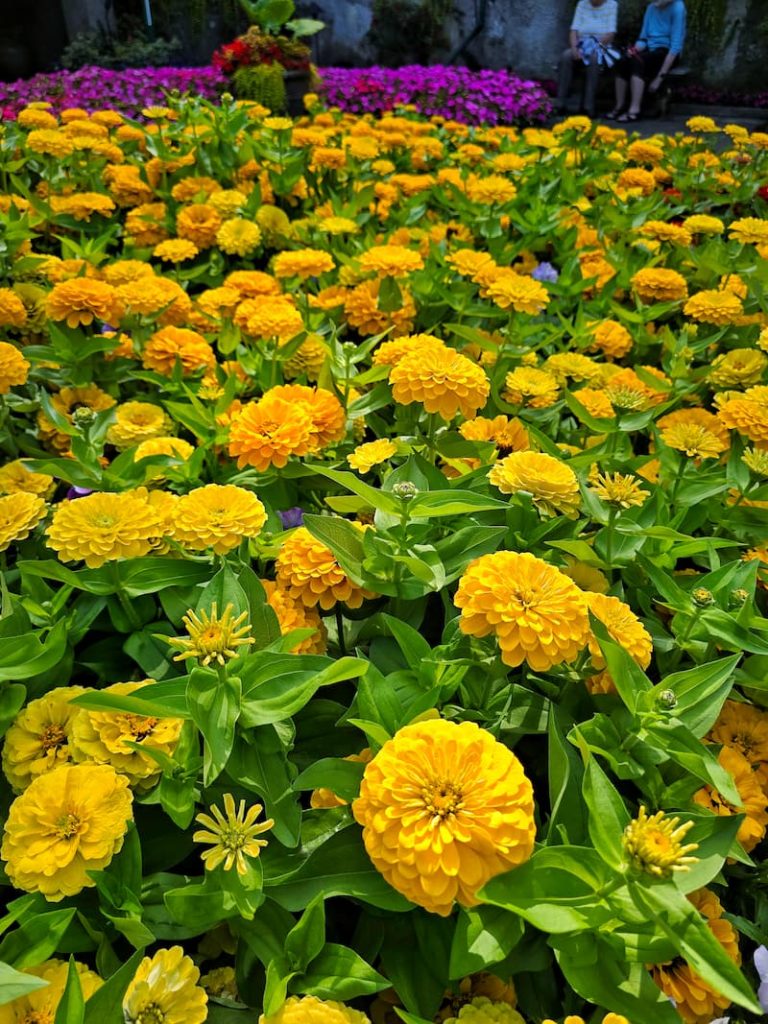
Do you want to grow the most beautiful zinnias? Avoid these common mistakes, and you’ll be a pro in no time.
Common Questions About Zinnias
Do Zinnias Come Back Every Year?
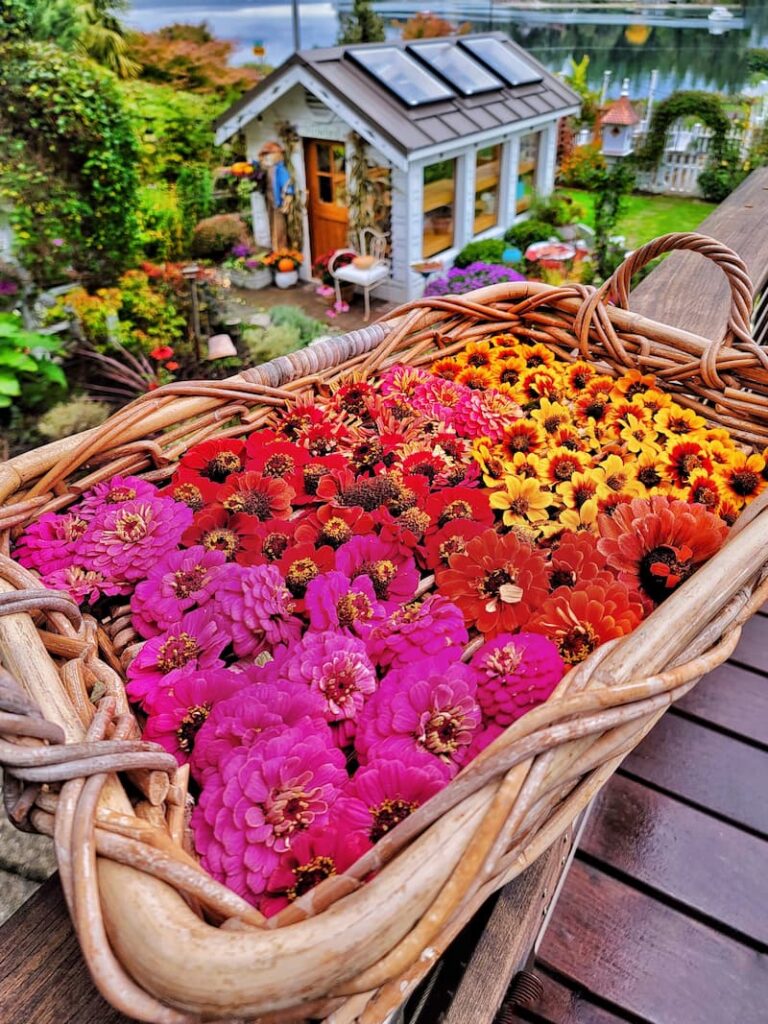
Zinnias are annual flowers, which means they do not come back every year on their own. Once they finish blooming and the first frost arrives, the plants die off. Unlike perennials, which regrow from their roots each year, zinnias only complete one life cycle in a single growing season.
Can Zinnias Reseed Themselves?
Yes! While zinnias won’t regrow from their roots, they can self-seed if you leave spent flowers on the plant. As the flowers fade, they produce seeds that may drop into the soil and sprout the following spring. However, this depends on your climate—if winters are too cold, seeds may not survive.
How to Ensure Zinnias Return Next Year
If you love zinnias and want them every year, you have a couple of options:
- Collect Seeds – Save seeds from dried flower heads at the end of the season and replant them in the spring.
- Let Them Reseed Naturally – Leave some flowers to dry on the plant and let nature do the work.
- Replant Each Spring – Since zinnias are fast-growing, you can easily start fresh plants from seed every year.
How Long Do Zinnias Bloom?
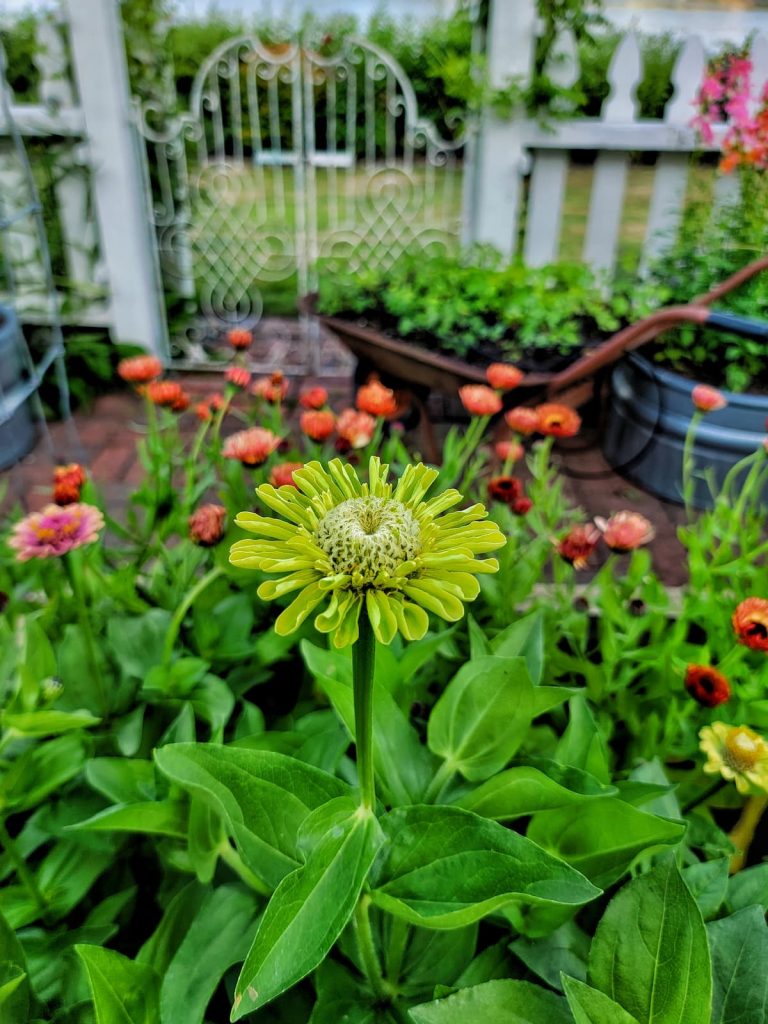
Zinnias bloom continuously from early summer until the first frost. With regular deadheading or cutting, they’ll keep producing fresh flowers for several months, giving you vibrant color all season long.
How Tall Do Zinnias Grow?
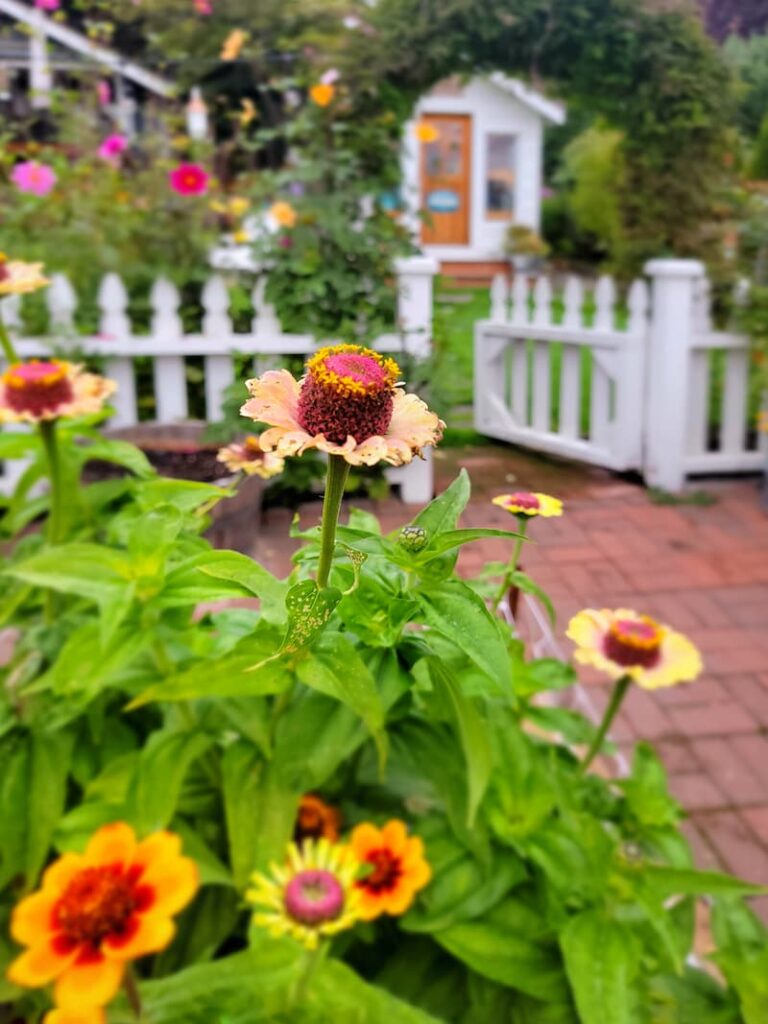
Most zinnias grown for cut flowers are taller varieties and grow between 1-4 feet. The tallest zinnias are in the Benary’s Giant Series and grow as high as 4 feet.
Zinnia plants you find at a nursery or garden center tend to be shorter varieties suitable for planting in window boxes and flower containers.
Zinnia height varies depending on the variety, but they generally range from 6 inches to 4 feet tall. Whether you want compact zinnias for borders or tall varieties for cutting gardens, there’s a perfect zinnia for every space.
Common Zinnia Heights by Type
Do Zinnias Need Full Sun?
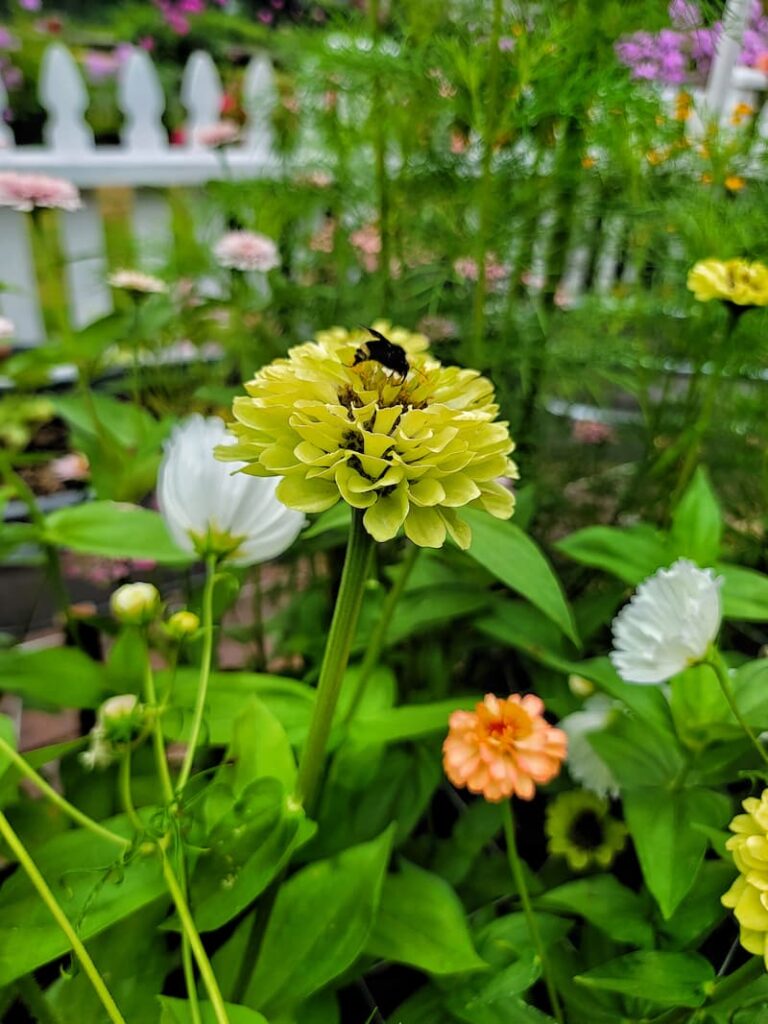
Yes! Zinnias need 6–8 hours of direct sunlight daily for the best blooms, strong stems, and better disease resistance.
While they can tolerate light shade, they’ll produce fewer, smaller flowers and may become tall and leggy. For healthy, vibrant plants, full sun is essential.
When Do You Plant Zinnias?
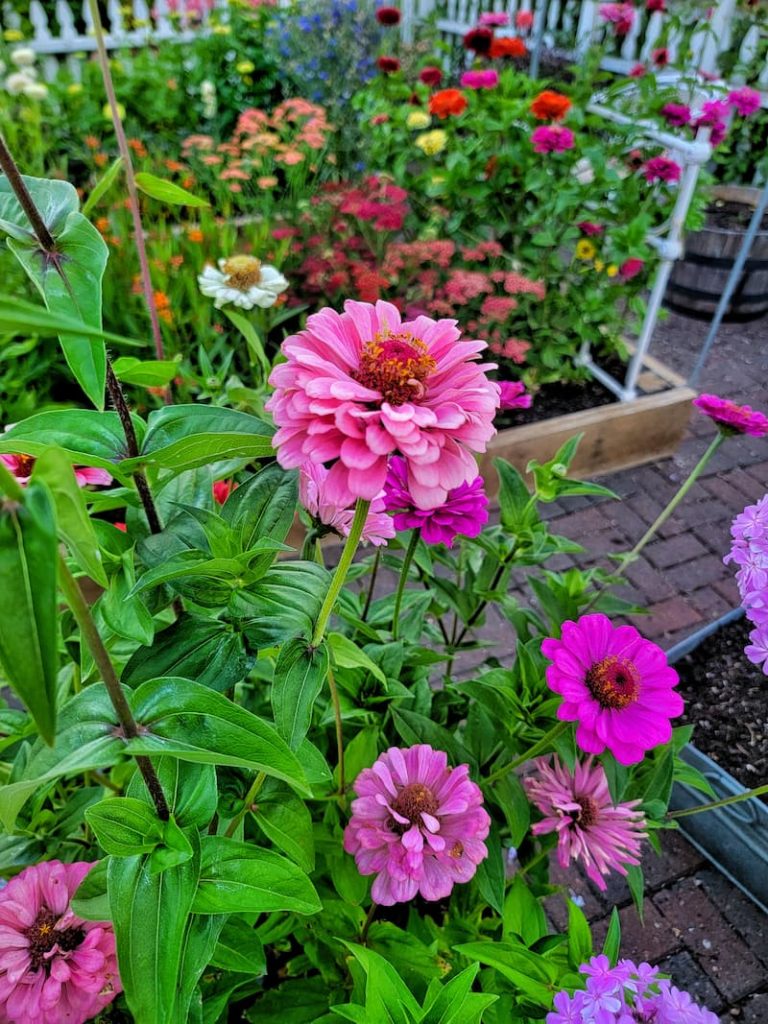
The best time to plant zinnias is after the last frost, when the soil has warmed to at least 60°F (16°C). Zinnias are warm-season flowers that don’t tolerate frost, so waiting until temperatures stay consistently warm will give them the best chance to thrive.
When to Plant Zinnias Based on Method:
Zinnia Planting Timeline by Climate:
How Hard is It to Grow Zinnias?
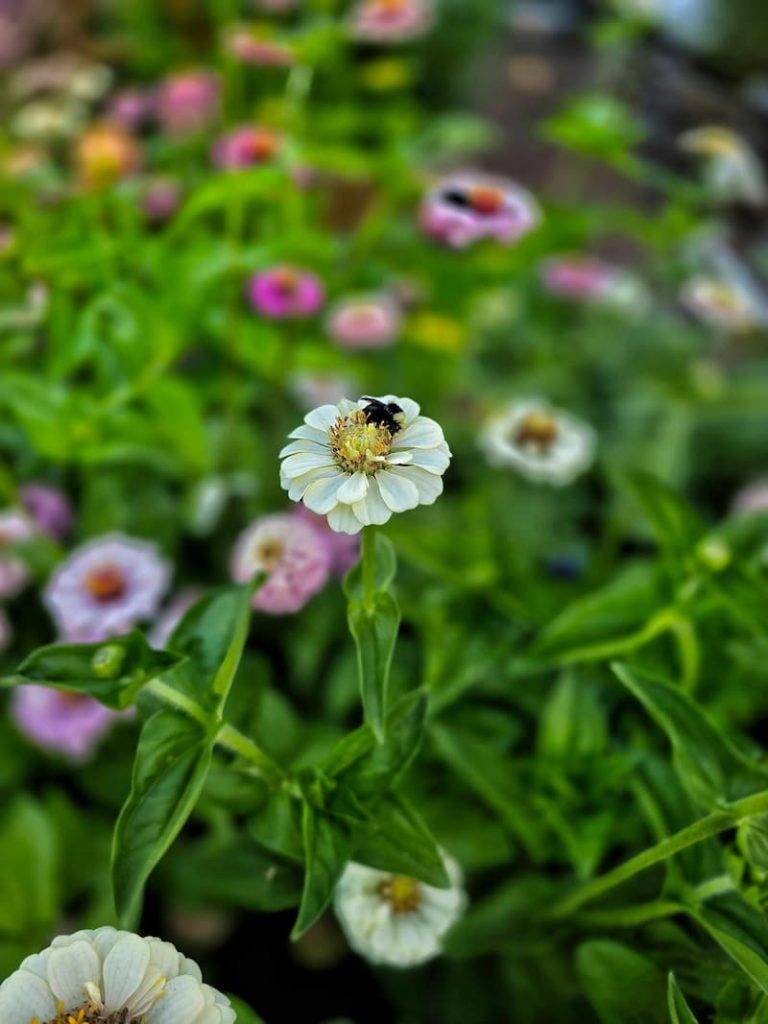
Zinnias are one of the easiest flowers to grow, making them perfect for beginners and experienced gardeners. These hardy, low-maintenance flowers germinate quickly, bloom abundantly, and thrive with minimal care.
Why Zinnias Are Easy to Grow:
Do Zinnias Have Pest and Disease Issues?
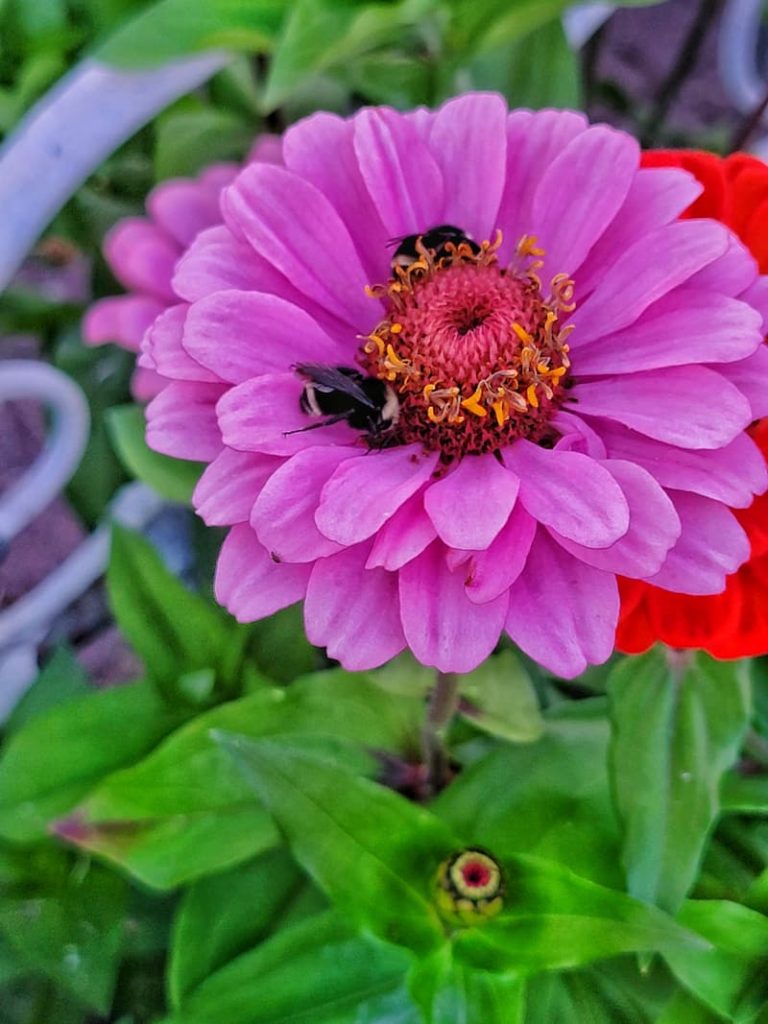
Zinnias are generally easy to grow but can be harmed by pests and diseases. Common pests include aphids, Japanese beetles, spider mites, and caterpillars. Knock off tiny pests with water, hand-pick larger ones, and use neem oil or insecticidal soap if needed. Encourage beneficial insects for natural control.
Common diseases include powdery mildew, leaf spot, and gray mold. To prevent them, water at the base, space plants 6–12 inches apart, avoid overhead watering and remove infected leaves.
Garden Supplies and Tools
Check out my favorite garden supplies and tools for the growing season. Whether you’re looking for potting soil or deer repellent, you’ll find what I use in my own garden.
Final Thoughts for Growing Zinnias from Seed
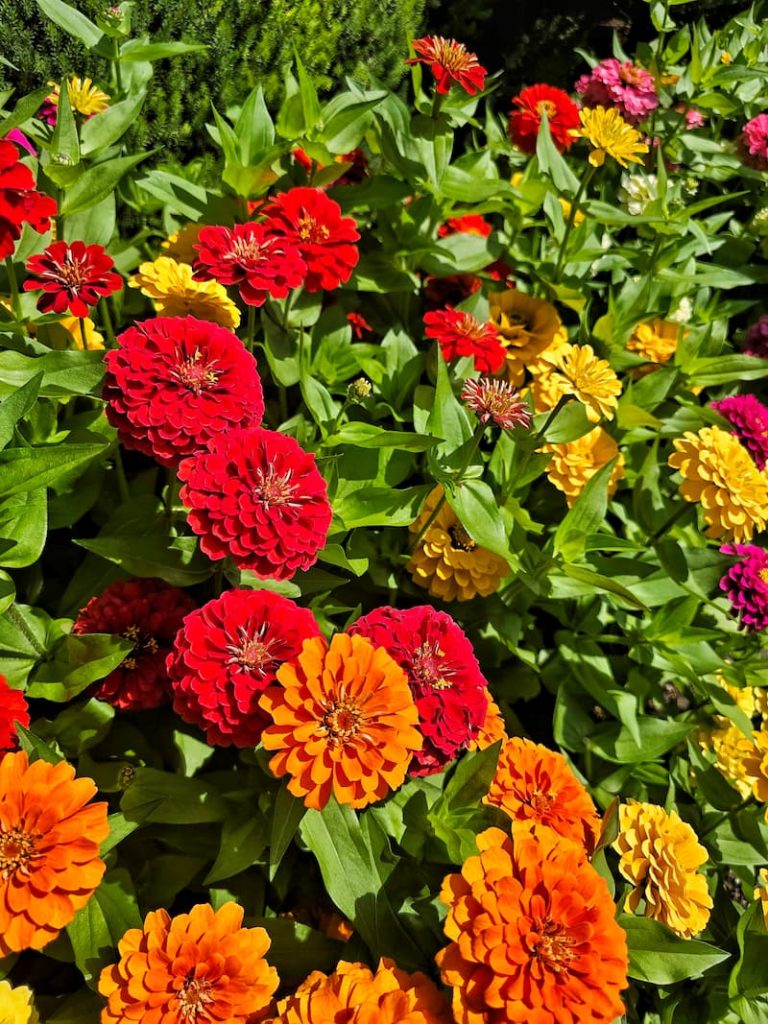
Growing zinnias from seed is one of the easiest and most rewarding ways to fill your garden with bright, cheerful blooms all summer long.
Whether you start them indoors for an early jump on the season or plant them directly in the garden, zinnias grow quickly, require minimal care, and bloom nonstop until the first frost.
With plenty of sun, well-draining soil, and regular deadheading, you’ll enjoy a stunning display of color that attracts butterflies, bees, and endless compliments.
If you have any questions or additional suggestions, please share them in the comments below. And be sure to share this blog post link with anyone who may find these gardening tips helpful.
Until next time,
Happy Gardening!

I’m a self-taught hobby gardener. Everything I share on my blog is my opinion and what has worked for me.
MORE POSTS
For You To Enjoy
Gardening Made Simple – Your Guide to Growing a Cut Flower Garden
Follow Me for More Inspiration
Shop my Amazon Storefront, LTK sources, and my favorite home decor, garden, and lifestyle products. When you purchase from one of my links, I earn a small commission, which helps me continue sharing all the content you expect on my blog.
Be sure to follow me on Pinterest, Instagram, Facebook, TikTok and LIKEtoKNOW.it. Do you like gardening? Join my Facebook Gardening Tips & Tricks group.



I have grown Giant zinnias to over 6’ in height they were sown by scattering and watered daily
I bet they were gorgeous!
Zinnias are one of my favorite flowers and I plant them every year, ifo on starting from seed indoors was very helpful. Thank you for sharing your knowledge.
Zinnias are such dependable and beautiful summer cut flowers. I’m so happy you found the blog post to be helpful. Thank you for being here.
It says to remember to pinch off the zinnias when they are 12 inches tall but earlier it says to pinch /cli them off above the third set of true leaves. Does this mean I should pinch them off twice?
Hi Karen,
You should pinch the seedlings above the third set of true leaves, which should be there if the plant is around 12 inches tall. Does that make sense? You can email me at [email protected] if you have further questions. Thank you for reaching out.
Zinnnias are so fun to grow and I’m so excited to start them again this year. What a great post! Cant wait to see the gardens this year! xo
Such great tips. I‘lll be trying this!