
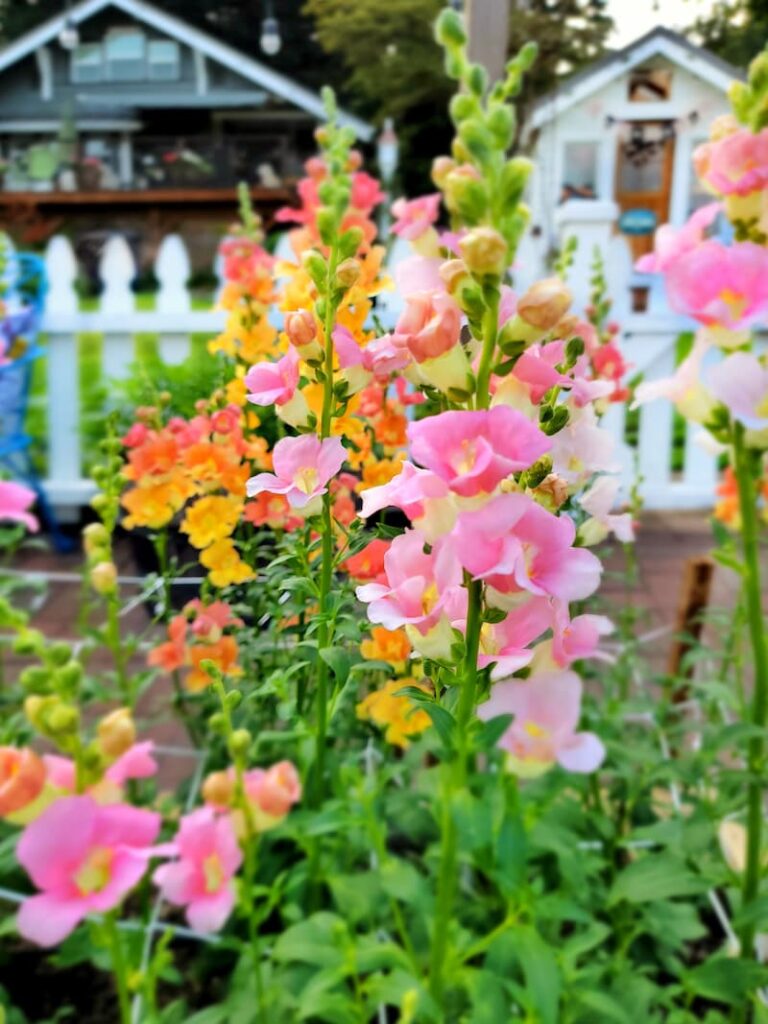
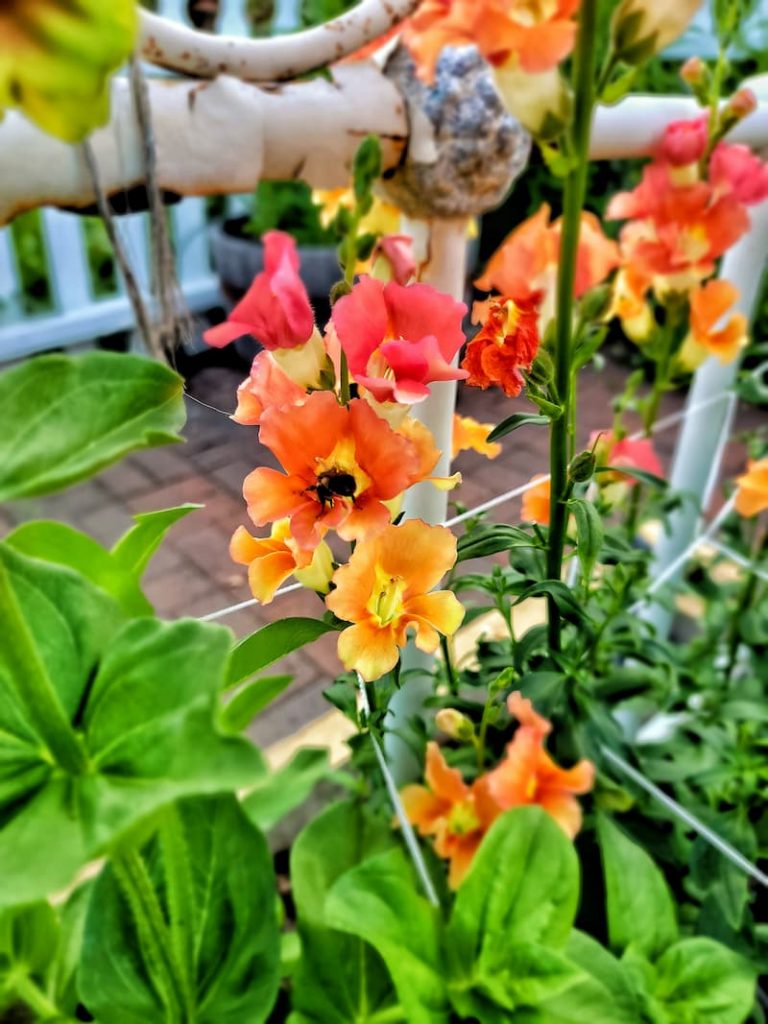
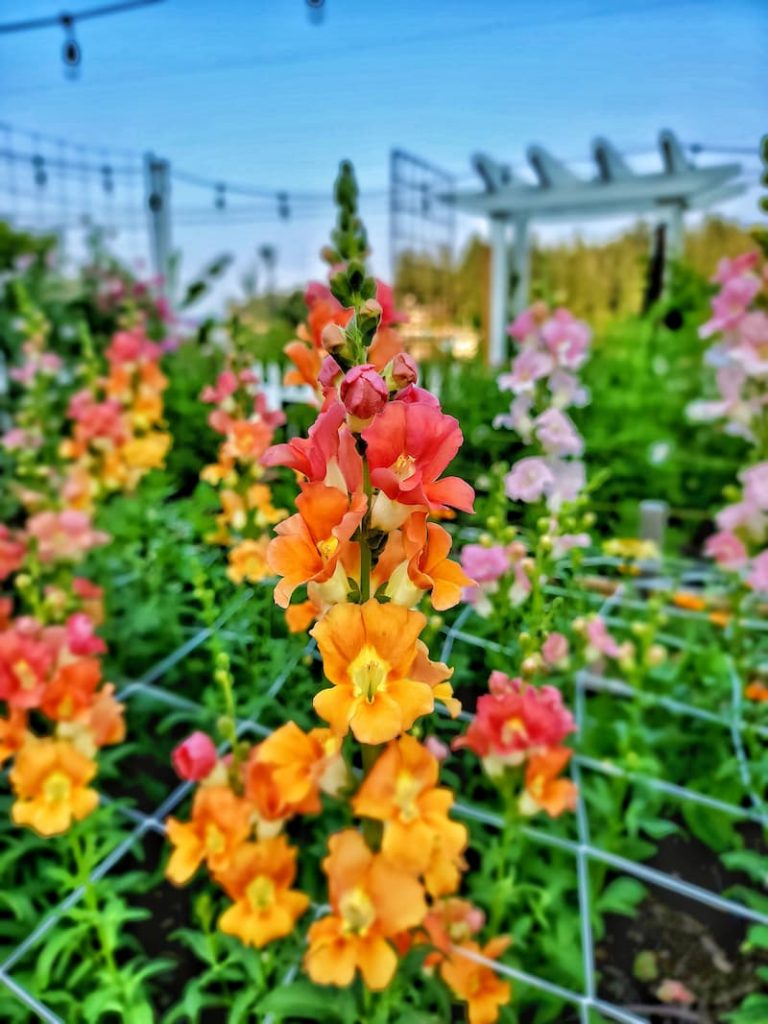
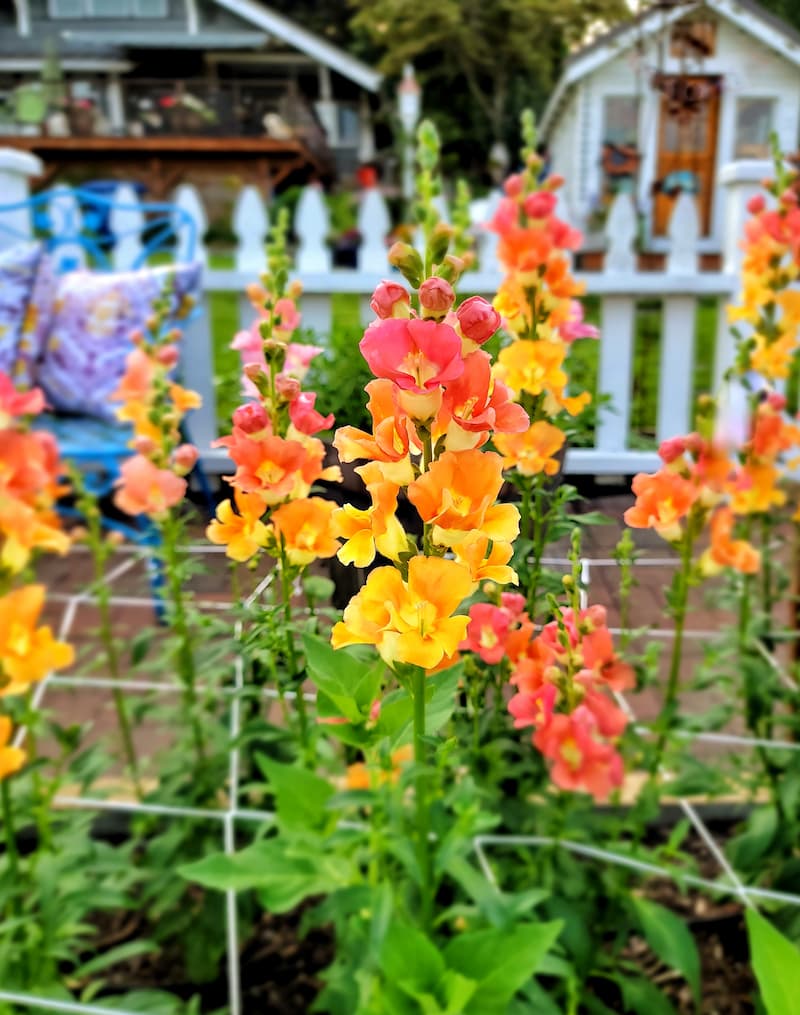
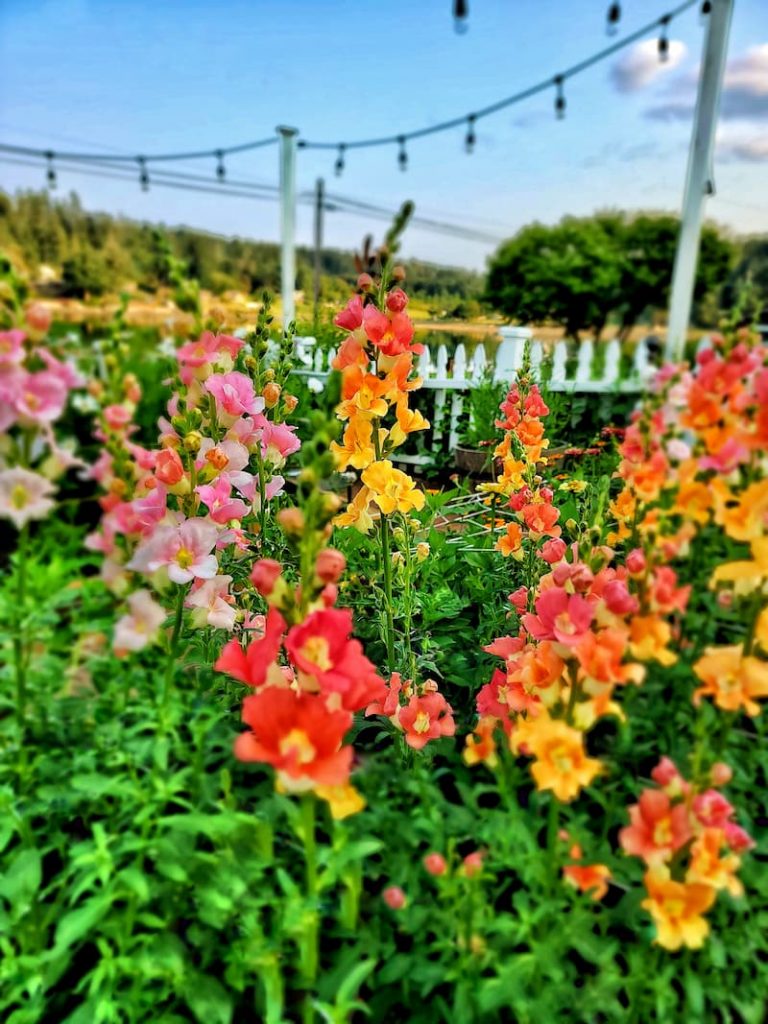
How to Grow Stunning Snapdragons from Seed Indoors

Growing snapdragons from seed indoors is one of my favorite ways to get a jumpstart on the flower garden season. There’s something so hopeful about sowing those tiny seeds while it’s chilly (and rainy in the PNW) outside, knowing they’ll be some of the first blooms to brighten the garden.
Starting snapdragons indoors gives you stronger plants, earlier flowers, and access to varieties you’ll never see at the nursery or a garden center.
Are you wondering how to grow snapdragons from seed indoors? From sowing those almost dust-like seeds to transplanting sturdy seedlings outside, I’ll walk you through it step-by-step.
As an Amazon affiliate, I earn a commission from qualifying purchases at no additional cost to you. My blog also features other affiliate links for your convenience. Click here to read my privacy policy.
Snapdragon Basics
Snapdragon Quick Facts
Let’s Plan Your Dream Garden With Our
Gardening Planner
Unlock Your Garden’s Potential.
Our 35-page Ultimate Garden Planner is designed to help you organize, track, and flourish in your gardening endeavors.
Get yours for $4.99
Growing Snapdragons from Seed Indoors: Getting Started
When to Start Growing Snapdragons from Seed
Timing is everything when you’re growing snapdragons from seed indoors.
Because snapdragons thrive in cool weather, I like to start mine 8-10 weeks before my last spring frost date. I usually mark it on my calendar as one of my first garden tasks of the year. It actually feels like the official start of the season.
Starting snapdragon seed indoors at the right time gives them plenty of time to grow into sturdy seedlings before they’re moved outside.
Always check your seed packet for variety-specific recommendations, and make sure you know your USDA Plant Hardiness Zone. In my Zone 8b garden here in the Pacific Northwest, that early indoor start gives me blooms well before many other flowers even get going.
If you would rather direct sow your seeds, snapdragons can be sprinkled onto the soil surface outdoors after the danger of hard frost has passed, but starting snapdragons indoors gives you more control and a longer blooming season.
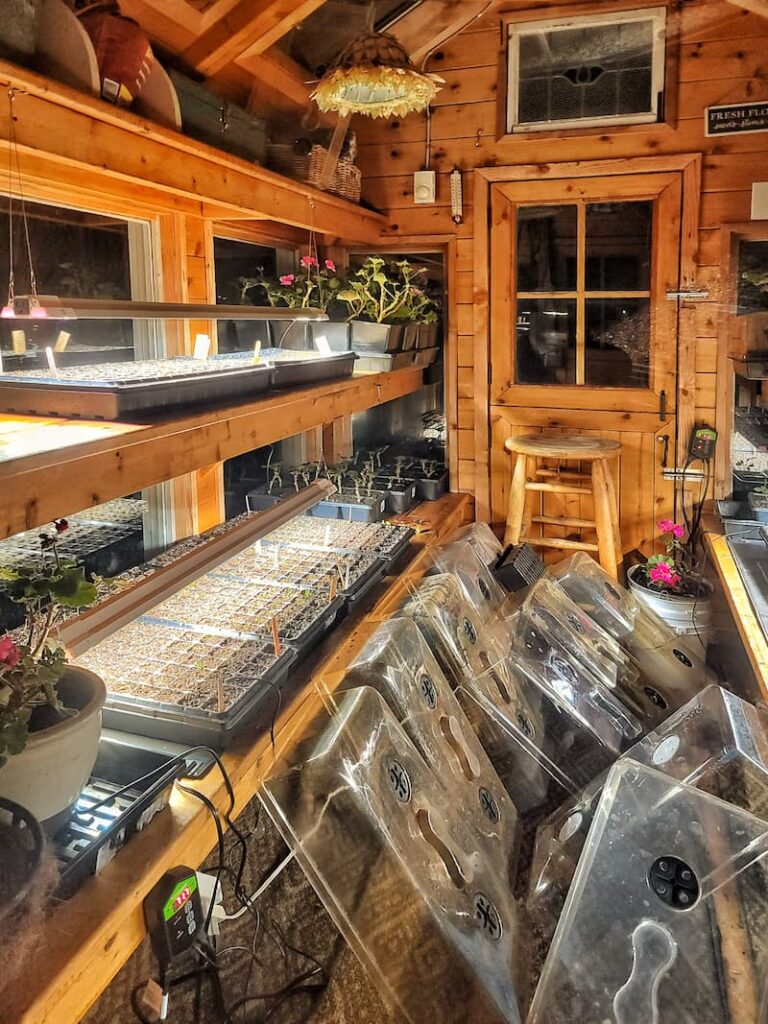
Supplies for Growing Snapdragons from Seed

Before you start sowing snapdragon seeds indoors, gather a few basic seed-starting supplies:
Having everything ready ahead of time makes the process smooth and stress-free, especially when you’re working with such tiny seeds.
Seed Starting Supplies
Check out my favorite supplies and tools for starting seeds indoors. Whether you’re looking for grow lights or a seed starting mix, you’ll find what I use in my own greenhouse.
How to Grow Snapdragons from Seed Indoors (Step-by-Step
Step 1: Use Clean Containers With Drainage
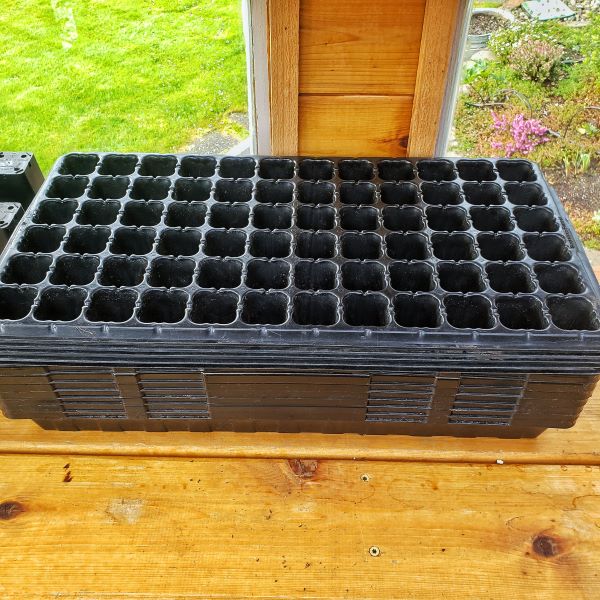
Choose clean containers with proper drainage holes to prevent soggy soil. I typically use cell trays because they make transplanting easier later on.
If you’re reusing containers, wash them with a solution of 1 part bleach to 9 parts water to reduce the risk of disease. This small step can prevent damping-off issues down the road.
Step 2: Fill With Pre-Moistened Seed Starting Mix
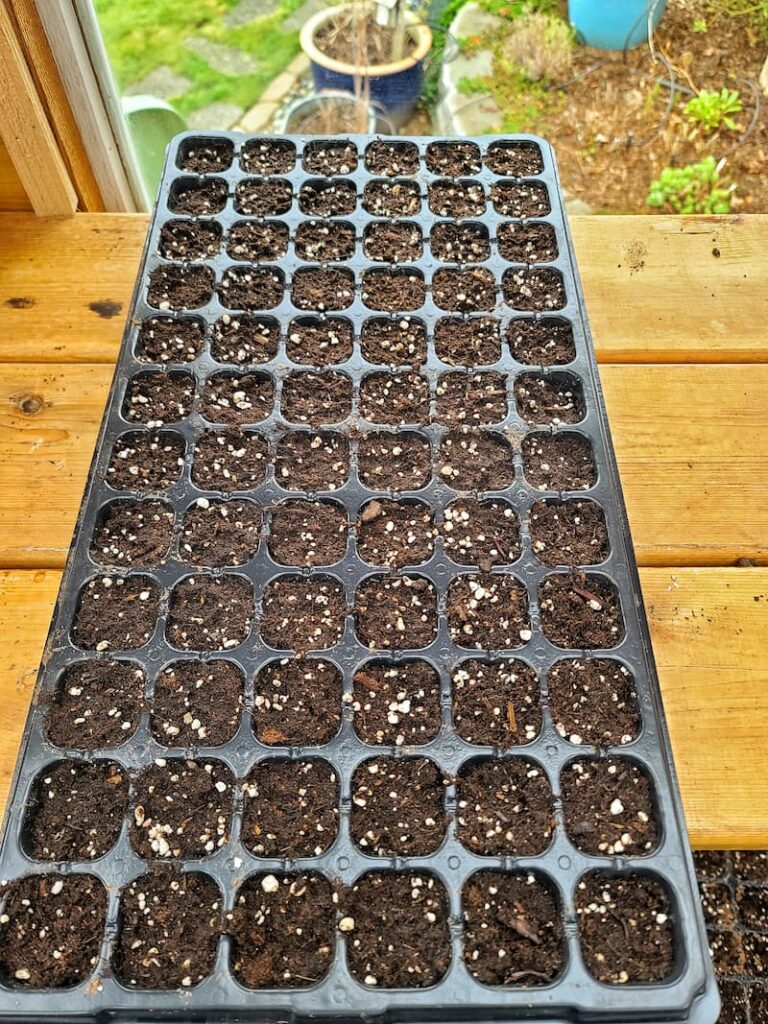
A lightweight seed-starting mix is essential for successful snapdragon seed germination.
Before filling your trays, pre-moisten the mix until it feels like a wrung-out sponge, damp but not dripping. Then fill your containers and gently tap them on the table to remove large air pockets.
I always notice stronger root development when I use proper seed-starting mix instead of standard potting soil. It drains well, holds consistent moisture, and gives those delicate roots plenty of oxygen.
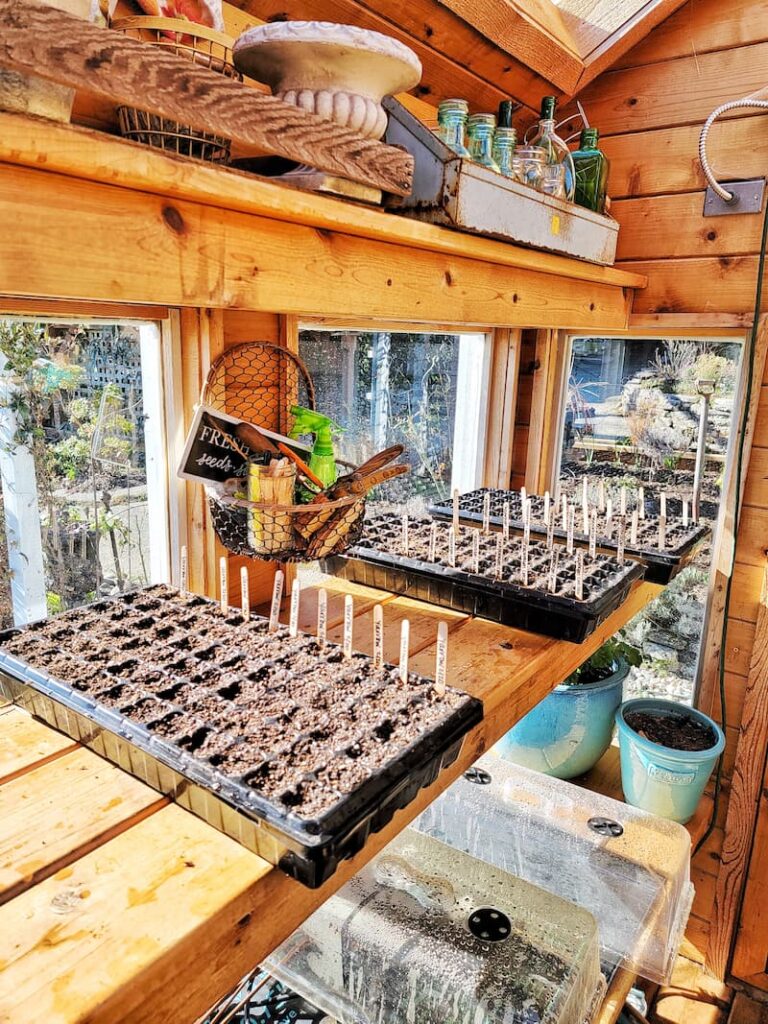
Step 3: Label Everything

Don’t skip this step.
Label your containers with the snapdragon variety and planting date. It’s surprisingly easy to forget what you planted where, especially if you’re starting multiple flowers at once.
Trust me, you will be so happy you did this.
Step 4: Sow Snapdragone Seeds (Do Not Cover!)
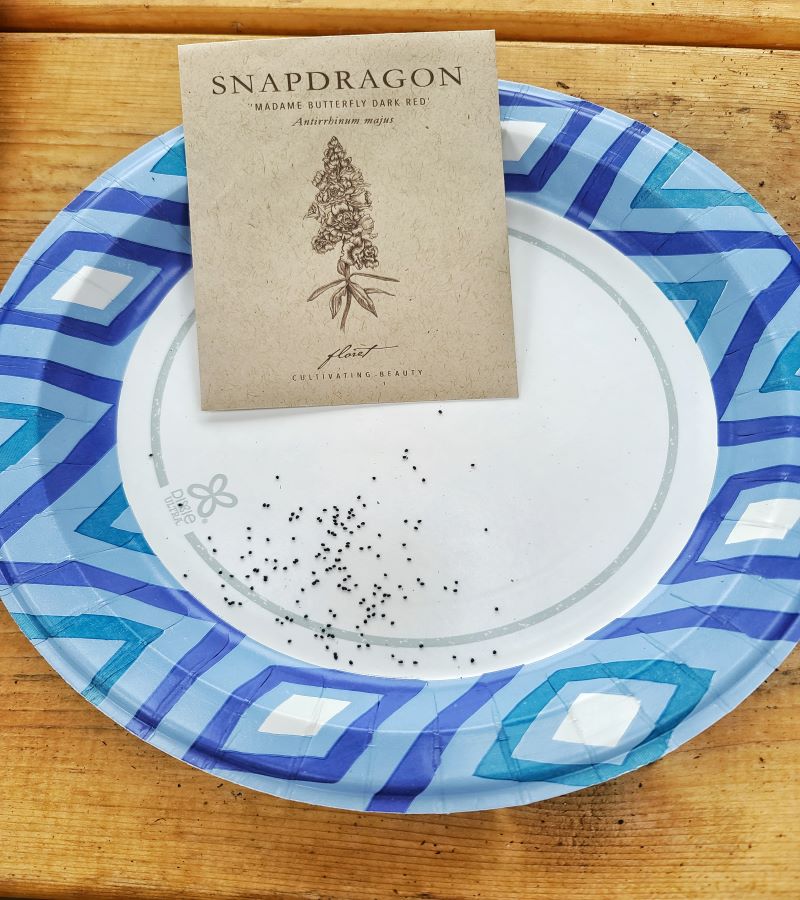
Snapdragon seeds are extremely small and require light to germinate.
I like to use the tip of a slightly damp toothpick to pick up and place each seat into a cell. Gently press them onto the surface of the soil, but do not cover them.
Because snapdragon seed germination requires light, covering them with soil can prevent sprouting.
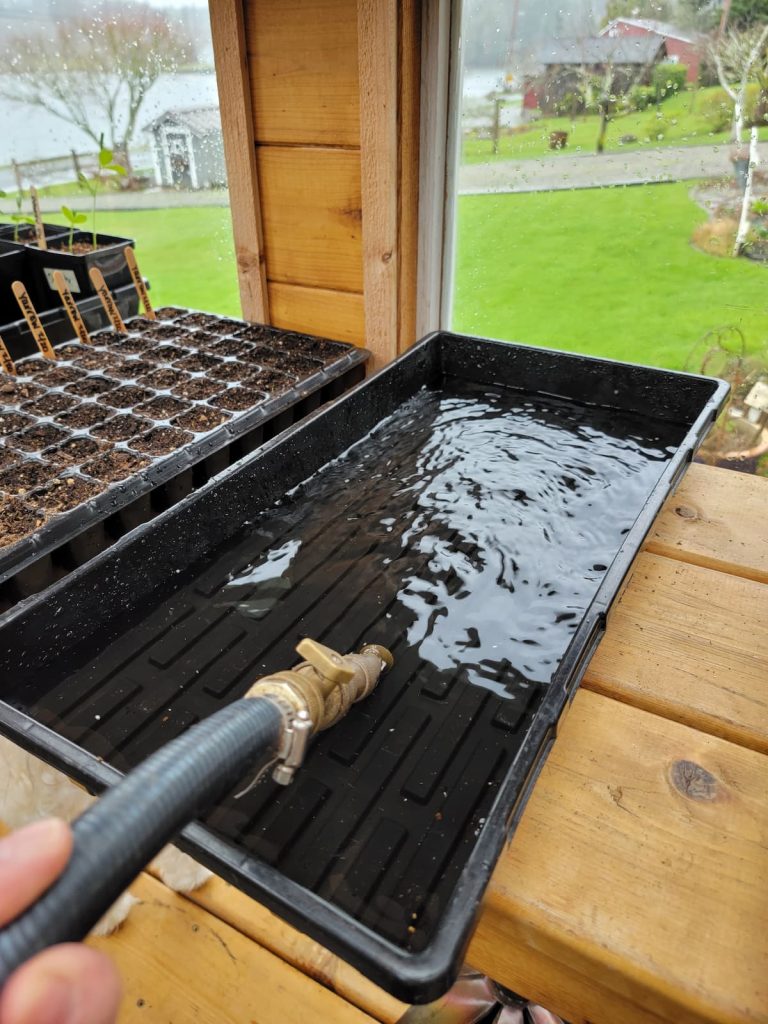
Step 5: Bottom Water Gently

Bottom watering is the safest method when growing snapdragons from seed indoors.
After sowing, place your container in a tray with about an inch of water. Let the soil absorb moisture from below for up to an hour, then remove it from the tray.
This prevents disturbing the seeds and keeps moisture levels even, which is especially important during germination.
Step 6: Cover With a Humidity Dome
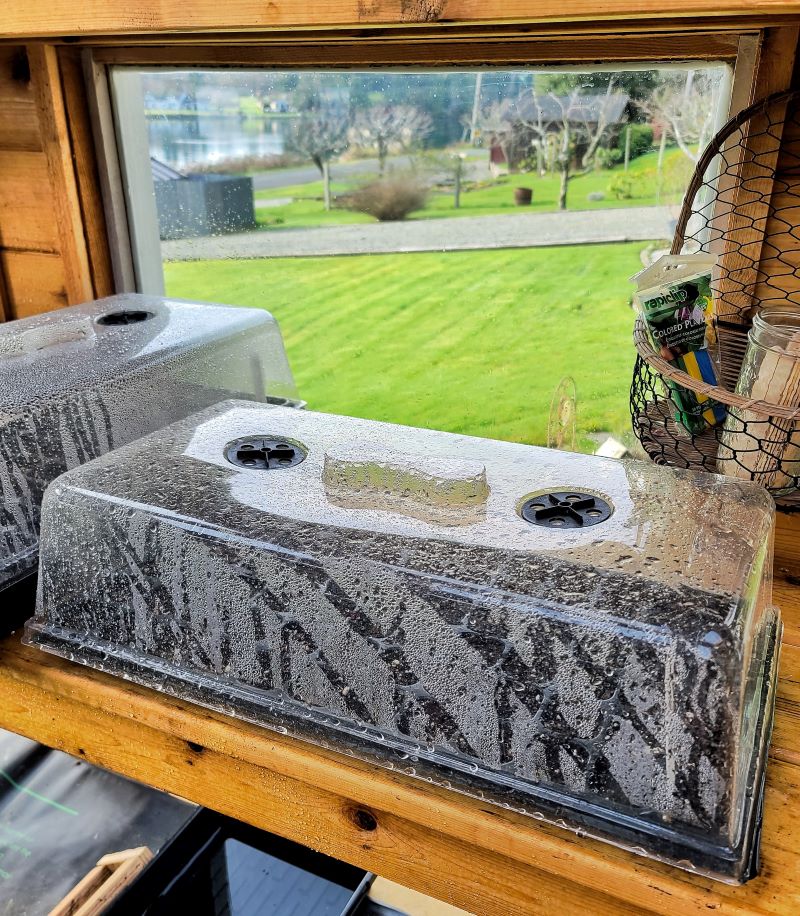
Place a clear humidity dome over your container to help retain moisture and create a mini greenhouse effect.
Check daily for condensation and air circulation. As soon as you see sprouts emerging, remove the dome to prevent mold and encourage strong growth.
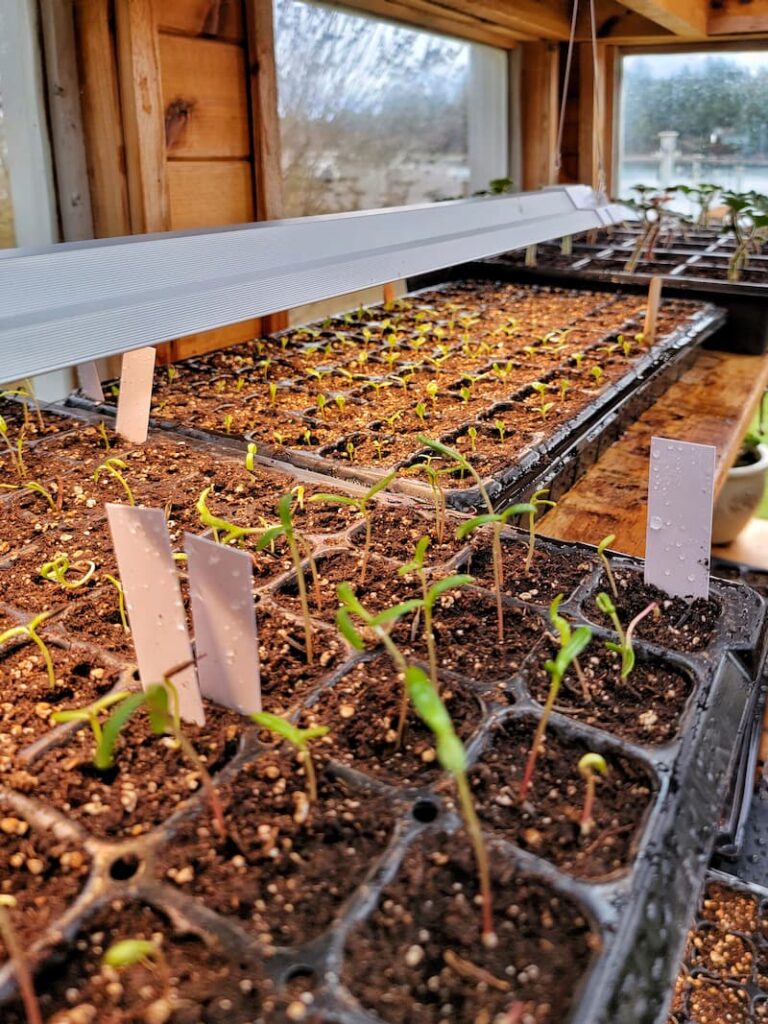
Step 7: Provide Bright Light

Once your snapdragon seedlings emerge, they need plenty of light to stay compact and strong.
Place them in a sunny window, greenhouse, or under grow lights positioned about 3 to 4 inches above the seedlings. Keep lights on for about 14 to 16 hours per day. 3
In my experience, insufficient light is the fastest way to end up with tall, leggy snapdragon seedlings.
Step 8: Continue Careful Watering
Check your seedlings every day or two. Bottom water when the soil surface begins to dry out.
Once the first set of true leaves appears, you can switch to gentle top watering if needed, avoiding overwatering. Snapdragons prefer evenly moist soil, not soggy conditions.
There’s something so satisfying about watching those first two leaves form. That’s when you know your snapdragon seedlings are ready to take off.
Seed Starting Temperature Tip
Keep soil temperatures between 55-68°F, and avoid using a heat mat unless your space is very cold. Temperatures above 75°F can actually slow or reduce germination.
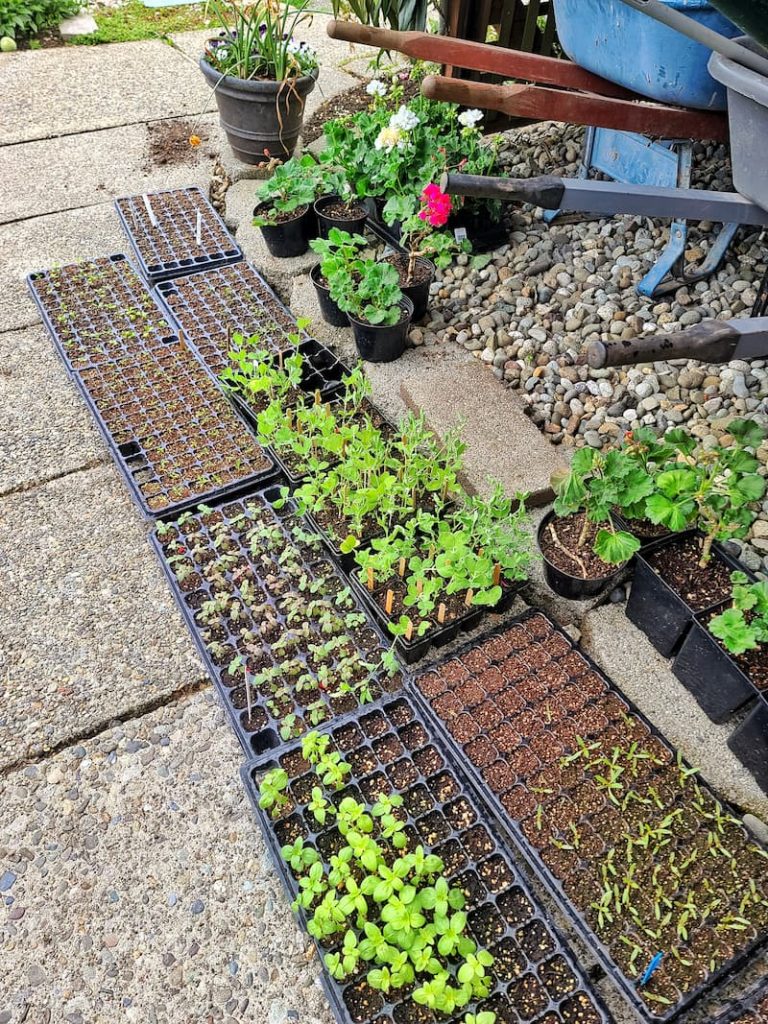
Growing Snapdragons Indoors After the Seeds Have Germinated
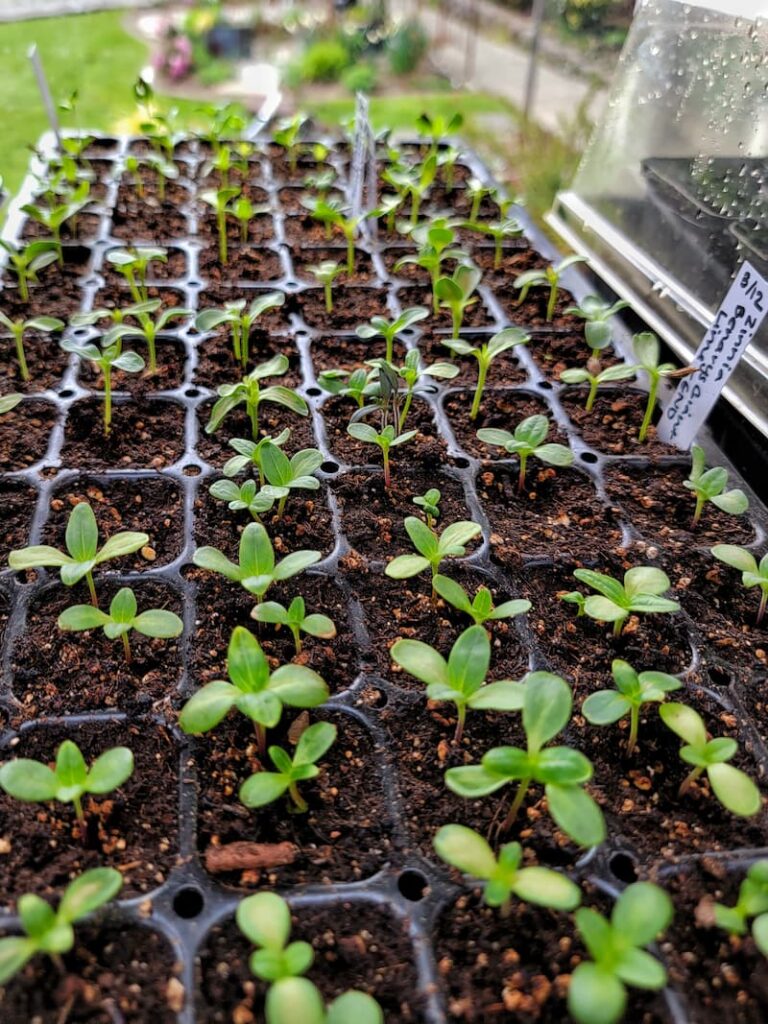
Snapdragons are a bit slower to germinate than many other cut flowers, typically sprouting within 10 to 21 days. I always feel a little thrill when those first tiny green sprouts appear.
Once you see those tiny green shoots emerge, it’s time to shift from germination mode to seedling care.
Remove the Humidity Dome
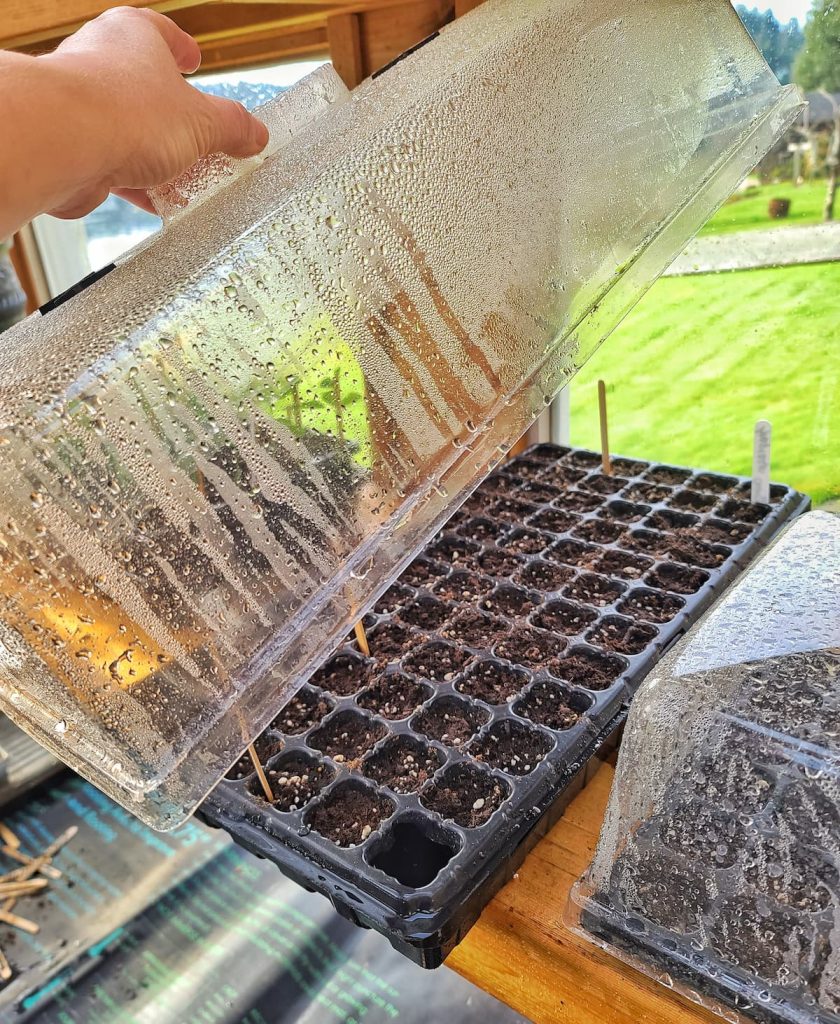
As soon as your snapdragon seedlings have sprouted, remove the humidity Dome completely. Leaving it on too long can trap excess moisture and increase the risk of mold or damping-off.
Good air flow and bright light are now your top priorities.
Provide Strong Light Immediately
Snapdragon seedlings need bright, consistent light to stay compact and sturdy.
Place them under grow lights positioned about 3 to four inches above the seedlings for 14 to 16 hours a day. If using a sunny window, rotate trays regularly so plants don’t lean toward the light.
In my experience, strong light at this stage is the difference between sturdy stems and tall, floppy seedlings reaching for the sun.
Keep Soil Evenly Moist
Check seedlings daily and bottom-water when the soil surface begins to dry out.
Once the first set of true leaves appear (the leaves that look like miniature snapdragon leaves rather than the initial smooth cotyledons), you can begin gently top watering if needed. Just avoid soaking the soil; snapdragons prefer constant moisture, not soggy conditions.
Check the seedlings daily to ensure the soil doesn’t dry out.
Improve Air Circulation
Good airflow helps prevent fungal issues and encourages stronger stems.
A small fan set on low nearby can make a big difference. It gently mimics outdoor breezes and helps your seedlings develop thicker, sturdier growth.
This is one of those simple steps that’s easy to skip, but it really pays off later.
Thin Seedlings if Needed
If multiple snapdragon seedlings are growing in one cell, thin them once they develop two sets of true leaves.
Snip the weaker seedlings at the soil level rather than pulling them out, which can disturb nearby roots. Leaving one strong seedling per cell gives each plant the space it needs to thrive.
Fertilize Lightly
About three to four weeks after germination, begin feeding with a half-strength, water-soluble fertilizer.
Snapdragons don’t need heavy feeding at this stage, but a gentle boost helps build strong roots and healthy foliage before transplanting outdoors.
Pinch for Bushier Plants
When your snapdragon seedlings reach four to 6 inches tall and have at least three sets of true leaves, pinch the central growing tip just above a leaf node.
The first time I pinched snapdragons, it felt a little scary. But trust me, they bounce back beautifully and reward you with twice as many blooms.
This process encourages branching from the base, resulting in bushier plants and far more blooms later in the season.
How Big Should Snapdragon Seedlings Be Before Transplanting?
Snapdragon seedlings are ready to transplant outdoors when they are 3 to 4 inches tall and have at least 3 to four sets of true leaves. At this stage, the stems should feel sturdy (not thin or floppy), and the roots should fill the cell without becoming tightly root-bound.
Because snapdragons are cool-season flowers, they can tolerate light frost once established. In many climates, you can transplant them 2 to 3 weeks before your last expected frost date, as long as they’ve been properly hardened off.
I always look for compact, stocky growth rather than height. If the seedlings are short, thick-stemmed, and healthy green, they are usually strong enough to handle the move outside.
If they’re tall and leaning, it’s worth giving them a little more time under bright light before transplanting.
Moving Snapdragon Seedlings Outdoors
Once your snapdragon seedlings are sturdy, compact, and properly hardened off, it’s time to move them into the garden. This is where all that careful indoor seed starting really begins to pay off.
Preparing Garden Beds for Snapdragons
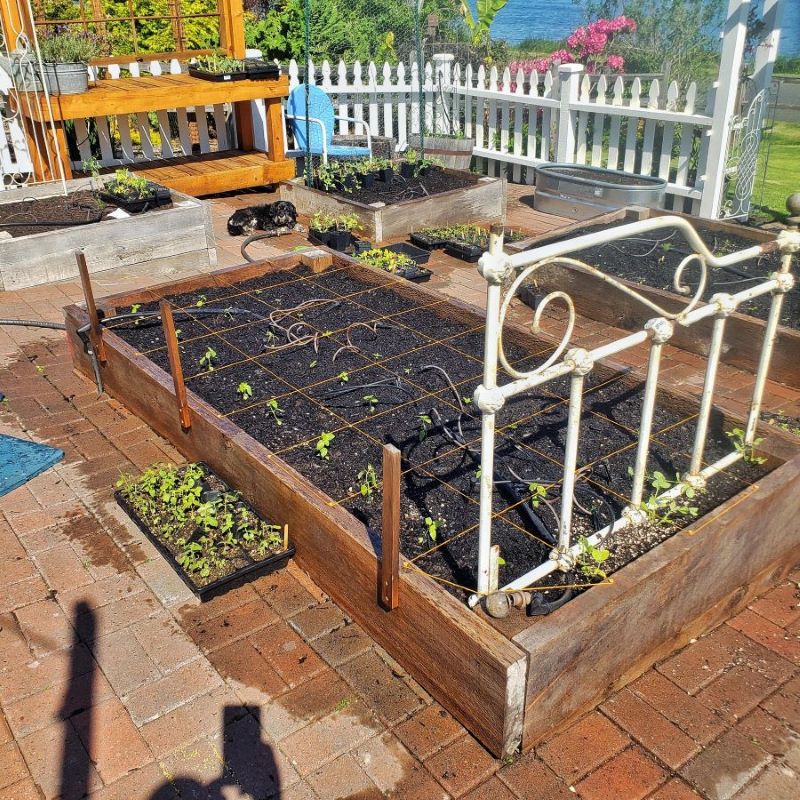
Before transplanting snapdragons, make sure your garden beds are ready to support strong root growth and healthy blooms.
Choose a spot that receives 6 to 8 hours of sunlight daily. While snapdragons love cool temperatures, they still need plenty of light to produce sturdy stems and abundant flowers.
Loosen the soil 8 to 10 inches deep and mix in compost or well-aged organic matter to improve drainage and add nutrients. Snapdragons prefer well-draining soil and don’t tolerate soggy conditions, so this step is especially important if your soil is heavy or clay-based.
Spacing matters too. Plant snapdragon 6 to 12 inches apart, depending on the variety. Proper spacing improves airflow, which helps prevent fungal issues later on in the season.
I’ve found that giving them a strong start in healthy soil makes a noticeable difference in stem strength and bloom production.
Hardening Off Your Snapdragons
Before transplanting snapdragon seedlings into the garden, they need time to adjust to outdoor conditions. Hardening off is the process of gradually exposing young plants to sunlight, wind, and temperature fluctuations over 7 to 10 days. It’s not the most exciting part of the process, but it’s one of the most important.
Start by placing your seedlings outdoors in a sheltered, partially shaded spot for a few hours each day. Avoid intense midday sun and strong winds at first. Gradually increase their exposure to sunlight and outdoor time each day.
Water consistently during this period to prevent stress, but avoid overwatering.
It’s tempting to rush this step, especially when the weather finally turns nice, but taking the time to harden off properly helps prevent transplant shock and set your snapdragons up for stronger growth once they’re in the ground.
Transplanting Snapdragon Seedlings to the Garden

After your snapdragon seedlings have been properly hardened off, it’s time to plant them in the garden.
Dig holes slightly larger than the root ball and gently remove each seedling from its container, being careful not to disturb the roots. Place the plant at the same depth it was growing indoors, and lightly firm the soil around the base.
Space plants 6 to 12 inches apart, depending on the variety. Taller snapdragons benefit from a bit of extra room for airflow and future support.
Water thoroughly after planting to help settle the soil and eliminate air pockets. If needed, add a thin layer of mulch around the base of the plants to help retain moisture and suppress weeds. Keep mulch away from direct contact with the stems.
I like to transplant in the morning or on an overcast day to reduce stress on the seedlings. It gives them a gentler transition into the new environment.
With healthy soil, proper spacing, and consistent moisture, you’ll see fresh growth within a week or two. That’s when you know your snapdragon seedlings have settled in.
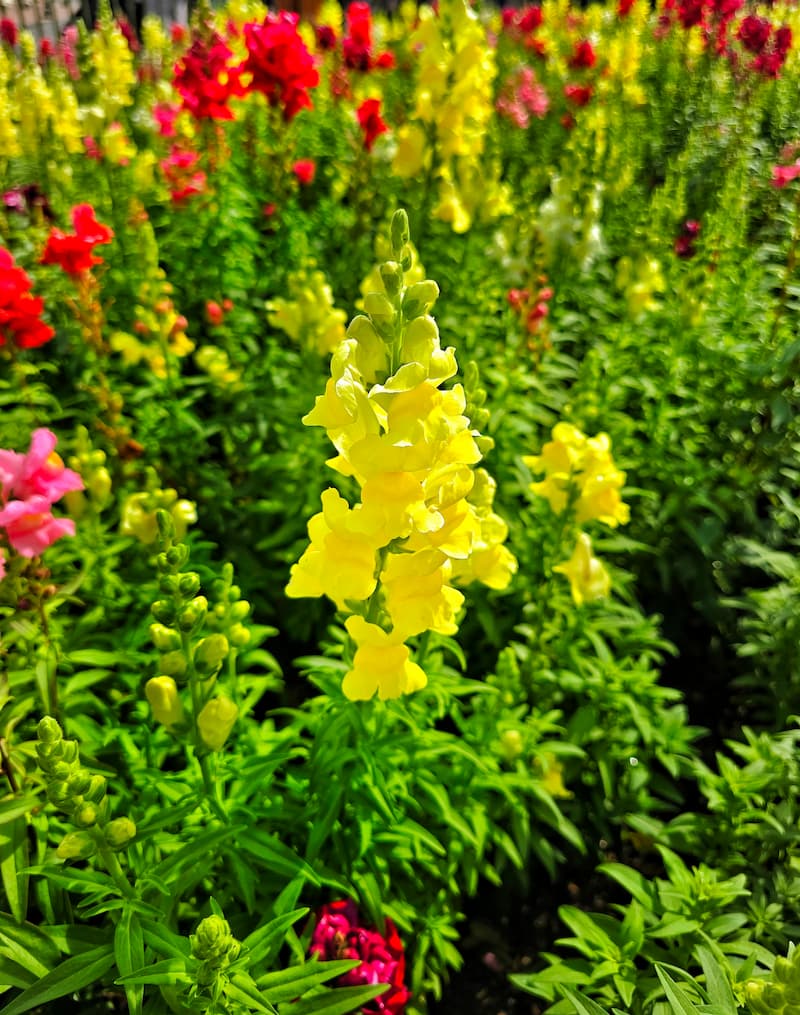
Snapdragon Care and Maintenance
Once your snapdragons are established in the garden, they’re surprisingly easy to care for. With consistent moisture, good support, and a little regular attention, they’ll reward you with weeks of beautiful blooms.
Watering
Snapdragons love evenly moist soil, especially while they’re actively growing and blooming. I check mine more often during warm spells. Snapdragons appreciate consistency!
Water deeply at the base of the plant rather than overhead to reduce the risk of disease. Early morning watering works best. It gives foliage time to dry before evening and helps prevent fungal issues.
Adding a light layer of mulch helps retain moisture and keeps roots cooler during warmer days.
In my garden, I find snapdragons are happiest when the soil stays consistently moist but never soggy.
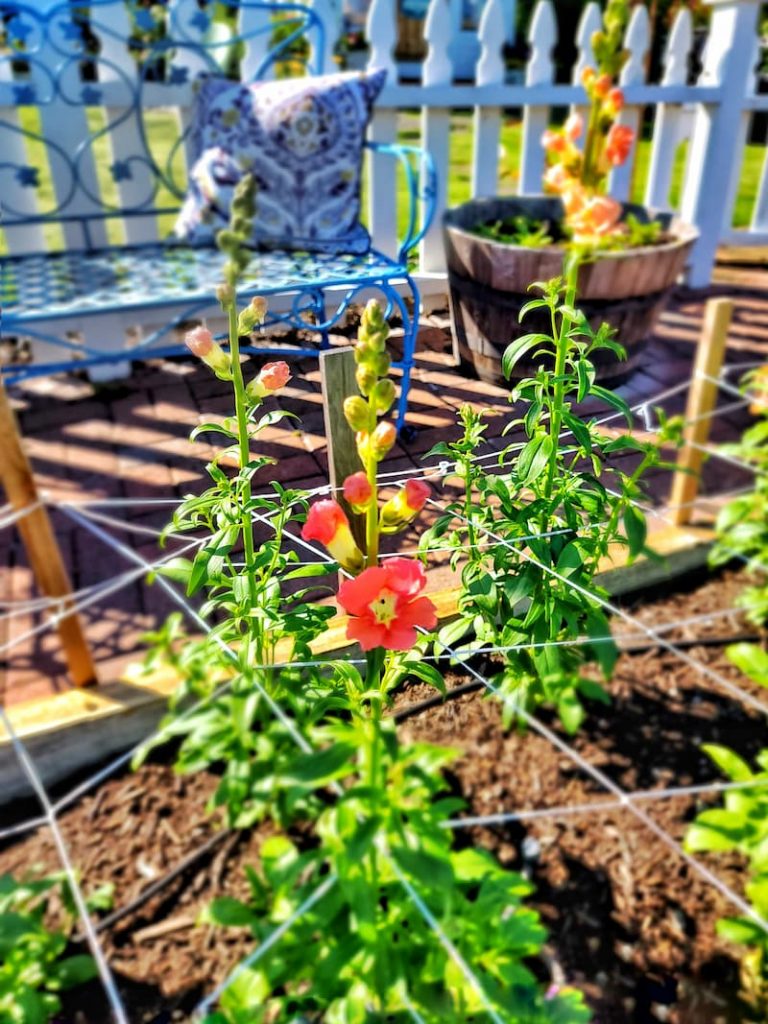
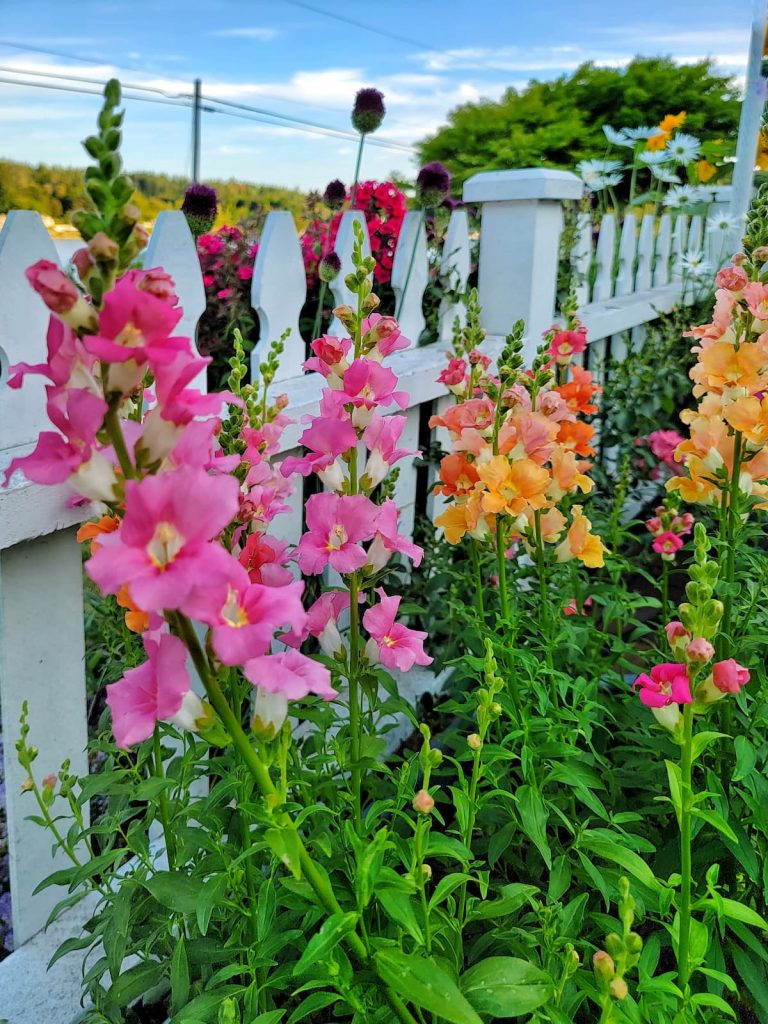
Supporting Taller Varieties

Tall snapdragon varieties can become top-heavy once they’re in full bloom.
To prevent stems from bending or breaking in the wind or rain, use soft garden netting or light staking early in the season. Adding support before they flop is much easier than trying to fix them afterward.
Feeding
Snapdragons aren’t heavy feeders, but they do benefit from a balanced, slow-release fertilizer at planting time or a light feeding during the growing season.
Too much nitrogen can lead to lush foliage but fewer blooms, so moderation is key.
Deadheading for Continuous Blooms
Regular deadheading encourages snapdragons to keep producing flowers.
Snip spent blooms just above a leaf node using clean, sharp pruners. This redirects energy back into new flower production and helps plants stay tidy and bushy.
The more you cut, the more they bloom, which makes snapdragons especially rewarding in a cut flower garden.
Pest and Disease Monitoring
Keep an eye out for common issues, such as aphids, rust, or powdery mildew.
Good airflow, proper spacing, and watering at the soil level go a long way in preventing problems. Catching issues early makes them much easier to manage organically.
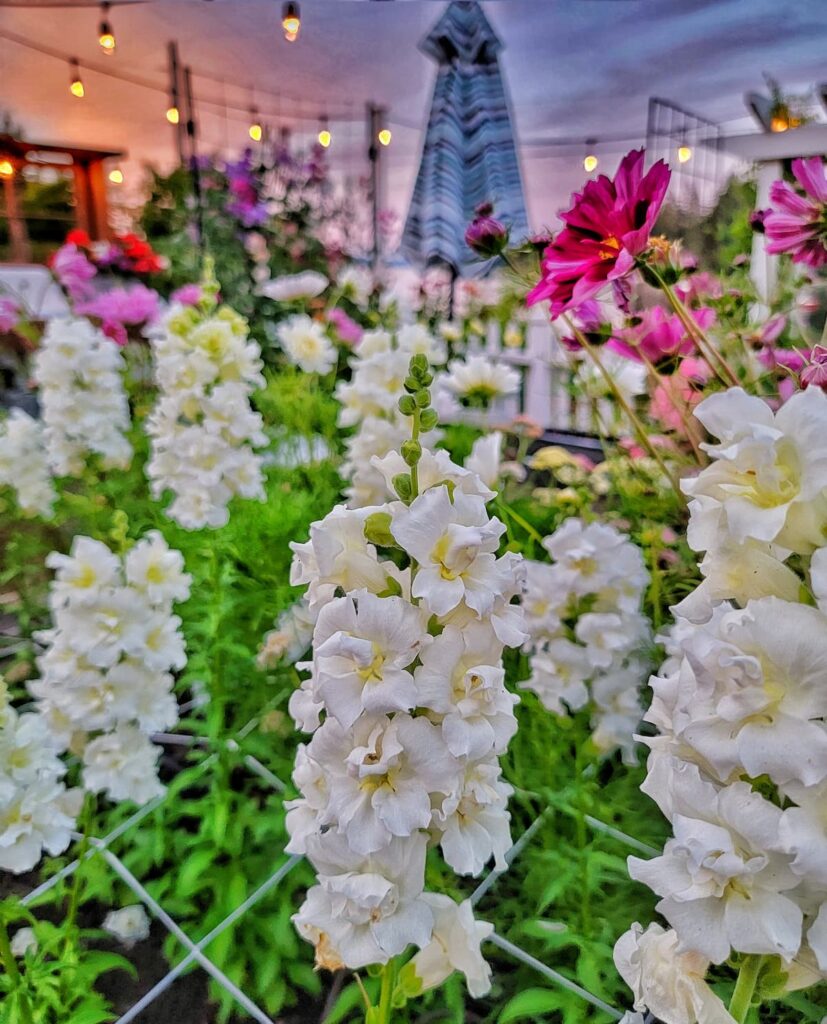
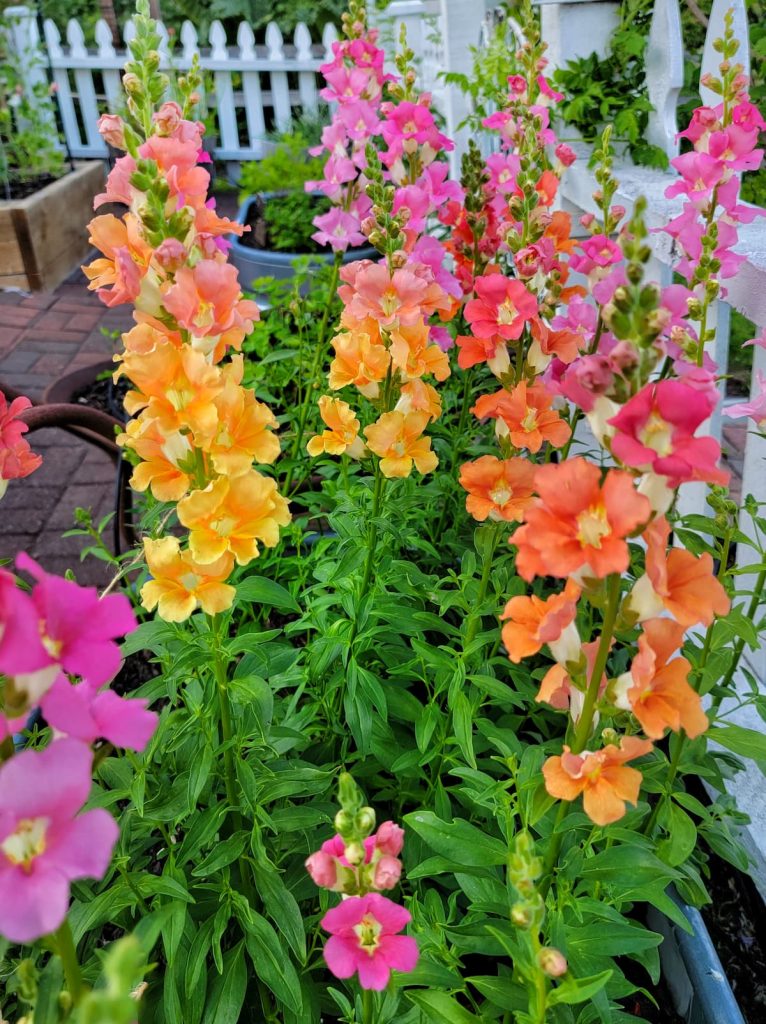
Harvesting Snapdragons for Cut Flowers
Snapdragons make long-lasting cut flowers when harvested at the right time.
Cut stems when the bottom one-third to one-half of the blooms on the spike are open. Use sharp pruners and cut just above a leaf node to encourage side shoots.
Immediately place stems into cool water. Once indoors, recut the stems at an angle and remove any leaves that would sit below the waterline. Adding a floral preservative can extend vase life even further.
Saving Snapdragon Seeds
Saving snapdragon seeds is a simple way to grow your favorite varieties again next season, and it’s surprisingly easy.
As the blooms fade, you’ll notice small seed pods forming where the flowers once were. Allow those pods to mature fully on the plant until they turn brown and begin to dry.
Once the pods are dry, carefully snip them off and place them in a warm, well-ventilated spot for several days to finish drying. When fully dry, gently break open the pods over a container to collect the tiny seeds.
Snapdragon seeds are very small, so handle them carefully.
Store the seeds in a labeled paper envelope or airtight container in a cool, dry place. Properly stored snapdragon seeds can remain viable for several years.
I always love this stage. It feels like I’m tucking away a little piece of this year’s garden for next spring.
Garden Supplies and Tools
Check out my favorite garden supplies and tools for the growing season. Whether you’re looking for potting soil or deer repellent, you’ll find what I use in my own garden.
Final Thoughts on Growing Snapdragons from Seed Indoors
Growing snapdragons from seed indoors is one of the simplest ways to get a head start on the season and enjoy earlier, longer-lasting blooms in the garden. With cool temperatures, bright light, and a little patience, those tiny seeds quickly grow into sturdy plants ready to thrive outdoors.
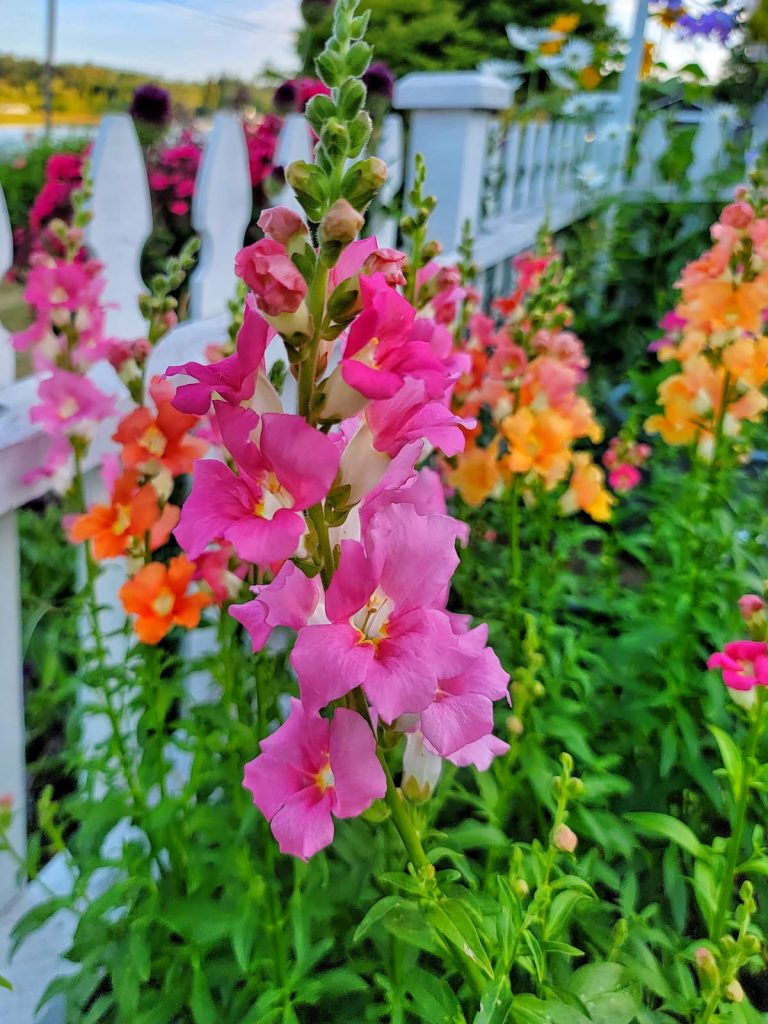
Starting snapdragons indoors also opens the door to so many more varieties than you’ll find at your local nursery, which is half the fun if you ask me.
If you found this post helpful, feel free to share it with a fellow gardener who’s planning their seed-starting season. And I’d love to hear if snapdragons are on your grow list this year.
Until next time,
Happy Gardening!
I’m a self-taught hobby gardener. Everything I share on my blog is my opinion and what has worked for me.
MORE POSTS
For You To Enjoy
Follow Me for More Inspiration


Once snapdragons germinate, how long does it take them to grow? I started some indoors for the first time and they germinated but it doesn’t seem like they are growing. They have their cotyledon leaves but haven’t changed much.
My snapdragon seedlings are super leggy- are they worth salvaging, or should I start over? Not sure what happened- they had light right above the humidity dome while germinating.
Hi Jenn! They are not necessarily a lost cause and can sometimes be salvaged with the right care and adjustments. Are you able to use grow lights placed a few inches above the plants? You might need to gently stake them to prevent them from bending or breaking. When transplanting snapdragons, you can bury a portion of their stem (similar to transplanting tomatoes) if the seedlings are leggy. Snapdragons can develop roots along the buried stem, which helps stabilize the plant and can encourage more robust growth. You can also try pinching back the top of the seedlings to encourage bushier growth, but this might delay flowering. Thank s so much for reaching out and let me know how they do.
My indoor seeds have germinated. Should i thin them out to one plant per cell or just let them keep growing before thinning?
Great informative post!
Hey there Kim! I love this post, if you don’t mind I am linking to it in my weekly round-up!
Sowing snapdragons today for the first time. I followed all your advice, let’s hope I can keep them alive!
I know they will be amazing! I can’t wait to see Jayne!
Great post! I have only grown the ones you buy at the nursery so I am super excited to start these from seed! I think I have chantilly mix – I have to check the packet! xoxoxo
You are going to love them so much Stacy! I’m so excited you’re growing them this year.
I never realized there was a difference in the size of the snap dragon plants! I always just thought yours were so much bigger because of the miraculous PNW growing environment! You always make it sound so easy and doable, Kim.
That’s so funny Anne! They really are an easy flower to grow. The only annoying part is netting them, but even that isn’t too bad. Thanks for visiting!