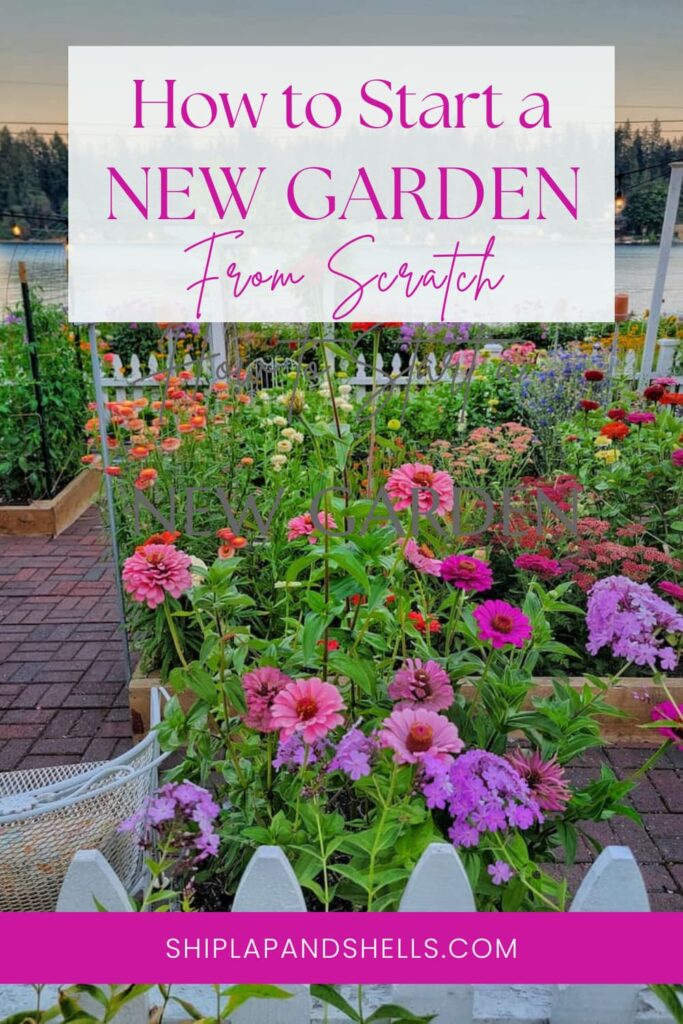
How to Start a New Flower Garden from Scratch for Beginners
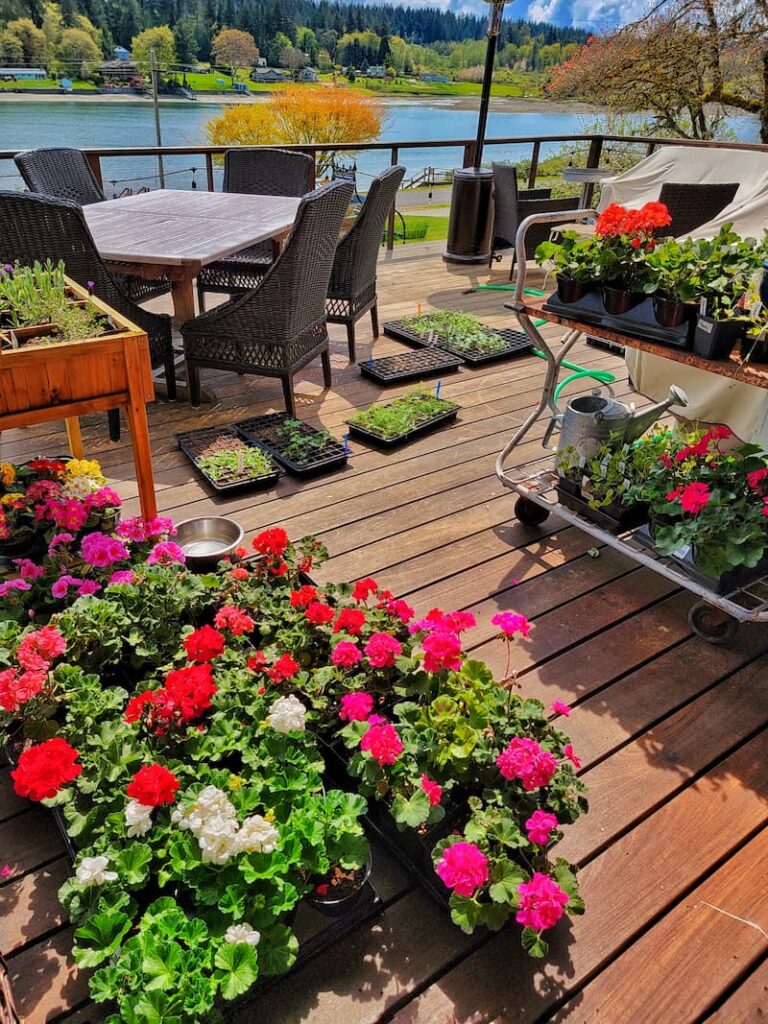
When we moved into our beach cottage, I didn’t know much beyond how to pull a weed by the root and arrange flowers in a pot. Starting a garden felt like a whole other language.
It took years and a lot of trial and error before things started clicking. I learned from mistakes more than anything else, which is a perfectly valid way to become a gardener. But I also wish someone had handed me a clear starting point earlier in the process.
This is that guide. Whether you’re starting with a blank patch of lawn, a small patio, or a single raised bed, here’s how to think through the decisions and get your first garden off to a solid start.
As an Amazon affiliate, I earn a commission from qualifying purchases at no additional cost to you. My blog also contains other affiliate links for your convenience. Click here to read my privacy policy.
Step 1: Define Your Garden Goals
Before you dig anything, spend a few minutes thinking about what you actually want from this garden. The answer shapes every decision that follows.
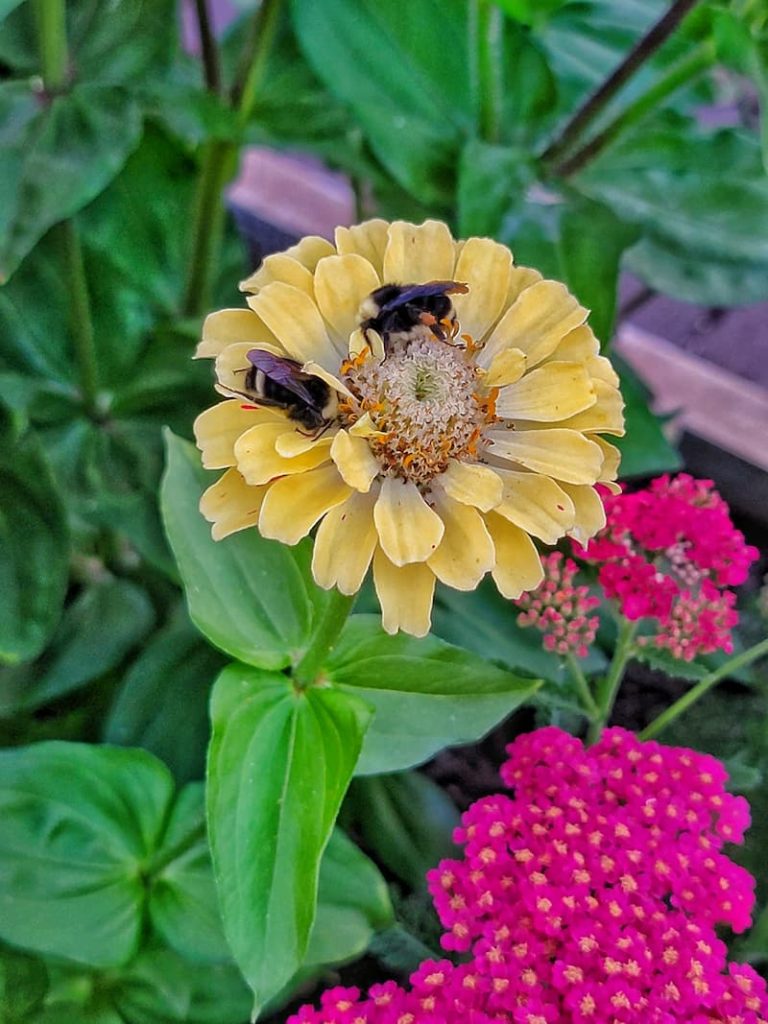
Do you want a cutting garden with beds dedicated to growing flowers for the house? A pollinator garden that draws bees and butterflies? A low-maintenance perennial border that mostly takes care of itself after the first year? Or a mix of annuals that gives you color all season?
Also consider how much time you can realistically give it. A garden that’s slightly smaller than your ambition is almost always more rewarding than one that overwhelms you by July. Start where you are. You can always expand.
Step 2: Choose Your Garden Type
One of the first practical decisions is how you’ll grow: in the ground, in raised beds, or in containers. Each has real advantages depending on your space and situation.
In-Ground Garden
Planting directly in the earth is the classic method and works well where you have decent soil and good sun. It’s the most cost-effective option up front, with no materials to buy and no structure to build. In-ground gardens can accommodate larger plants and sprawling layouts, and they have the most natural, established look over time.
The trade-off is that you’re working with what’s already there. If your native soil is heavy clay, compacted, or nutrient-deficient, you’ll need to amend it before planting. Weeds are also more persistent in in-ground beds than in raised beds.
Best for: gardeners with usable existing soil and enough space to work with.
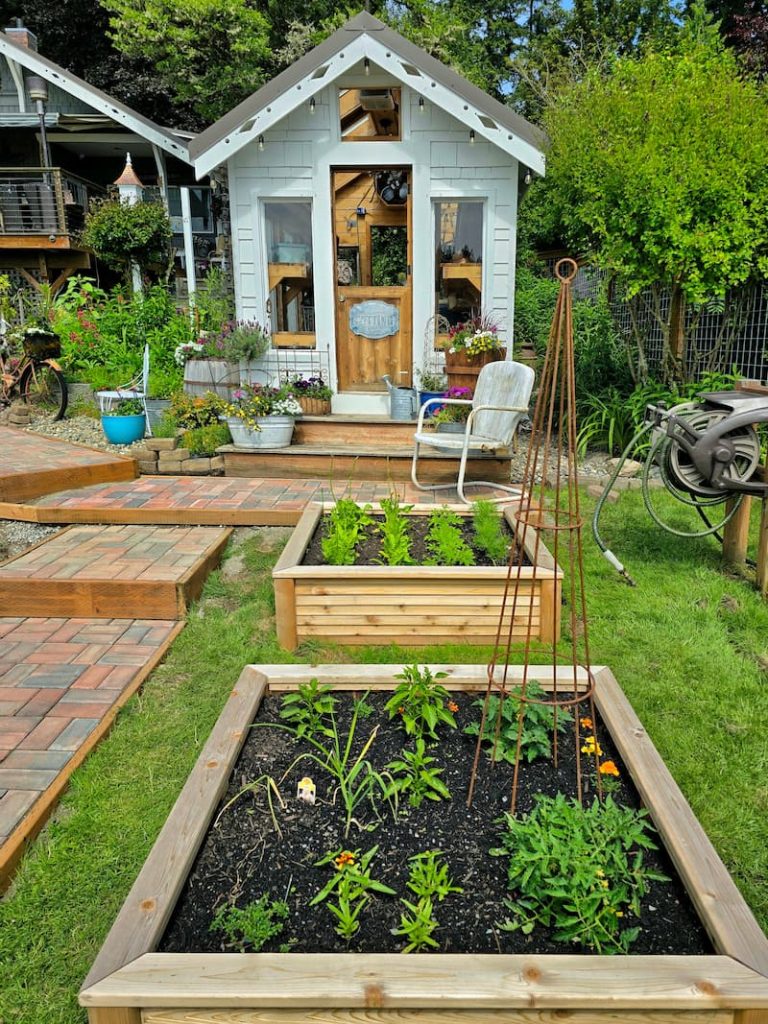
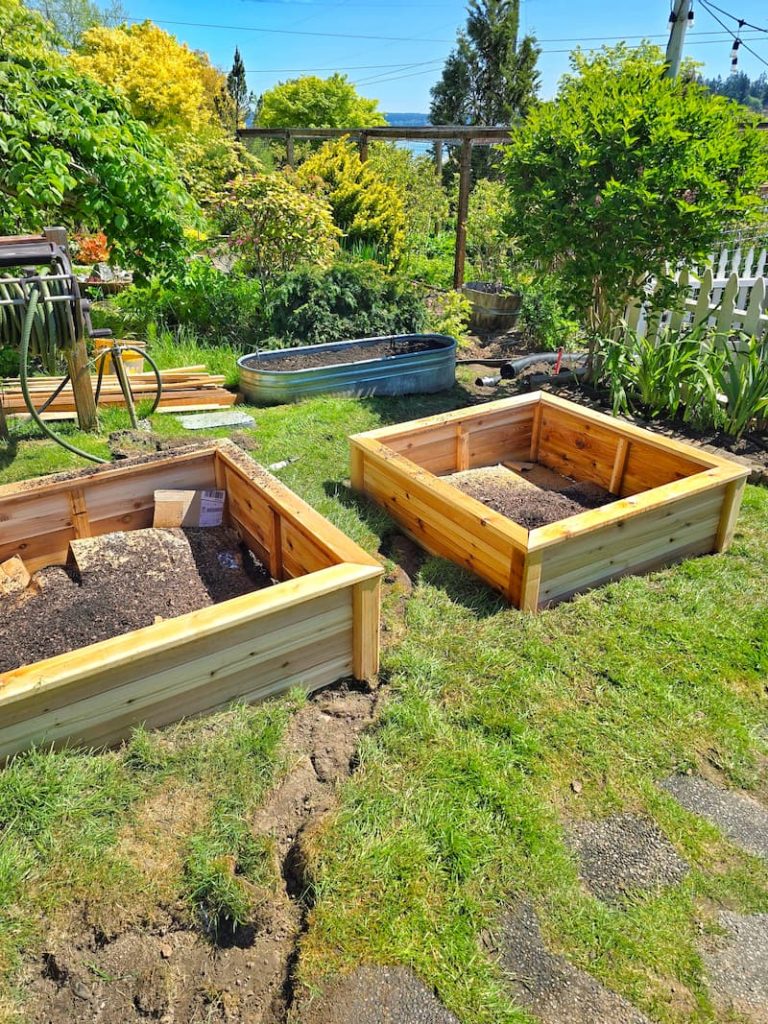
Raised Bed Garden

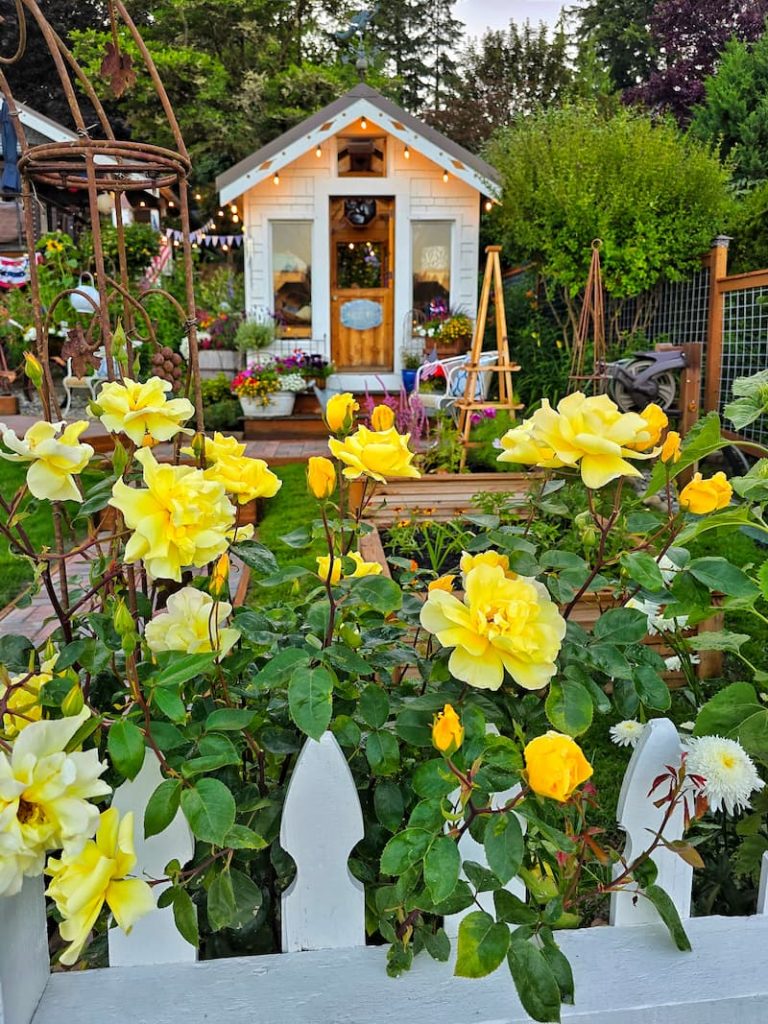
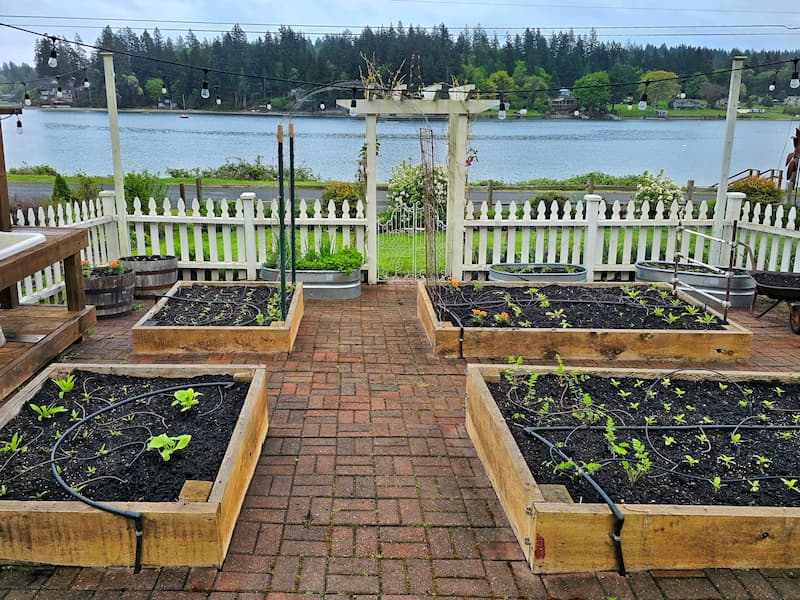
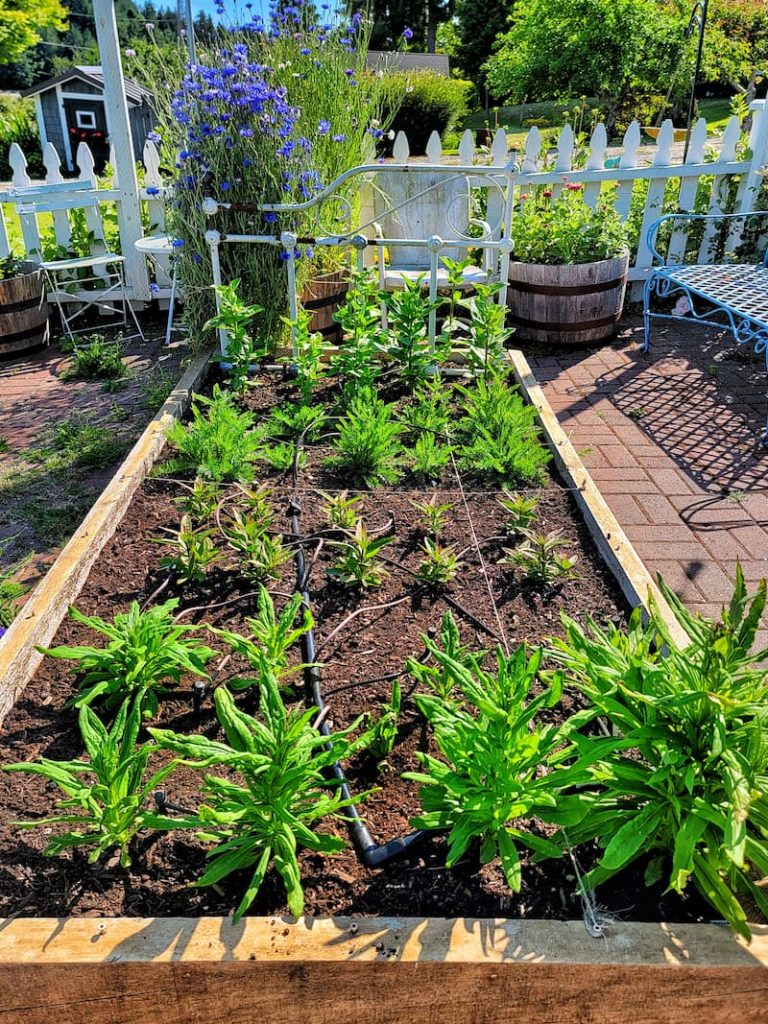
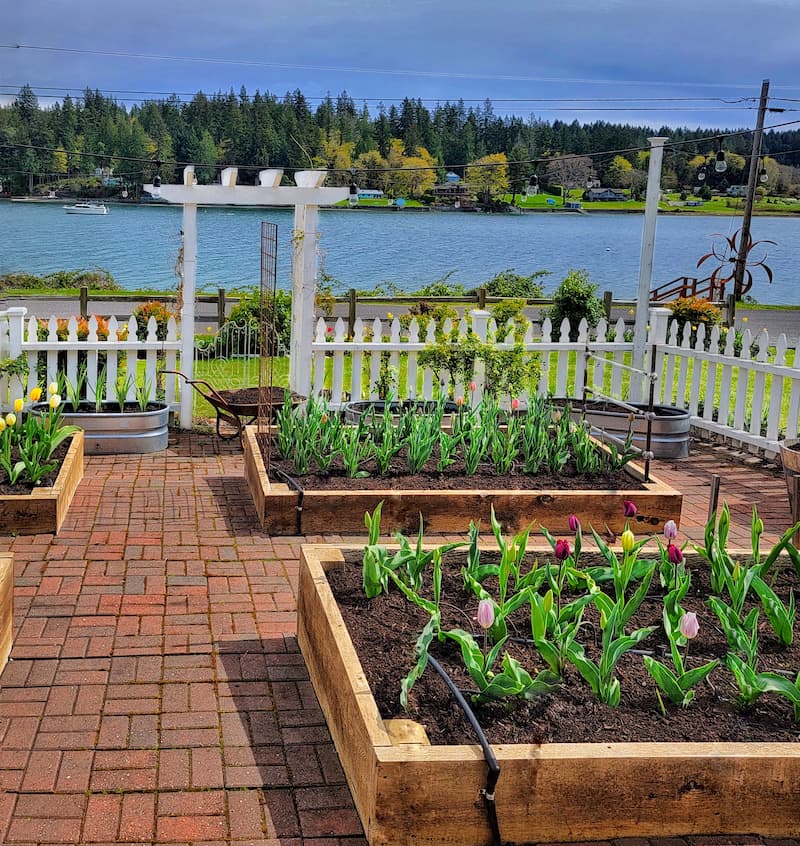
Raised beds are what I’d recommend to almost every beginner. You fill them with fresh, quality soil, which means you control the growing environment from day one. They drain better than in-ground beds, warm up faster in spring, and have fewer weeds. The contained space also makes it easier to stay on top of maintenance.
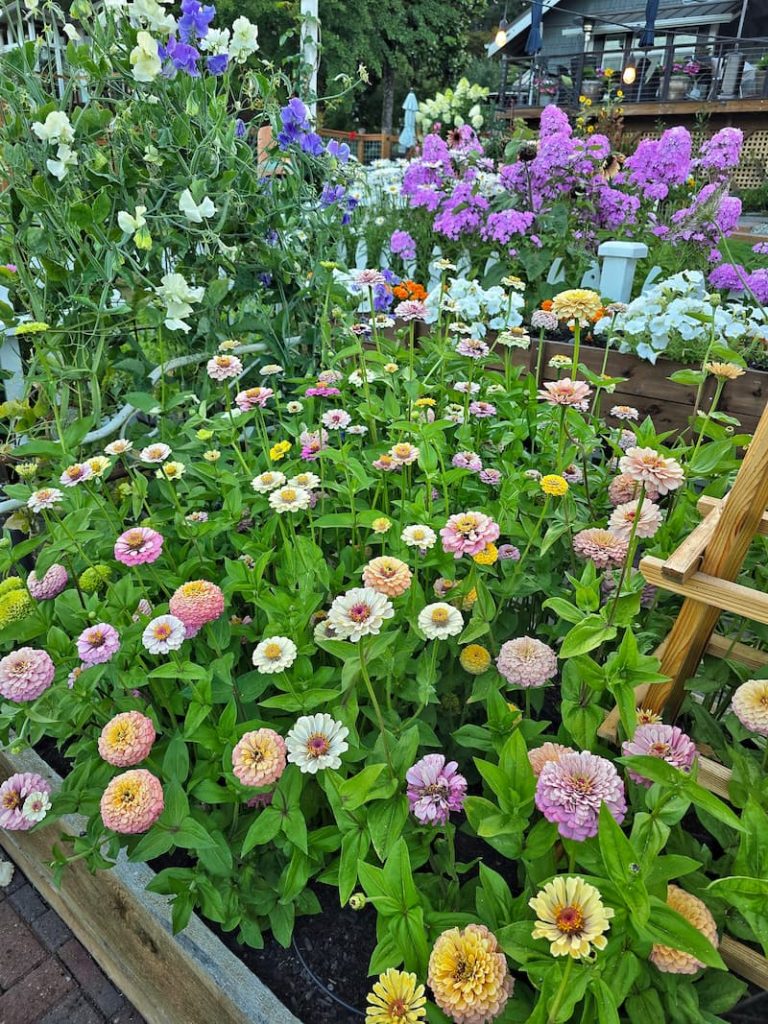
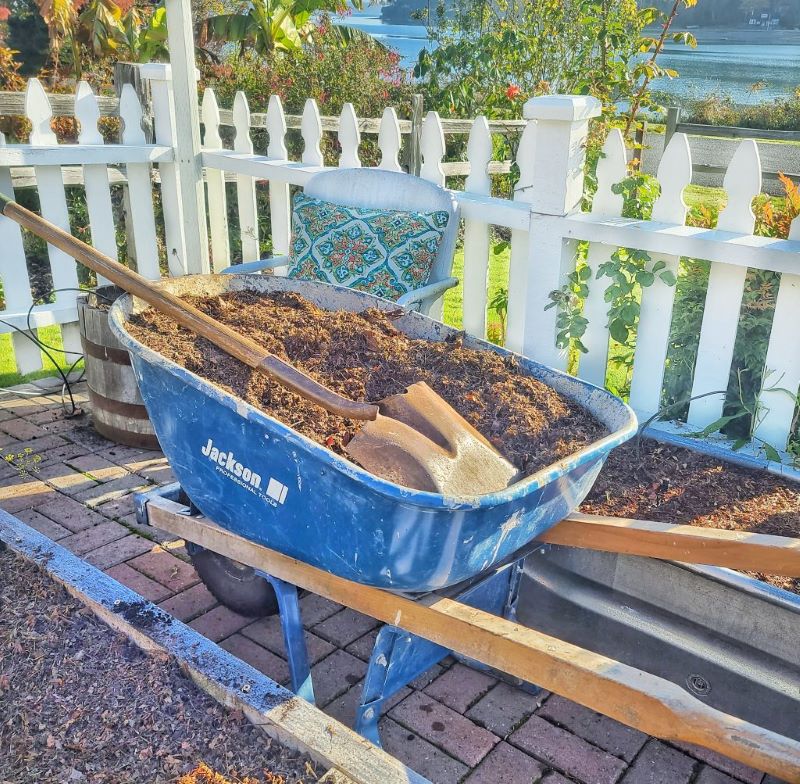
The upfront cost is higher, with materials for the frame plus the soil to fill it, but in my experience, it pays for itself quickly in fewer losses and less frustration. My cut flower garden beds are all raised, and I top them with fresh fish compost every spring before planting.
Best for: beginners, anyone with poor native soil, and gardeners who want maximum control over what’s growing in
Container Garden

Containers are ideal for patios, balconies, or situations where you can’t dig into the ground. They’re portable, easy to rearrange, and great for experimenting before committing to a larger bed. The main limitation is that they dry out fast and need more frequent watering and feeding than in-ground or raised-bed plantings.
Best for: renters, urban gardeners, small spaces, and anyone who wants to start small with minimal commitment.
What’s the Easiest Way to Start?
A small raised bed or a few large containers. Both give you control over soil quality, which removes one of the biggest variables beginners struggle with. Start with a 4×4- or 4×8-foot bed, grow a handful of easy annuals like zinnias, cosmos, and marigolds, and build from there.
Step 3: Explore Garden Styles
Once you know how you’ll grow, think about what you want it to look like. Garden style affects plant selection, layout, and the amount of upkeep you’re signing up for.
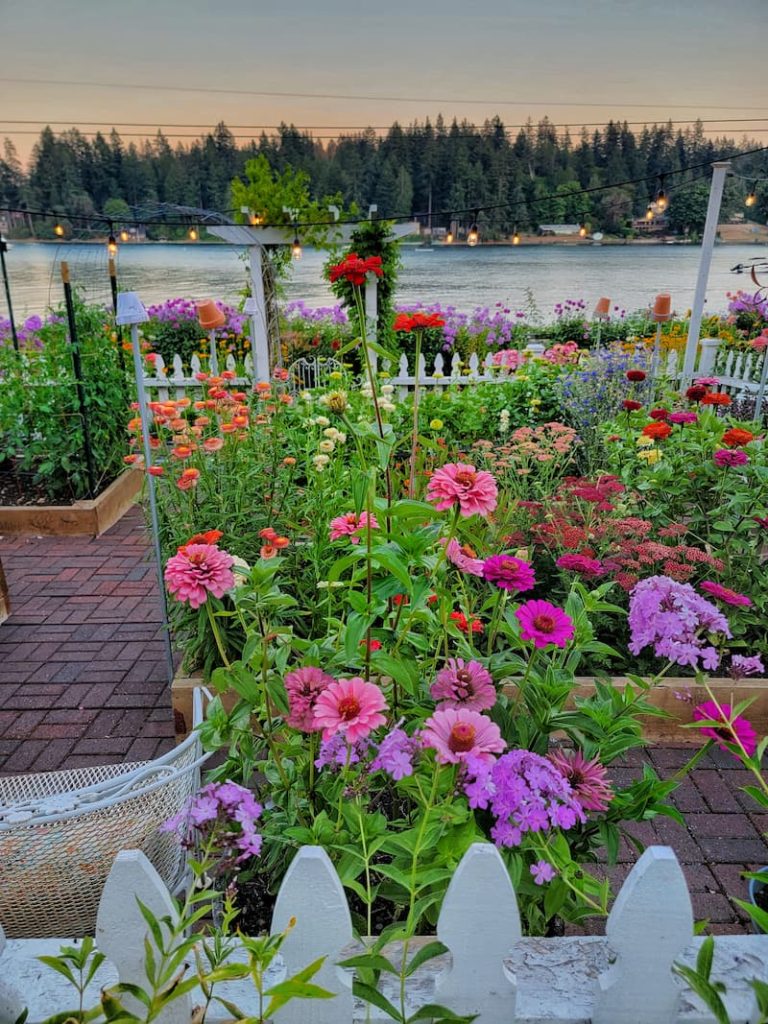
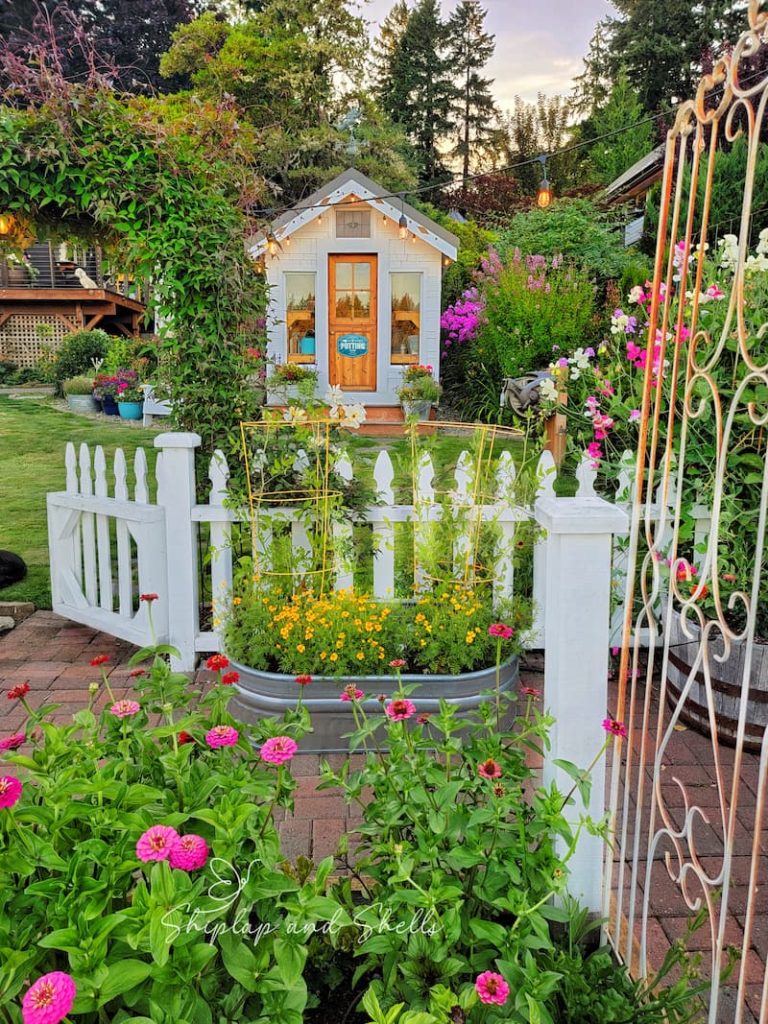
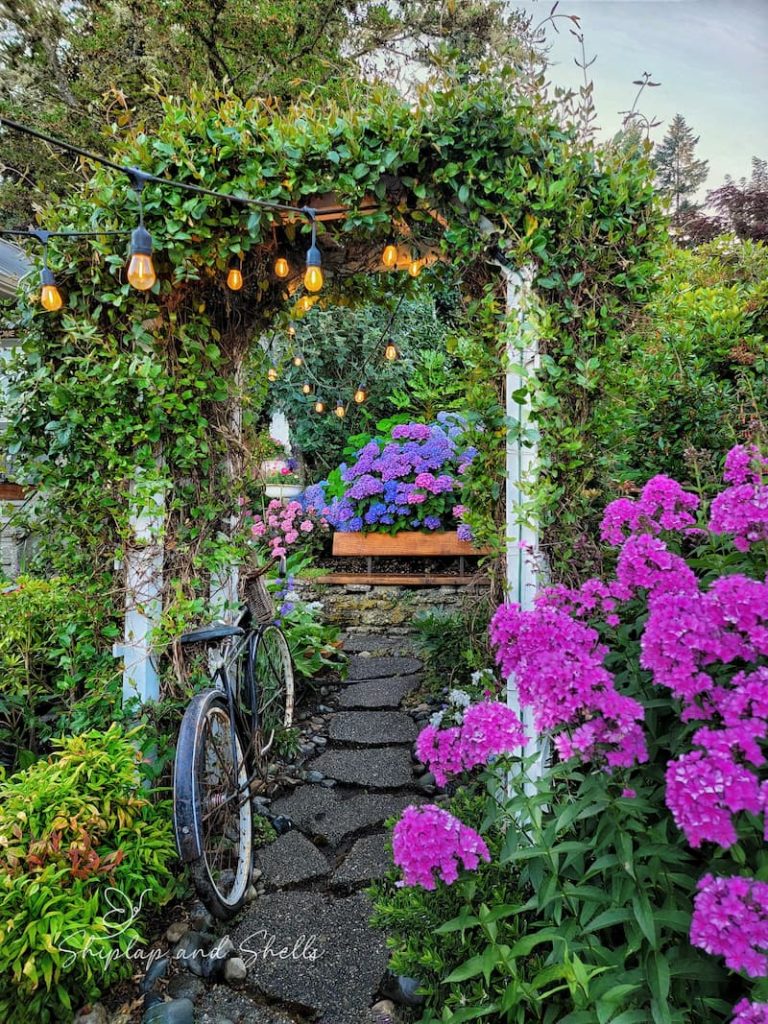
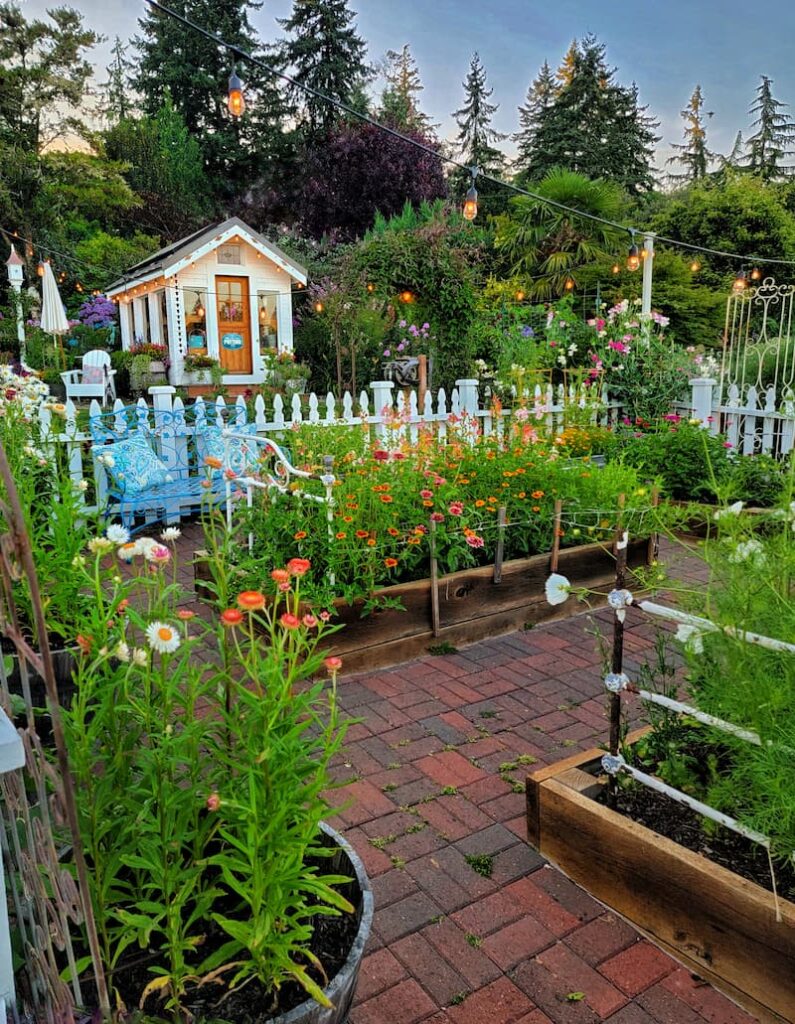
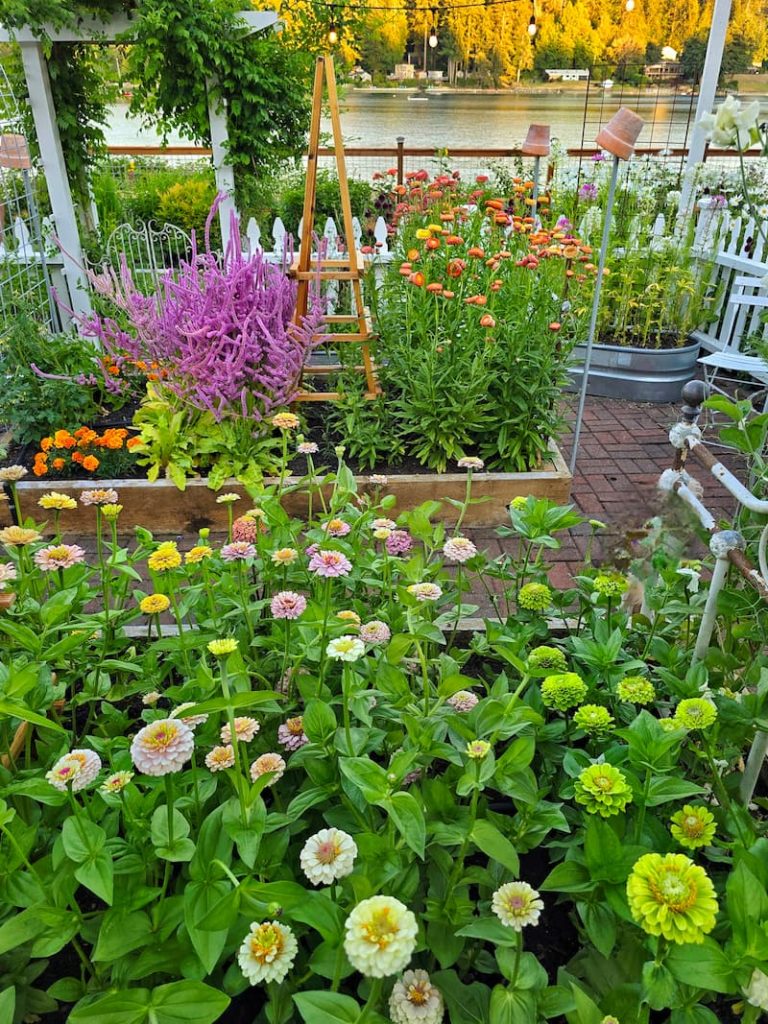
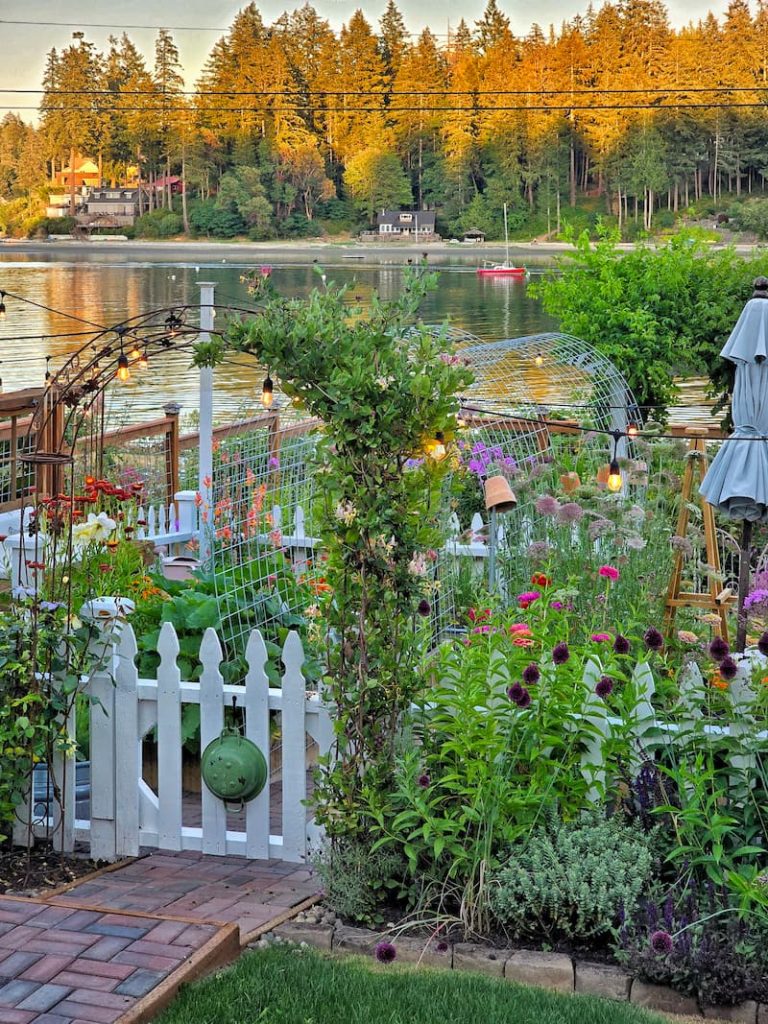
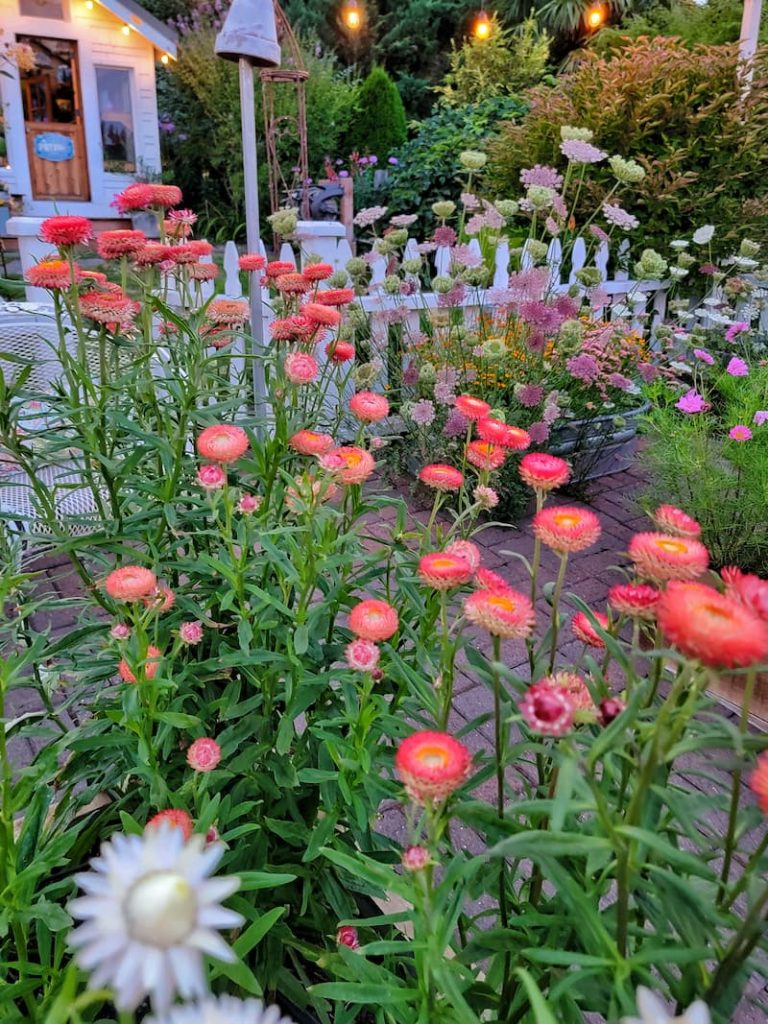
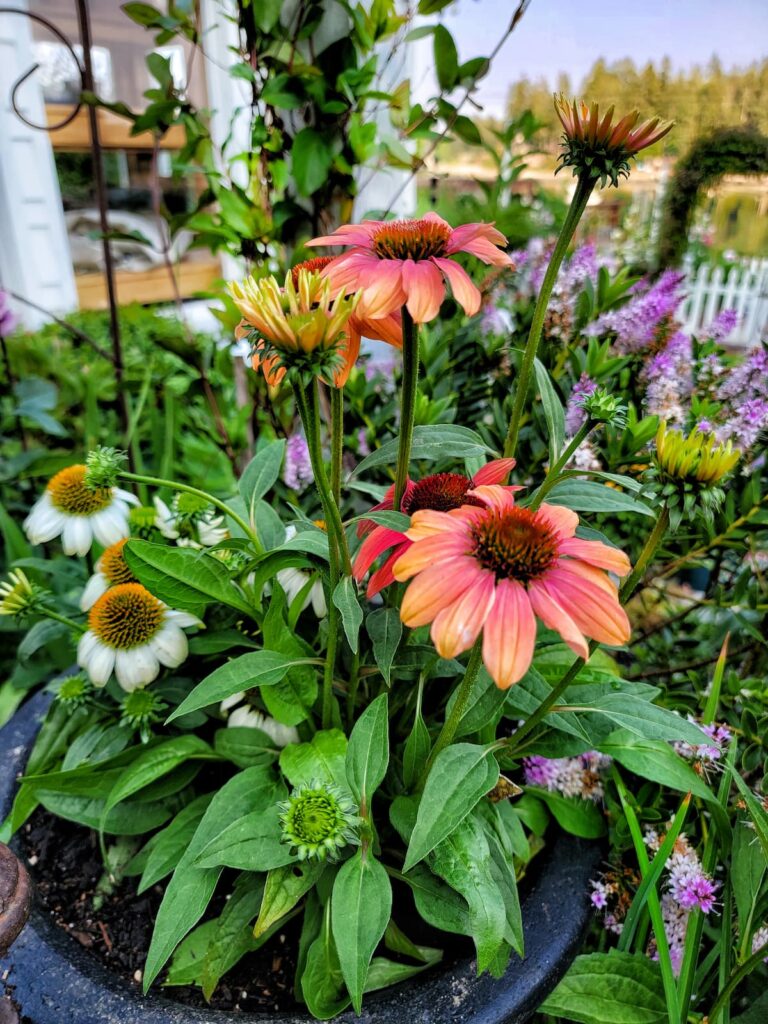
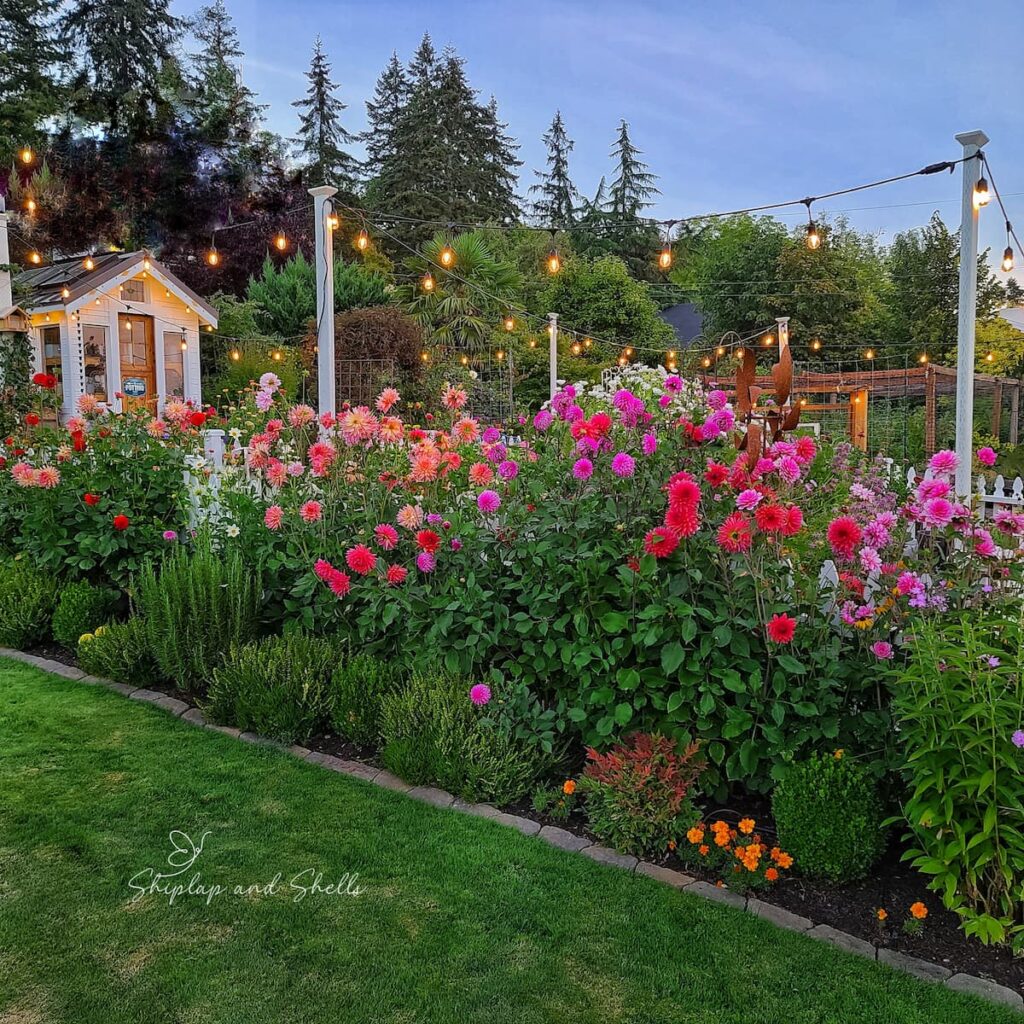
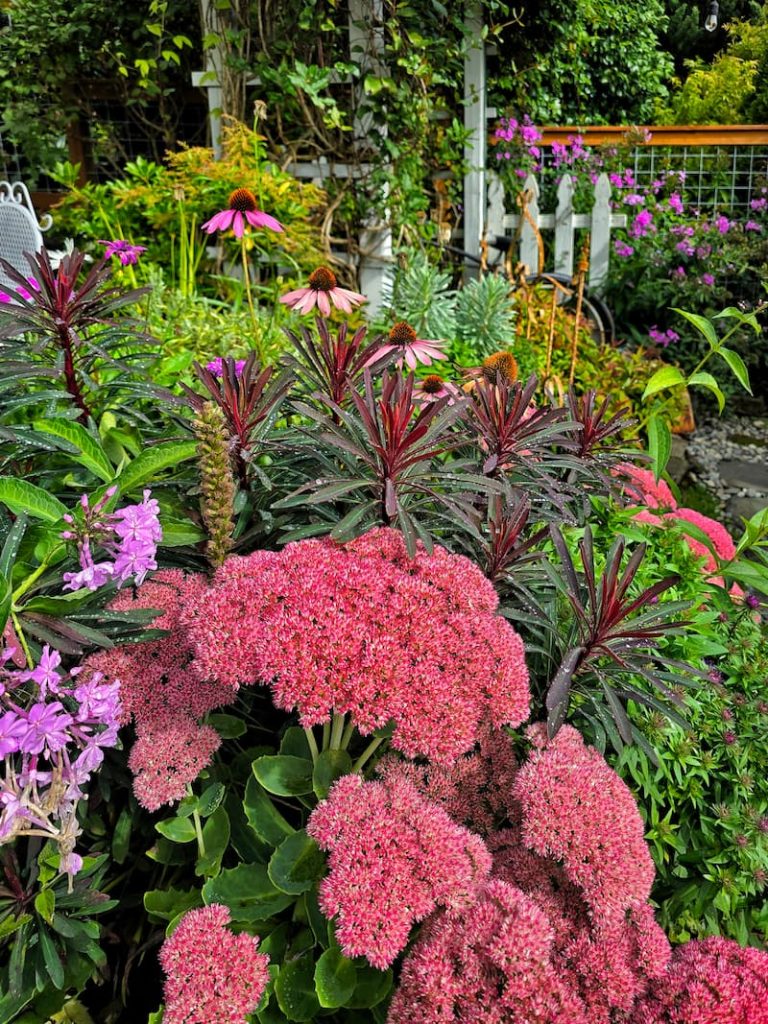
Cottage Garden
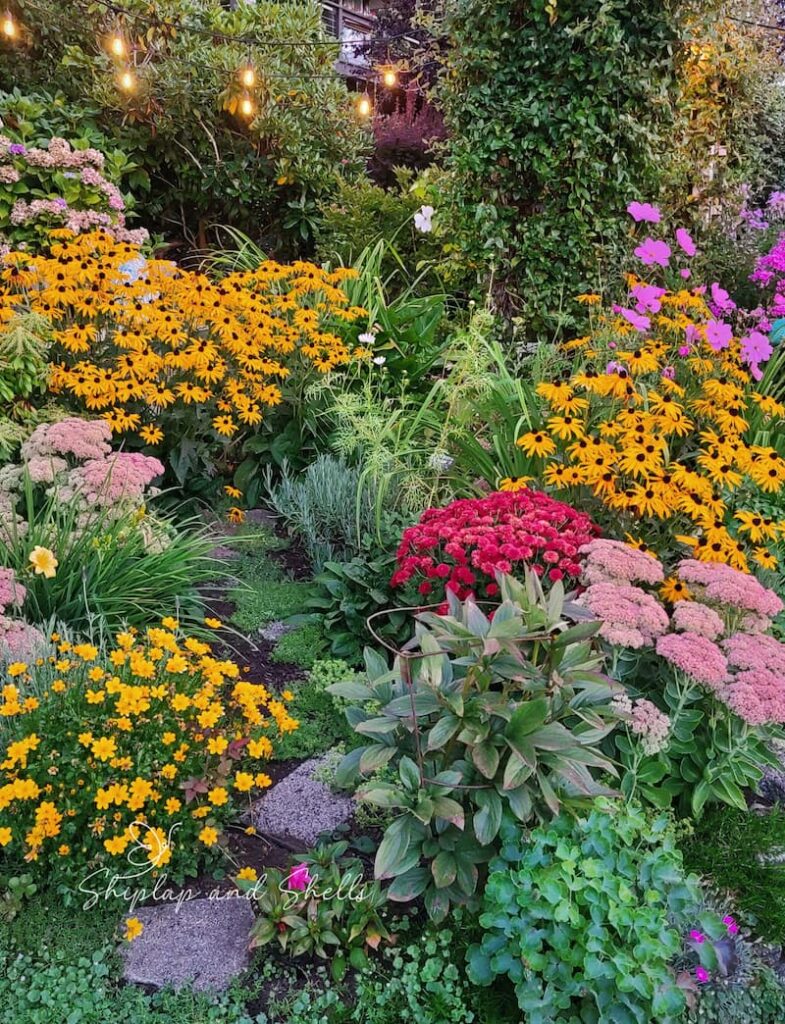
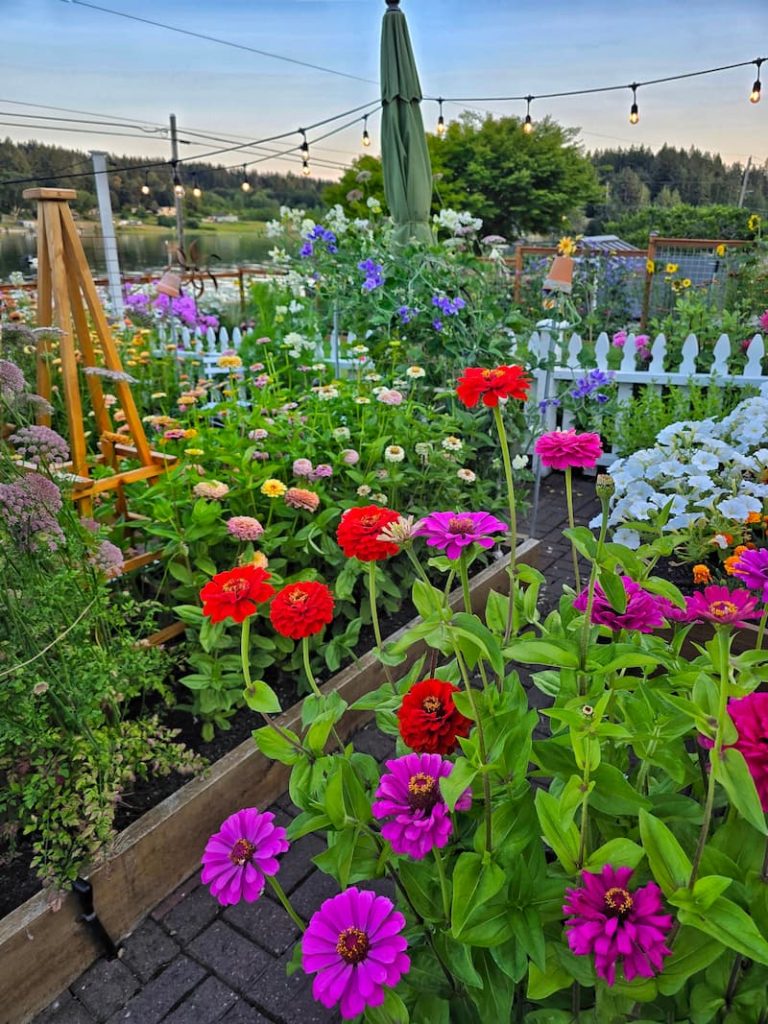
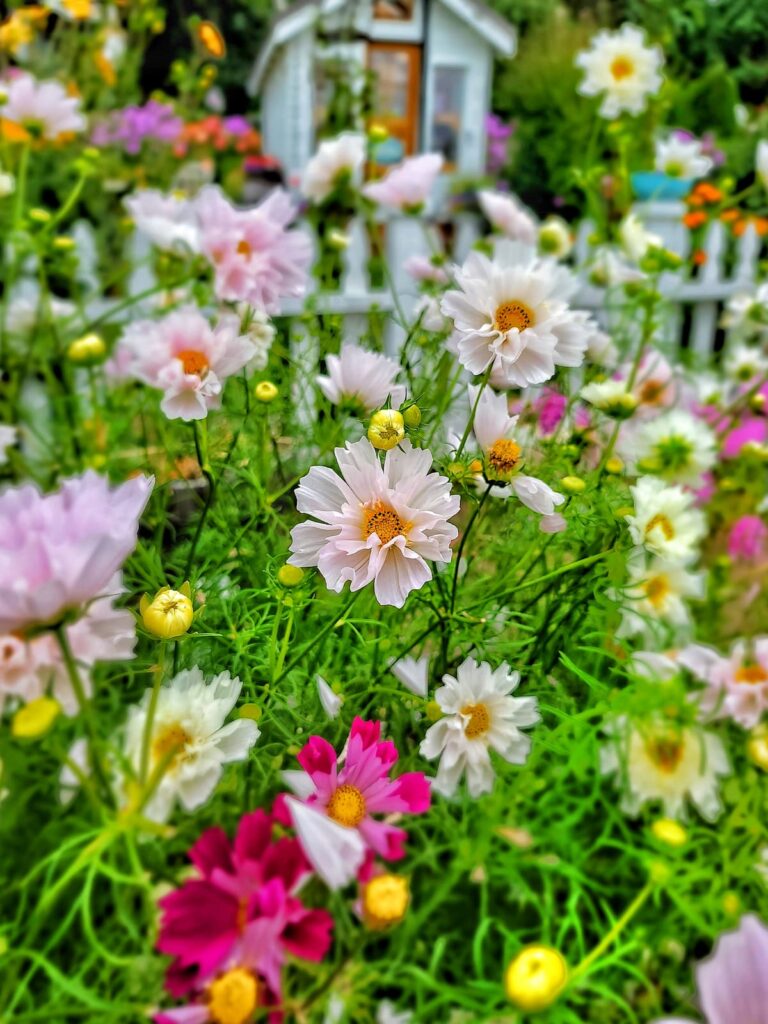
This is the style closest to my own heart, and the one that fits naturally with our beach cottage. Cottage gardens are abundant, a little loose, and full of color. Flowers grow close together, which naturally suppresses weeds and keeps pollinators busy.
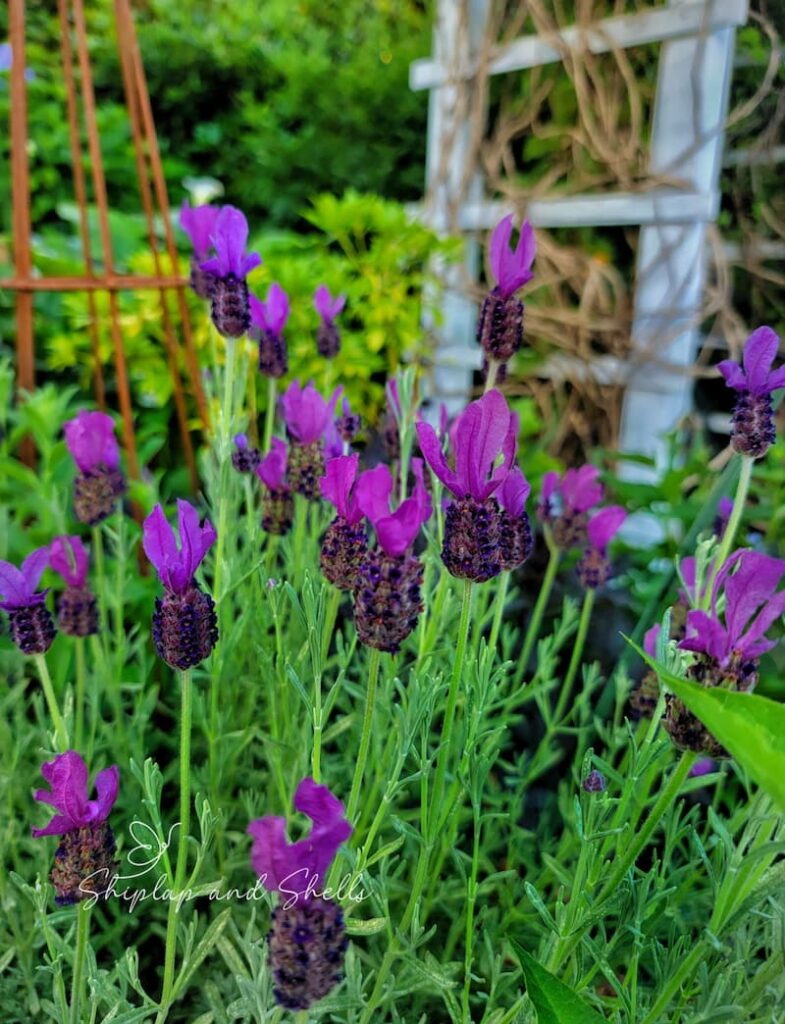
Climbing roses, foxglove, cosmos spilling over bed edges, lavender along a path. It’s the kind of garden that looks like it’s been there forever.
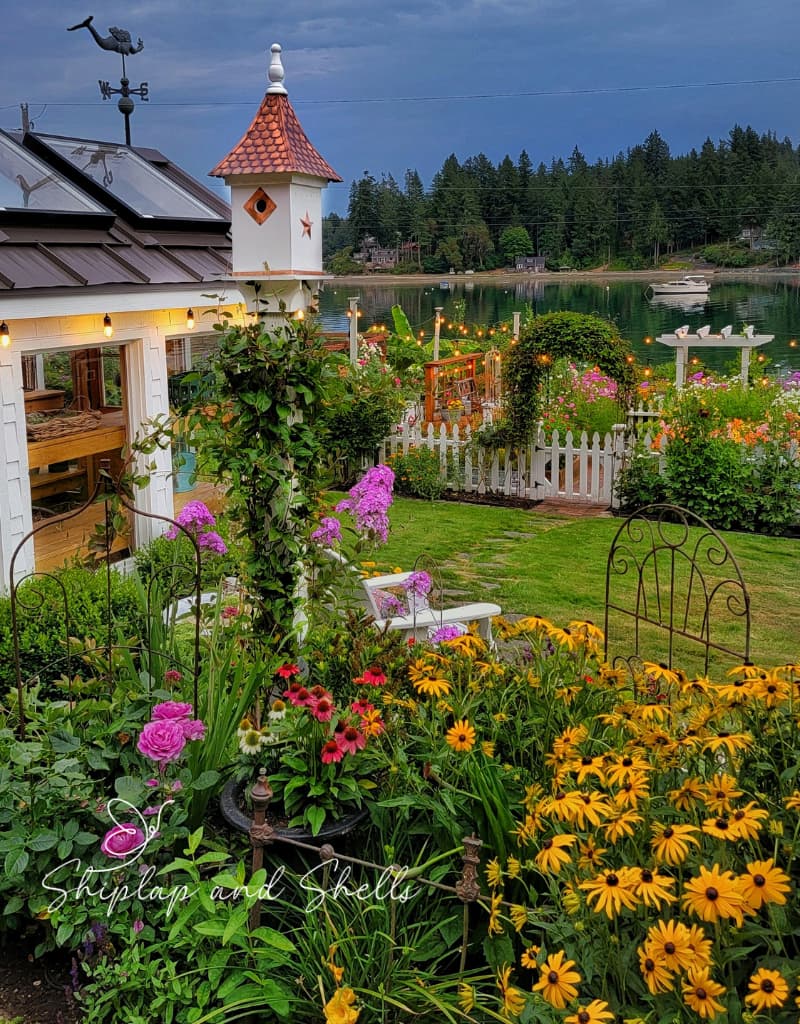
The ‘effortless’ look does take some planning, but once established, cottage gardens are forgiving and self-filling. Plants self-sow, gaps fill in, and the garden evolves from year to year in ways you can’t entirely predict. That’s part of the appeal.
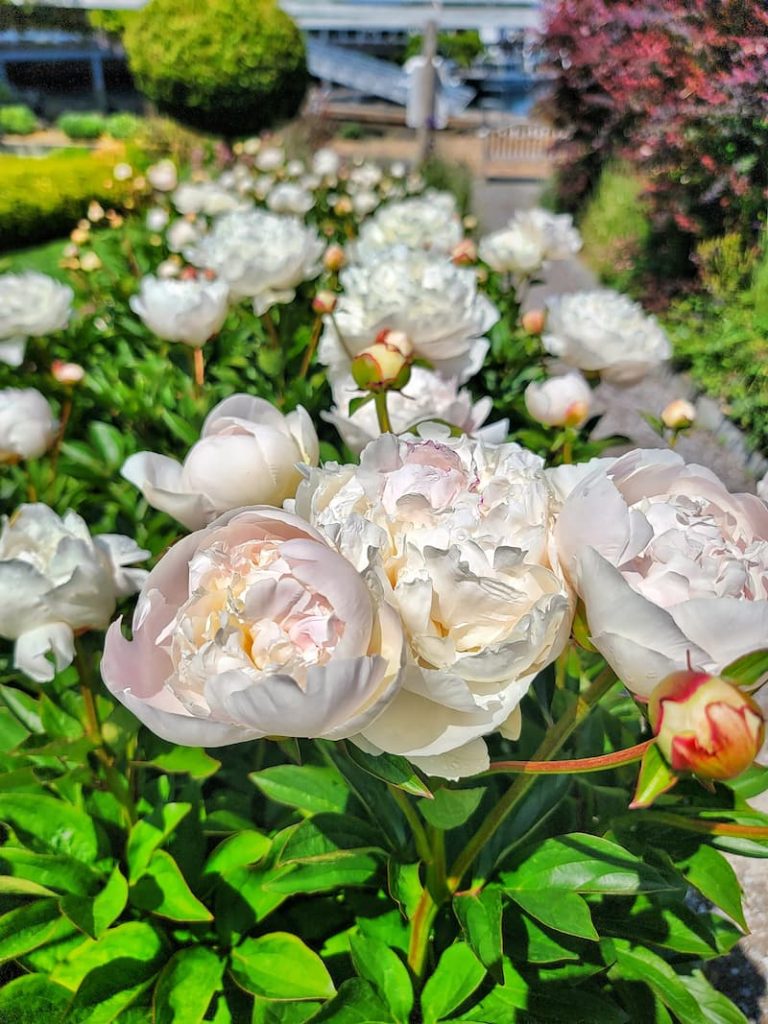
Best plants for a cottage garden: roses, lavender, peonies, foxglove, hollyhocks, delphiniums, sweet peas, clematis, cosmos.
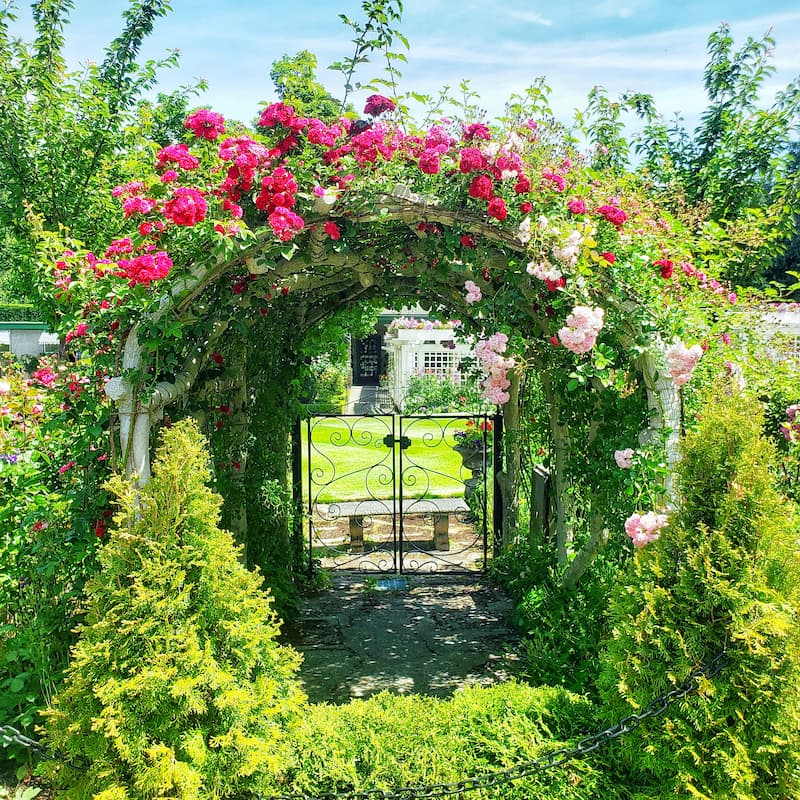
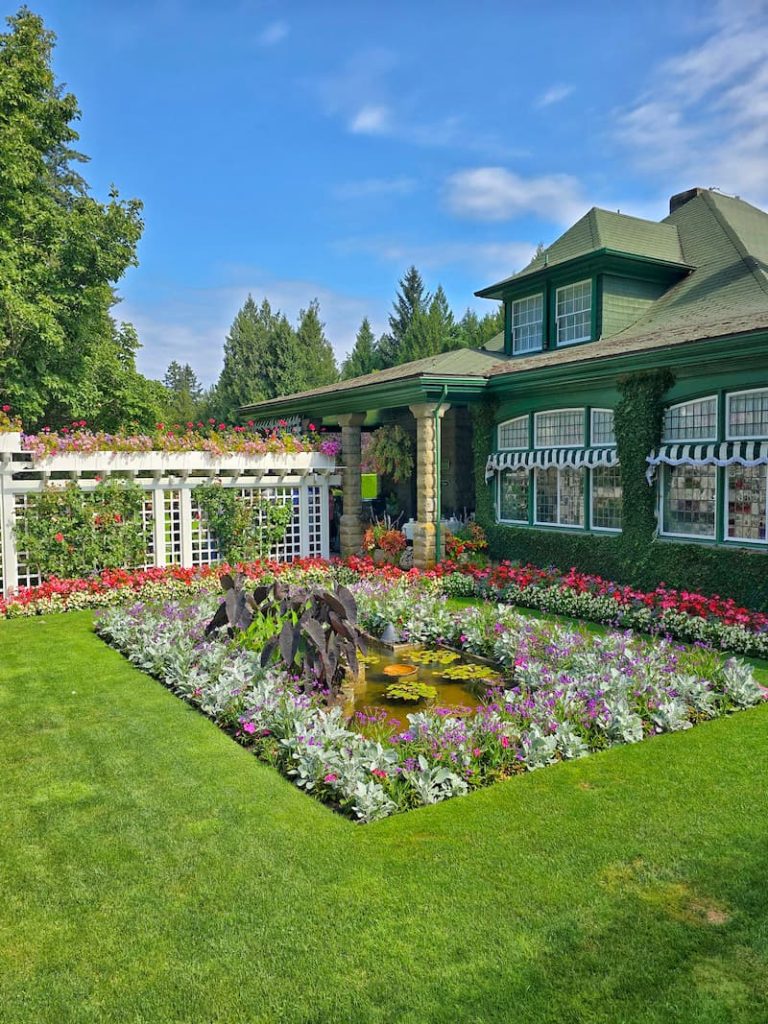
English Country Garden
Similar to cottage style with more structure. Neatly edged beds, defined pathways, and low hedges that contain the exuberance of the flowers. It’s the same romantic spirit with a bit more discipline. Roses arch over gates, delphiniums rise in the back borders, and there’s usually a focal point like a bench or birdbath.
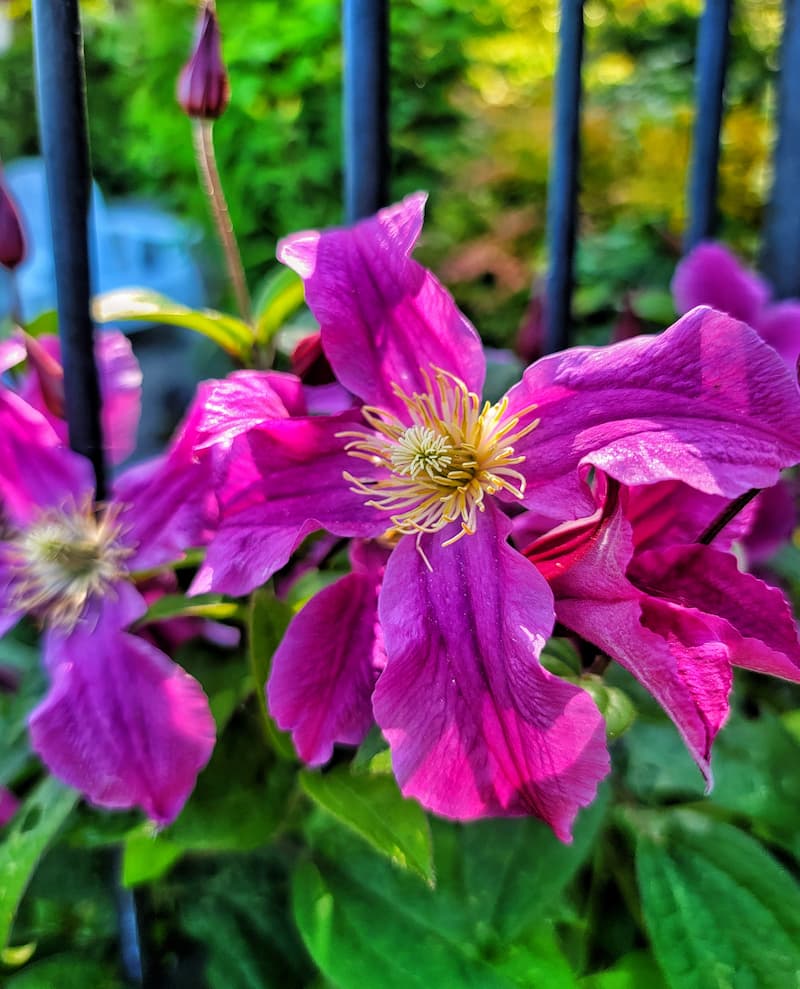
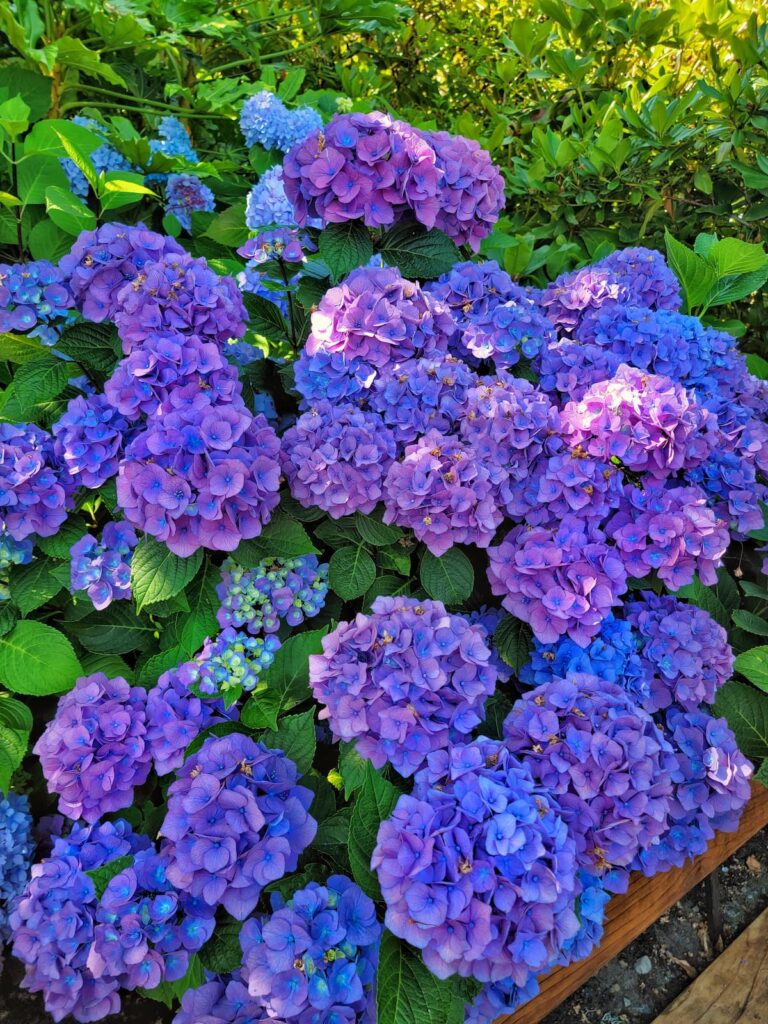
Best plants for an English country garden: roses, hydrangeas, delphiniums, foxglove, Shasta daisies, boxwood, lavender hedges, wisteria, clematis.
Traditional/Formal Garden
Geometric beds, symmetrical layouts, trimmed hedges, and seasonal flowers planted in repeating patterns. More structured and manicured than either cottage or English country style. Beautiful and orderly, with a higher ongoing maintenance commitment.
Best plants for a traditional garden: roses, tulips, peonies, lilies, boxwood, privet, topiaries, and Japanese maples.
Step 4: Understand Your Climate
Choosing plants suited to your climate is one of the most reliable things you can do for your garden’s success. A beautiful plant that isn’t right for your zone or local conditions will struggle no matter how well you care for it.
Find Your USDA Hardiness Zone
You can look up your hardiness zone by zip code. This is the average minimum winter temperature in your area, determining which perennials will survive through winter. Most plant tags and seed packets include zone information.
Here in Zone 8B on the Pacific Northwest coast, I can grow many things that inland Zone 8 gardeners can’t, and there are things that inland gardeners grow easily that give me trouble. Local microclimates matter. Your local extension office or a good independent nursery will know what actually thrives in your specific area, not just what the zone map suggests.
Consider Your Local Weather Patterns
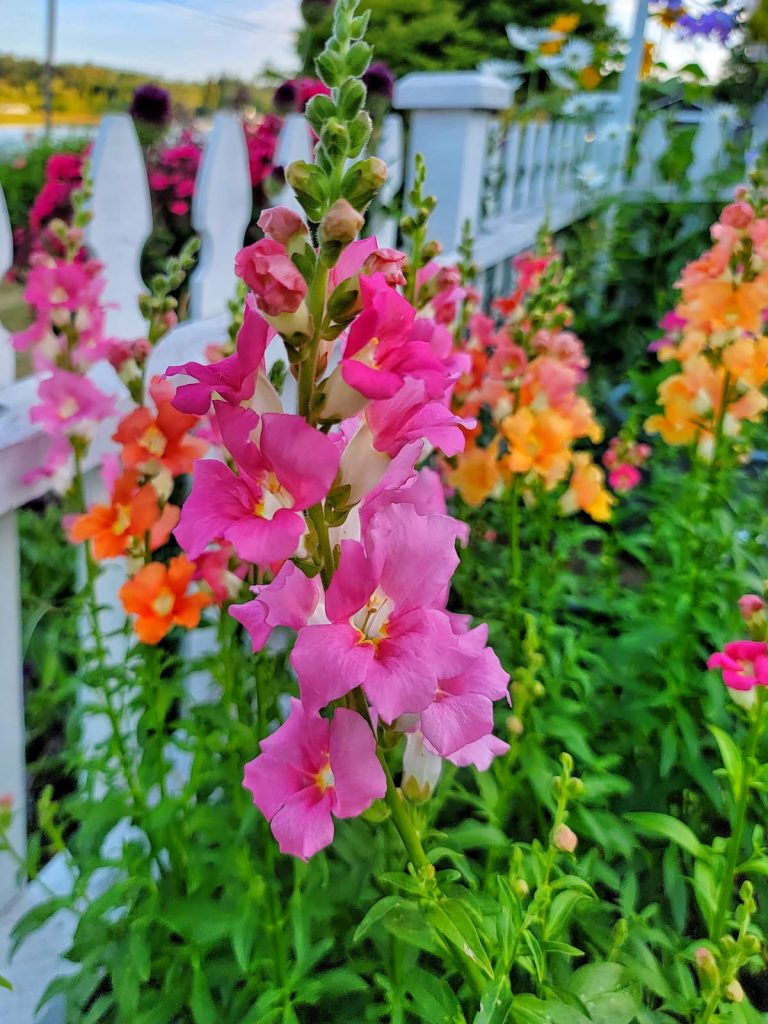
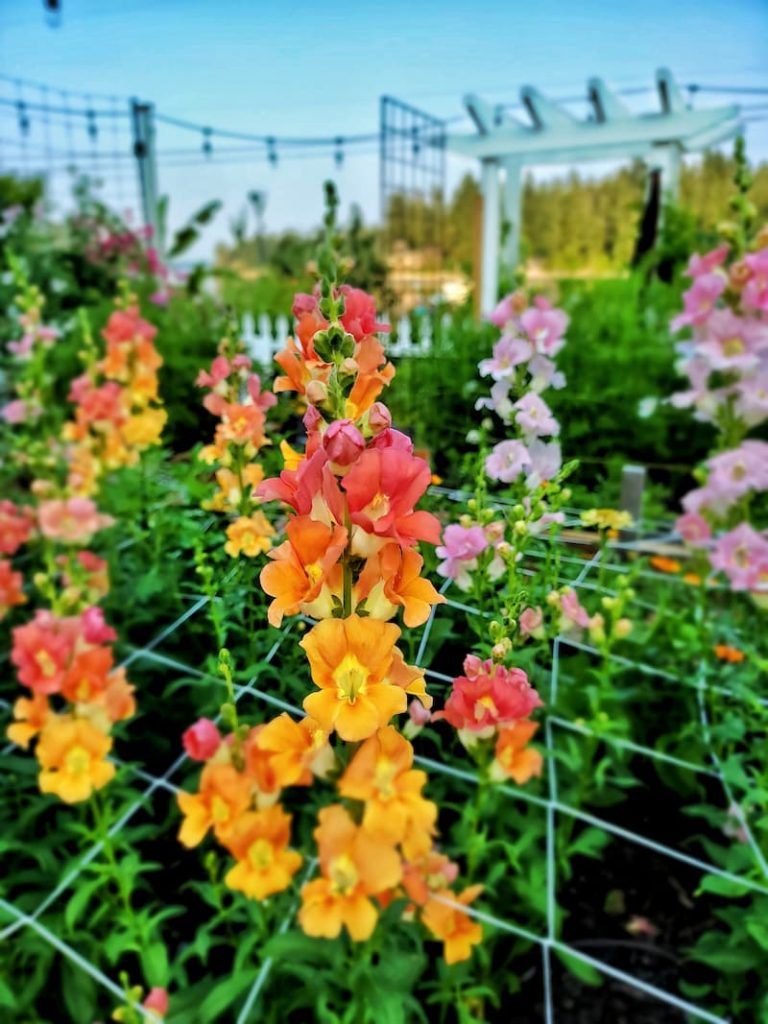
Beyond the zone number, think about your specific conditions: rainfall, humidity, wind exposure, and summer heat. The Pacific Northwest has long, mild, wet springs that are perfect for cool-season flowers like snapdragons and sweet peas, and scorching summers that can arrive suddenly and stress plants that weren’t established well.
Understanding your weather rhythms helps you to time plantings and choose varieties that are actually suited to what you have.
Know Your Frost Dates
Your last spring frost date and first fall frost date to find your planting window. Start from those dates and count forward or backward, depending on what you’re planting.
For most annuals, you don’t want to put frost-sensitive plants in the ground until nighttime temperatures are reliably above freezing.
Step 5: Choose the Right Site
Where you put your garden matters almost as much as what you plant in it.
Sunlight
Most flowering plants want at least 6-8 hours of direct sun daily. Before you designate a spot, observe the sunlight throughout a full day, not just a morning glance. South-facing spots get the most sun, north-facing areas stay shadier. Trees and structures can cast more shade than you expect, especially as the sun angles change through the season.
If you’re working with a shaded space, choose shade-tolerant plants like hellebores, hostas, astilbe, and impatiens rather than fighting the conditions.
Soil and Drainage
Avoid low-lying spots where water collects after rain; those areas tend to become waterlogged, which causes the soil to become root-rotted in most flowering plants. If you can improve drainage by amending the soil or building raised beds, that’s often worth doing. If the drainage problem is severe, choose a different location.
If your native soil is rocky, sandy, heavy clay, or compacted, raised beds are often the most practical solution. You’re creating a new, growing environment rather than trying to fix a difficult one.
Access and Convenience
When a garden space is hard to see, it tends to get neglected. The more visible it is from your house or daily path, the more you’ll tend to it. The proximity to a water source matters more than you’d think. Hauling watering cans across the yard gets old quickly in August. If you can, put your beds within reach of a hose hookup.
Wind and Exposure
Strong winds dry out soil fast and can damage tall plants. If your site is exposed, a fence, shrub border, or tall plant screen can make a real difference. In areas with intense summer heat, some afternoon shade is actually helpful for plants that aren’t fully heat-tolerant.
Room to Grow
Even if you’re starting small, choose a location that has room to expand. Many gardeners add a bed or two each year as their confidence and interest grow. It’s easier to leave room from the start than to realize later that you’ve hemmed yourself in.
Step 6: Know When to Plant
Timing matters more in the early season, before you’ve developed a feel for your specific garden. Planting too early in cold soil or starting seeds indoors at the wrong time can set you back weeks.
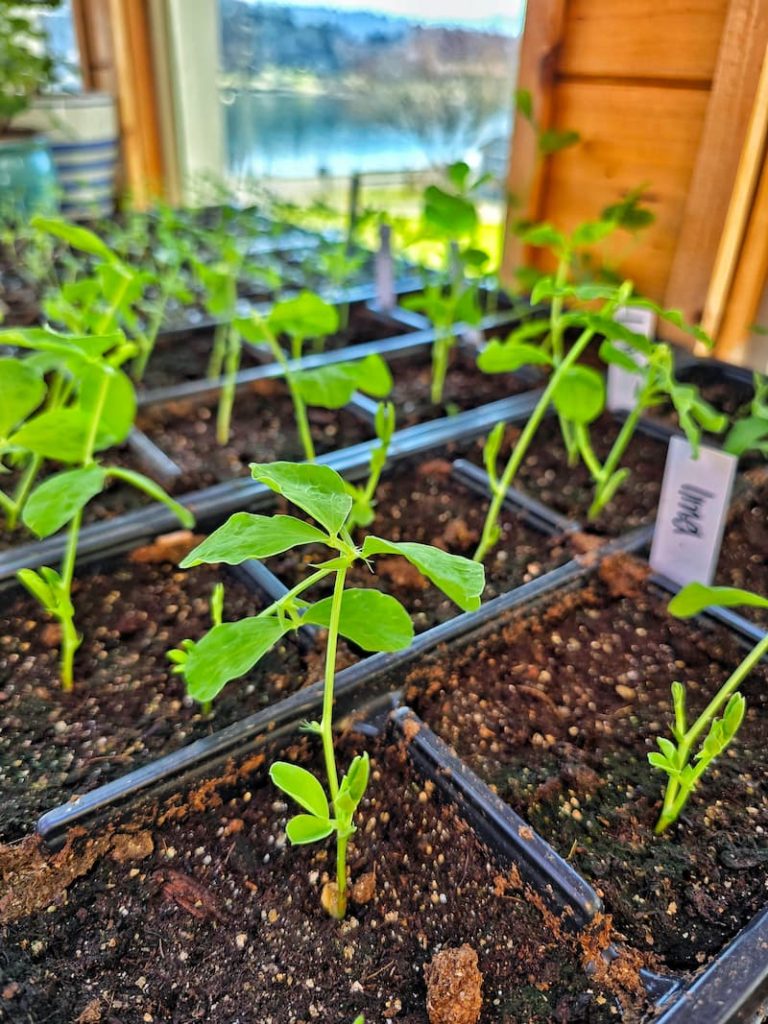
Cool-Season vs. Warm-Season Plants
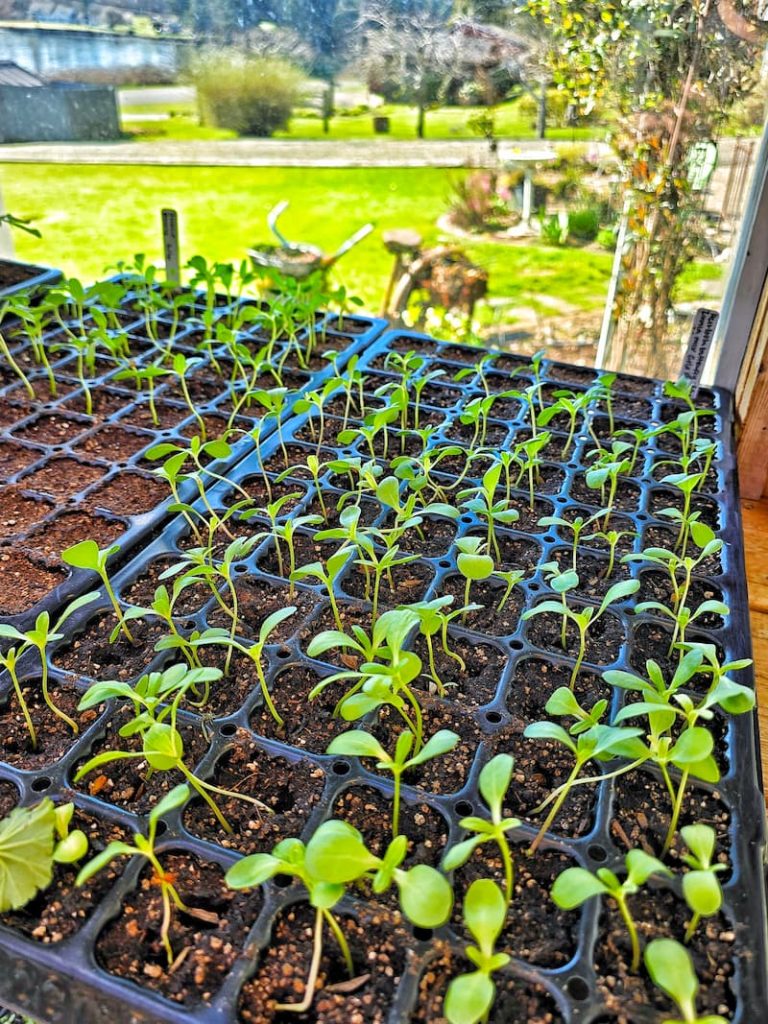
Starting Seeds Indoors vs. Direct Sowing
Succession Planting
Rather than sowing everything at once, stagger your plantings every 2-3 weeks. This extends your bloom season significantly. Instead of one big flush that’s over by August, you have waves coming through from early summer all the way to the frost. It’s one of the simplest things you can do to get more out of your garden.
Step 7: Decide What to Grow
Go back to your goals from Step 1. The plants you choose should serve those goals, fit your space, and suit your climate.
Match Plants to Your Space
Match Plants to Your Climate
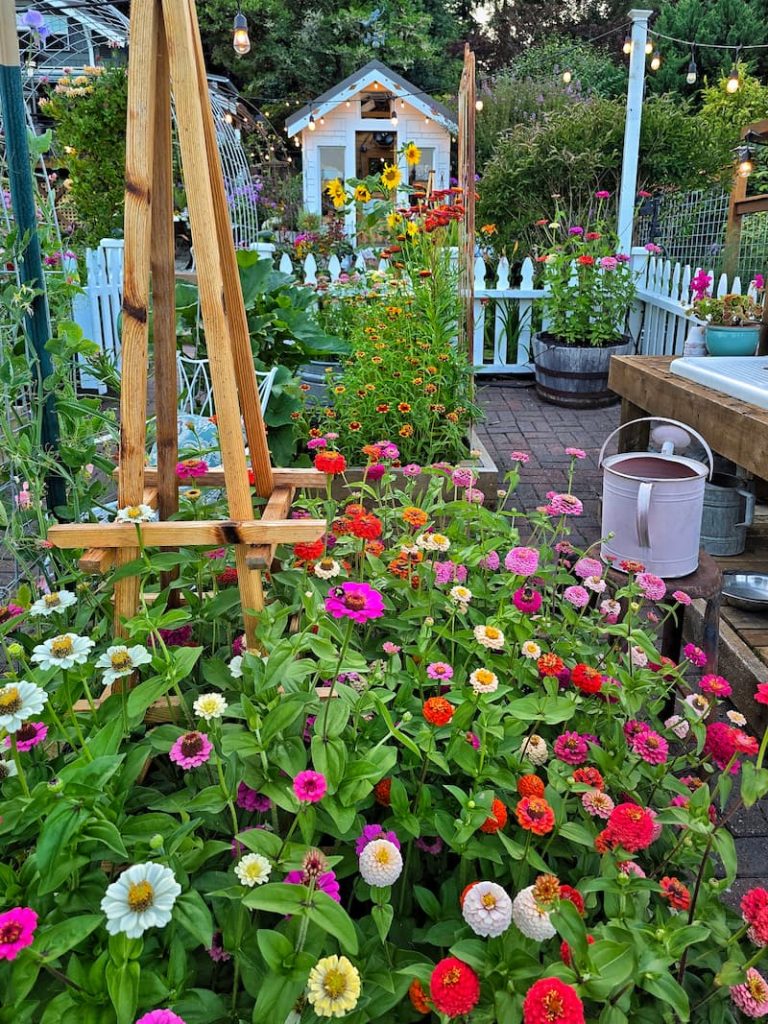
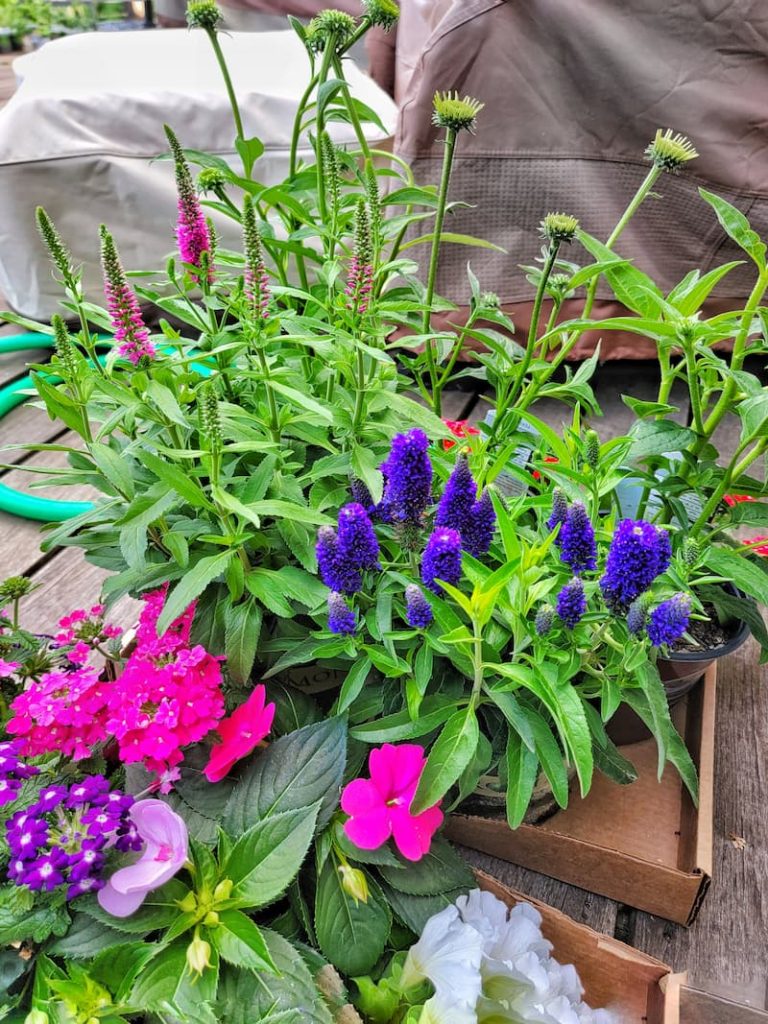
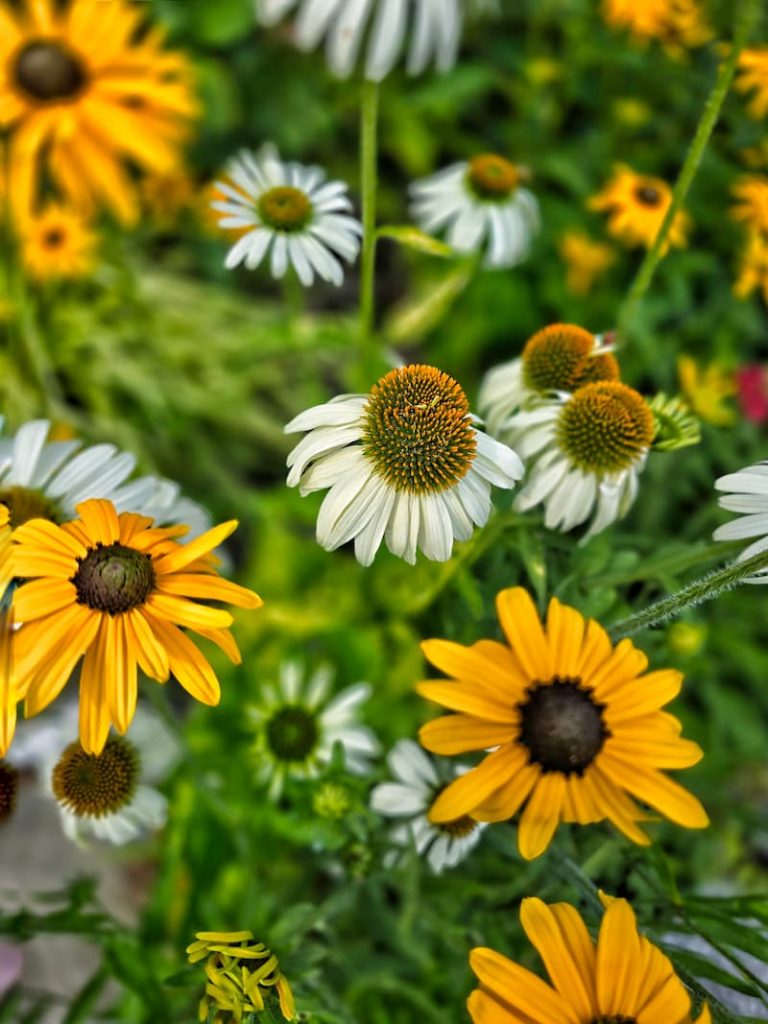
Easy Flowers for Beginners
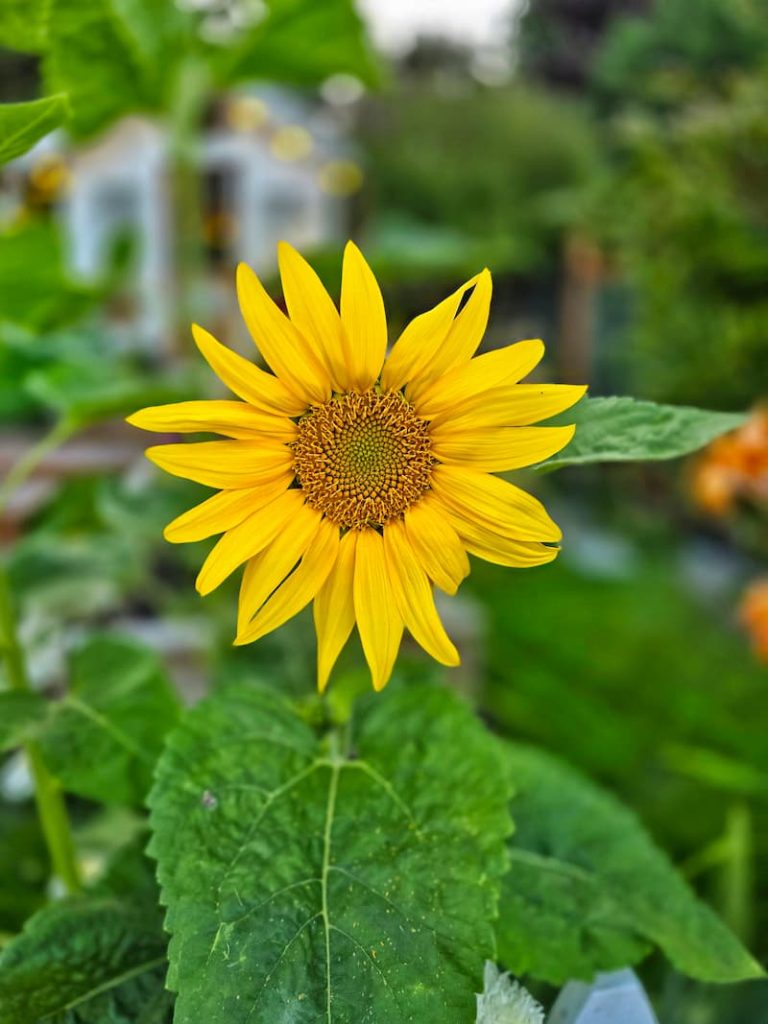
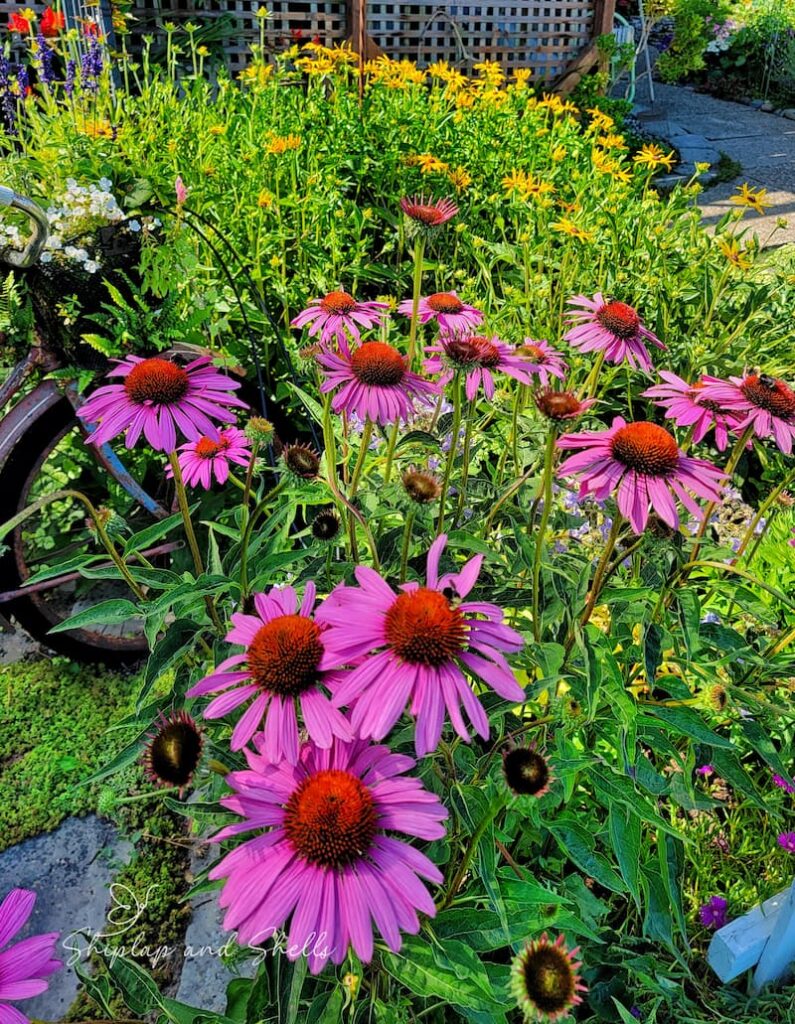
If you’re not sure where to start, these are forgiving, fast-to-bloom, and widely loved by pollinators: zinnias, cosmos, sunflowers, marigolds, sweet alyssum, and black-eyed Susans. All of them can be started from seed, and most will bloom within 60-70 days.
Make a Plant List and Start Small
Write down 5-8 varieties you’d like to try. Keep it manageable for your first season. Leave room on paper and in the ground for future expansion. Your list will grow along with your confidence.
Step 8: Plan Your Garden Layout
A rough sketch on paper before you start digging saves a lot of rearranging later. You don’t need anything precise, just a working plan that helps you visualize how it all fits together.
Basic Layout Approaches

Sun, Spacing, and Access
Place taller plants at the north or back of the bed so they don’t shade shorter plants. Keep shorter plants toward the front. Vining or climbing plants go along the back or on trellises.
Follow spacing guidelines on seed packets and plant tags. It’s tempting to plant more densely than recommended, but overcrowding leads to disease and stunted growth. Leave pathways of at least 18-24 inches between beds so you can reach everything comfortably without stepping in.
What Size Should a Beginner Garden Be?
The most common beginner mistake is starting too big. A smaller garden that you actually keep up with is more rewarding than a larger one that gets ahead of you.
Step 9: Invest in Basic Tools
You don’t need to buy everything at once. A handful of quality basics is all you need for a first garden.
Nice to have but not urgent: a kneeler, a wheelbarrow, and a hand weeder. Add those once you’ve been at it a season.
Garden Supplies and Tools
Check out my favorite garden supplies and tools for the growing season. Whether you’re looking for potting soil or deer repellent, you’ll find what I use in my own garden.
Step 10: Prepare Your Garden Site
Good site preparation is the most important thing you can do before planting, and it’s also the step most beginners rush. Taking a little extra time here pays off all season.
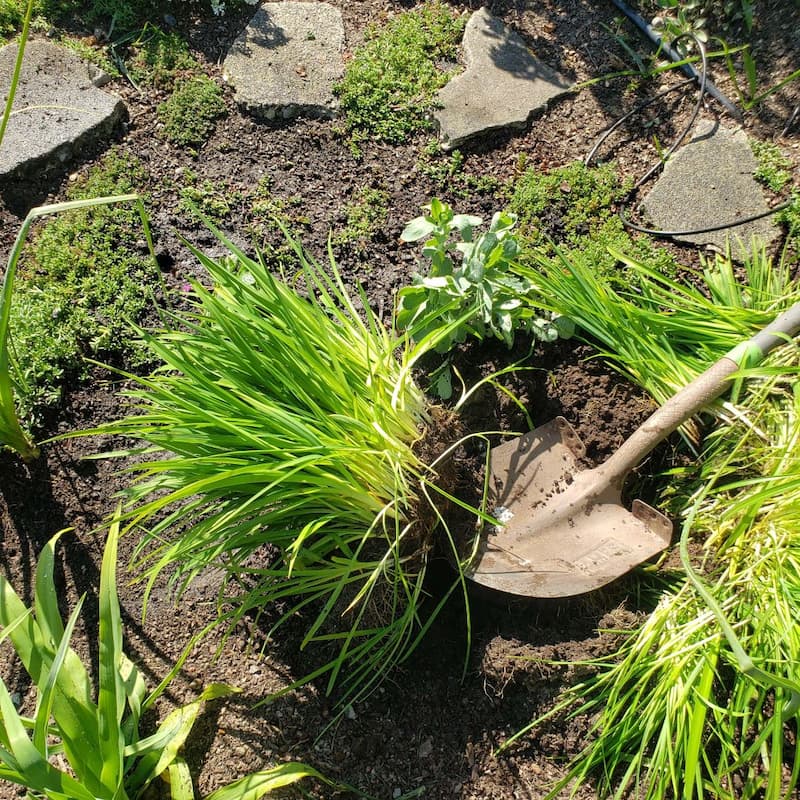
Clear the Area
Remove grass, weeds, stones, and debris. When converting a lawn to a garden bed, you can dig up the sod by hand (slow but effective for small areas) or use the sheet mulching method.
Lay cardboard directly on the grass, then cover with 4-6 inches of compost or mulch. Over 4-6 weeks, the cardboard smothers what’s underneath. It’s a slower approach, but much less labor-intensive.
If you’re in a hurry, covering the area with black plastic for several weeks can also work to kill off existing growth before you prepare the soil.
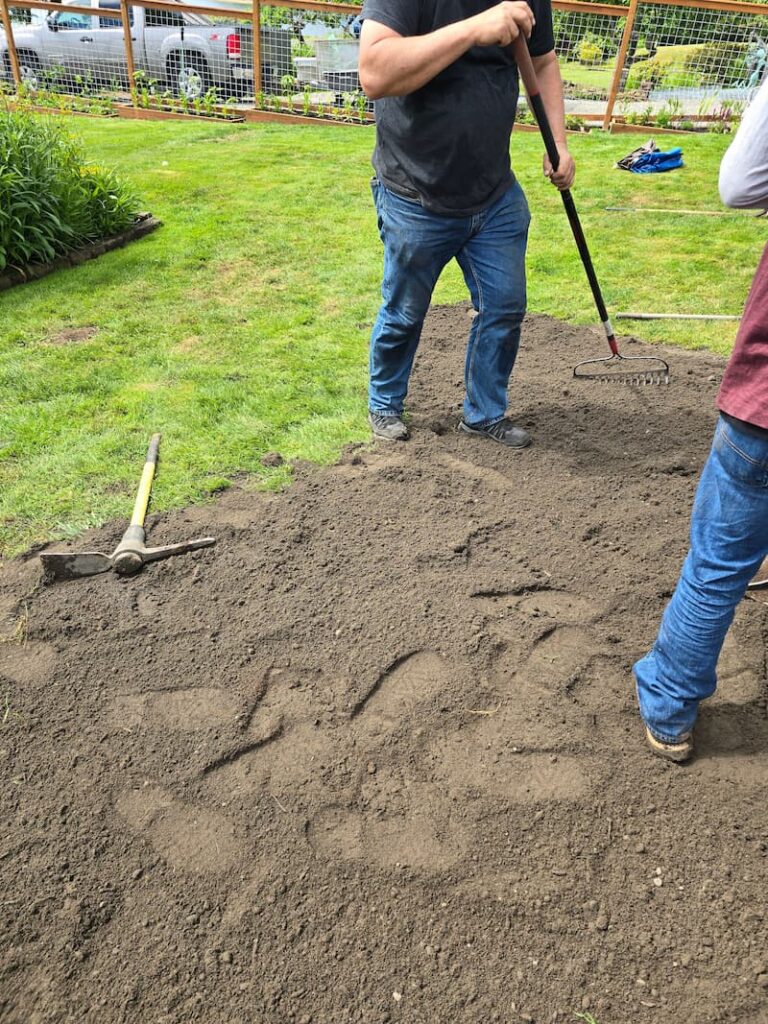
Test and Improve Your Soil
Before adding amendments, know what you’re working with. A soil test tells you pH and nutrient levels so you can amend with intention rather than guessing. Your local extension office offers inexpensive testing, or pick up a DIY kit at a garden center.
Most flowering plants prefer slightly acidic to neutral soil: pH 6.0 to 7.0. Common amendments:
If your native soil is truly problematic (compacted, rocky, heavily clay), raised beds are usually the more practical answer. You’re starting fresh rather than fighting what’s already there.
Define Beds and Pathways
Once the soil is prepped, define where your beds end and your path begins. Use wood edging, bricks, stone, and even just a clean spade cut to establish the boundary. Paths should be at least 18-24 inches wide. Stepping stones or wood chips in the past make them easier to use and help keep weeds down.
Install Structures Before You Plant
If your plan includes trellises, irrigation, or fencing, set those up before your plants go in. It’s much harder to install them after the seedlings are in the ground. Get stakes in cages for dahlias and tall plants in place early, before you need them, not after things have already flopped.
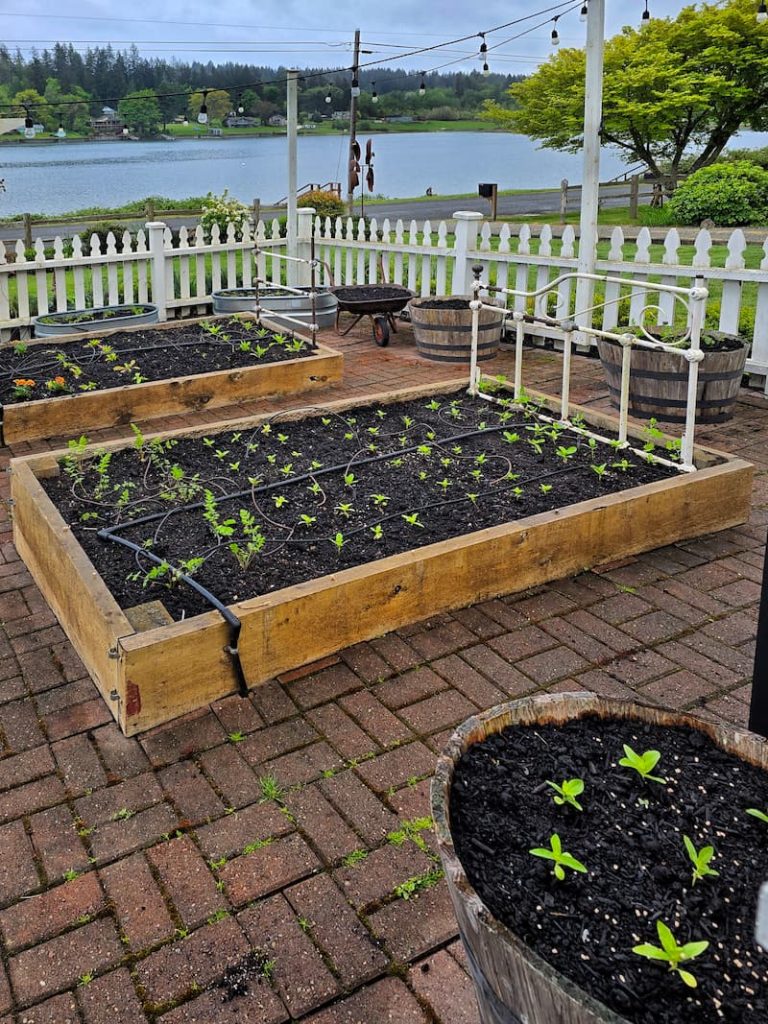
Step 11: Start Planting
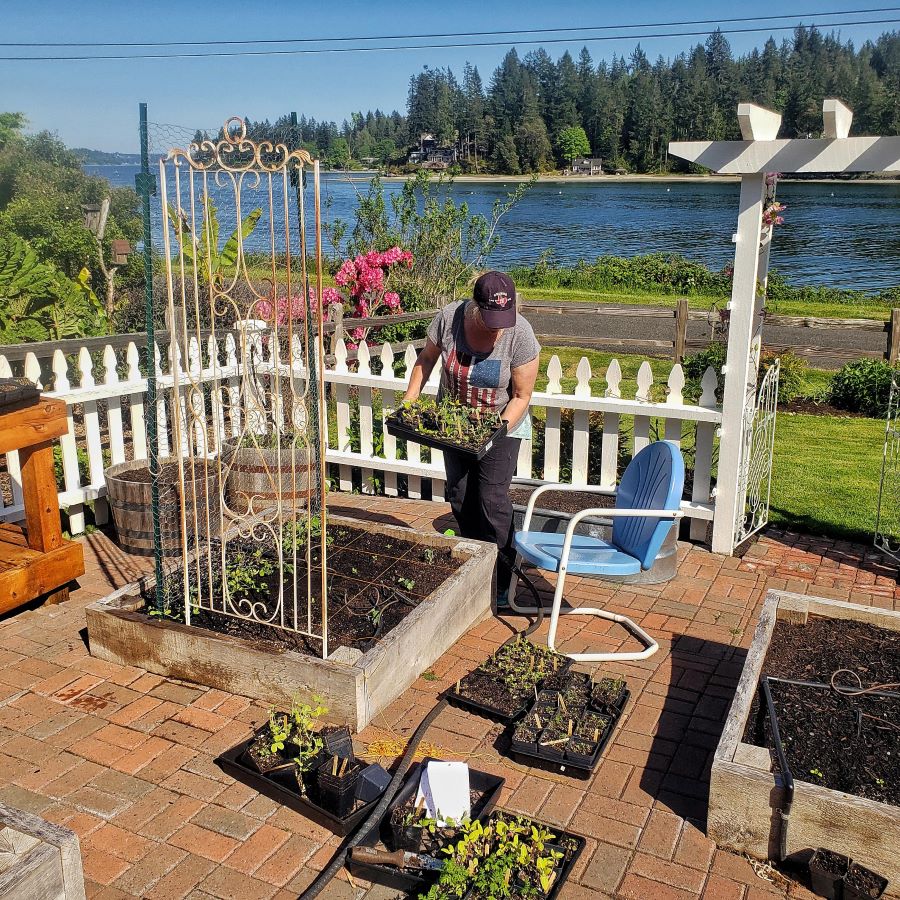
The moment you’ve been working toward. With your site prepped and your plan in hand, planting goes smoothly.
Seeds vs. Transplants
For direct sowing, plant seeds at twice their width deep, keep the soil moist until germination, and thin seedlings once they emerge.
For transplants, harden them off first (7-10 days of gradual outdoor exposure), then plant at the same depth they were growing in their container, water well immediately, and keep the soil evenly moist for the first couple of weeks.
Water After Planting
Water deeply right after transplanting. Keep soil consistently moist (not waterlogged) while seeds sprout and transplants establish. More watering is best; the soil surface dries through the day, which reduces fungal disease and slug pressure. Water at the base of plants rather than from overhead.
Mulch and Label
Add one to two inches of mulch (straw, wood chips, shredded leaves) around plants once they’re in. This retains moisture, moderates soil temperature, and significantly reduces weeds. Leave a small gap around plant stems so the mulch isn’t sitting directly against them.

Label what you planted and where. It’s easy to lose track, especially before things are blooming. A simple plant marker with the variety name saves a lot of guessing later in the season.
Step 12: Learn Basic Maintenance
Once everything is planted, regular care is what keeps the garden looking its best. The good news is that consistent small efforts are far more effective than occasional big ones.
Watering
New seeds and seedlings need consistent moisture, so check daily. Established plants need about an inch of water per week, more during heat. The finger test still works: push your finger an inch into the soil near the root zone. If it’s dry, water. If it’s still moist, wait.
Soaker hoses and drip irrigation are the most efficient options for flower beds. They deliver water directly to roots and keep foliage dry, which reduces disease. If you hand water, do it in the morning.
Deadheading
Removing spent flowers redirects the plant’s energy away from seed production and back into making more blooms. For most annuals – zinnias, cosmos, marigolds, and snapdragons – this is the single most impactful weekly task. Snip or pinch just above the first healthy leaf or bud below the faded flower. Once or twice a week is enough.
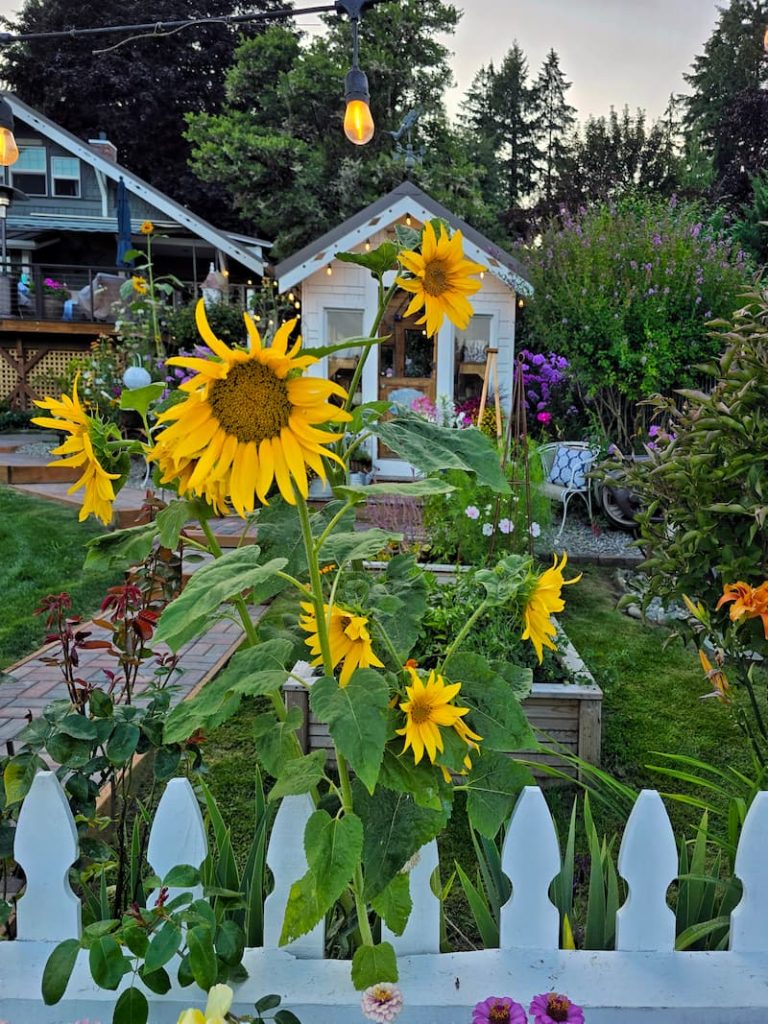
Staking and Support
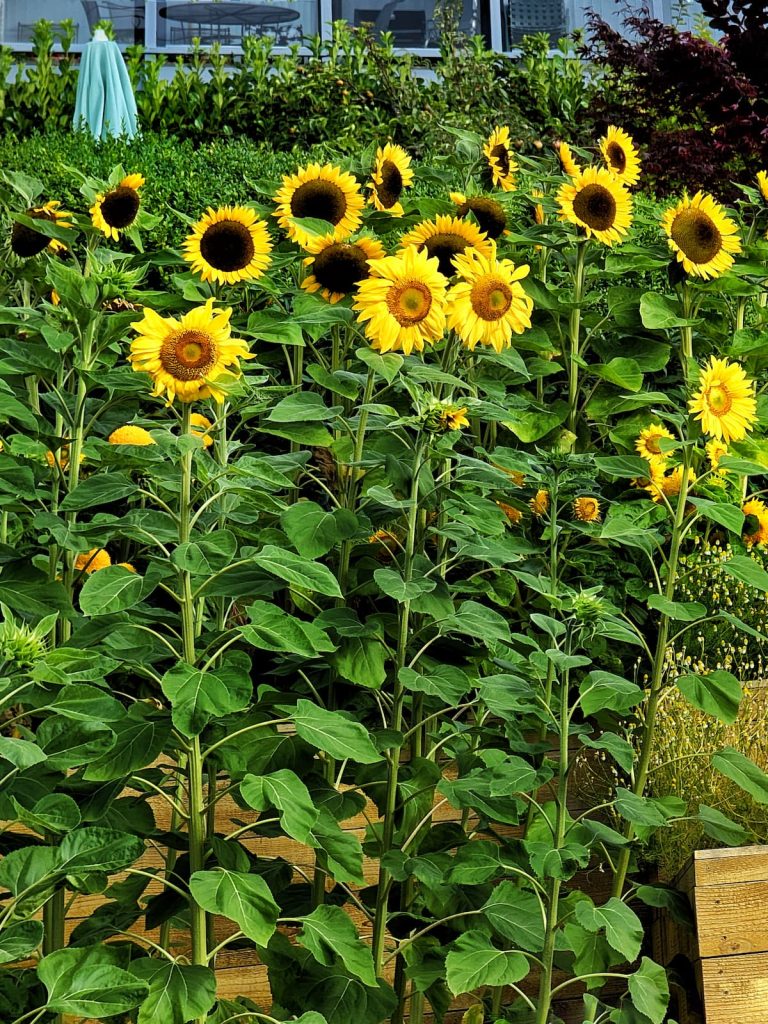
Tall plants like dahlias, sunflowers, gladiolus, and tall cosmos benefit from staking, ideally before they need it… not after they’ve flopped. Get supports in place early in the season and let the plants grow into them.
Weeding
Weeds compete directly with your plants for water, nutrients, and space. Pull them when they’re small, before they set seed. A 2 to 3-inch layer of mulch dramatically reduces the number that germinate in the first place.
Pest Monitoring
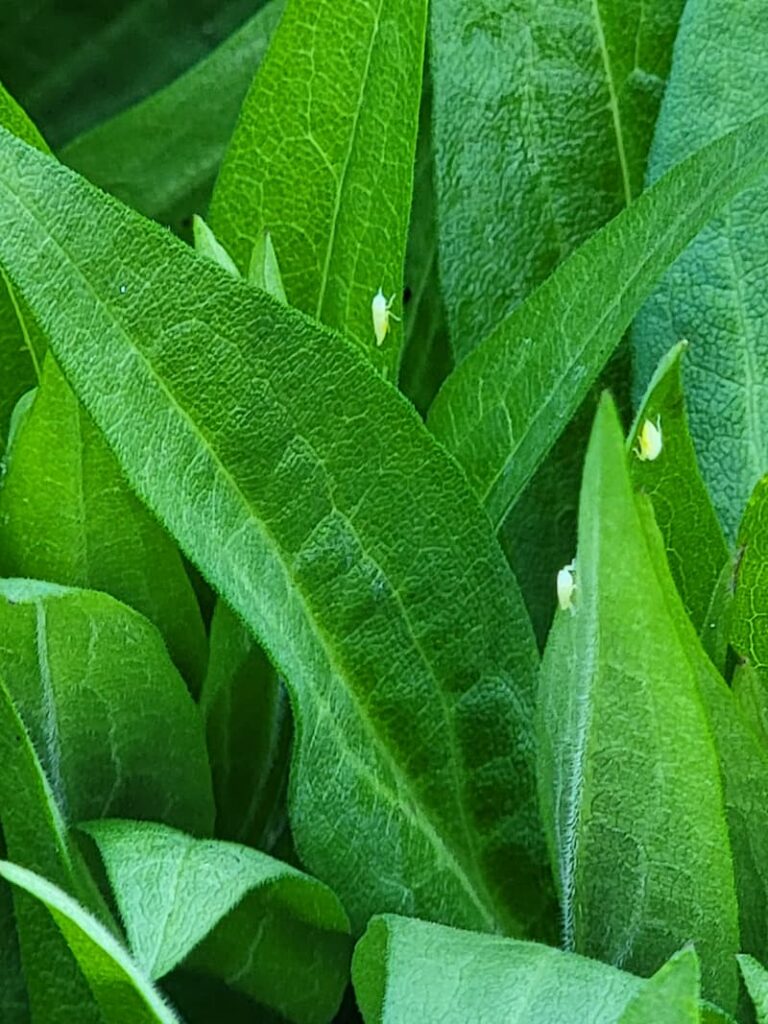
Check plants regularly, especially once the weather warms. Common first-year pests in Pacific Northwest gardens include aphids, slugs, and caterpillars. Most can be managed without chemical pesticides. A strong spray of water knocks aphids off, and diatomaceous earth or iron phosphate bait handles slugs.
The key is catching problems early, before they spread. Not all insects are problems: ladybugs, lacewings, and ground beetles are working in your favor.
Step 13: Protect Against Pests and Disease
Prevention is easier than treatment. A few consistent habits keep most pest and disease problems from gaining a foothold.
Preventive Practices
Natural Pest Control
Step 14: Enjoy the Harvest
After all that work, this is the part that makes it real.
Cutting Flowers for the Vase
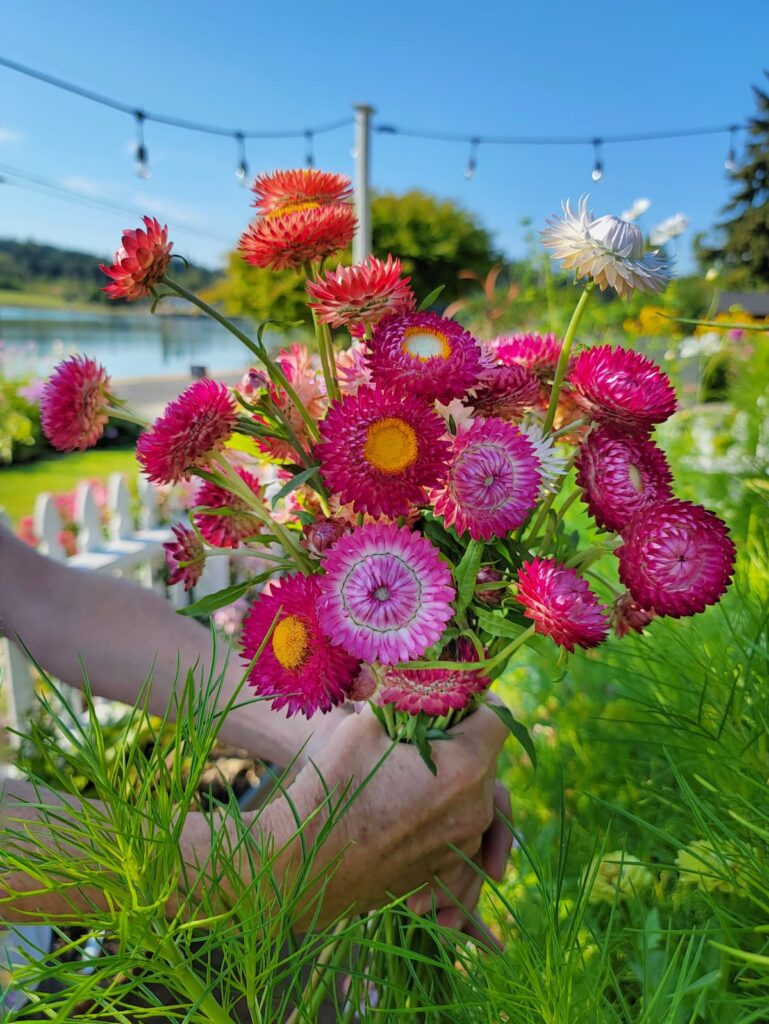
When harvesting your garden flowers, cut in the early morning before the heat sets in. Use sharp, clean pruners and make a diagonal cut to increase surface area for water absorption. Place stems immediately in a bucket of lukewarm water.
Remove any leaves that would sit below the waterline. They’ll rot and shorten vase life. Change the water every two days and trim stems slightly each time.
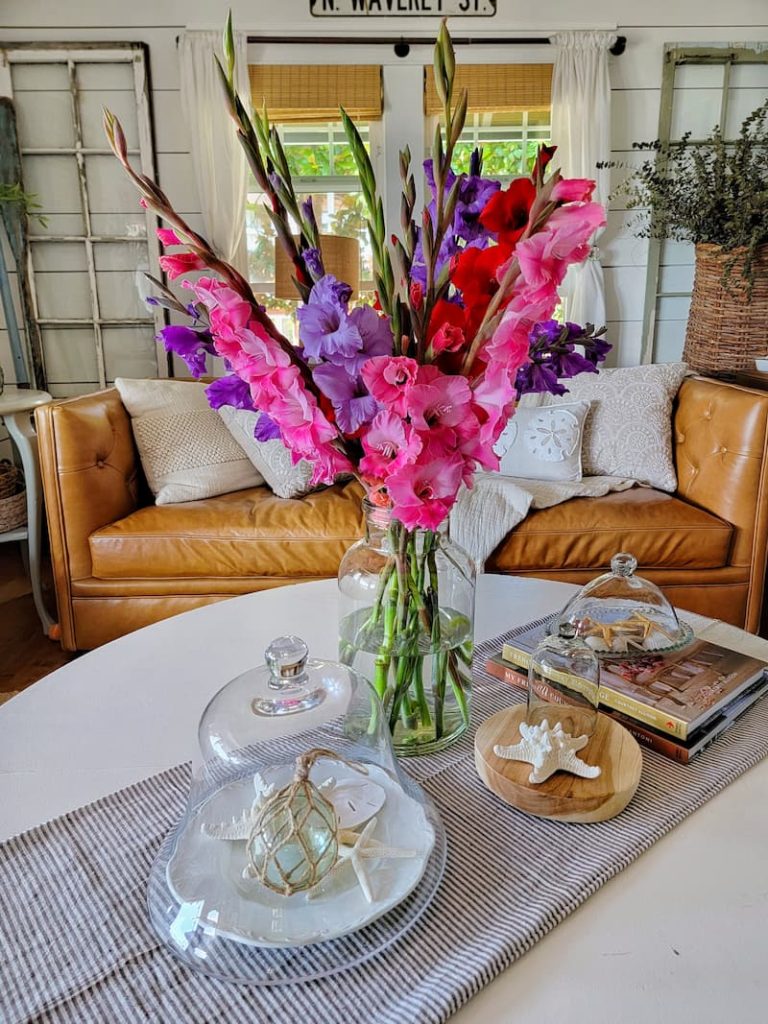
Keep arrangements out of direct sun, away from heat sources, and away from ripening fruit (which releases ethylene gas that shortens flower life).
Cutting regularly, especially for dahlias, zinnias, and cosmos, actually encourages more blooms rather than reducing what’s in the garden. The more you cut, the more the plants produce.
Step 15: Assess and Plan for Next Year

As the season winds down, take stock while things are still fresh. Which plants exceeded expectations? Which struggled? What would you plant differently, and what would you repeat?
Even a few notes in a journal or on your phone capture information that will be genuinely useful next year. Variety names, planting dates, what the heat wave did to that one bed, which spot had drainage problems… these details are hard to reconstruct six months later.
Set a couple of small goals for next season. One soil improvement, one new variety to try, one irrigation fix to make. Small, specific resolutions are more likely to happen than ambitious overhauls.
Let’s Plan Your Dream Garden With Our
Gardening Planner
Unlock Your Garden’s Potential.
Our 35-page Ultimate Garden Planner is designed to help you organize, track, and flourish in your gardening endeavors.
Get yours for $4.99
Frequently Asked Questions
What is the Easiest Flower Garden to Start?
A small raised bed or a few large containers planted with easy annuals… zinnias, cosmos, marigolds, and sunflowers. These are forgiving, fast-to-bloom, and hard to fill with. They also attract pollinators, which makes the garden feel alive almost from the start.
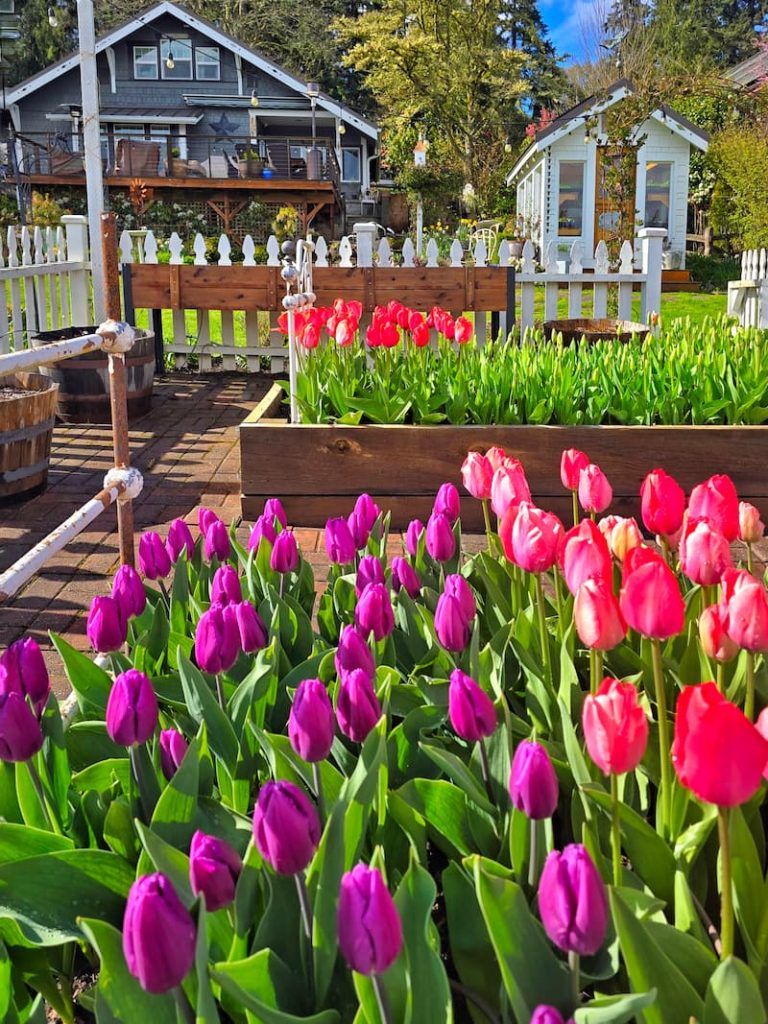
When Should You Start a Flower Garden?
It depends on what you’re planting and where you live. Cool-season plants like snapdragons and sweet peas can go in early spring, sometimes well before your last frost date.
Warm-season plants like zinnias and dahlias wait until after frost is past and the soil has warmed. In the Pacific Northwest, I typically start seeds indoors in late February and March, and transplant in April and May.
How Do I Start a Garden in Poor Soil?
Build raised beds and fill them with fresh soil and compost. This sidesteps the native soil problem entirely and gives you a controlled growing environment from day one. If you’re determined to improve in-ground soil, add compost generously and work it in well, but know that it’s a multi-season process.
How Do I Lay Out a Garden for Beginners?
Start with a simple sketch on paper. Place taller plants at the back or north end so they don’t shade smaller ones. Follow spacing guidelines from seed packets. Leave clear pathways between beds. Group plants with similar water and sun needs together. Keep it smaller than you think you need. You can always expand.
How Much Should a Beginner Invest in Garden Tools?
Not much at the start. A good trowel, gloves, bypass pruners, and a watering can or hose are enough to get through a first season. By quality where it counts (pruners especially… cheap ones damage stems), and add other tools as you figure out what you actually need.
What’s the Most Important Thing to Do After Planting?
Water well immediately after planting, then mulch. Those two steps protect your new plants as the roots are establishing. After that, consistent watering and a weekly walk-through to deadhead and check for pests will keep most gardens in good shape.
Final Thoughts and Encouragement
Starting a garden from scratch is one of those things that feels more complicated before you do it than while you’re actually doing it. You make a decision, plant something, watch what happens, and then adjust. That’s the whole process… just repeated season after season until it becomes second nature.
What I think back to our first years at the cottage, I wish I’d started smaller and paid more attention to the soil before anything else. Most of what I’ve learned since then comes down to those two things.
Start where you are, with what you have. The rest follows from there.
Until next time,
Happy Gardening!
I’m a self-taught hobby gardener. Everything I share on my blog is my opinion and what has worked for me.
MORE POSTS
For You To Enjoy
Follow Me for More Inspiration
Follow Me for More Inspiration