
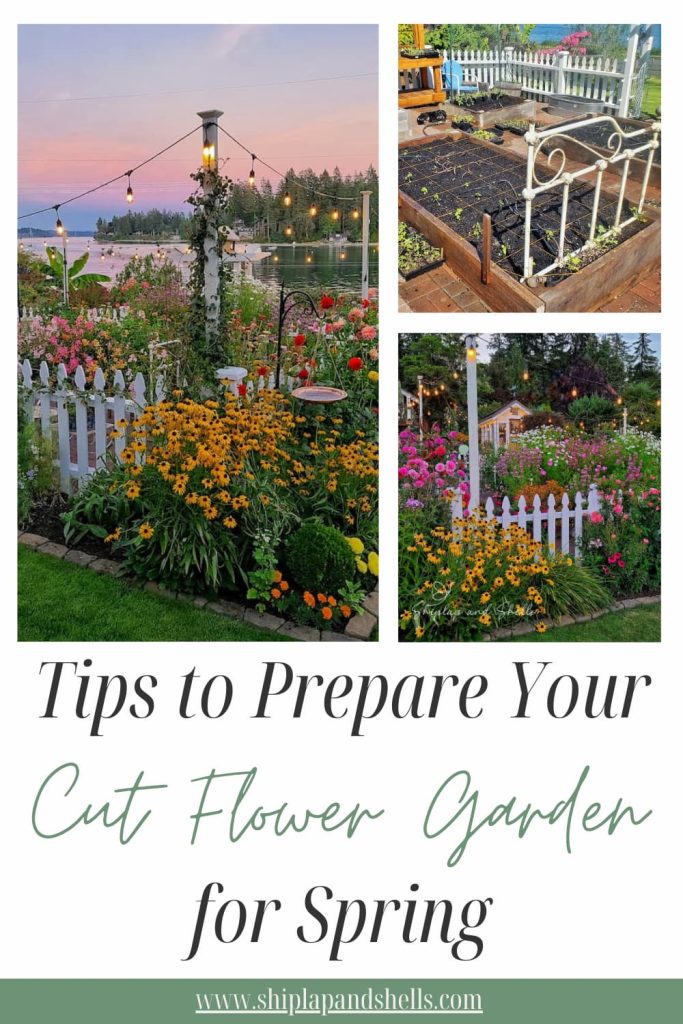
Preparing Cut Flower Garden Beds for Spring: Step-by-Step

Are you planning to grow a cut flower garden this year? If so, now’s the perfect time to prepare your garden for spring and give it a fresh start.
Preparing cut flower garden beds for spring is one of the most important things you can do to ensure a beautiful season of blooms. Before the first seedlings go into the ground, a little thoughtful preparation helps your soil wake up, your plants grow stronger, and your garden stay healthier all season long.
In this post, I’ll walk you through how to prepare flower beds each spring here in the Pacific Northwest. From refreshing the soil and clearing winter debris to picking the best cut flowers and planning your layout, I’ve got you covered.
None of these steps is complicated. But taken together, they create the kind of healthy, lived-in garden foundation that cut flowers thrive in.
And once everything is in place, the rest of the season feels a whole lot easier.
As an Amazon affiliate, I earn a commission from qualifying purchases at no additional cost to you. My blog also features other affiliate links for your convenience. Click here to read my privacy policy.
Quick Spring Garden Bed Preparation Checklist
If you’re getting your cut flower garden ready for spring, here’s a simple overview of the steps that make the biggest difference.
None of these tasks needs to happen all at once. Even tackling a few of them will give your garden a strong and healthy start to the growing season.
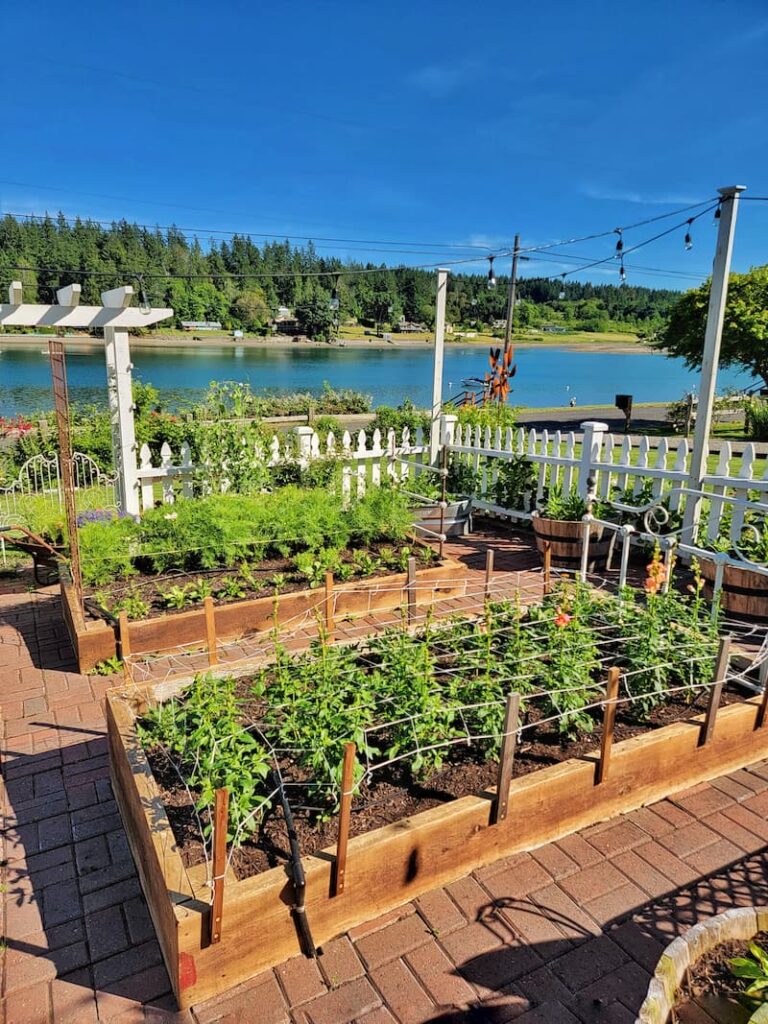
A Quick note about my garden
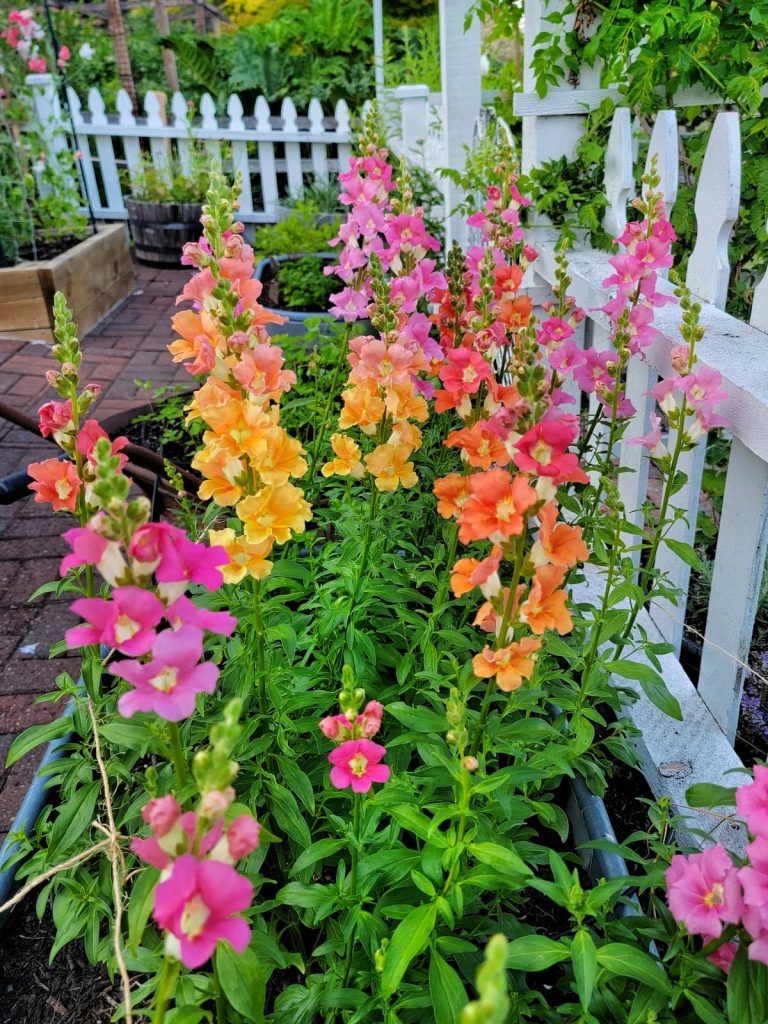
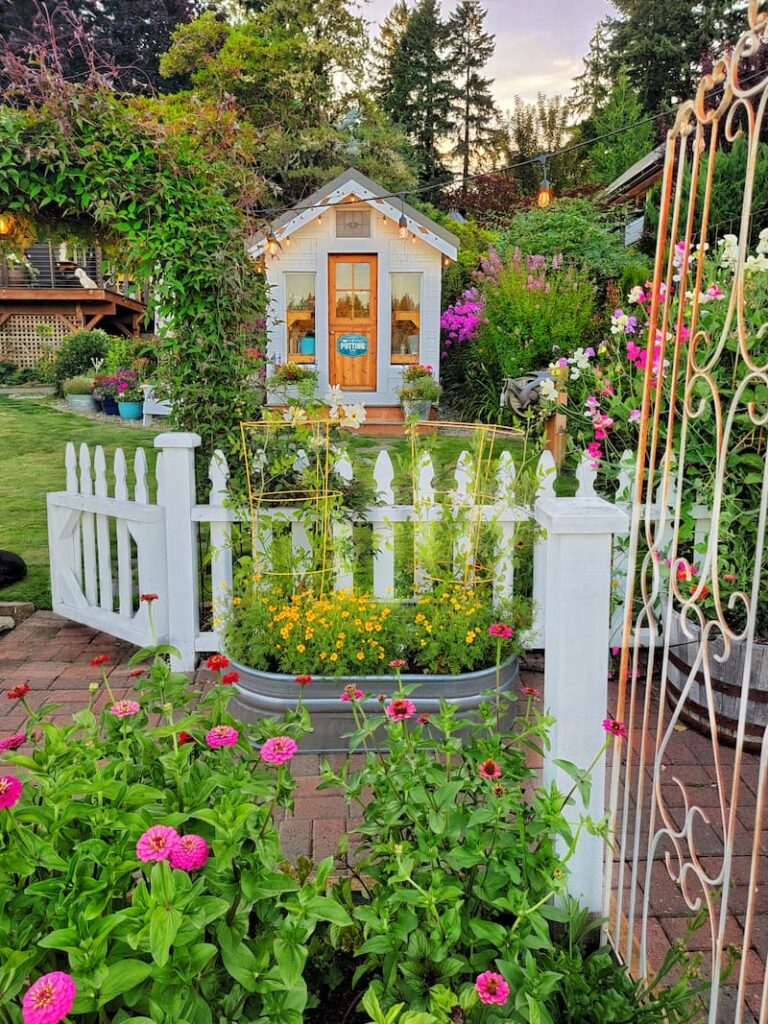
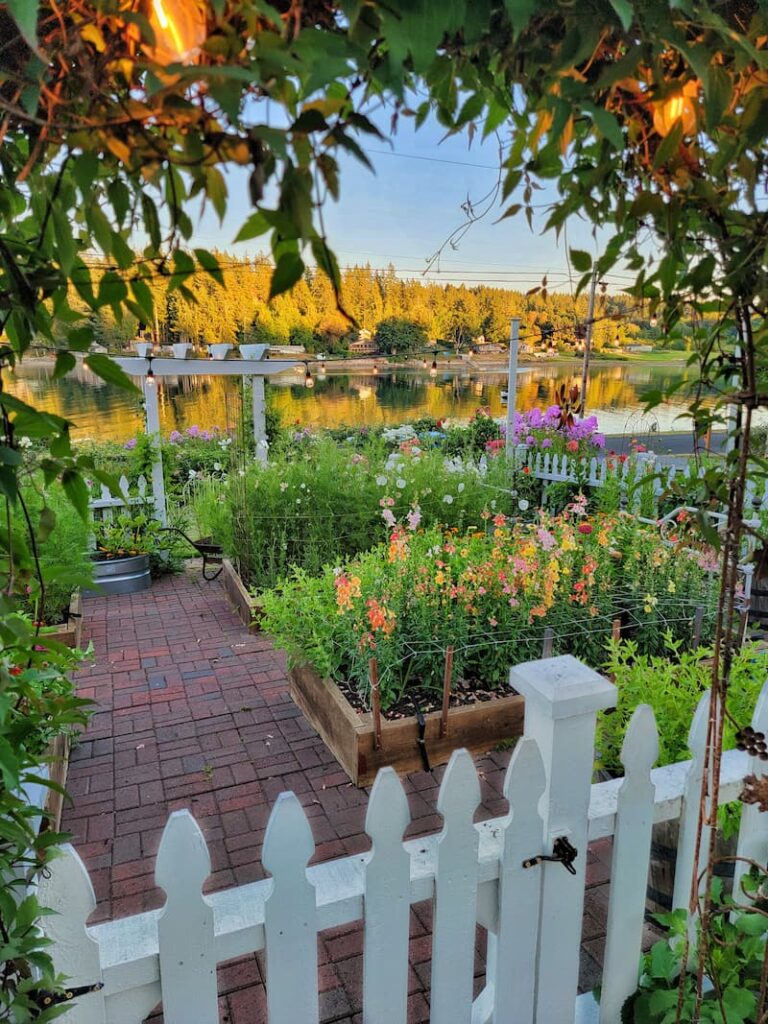
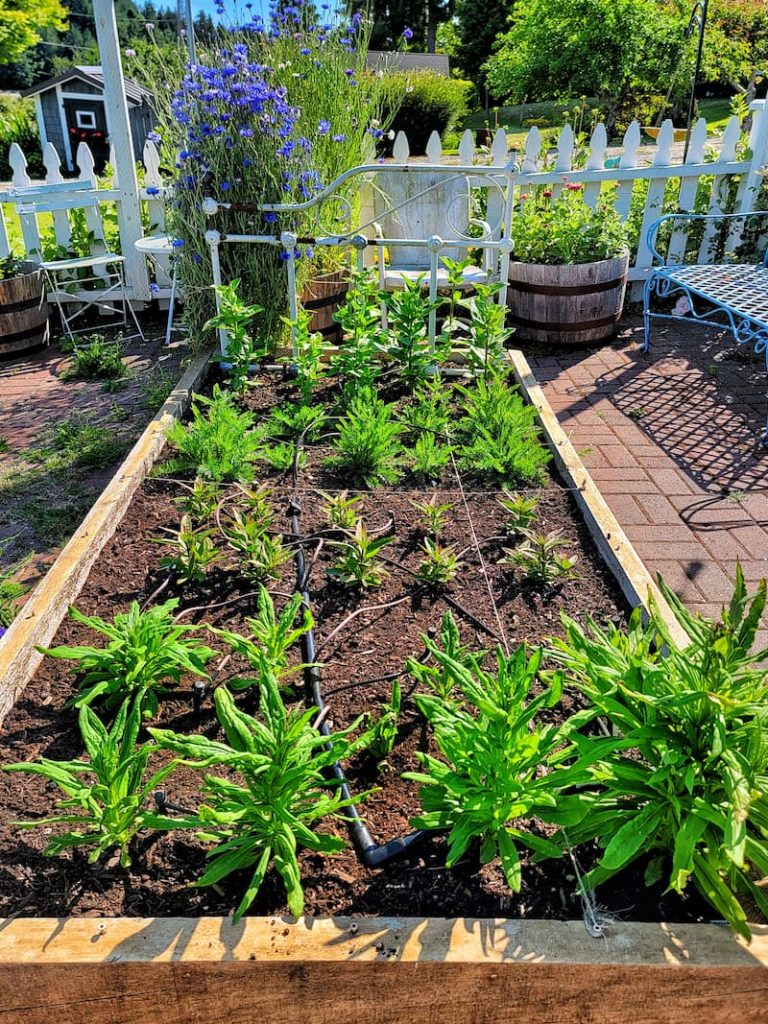
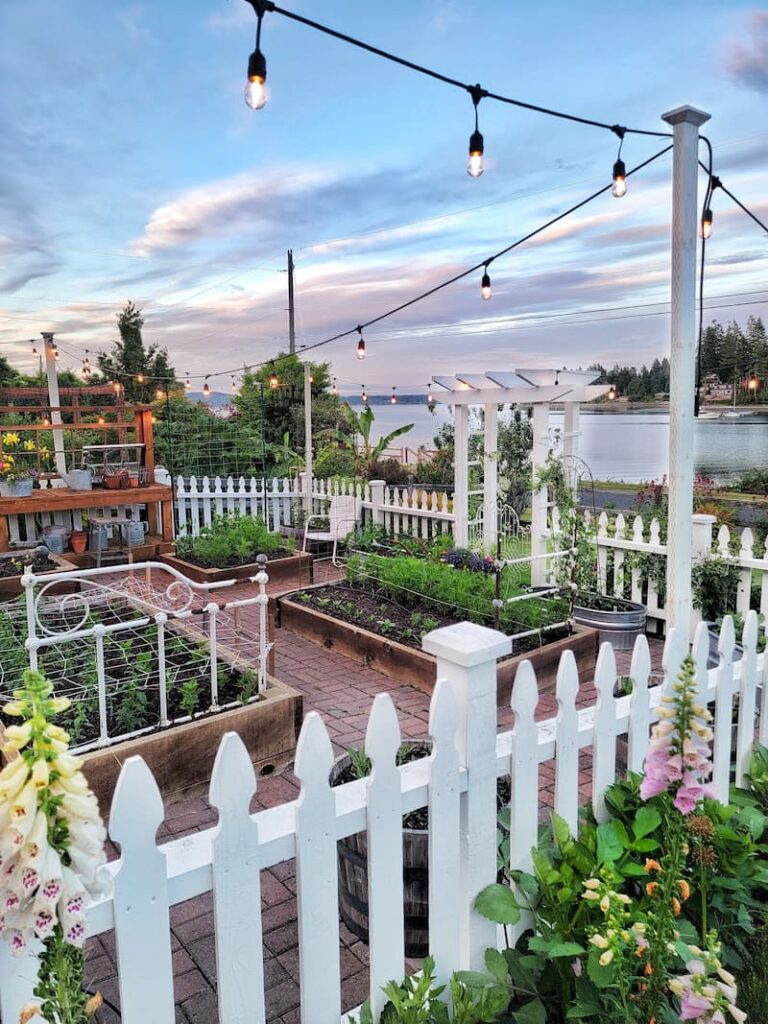
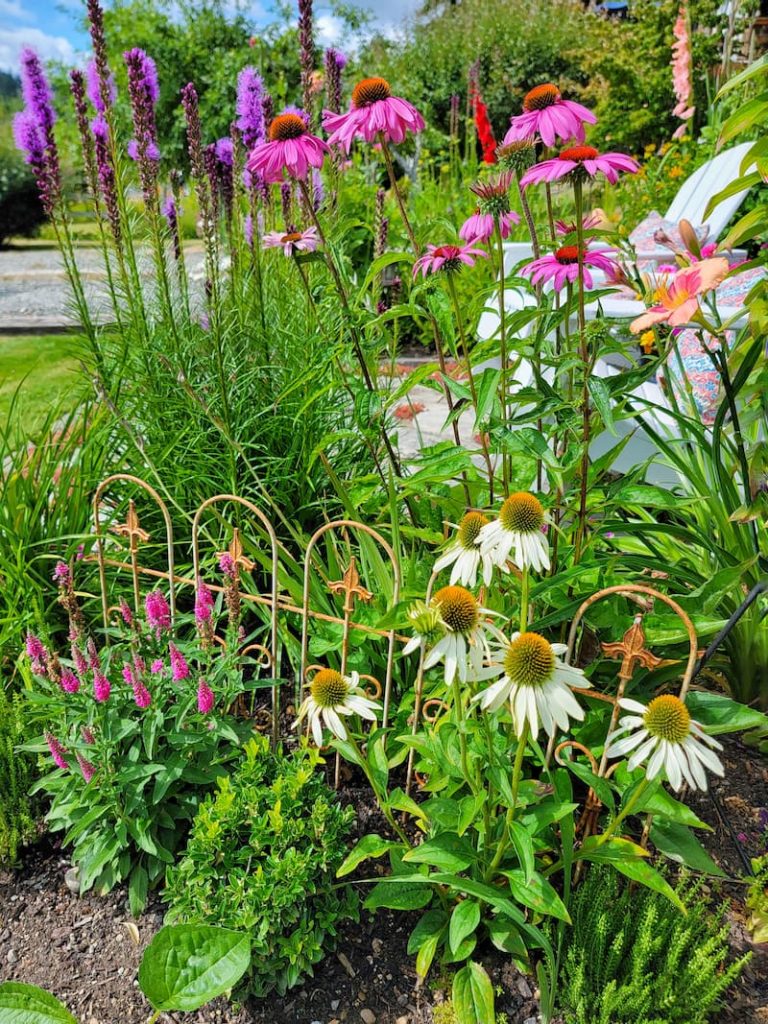
Most of the flowers I share here are grown from seed in our greenhouse and planted in raised beds and containers throughout our cottage garden.
Step-by-Step Tutorial: Preparing Cut Flower Garden Beds for Spring
Gather Your Garden Tools and Supplies
Before jumping into the physical work of preparing your garden beds, take a few minutes to gather and check your gardening tools.
Early spring is the perfect time to look over your equipment and make sure everything is ready for the season ahead. A quick inspection now can save a lot of frustration later when the garden gets busy.
Check metal tools for rust, tighten loose handles, and sharpen pruners or shears. Sharp tools don’t just make the work easier; they also help prevent plant damage and reduce the spread of disease between plants.
For most spring garden bed preparation, you’ll only need a few reliable basics:
I also like to make sure I have compost, mulch, and any soil amendments ready before I begin working in the beds. Having everything nearby makes the whole process feel much more relaxed and efficient.
If you reuse seed trays or pots, early spring is also a great time to wash and disinfect them so they’re ready for seedlings later in the season.
A little preparation here may seem simple, but it quietly sets the tone for a smoother and more enjoyable gardening season.
Garden Supplies and Tools
Check out my favorite garden supplies and tools for the growing season. Whether you’re looking for potting soil or deer repellent, you’ll find what I use in my own garden.
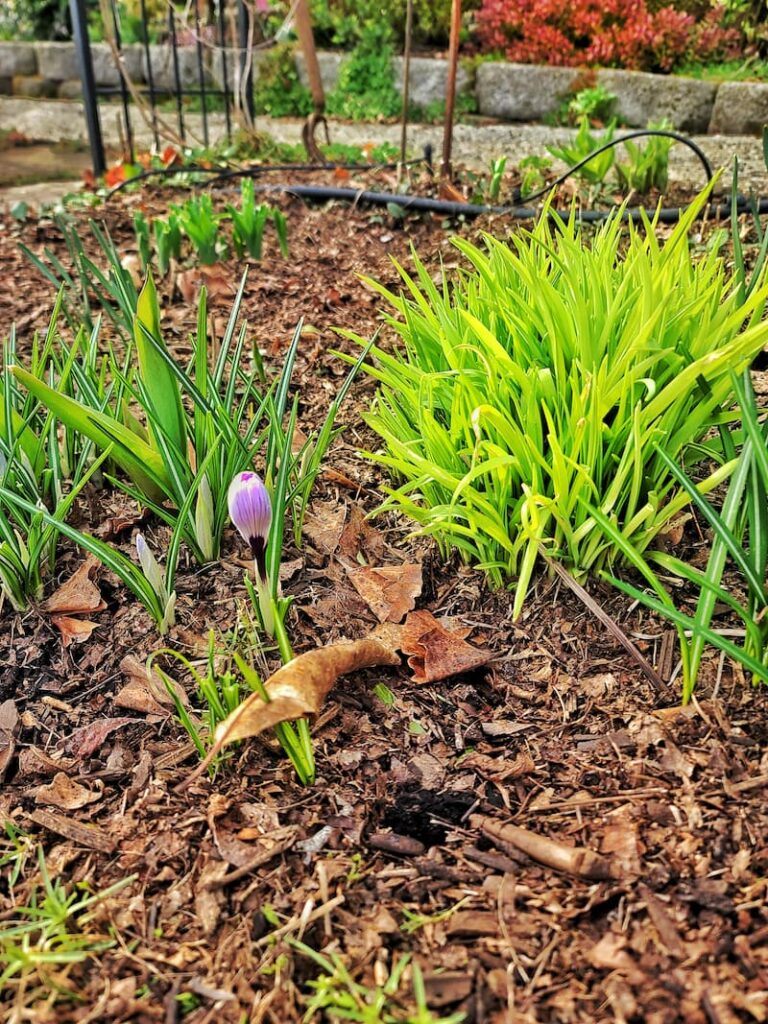
Check Plants for Winter Damage
As the first signs of spring begin to appear, it’s a good time to walk through your garden beds and check on any plants that stayed in the ground over winter.
Cold temperatures, heavy rain, and freeze-thaw cycles can take a toll on perennial plants, especially here in the Pacific Northwest. A quick inspection now helps you catch small issues before the growing season gets underway.
Look for broken stems, frost-damaged leaves, or signs of disease that may have developed during the colder months. It’s also helpful to check around the base of plants to see if the soil has shifted or if any plants have been pushed upward by winter freezing and thawing.
This is called heaving, and gently pressing the plant back into place can help protect the roots and keep it stable as the soil warms.
I always find this early-season garden walk to be one of the nicest parts of spring preparation. After a long winter, it’s often the first real reminder that the garden is beginning to wake up again.
Clean Leaves and Debris from Garden Beds
Once you’ve checked on your plants, the next step is to clear away any leaves, twigs, and debris that may have collected in your garden beds over the winter months.
While a layer of fallen leaves can be beneficial in natural garden areas, too much debris in flower beds can trap moisture and create the perfect environment for mold, fungal issues, and pests.
Gently rake or remove the buildup so sunlight and air can reach the soil surface again. This helps the soil warm more quickly and creates better conditions for seeds, seedlings, and emerging perennials.
Cleaning the beds also gives you a chance to look more closely at your soil and spot any hidden problems early, such as weeds starting to pop up or areas needing additional compost.
It’s a simple step, but it instantly makes the garden feel refreshed and ready for the new season.
Seed Starting Supplies
Check out my favorite supplies and tools for starting seeds indoors. Whether you’re looking for grow lights or a seed starting mix, you’ll find what I use in my own greenhouse.
Test Your Garden Soil
Before planting your first flowers, it’s helpful to understand what’s happening beneath the surface of your garden beds.
A simple soil test can tell you a lot about your soil’s nutrient levels and pH balance. This information makes it much easier to decide whether your soil needs compost, fertilizer, or other amendments before planting begins.
Many gardeners skip this step, especially when they’re eager to start planting. I did the same thing when I first started gardening. But once I began testing my soil each spring, I noticed a real difference in how well my flowers grew.
Soil test kits are easy to find at garden centers and online, and many local extension offices or garden resource centers also offer soil testing services.
Think of it as a quick check-in with your garden. Understanding your soil now makes every step that follows much more effective.
PNW Gardener Tip
In the Pacific Northwest, our soil tends to stay cooler and wetter longer in early spring. Before working your beds, make sure the soil isn’t overly wet. Working soggy soil can compact it and make it harder for roots to grow later in the season.
If the soil crumbles easily in your hand instead of forming a sticky mud ball, it’s ready to be worked.
This small pause early in the season can make a big difference in the health of your garden beds later.
Feed and Improve Your Soil
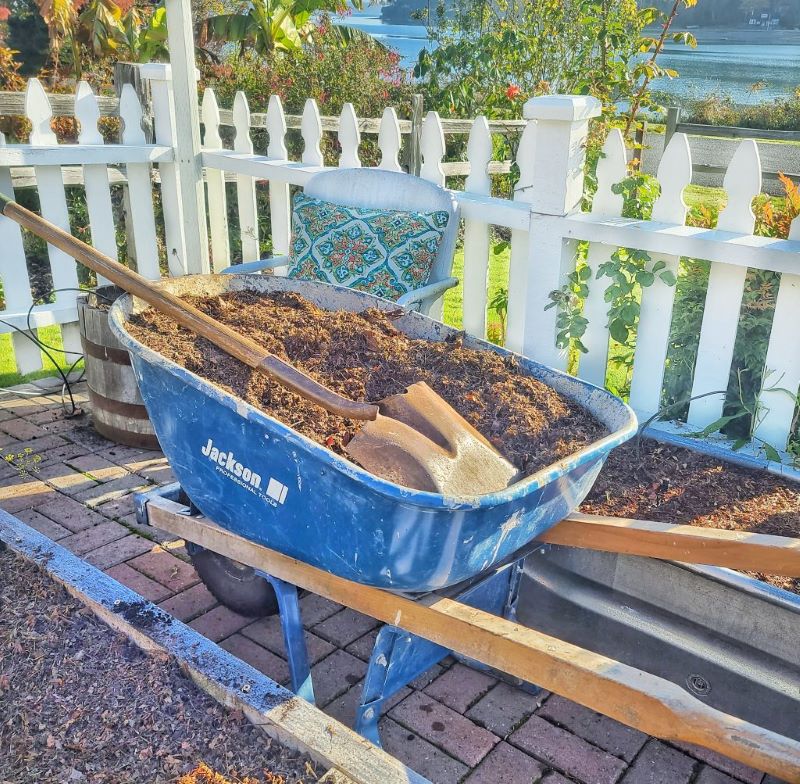
Healthy soil is the foundation of a thriving cut flower garden.
One of the easiest and most effective ways to improve garden soil is by adding compost. Compost enriches the soil with nutrients, improves soil structure, and helps retain moisture while still allowing proper drainage.
If you’re working with an existing flower bed, spread a 2 to 3-inch layer of compost over the soil in early spring.
You can gently work the compost into the top layer of soil with a shovel or garden fork, helping nutrients reach the root zone where plants need them most.
In my garden here in the Pacific Northwest, compost is something I rely on every single year. Our soil benefits enormously from the added organic matter, and it’s one of the simplest ways to keep garden beds productive season after season.
Once the compost is mixed in, adding a light layer on top can help the soil retain moisture and keep weeds from growing.
Small improvements to the soil now often lead to noticeably stronger plants later in the season.
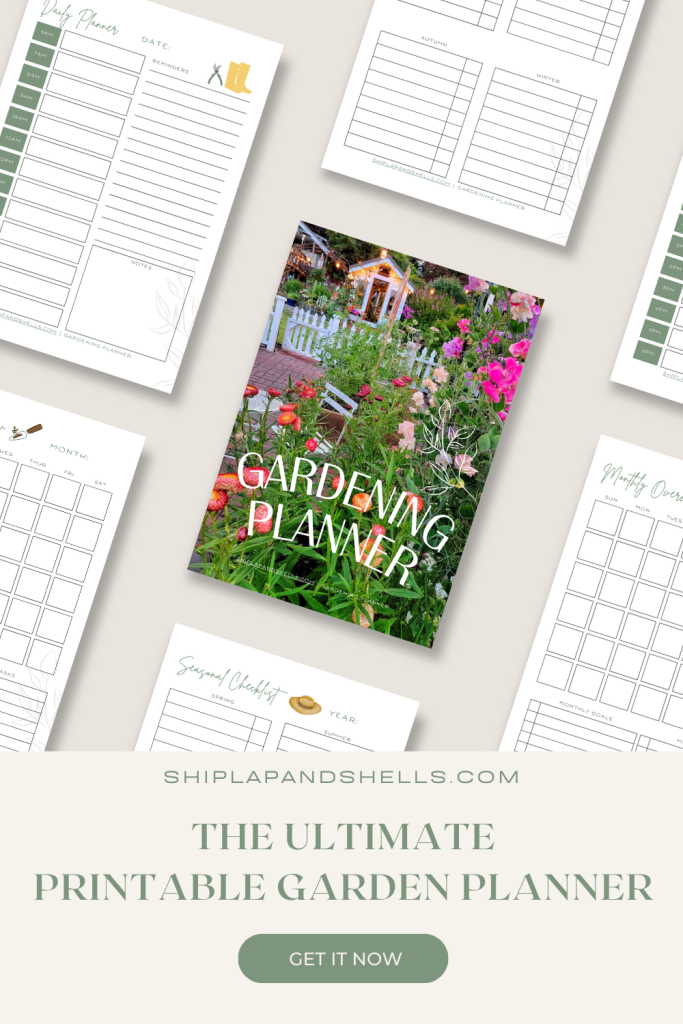
Let’s Plan Your Dream Garden With Our
Gardening Planner
Unlock Your Garden’s Potential.
Our 35-page Ultimate Garden Planner is designed to help you organize, track, and flourish in your gardening endeavors.
Get yours for $4.99
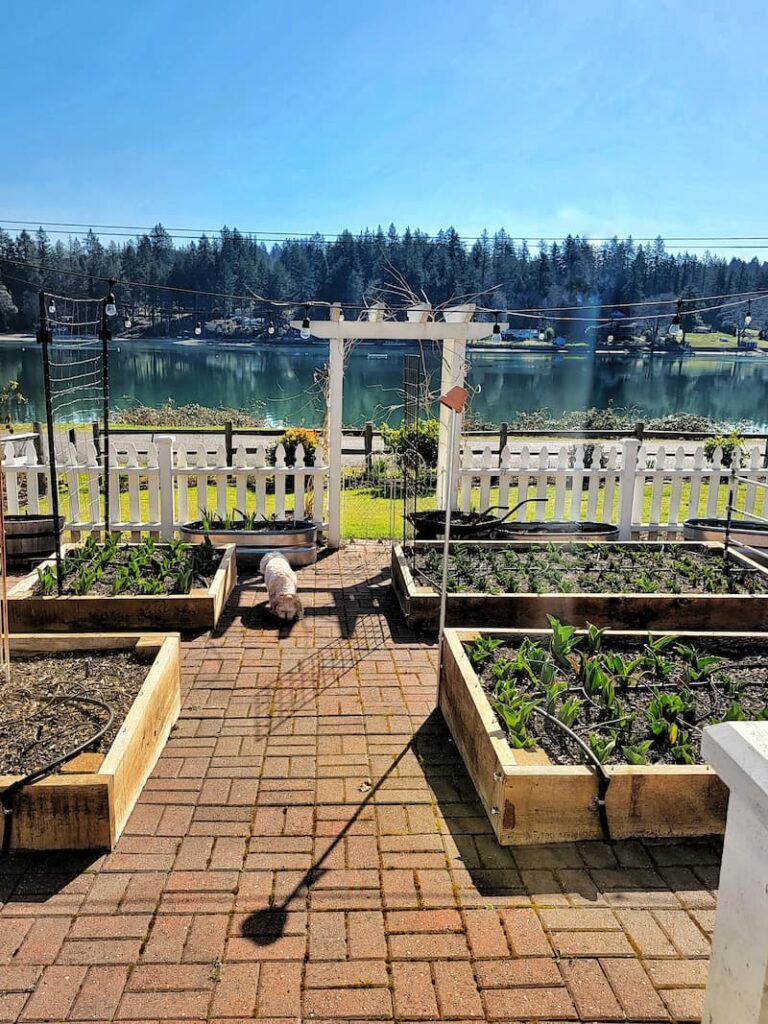
Prepare the Soil for Planting
After improving the soil with compost, the next step is to loosen and prepare the garden bed so plant roots can grow easily.
Over the winter, soil can become compacted from rain, snow, and natural settling. Loosening the soil restores air pockets that allow roots, water, and nutrients to move freely through the ground.
The best time to work the soil is when it’s slightly moist but not overly wet.
A quick test is to pick up a handful of soil and gently squeeze it in your hand. If it forms a loose ball that easily crumbles when tapped, the soil is ready to be worked.
Using a shovel or garden fork, loosen the soil to about 12 inches deep, removing rocks or old roots as you go.
Taking the time to prepare the soil properly makes planting easier and helps flowers establish strong root systems from the very beginning.
And once those roots are happy, the rest of the plant usually follows.
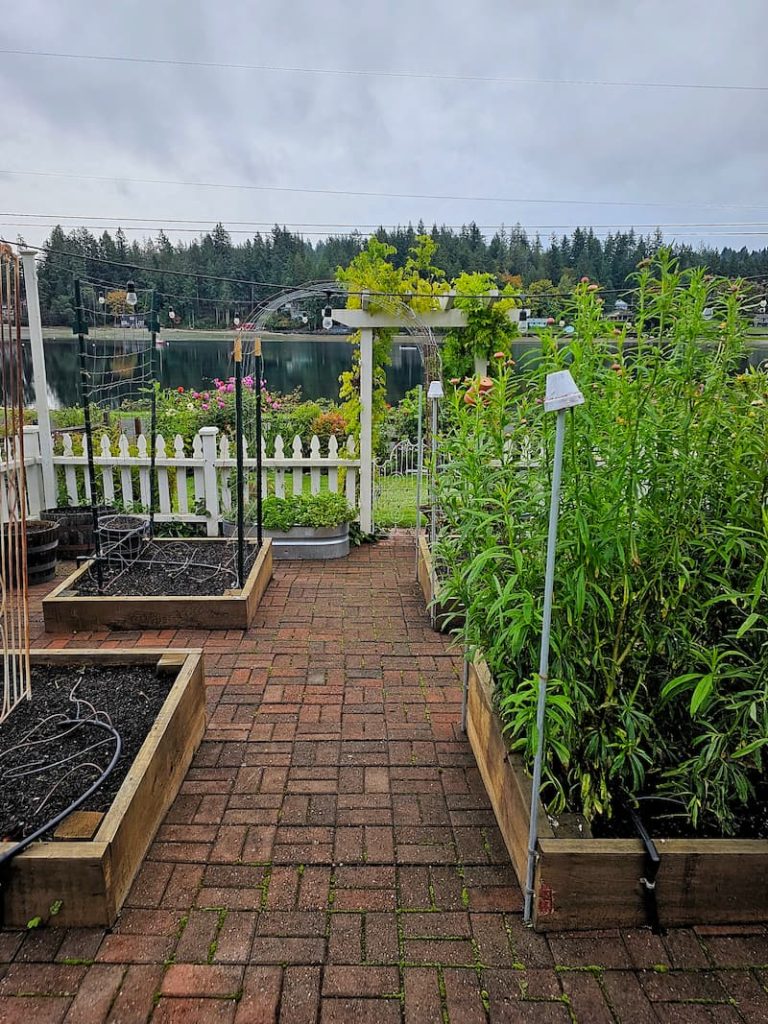
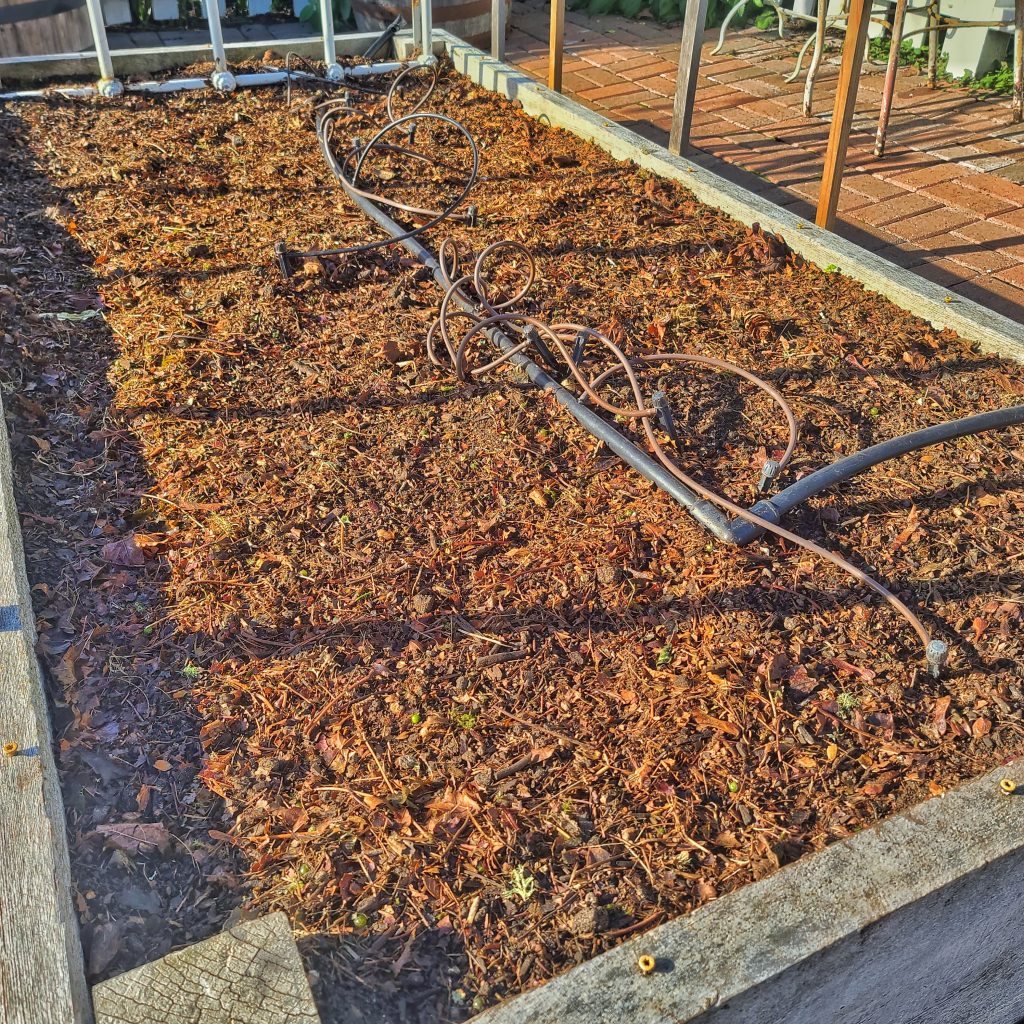
Plan a Simple Watering System
Before planting your cut flower garden, it’s worth taking a little time to think about how you’ll keep the beds consistently watered throughout the growing season.
Flowers grow best when the soil stays evenly moist, but not waterlogged. A reliable watering system makes this much easier, especially once summer temperatures arrive.
Many gardeners prefer using soaker hoses or drip irrigation systems, which deliver water slowly and directly to the root zone of plants. This helps reduce evaporation and keeps foliage drier, lowering the risk of fungal diseases.
If you’re installing irrigation lines, it’s easiest to do this after amending the soil but before planting. This allows you to position the hoses exactly where roots will develop.
Adding a timer to your watering system can also make a big difference. Early morning watering tends to be most effective, allowing plants to absorb moisture before the heat of the day.
Even with an irrigation system in place, it’s still helpful to check your soil moisture occasionally. A quick look at the soil or a simple moisture meter can help you adjust watering as the season changes.
A little planning now will help keep your garden thriving once summer arrives and the flower beds are full.
SHOP FOR A DRIP IRRIGATION SYSTEM
Prevent Weeds Before They Take Over
Keeping weeds under control early in the season makes a huge difference later on.
When preparing your flower beds for spring, there are a few simple ways to reduce weed pressure before plants start growing.
One of the most effective methods is adding a layer of organic mulch, such as straw, wood chips, or leaf mold. Mulch blocks sunlight from reaching the soil surface, preventing many weed seeds from germinating while also improving soil health as it breaks down.
Some gardeners also use landscape fabric, especially in new beds or areas with aggressive weeds. The fabric allows water and air to pass through while limiting weed growth.
For weeds that do appear, using a lightweight hoe or gently pulling them by hand while they’re still small can prevent them from spreading.
Staying ahead of weeds early in the season saves a surprising amount of work once the garden is in full bloom.
Divide Perennials for Healthier Plants
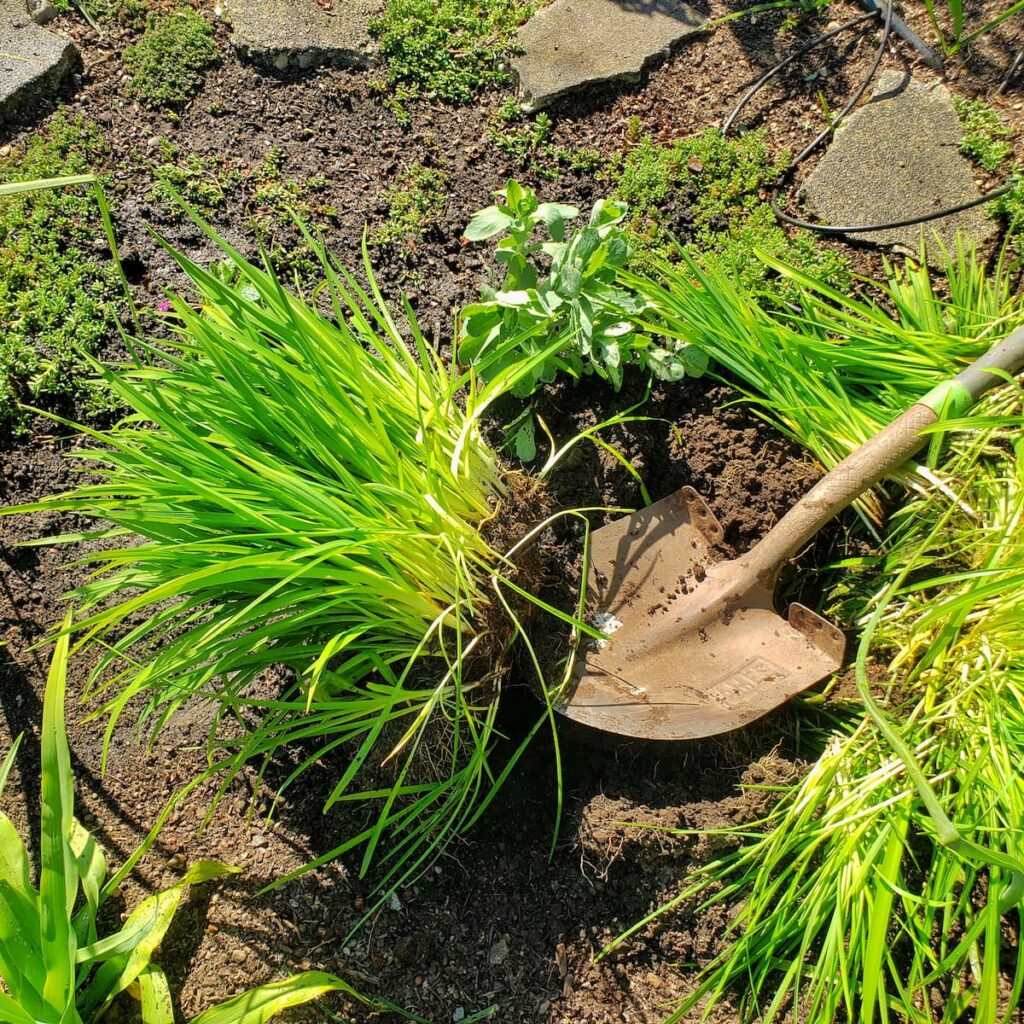
If you already have perennial flowers growing in your cut flower beds, early spring or fall can be a good time to divide them.
Dividing perennials helps control plant size, encourages stronger growth, and often leads to more blooms throughout the season. It’s also a simple way to expand your garden without purchasing additional plants.
As a general rule:
This timing allows the plants to establish strong roots before their main growing or flowering season begins.
Even dividing a few plants each year can gradually refresh older garden beds and keep them productive.
Early spring garden work often feels slow and quiet. The beds may still look simple and bare, but this is the moment when the foundation for the entire growing season is being set.
More Cut Flower Info
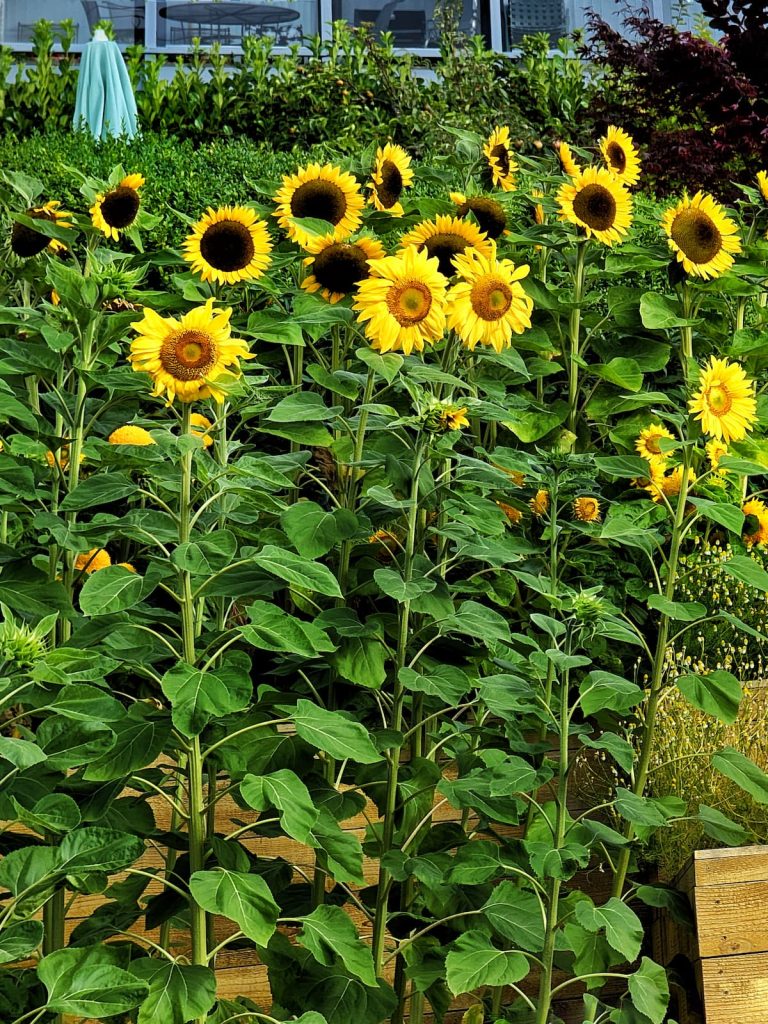
If you’re still deciding what flowers to grow, I share many of my favorite varieties in my guide to planning a cut flower garden, including flowers that perfprm especially well in cottage-style cutting gardens.
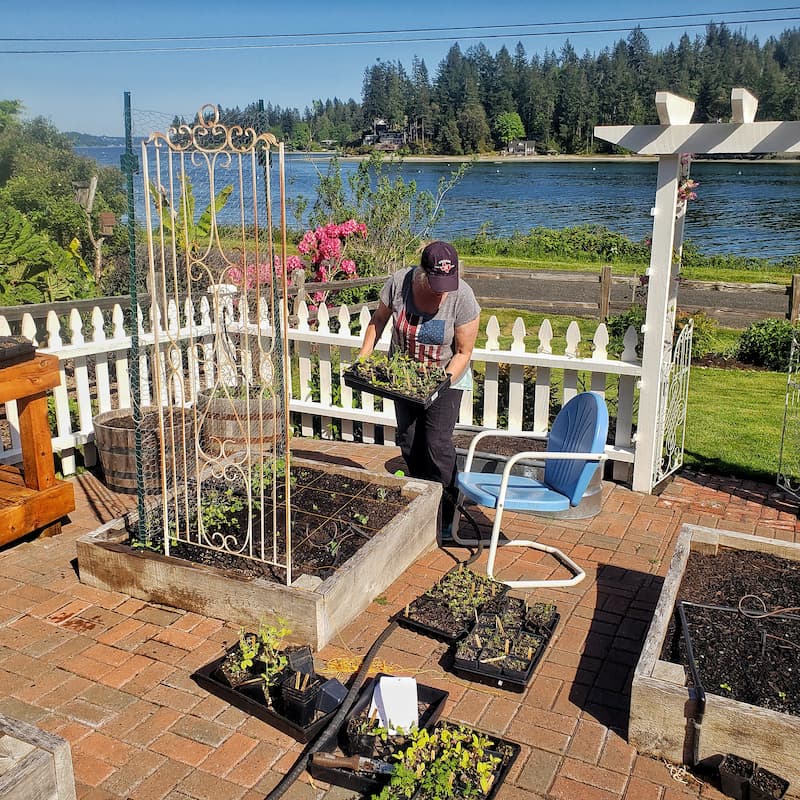
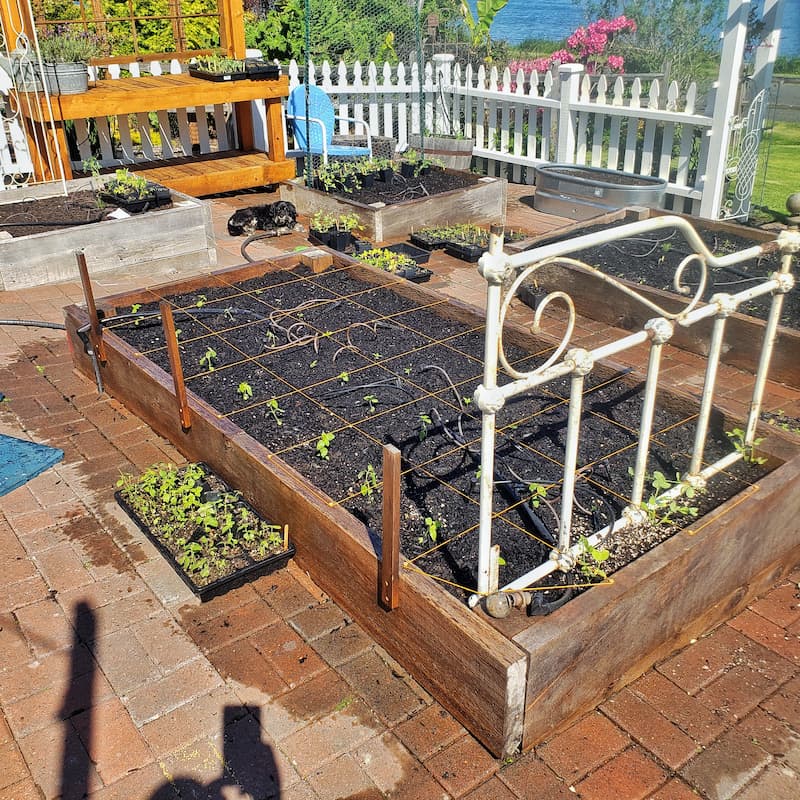
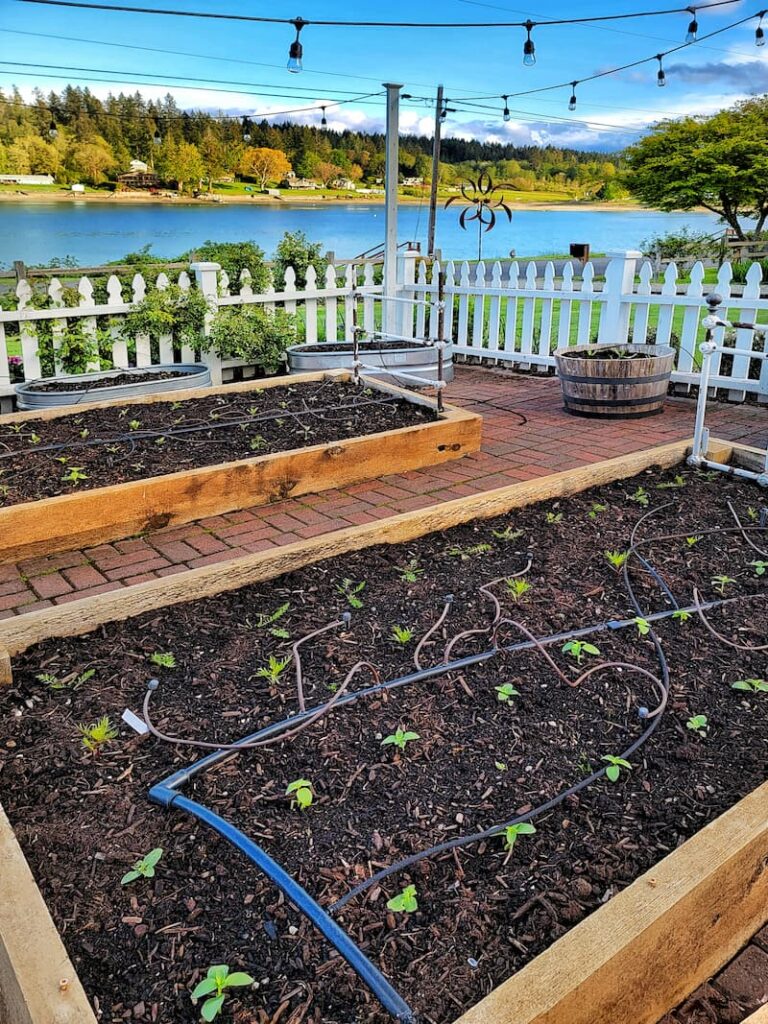
Planting Your Cut Flower Garden
Once the beds are prepared, irrigation is in place, and weeds are under control, it’s finally time for the most exciting step…planting.
Using the garden plan you created earlier in the season can help guide spacing and layout. Giving each plant enough room to grow improves air circulation and helps reduce disease later in the season.
When planting seedlings, make sure the crown of the plant sits slightly above the soil surface. This helps prevent stress and allows the plant to establish strong roots.
After planting, water everything deeply so the soil settles around the roots.
Many gardeners also like to feed newly planted flowers with a gentle liquid fertilizer such as fish emulsion or seaweed fertilizer, which can help reduce transplant shock and encourage healthy early growth.
At this stage, the garden beds start to shift from preparation to possibility. It’s the moment when the growing season truly begins.
Add Mulch to Protect Your Garden Beds
Once your flowers are planted, adding mulch helps protect and nourish the soil.
A 2-3 inch layer of organic mulch helps retain moisture, suppress weeds, and regulate soil temperature as the season warms.
Organic mulches such as straw, shredded bark, or leaf mold slowly break down over time, returning valuable nutrients to the soil.
When applying mulch, leave a small space around the base of each plant to prevent excess moisture from collecting around the stems.
Mulching is one of those small garden habits that makes a noticeable difference later in the summer when temperatures rise, and weeds begin to grow more aggressively.
Freshen Up Garden Bed Edges
Defining the edges of your garden beds is a small detail that can make a big difference in both appearance and maintenance.
Clean edges create a clear boundary between lawn and planting areas, helping prevent grass and weeds from creeping into your flower beds.
Edging also helps contain mulch and soil within the bed, improving watering efficiency and keeping nutrients where your plants need them most.
From a visual standpoint, freshly edged beds instantly give the garden a more finished and cared-for look.
Prevent Garden Pests Naturally
Healthy soil and well-maintained garden beds are often the first line of defense against garden pests.
Clearing away debris, improving soil with compost, and choosing strong, healthy plants can help reduce many common pest problems before they begin.
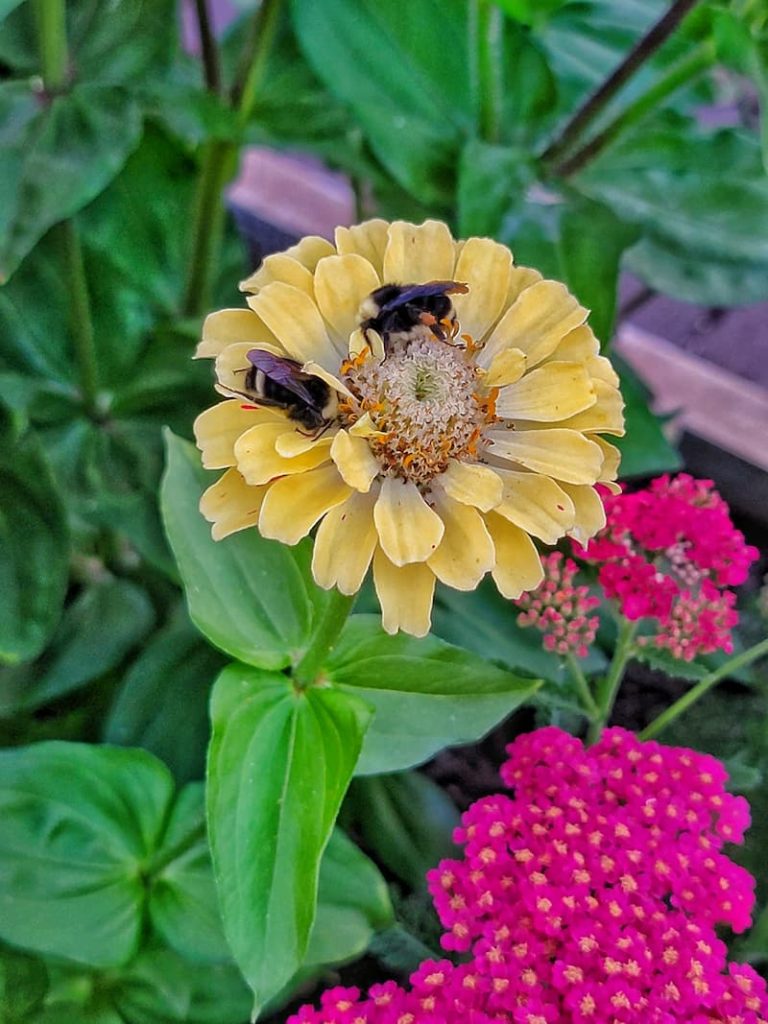
Encouraging beneficial insects such as ladybugs, lacewings, and predatory mites can also help keep pest populations under control naturally.
If pests do appear, many gardeners start with organic solutions such as neem oil, insecticidal soap, or diatomaceous earth before considering stronger treatments.
Regularly checking your plants for early signs of damage makes it much easier to address small issues before they become larger problems.
Creating New Cut Flower Garden Beds
If you’re starting a cut flower garden from scratch, choosing the right location is the first step to setting yourself up for success.
Most cut flowers thrive in full sun, so look for an area that receives at least six hours of direct sunlight each day. Good drainage is equally important. Soil that stays overly wet can lead to root problems and slow plant growth.
It’s also helpful to check for potential obstacles before digging, such as large tree roots or buried utility lines.
Wind exposure is another factor to keep in mind. Strong winds can damage tall flower stems or dry out the soil quickly. If your garden is in a windy location, planting sturdier varieties or adding simple supports can help protect your flowers.
Taking the time to choose the right spot makes the rest of the preparation process much easier and helps your garden thrive throughout the growing season.

Frequently Asked Questions on Preparing Flower Beds
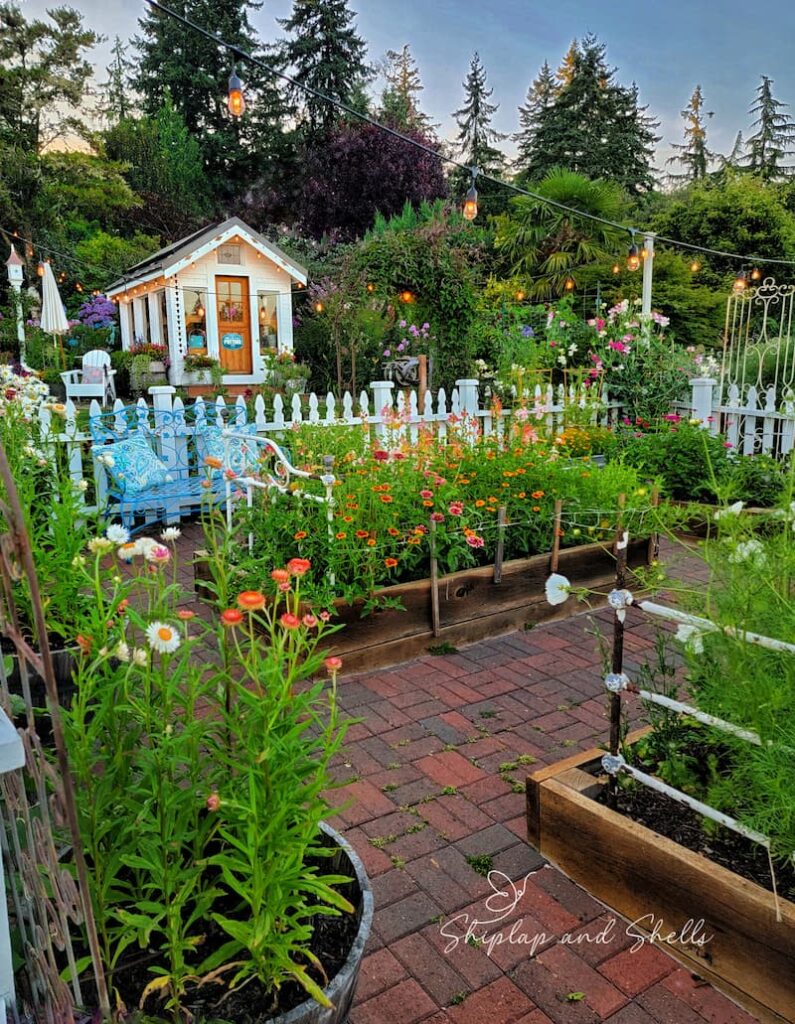
Final Thoughts for Preparing Your Garden Beds for Spring
Preparing your cut flower garden beds for spring may not be the most glamorous part of gardening, but it’s one of the most rewarding.
A little thoughtful preparation now, such as refreshing the soil, clearing winter debris, and getting your beds ready, creates the kind of foundation that flowers love to grow in.
In many ways, this work is where the growing season really begins. The garden may still look simple and bare, but everything is slowly coming back to life beneath the surface.
And once those first seedlings go into the ground, all the effort you put in now starts to pay off.
If you found this post helpful, feel free to share it with a fellow gardener who’s also getting their garden ready for a season full of blooms.
Until next year.
Happy Gardening!
I’m a self-taught hobby gardener who shares my opinions and what has worked for me in the garden.
MORE POSTS
For You To Enjoy
Follow Me for More Inspiration


Kim,
Your gardens are always so amazing and so pretty! Thanks so much for sharing!! I was wondering if you have any advice for planting perennials in containers…I am looking to cut back on buying annuals because of the increasing heat and humidity that we seem to be experiencing each Summer here in NEPA…I no longer want to spend my entire Summer watering my annuals in pots , trying to keep them alive like I have been….Thanks so much for your visit!
Hugs,
Deb
Debbie-Dabble Blog
Hi Deb,
Thank you for the wonderful compliment. Have you read my flower container post or my low-maintenance garden blog posts? I’ll share the links so you can get some ideas on plants that don’t need as much watering. Please email me at [email protected] if you have more questions!
https://shiplapandshells.com/10-low-maintenance-flowers/
https://shiplapandshells.com/flower-container-planting-tips/
This info is so helpful to me. This is my first year of planting a cutting garden. Thanks for sharing all your helpful posts! Wish me luck! ?
I am definitely wishing you lots and lots of luck. I know your garden will look amazing Kim. Can’t wait!
Hi
Beautiful post blog. I read. Wonderful idea.
Thank you Barkat! Have a great week!